Pink Lemonade First Birthday

comparison.jpg
My last baby is one year old. 
Yeah, I am tearing up a little just typing that.
Anywho... let's move on now. Since it was our last (sniff, sniff) first birthday I went all out! I have always wanted to do a pink lemonade theme and these silly kids keep going and getting their own opinions about things. This was probably my last chance.
We don't usually go "all out" for birthdays. Just our family and some cake, ice cream, and snacks. A pack of balloons and a little crepe paper if I feel ambitious. This time I put a little extra effort into the decorations, but only because they will be used in her nursery, too. We have parties in our sunroom since it is a large, open area. We actually set up picnic tables outside this time, but I kept the food inside. I just hung some pink balloons and yellow crepe paper (the other kids insist on this) and put some silk daisy bunches that I got on clearance at Joann's and Michaels in some clear vases.
pink lemonade first birthday party
On the windowsill I arranged some pink and yellow items like her first dress (yellow) and her first hat (pink).
pink lemonade first birthday party
I also mod podged some frames I already had and printed out THIS free printable from Daisy Cottage Designs.
yellow honeycomb frame
pink and yellow frames
I painted some wooden signs, too, just 'cause I am on a sign kick for my etsy shop and felt like it.
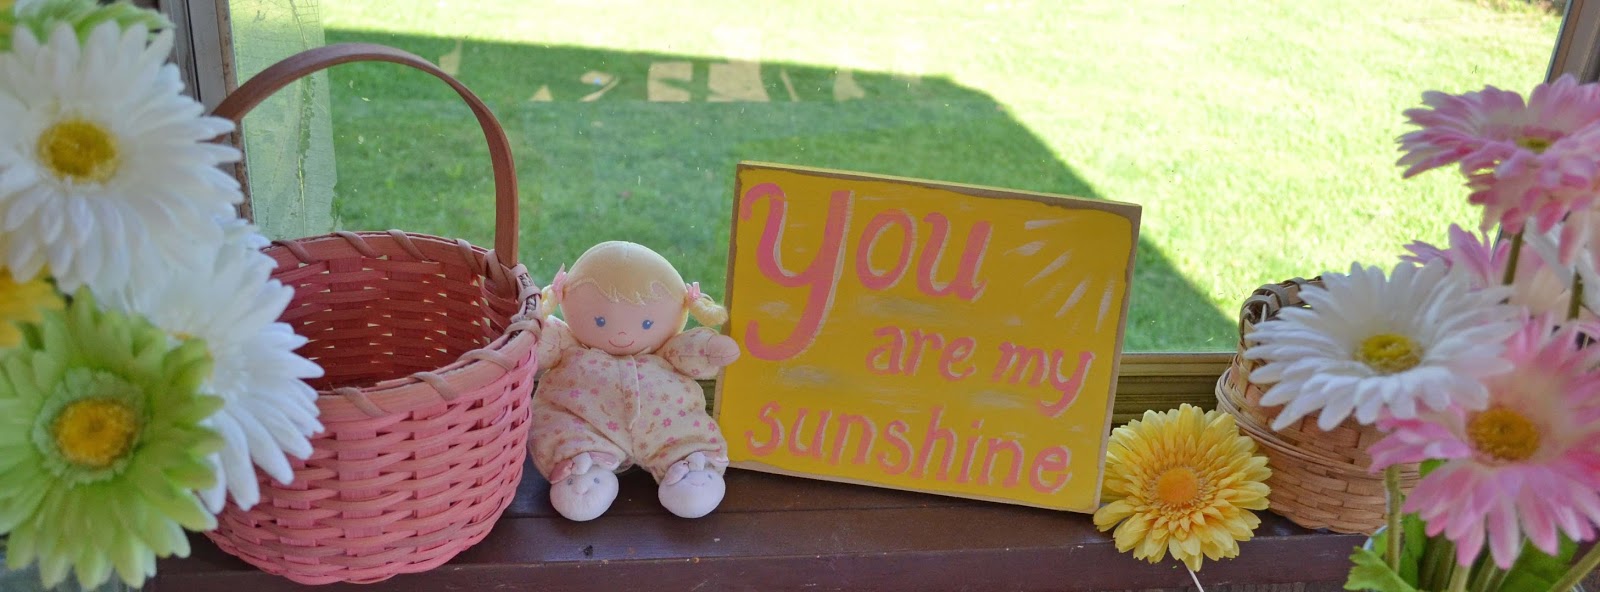
pink lemonade sign
pink lemonade first birthday party

pink lemonade first birthday party
Yeah, I am totally redoing that one...

Oh, and each month I have been taking her picture in a washbasket, so I clipped those on the wash line that already hangs out in my sunroom.
For the food I found lemon and strawberry cake mix at the store so I did a batch of each in cupcakes. Of course, I added sprinkles. Gotta' have sprinkles! 
pink lemonade first birthday party
Of course, there was ice cream, pink lemonade, regular lemonade, and other goodies. I also made striped jello in lemon and strawberry.
The most labor intensive thing I did for Hannah's birthday party was to make her a romper. I have wanted to make her one for awhile now and this was a good reason. I got the fabric at Joann's and I actually bought a pdf pattern. I am not going to source the pattern because I was not very happy with it and do not think that it was worth the money. The final product was still pretty cute, though!
pink and yellow baby romper
yellow ruffle

I think it is too big, so maybe she will get to wear it some early next summer. The ruffles should be higher, too. Well, I learned some things anyway...

pink and yellow baby romper

Here it is compared to the very first thing I sewed for her

Oh, it is so tiny!!!
Excuse me. I am gonna go cry and eat some more of the leftover ice cream now.
 Link Parties where I sometimes hang out...

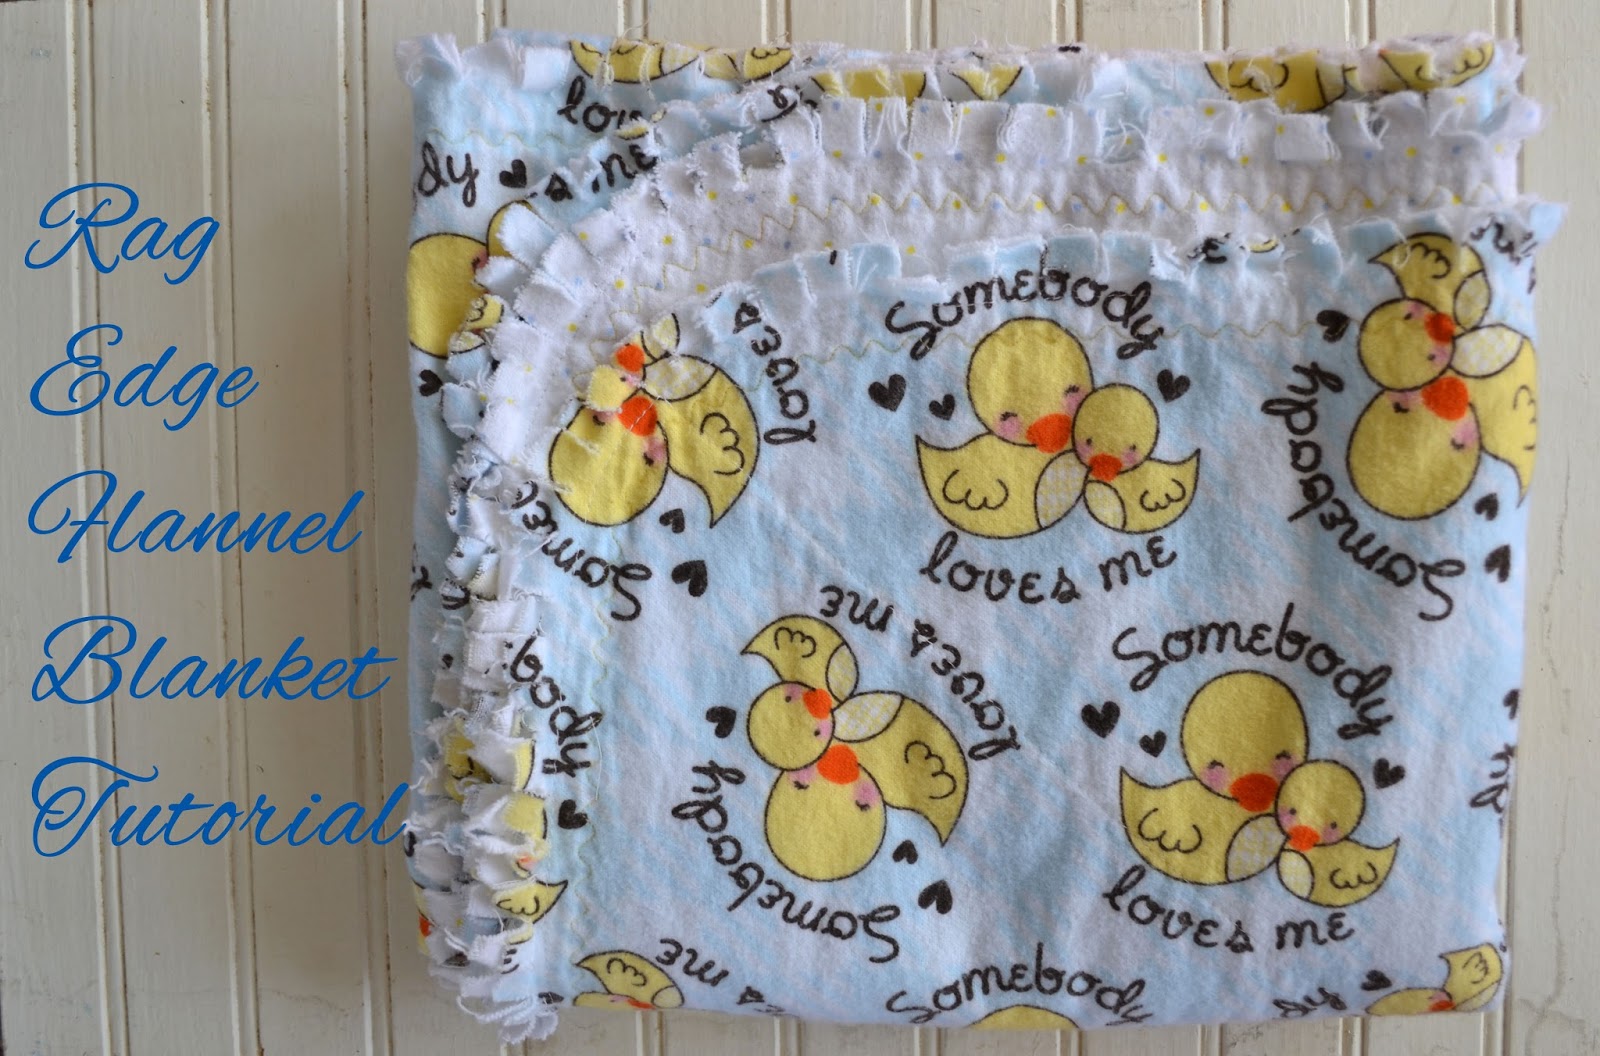
Rag Edge Flannel Baby Blanket Tutorial

ragedgeflannelblanket.jpg
Flannel Rag Edge Baby Blanket Tutorial
These rag edge flannel blankets are my go-to baby gift. Sometimes I make bibs, burp cloths, and taggy blankets to make it a complete set. With just two layers of flannel, it is a nice weight without being too heavy. The rag edge is soft and popular with babies, too. :) This is what it looks like after just one washing, but it will get more frayed over time.
Flannel Rag Edge Baby Blanket Tutorial
These are so simple to make. Here is a little DIY tutorial for you:
For this blanket, I used two different, yet matching flannel fabrics. I got 1 1/4 yard of each to make the blanket relatively square. You can make it larger or smaller. Whatever you want...
Tape your backing flannel to a flat surface with the right side down. I prefer to use my kitchen table and I use masking tape. Make sure to get all of the wrinkles out.
Flannel Rag Edge Baby Blanket Tutorial
Lay the top layer over the bottom layer with the right side up. The wrong sides will be together. Smooth it out really well and use curved safety pins to baste. Start in the middle and place pins every few inches in a grid form working your way to the outside.
Flannel Rag Edge Baby Blanket Tutorial
Remove the tape. I spread the blanket out on the floor to give me a little more room to work at this point. Trim off any selvage edges.
Flannel Rag Edge Baby Blanket Tutorial
Square up your blanket by folding it in triangles. Check each side. Mine didn't turn out quite square. Whatever...
Flannel Rag Edge Baby Blanket Tutorial
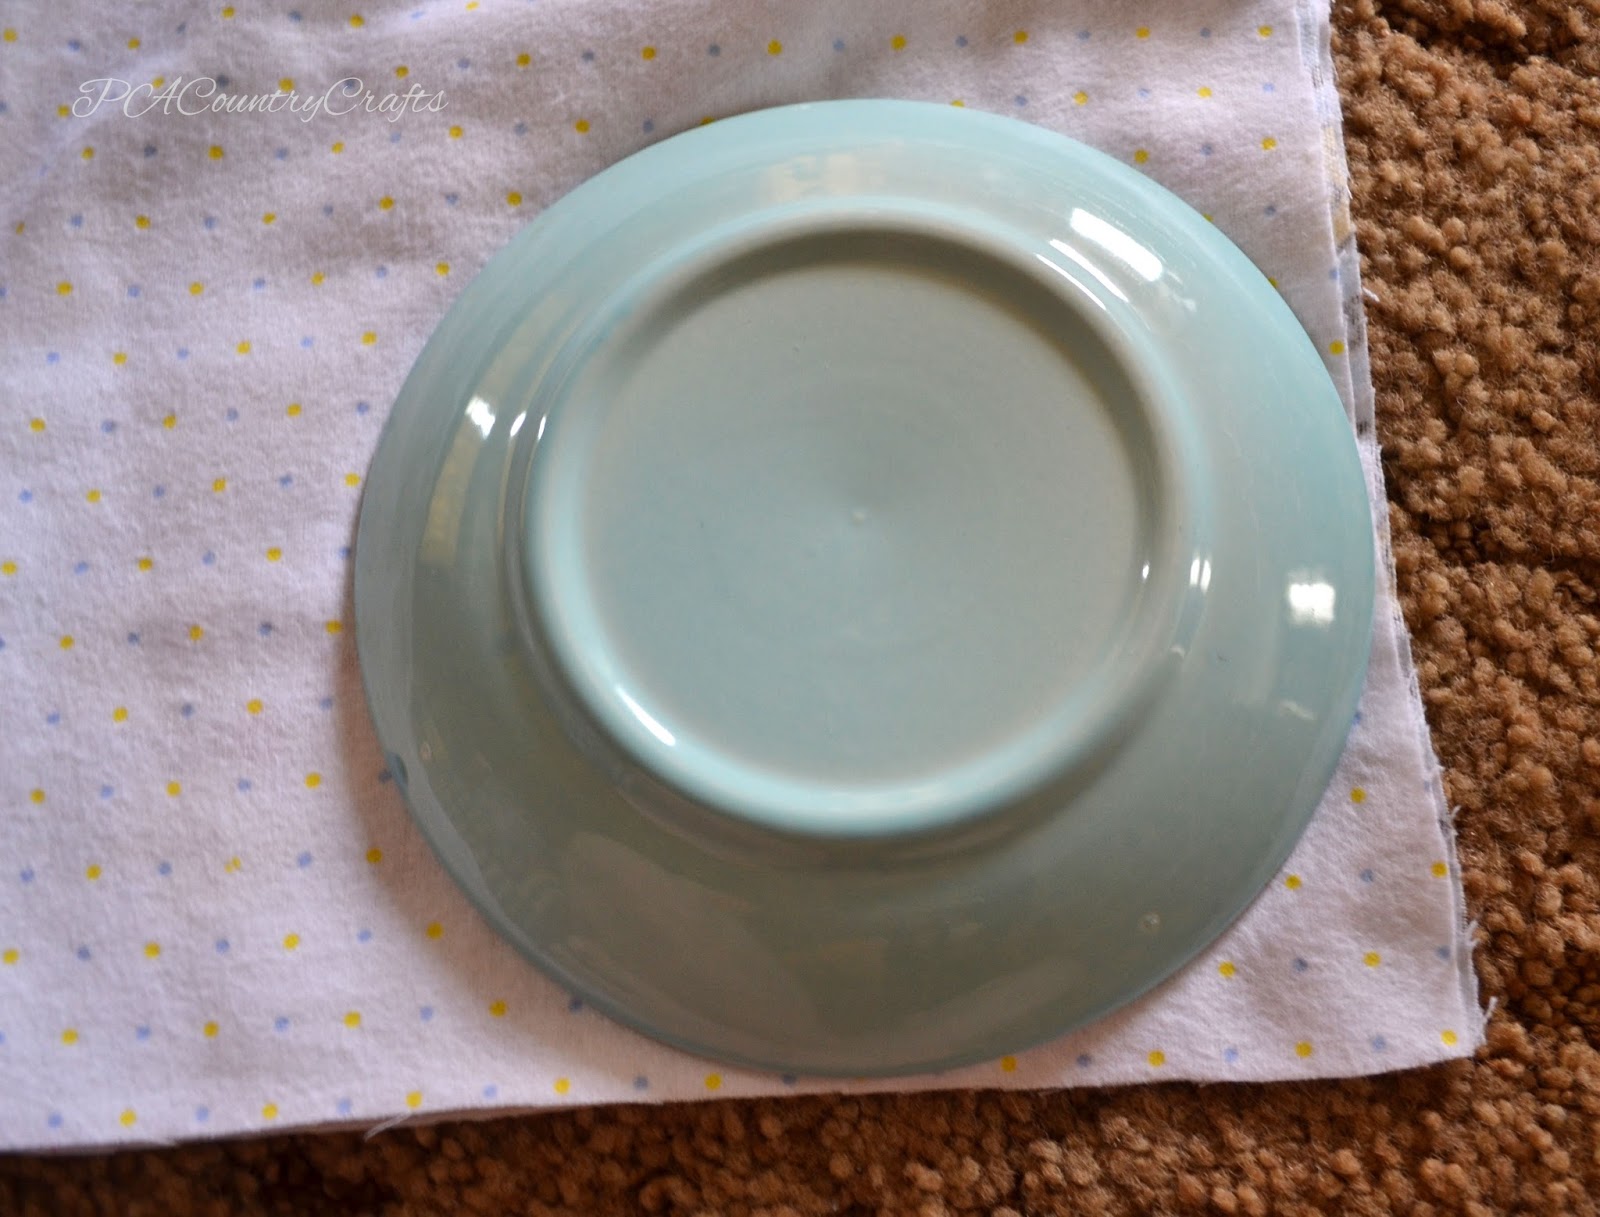
Trace a plate or something round on the corners. Rounded corners are a little easier later.
Flannel Rag Edge Baby Blanket Tutorial
Use a washable marker to trace diagonal lines and lines going through the centers of each side.
Flannel Rag Edge Baby Blanket Tutorial

Now for the sewing... 
From the very center point make a few small stitches and then increase your stitch length. Sew from the center to the outside on the line you drew. Repeat for each line, starting at the center each time.
Flannel Rag Edge Baby Blanket Tutorial
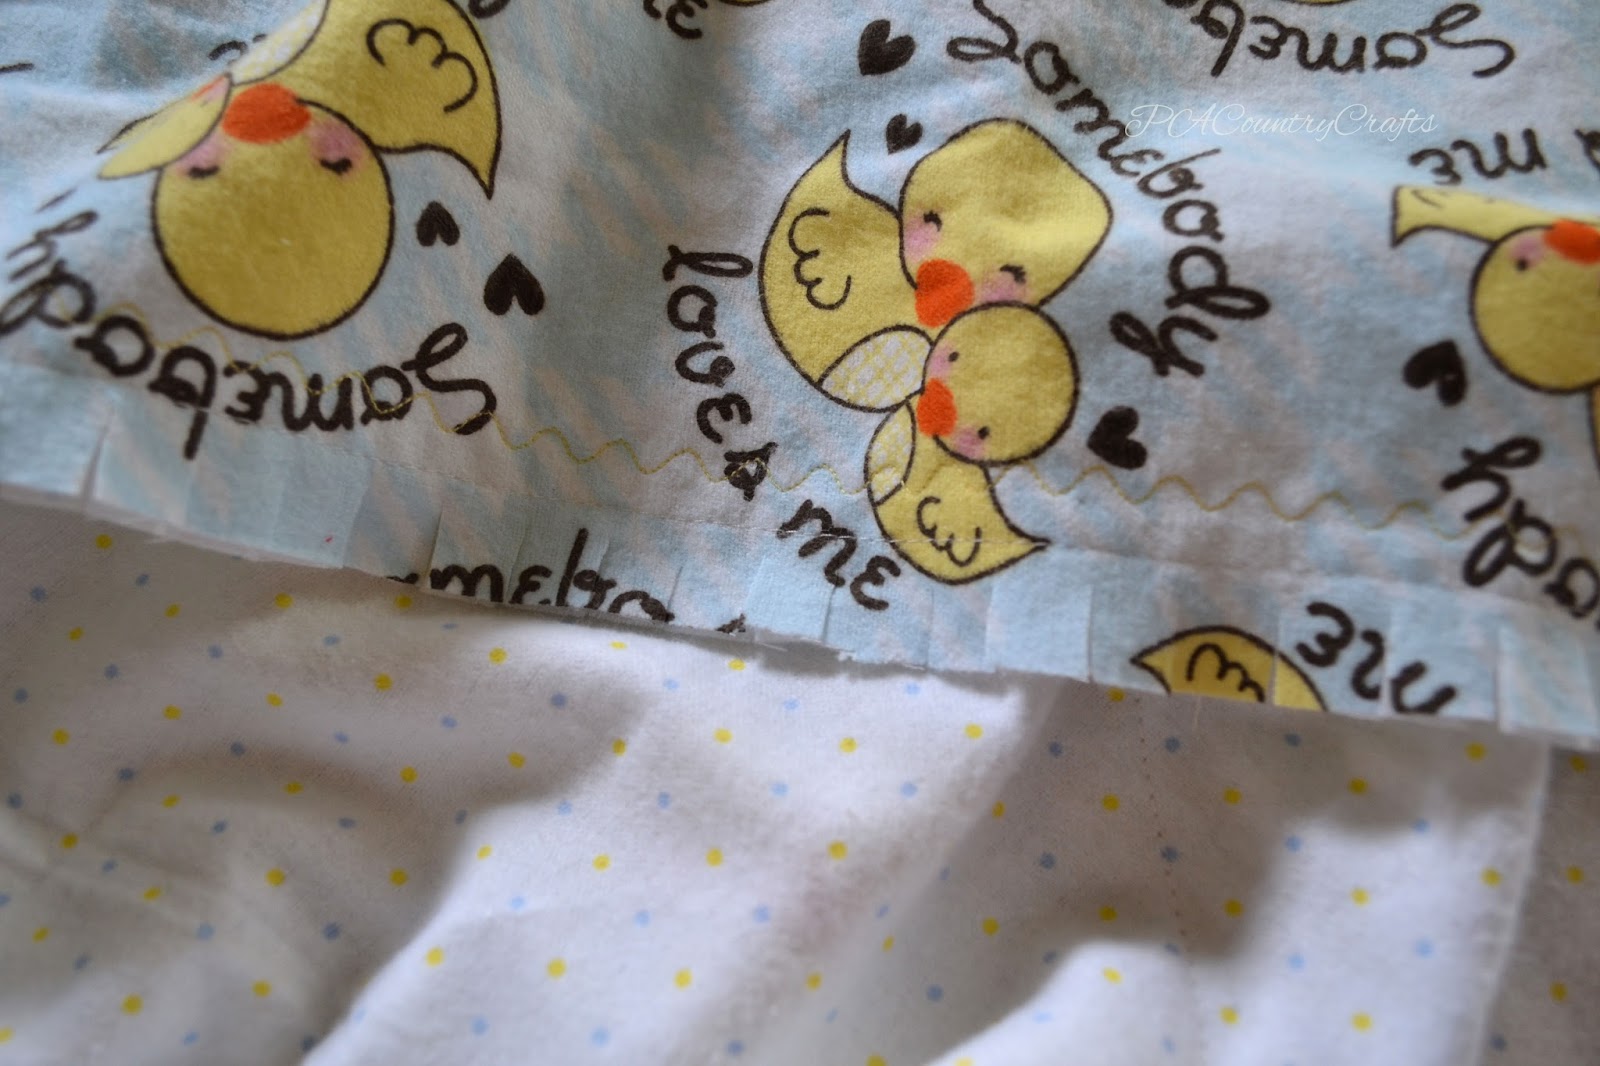
Sew around the outer edge of the quilt about 1/2" from the edge. Then, sew around the edge of the blanket again about an inch from the edge. I like to use two different colors of thread and a fancy stitch on my machine. When you are done, snip the edges of the blanket every 3/8" or so. Try not to get too close to the first stitching line.
Flannel Rag Edge Baby Blanket Tutorial
Wash the blanket and put it in the dryer on low heat. It will make the edge fray out nicely and get rid of those washable marker lines.
Flannel Rag Edge Baby Blanket Tutorial

Link Parties where I sometimes hang out...

I LOVE Baby Girl Sewing!

bearhatcreampink.jpg
I absolutely LOVE sewing cute baby things! Especially baby girl things! :D
So, do you remember the Easter dresses I made this year? (If you don't they are shown at the end of THIS post.) I also made a matching tie for my son later this summer (shown in THIS post) but he didn't want the "girly" yellow I picked out so I used grey instead.  That meant I had a half yard of coordinating yellow polka dot fabric just waiting for Hannah to be born. I guess it was meant to be. ;)
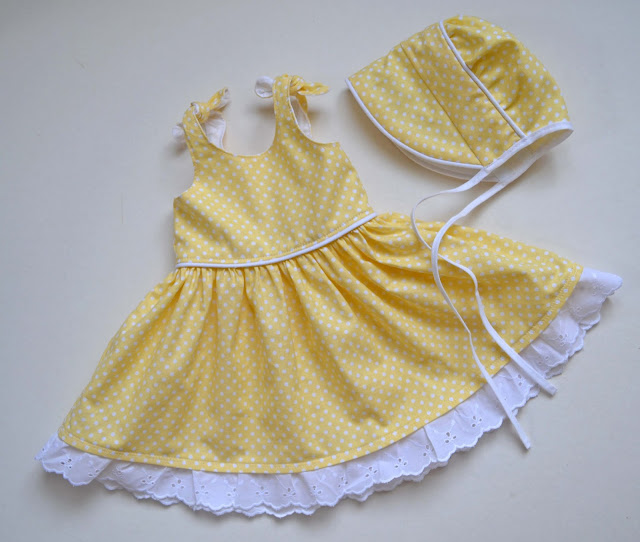
So, I whipped up an Itty Bitty Baby dress (free pattern available HERE) and then went overboard with a Peekaboo Bonnet (pattern for sale HERE). 
I know, I almost never ever buy patterns, but I have always wanted to make a bonnet and this was my last chance! Oh, it is sooooo cute, too!  I am super pleased with how these turned out. I love piping and eyelet lace trim. (And tiny little baby feet, too!) LOVE!
I also love the sunshiney yellow color, and it matched the dress I wore for a pic taken 12 days before she was born when I was ginormous, so we did a little "after" pic to go with the "before" one.
Before...
...After.
Actually, first I made another dress for my niece so that they could match. The cousins were born two days apart and we all got to hang out at the hospital together. How cool is that? Of course, my niece was a big girl, so I made her dress in the 0-3 month size instead. Since this was my sister-in-law's first girl, I knew a little pink was in order, too. :)
I ran out of piping to do another bonnet, but I also made her a crocheted bear hat (using my free pattern HERE) that should fit her this fall and increased the size on that one as well.

I know I used the word "LOVE" an awful lot in this post, but making things for baby girls, especially girls this cute, really does that to me!

Jungle Star Quilt

It only took a little over five years, but I finished it! :)
You see, I pieced this quilt top for my 5yo daughter before she was born. We like to leave the baby's gender a surprise, so I was going for something bright and fun and gender-neutral.
After the top was finished, I was afraid it was too girly and made another one. That one isn't very neutral either. I was thinking "rubber ducks" when I made it, but all the blue made it a little more masculine and, of course, we had a girl.  I should have just stuck with this one.
I made a lot of sawtooth star blocks back then, too.
Lots and lots of star blocks.
The finished quilt is pretty big, so the back was pieced to make the leftover jungle fabric work (it isn't like I could buy more now!) I usually don't like to piece backs, but that is growing on me, too.
The I am pretty new to machine quilting, but I really love the texture on this one! I didn't know what to do with those large jungle print blocks, so I decided to quilt the entire thing using long, random, "organic" wavy lines.
I watched a video tutorial HERE that was very helpful.  When it was all washed it created such a lovely, crinkly texture. I tried to capture it with a picture, but this doesn't do it justice.


 So, I guess this quilt is a mixture of my old style and new style. I suppose that is what you get when you wait so long to finish something. I am really happy with the way it turned out, even if I did struggle with my sewing machine and all of the tension issues. I am just hoping that it comes back working better than ever because I would love to try something like this again.


I don't know what I am doing with this quilt now. I might sell it or give it away. I guess it depends. I still can't decide if it is gender-neutral or not.  Anyway, I am just glad to have it finished. :)

Ariel Quilt

arielquilt2.jpg
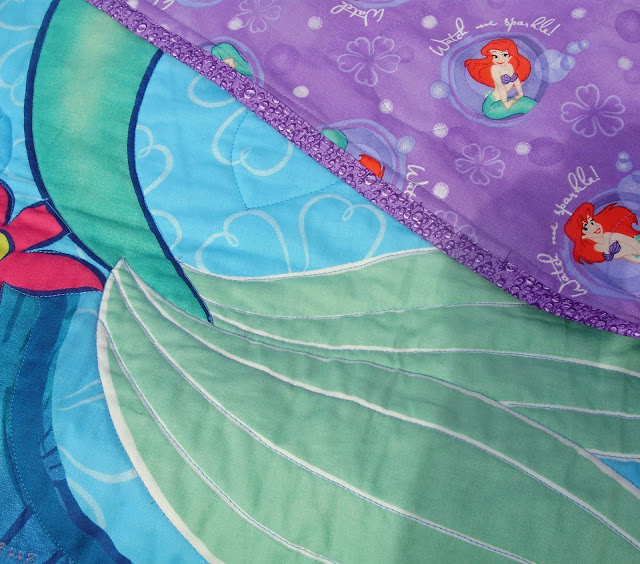
This quilt was put together pretty quickly for a very special baby girl.  I didn't have much notice (it's complicated) but I felt that she deserved something special.  I did all of the quilting and even the binding entirely on my new sewing machine, partly to try it out and partly to get it done faster.
I bought the Ariel panel and backing fabric, oh, about 7 years ago and I was saving it, in a way, for this specific purpose. I think God probably smiled at that, since He knew all along that His plans are not always our plans.
That being said, I just felt that I needed to embroider Jeremiah 29:11 onto this quilt. It is absolutely fitting to the situation. I used purple thread and the letter embroidery feature on my machine, which was tricky with so many layers.  I did a lot of seam ripping, but it was still faster than doing it by hand.

For I know the plans I have for you,” declares the Lord
“plans to prosper you and not to harm you, 
plans to give you hope and a future.
Jeremiah 29:11
The next quilt I am going to finish will be a top that I pieced before my 5yo was born! I am really clearing out the old stuff, right? If you are a quilter, what is the oldest fabric that you have been saving for something special?

Ninja Turtle Baby Quilt

I finally finished it!  I started out with two yards of Teenage Mutant Ninja Turtle fabric that I had bought with the intention of making a quilt for my brother's first son.  That was years ago!  They weren't even engaged yet, but I was thinking ahead. :)  A little over 10 months ago, I finally got that nephew.  Then, I had to figure out what I was going to do with that fabric!
I hunted high and low for appropriate Ninja Turtle colors to match the fabric I already had.  These are the more recent movie version colors, and not the more traditional hues, so it was tough!
Then, I had to plan a quilt design.  Of course, I didn't follow that plan anyway, but it just sort of came together.
First, I made these adorable turtle blocks, thinking that the 3D effect of the feet, heads, and tails would make good chew toys.  Hey, he is teething right now, so I am just in time!
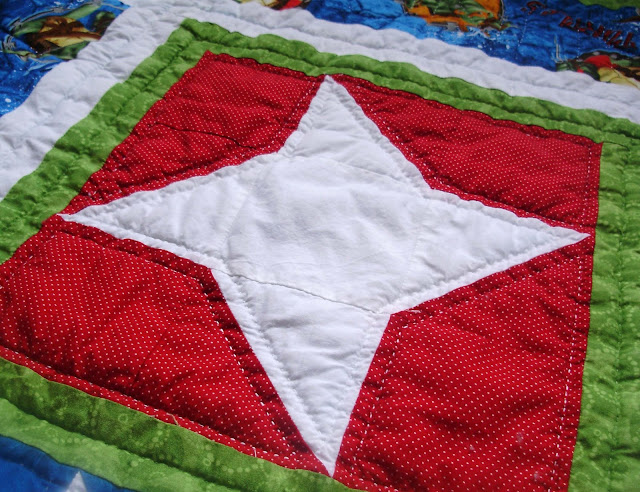
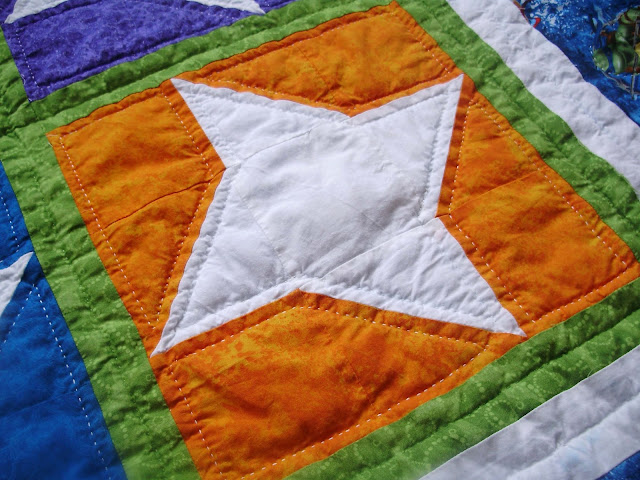
Then, I made the "ninja star" blocks.  They look like the paper "ninja stars" that my son likes to make, but this block is also called the "friendship star."  If you have ever seen the Teenage Mutant Ninja Turtles, you will understand just how fitting this is for them. :)
I also went with a twist on these, making the stars white and the backgrounds in their eye mask colors. (P.S. Michelangelo was always my favorite!)
I used green thread to hand quilt the sashing between each block and around the inside of the turtles. For the rest of the quilt, I used white cotton hand quilting thread, which is significantly thicker.  I quilted inside and around the stars and in the middle of the white borders.

On the wider borders with the Ninja Turtle fabric, I quilted in some of their catchphrases: "Cowabunga, Awesome, and Turtle Power."  On the remaining side, I quilted in my nephew's name.

Now, only one more nephew to go and I am caught up!