

Elastic Sleeve Peasant Dress Tutorial
/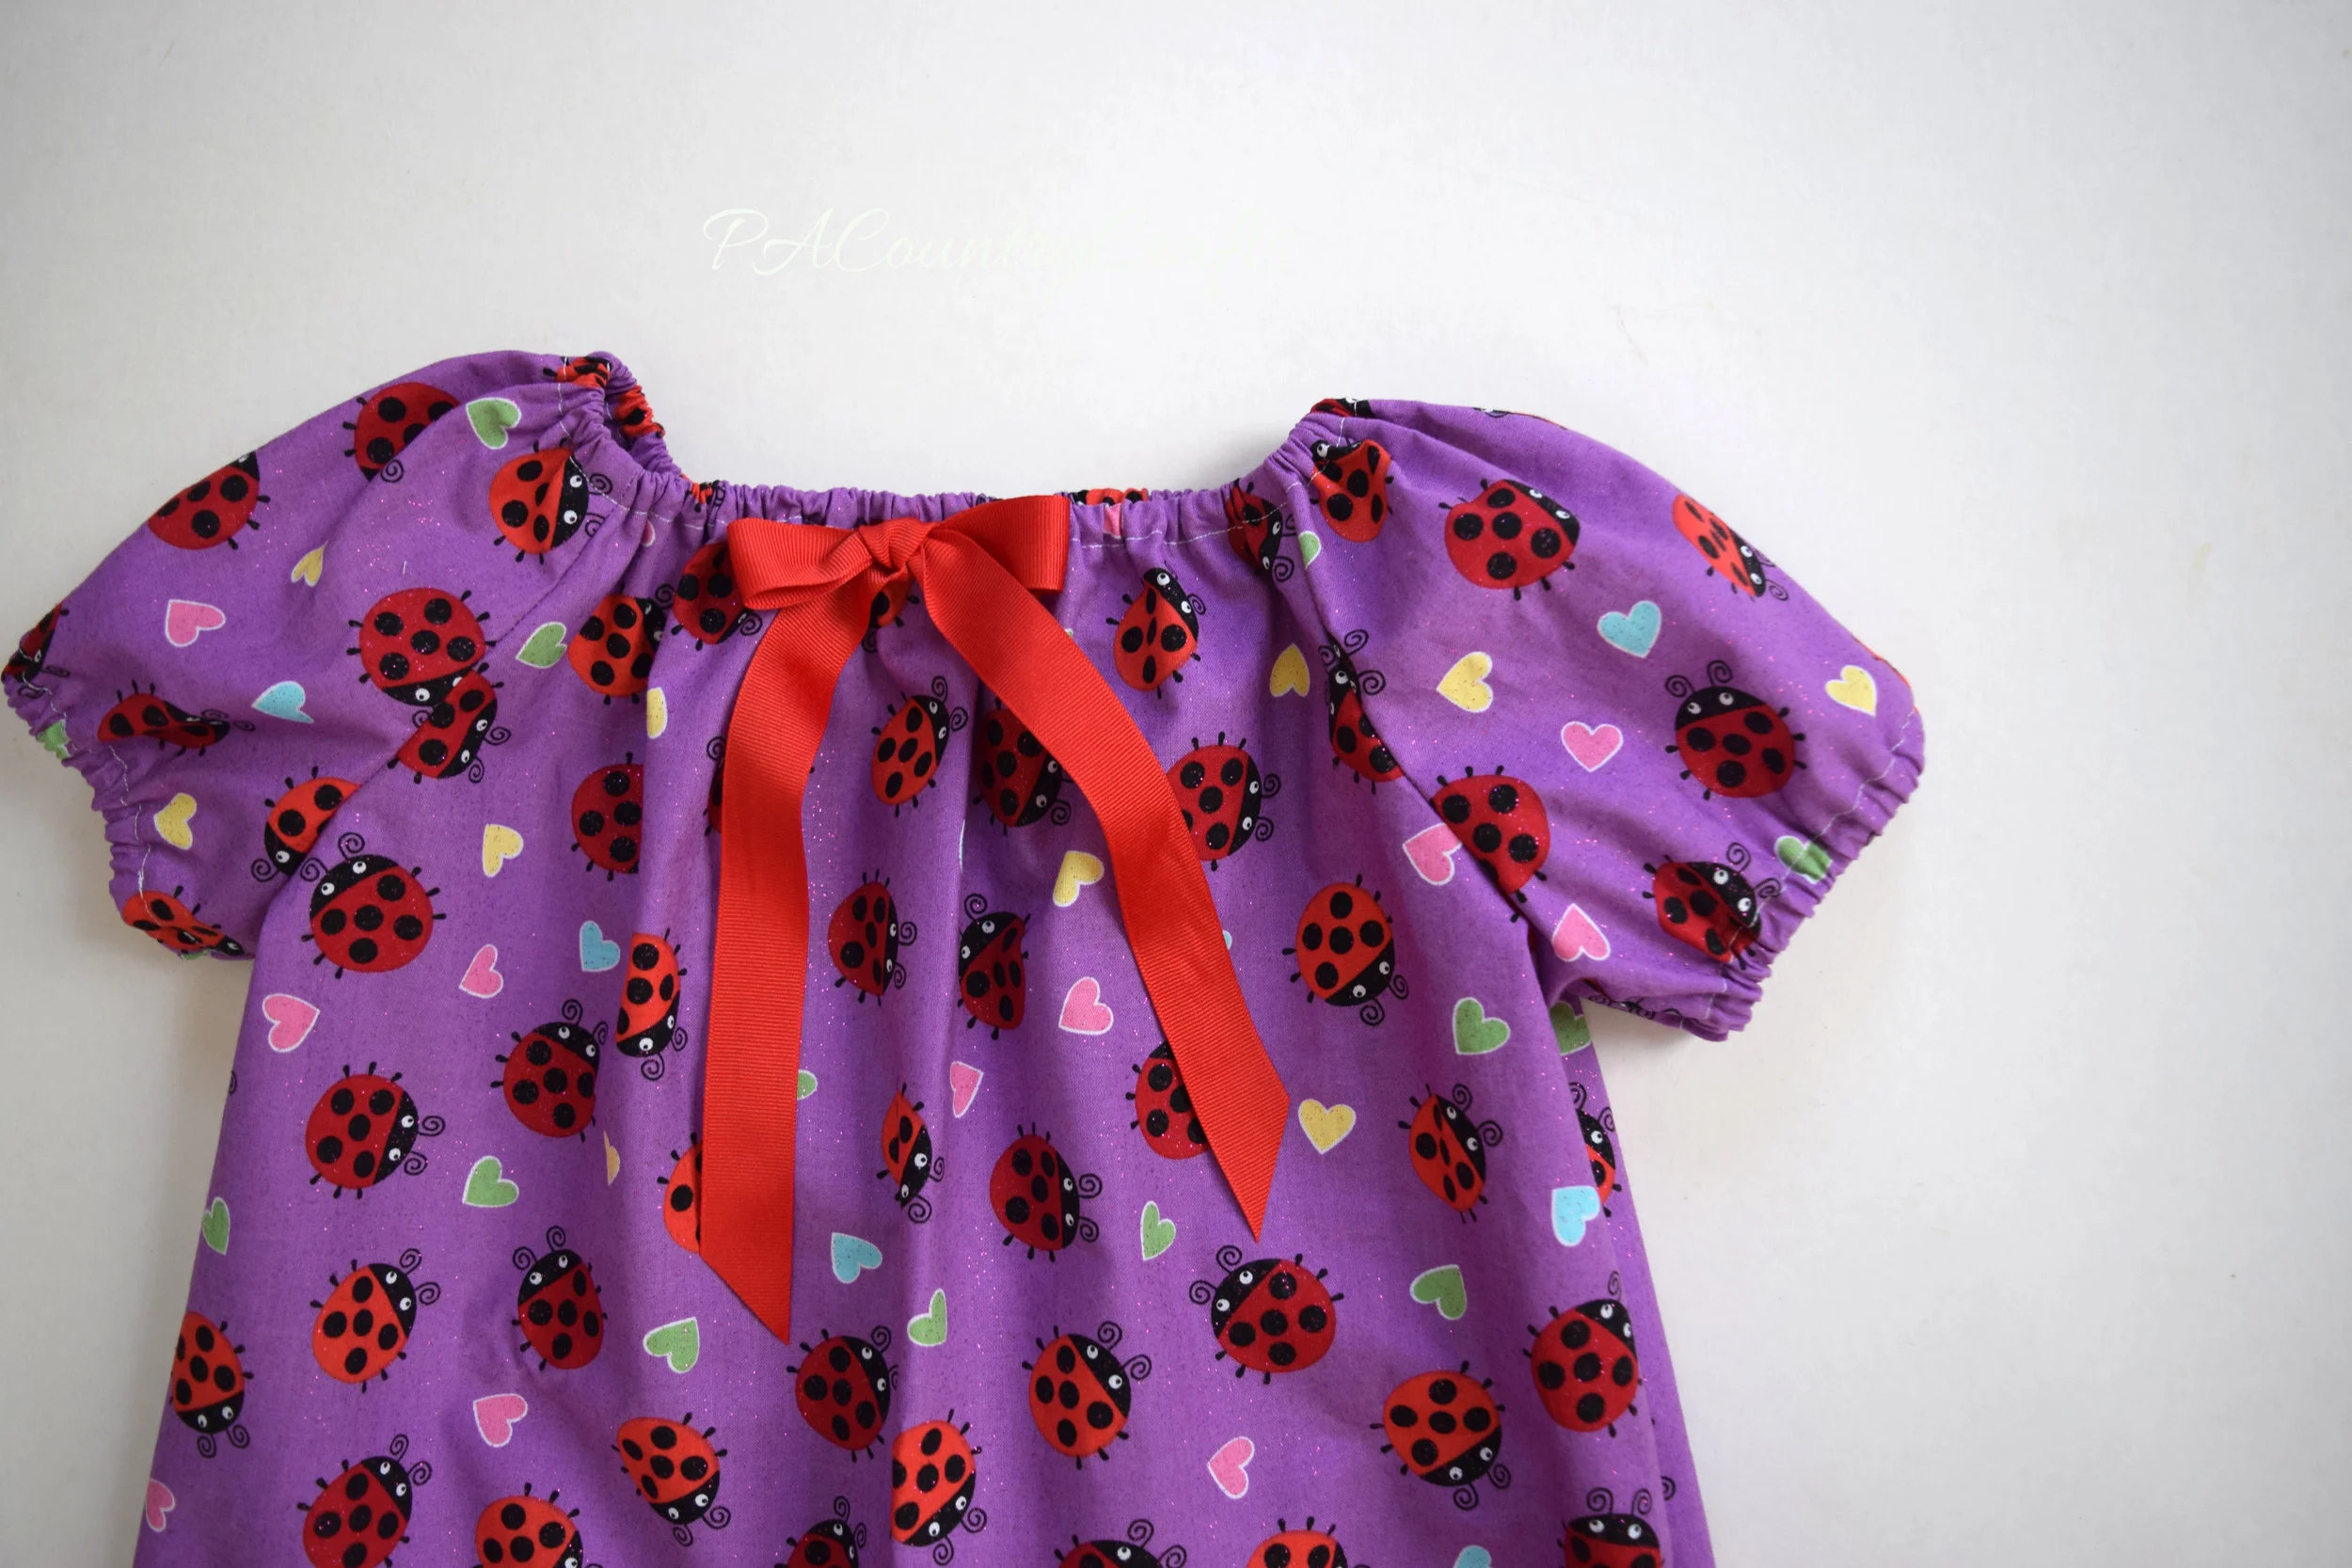
Free sewing tutorial for a peasant dress with elastic sleeves. These dresses are perfect for charity sewing projects, nightgowns, or just cute dresses for little girls.
Read MoreFree sewing tutorial for a peasant dress with elastic sleeves. These dresses are perfect for charity sewing projects, nightgowns, or just cute dresses for little girls.
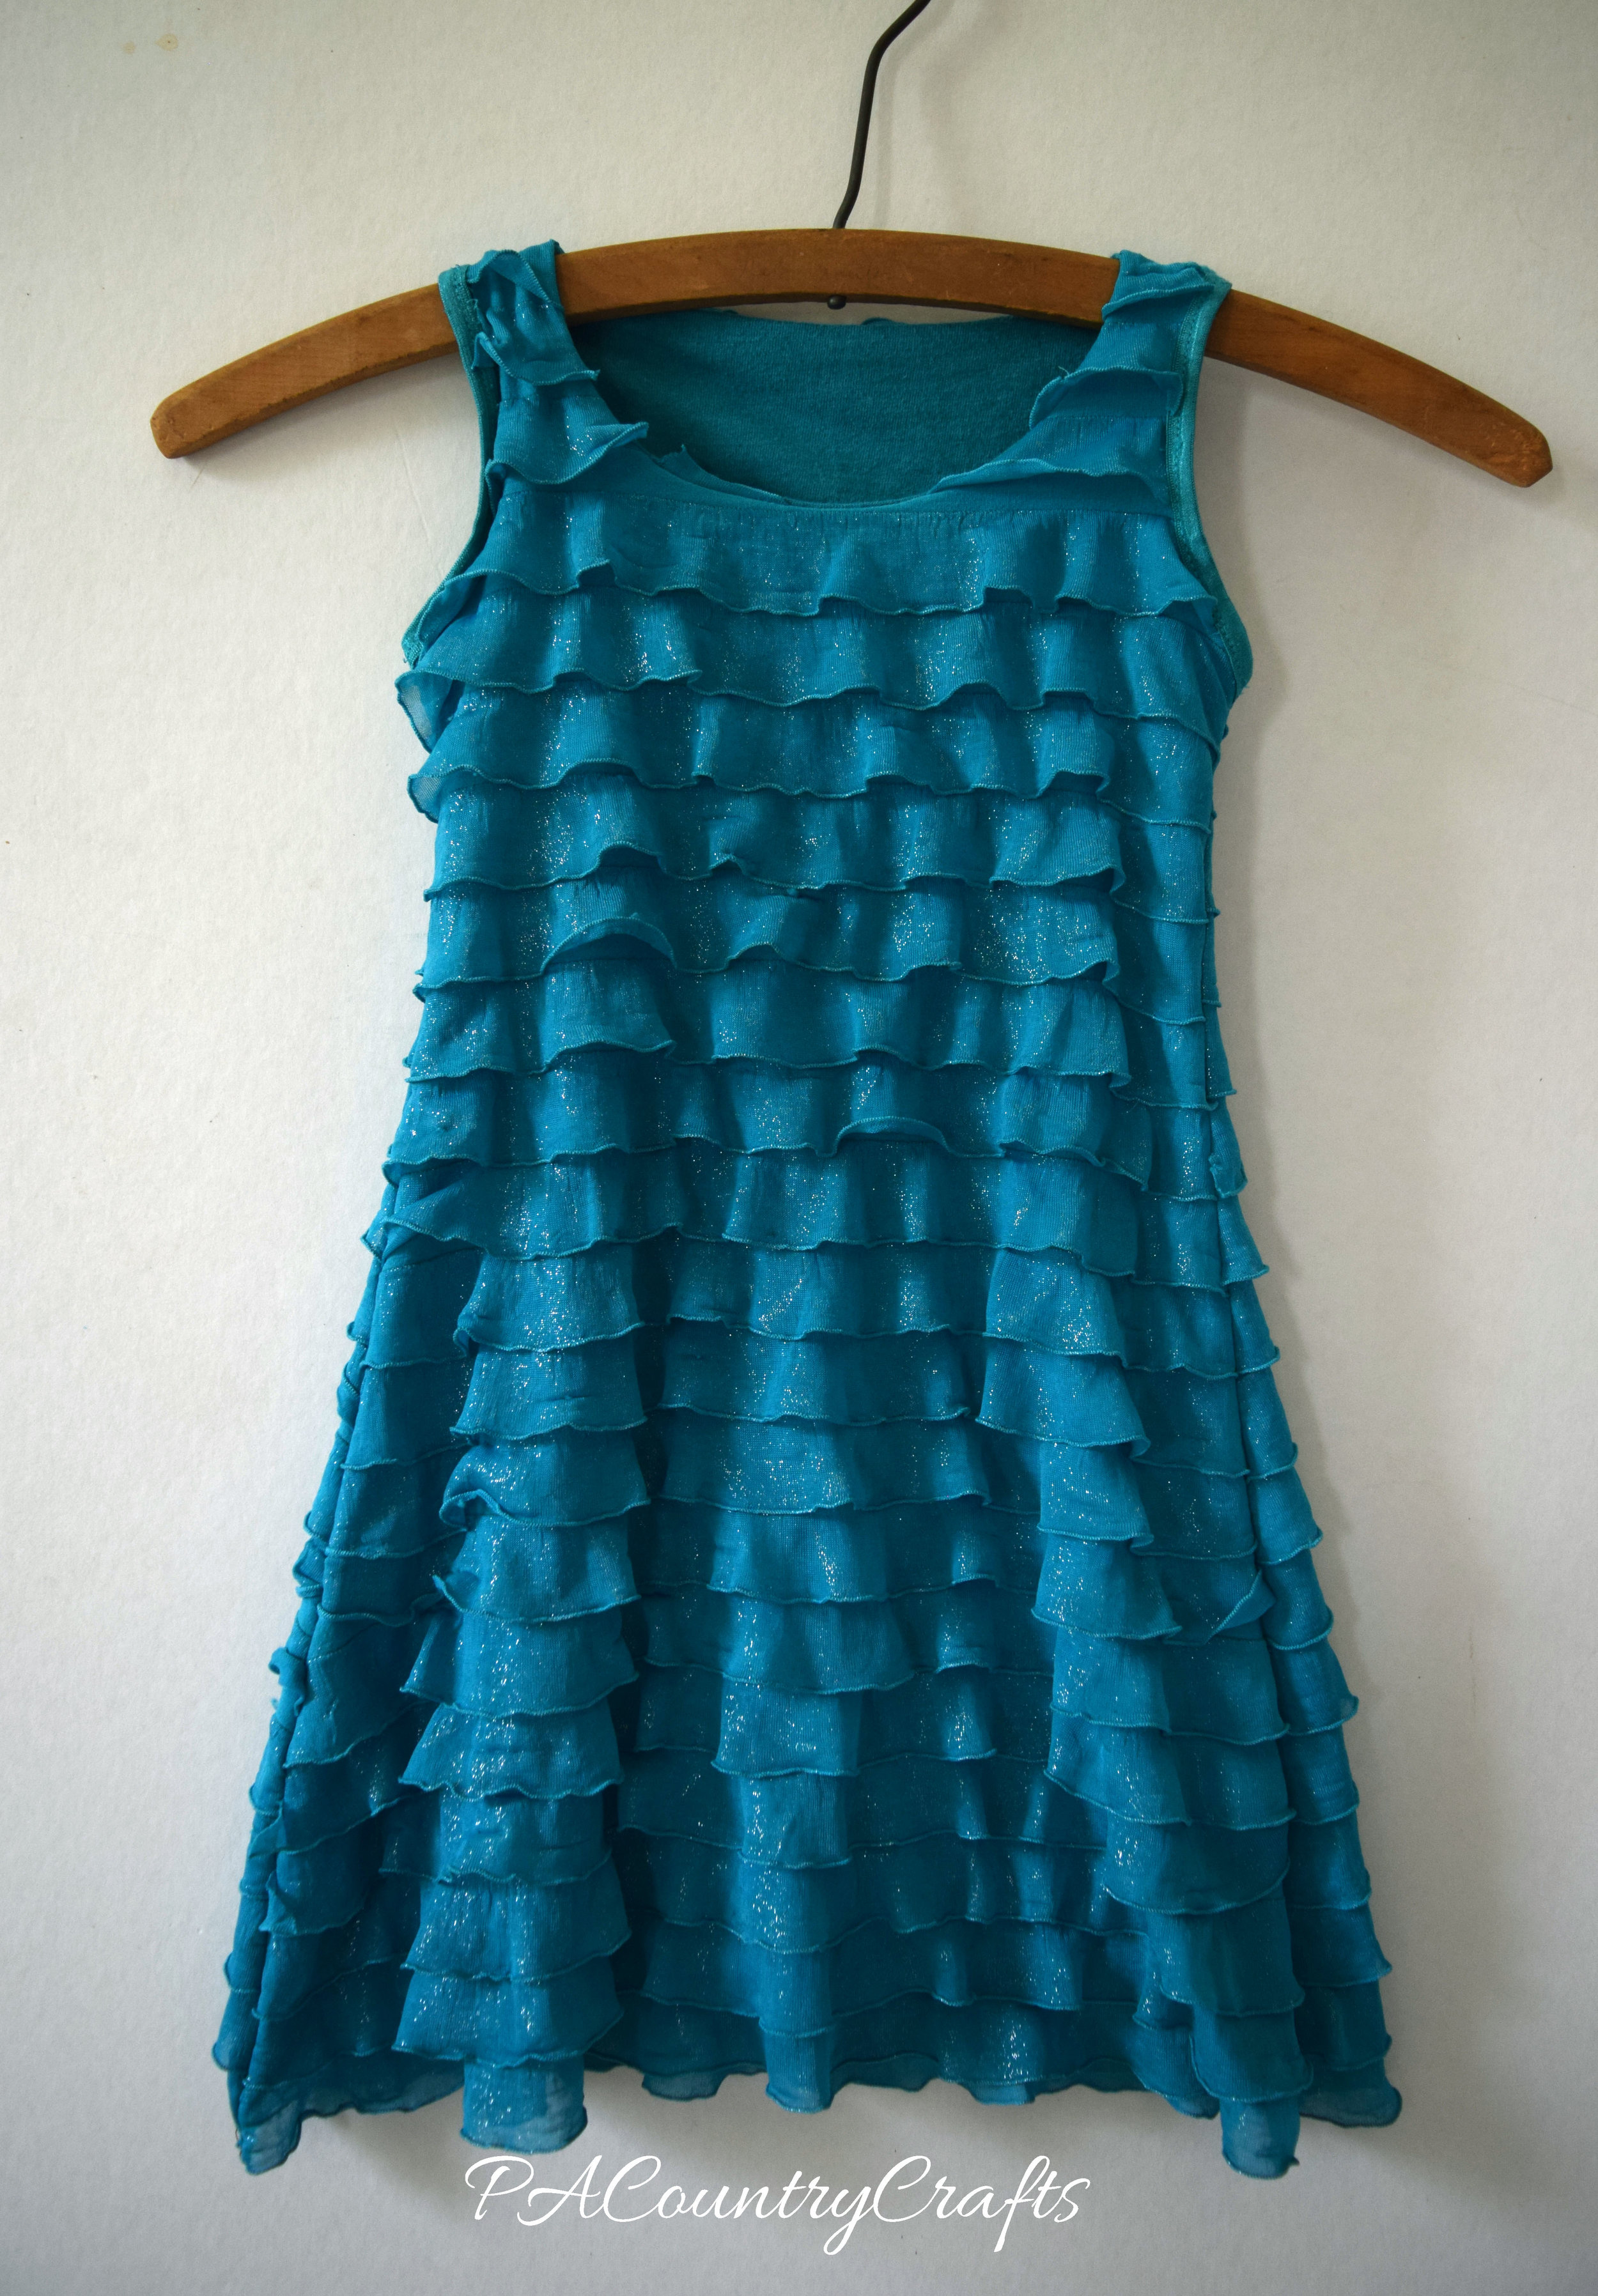
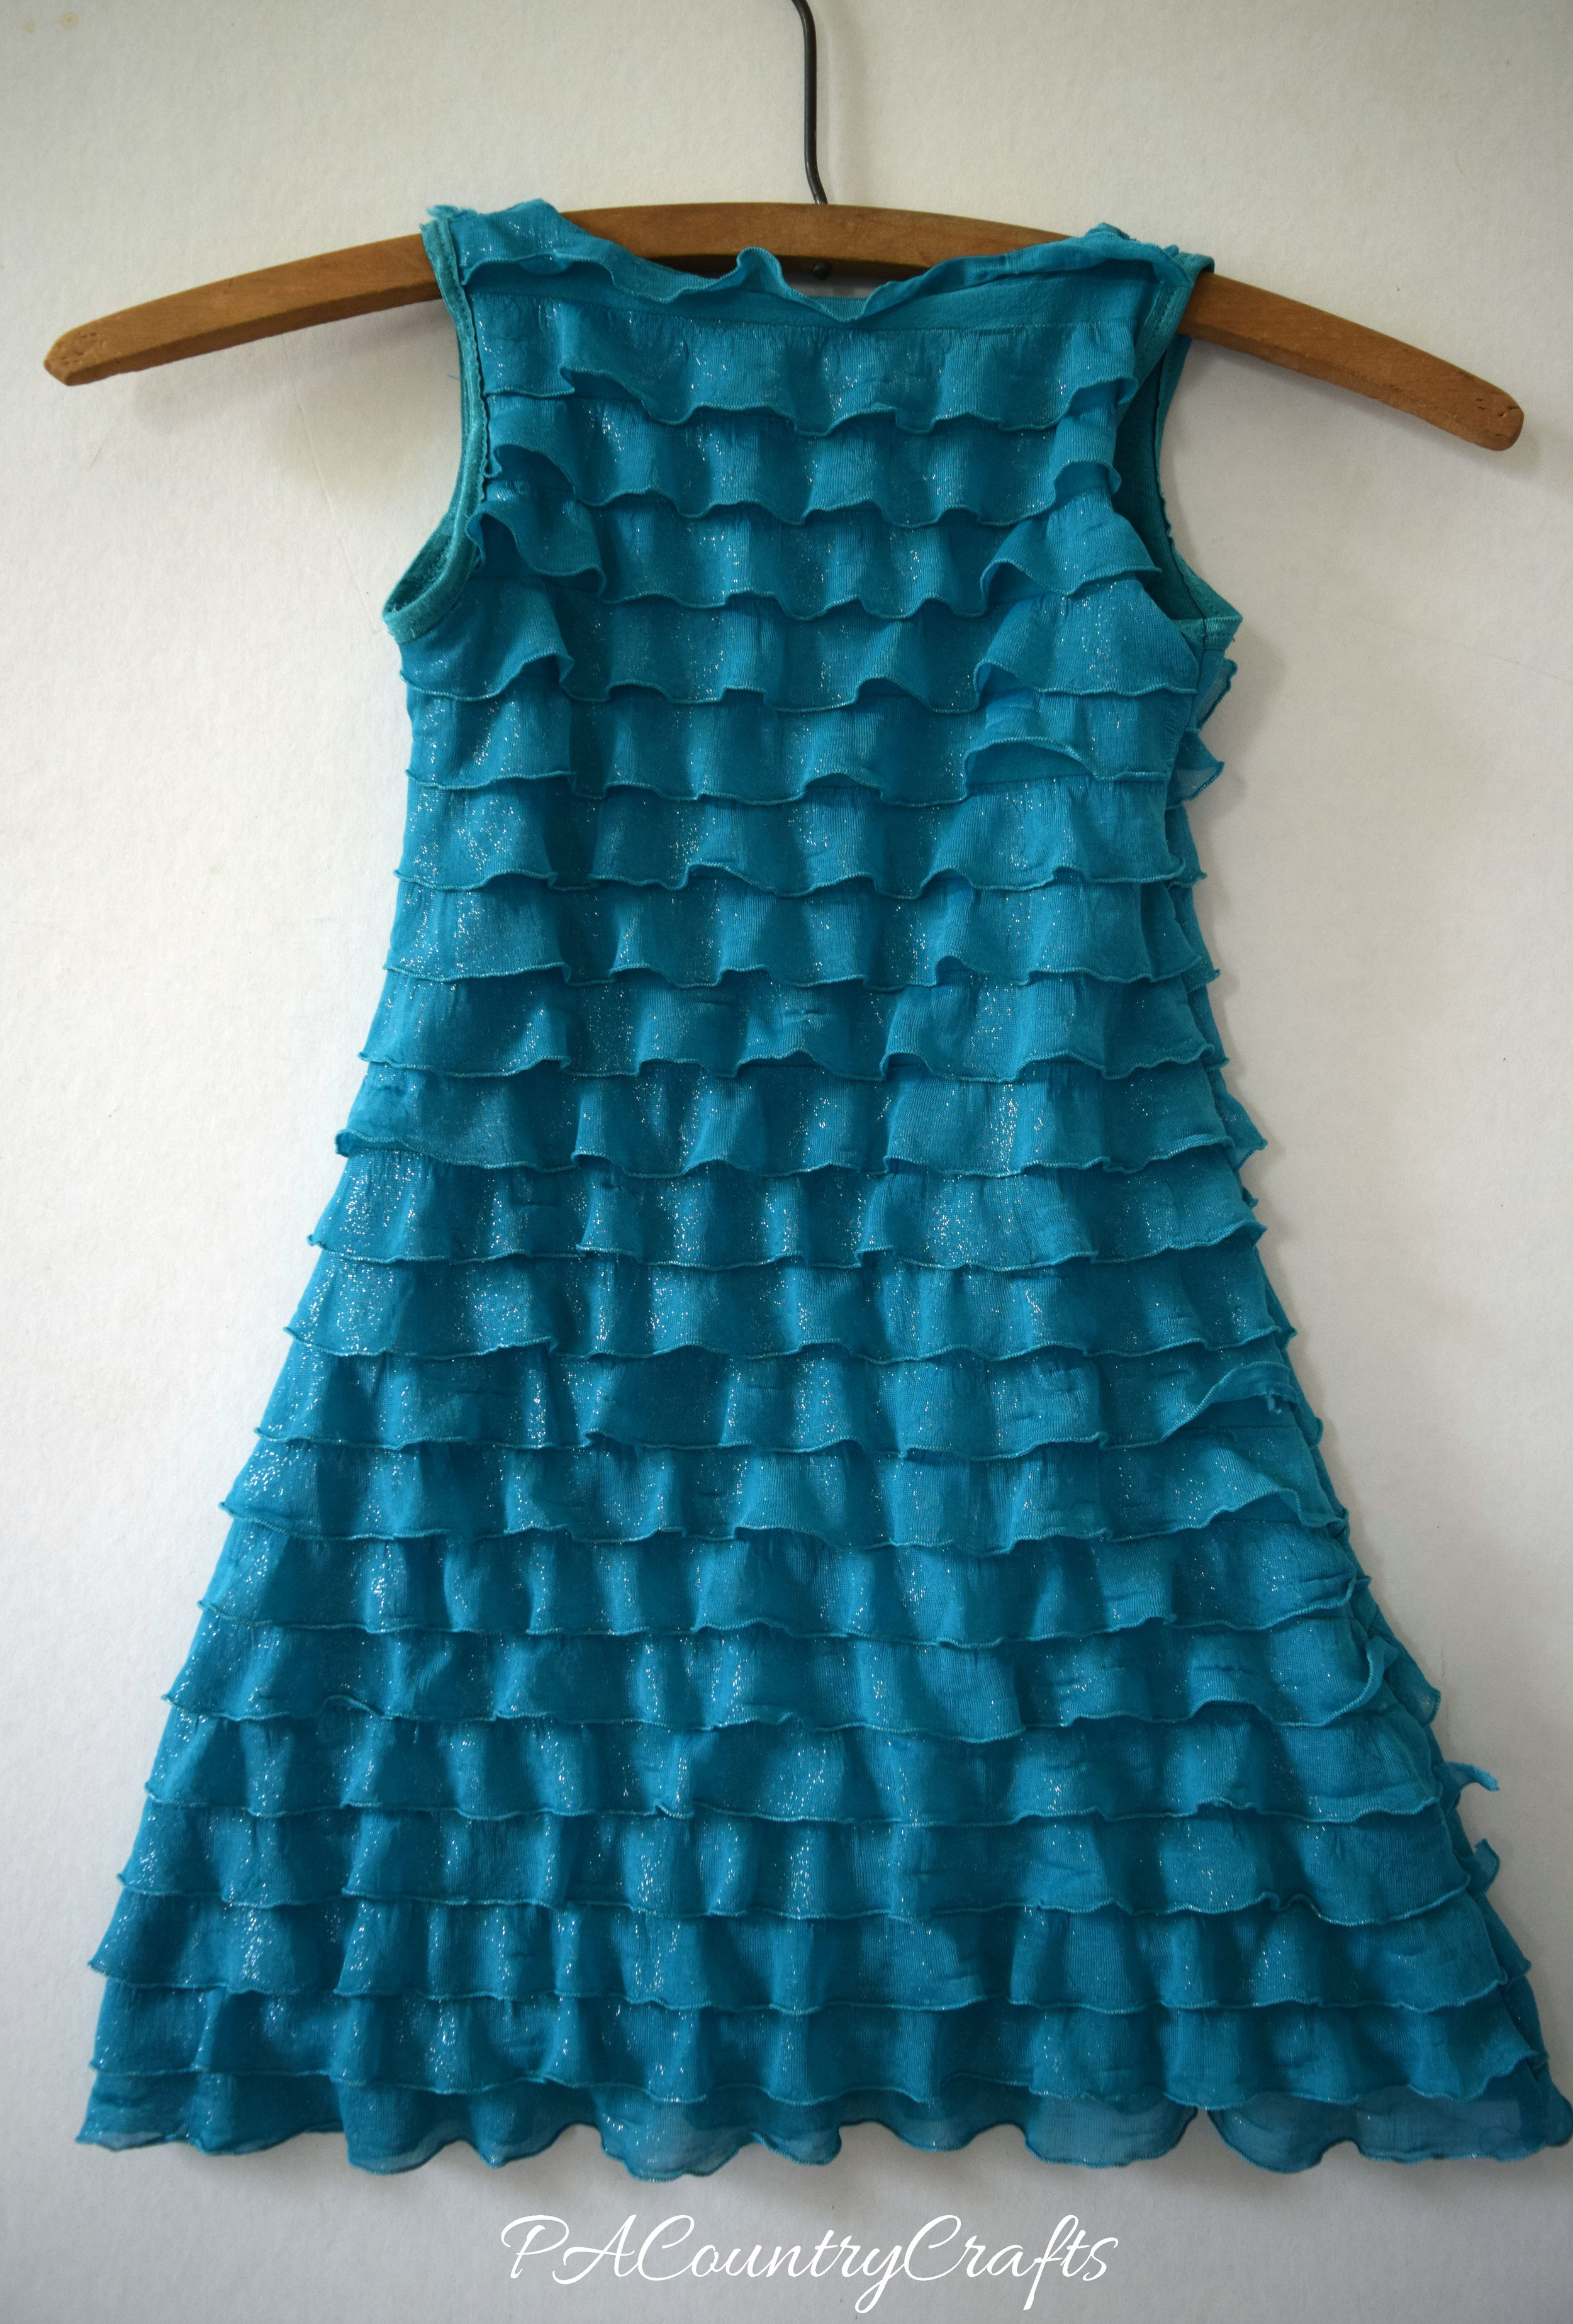
Read MoreI ran out of steam and went with something simple for the last dress. I turned a sleeveless, women's turtleneck made of ruffle fabric into a toddler dress. This project was fairly easy and, most importantly, quick. I was tired of procrastinating!

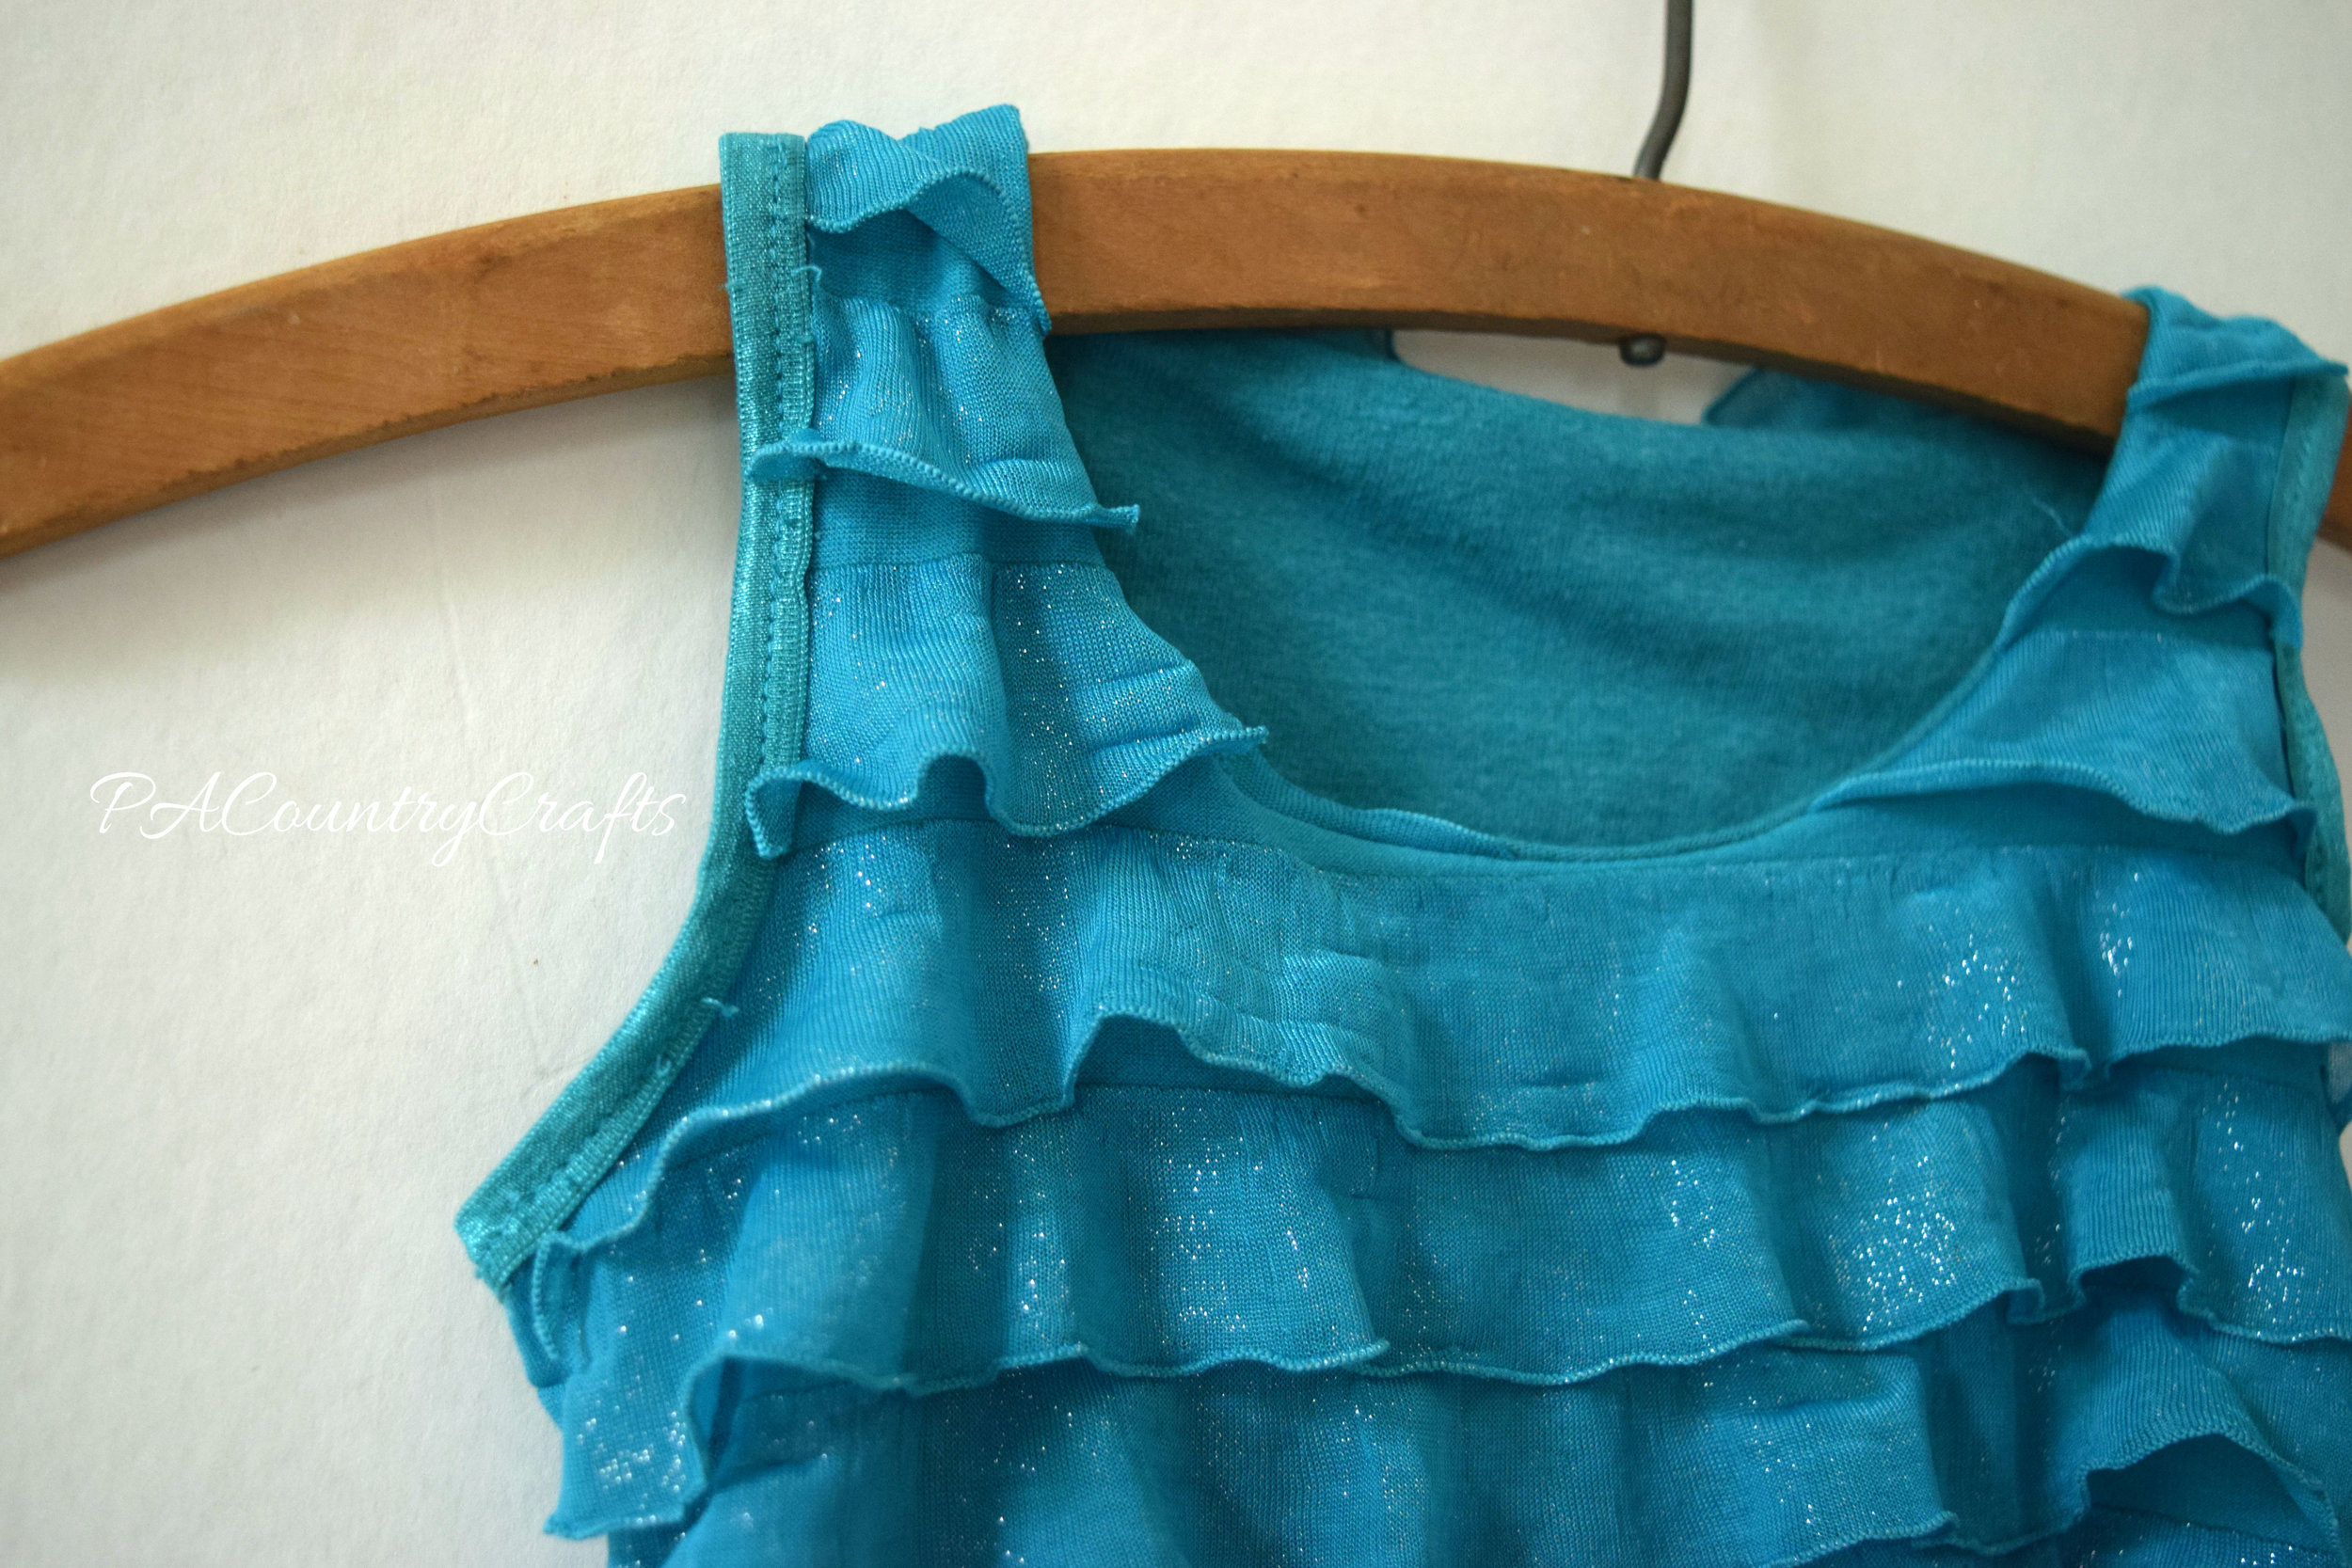
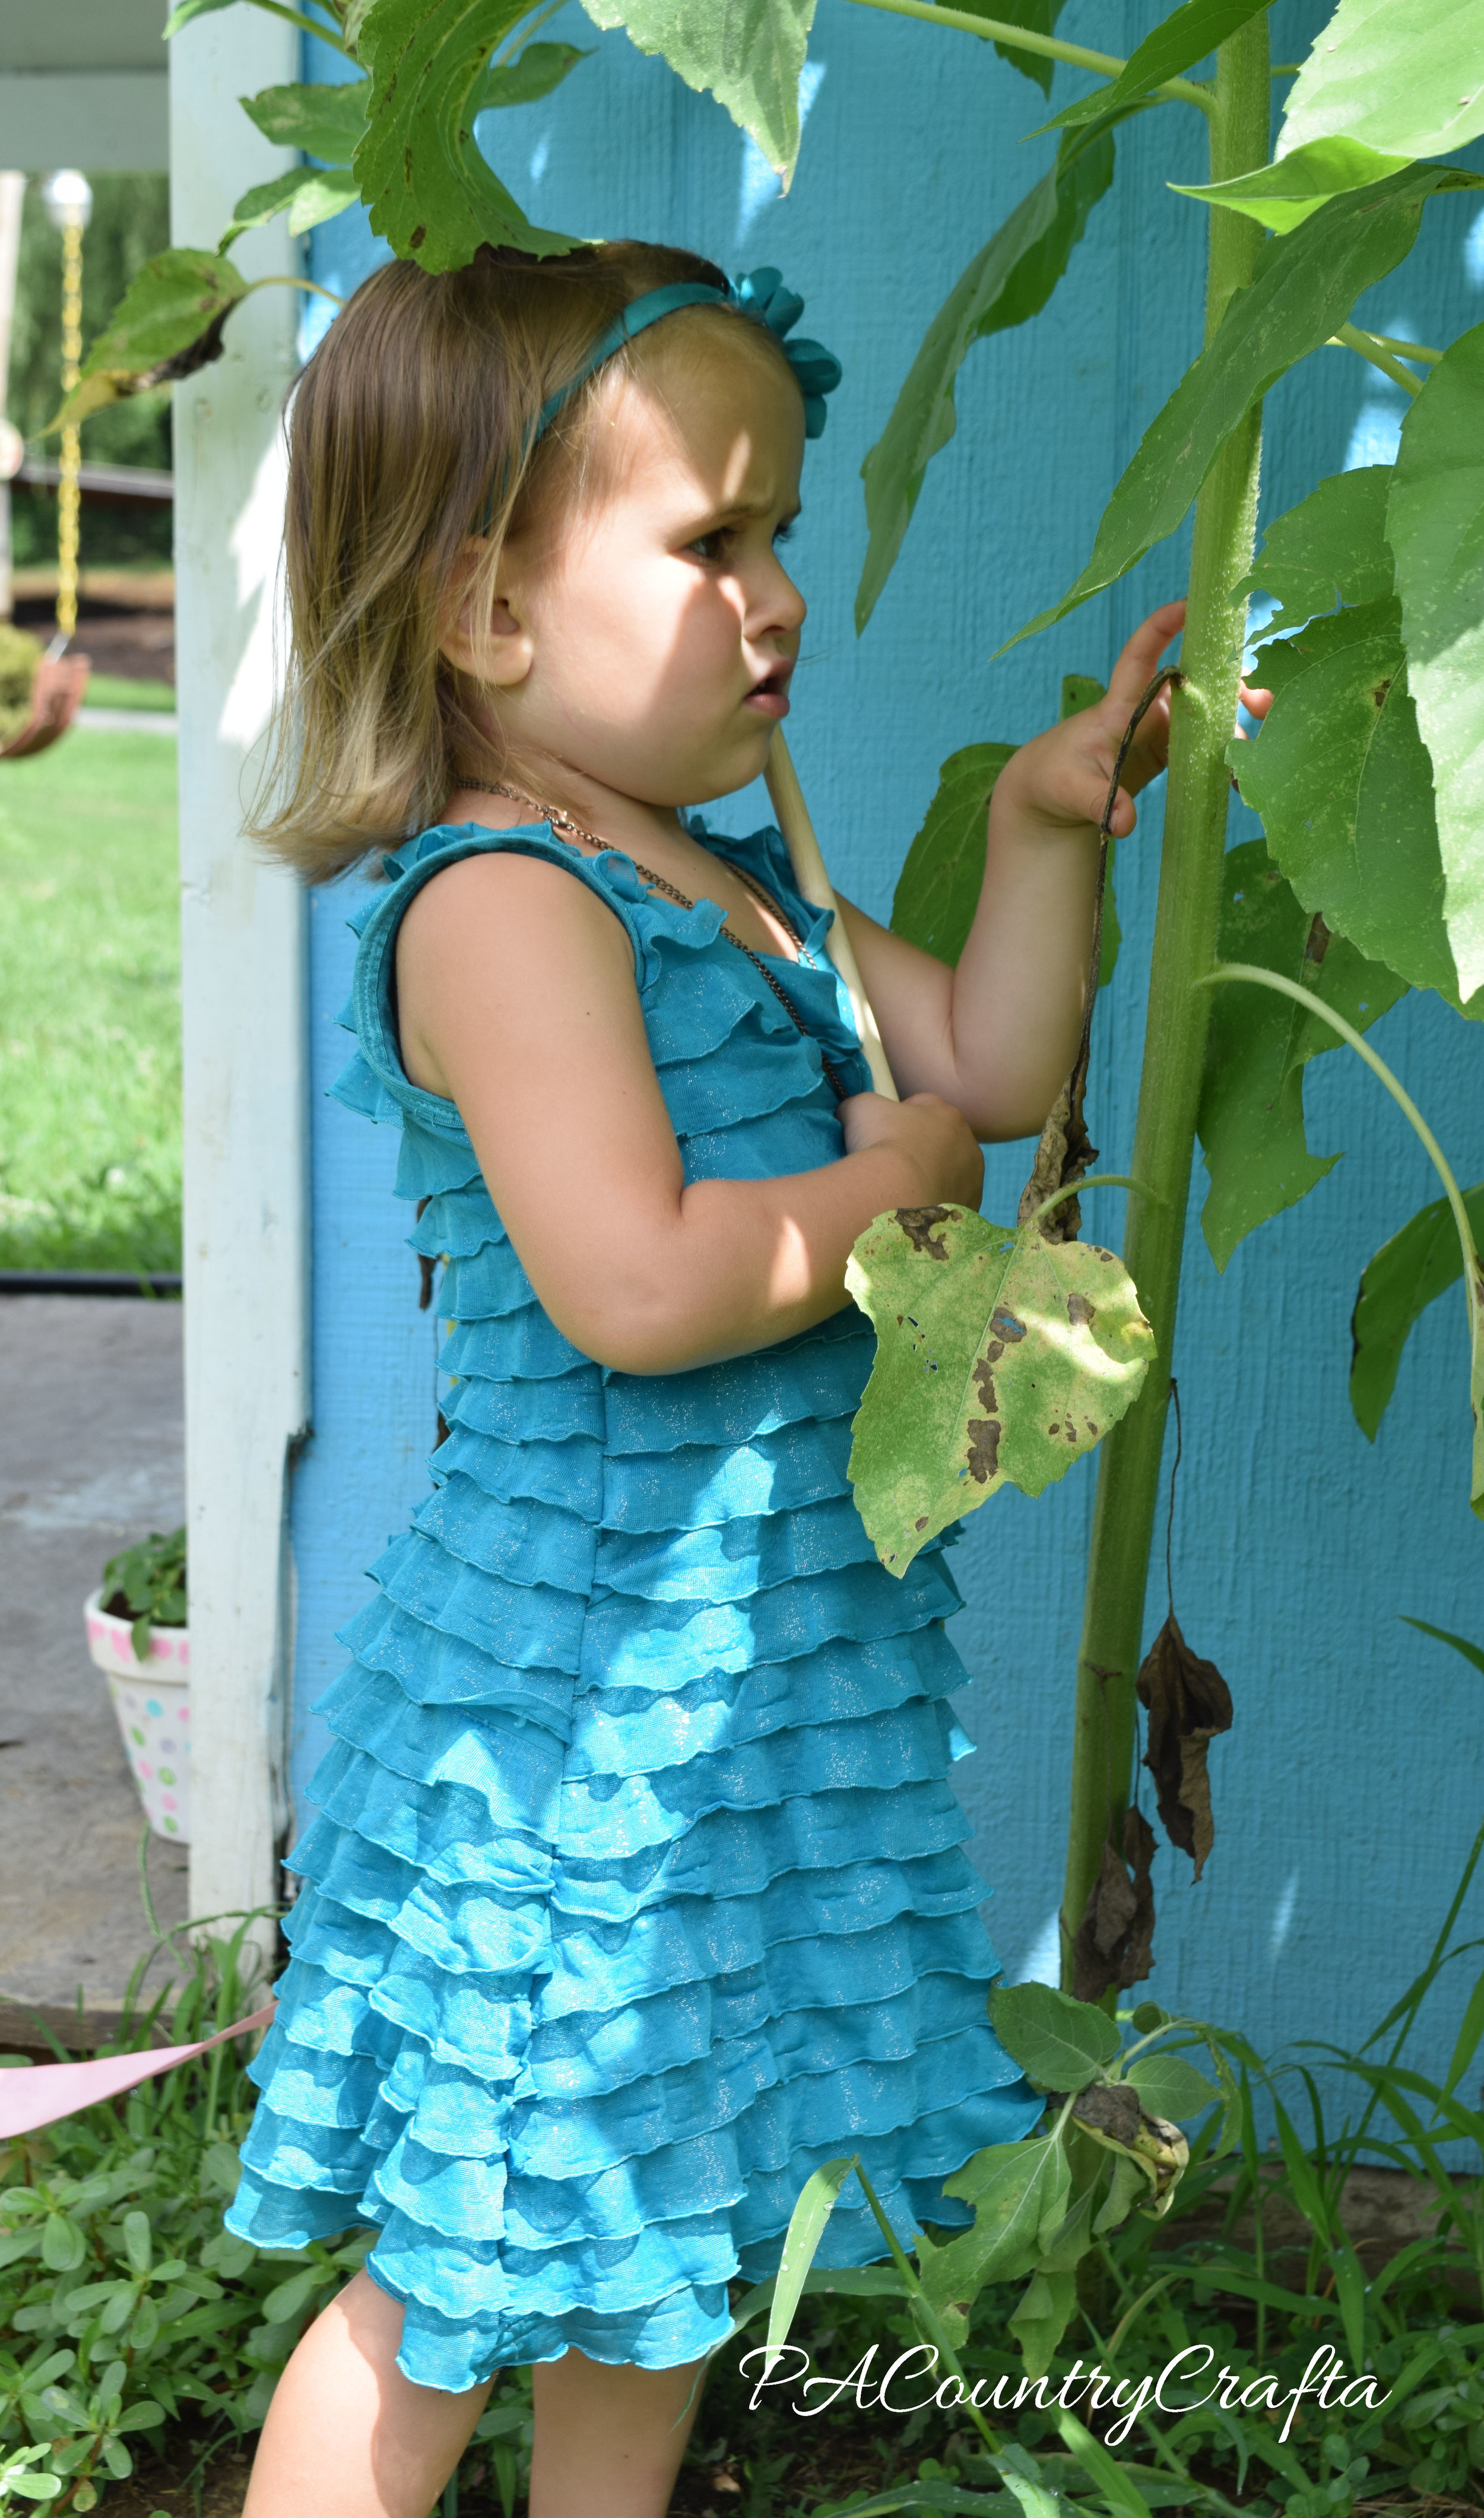
I used the Uptown/Downtown dress pattern again. This time, however, I removed the foldover elastic from the arm holes of the original shirt and reapplied them. It wasn't as clean as the sparkly top dress, but the ruffle fabric was harder to use. The lining is made from the rest of the t shirt I used for the sparkly top dress lining.

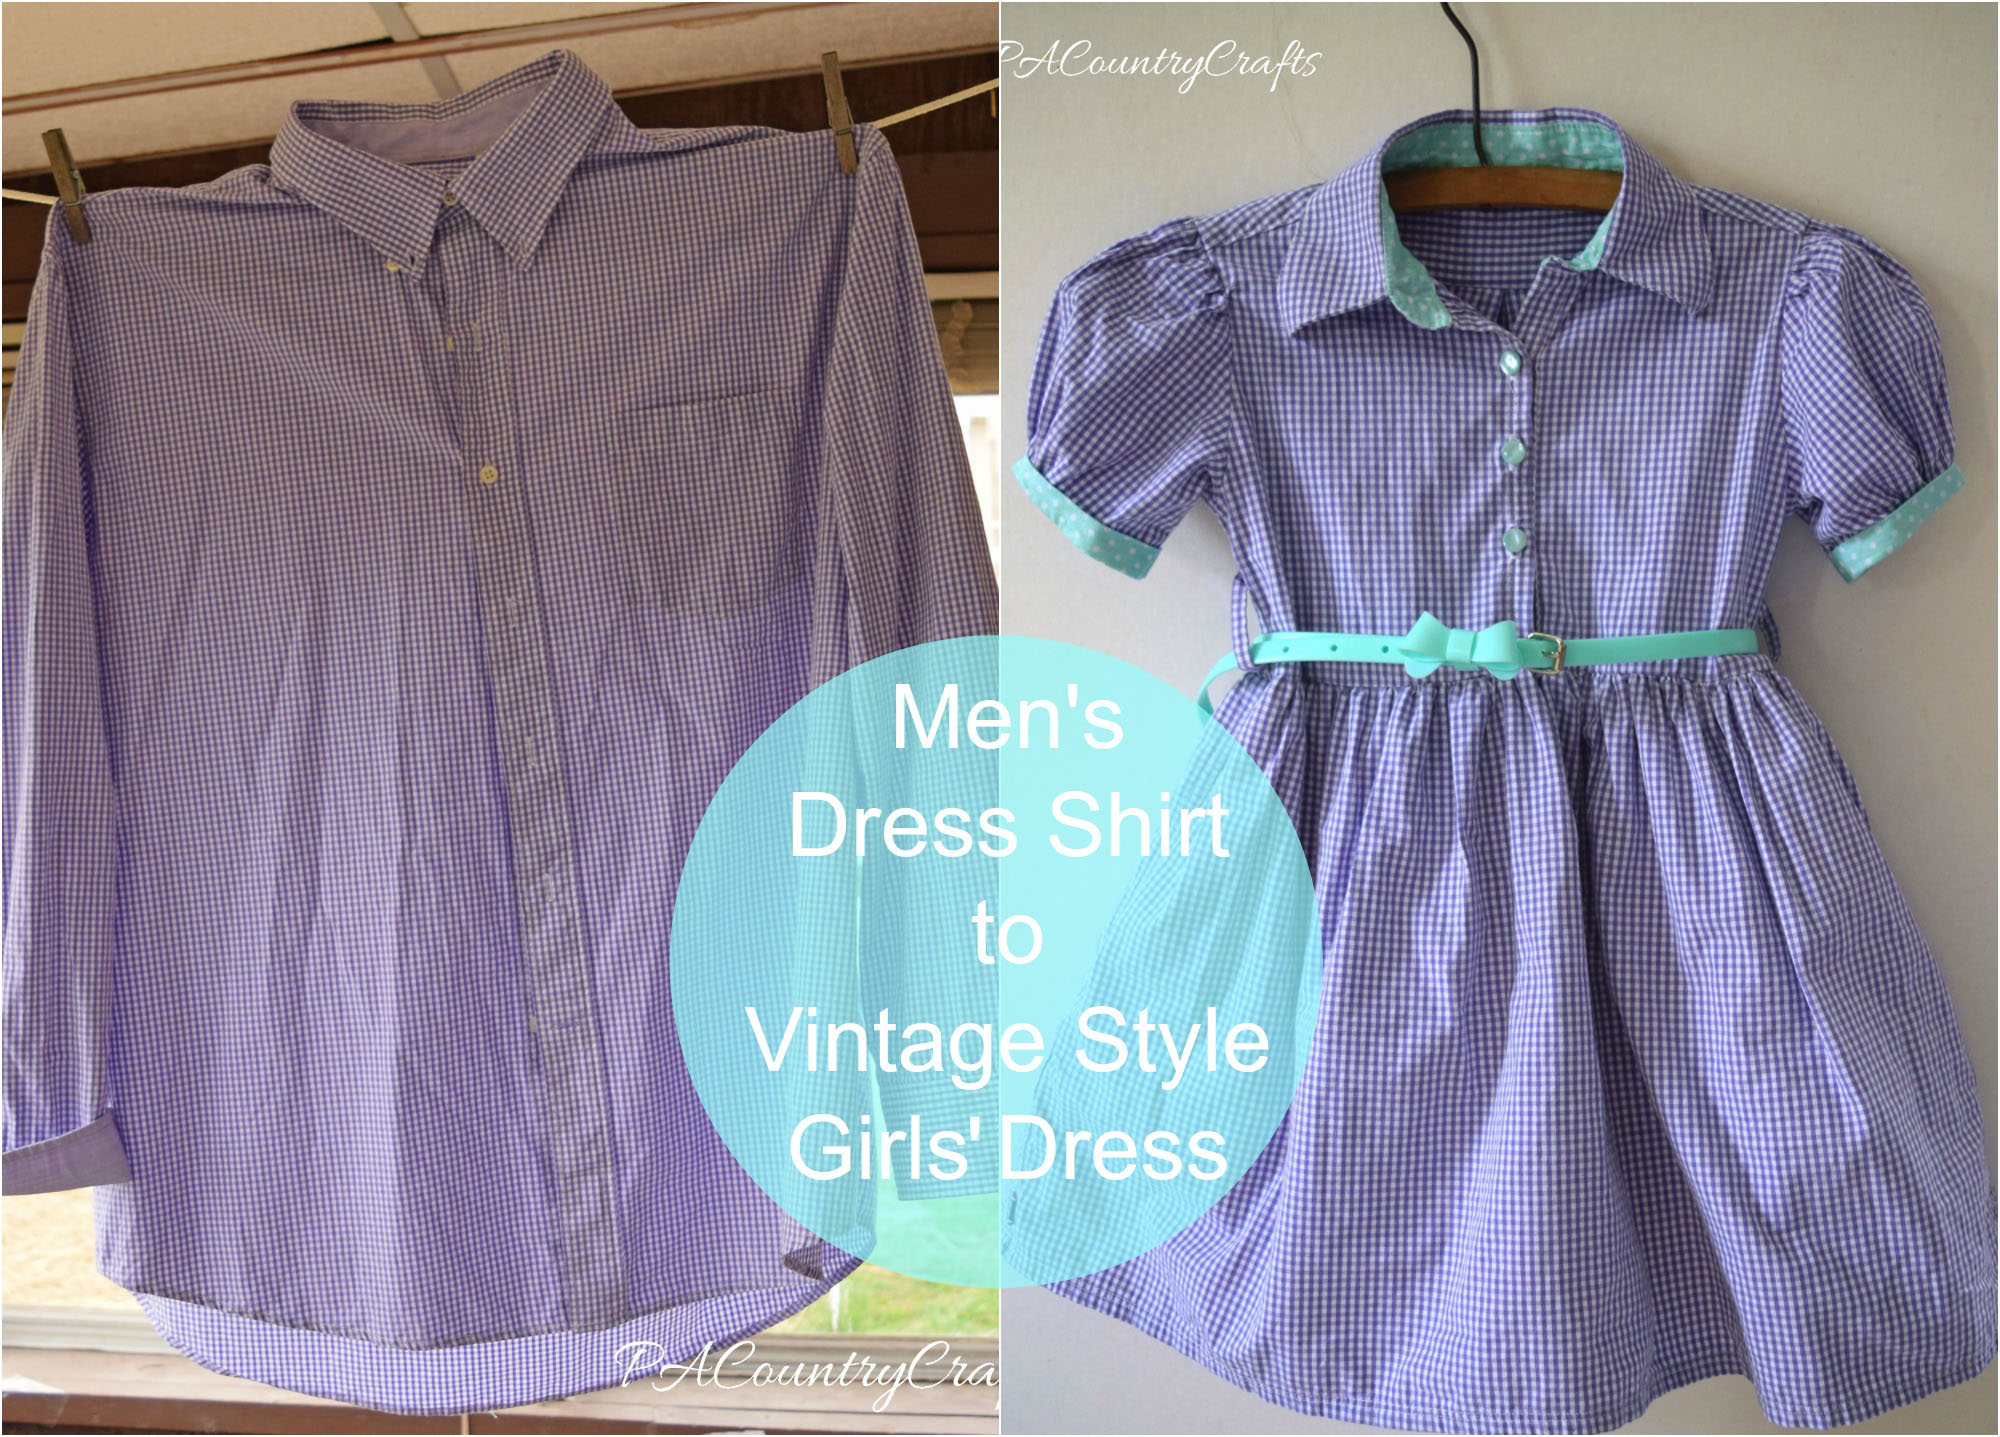
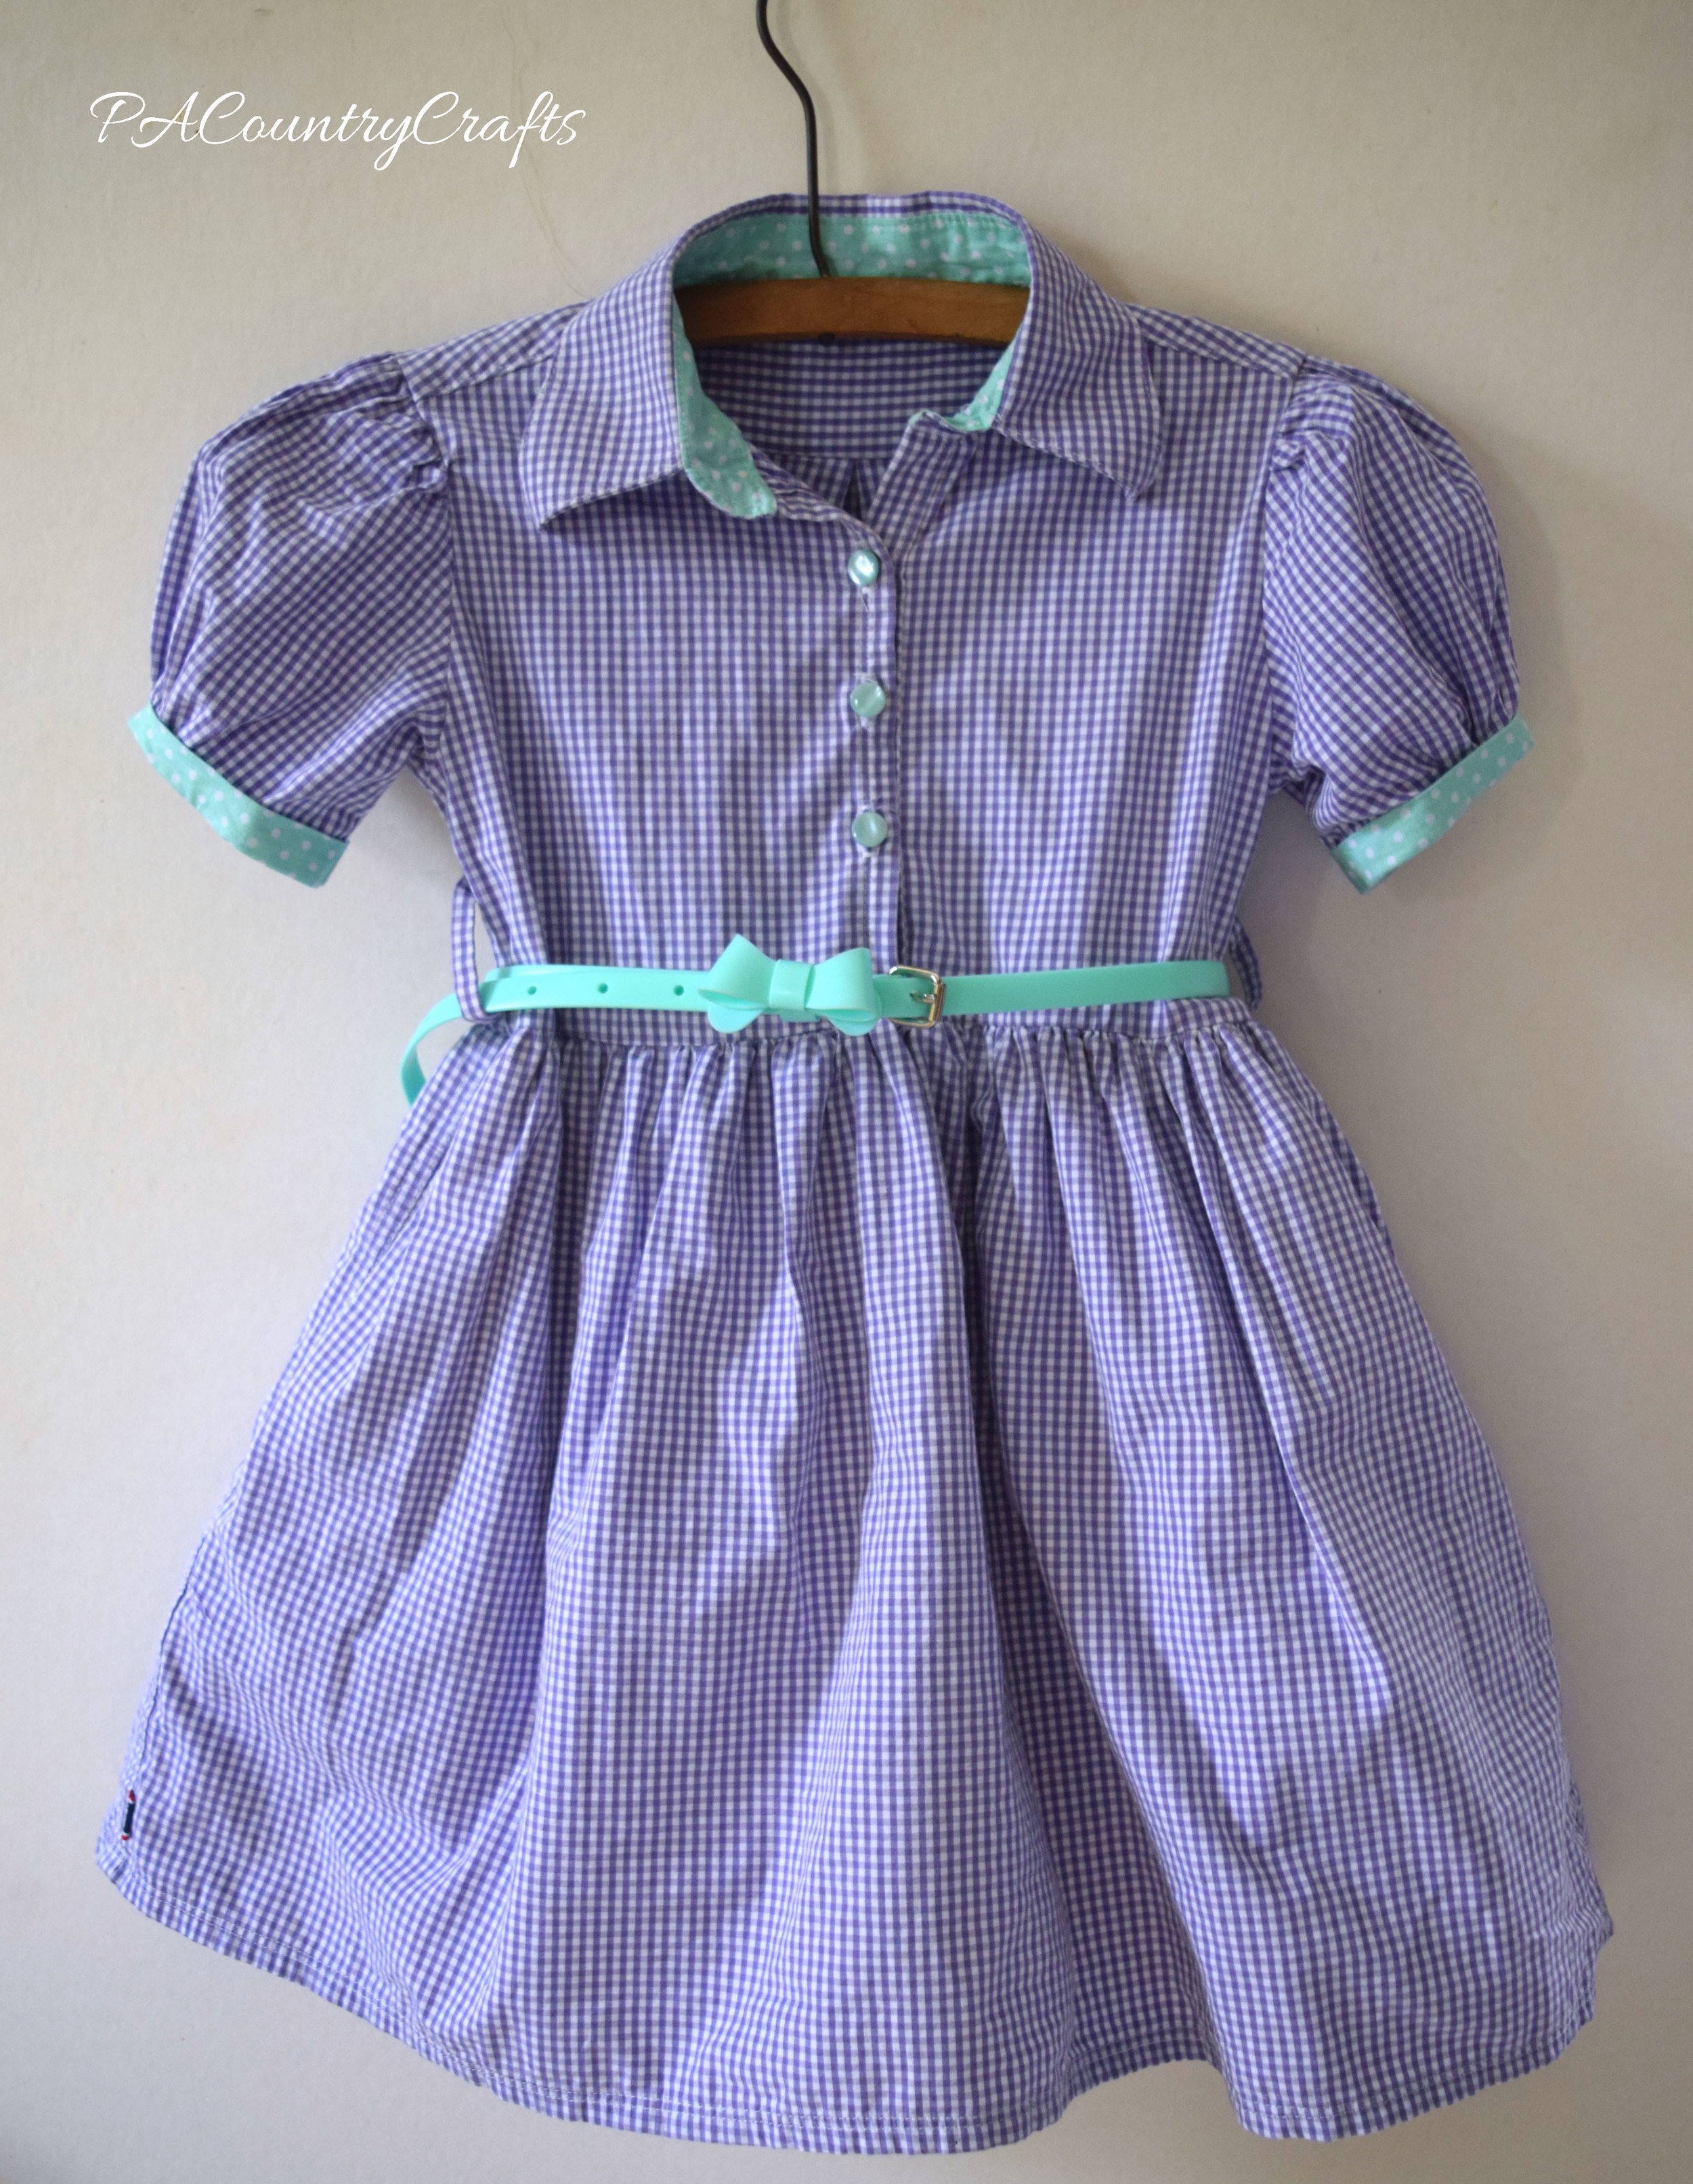
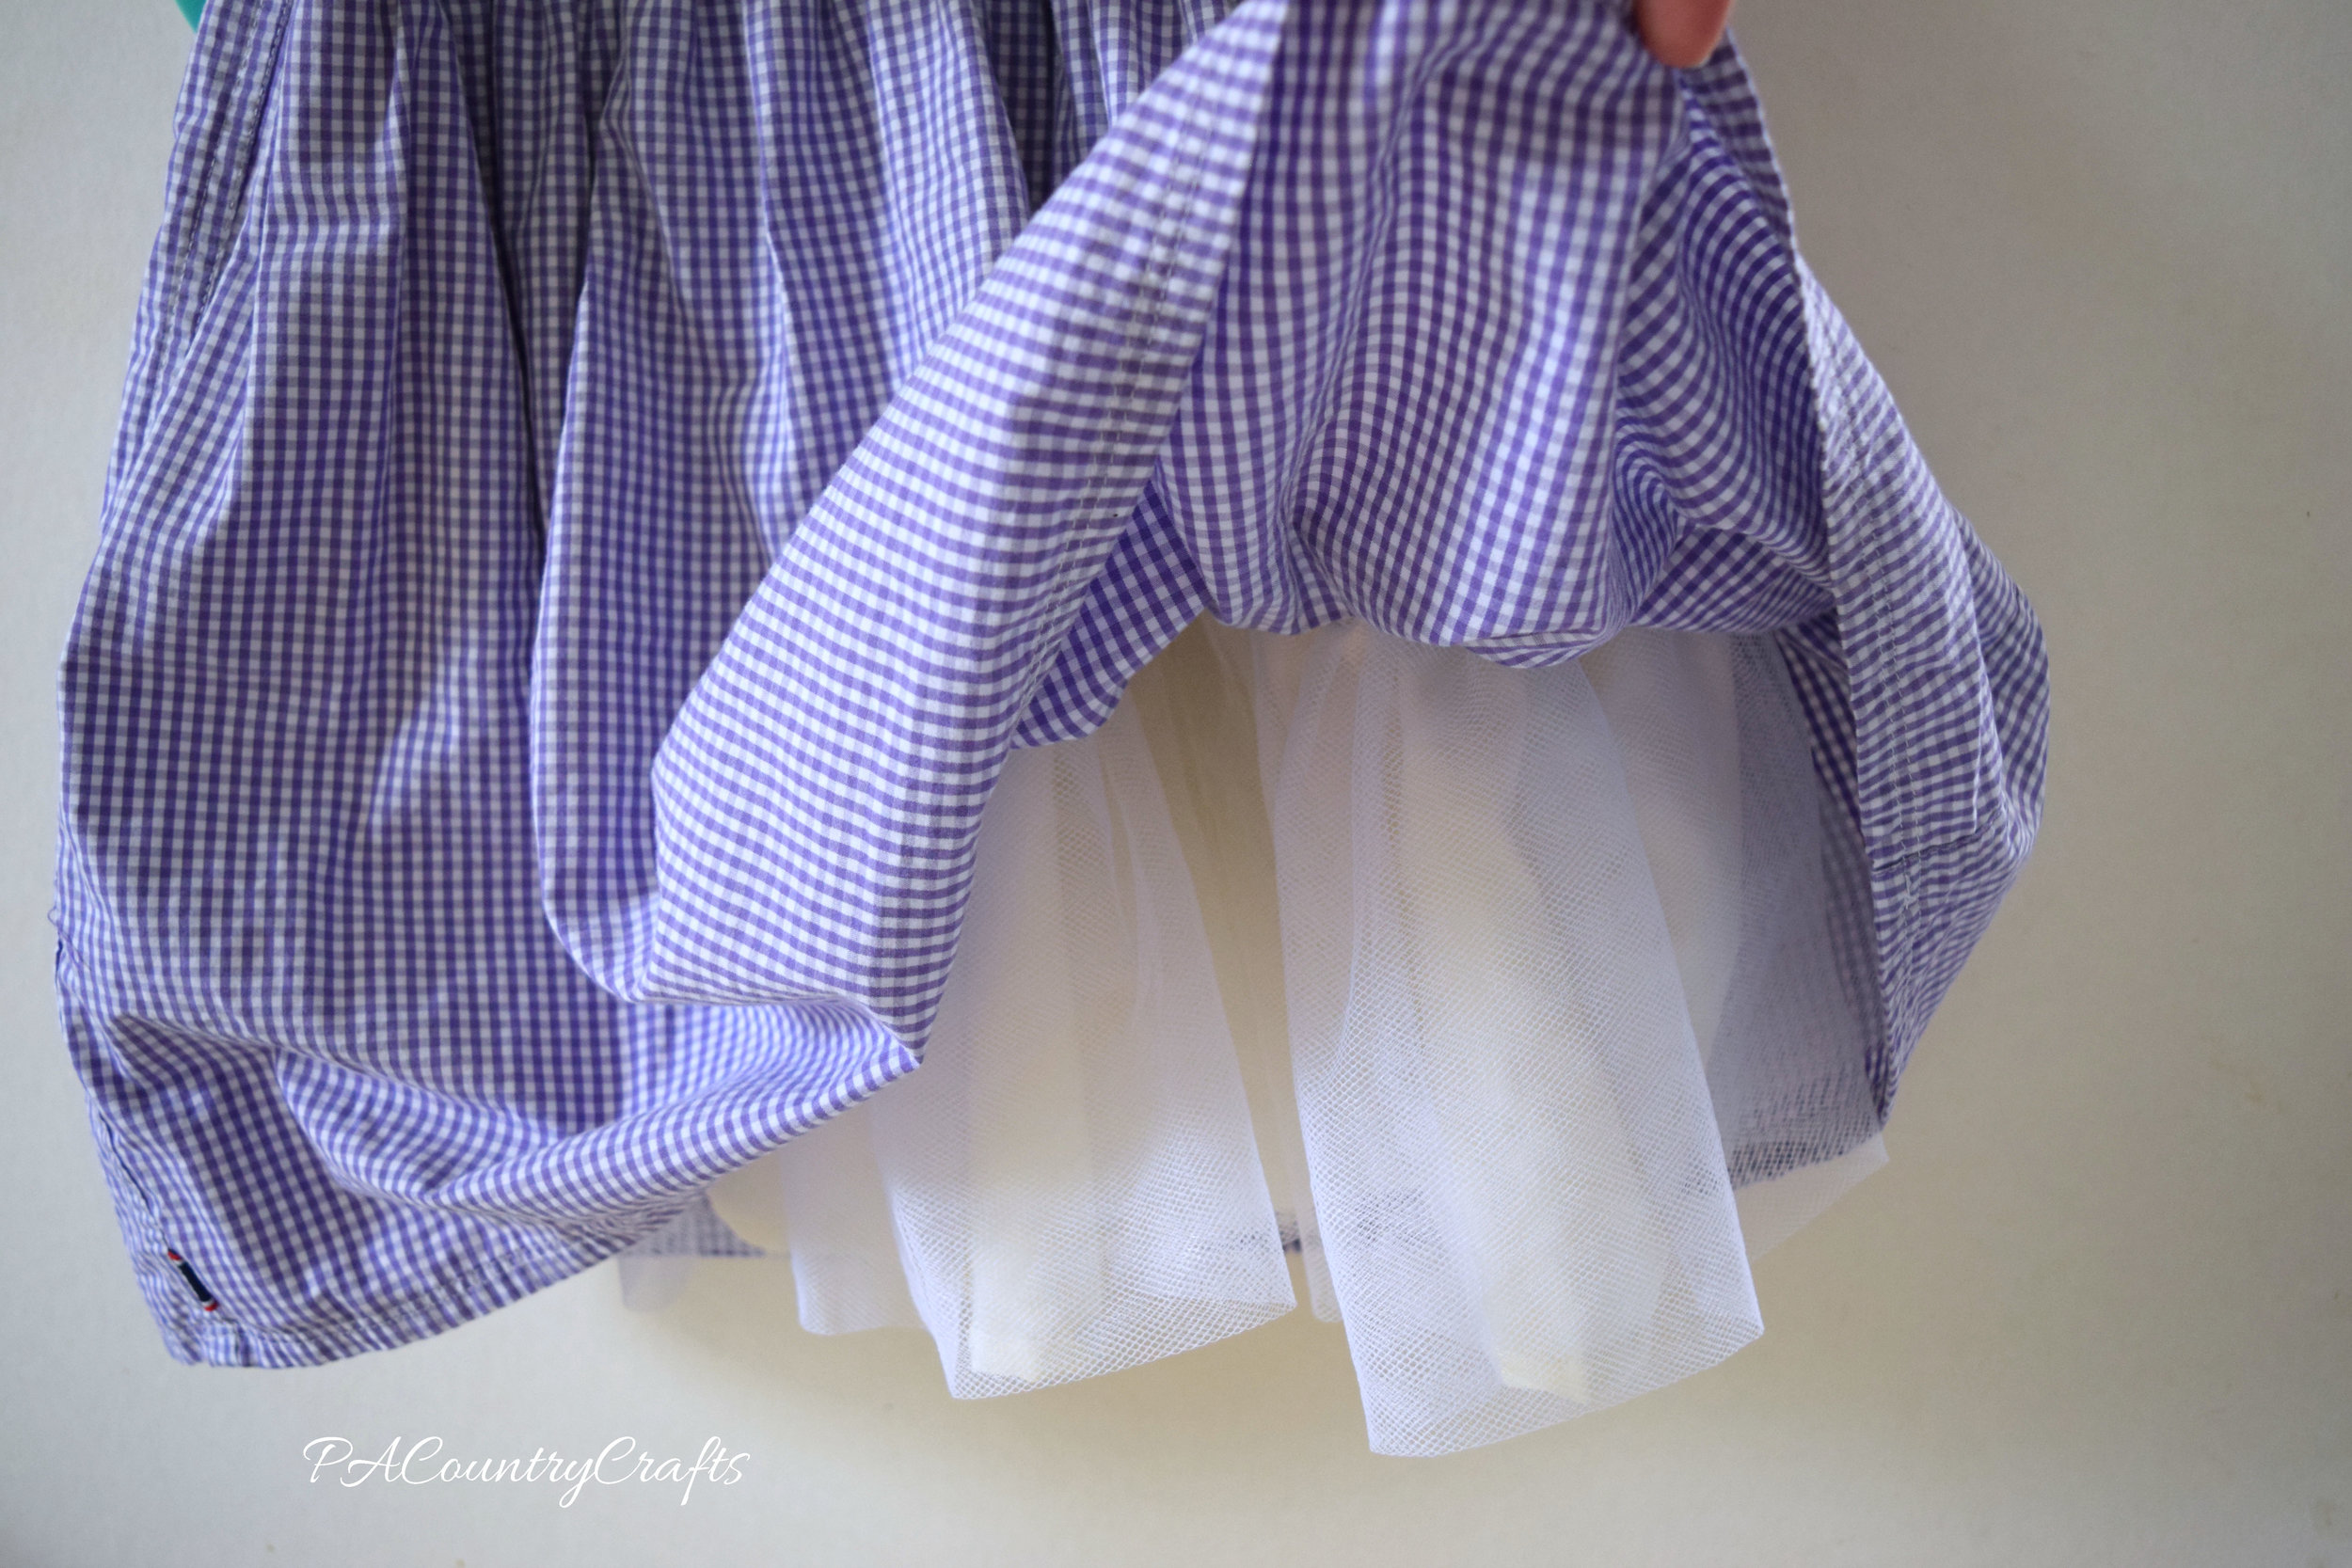
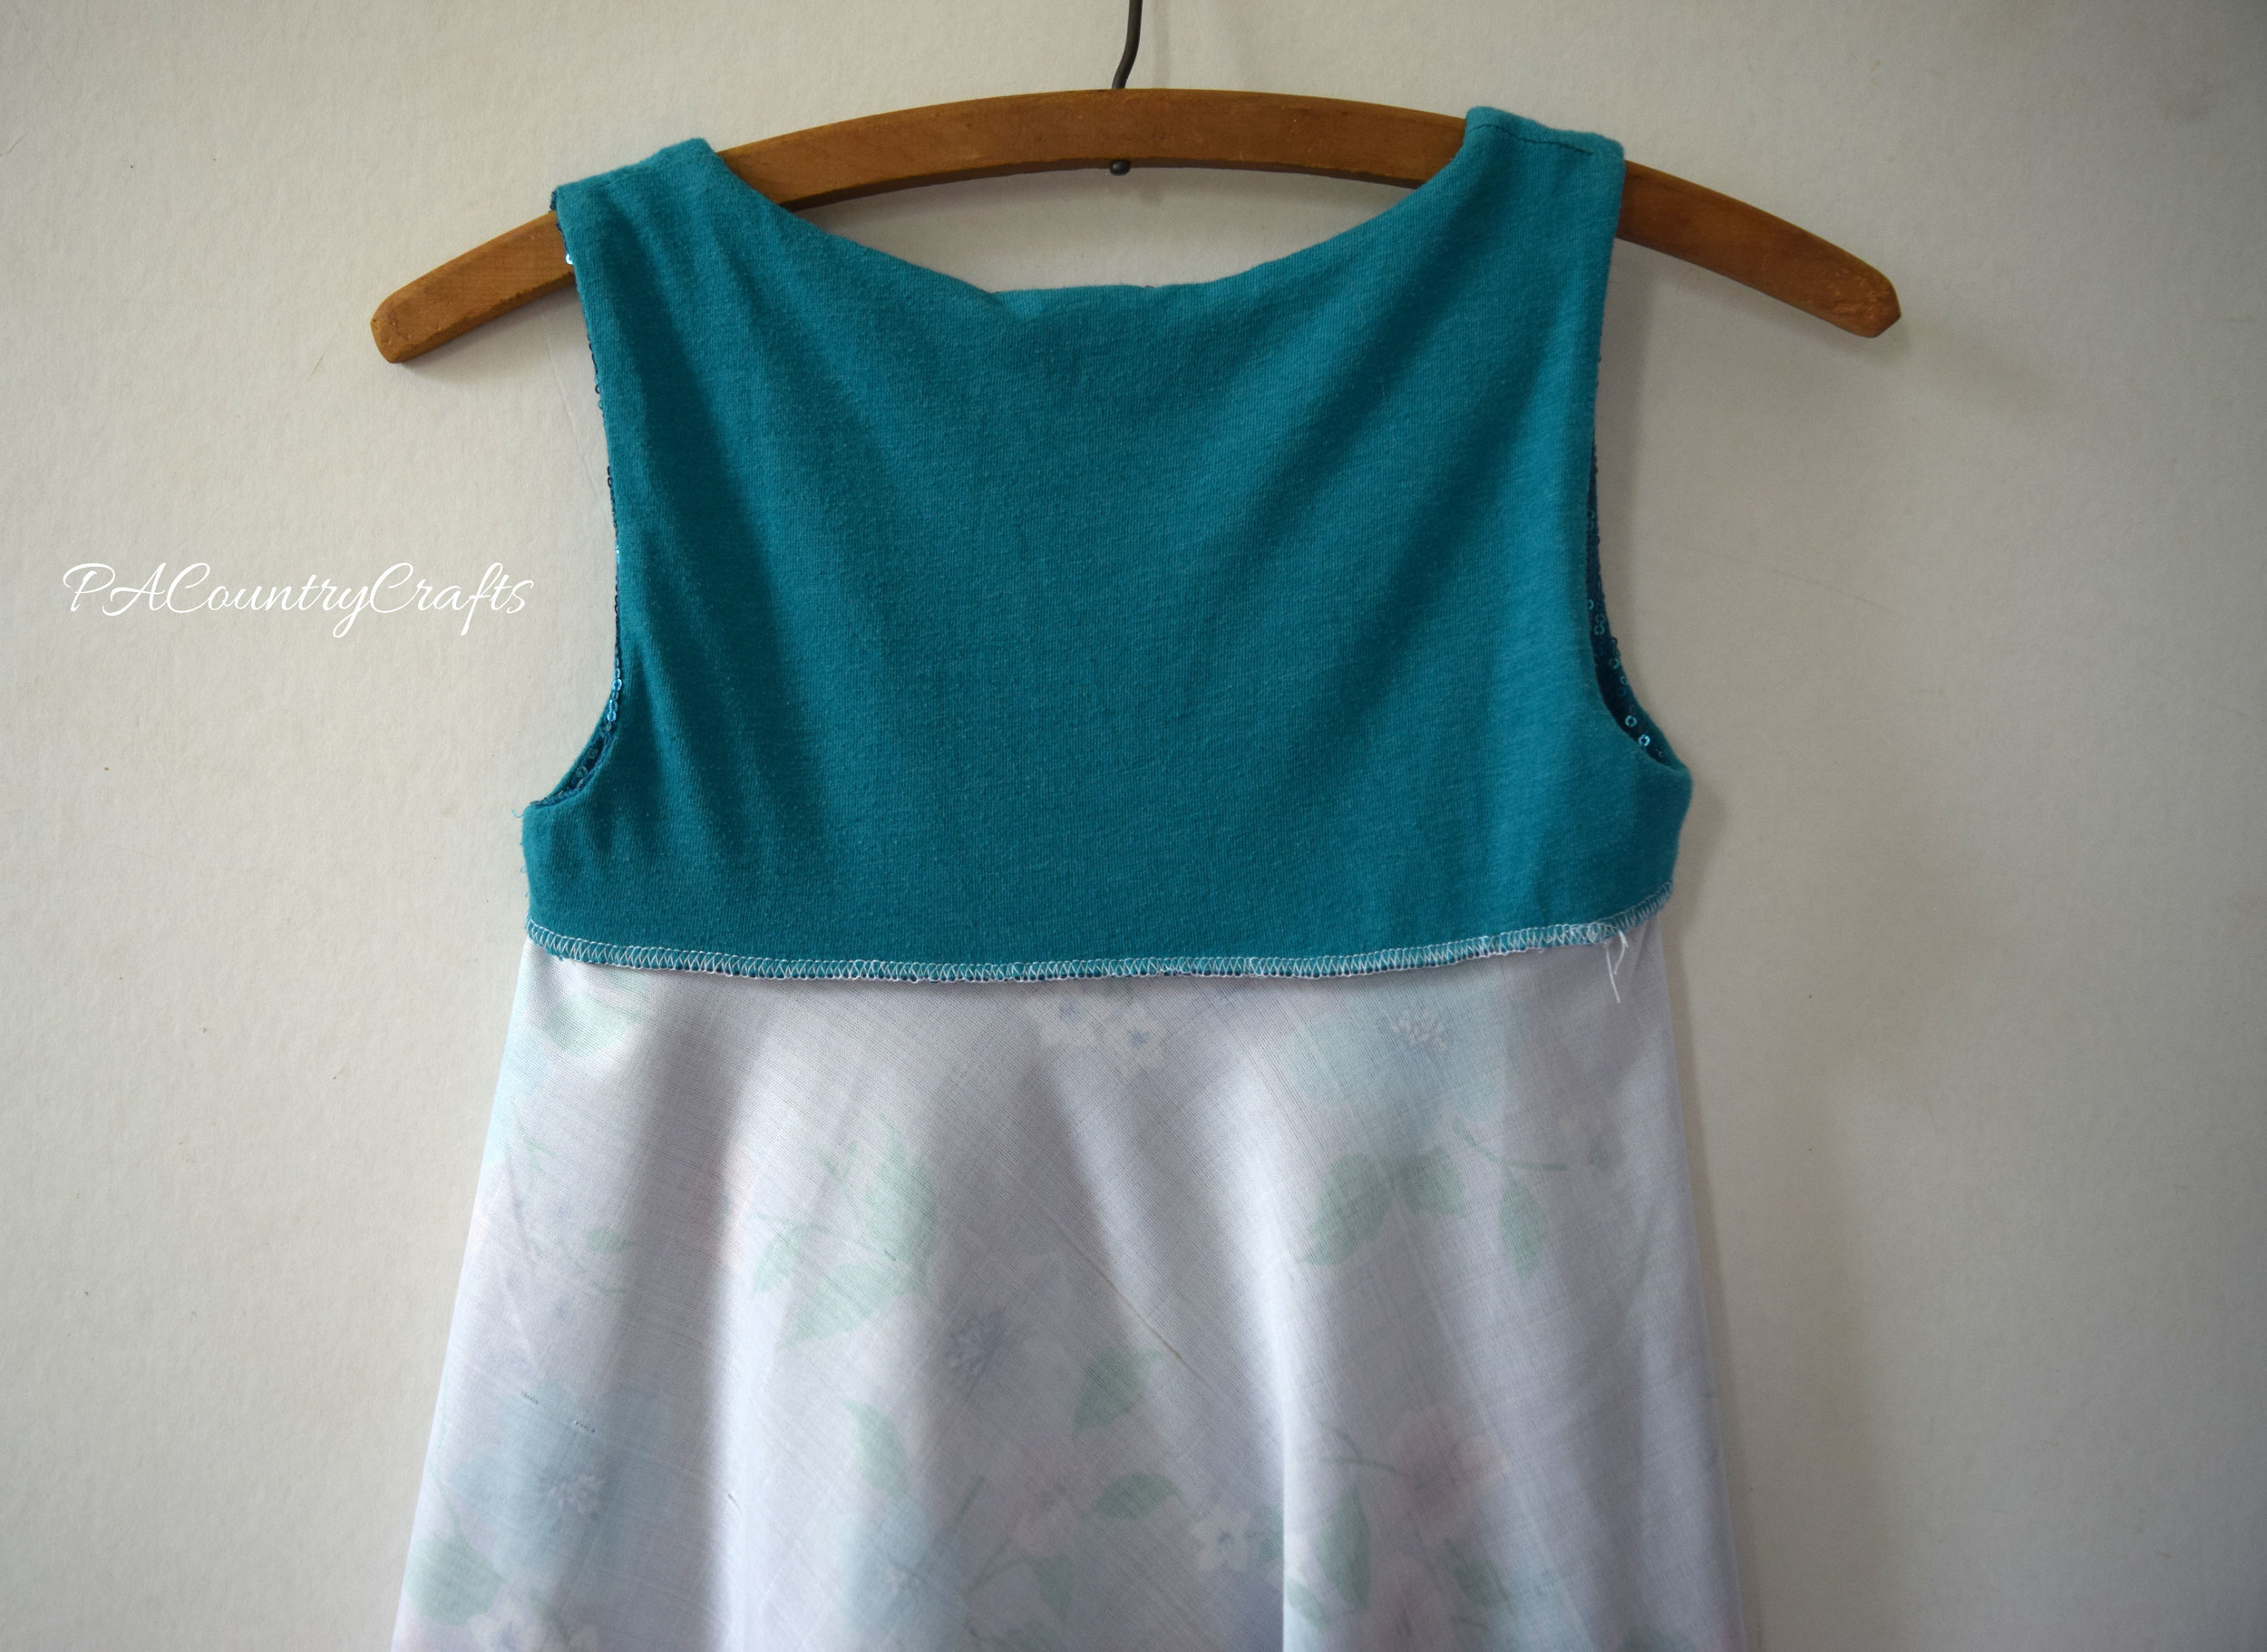
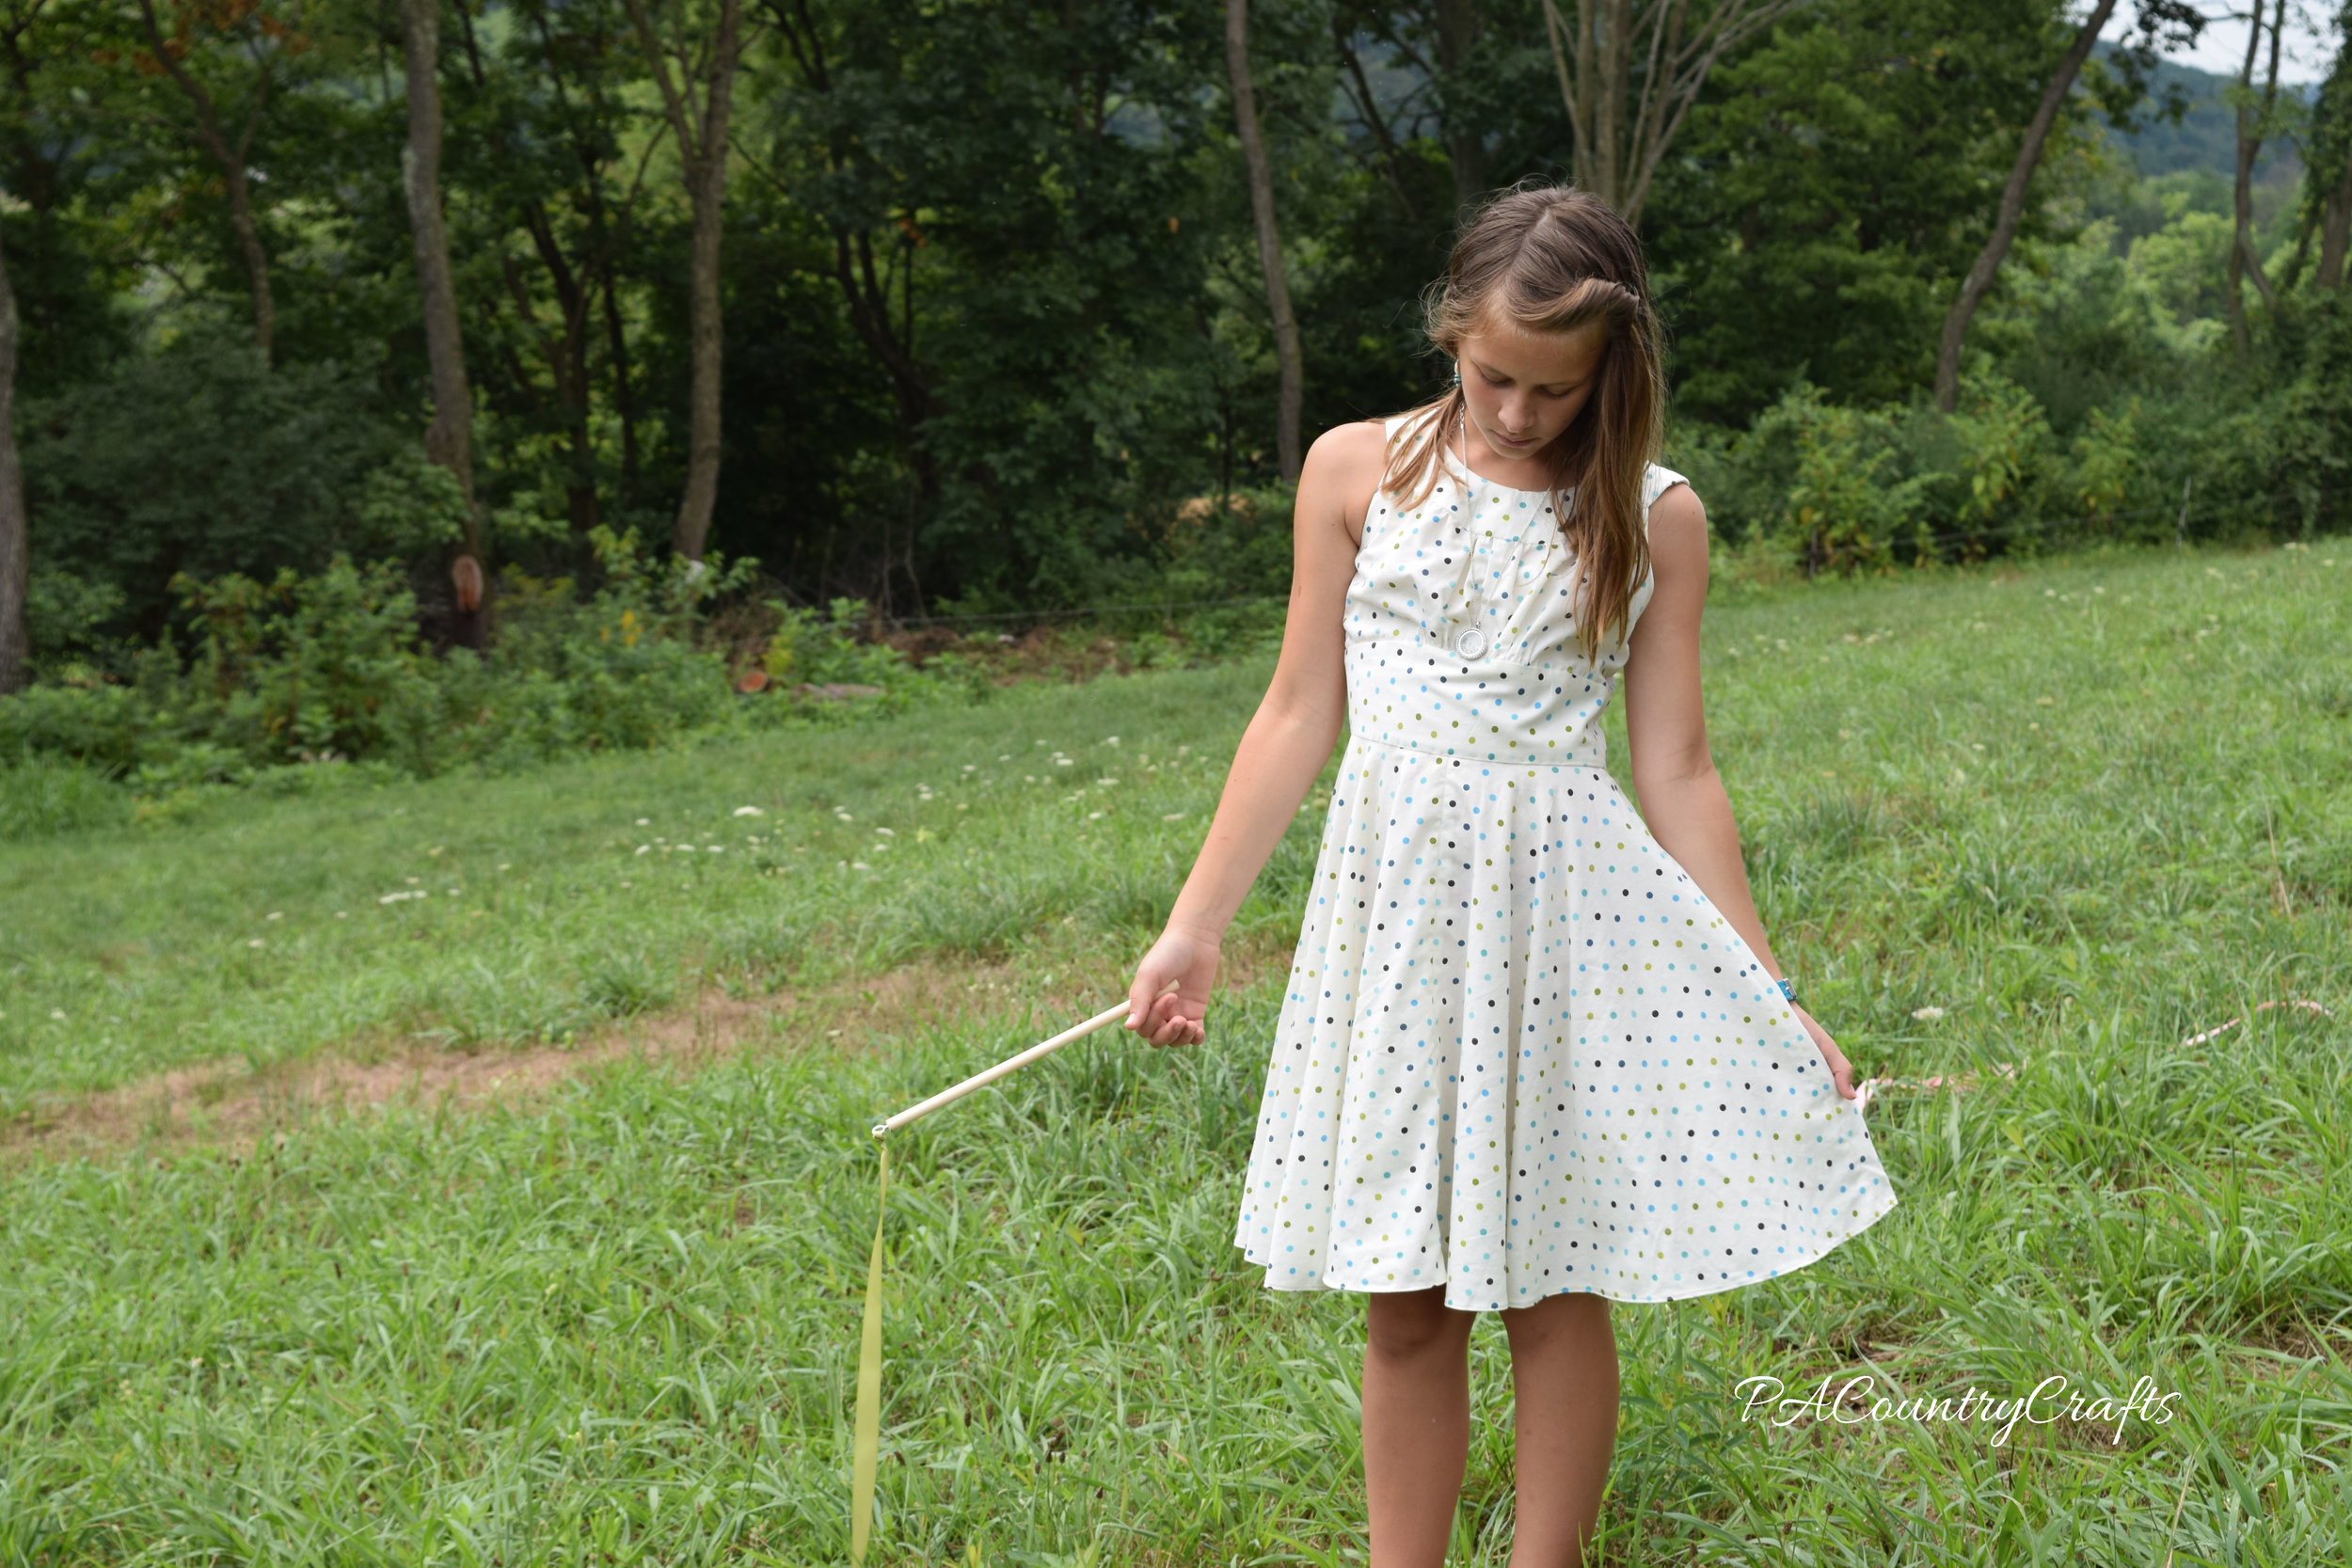
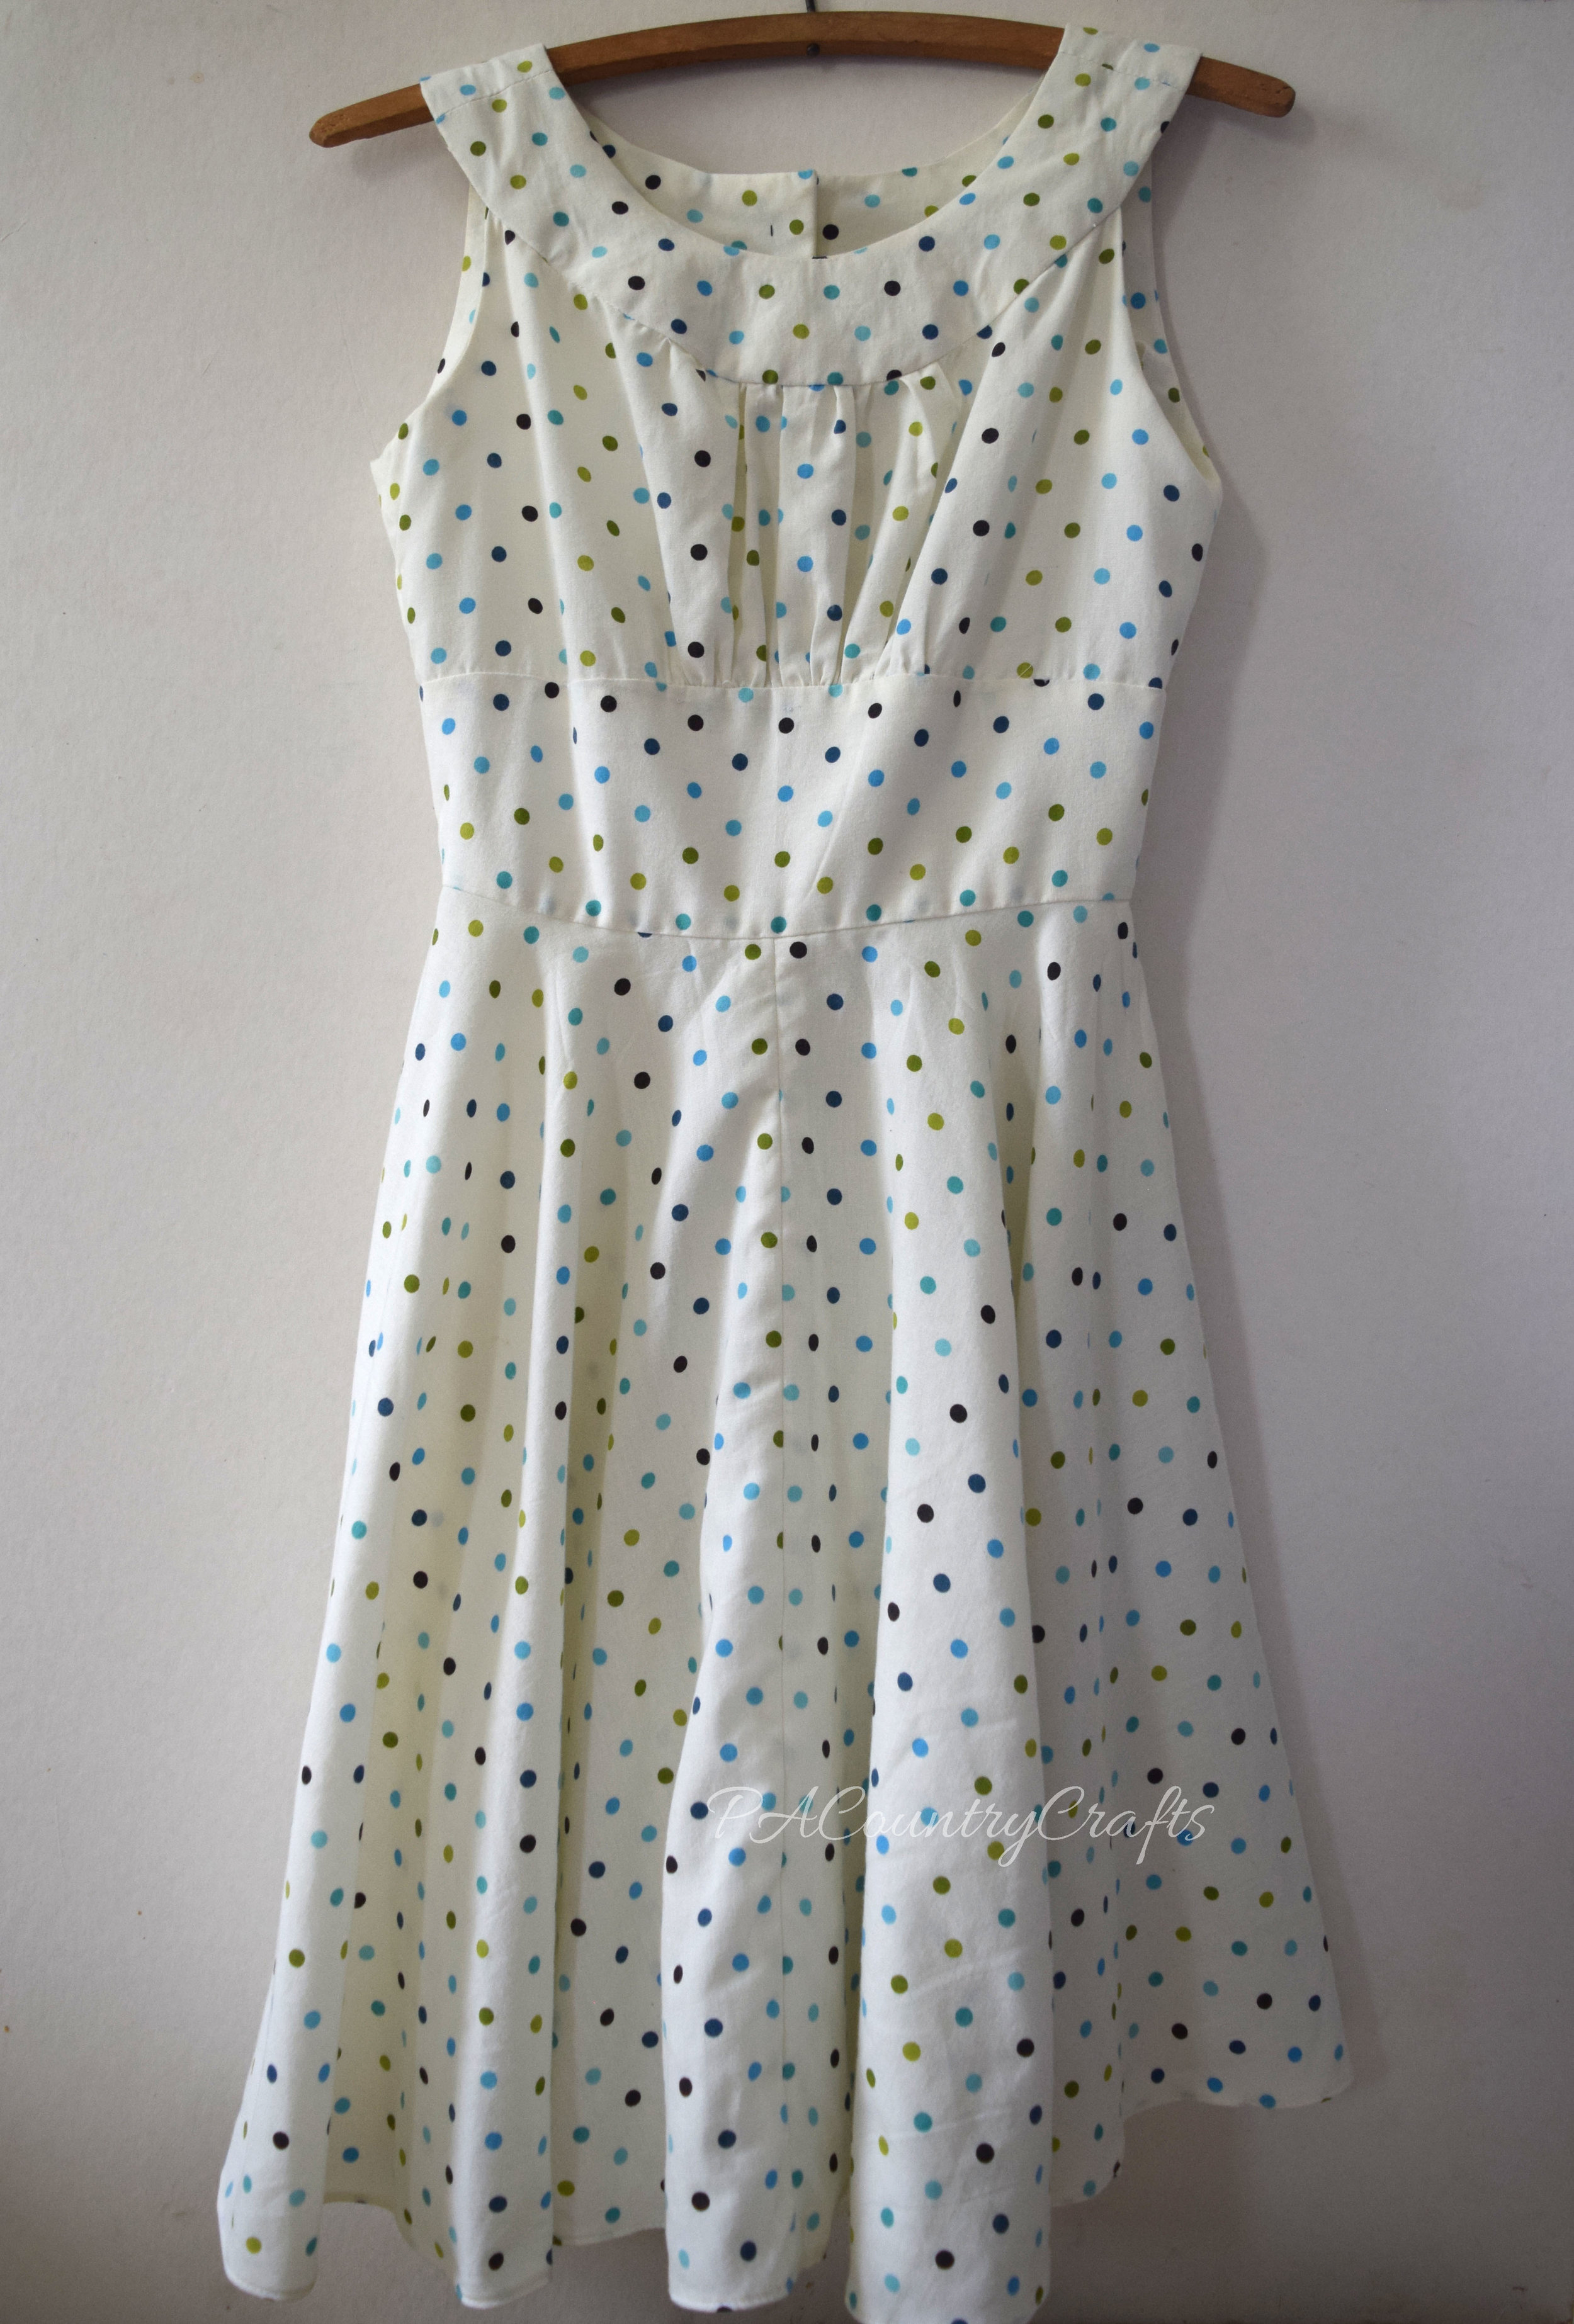
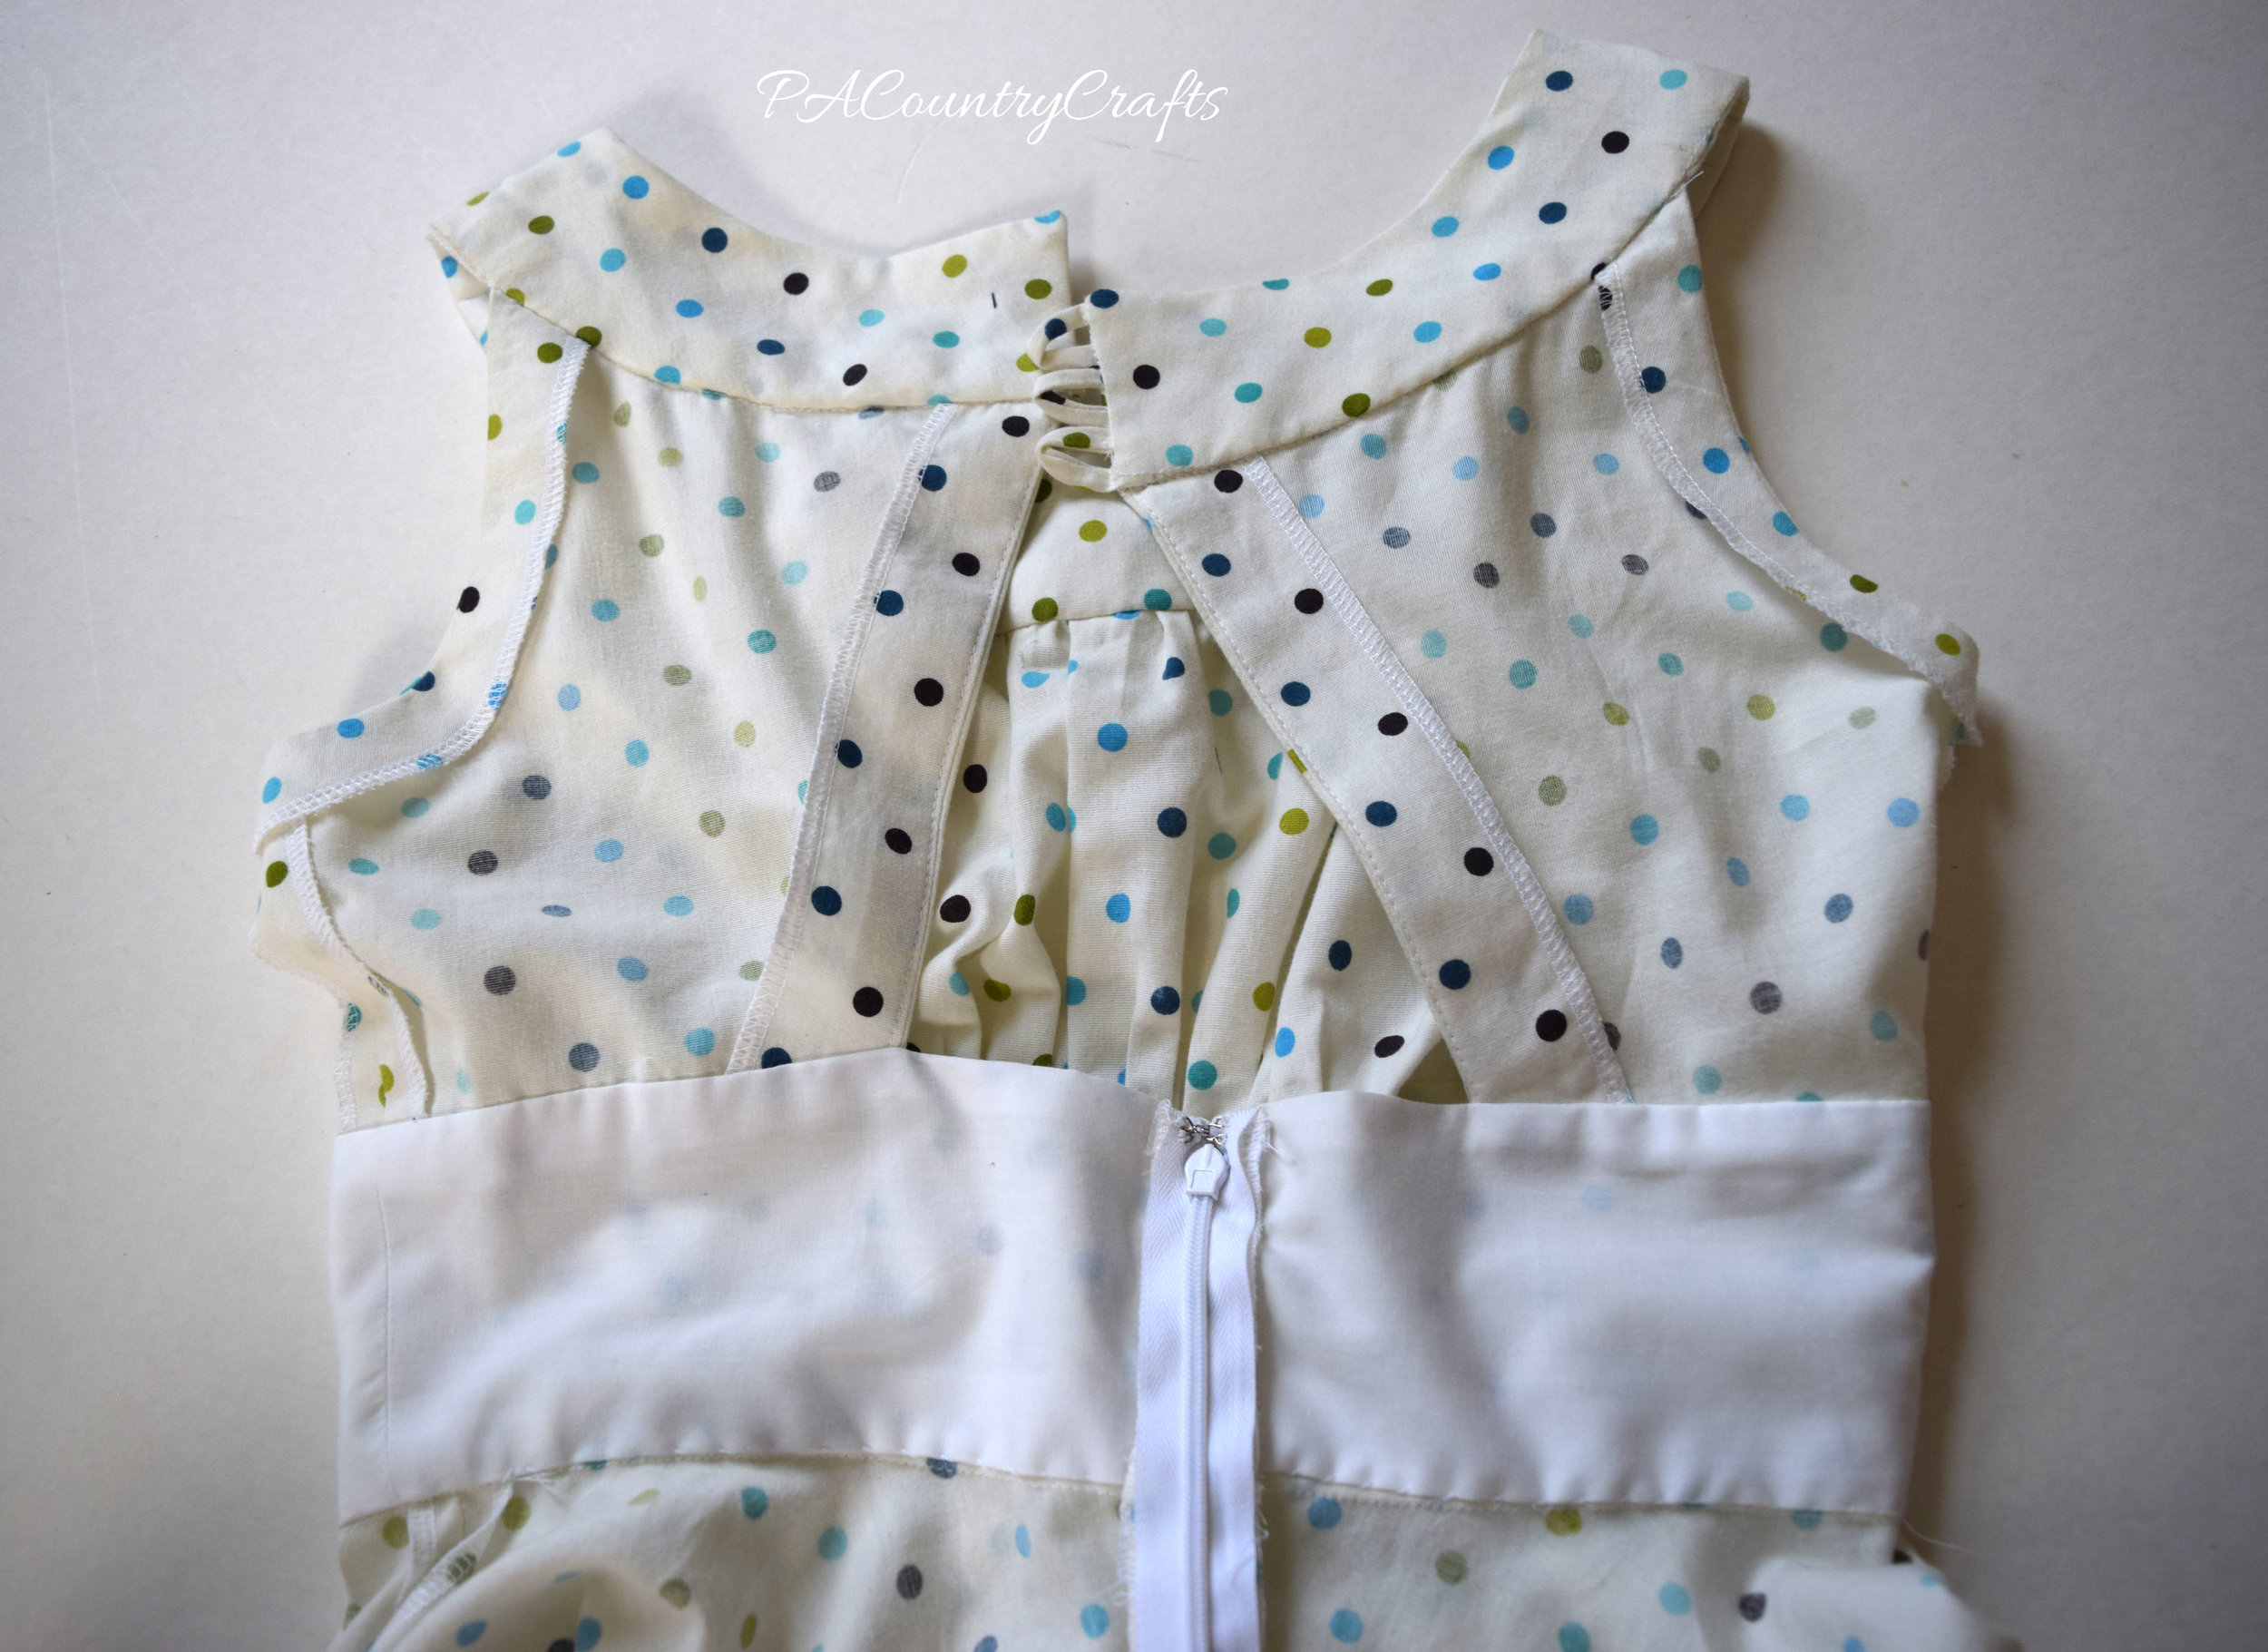
Ever since THESE dresses, I just can't seem to get over that whole retro, vintage style. I love the 1940s/1950s era of fashion! I wanted to do a "shirt dress" style, but decided to upcycle/refashion one out of a men's dress shirt. (There are also a few aqua polka dot details just for fun!) It even has a built in pettiskirt to make the full skirt pouf out.

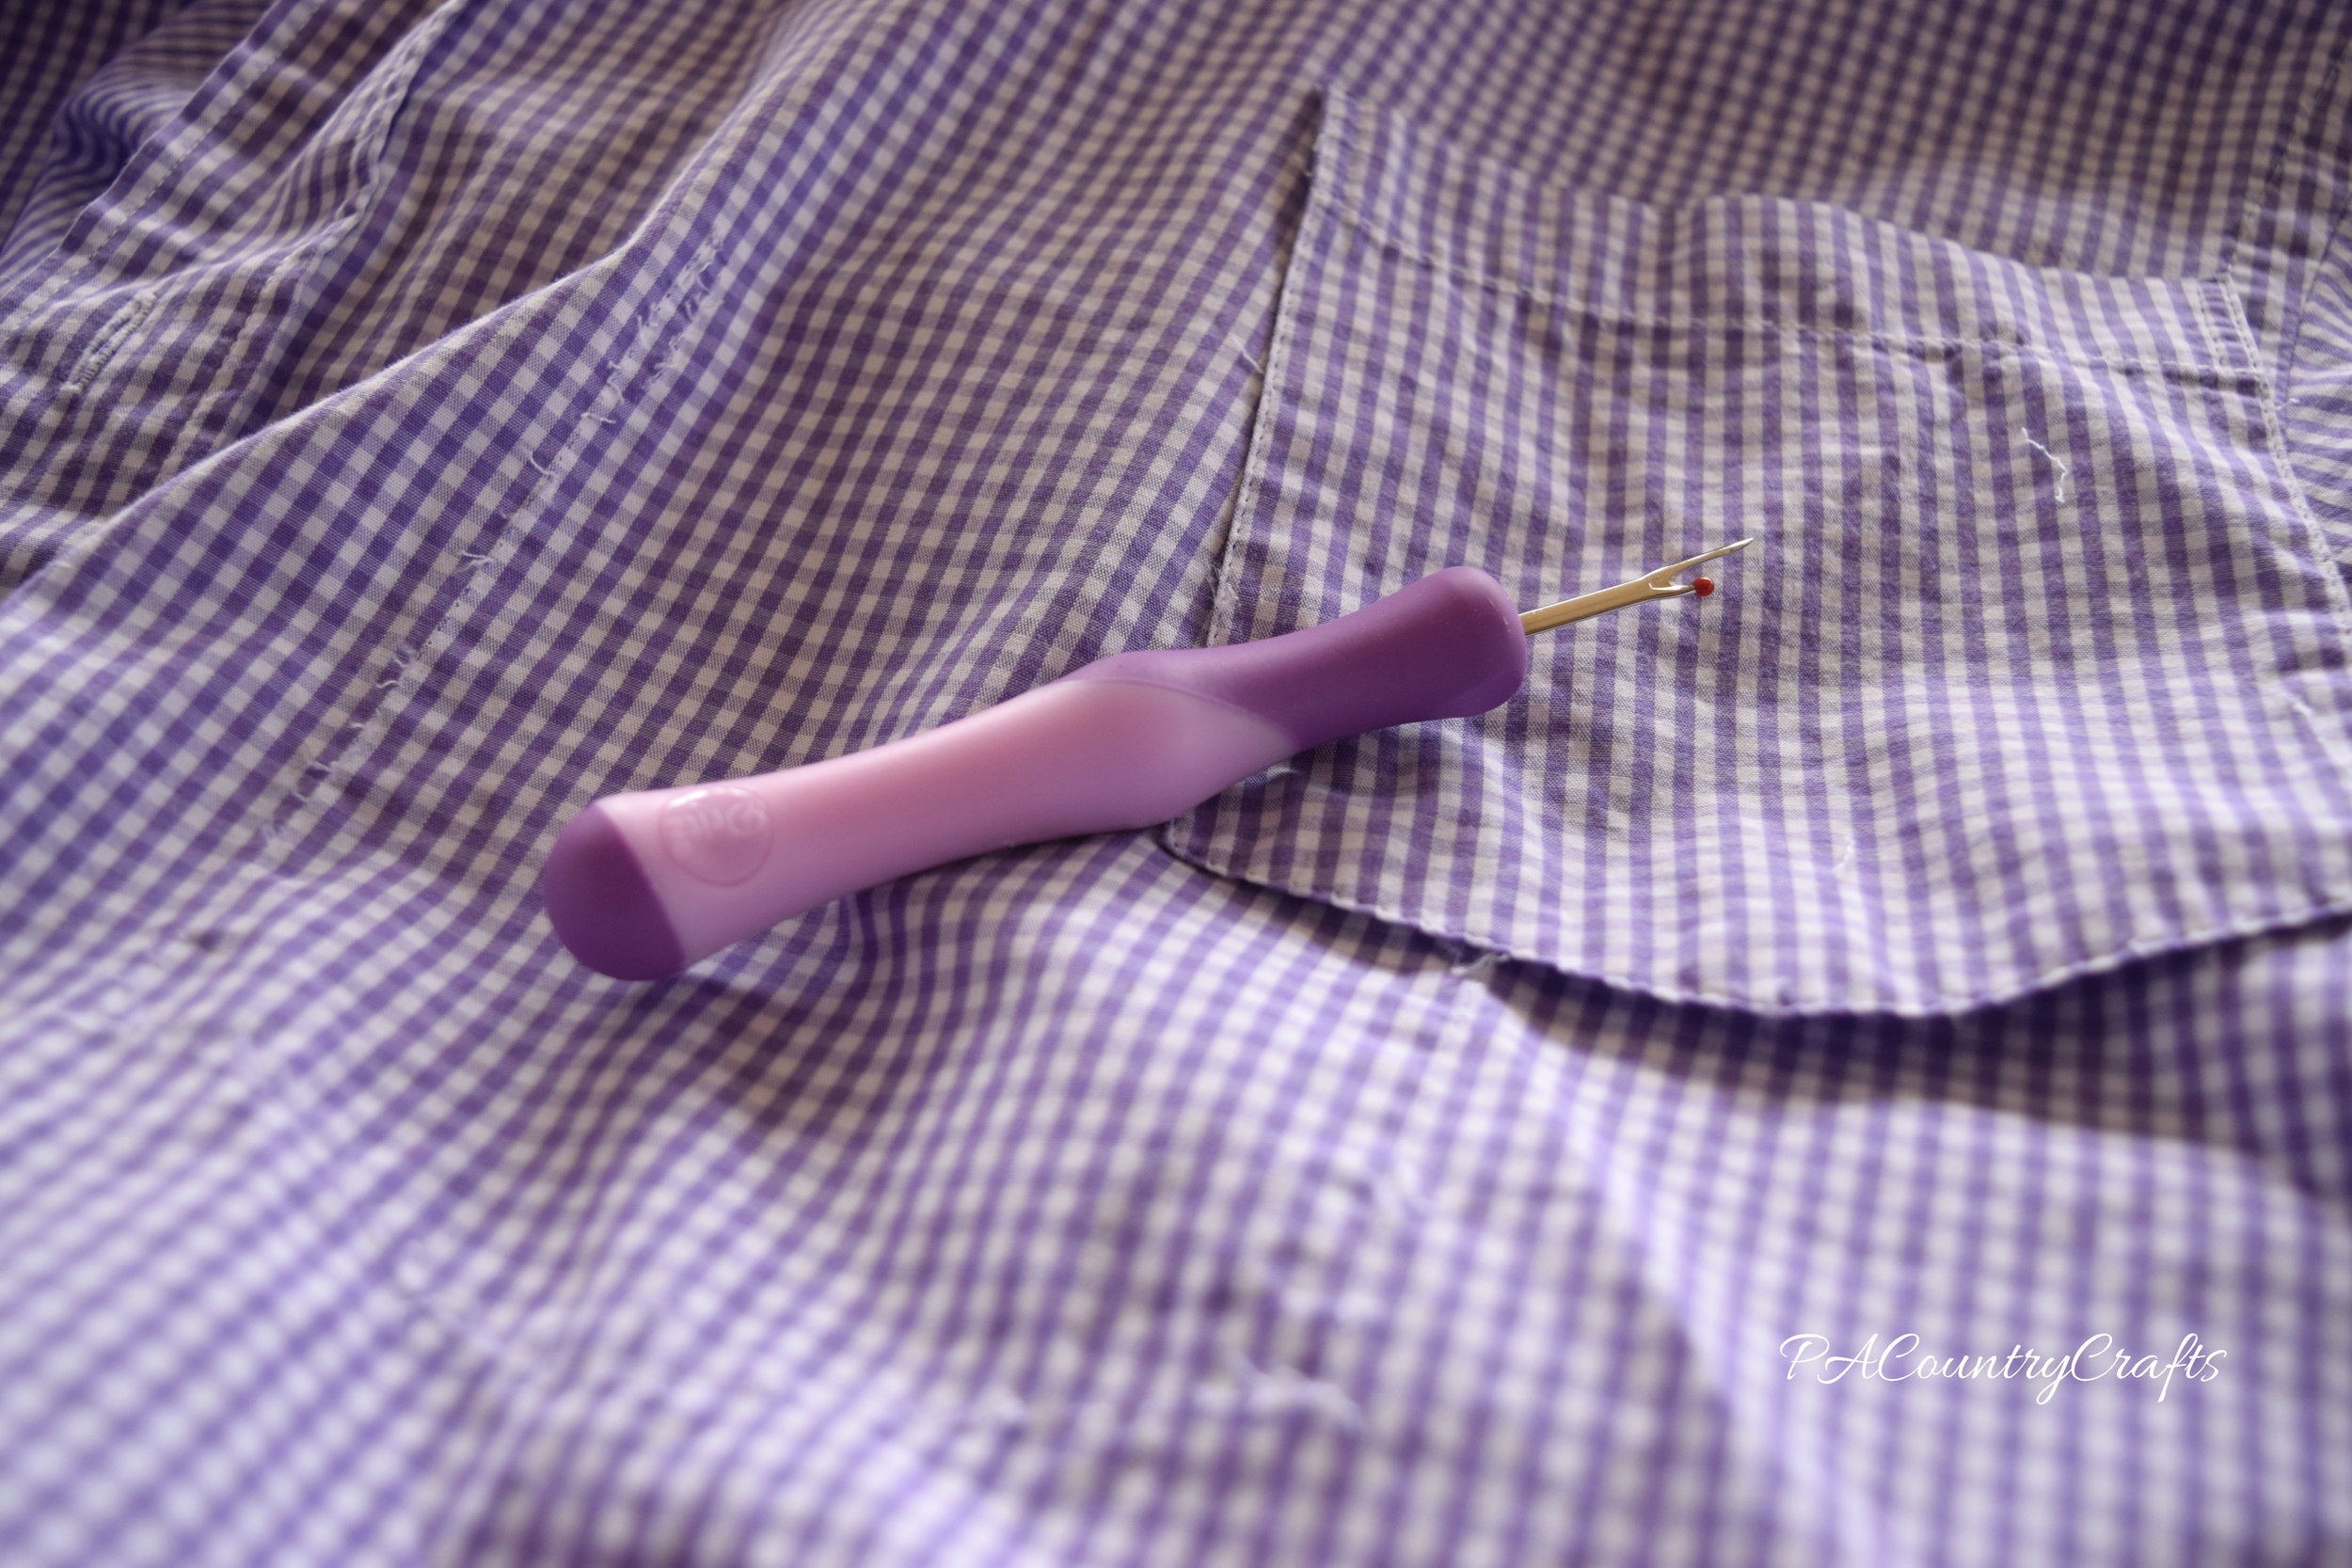
I don't have a full tutorial for you, but I did take some pictures to show how I used the shirt as an effective fabric source. First, I used a seam ripper to remove the pocket and cut off the collar and sleeves.
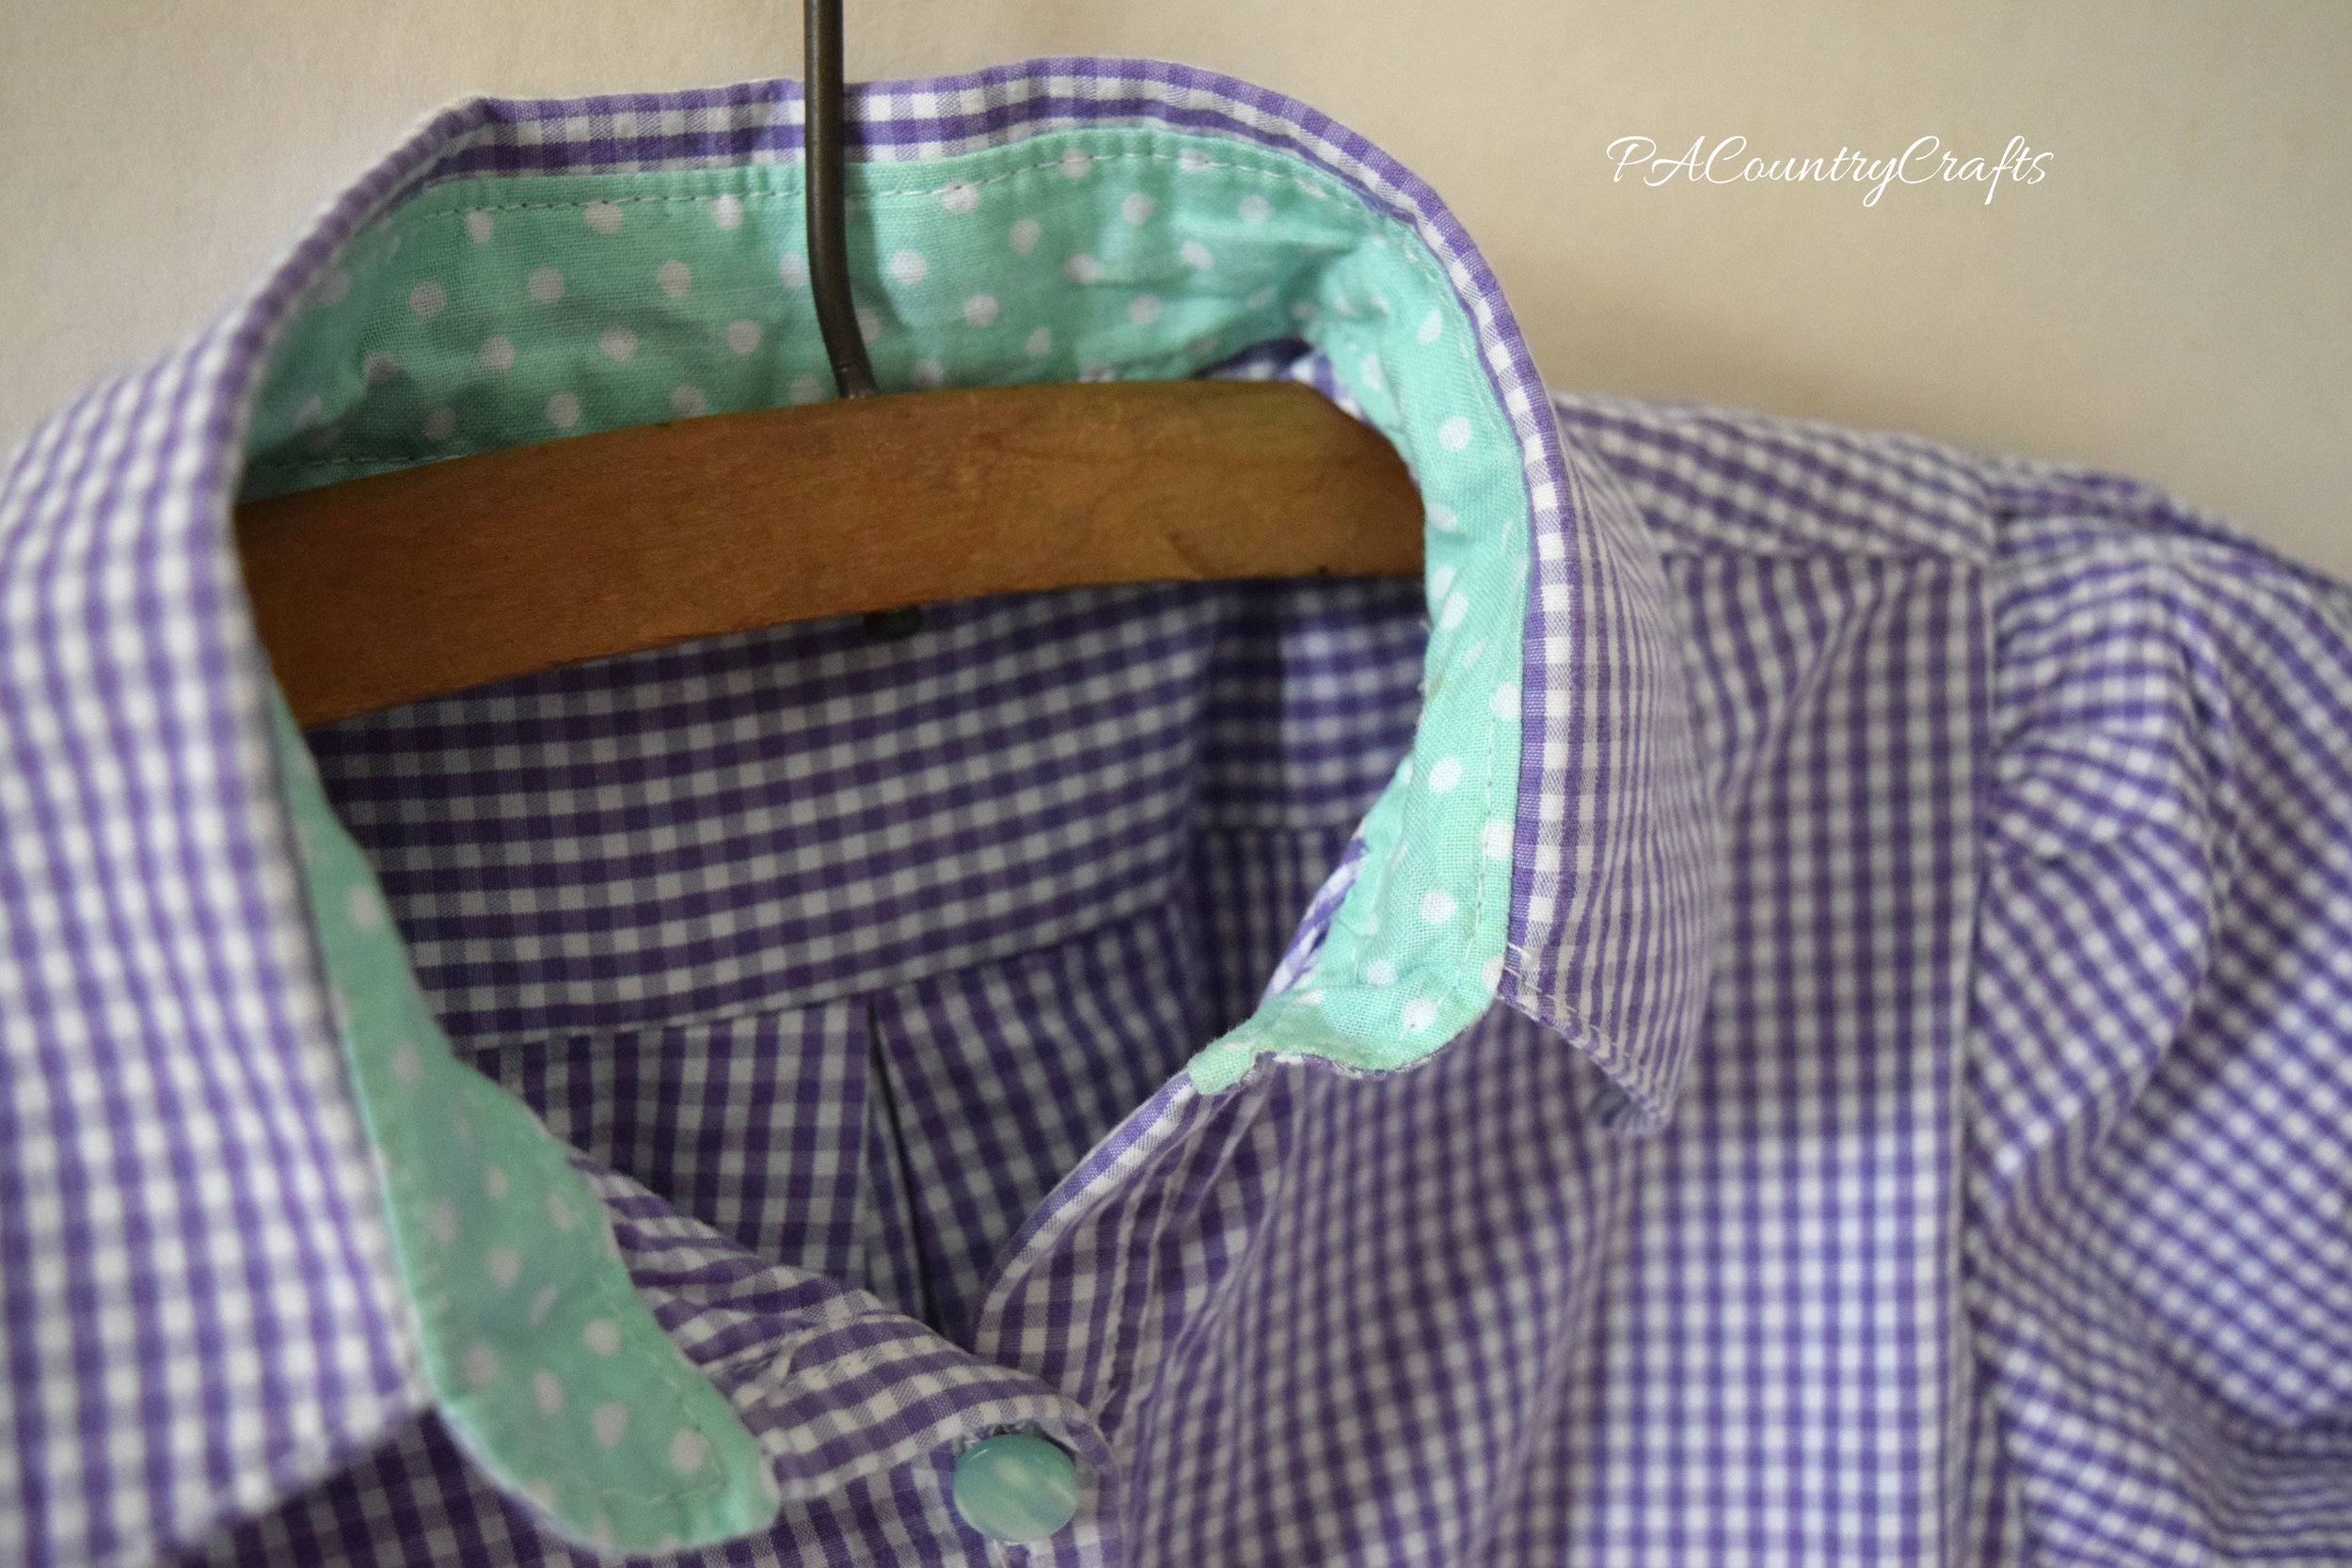
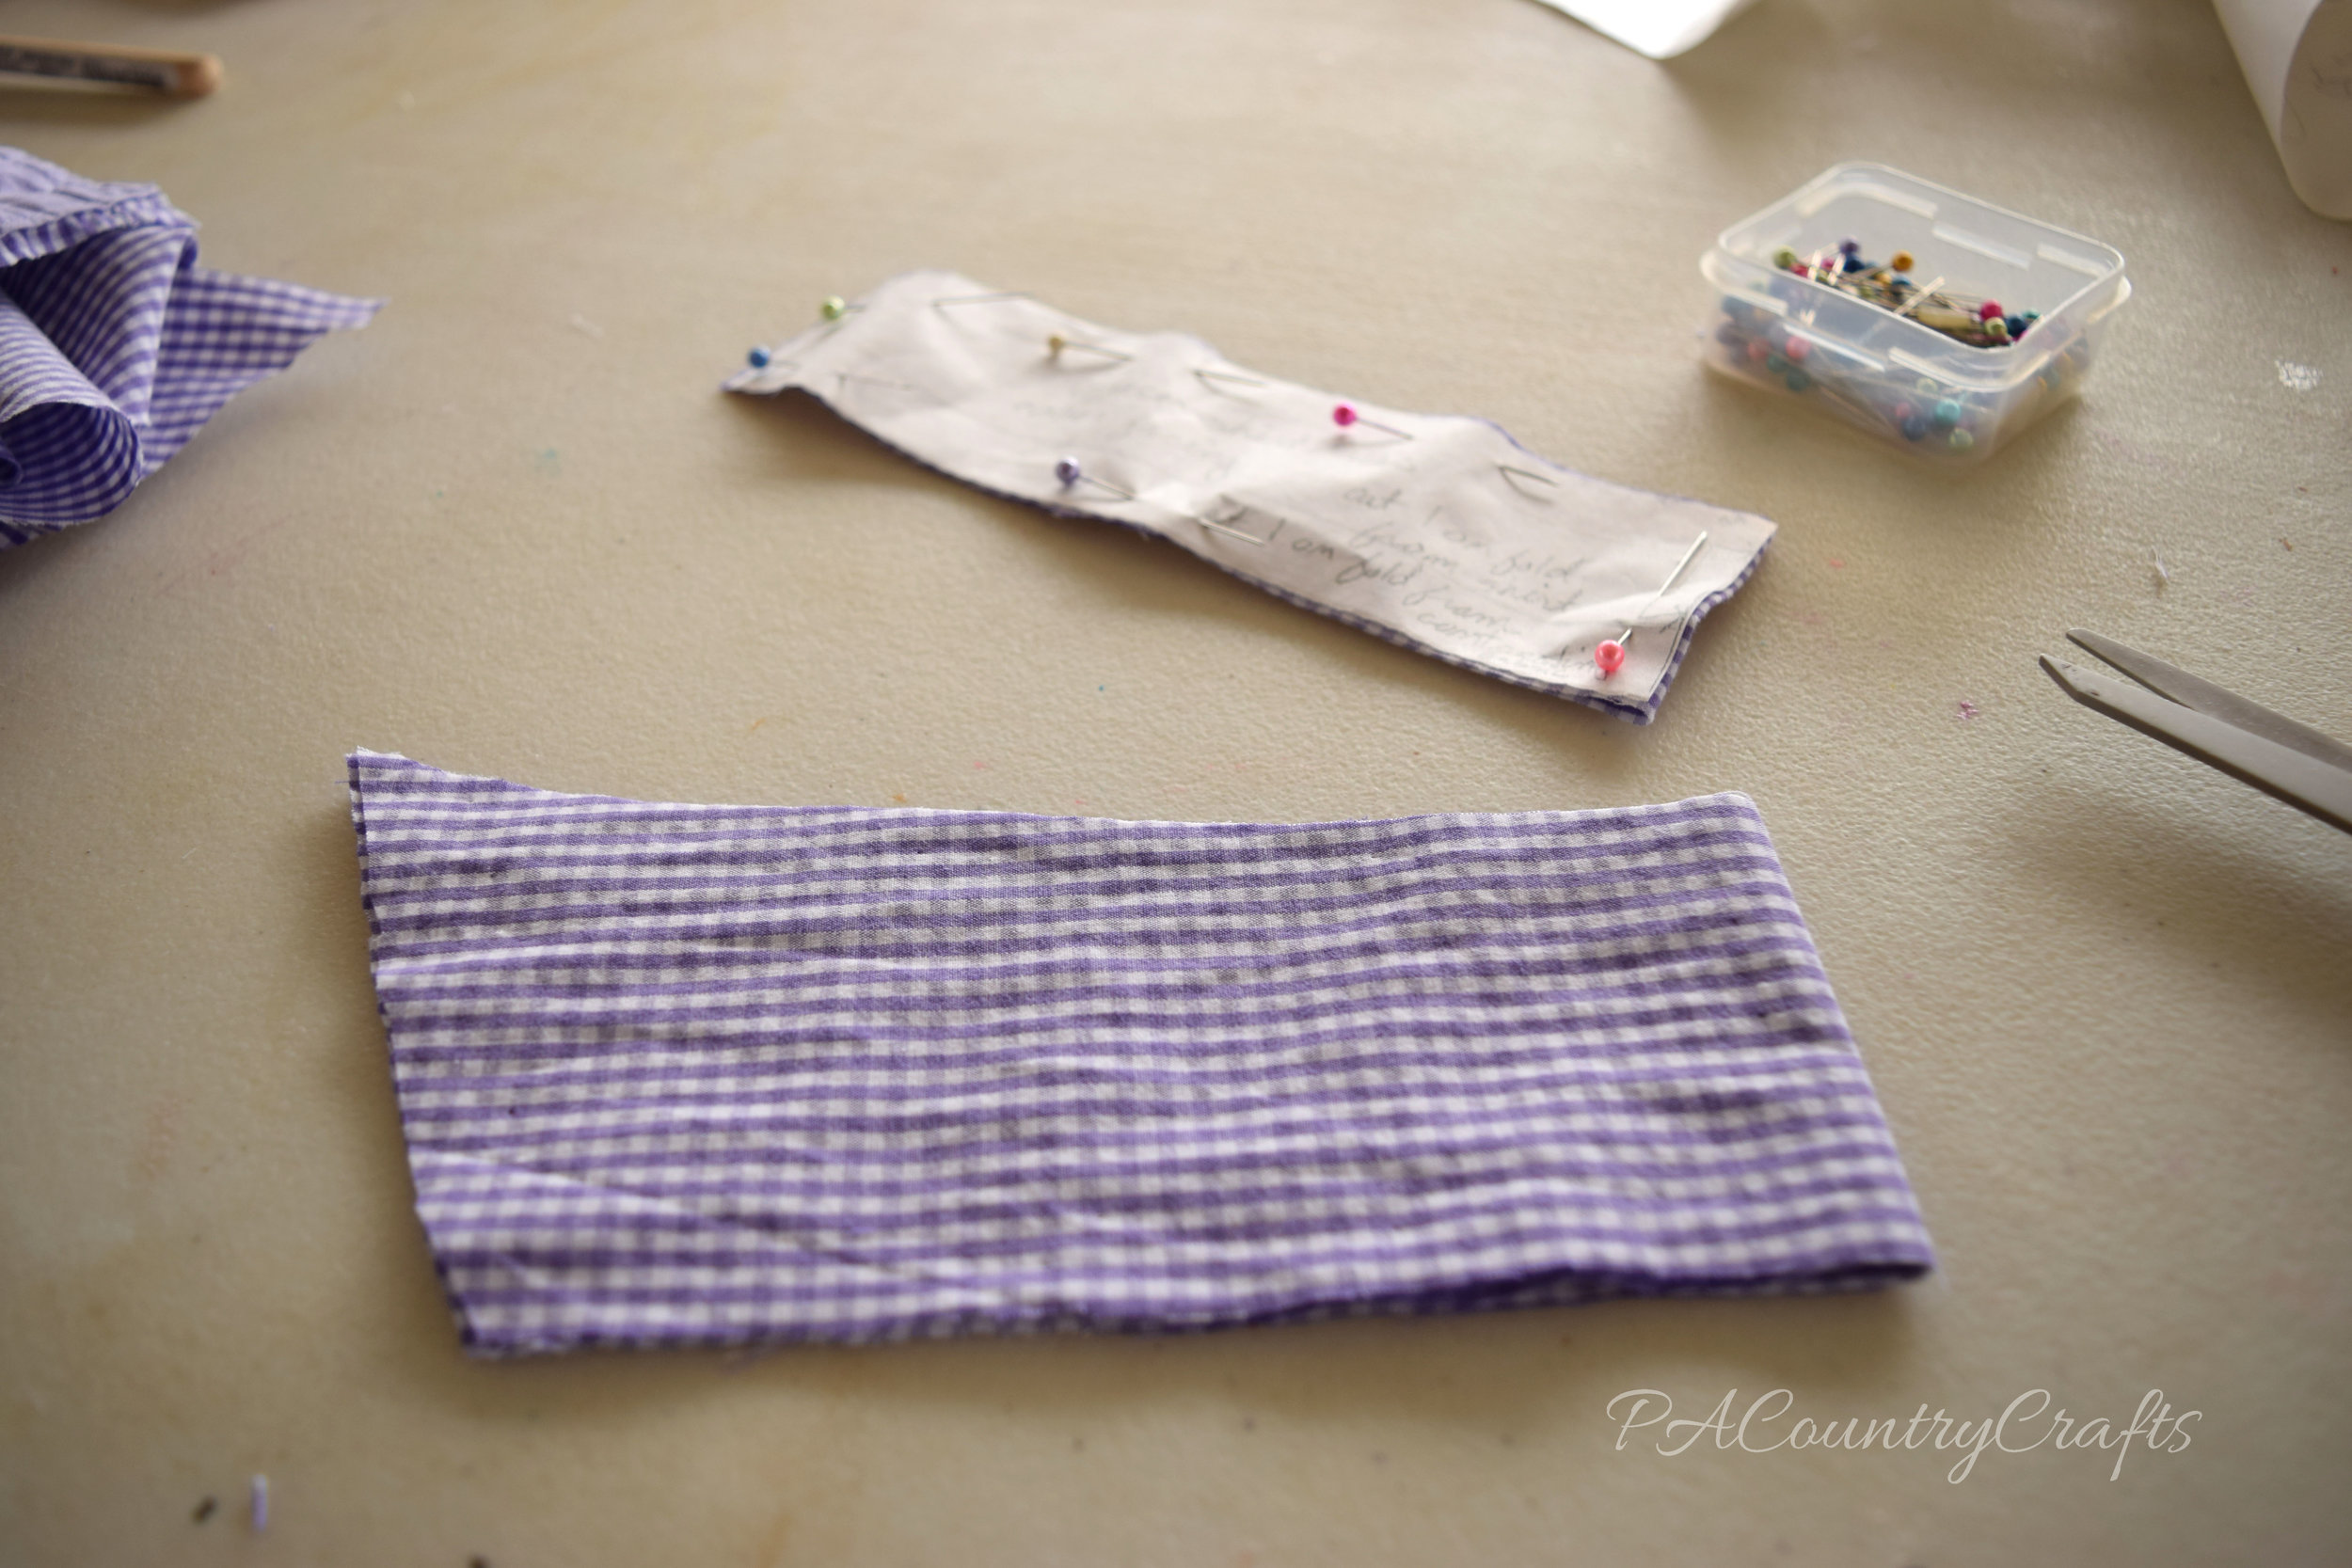
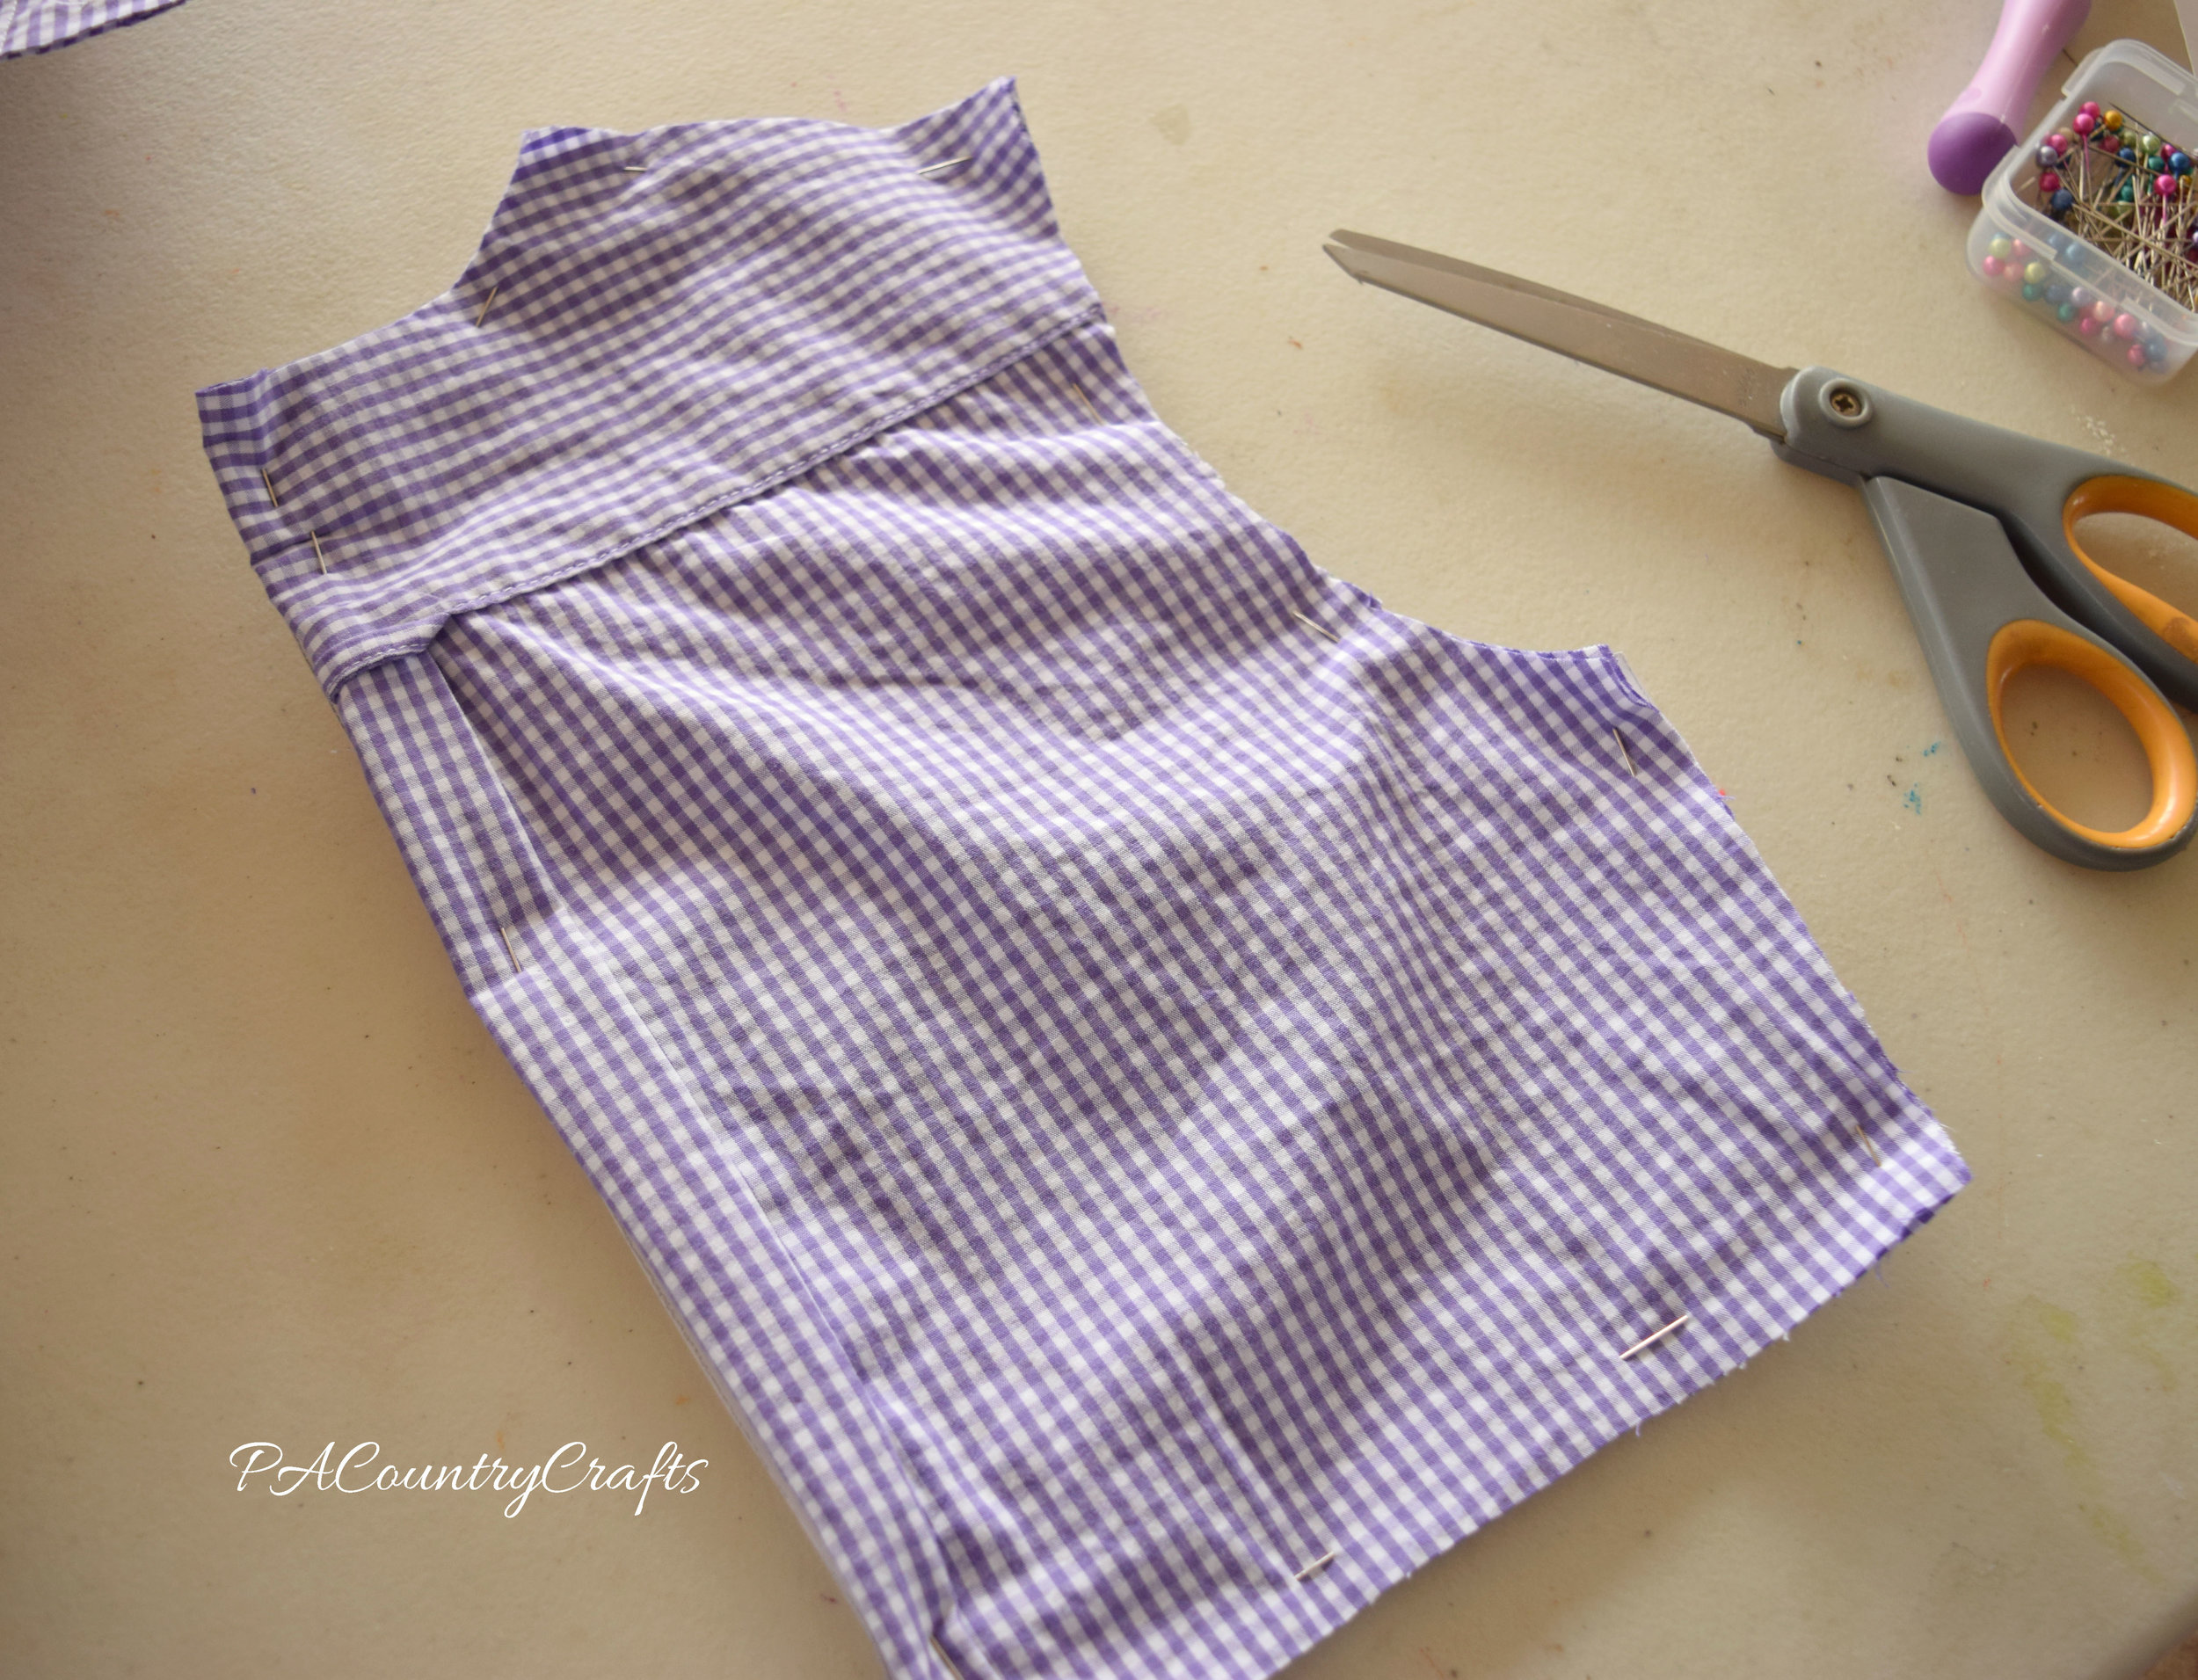
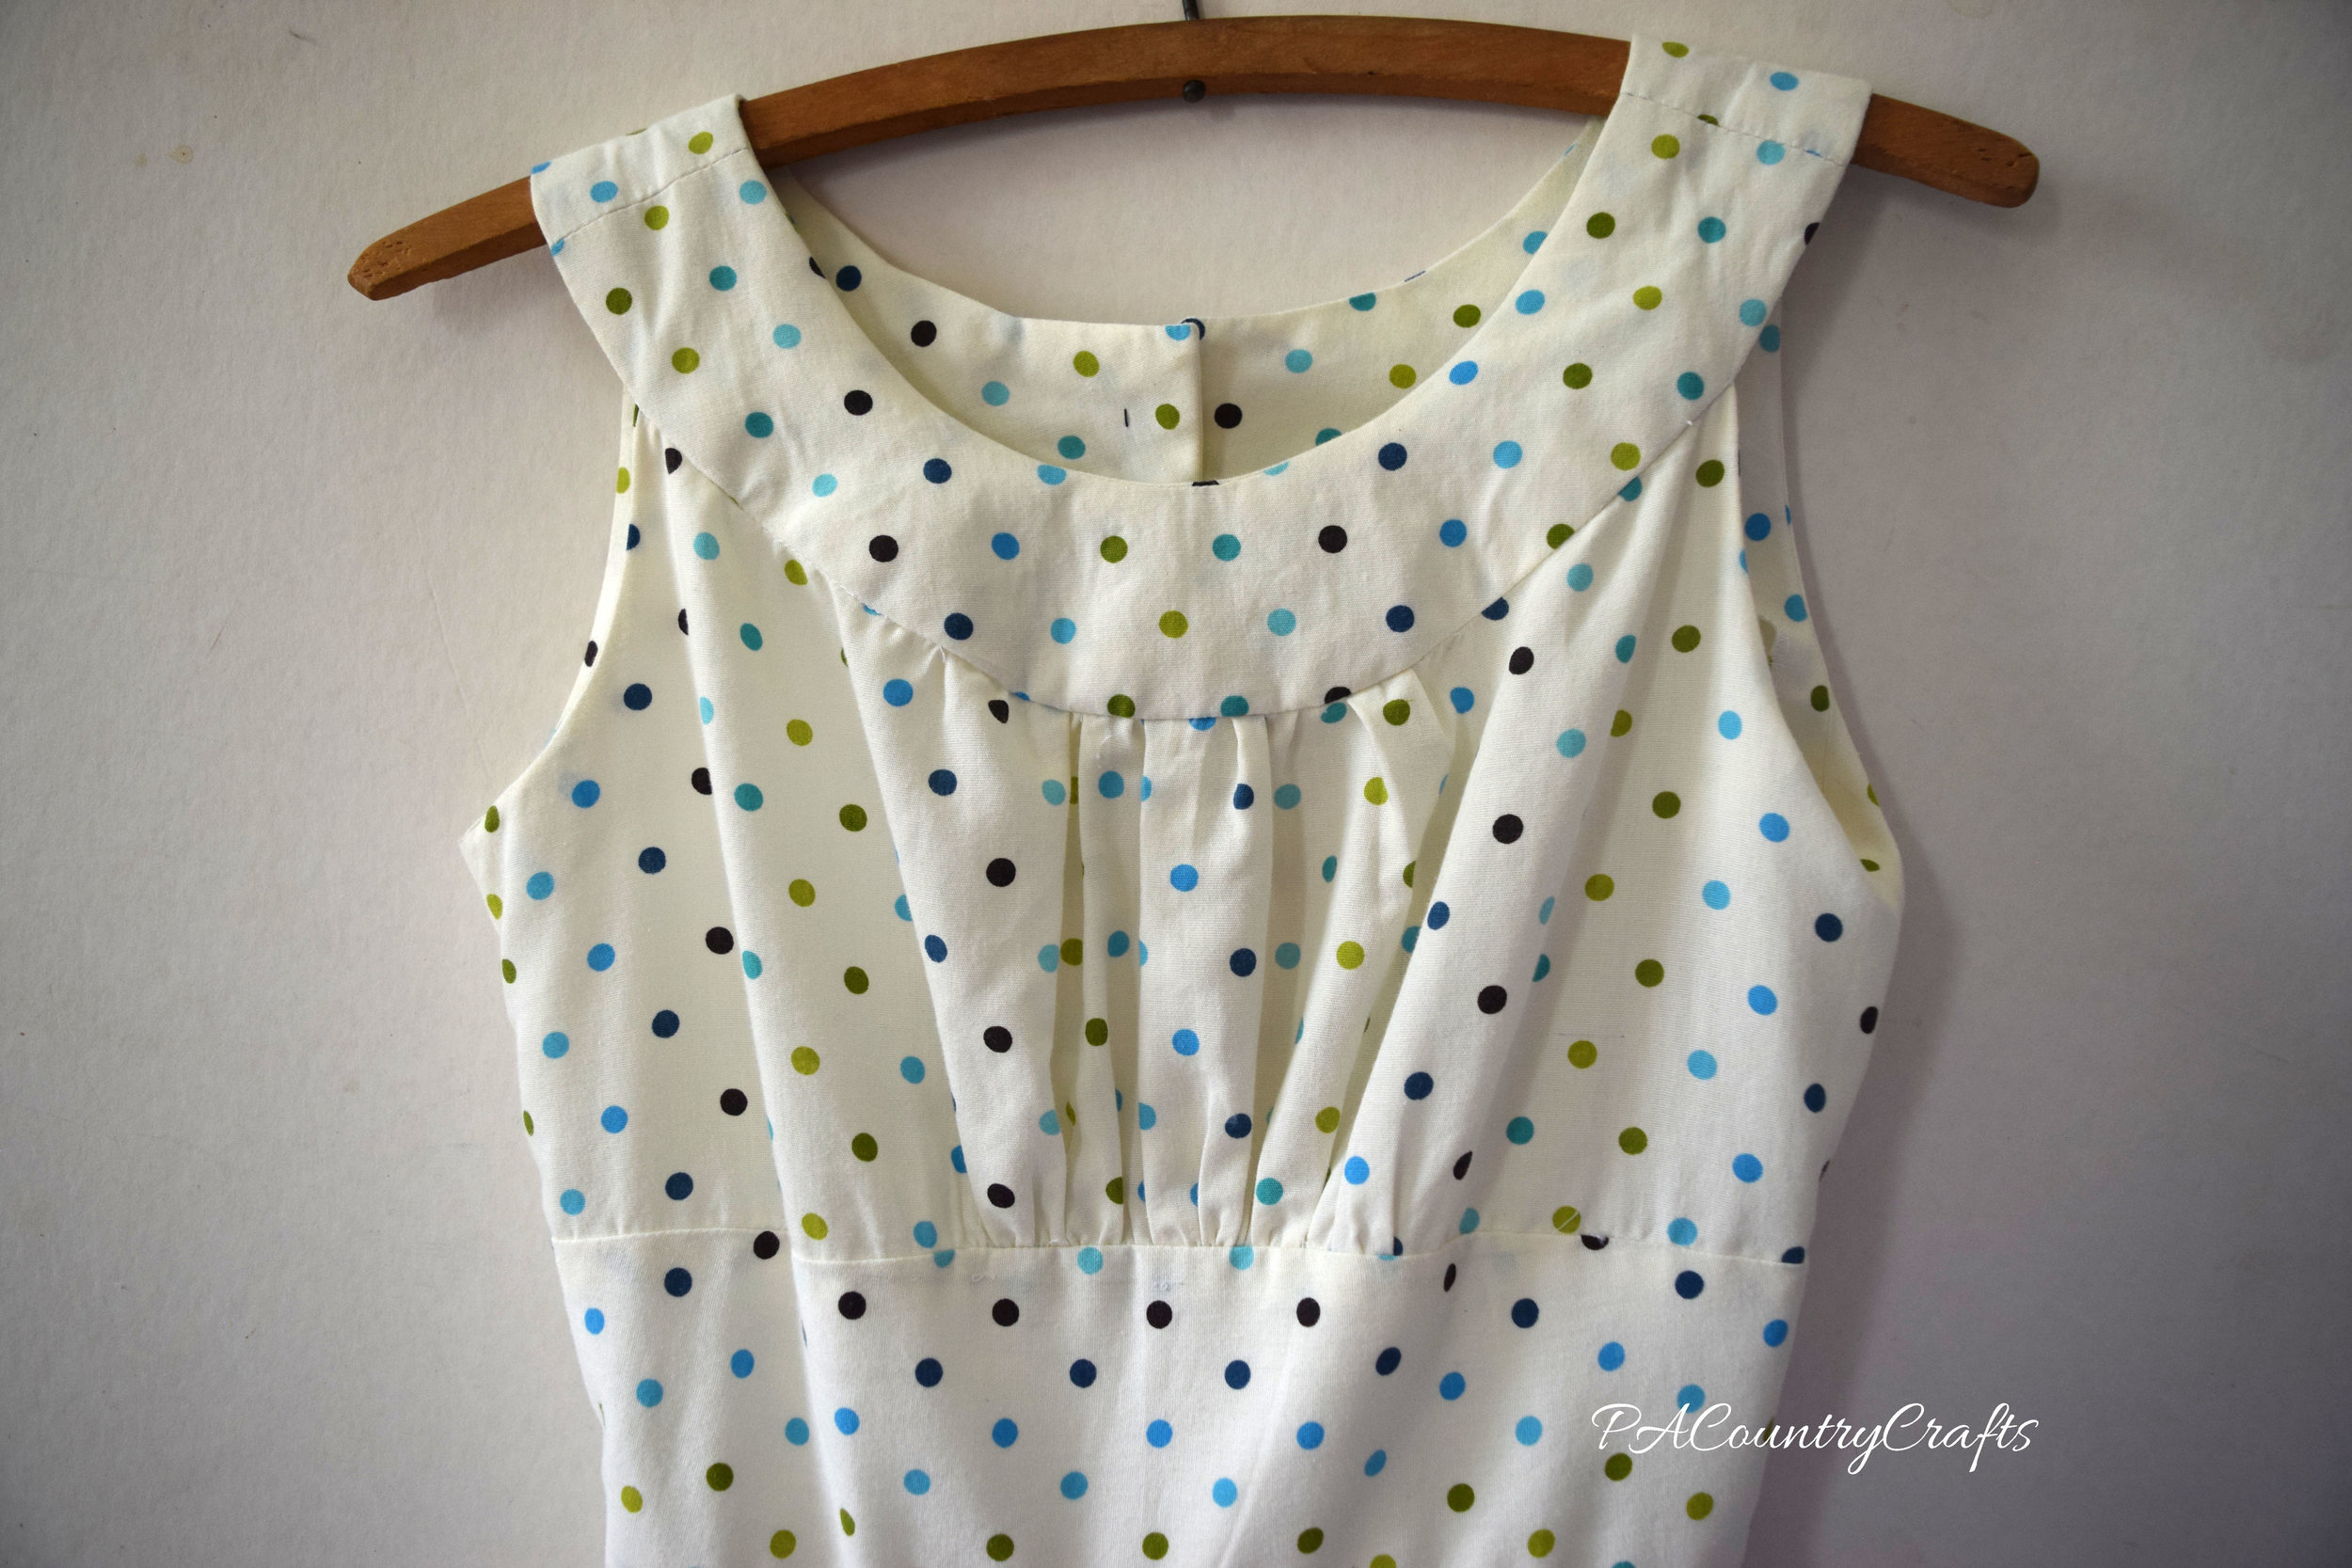
This dress was made differently from other tutorials I have seen. I didn't like the way the men's shirt collar fit on her neckline- it was made to fit a large man, after all! So, I constructed a new collar out of fabric from one of the sleeves.
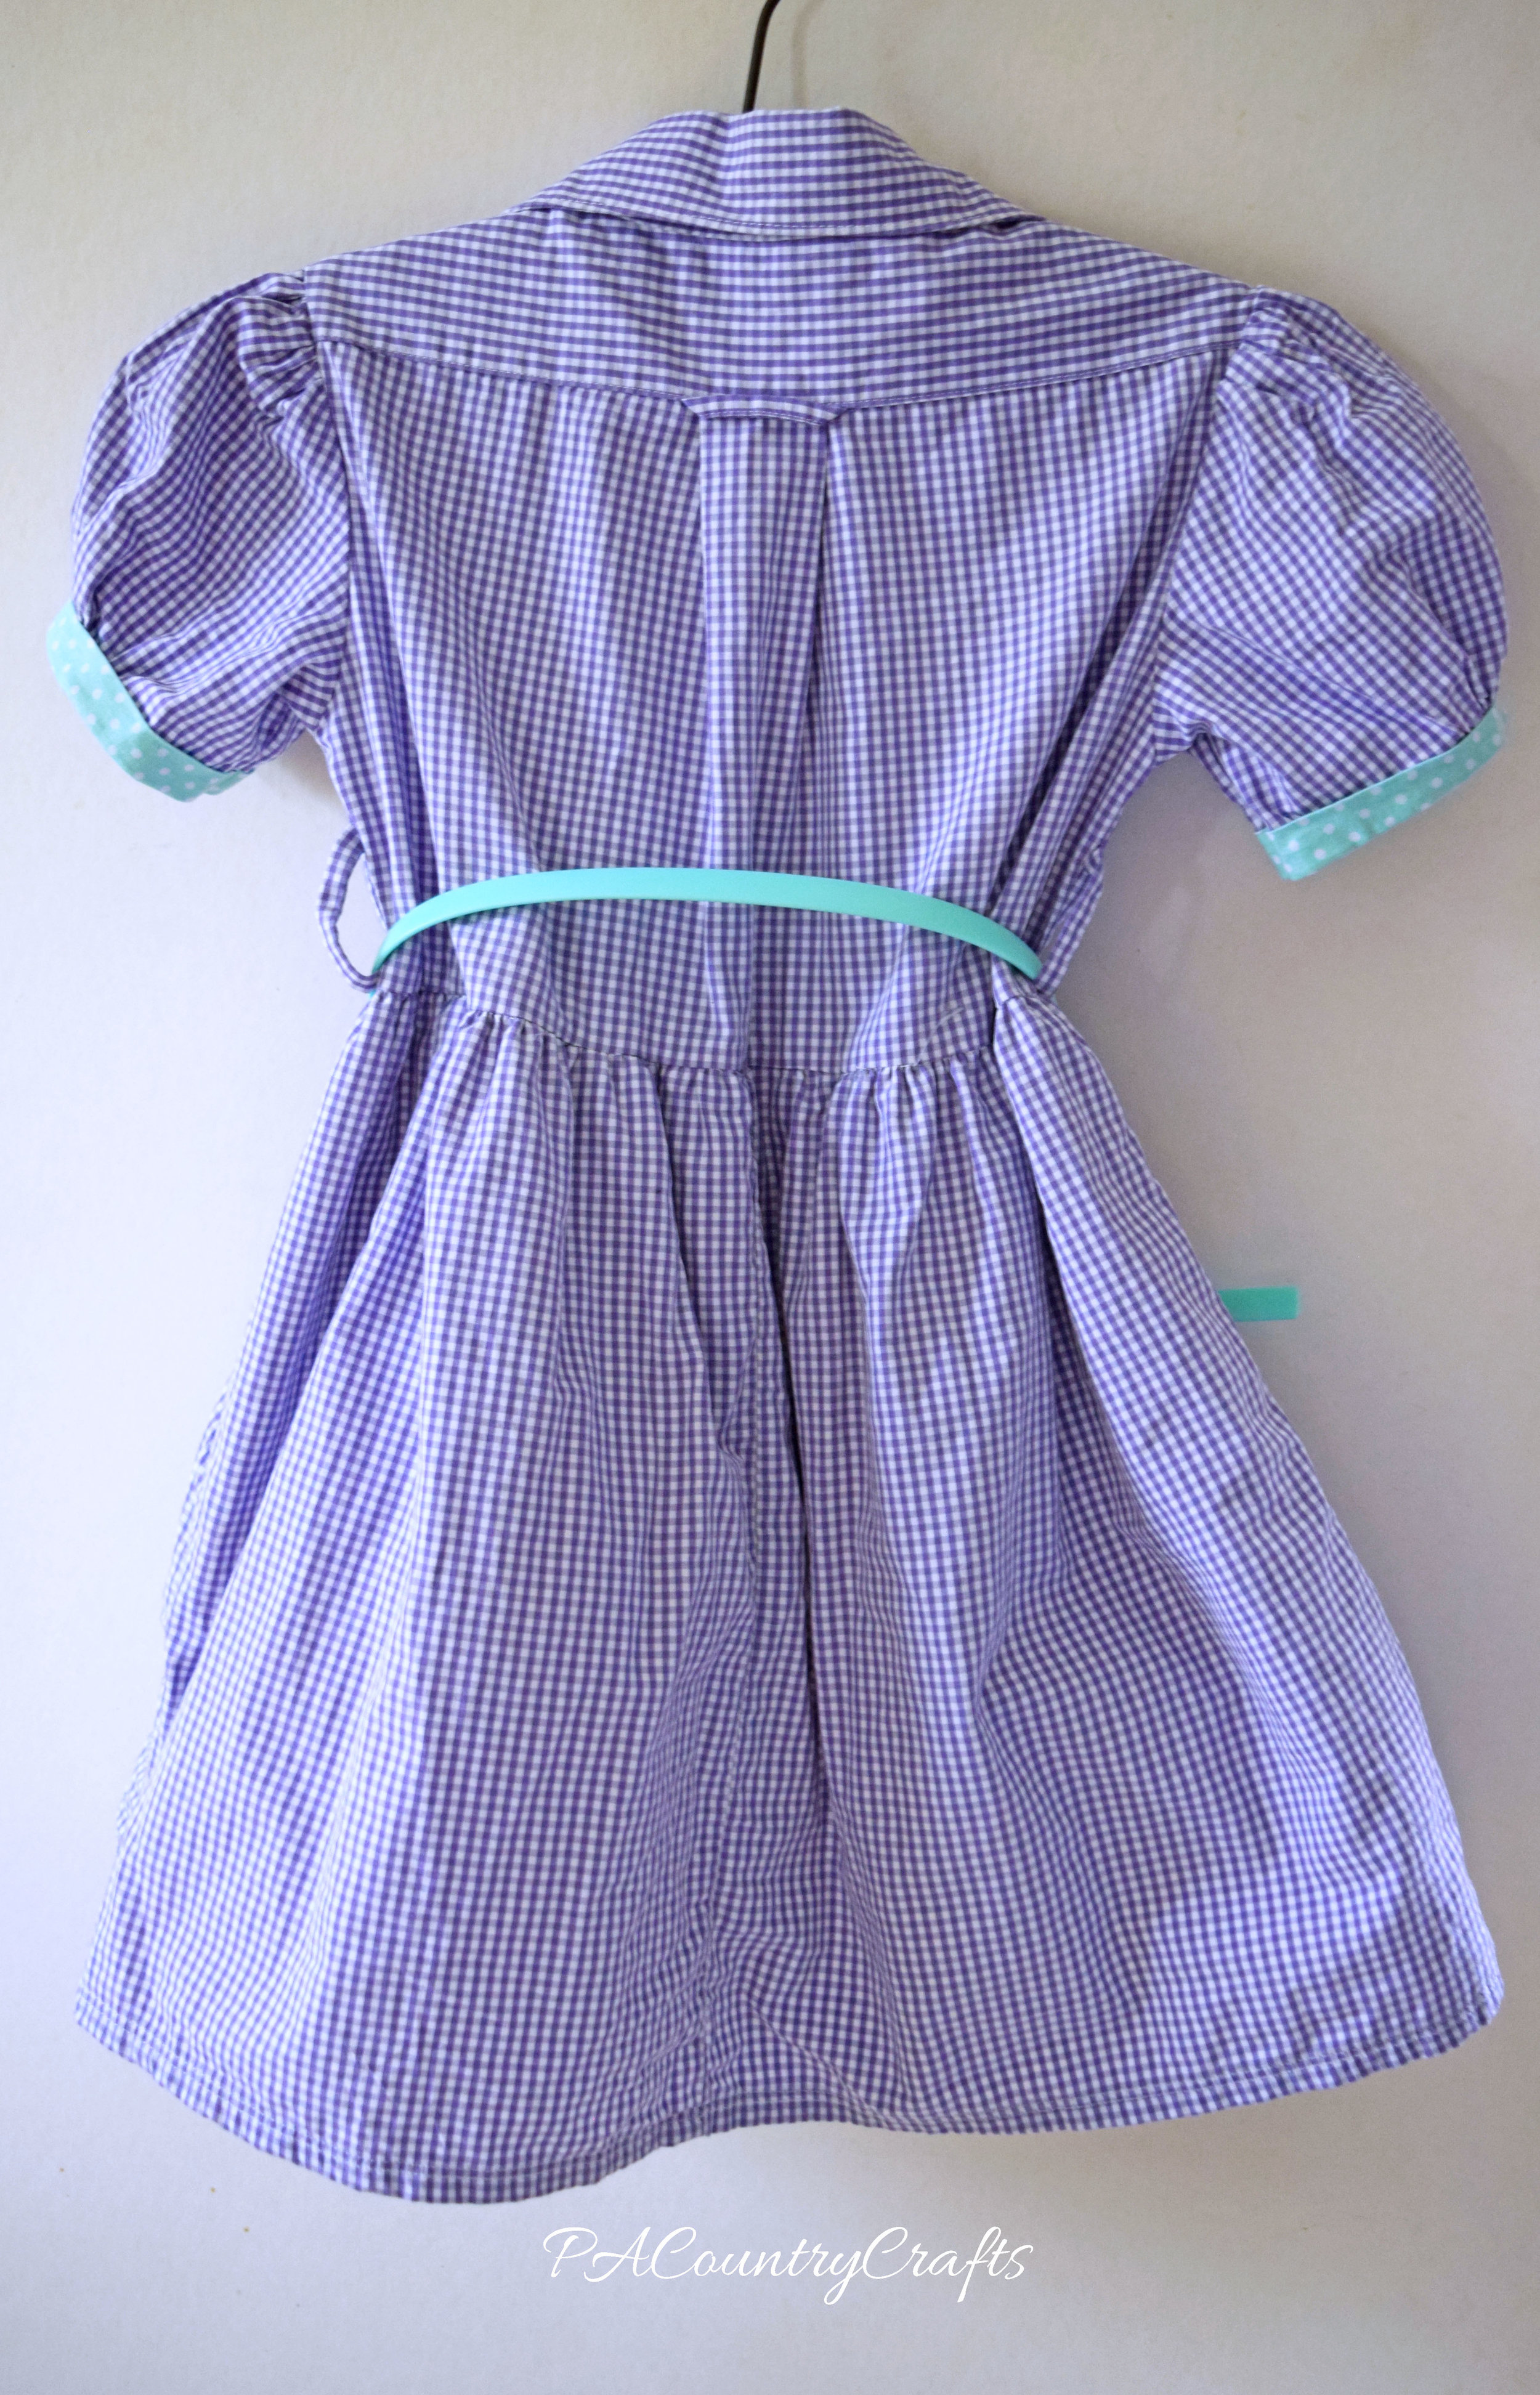
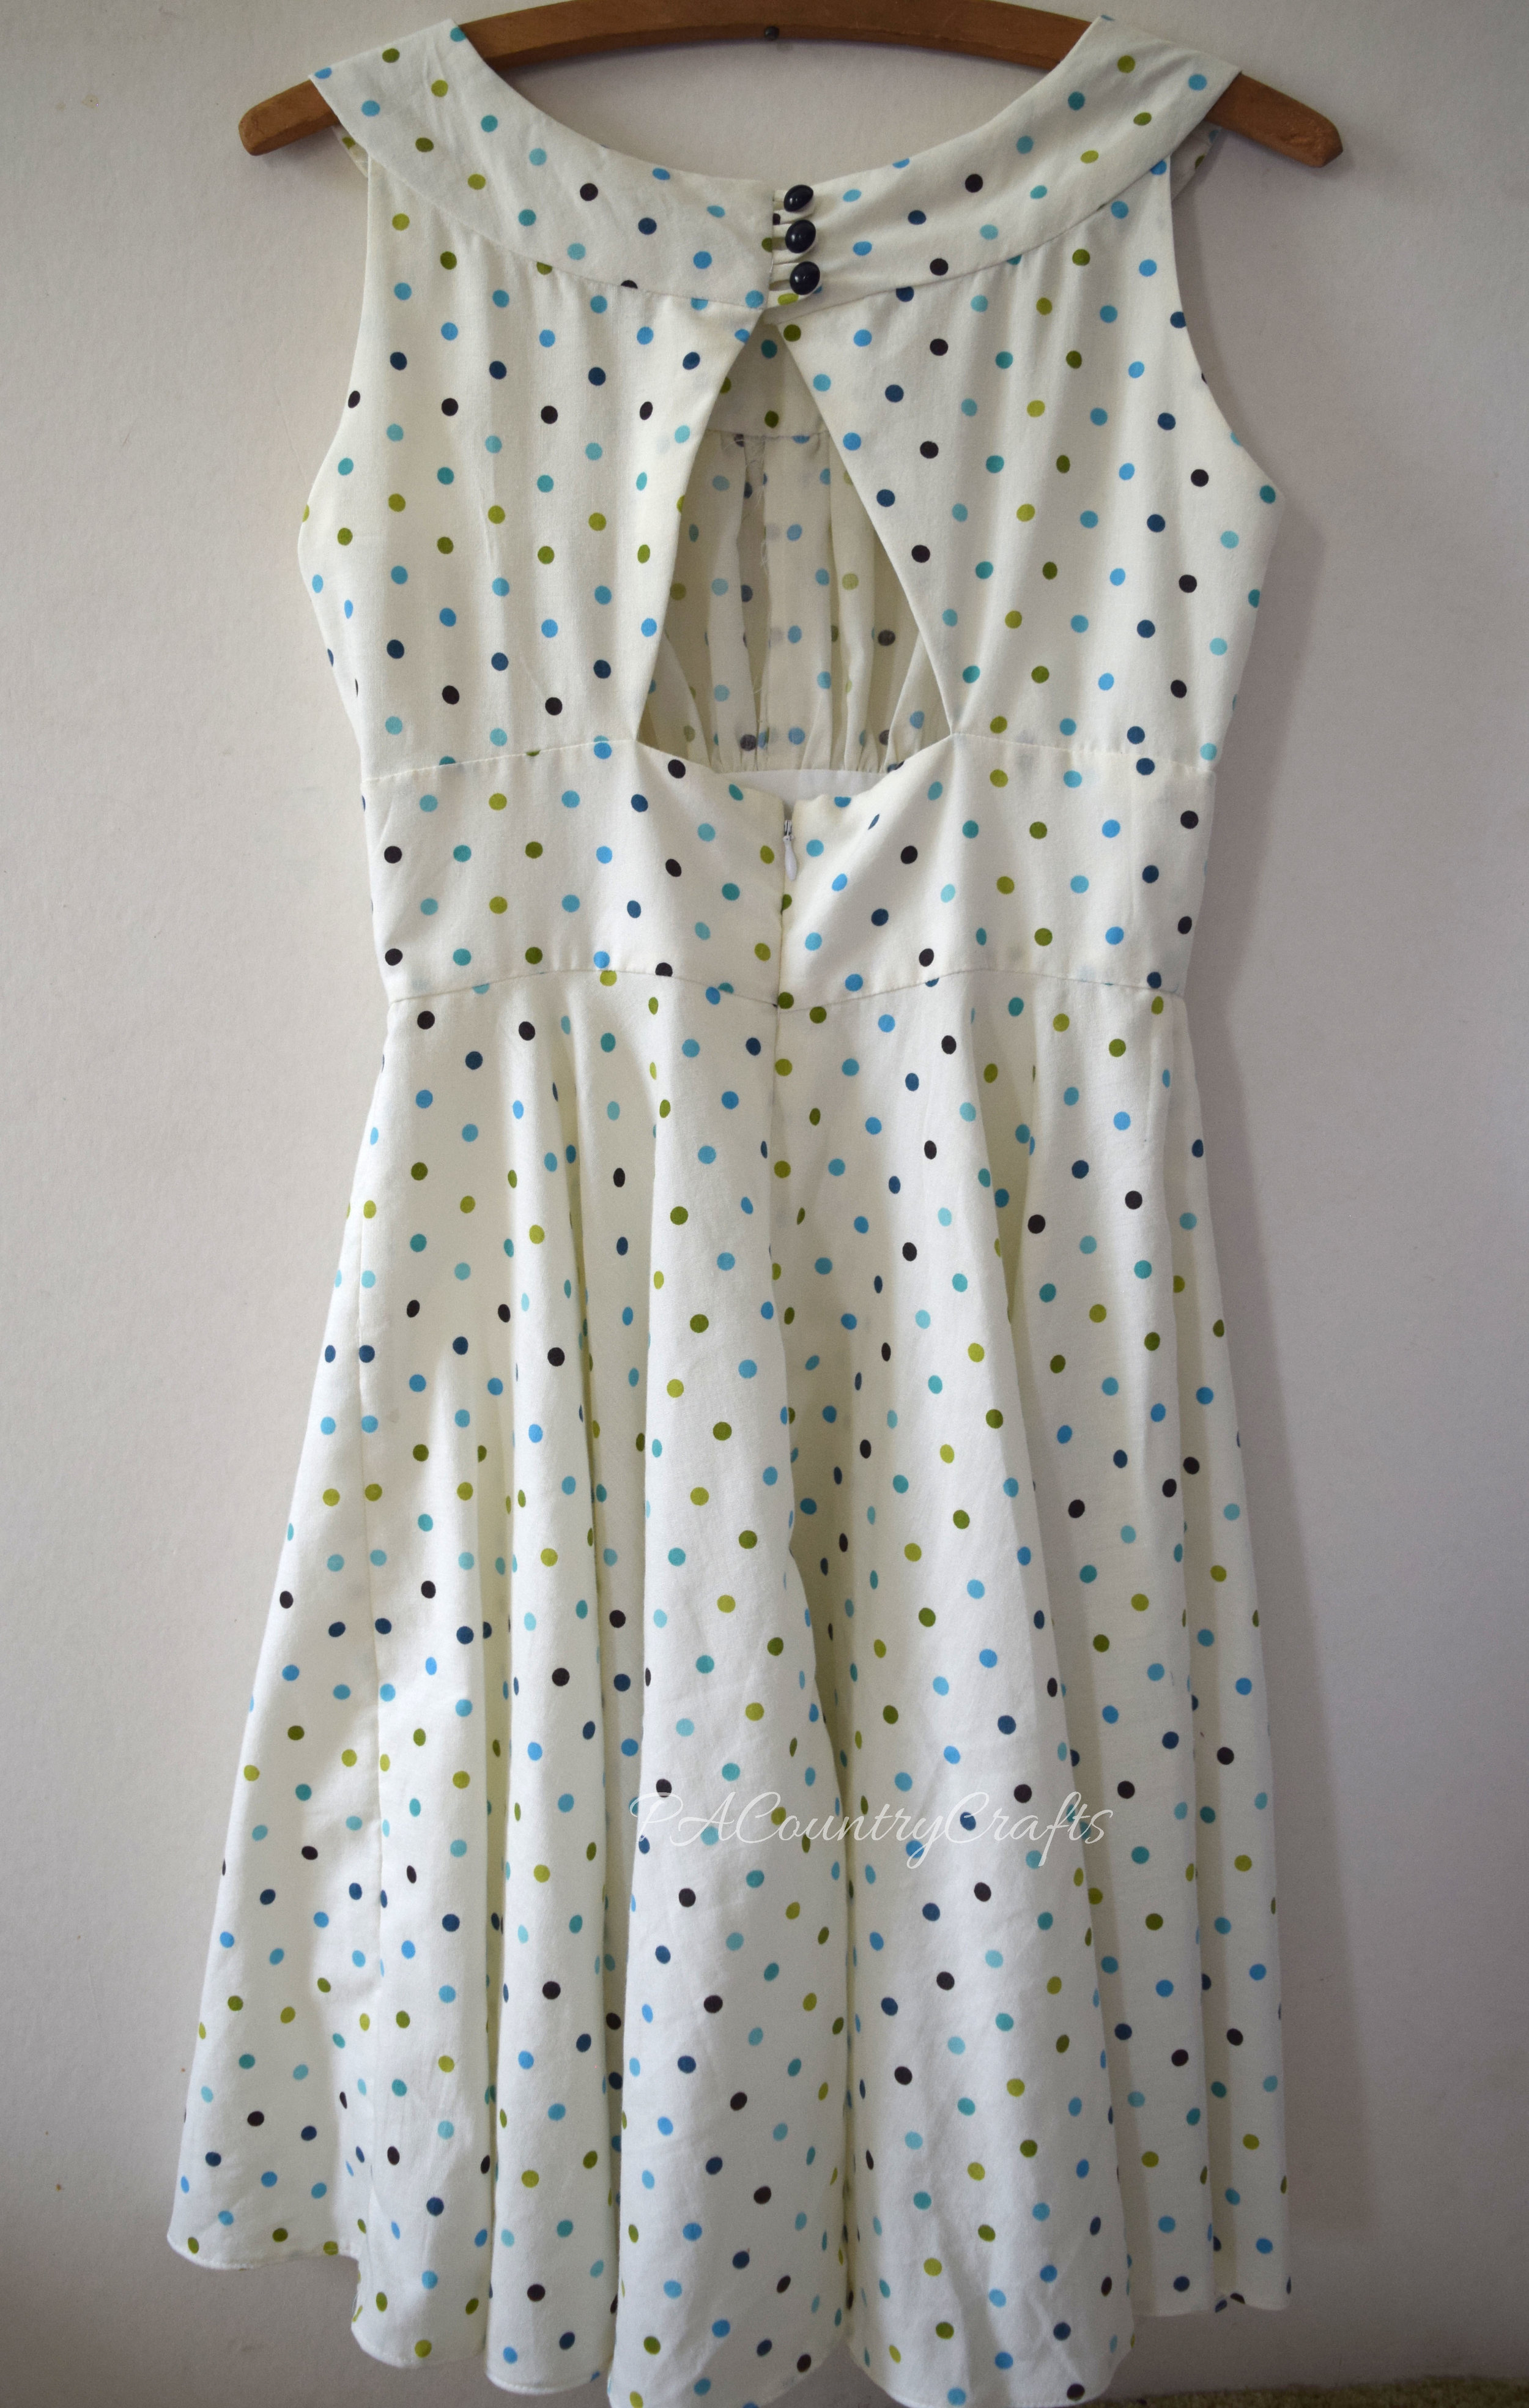
I cut the back bodice I drafted from the center back of the shirt so that I could maintain the little loop and pleats from the original shirt.
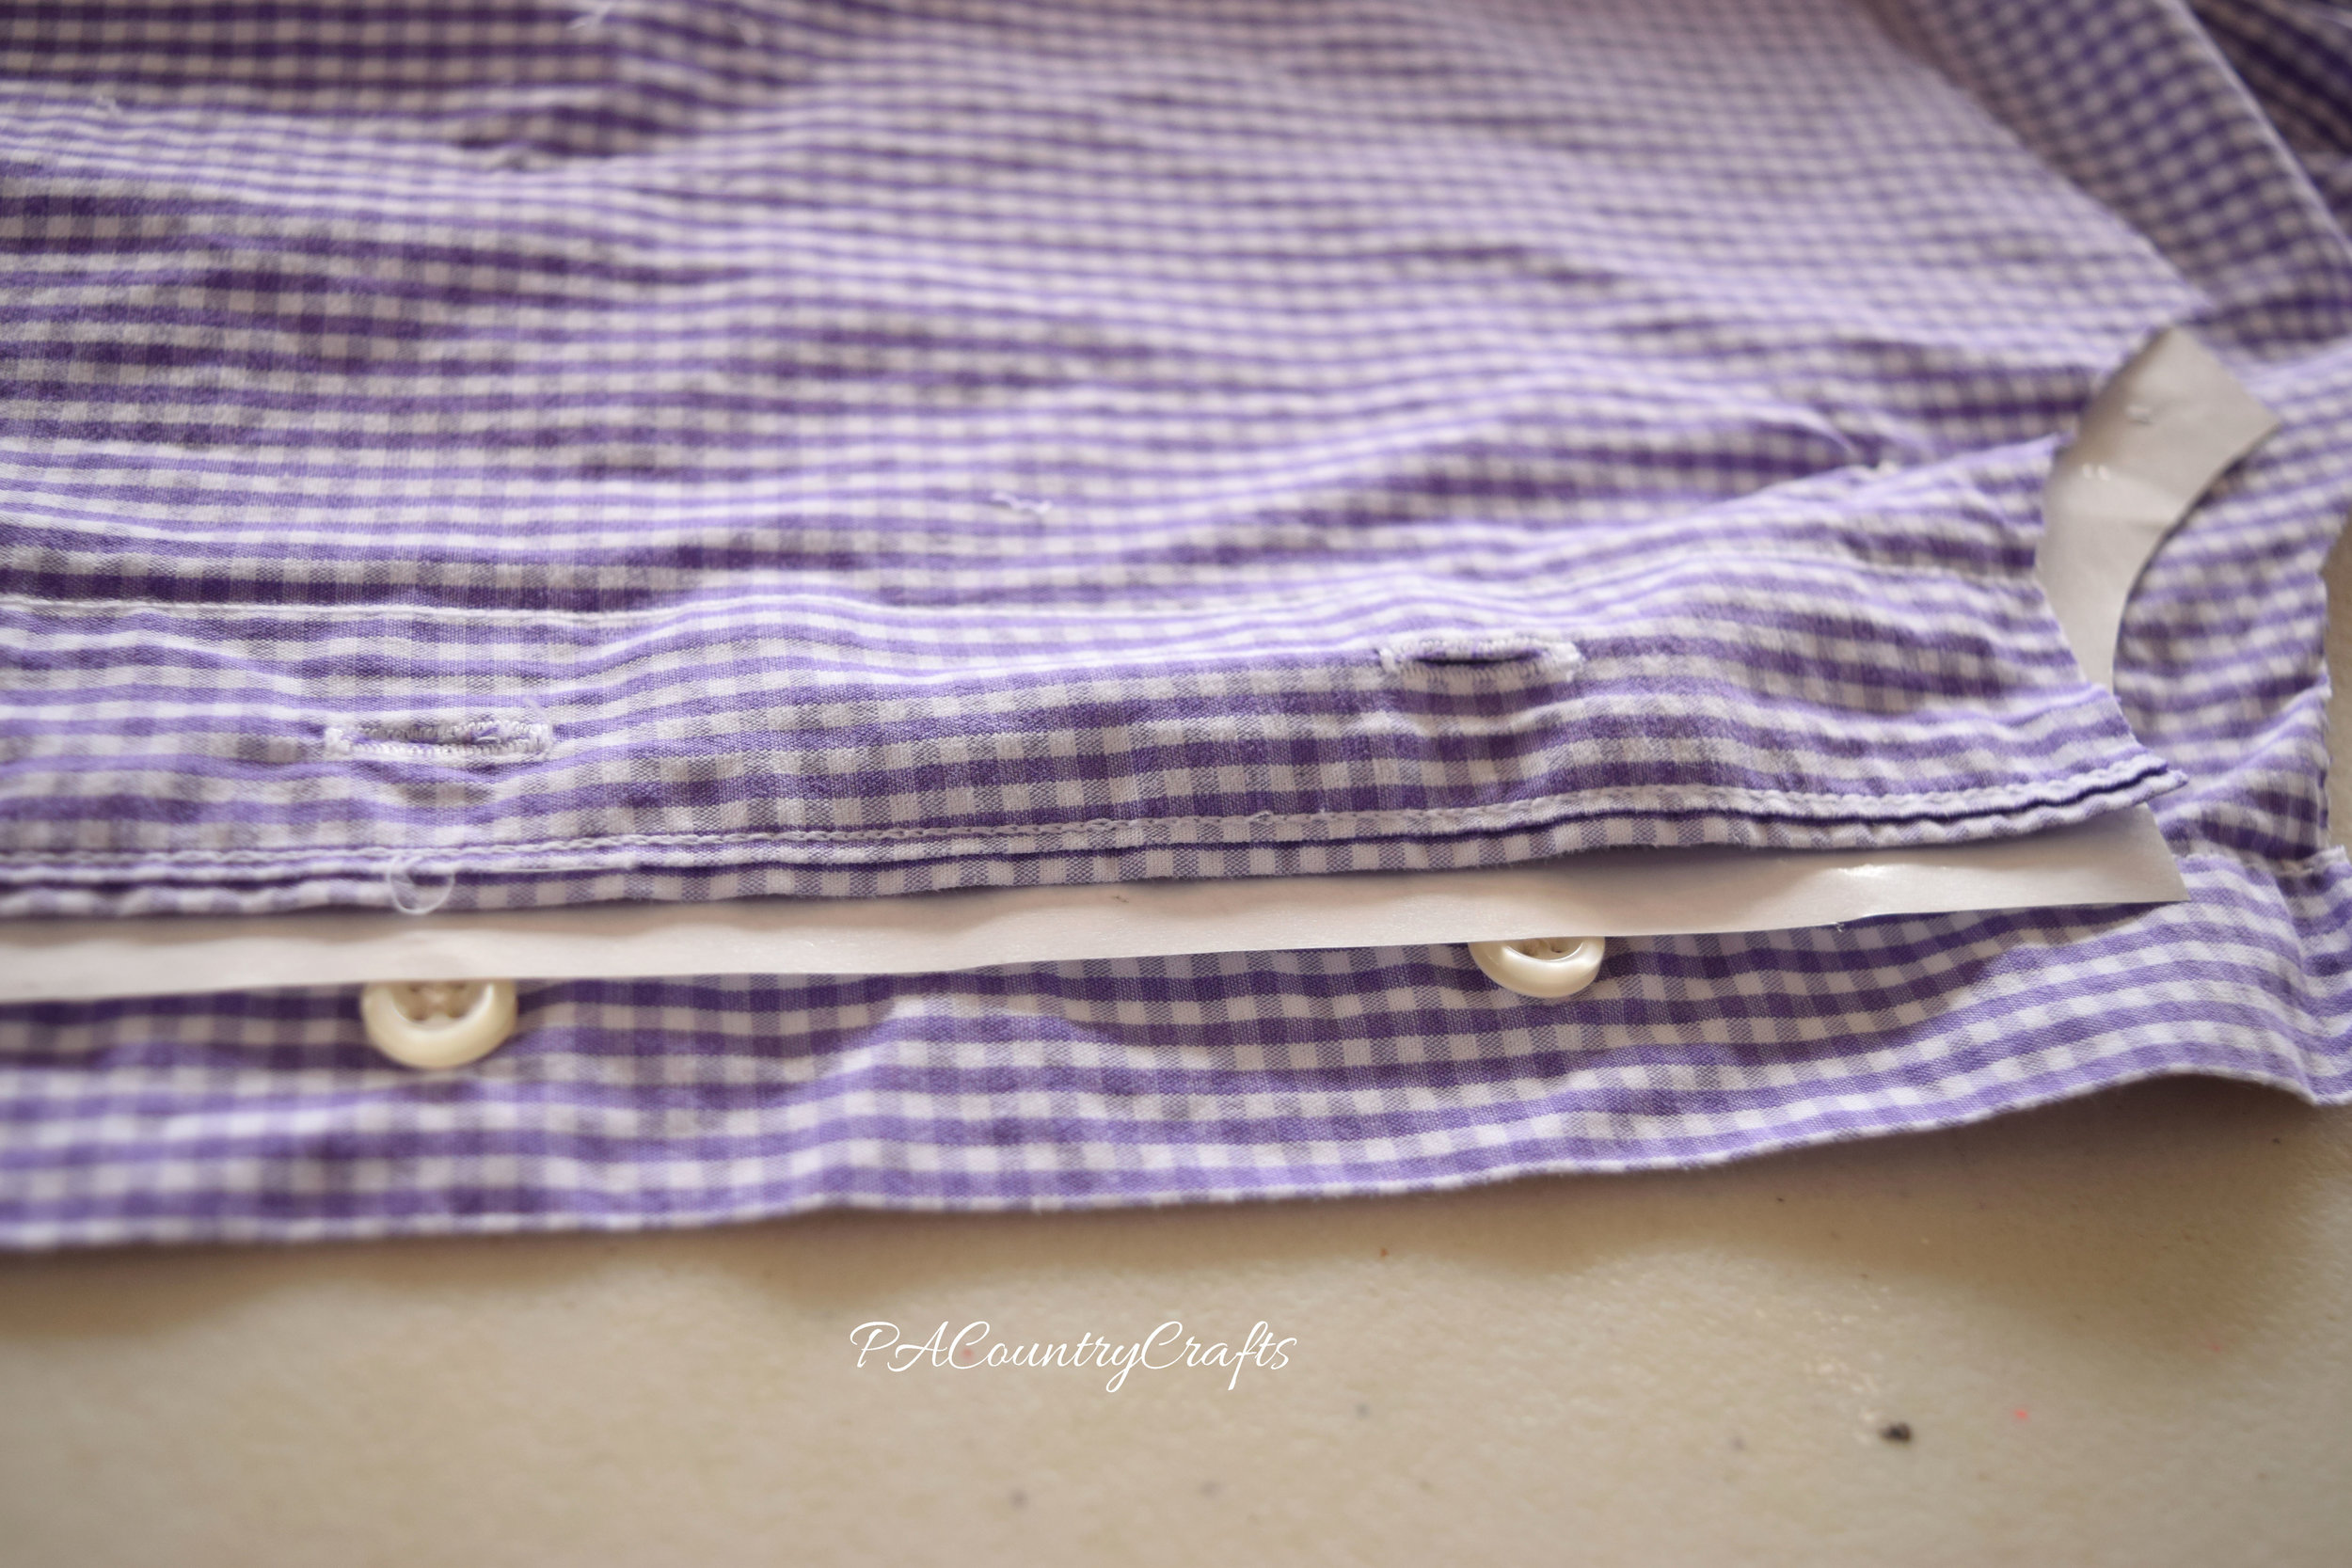
Being mindful of the buttonholes, I cut one front bodice piece out of one half of the shirt front...
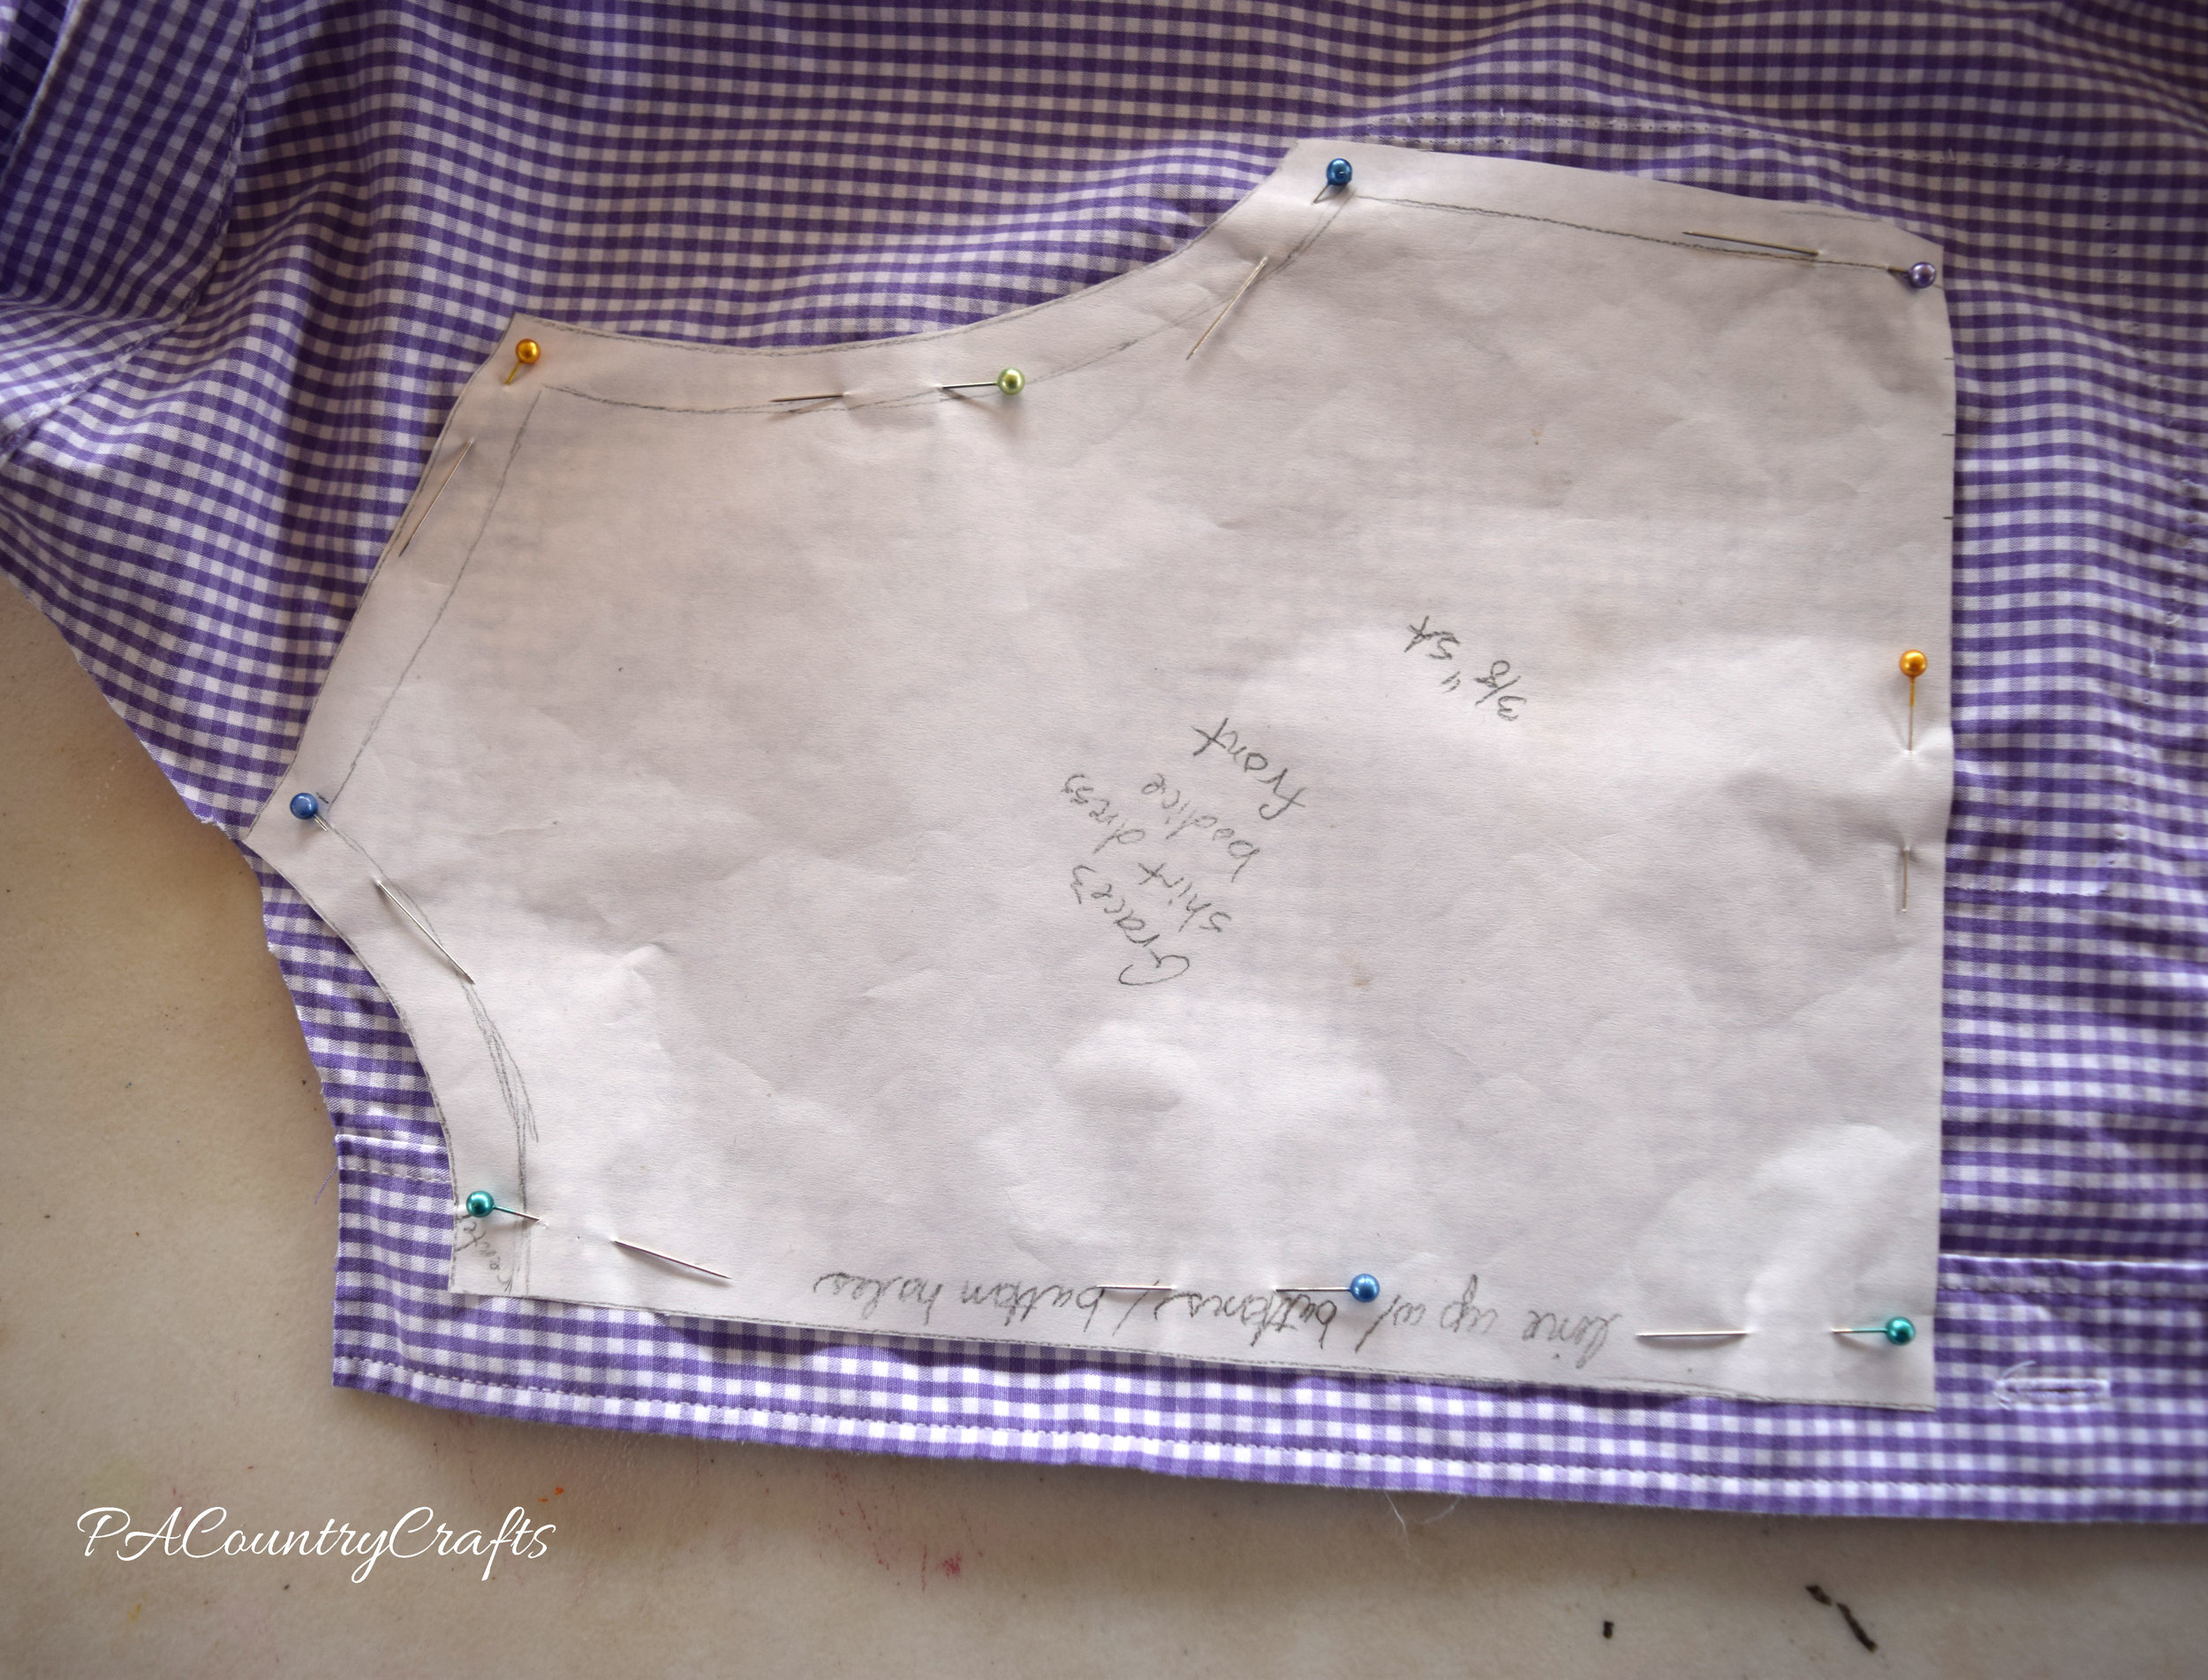
...and, lining the buttonholes up, cut the other half from the other side of the shirt front. Now, I ended up messing something up and having to make new buttonholes, but this would work if you don't make my airhead mistakes.
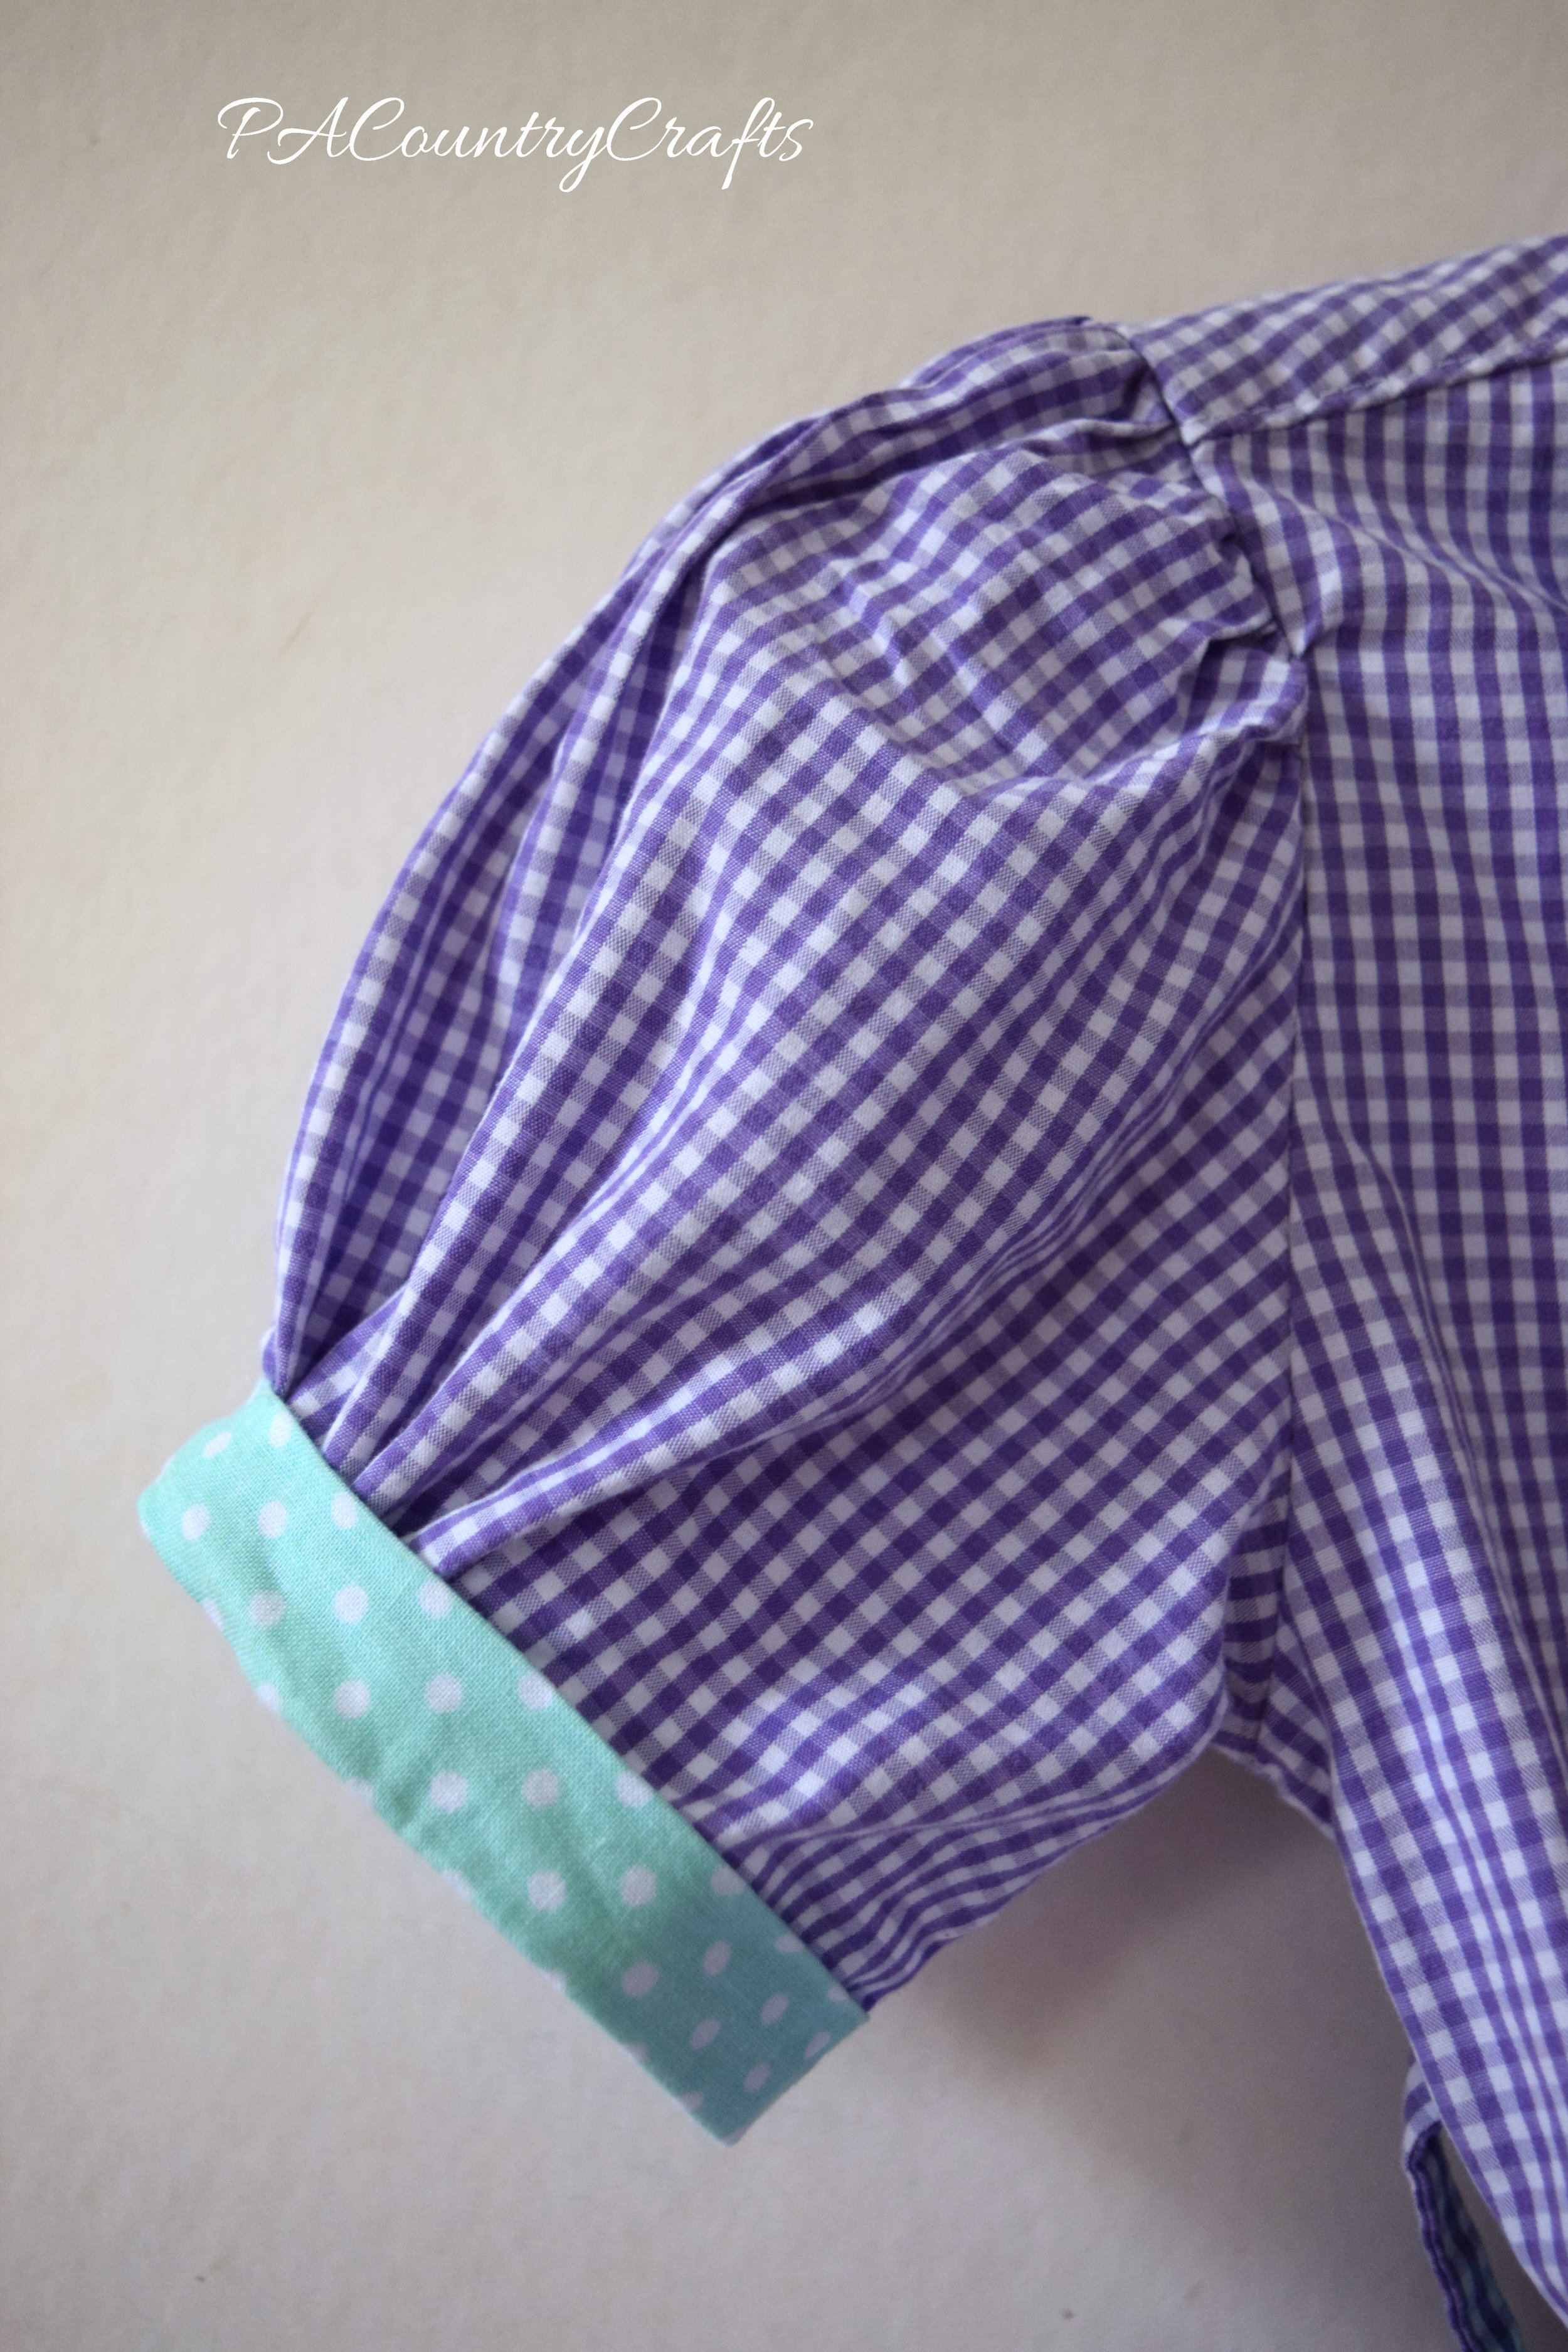
From the remaining sleeve, I cut both sleeves for the dress. I wanted to make longer sleeves, but she wanted shorter puffy ones. She was VERY specific about the sleeve length.
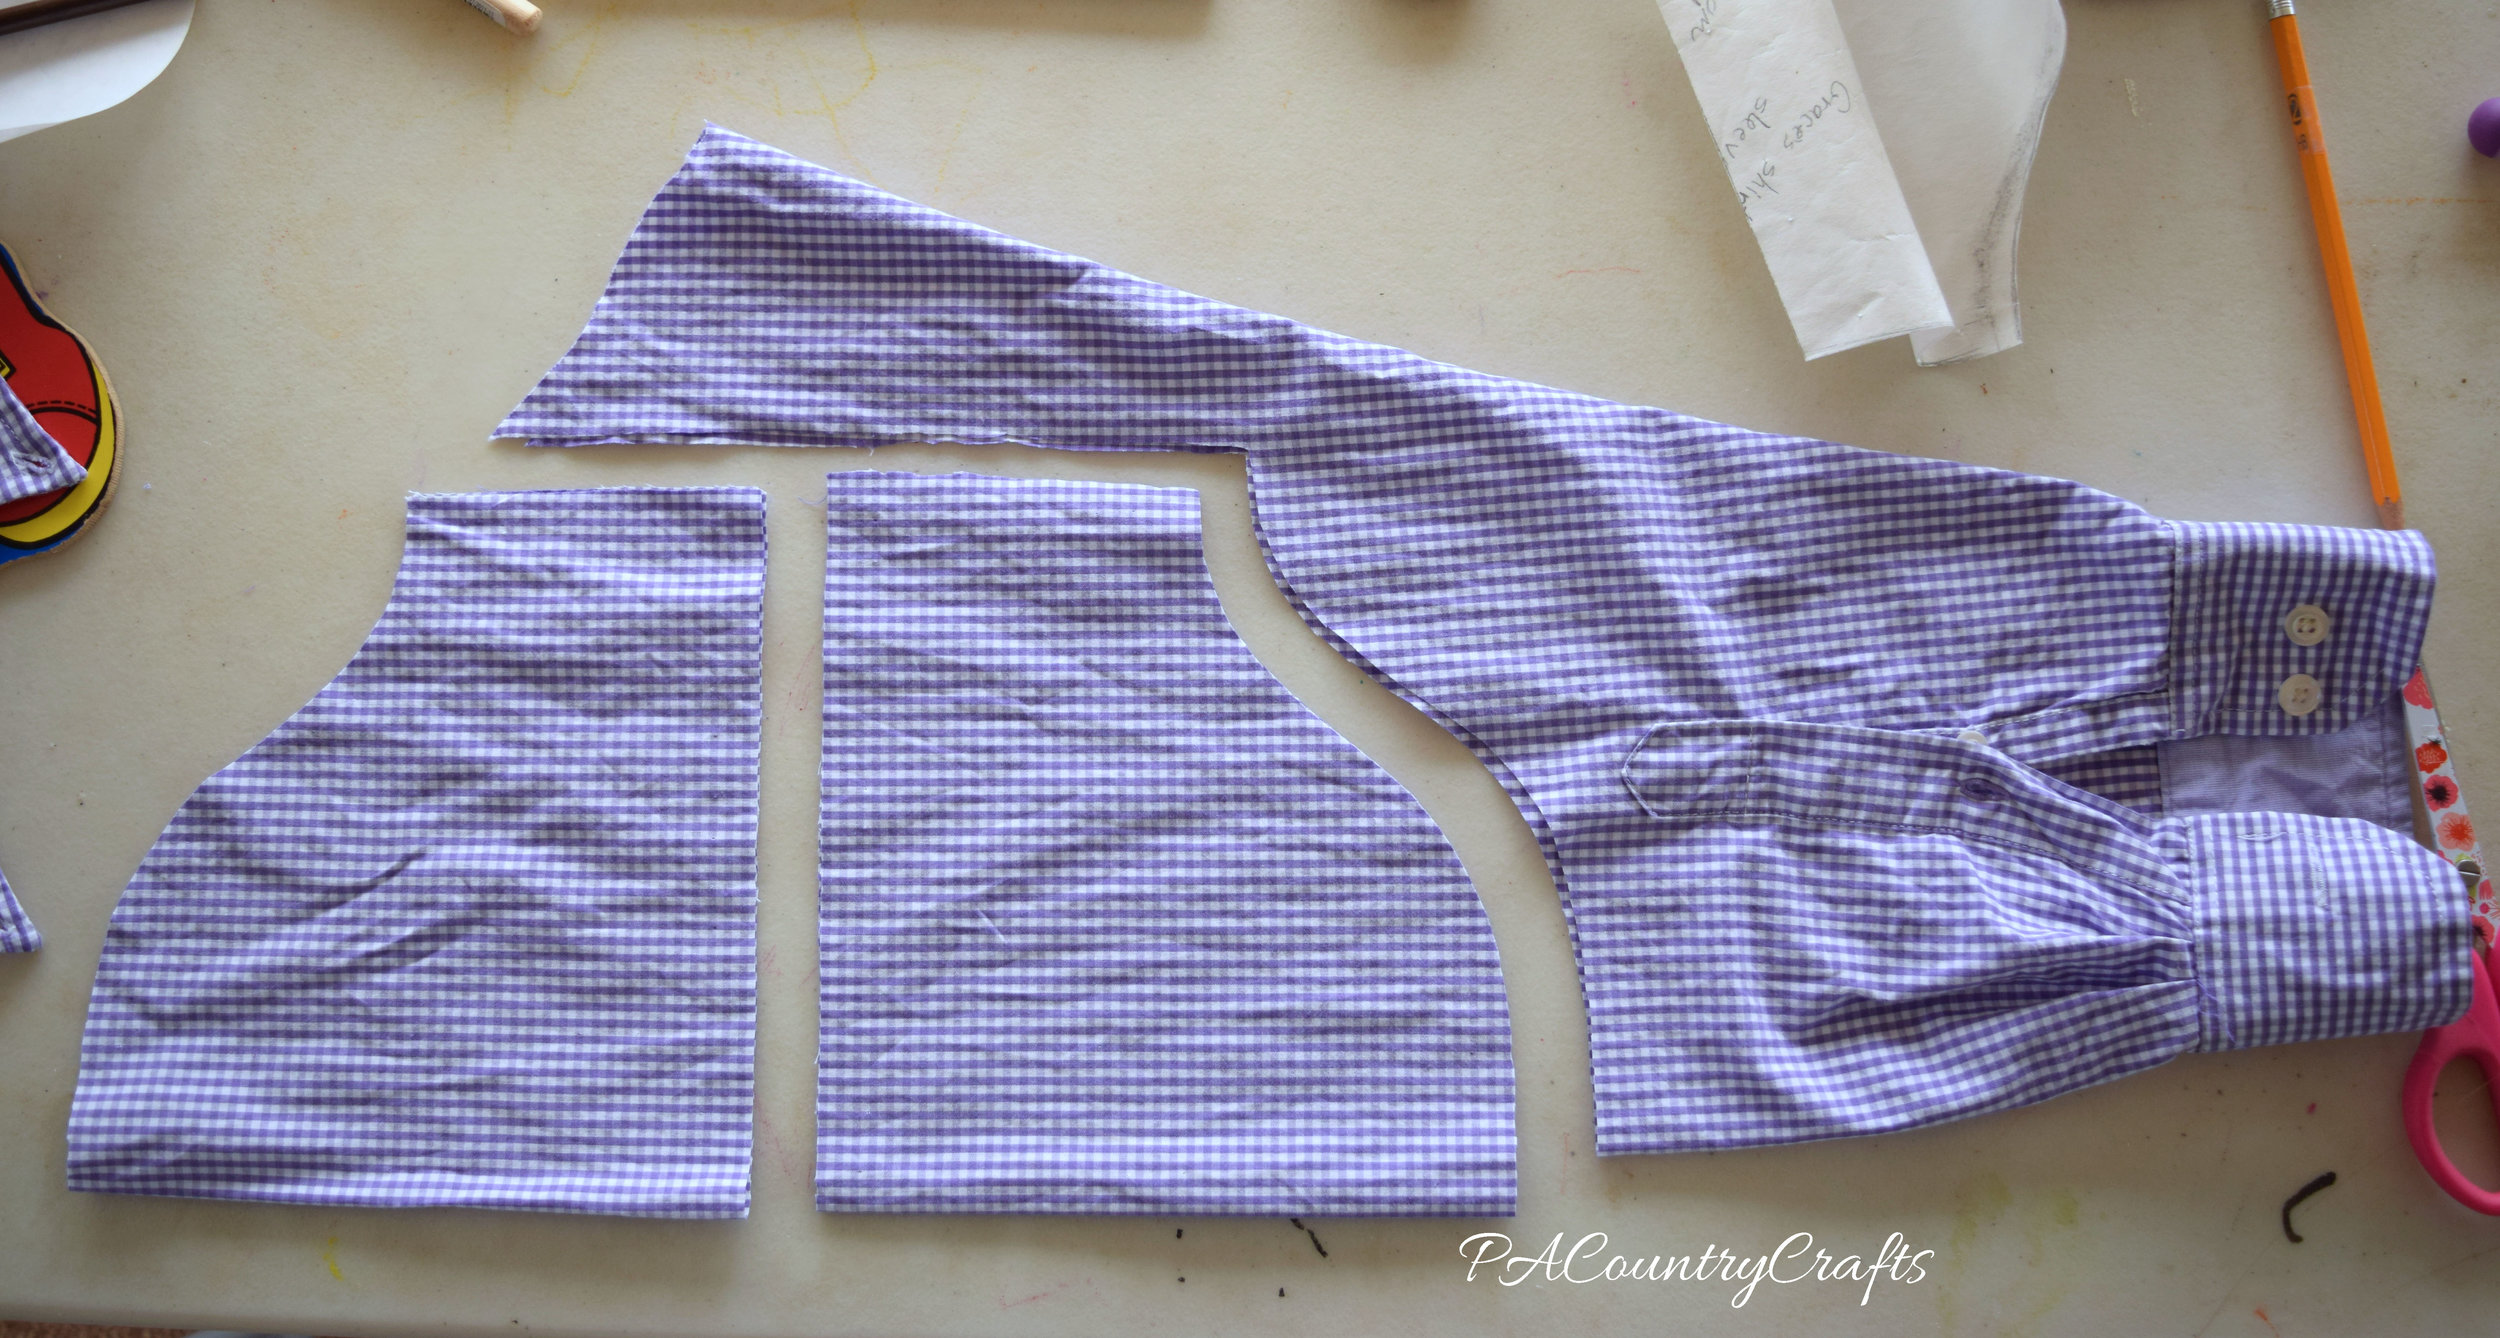
Finally, the skirt came from the bottom of the shirt. I also had small scraps to make the belt loops at the waist.
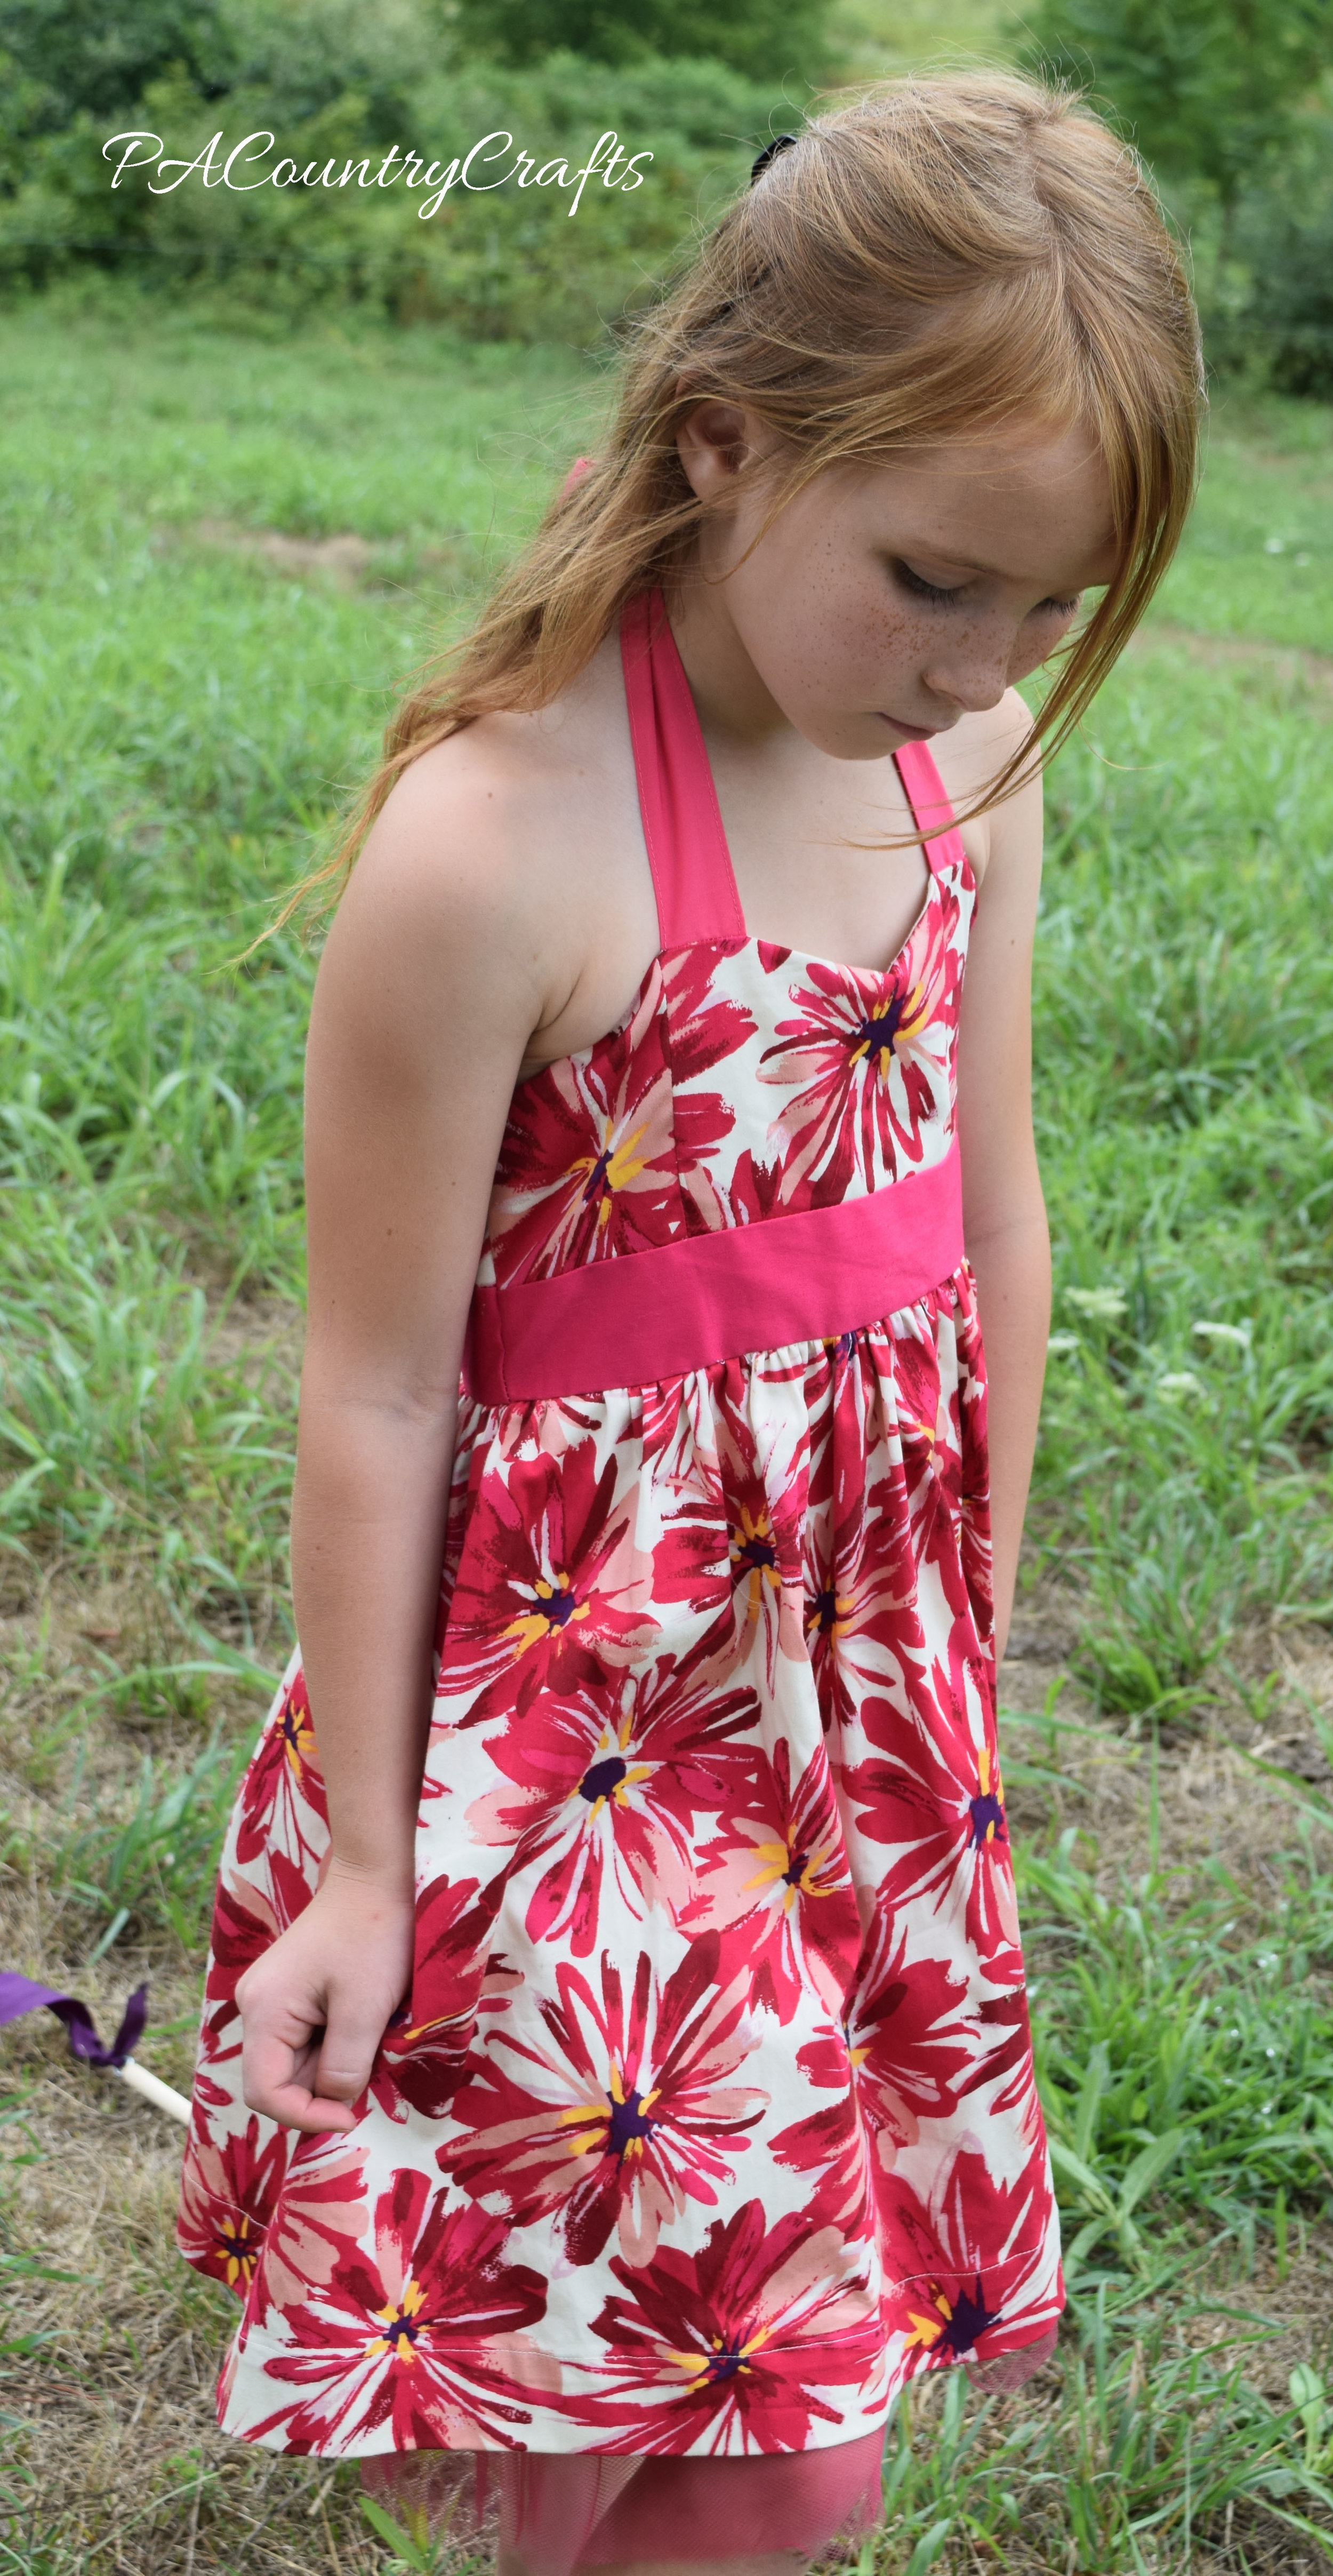
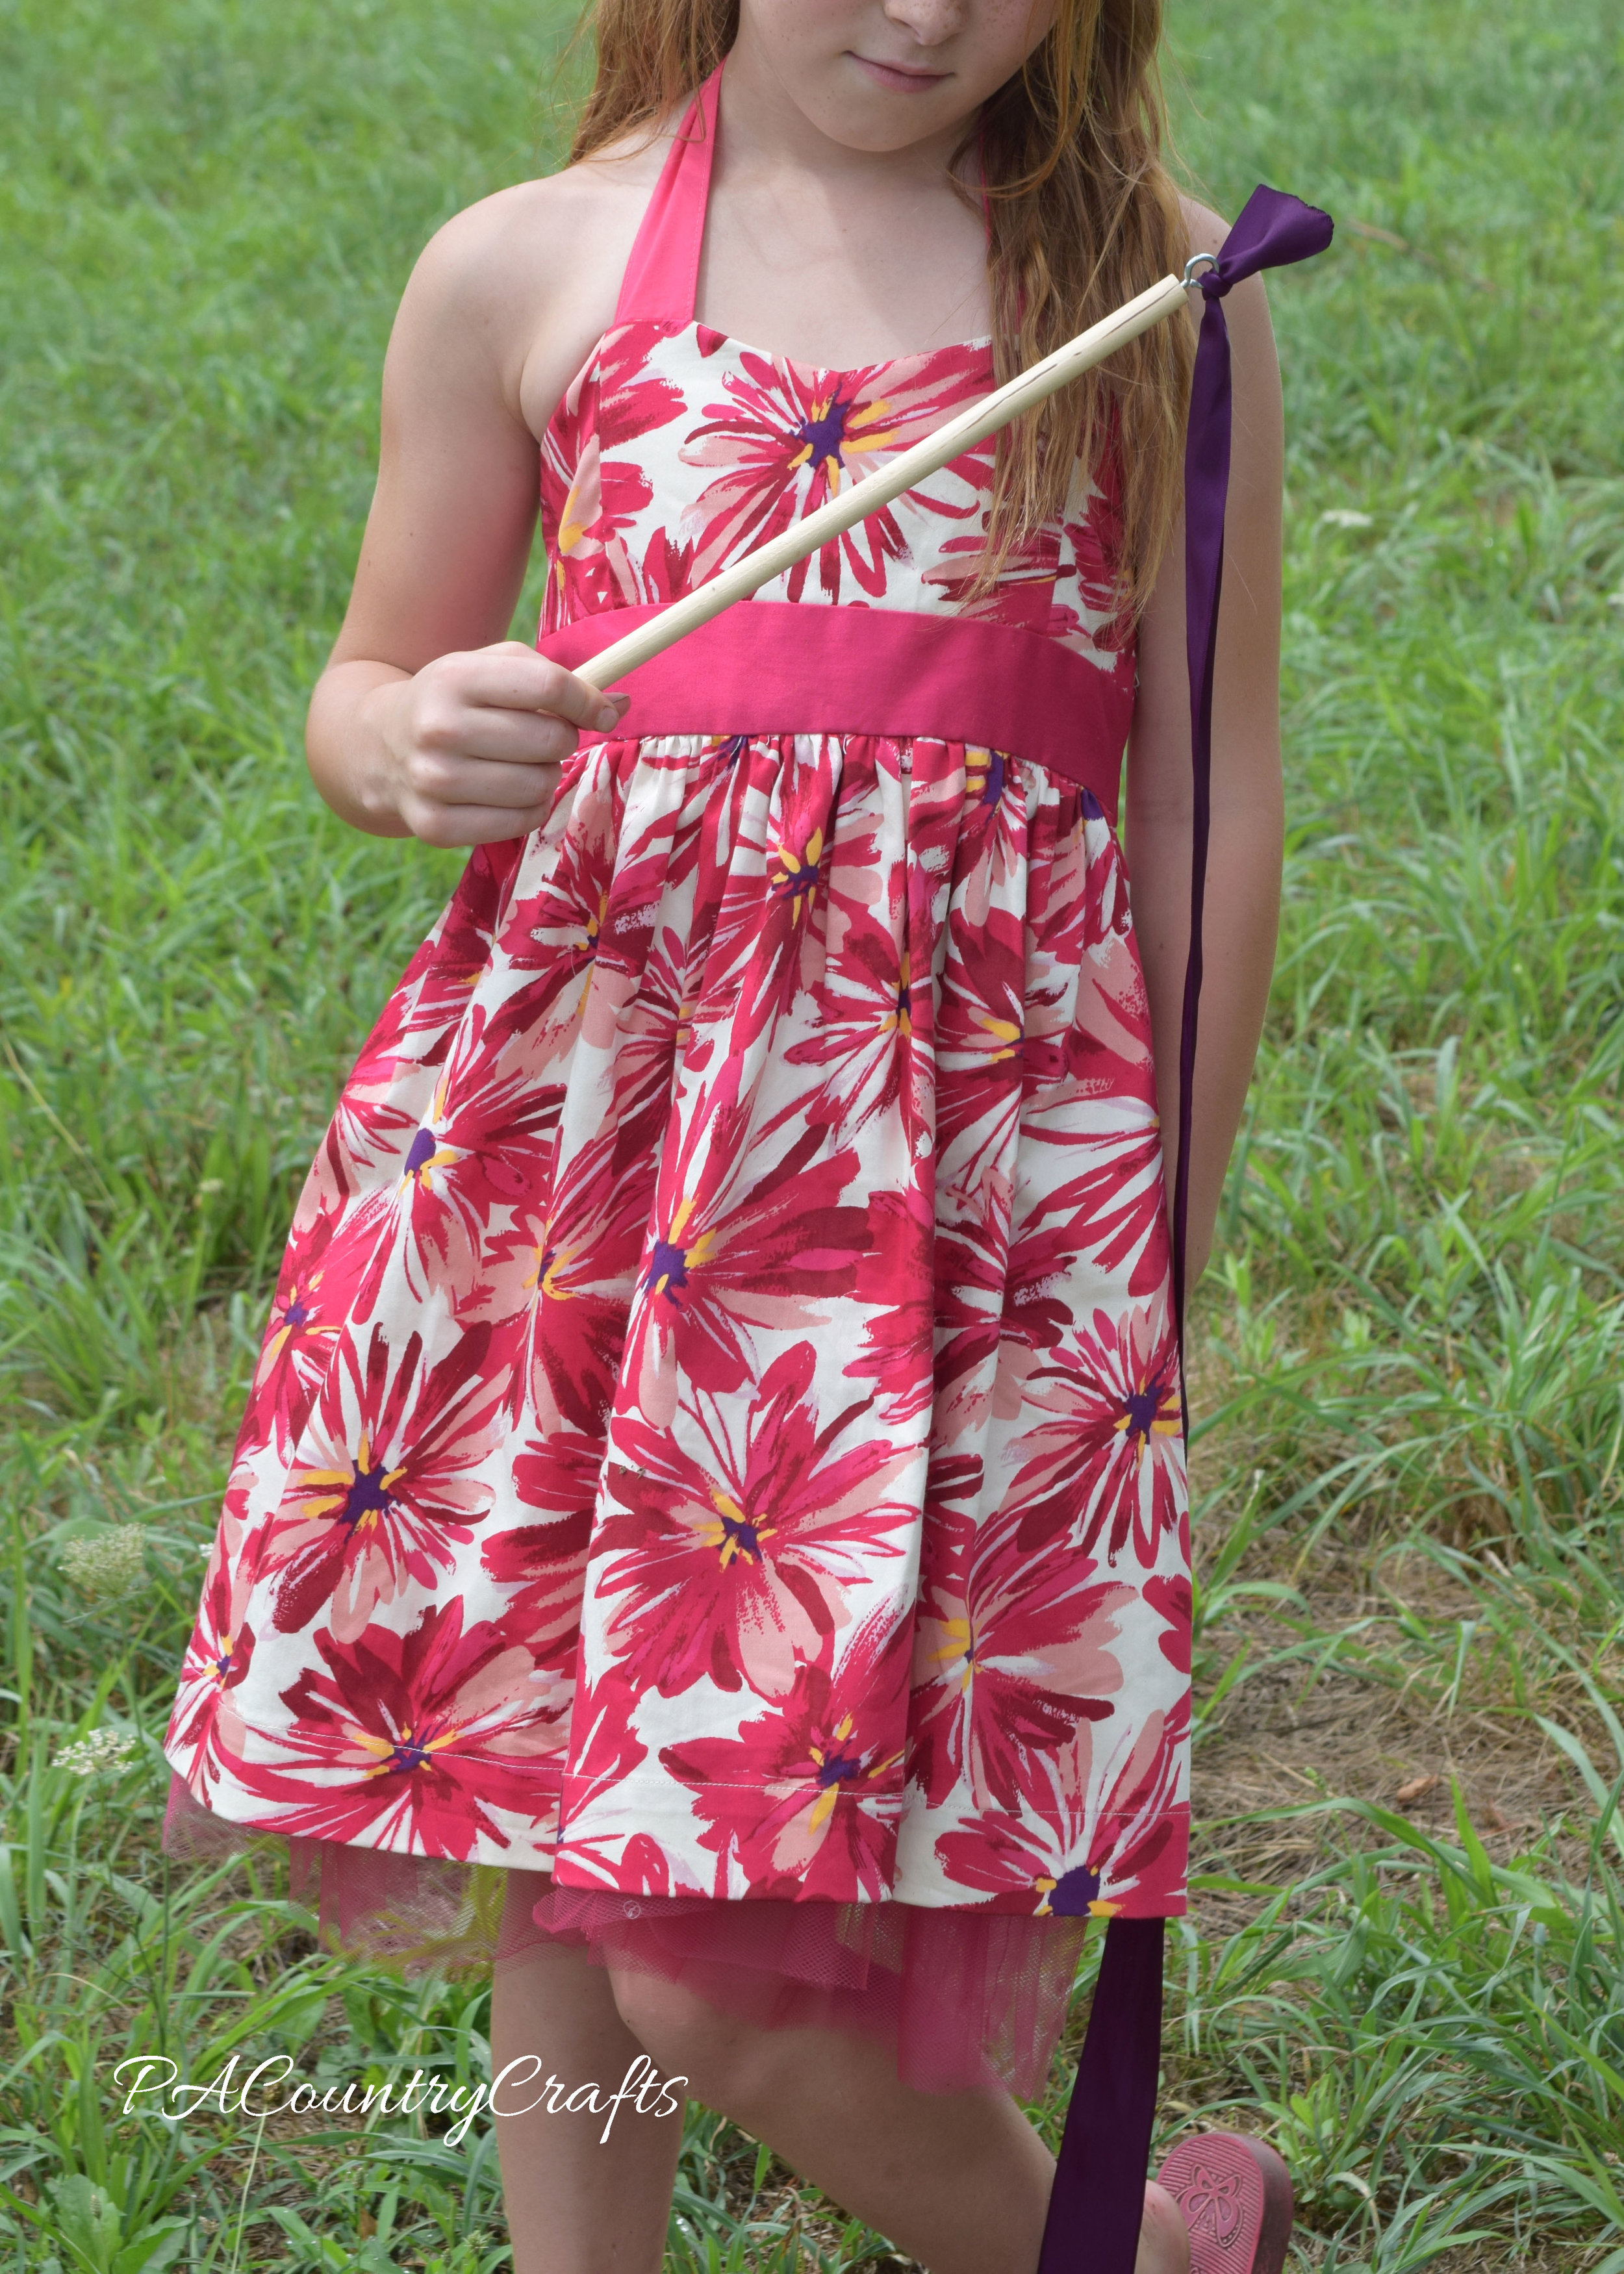
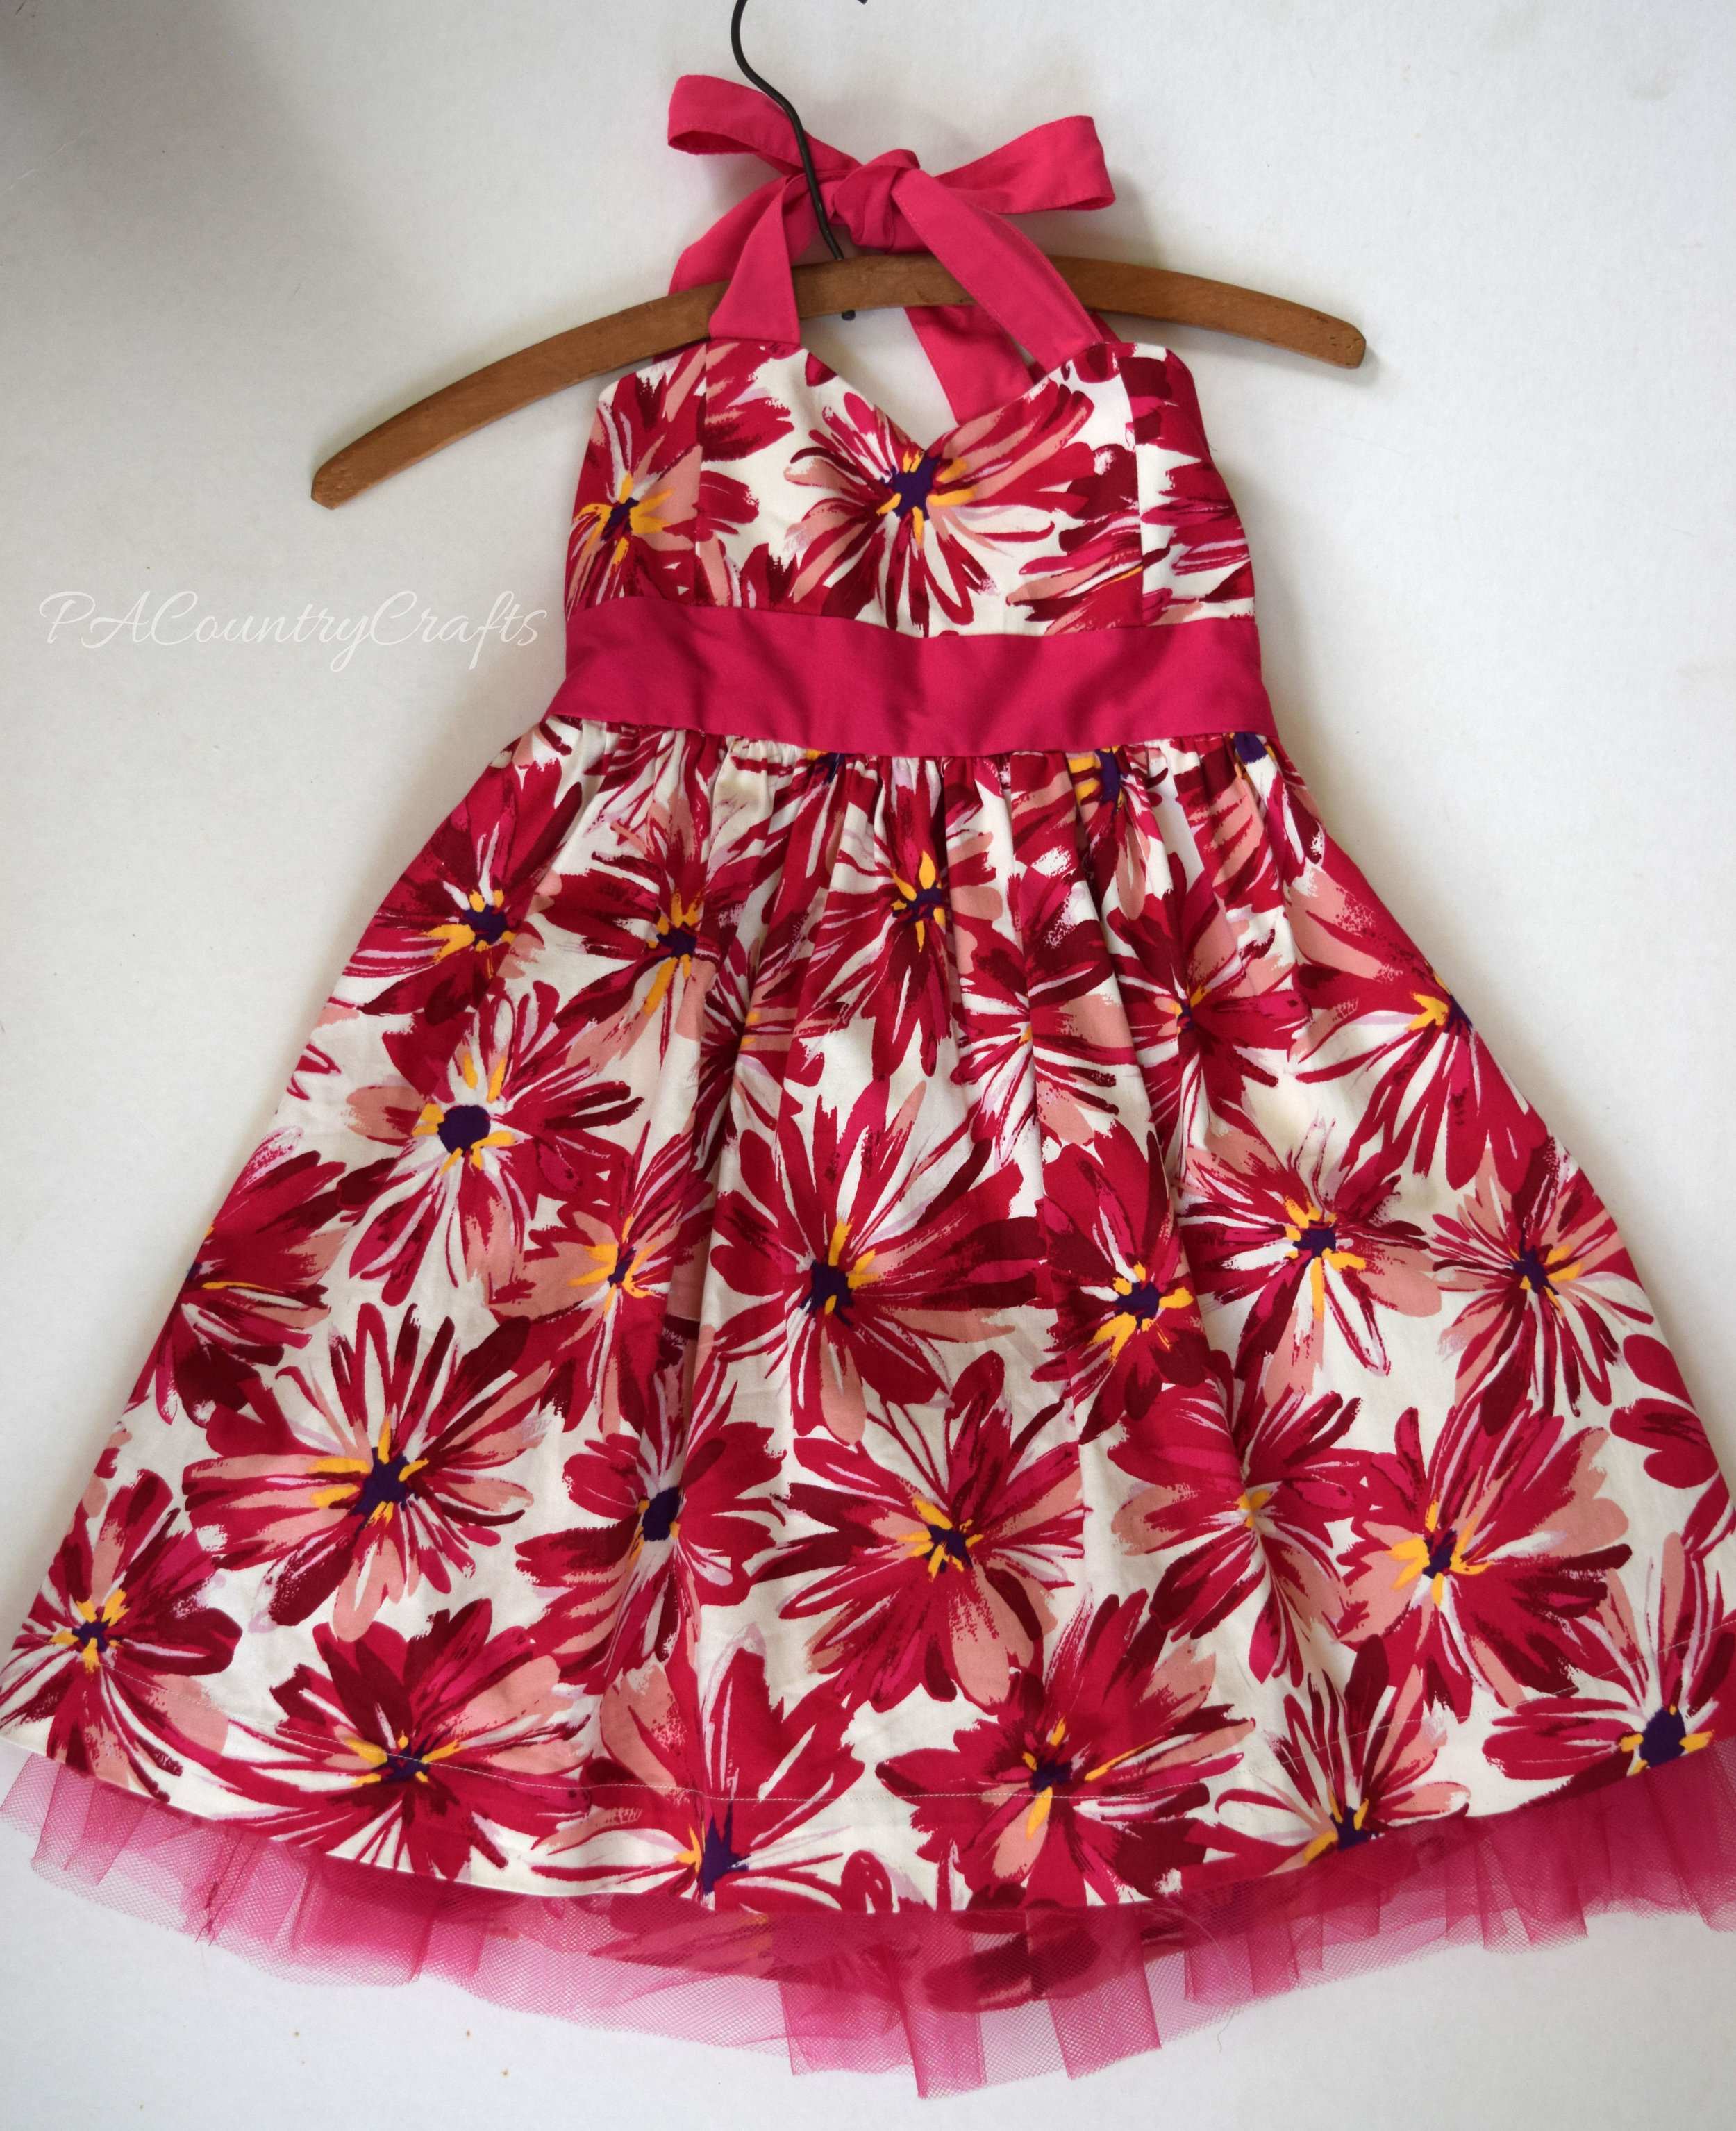
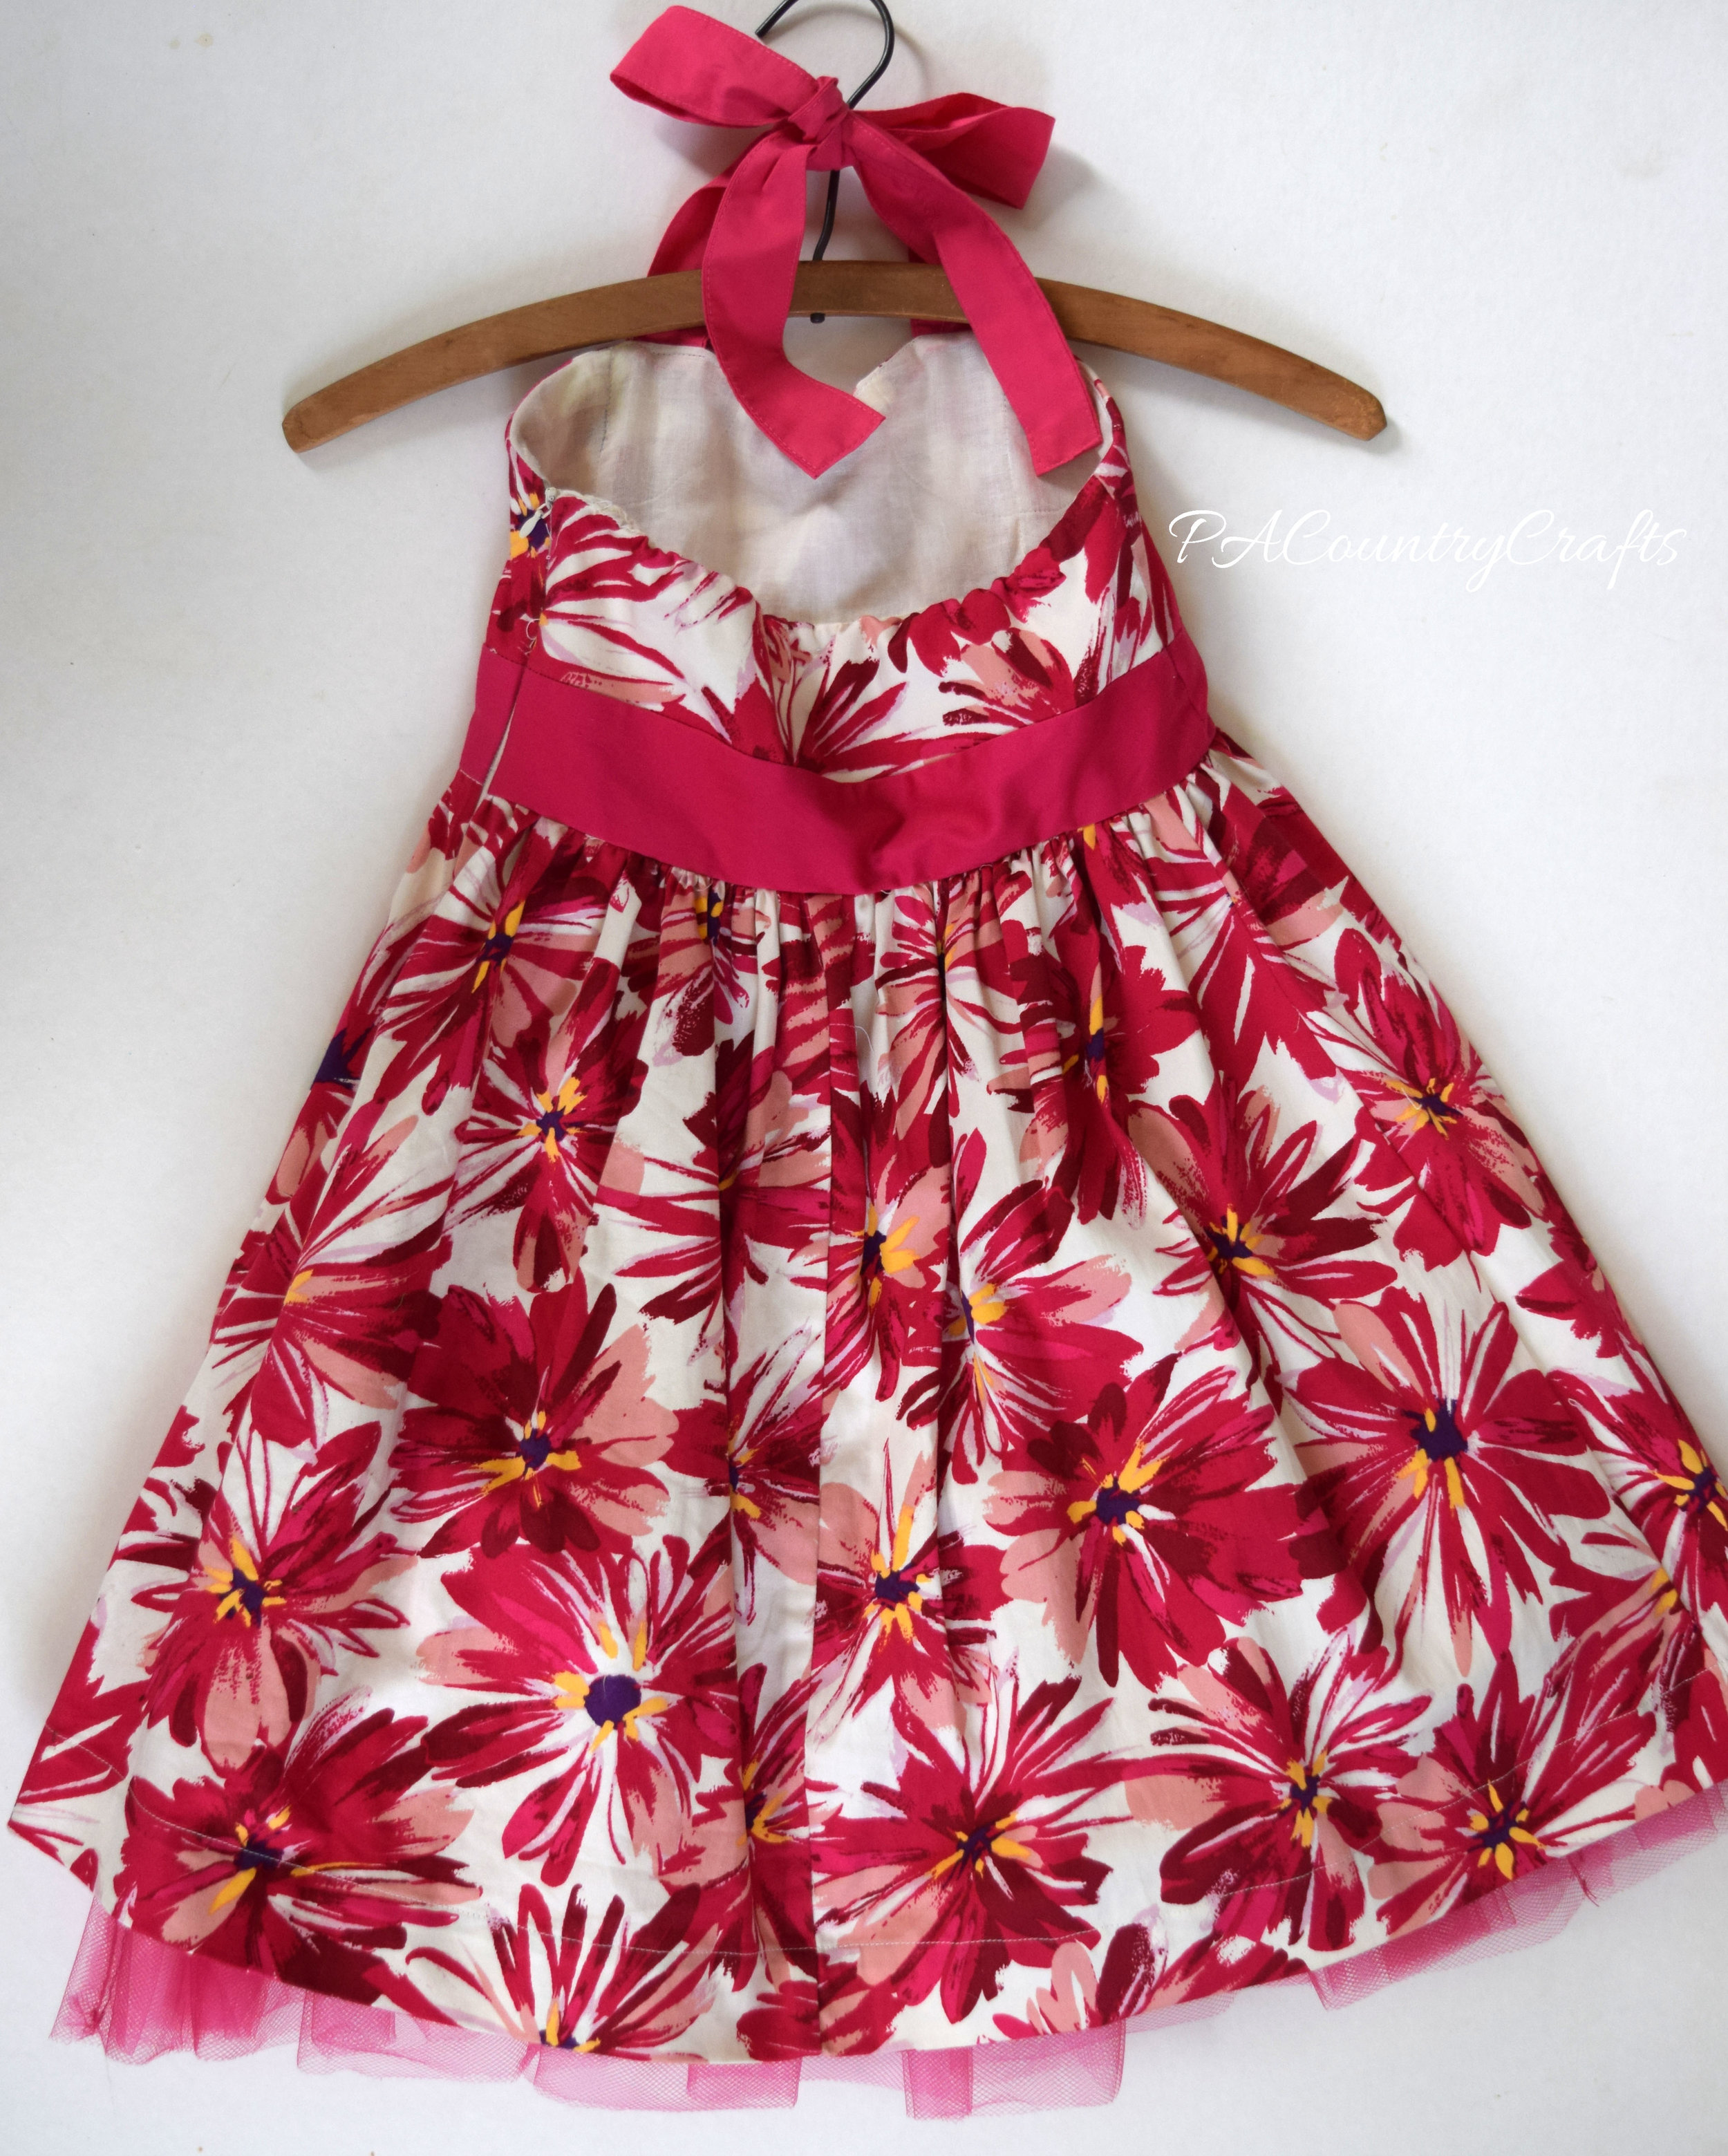
This dress was the least drastic transformation, but it required a lot more work than most of the other dresses to do it properly. It started out as a women's strapless dress, so I just had to remove the cups, take in and reshape the chest and sides, then add halter ties. However, it is fully lined and I ended up ripping the whole thing apart so it wasn't as easy as it looks. It turned out really cute and fits her really well, though.
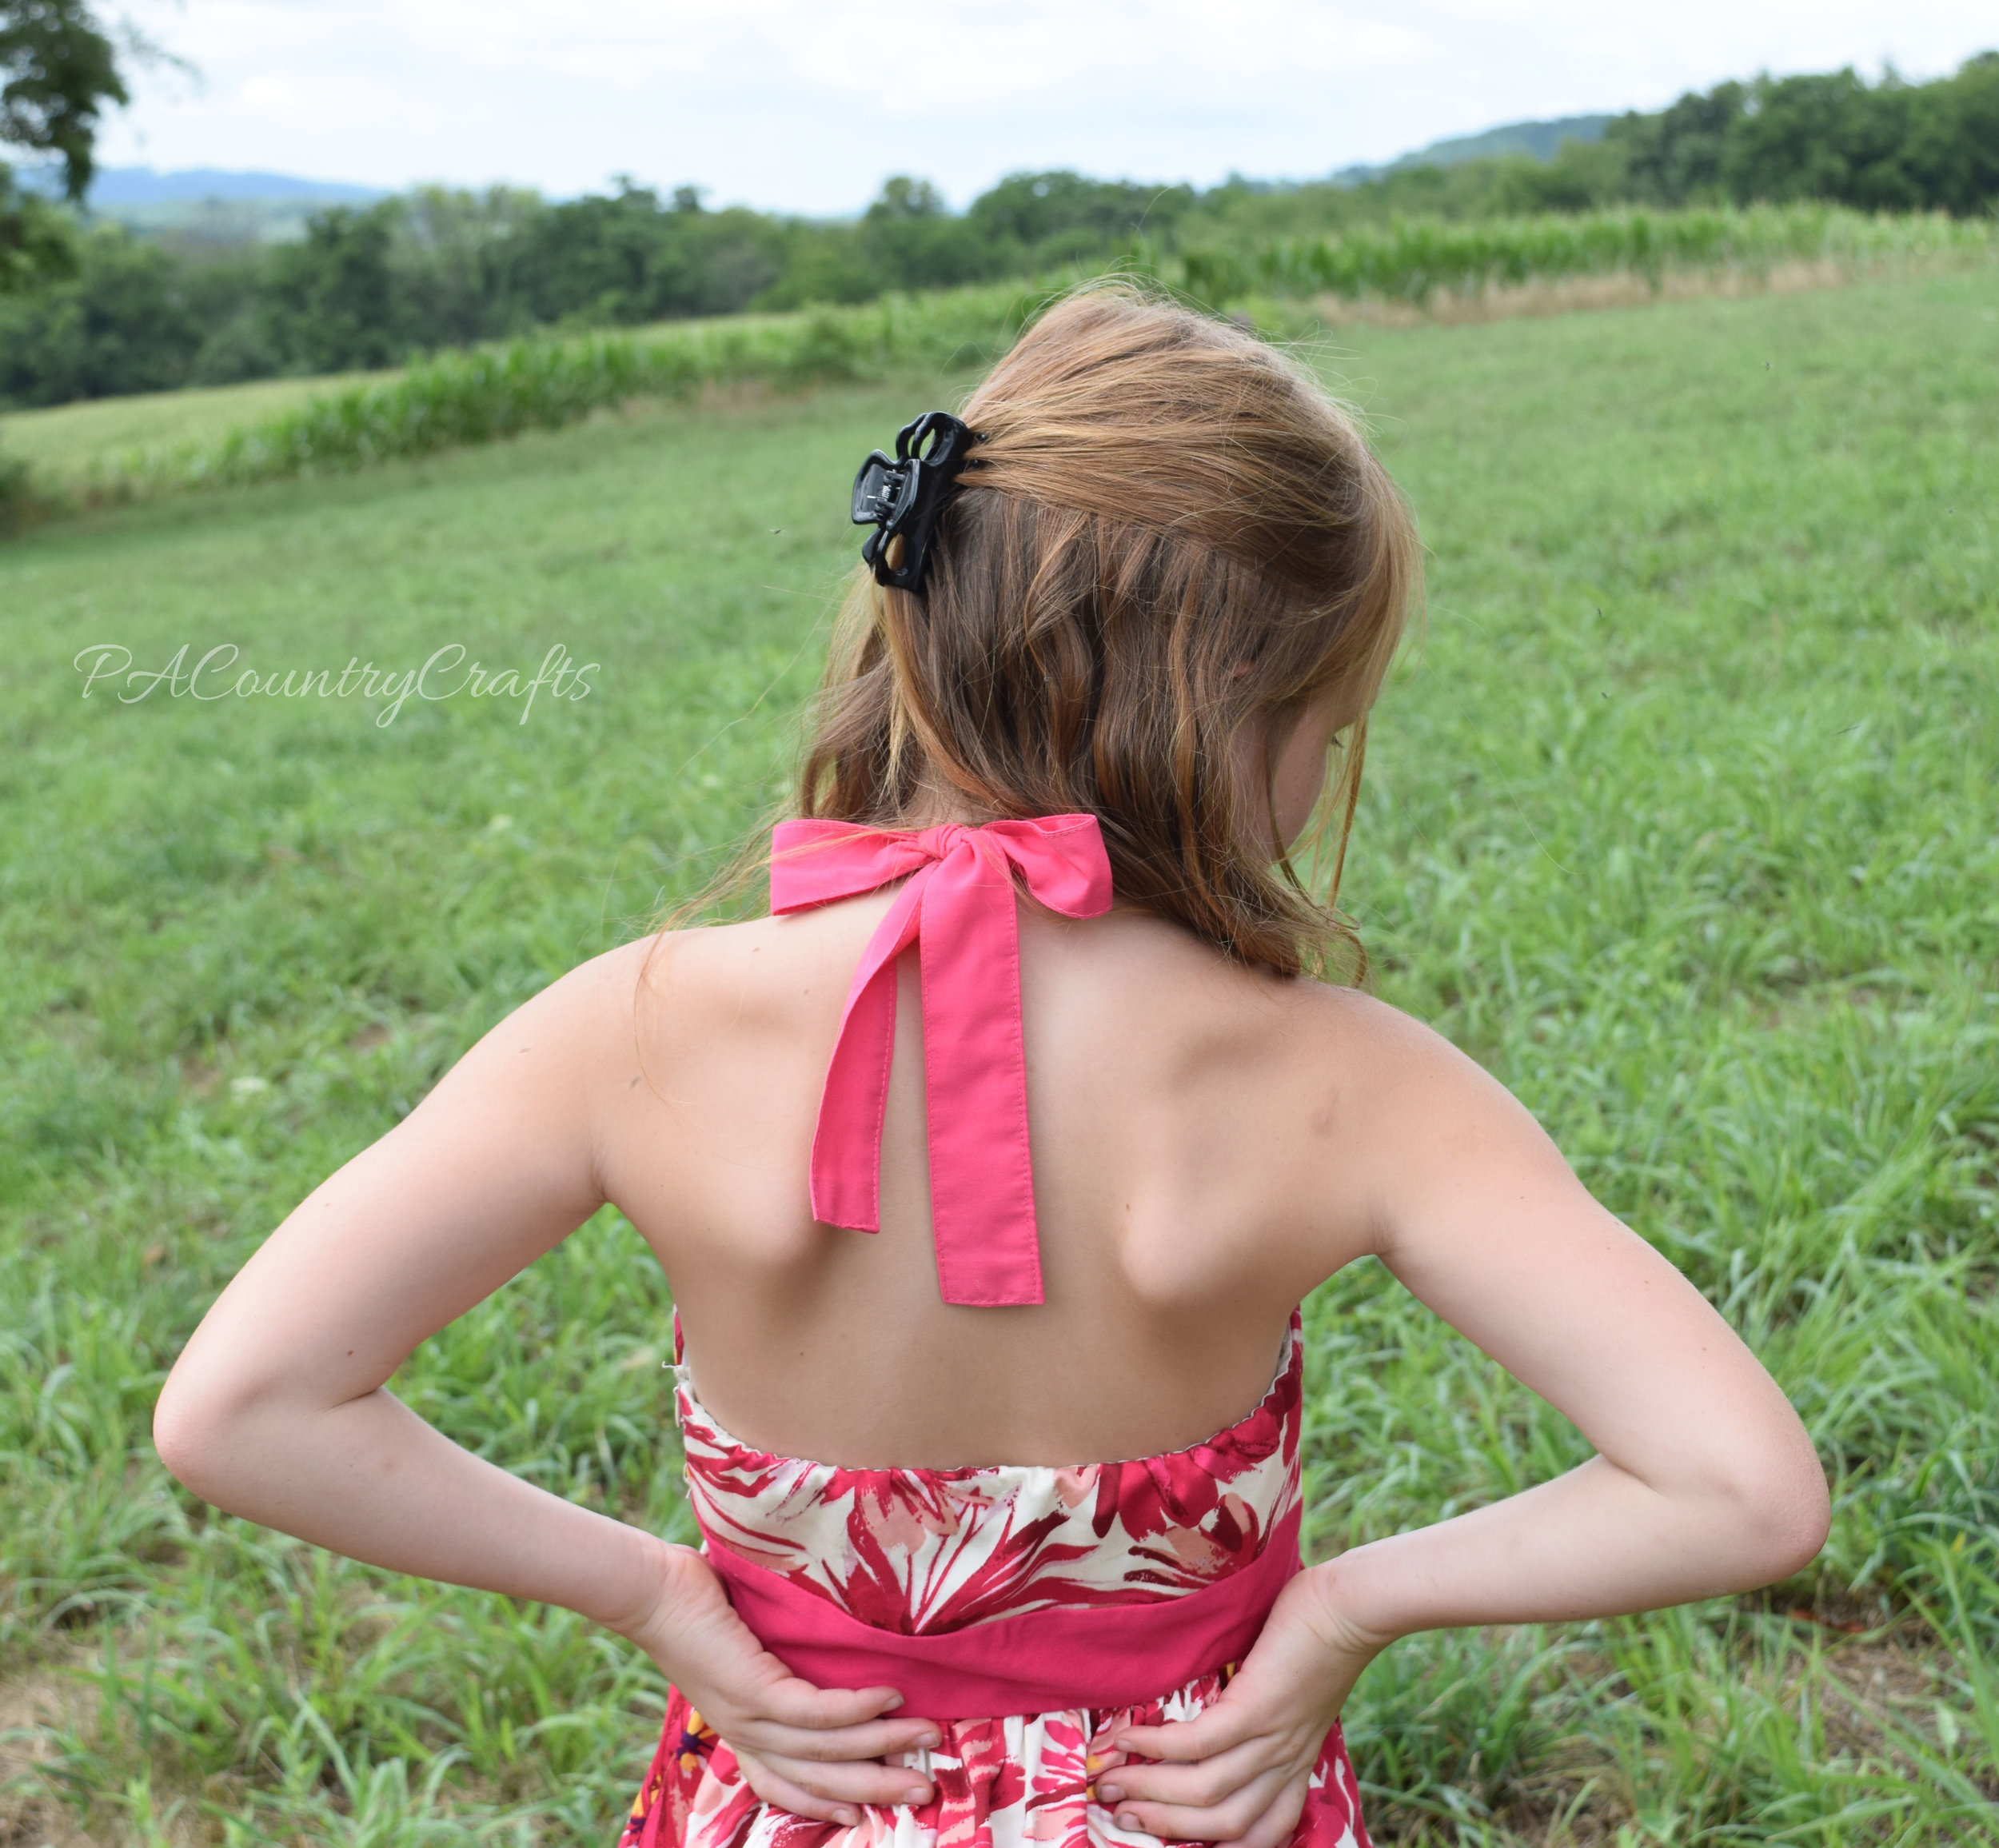 I like the idea of thinking outside the box and even if something doesn't fit or has features you don't like, you can redesign it and make it work for you. There are a lot of possibilities when refashioning clothing.
 Link Parties where I sometimes hang out…
This dress was so simple to make, but my daughter loves it! The top is sparkly, the bottom is silky, it has a nice drape, and it is comfortable.

The outside is made from a women's sparkly tank and the lining is made from a women's T shirt. The top was constructed using the Uptown/Downtown Dress pattern. This pattern is great for knit fabrics! I have used it several times just to save myself the hassle of drafting my own pattern for something so simple.

She wanted the skirt to be a high-low hem, but I messed up, so it isn't. It is made of fabric I got at a yard sale or something and I didn't even bother to hem it.


I was really happy with how neat and tidy it looks on the outside and inside. I used a "burrito" method to sew around the arms.

Overall, I like the simple design of this dress because it lets the beautiful fabrics stand out. I had everything on hand and didn't have to buy anything, which makes it even better!

I am a little behind. That is the story of my life. I ran out of steam and didn't finish the Easter dresses in time for Easter this year. I decided a happy mom spending time with her kids was better than a grumpy one frantically sewing. So, I finished them when I felt like it. The last one didn't get done until July 30.
And that is OK.
My "theme" this year was "upcycled" so this dress was constructed of a thrifted sheet.
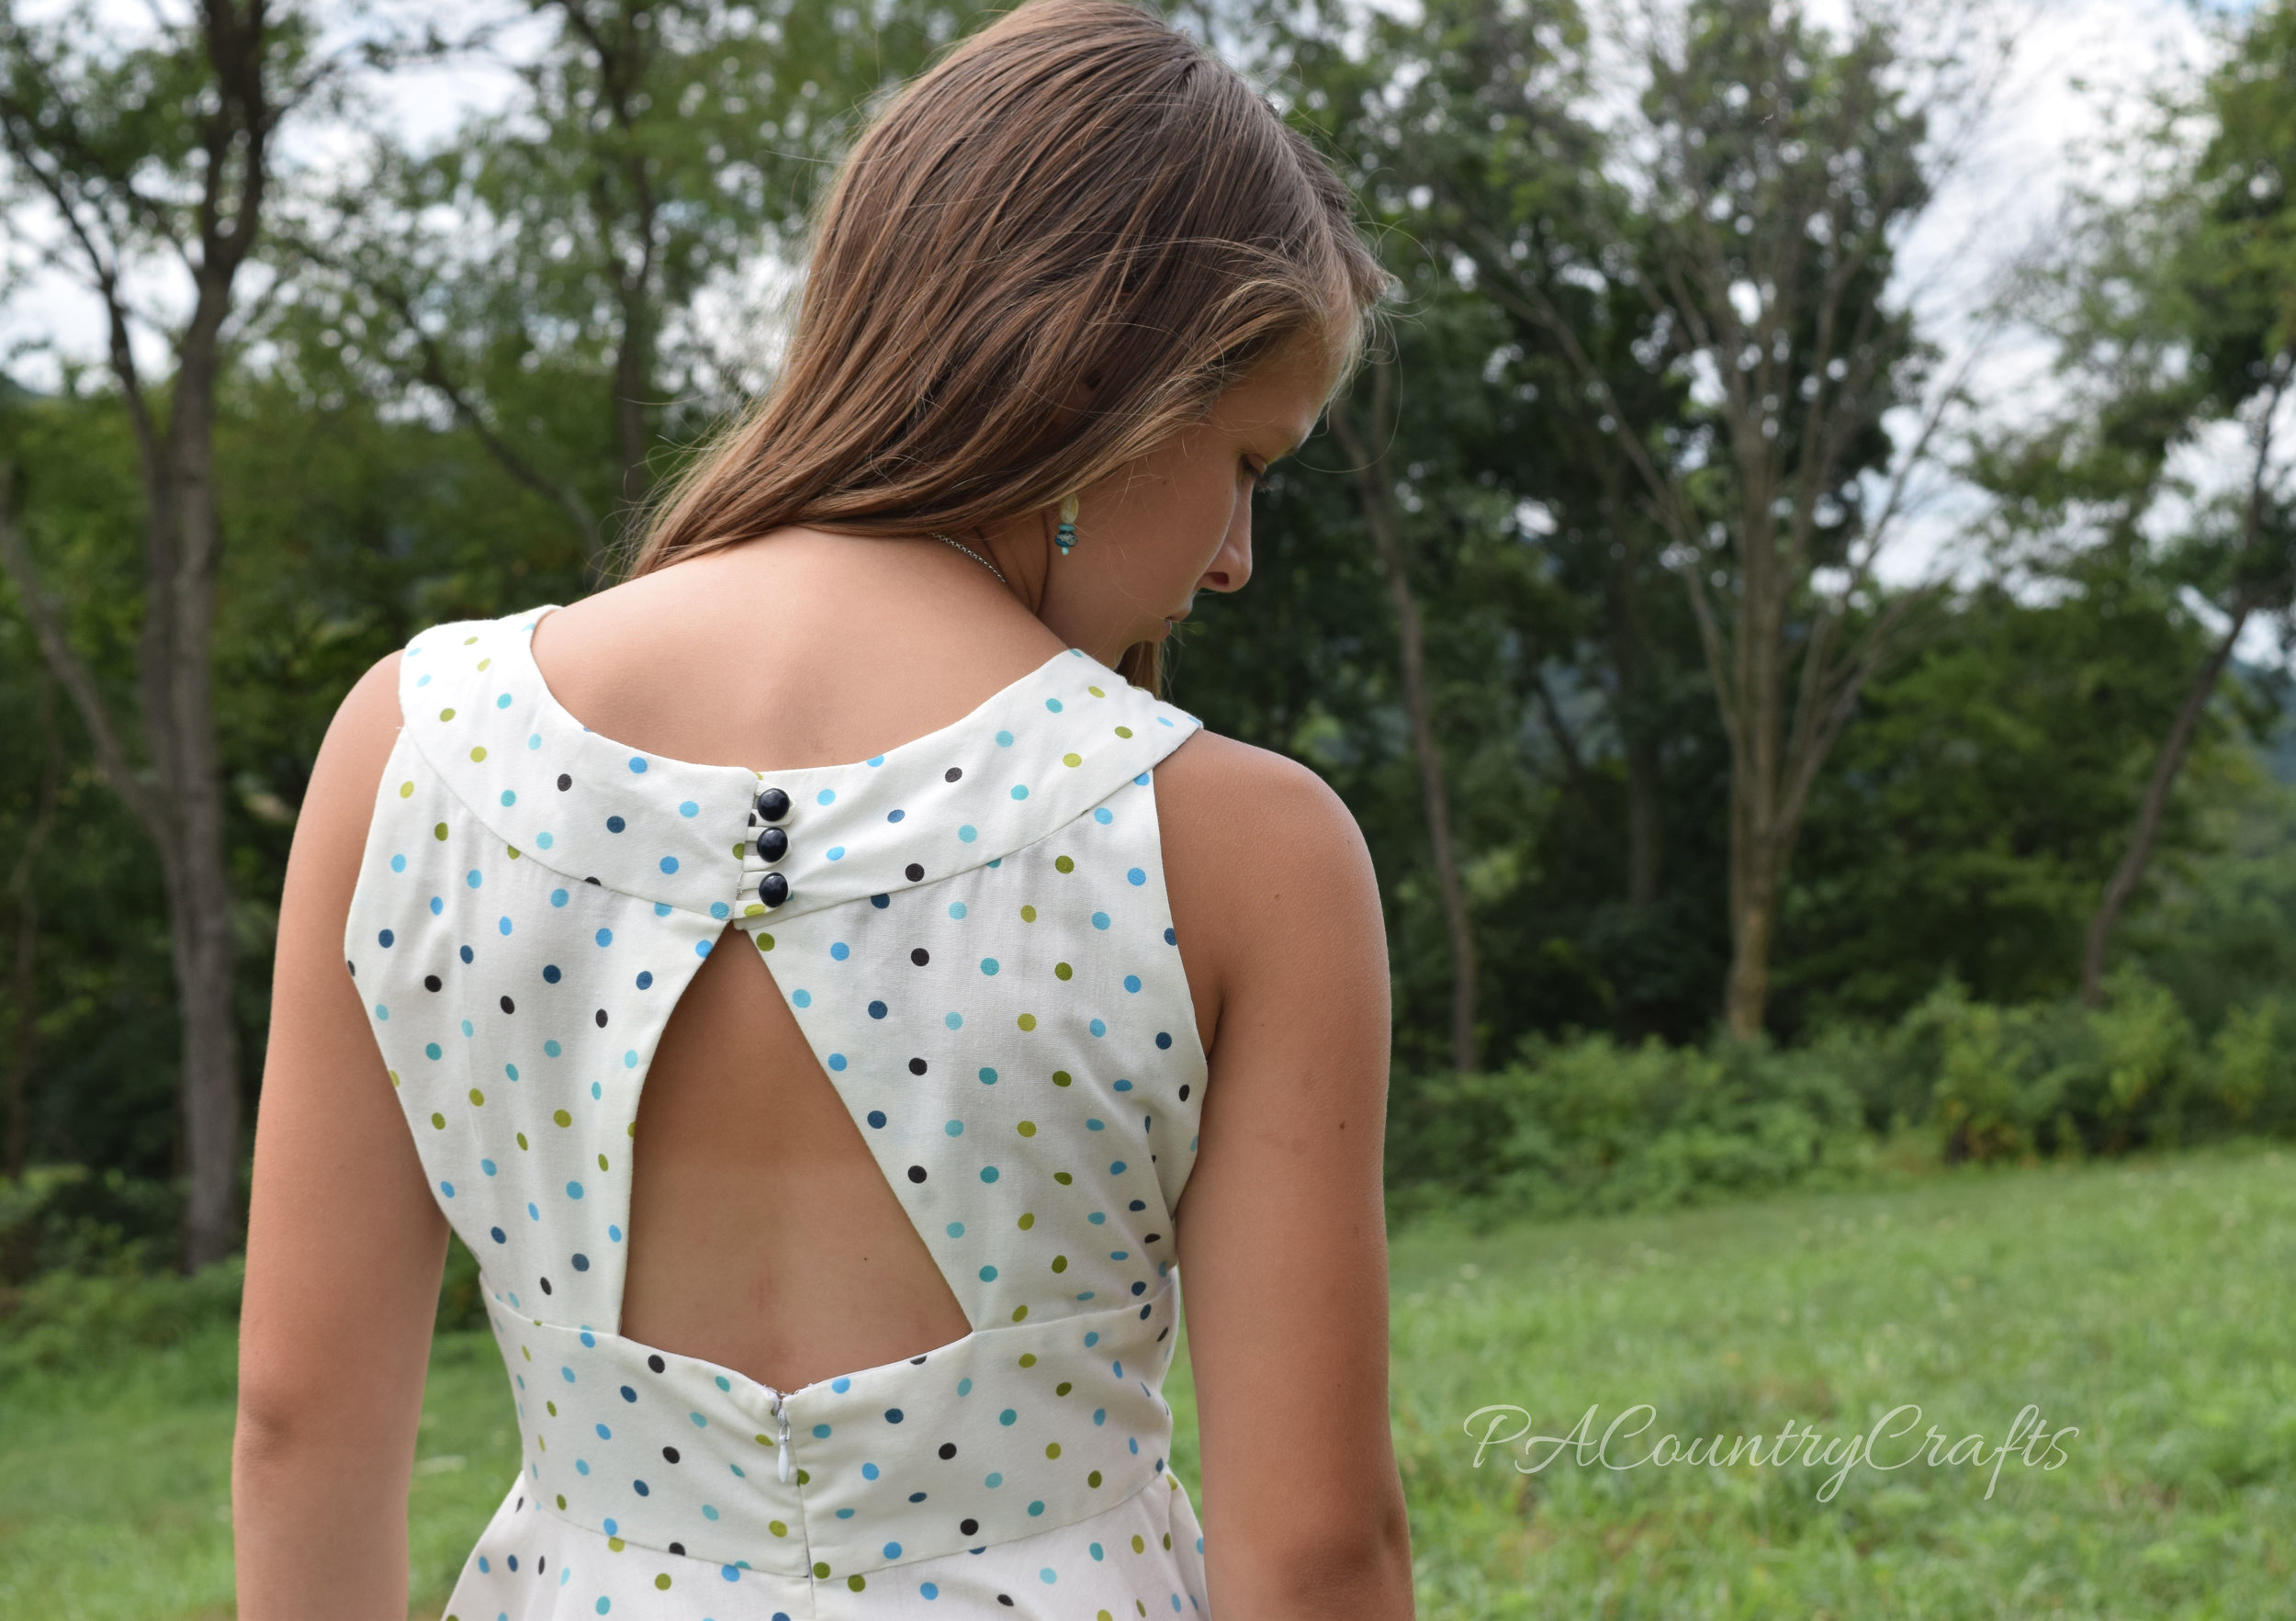
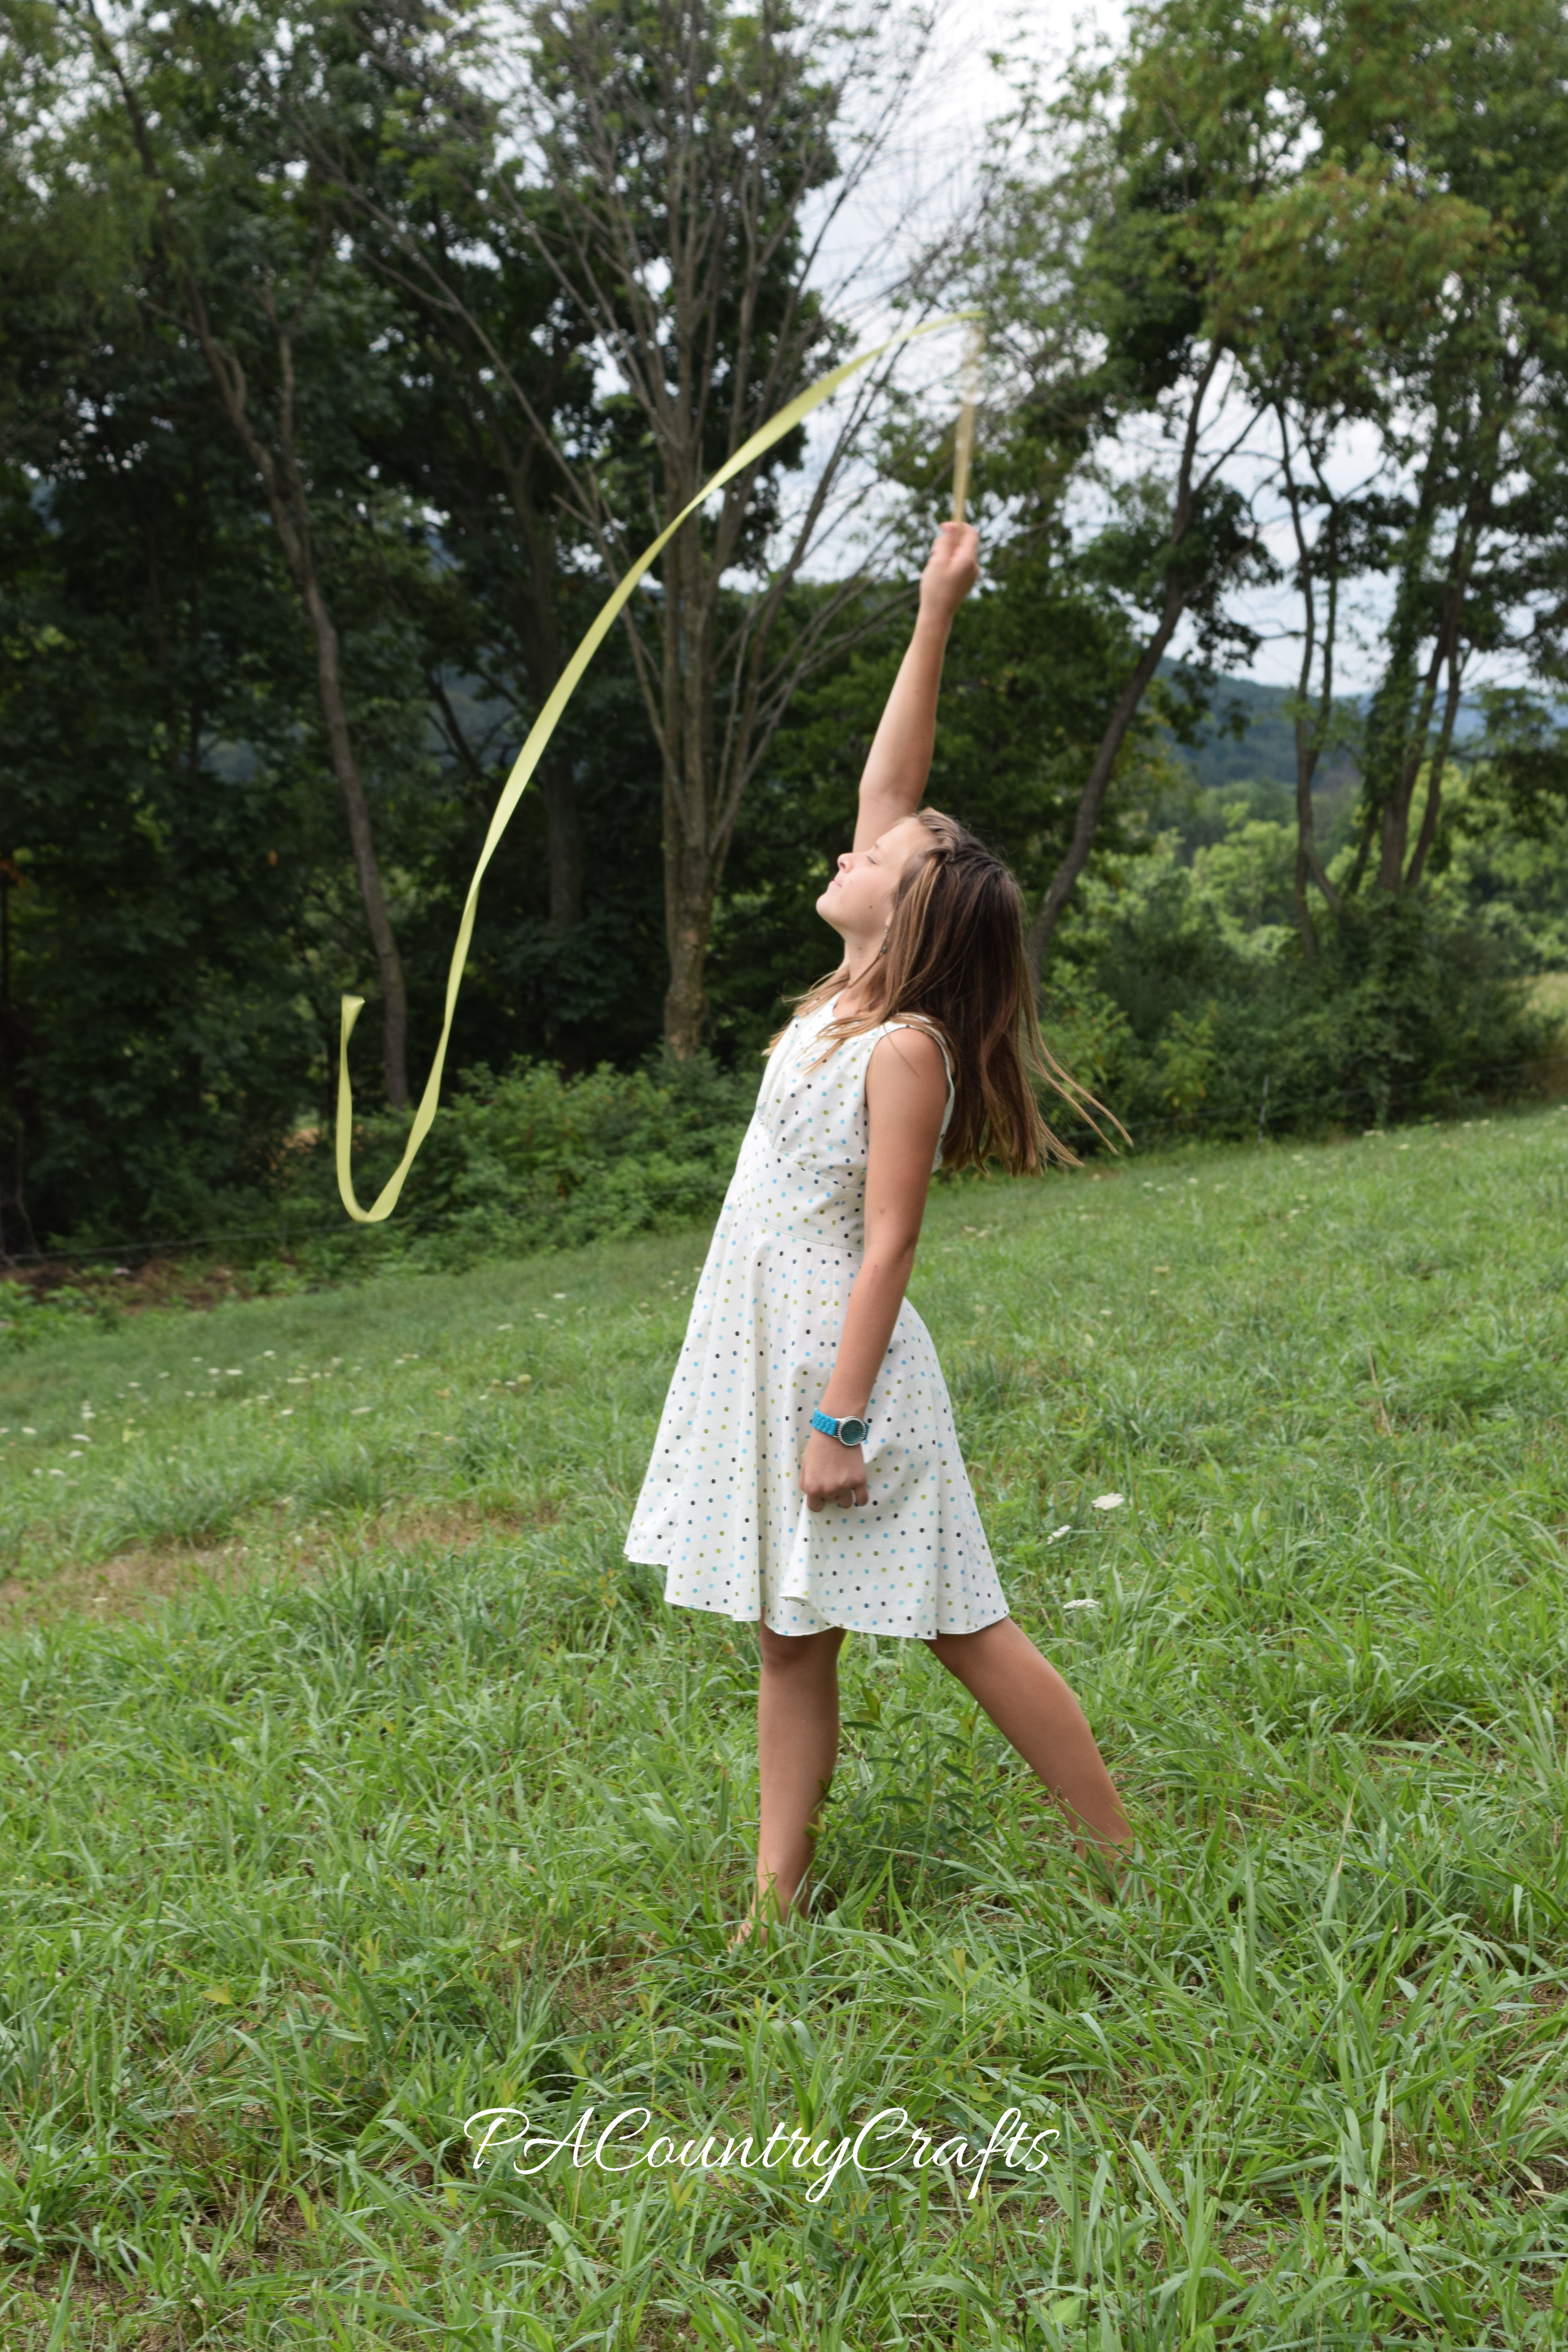
My 12yo chose a commercial pattern for her dress this year (Simplicity 8051). It is a retro style with a cute, triangle cutout in the back. We got it for $1 at Joann's so I was willing to give it a try. I have always hated patterns by those big companies. They are anything but "simple" and I would rather draft my own and figure it out myself. (I have found some pdf patterns by smaller designers to be very well done, however.)
She is also at a very awkward, in-between age. By measurements she fit a misses pattern, but I found that it wasn't designed for her body type. I had to remake the entire top and redraft the pattern quite a bit. Even then, I still had to make some changes. It was very frustrating and I could have just drafted it myself from the beginning.
I learned some new techniques with this dress, but I did not like some of the construction process and ended up improving it. It meant a lot of hand stitching. It was tedious, but it looks so much better!
I learned how to do a proper narrow hem on a curve. I was very, very happy with how that turned out.

I also made her a pettiskirt from a ruffled curtain, but she won't wear it. :(
Overall, the dress turned out OK. It isn't my favorite and doesn't fit as well as the ones I draft for her from measurements. It is a fun style, though.
I will be blogging about the rest of the girls' dresses in the next week or so, so keep checking back to see more!

When I was making Easter dresses this year, I started to run out of ambition. I ended up making a cheater dress for the youngest. She can't voice her opinion yet and my best friend reminded me that there are no others to pass it down to later, so it would get less wear than the other dresses. I liked that logic.

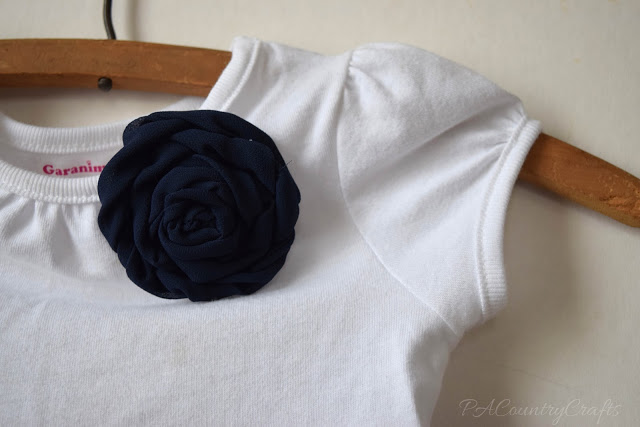
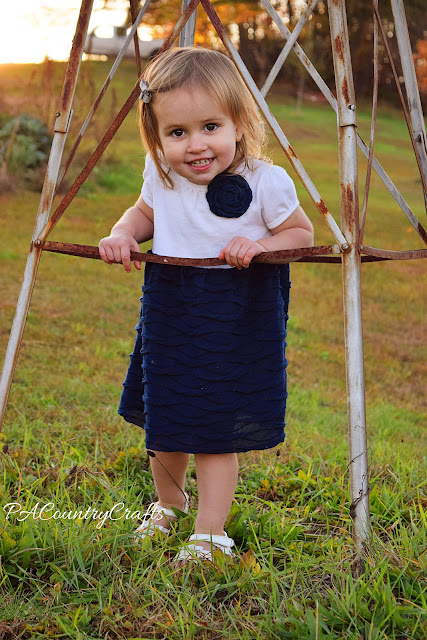
It is just a simple T shirt dress. I got a basic Garanimals shirt at Walmart for the top. I found this navy wave texture fabric in the remnant bin at Joanns for the skirt.

I chopped a few inches off the bottom of the shirt, sewed the skirt in a tube, and then attached them with my serger. It was ridiculously easy.
To add a little something to the top I made a navy, chiffon flower out of some scraps from the
and sewed it on.

Even with my minimal effort, it is still a cute dress and it is a little more practical for a toddler, too.
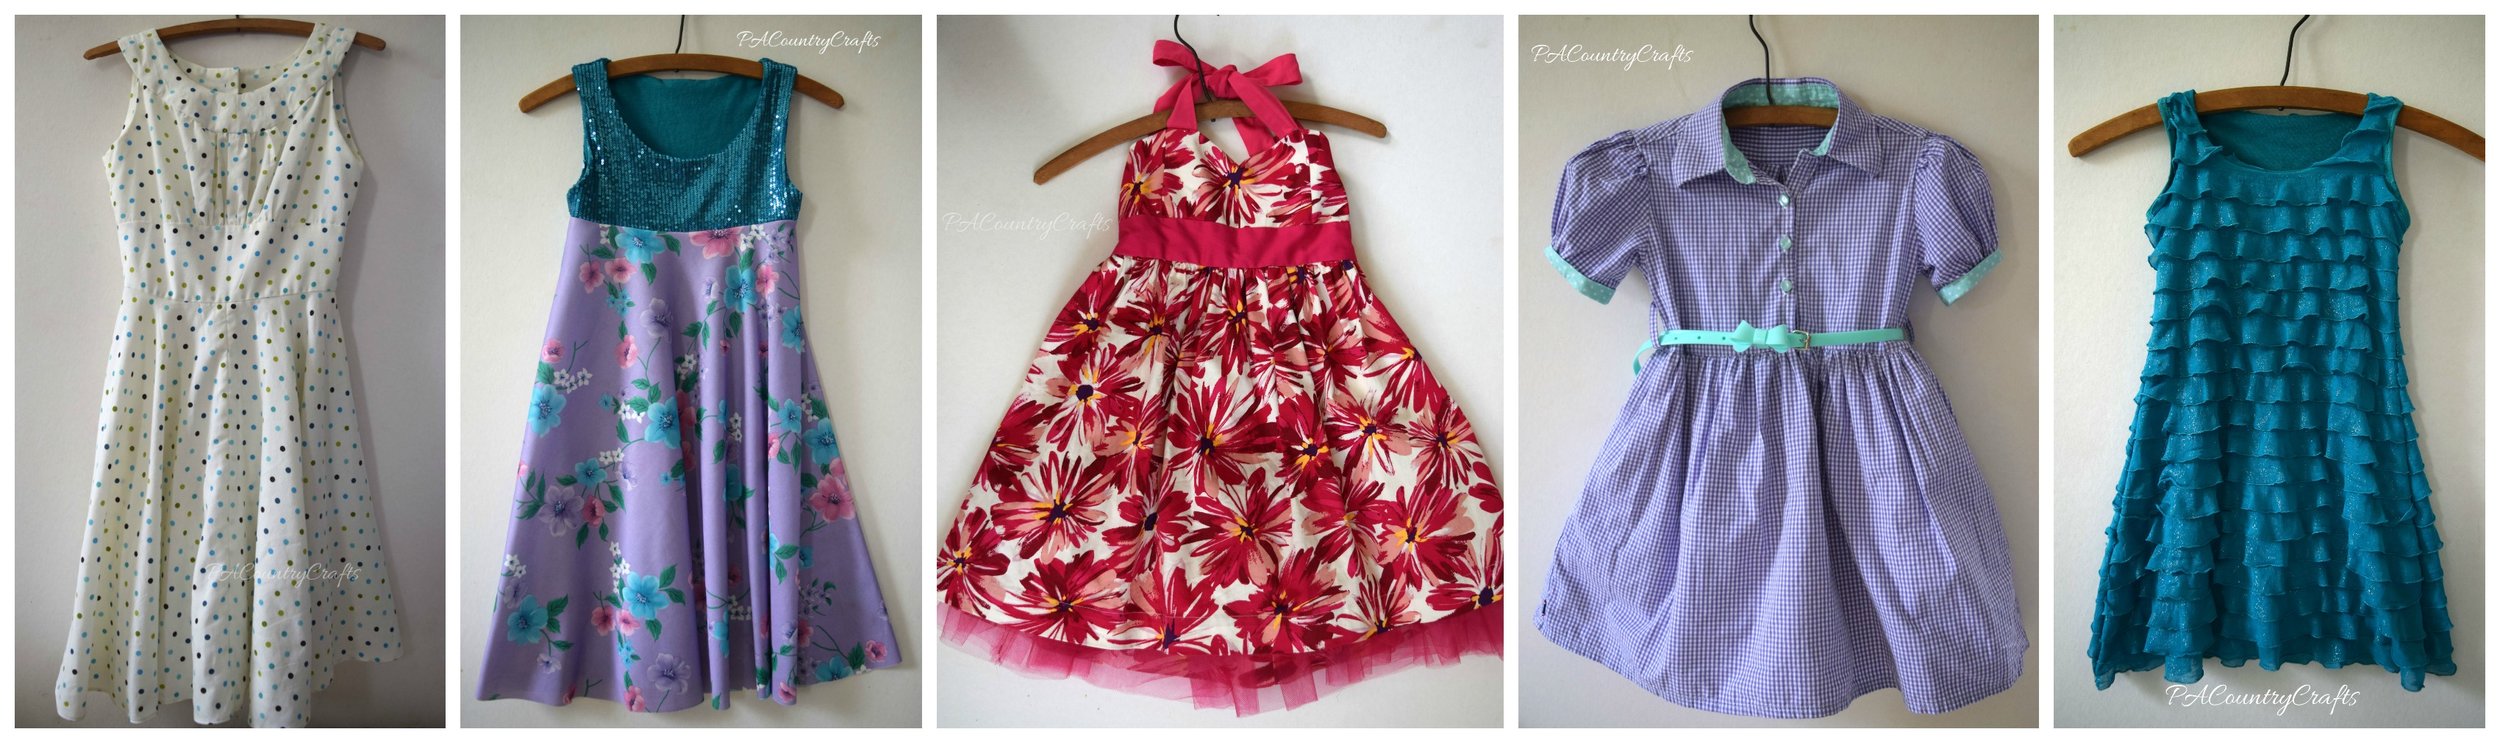
So, that is it! These are all of the Easter dresses I made this year. I love the navy and white, which I have mentioned a few times already. You can see the other dresses by clicking on the pictures below.


Link Parties where I sometimes hang out...
,
,
,
,
,
,
,
,
,
,
,
,
,
,
,
,
,
, and
Sewing, crafts, tutorials, recipes, and a little look at our life in the country - raising half a dozen children.

Hi! Thanks so much for stopping by! My name is Lindsay and on this blog you will find sewing, crafts, decorating, recipes, and tutorials with a little bit of honesty and encouragement.


