Easy Orange Julius
/Simple orange julius recipe- just put all of the ingredients in the blender to make this breakfast treat in about 5 minutes!
Read MoreSimple orange julius recipe- just put all of the ingredients in the blender to make this breakfast treat in about 5 minutes!
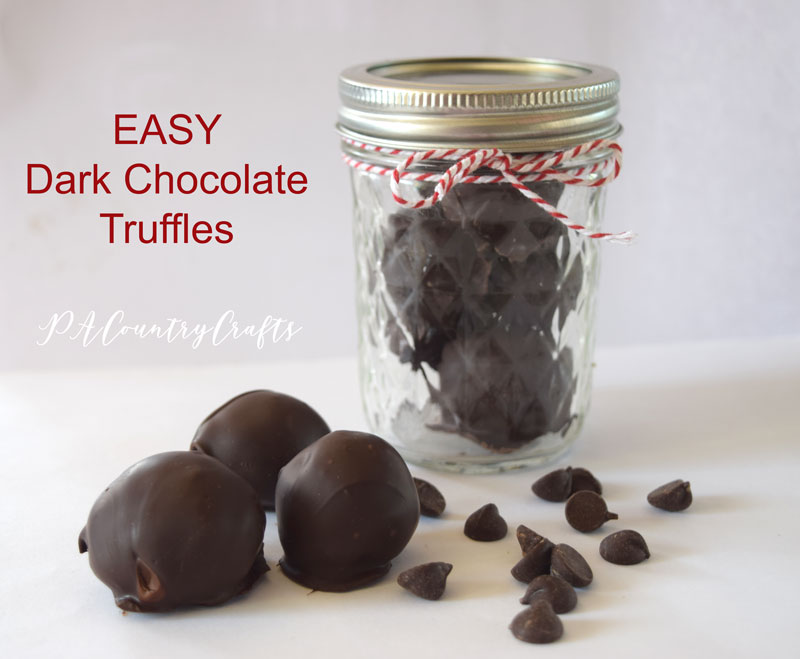
Read MoreI love truffles! Especially dark chocolate truffles! I have made truffles several different ways and these are definitely the easiest. I am almost embarrassed to share this recipe because it is so easy!
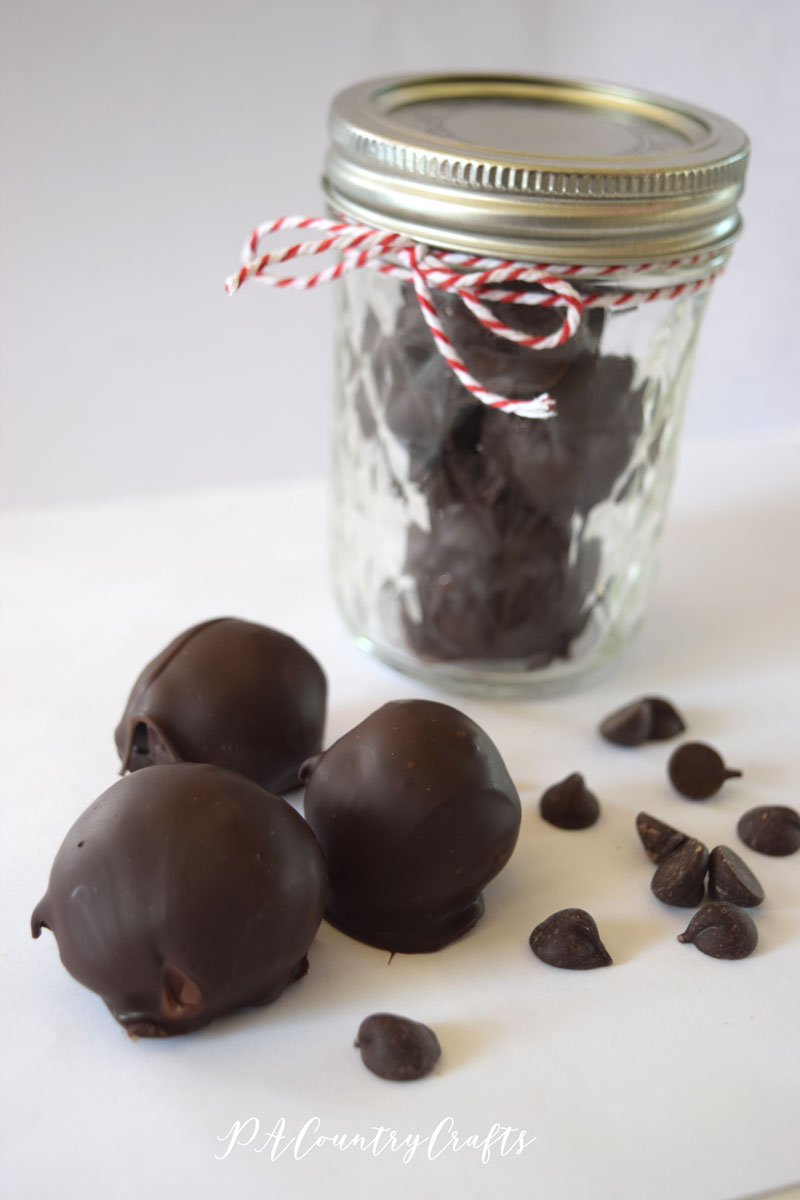
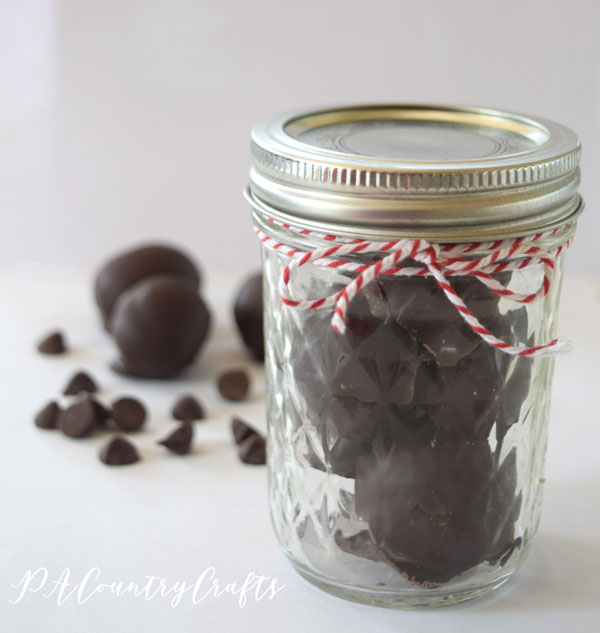
I make these for teacher gifts (some teachers have even requested them) and put them in a cute little tin or jar. The minimal effort in making these does not mean I appreciate them any less, but I do feel a little guilty when anyone is impressed by them.
Ready for the recipe with step by step pictures? It took me longer to edit pics and blog about these truffles than it did to make them.
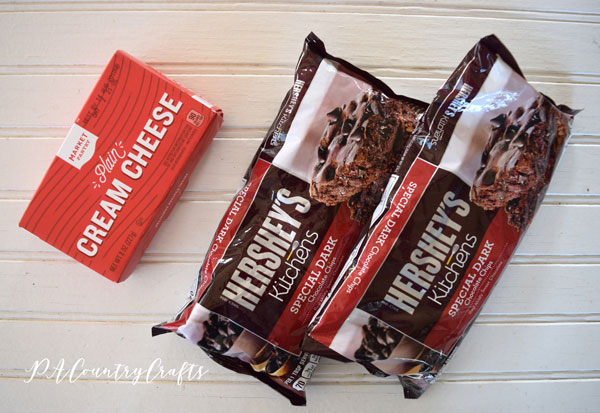
These are your ingredients. Yup. That is it! One pack of cream cheese (I think I do prefer Philadelphia just a bit) and two bags of Hershey's Special Dark chocolate chips. You can use other chocolate if you prefer, but this is my favorite.
Melt one bag of chocolate chips. I used to have a chocolate melter, but the kids broke it. My other tactic is this one: pour a bag of chocolate chips into a plastic, microwave safe container. (I use plastic because after it is empty you can put it in the freezer and then squeeze the container so the hardened chocolate bits pop right out. Easy clean up!)
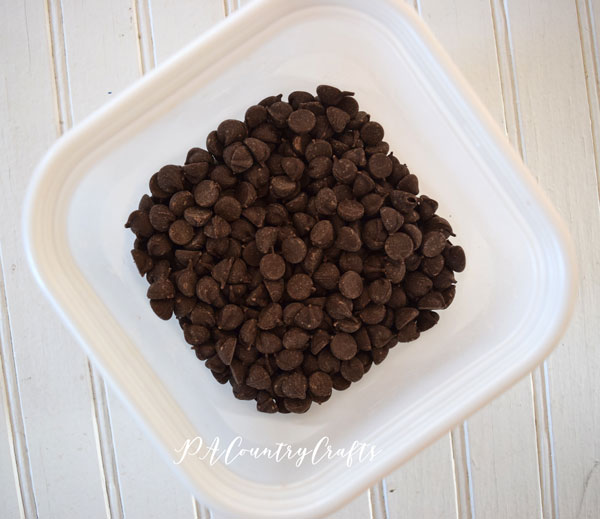
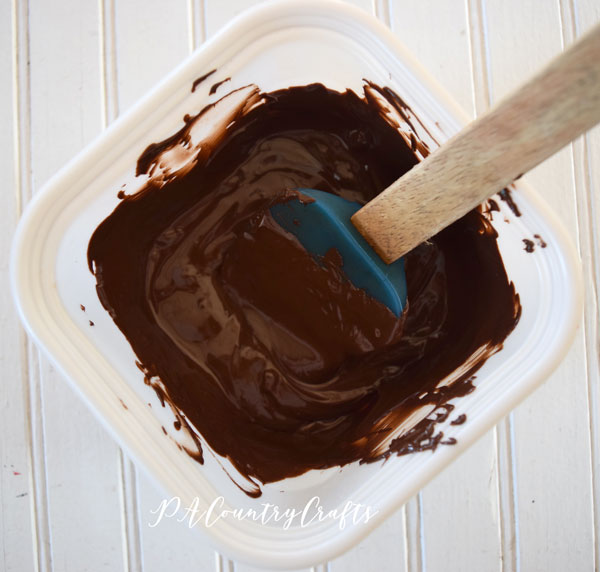
Melt the chocolate for one minute at 50% power. Stir. Place chocolate back into the microwave at 50% power and stir every 30 seconds until melted.
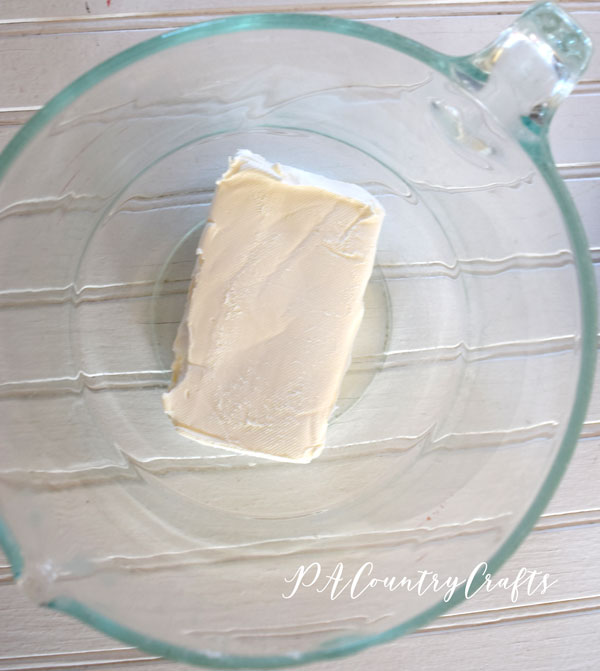
Put the cream cheese in a medium mixing bowl. I guess you could soften it, but it always seems to be soft enough for me to work with. Your call.
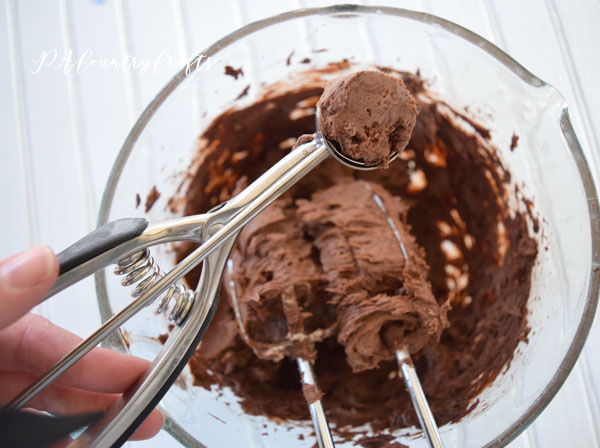
Pour the melted chocolate over the cream cheese.

Mix the chocolate and cream cheese together. You are going to need some sort of mixer for this one, especially if you didn't soften the cream cheese.

Roll the truffle mixture into little balls. I have a small cookie scoop that is the perfect size and keeps them pretty uniform. Place the truffles on a wax paper covered cookie sheet.
Place the truffles in the refrigerator or freezer until they are firm.

Melt the second bag of chocolate chips as before. I like the chocolate a little thick so I do not add any wax or oil. I am not great at chocolate coating, though, so do whatever works for you! Dip the truffles into the melted chocolate. I just use a fork and tap off the excess chocolate before placing them back on the cookie sheet.
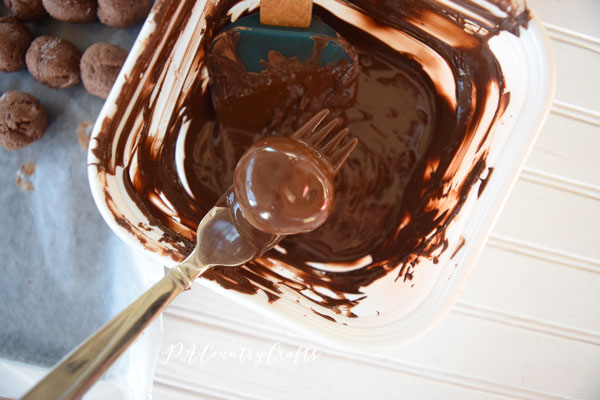
Since the cookie sheet should still be cold the chocolate hardens right away.
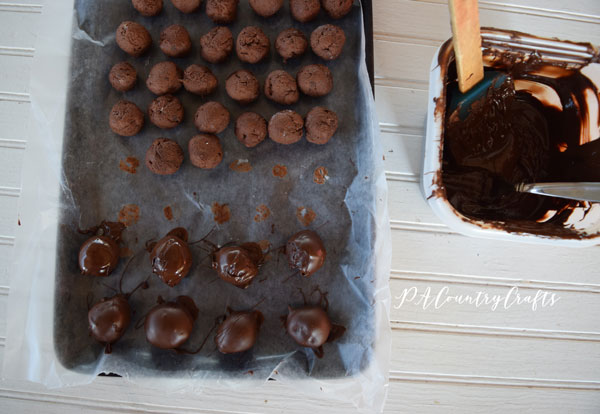
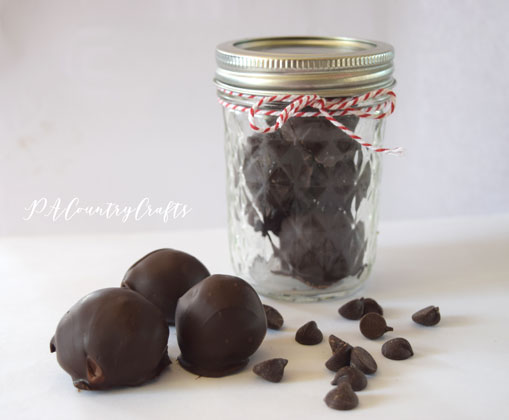
That is it! Easy, right? You don't have to share the recipe. No one will know.
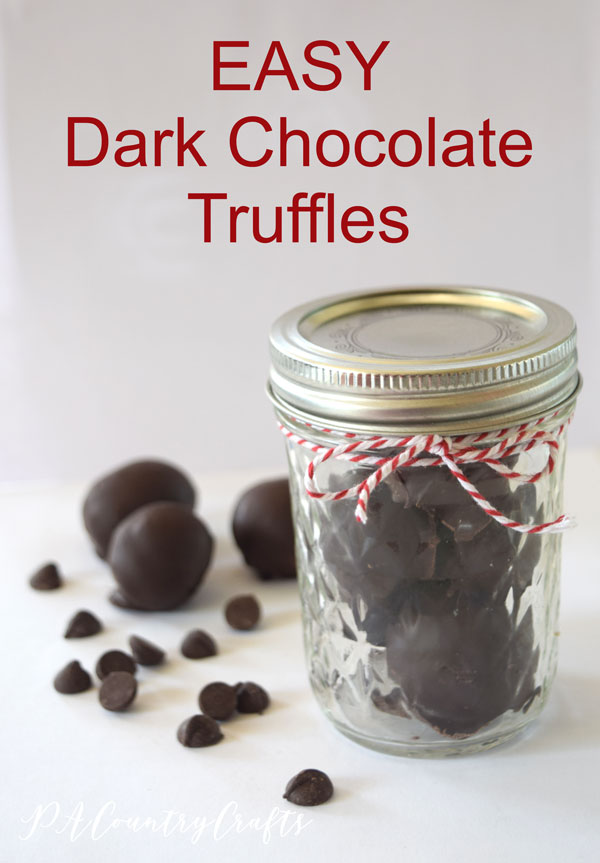
If you want to pin it for later...
Here are some more chocolate recipes that you might enjoy...
Zucchini Chocolate Cake
This banana bread recipe is so easy! Just put everything in one bowl, mix, and bake!
Read MoreThis sweet chili sauce recipe is easy to make and delicious. It is the perfect comfort food for cold, winter nights. Making a big batch in the summer while the garden is plentiful leads to quick, satisfying meals later!
Read MoreOur summer vegetable garden is pretty much an overgrown weed patch. Seriously. It is the weediest it has ever been and the little that was planted got out late. It is so bad that we just got our first zucchini of the year last night. Most people I know have been drowning in zucchini for weeks, so this is embarrassing. Usually by this time of year, the kids are all sick of the many zucchini recipes I try, but now they are really excited! They are requesting zucchini alfredo, zucchini gratin, and zucchini chocolate cake. I am hoping for a good zucchini crop so that we can make all of those, but last night I decided to make zucchini carrot casserole.

I haven't shared this recipe on the blog before and it isn't something I make an awful lot because I don't usually buy the key ingredient- stove top stuffing mix. Yes, we try to make food from real ingredients most of the time, but sometimes, like when the summer has been a long and challenging one, I just don't care anymore. This casserole is so easy and that is pretty much my game plan these days.
In a baking dish (mine is 9" x 13") mix cooked zucchini and carrots, sour cream, and a can of cream of chicken. I peeled the zucchini before I cooked it 'cause some of us are picky.
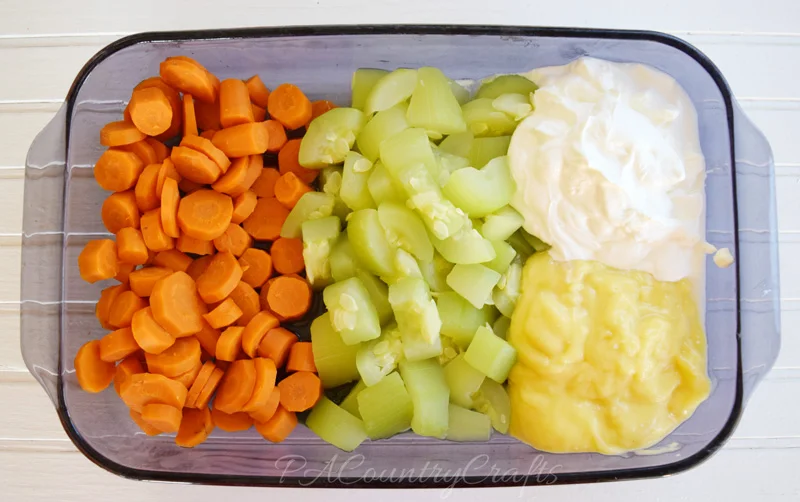
Sometimes I make the cream of chicken myself, but I just lack the ambition right now. I am dragging myself to the finish line of summer vacation here, people.
Mix it all up. Don't bother dirtying another bowl. It was bad enough that I used two pots to cook the vegetables.

Finally, prepare stove top stuffing according to the package directions and spread it on top of the zucchini mixture. Bake at 350 degrees for 15 minutes, or until everything is heated through and the stuffing starts to get a tiny bit crispy on the edges.

Yummm....
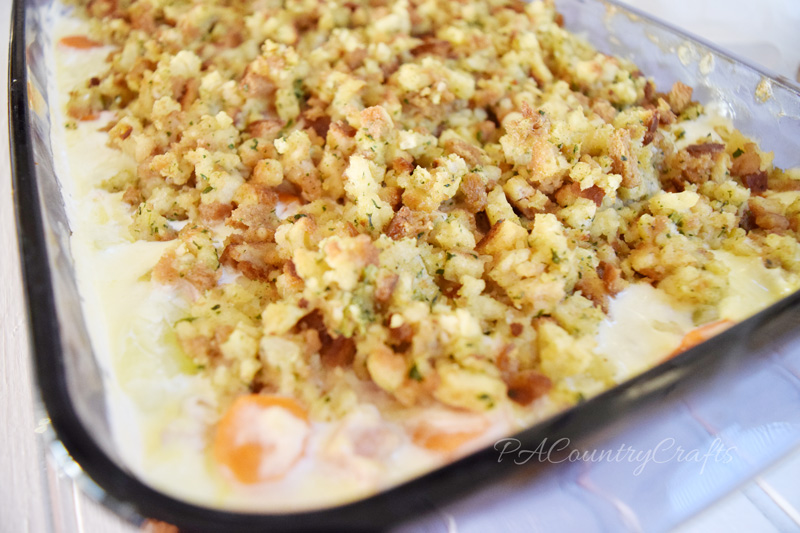

If you have lots of zucchini, this is a good recipe to use some up. It would also work well to take along to a potluck or picnic.
If you want to pin this…

Zucchini Carrot Casserole
6 c. cooked zucchini
4 c. cooked carrots 1
pint sour cream
1 can cream of chicken
1 box of chicken stove top stuffing, prepared
Mix zucchini, carrots, sour cream, and cream of chicken in a 9" x 13" baking dish. Top with stuffing. Bake at 350 degrees for 15 minutes or until casserole is heated and stuffing is lightly browned.
Here are some more zucchini recipes you may like:
A delicious homemade pizza sauce recipe and ideas for summer pizza alternatives!
Read MoreA few years ago a friend and I traveled to Lancaster for a quilt show. It was such a blessing for me to be able to get away for a few days! It is the only time I have been able to do something like that and, as much as I missed my kids, I really enjoyed the break from being needed all the time. We stopped at a little Amish diner for lunch when we arrived. I was so excited to be able to sit down and eat a still-warm meal without feeding anyone else, playing referee, or having to go wipe that kid who ALWAYS has to go in the middle of supper. Feeling wild and adventurous by this newfound freedom, I tried something new and ordered cheeseburger soup with my sandwich. It was awesome!!! So, cheeseburger soup always brings fond memories of a good friend and a relaxing time. When I came home, I wanted to try to make my own cheeseburger soup, so I found a recipe in my Amish cookbook that we liked.
Flash forward a few years to a local Christian school's 5K and soup/chili cook-off. I sampled the winning soup- cheeseburger soup! - and she confessed to using frozen hash brown cubes to cut down on the prep time. Now, when we are out of our home grown potatoes and I need to buy them at the store anyway, that is what I get.
And, to cancel out that time saving step, I love to make homemade bread bowls to serve it in! YUM!!!

So good! Cheeseburger soup in a bread bowl

Amish Cheeseburger Soup Recipe
I have made a few changes to the soup over the years, and it can be a little different each time I make it because that is how I cook. Last time, I measured and took pictures so that I could share the recipe here on the blog.

Easy and delicious- cheeseburger soup!
I took some process photos, but my kitchen lighting is pretty awful. If anyone wants to give me the money to completely renovate it and add more windows that would be great! I will even make you some soup! ;)
Also, the pictures show a double batch because I wanted to share some and have leftovers. The measurements I am giving are for a regular batch that will make about 4 quarts of soup.
First, brown 1lb of ground beef in a pot. Drain the grease and put the beef on a plate or in a bowl or something to save it for later. No picture here, because I forgot.
Second, saute one chopped onion, 4 large shredded carrots, 3 stalks finely diced celery, and a Tablespoon of dried parsley in 2 Tablespoons of butter. (The food processor is a big time saver for this step!)

Saute vegetables for cheeseburger soup.
When the vegetables are tender- it usually takes about 10 minutes, add the ground beef and stir.

ground beef and vegetables
Add 6 cups of chicken broth, a teaspoon of salt, and a dash of ground black pepper. Bring to a boil. Then, mix in a 32oz. bag of cubed, frozen hash brown potatoes. (Shredded would work as well, but I like the variety of texture since the carrots are shredded.)

how to make cheeseburger soup
Simmer until the potatoes are tender- about 10-15 minutes.
In a separate, 2 quart pot, melt 2 Tablespoons of butter and whisk in 1/2 cup of flour. When combined, slowly add 3 cups of milk and heat until it begins to thicken. Add it to the soup and stir everything up really well.

how to make easy cheeseburger soup
Finally, add your cheese! Sometimes I use 4 cups of shredded cheddar, and sometimes I live dangerously and add half Velveeta. It is up to you, since I know that Velveeta is offensive to some, even if it is really creamy. If you like, you can also add some sour cream, but I almost always forget.

Cheeseburger soup served in a warm bread bowl- a perfect winter comfort food!
Cheeseburger Soup
1 lb. ground beef
1 large onion, chopped
4 large carrots, peeled and shredded
3 stalks of celery, finely diced
1 Tbsp. dried parsley
1 stick of butter, divided
6 cups chicken broth
1 tsp. salt
dash of ground black pepper
1 32oz. bag diced, frozen hash brown potatoes
1/2 cup flour
3 cups milk
4 cups shredded cheddar cheese/Velveeta
sour cream, optional
Brown ground beef over medium heat. Drain and remove from pot. Saute onion, carrots, and celery in 2 Tbsp. butter over medium-low heat until softened- about 10 minutes. Return ground beef to the pot and add 6 cups of chicken broth, 1 tsp salt, and a dash of ground pepper. Increase heat to high and bring to a boil, stirring occasionally. Stir in frozen hash browns. Simmer over medium-low heat for 10 minutes or until the potatoes are tender, stirring occasionally. In a separate saucepan, melt remaining butter. Mix in flour and gradually add milk. Heat over medium heat until it begins to thicken, stirring constantly. Stir into the soup. Add cheese and heat on low to melt. May also add sour cream just before serving.

Cheeseburger soup in homemade bread bowls
Feel free to pin it for later!

Easy and delicious- cheeseburger soup!
Here are some more recipes you might like...
Sewing, crafts, tutorials, recipes, and a little look at our life in the country - raising half a dozen children.

Hi! Thanks so much for stopping by! My name is Lindsay and on this blog you will find sewing, crafts, decorating, recipes, and tutorials with a little bit of honesty and encouragement.