Little Miss Muffet (from an old Tshirt) Tutorial
/Make an easy Little Miss Muffet costume from an old t-shirt! Step by step tutorial with pictures to show you how to make the bonnet and apron.
Read MoreMake an easy Little Miss Muffet costume from an old t-shirt! Step by step tutorial with pictures to show you how to make the bonnet and apron.
Read More
Step 2:
This one was already started, so ignore the "bel" there.
Poke your needle up through where you want to start.
Step 3:
To begin... JUST this time... take a regular stitch.
Step 4:
Pull that through all the way and then comes the tricky part. Poke the needle back up through about the same distance ahead as your first stitch. You want to keep them as even and as close in size as possible. There will be a little gap between where you are pulling the thread back up and the first stitch.
Step 5:
Now, put the needle back in at the end of the first stitch you took.EXACTLY at the end of that stitch or else you will have gaps and it won't look as nice.
Step 6:
Pull the thread all the way through, and then come back up again a stitch-width in front of the one you just did. Just keep going backwards like this, keep the stitches as close in size as you can, and don't leave gaps between your stitches. Pretty easy once you get the hang of it!
I have also been using this technique to hand embroider Easter basket liners. I love the way this one turned out (she chose great colors).
I hope you found this tutorial at least a little helpful. Now I have to get back to weaving. Hippity hoppity, Easter's on its way!

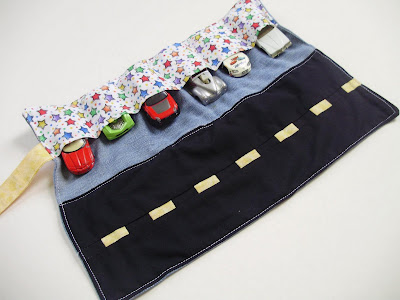
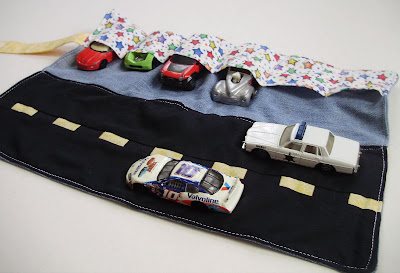 In my attempt to be the coolest aunt ever (I have 22 nieces and nephews so far!), I made this cute little car roll. It is made from some fabric I had on hand (it’s hard to find non-girly stuff in this family!) and some size 4T jeans that were headed for the garbage.
  I was inspired by THIS tutorial, but I wanted to do a few things differently:
a) I don’t have duck cloth and I don’t know where to get it. Hence the denim.
b) Sewing on little bitty pieces of yellow felt didn’t sound like fun. So I channeled my inner quilter and made the road that way.
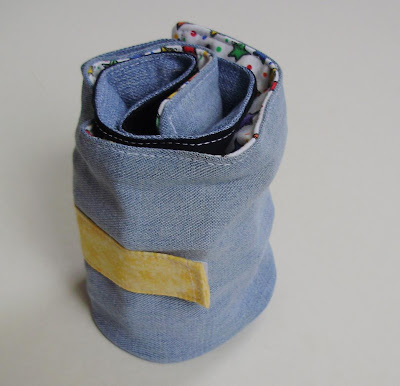
c) I rolled it instead of folding so I didn’t go all fancy on the outside and I skipped the stenciling cause I didn’t feel like it.
d) I made my own strap to velcro on from fabric.
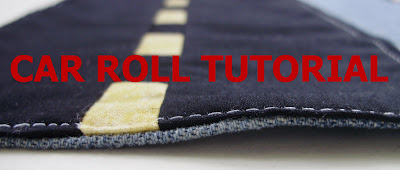 Look at that- a title photo just for this post! I am going all fancy here (OK, so I just got a cool close up and wanted to use it). I took the best pictures that I could get since PA is seeming more like Seattle these days. Of course, the sun came out when I was done, but I am not complaining ‘cause I missed it sooooo much! So forgive all of the poor quality pics. I tried.
Materials:
Black cotton
Yellow cotton
Any cotton for the pocket
1 ½ legs from an old pair of kids’ jeans
3/4" piece of Velcro
Thread
Part 1: The Road
Do all the cutting first and get it out of the way. You will need 2 pieces of black cotton measuring 2 3/4" by 14" for the "lanes" and for the "dashes" in the middle, you will need one piece EACH of black and yellow measuring 1 1/2" by 14". Sew the 2 small strips of black and yellow together lengthwise, then cut into 1" strips.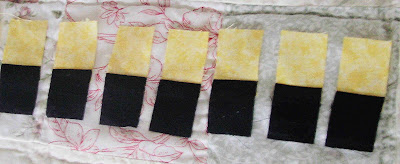 Sew them all short ends together, alternating yellow and black.
 Then sew this row between the strips and press towards the "lanes" and you are all done with the road! EASY!
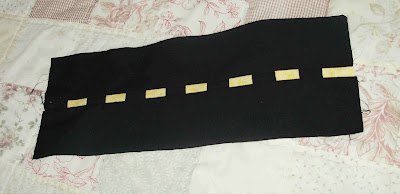
Part 2: The Velcro Strip
You will need a piece of cotton measuring 4" by 6" ( I just used yellow cause it was already 4" wide). Lots of ironing here- press in half lengthwise, open, and then press the edges in toward the center. Open it all up, hem in the end 1/4", and then sew your loopy velcro on one side just after the hem so the little box will be hidden.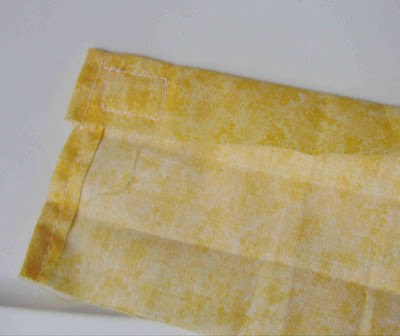 Fold the sides toward the center...
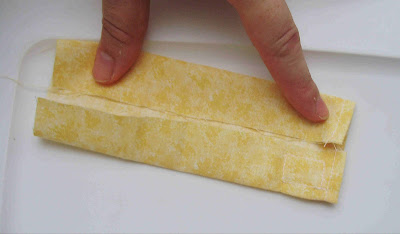 ...and press it half.
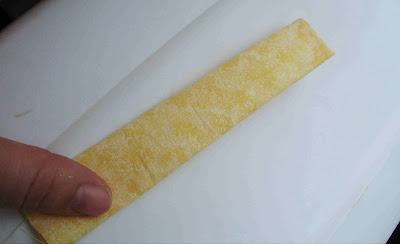 Then topstich around three sides, leaving the non-velcro side alone.
 See? No box on the other side.
Part 3: The Pockets
Now we are getting into the denim. Cut one piece from the pants 14" by 5 1/2" and from your other cotton cut a piece 14" by 6". Press the cotton in half, wrong sides together, and sew the raw bottom edges of the denim and cotton together (Good way to cover up a few stains here!)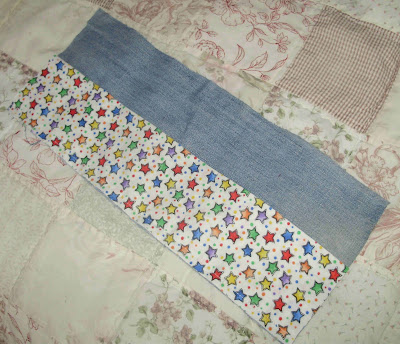 Topstitch the folded edge of the cotton just to keep it in place better.
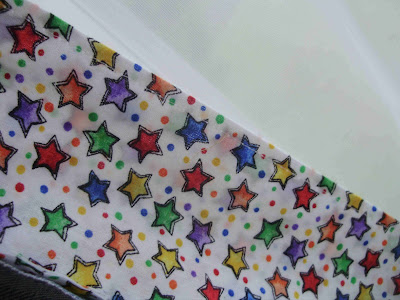 Then sew lines for pockets - mine were at about the the following intervals: 2 5/8", 4 7/8", 7", 9 1/8", and 11 1/4"
Part 4: The Outside
Take the remaining 2 pieces of denim, cut them to 14" by 5.5", and sew them together lengthwise and press the seams open.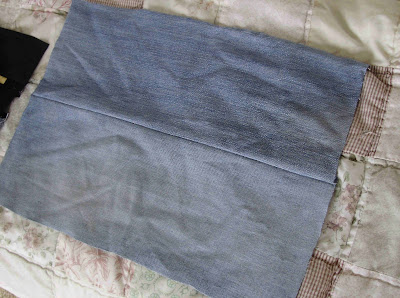 Sew the fuzzy piece of velcro on at 6" from the left end of the bottom piece and about 2 1/2" from the bottom edge.
Part 5: Assembly
Sew the two inside pieces together. Sew the raw-edge end of the velcro strip to the bottom, velcro up, lined up with the edge of the pocket. Go over it a bajillion times.
Sew the outside and inside together, right sides together, leaving the non-velcro end open, and flip (push those corners out real good!)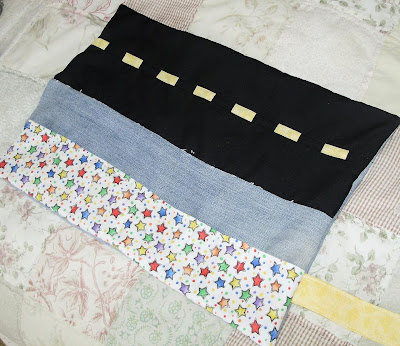 Fold the opening edges in and topstitch the whole way around and down the middle, too.
 I used white thread cause I didn't feel like changing it, but I like it! It's kind of like road edges.
Part 6: PLAY!
I was so disappointed that I could only find Sheriff Rosco's car and not the General Lee. :( But Rosco always loses! 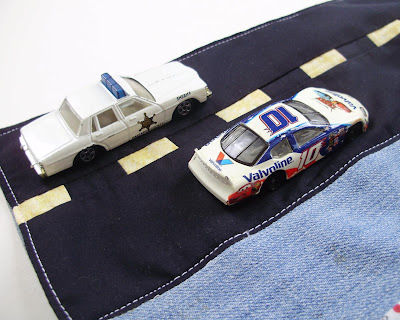 Fold.
Fold.  And roll. Secure with velcro.
 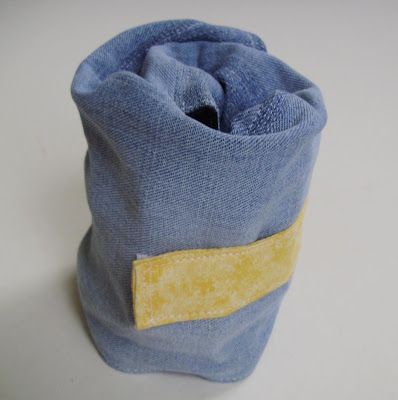 Perfect to tuck away in Mom's purse or a backpack!
Paint plastic eggs with regular acrylic paint- step by step tutorial with pictures!
Read More
My brother is in the United States Army. He is a do-it-yourself kind of guy. He can build things, fix things, and now, probably because he is sick of fast food and microwave pizzas, he is learning to cook things. A looooooooooooooooong time ago he asked me for some recipes. Well, I just can’t do anything simply. I wanted to make him a recipe box, too. I finally got around to it and here it is:

TA DA!
I decoupaged fabric onto a cheapy $1 recipe box and touched it up with some paint. Here is how:
I measured VERY carefully and cut out a piece of fabric to wrap around the bottom, plus a little overlap, and a piece for on top with the corners cut out so it could come down over the sides.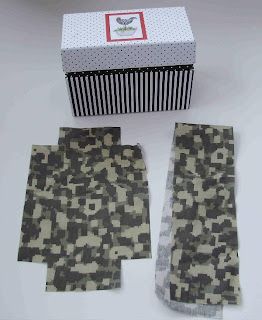
Then I used ModPodge to glue the material to the box. It didn't go as smoothly as I thought because it is very hard to watch the edges of all four sides at once and get everything straight. So, there was a little bit that didn't cover.
So, I just got out some Country Tan paint that matched pretty nice and looked like sandy dirt, and I used a sponge brush to paint the inside and smudge some here and there and all over the edges to give it a grungy effect/cover up my mistakes. In hindsight, I wish I had pained it FIRST, because some of those stripes show through (with the digital camo it is OK) and it would have been easier to cover up some of those mistakes.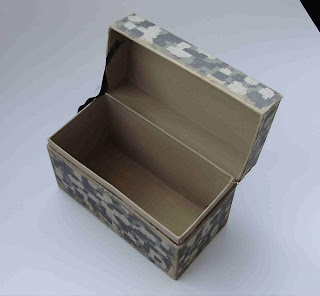

So, now I can give him all the secret family recipes I want. Except we don't really have any.
I think, though, that doing recipe boxes like this could be really nice bridal shower gifts. The fabric could match their kitchen or wedding colors. I might try it again. If you make one, I would love to see it!
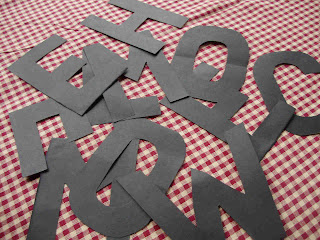.jpg) Then, since I realized they weren’t gonna show up so well against the dark pages, so I had the girls glue stick them to some pages that were mostly black type on white background.
Then, since I realized they weren’t gonna show up so well against the dark pages, so I had the girls glue stick them to some pages that were mostly black type on white background.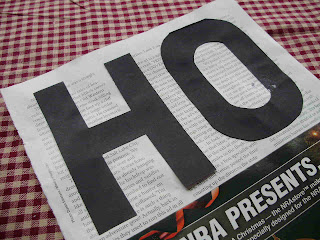.jpg)
.jpg)
.jpg)
.jpg)

As pomised yesterday, here is my new tutorial on the play pea pods I made with the girls.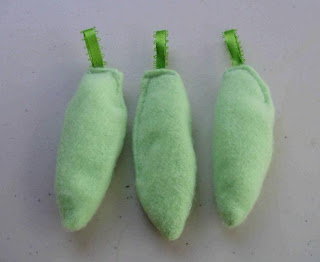.jpg)
I used some old green fleece (felt would have been better but I didn't have any green), beads from a broken, gaudy, old Avon necklace, and some green ribbon.
.jpg)
.jpg)
I clipped the curves a bit and turned right-side-out..jpg)
.jpg)
.jpg)
Sewing, crafts, tutorials, recipes, and a little look at our life in the country - raising half a dozen children.

Hi! Thanks so much for stopping by! My name is Lindsay and on this blog you will find sewing, crafts, decorating, recipes, and tutorials with a little bit of honesty and encouragement.