Crochet Bear Hat Pattern
/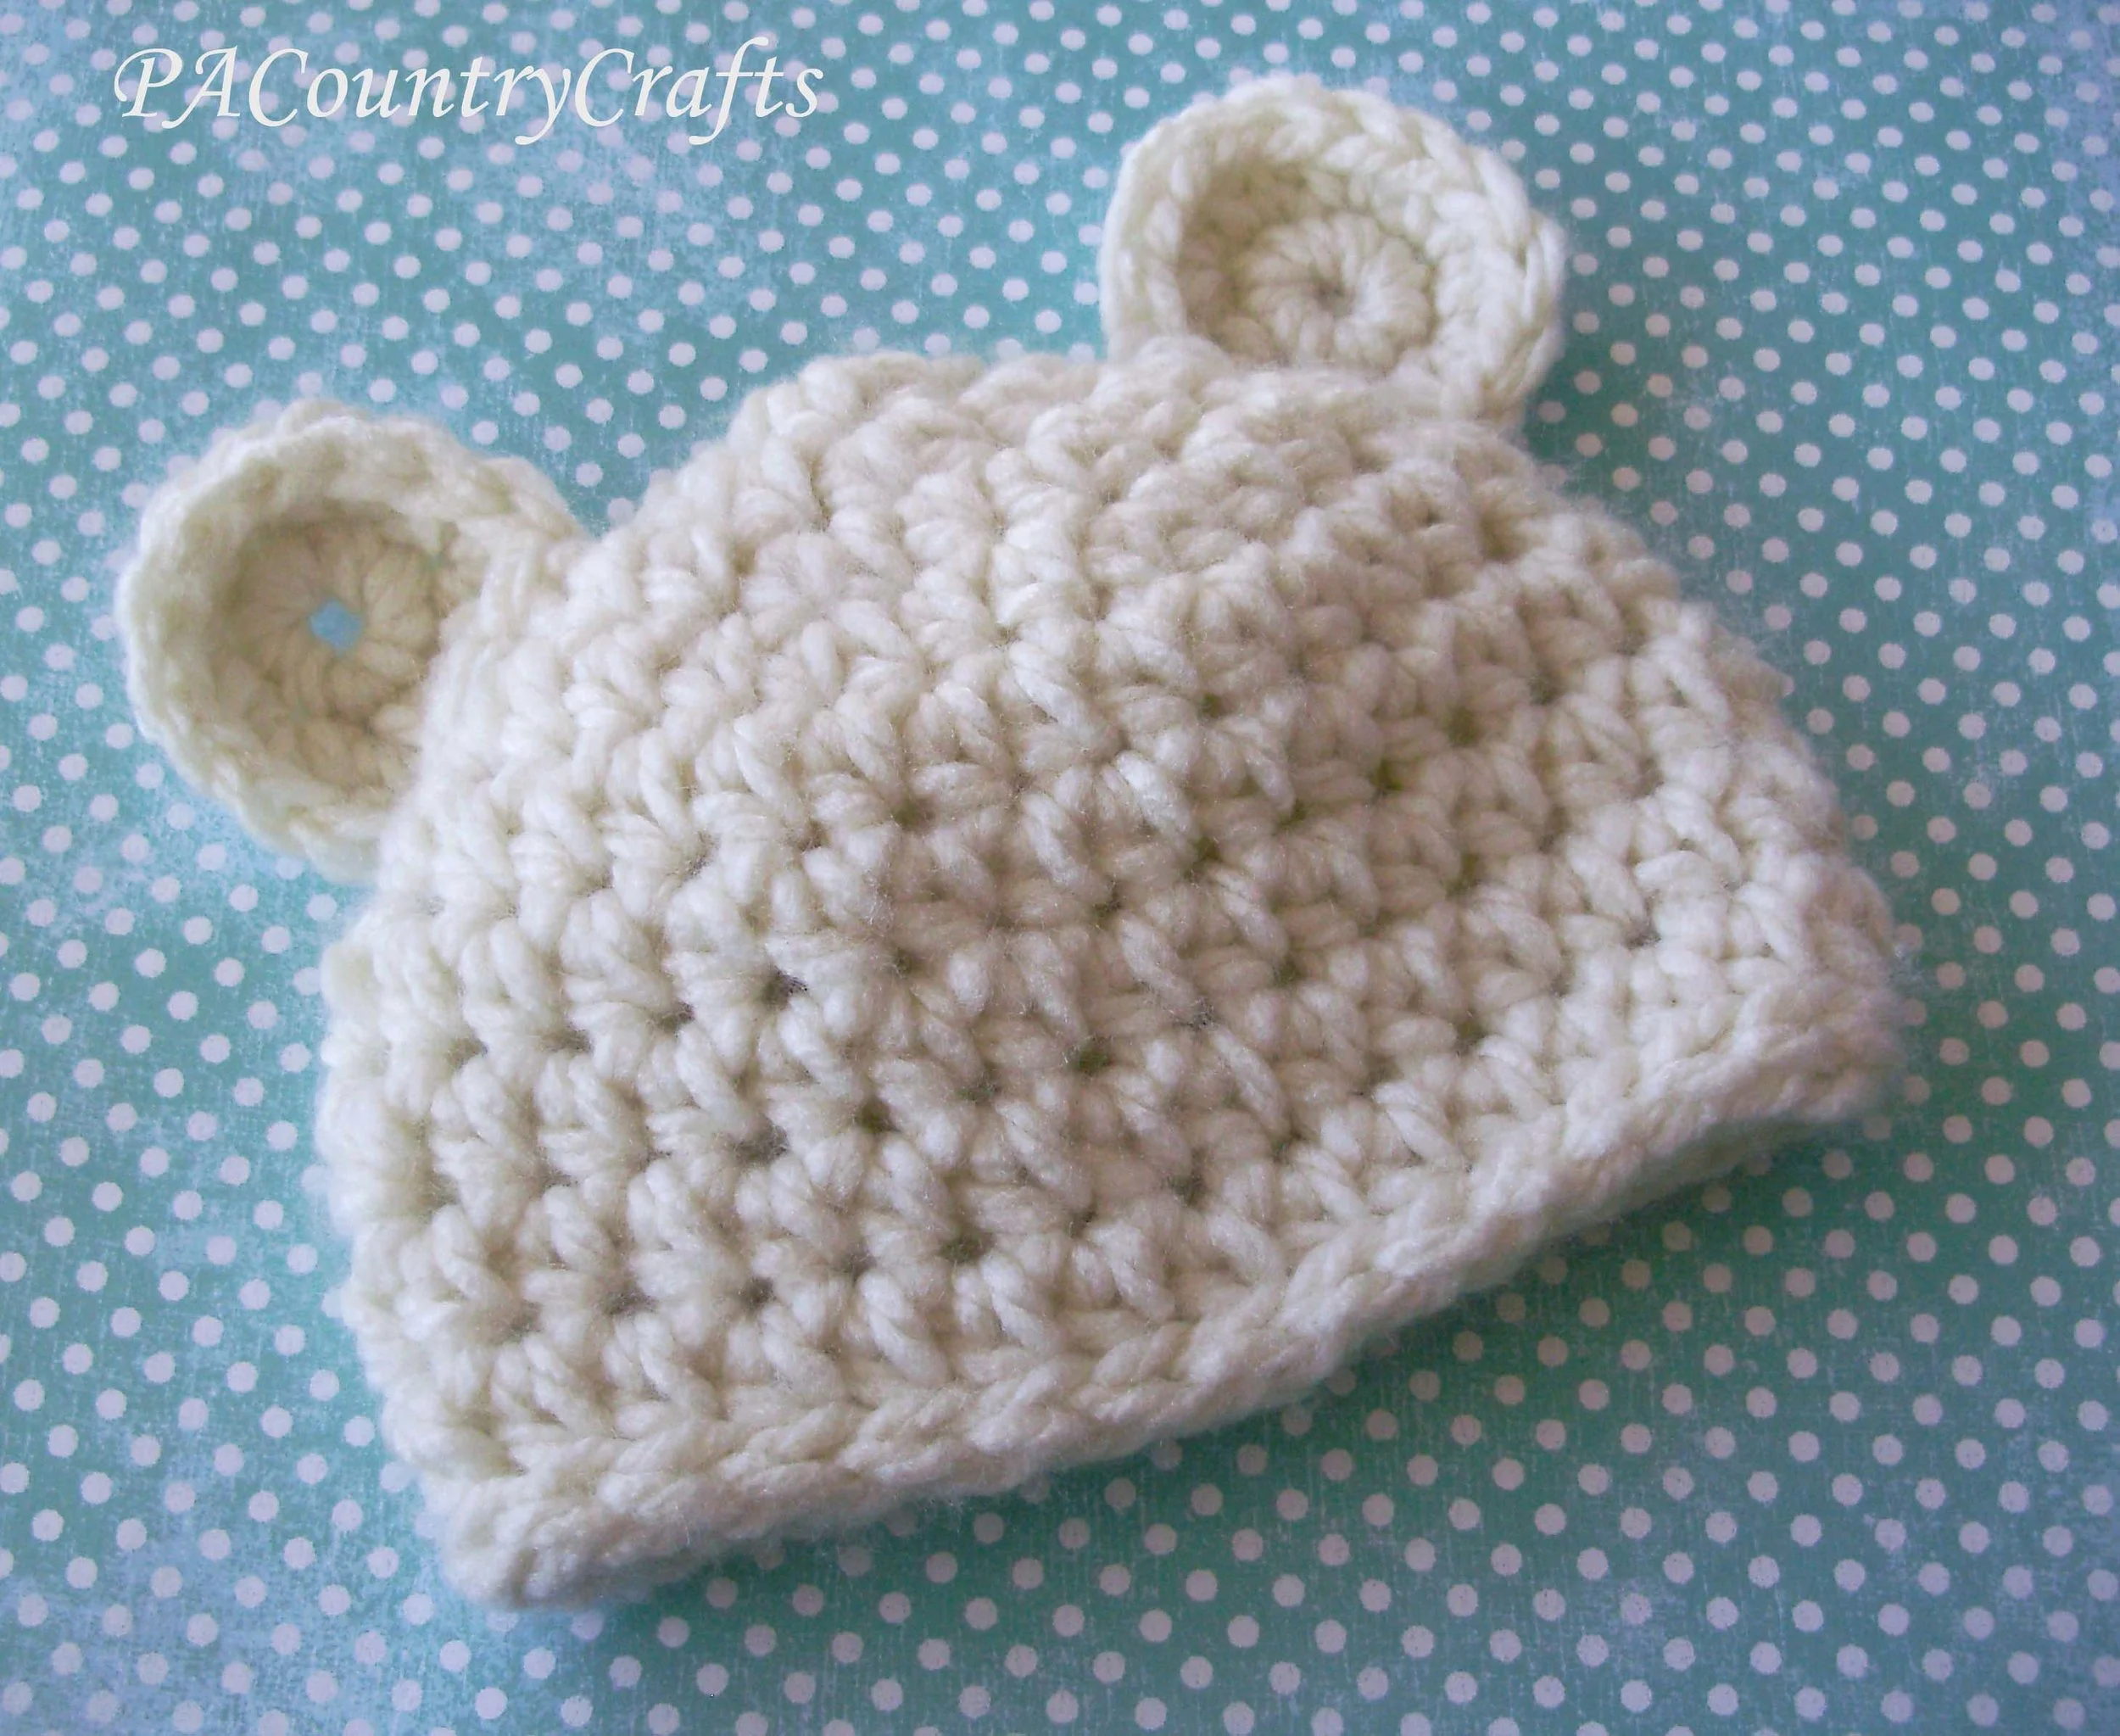
0-3 month chunky crochet bear hat pattern- so soft and a really fast project to make!
Read More0-3 month chunky crochet bear hat pattern- so soft and a really fast project to make!
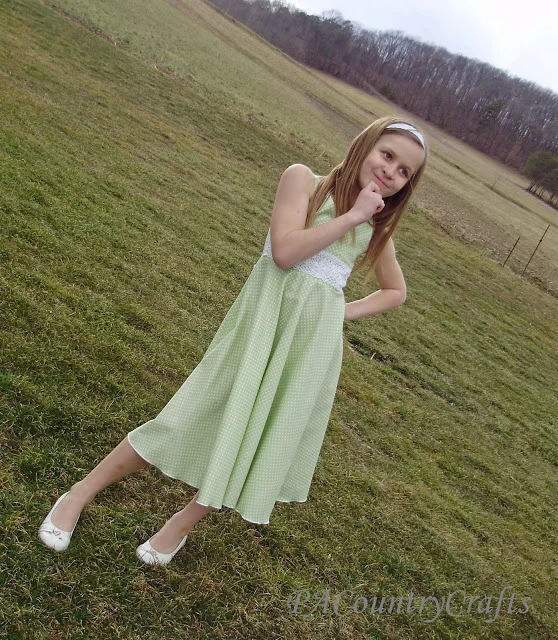
Read MoreTutorial for drafting and sewing this cute girls’ dress. It has a twirly, circle skirt, crossover bodice with lace detail, and a corset back tied with ribbon.
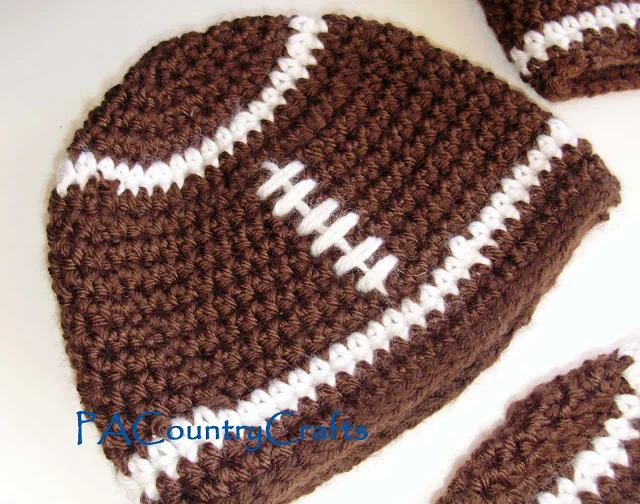
Read MoreCrochet football beanie pattern in several sizes- easy and fast!
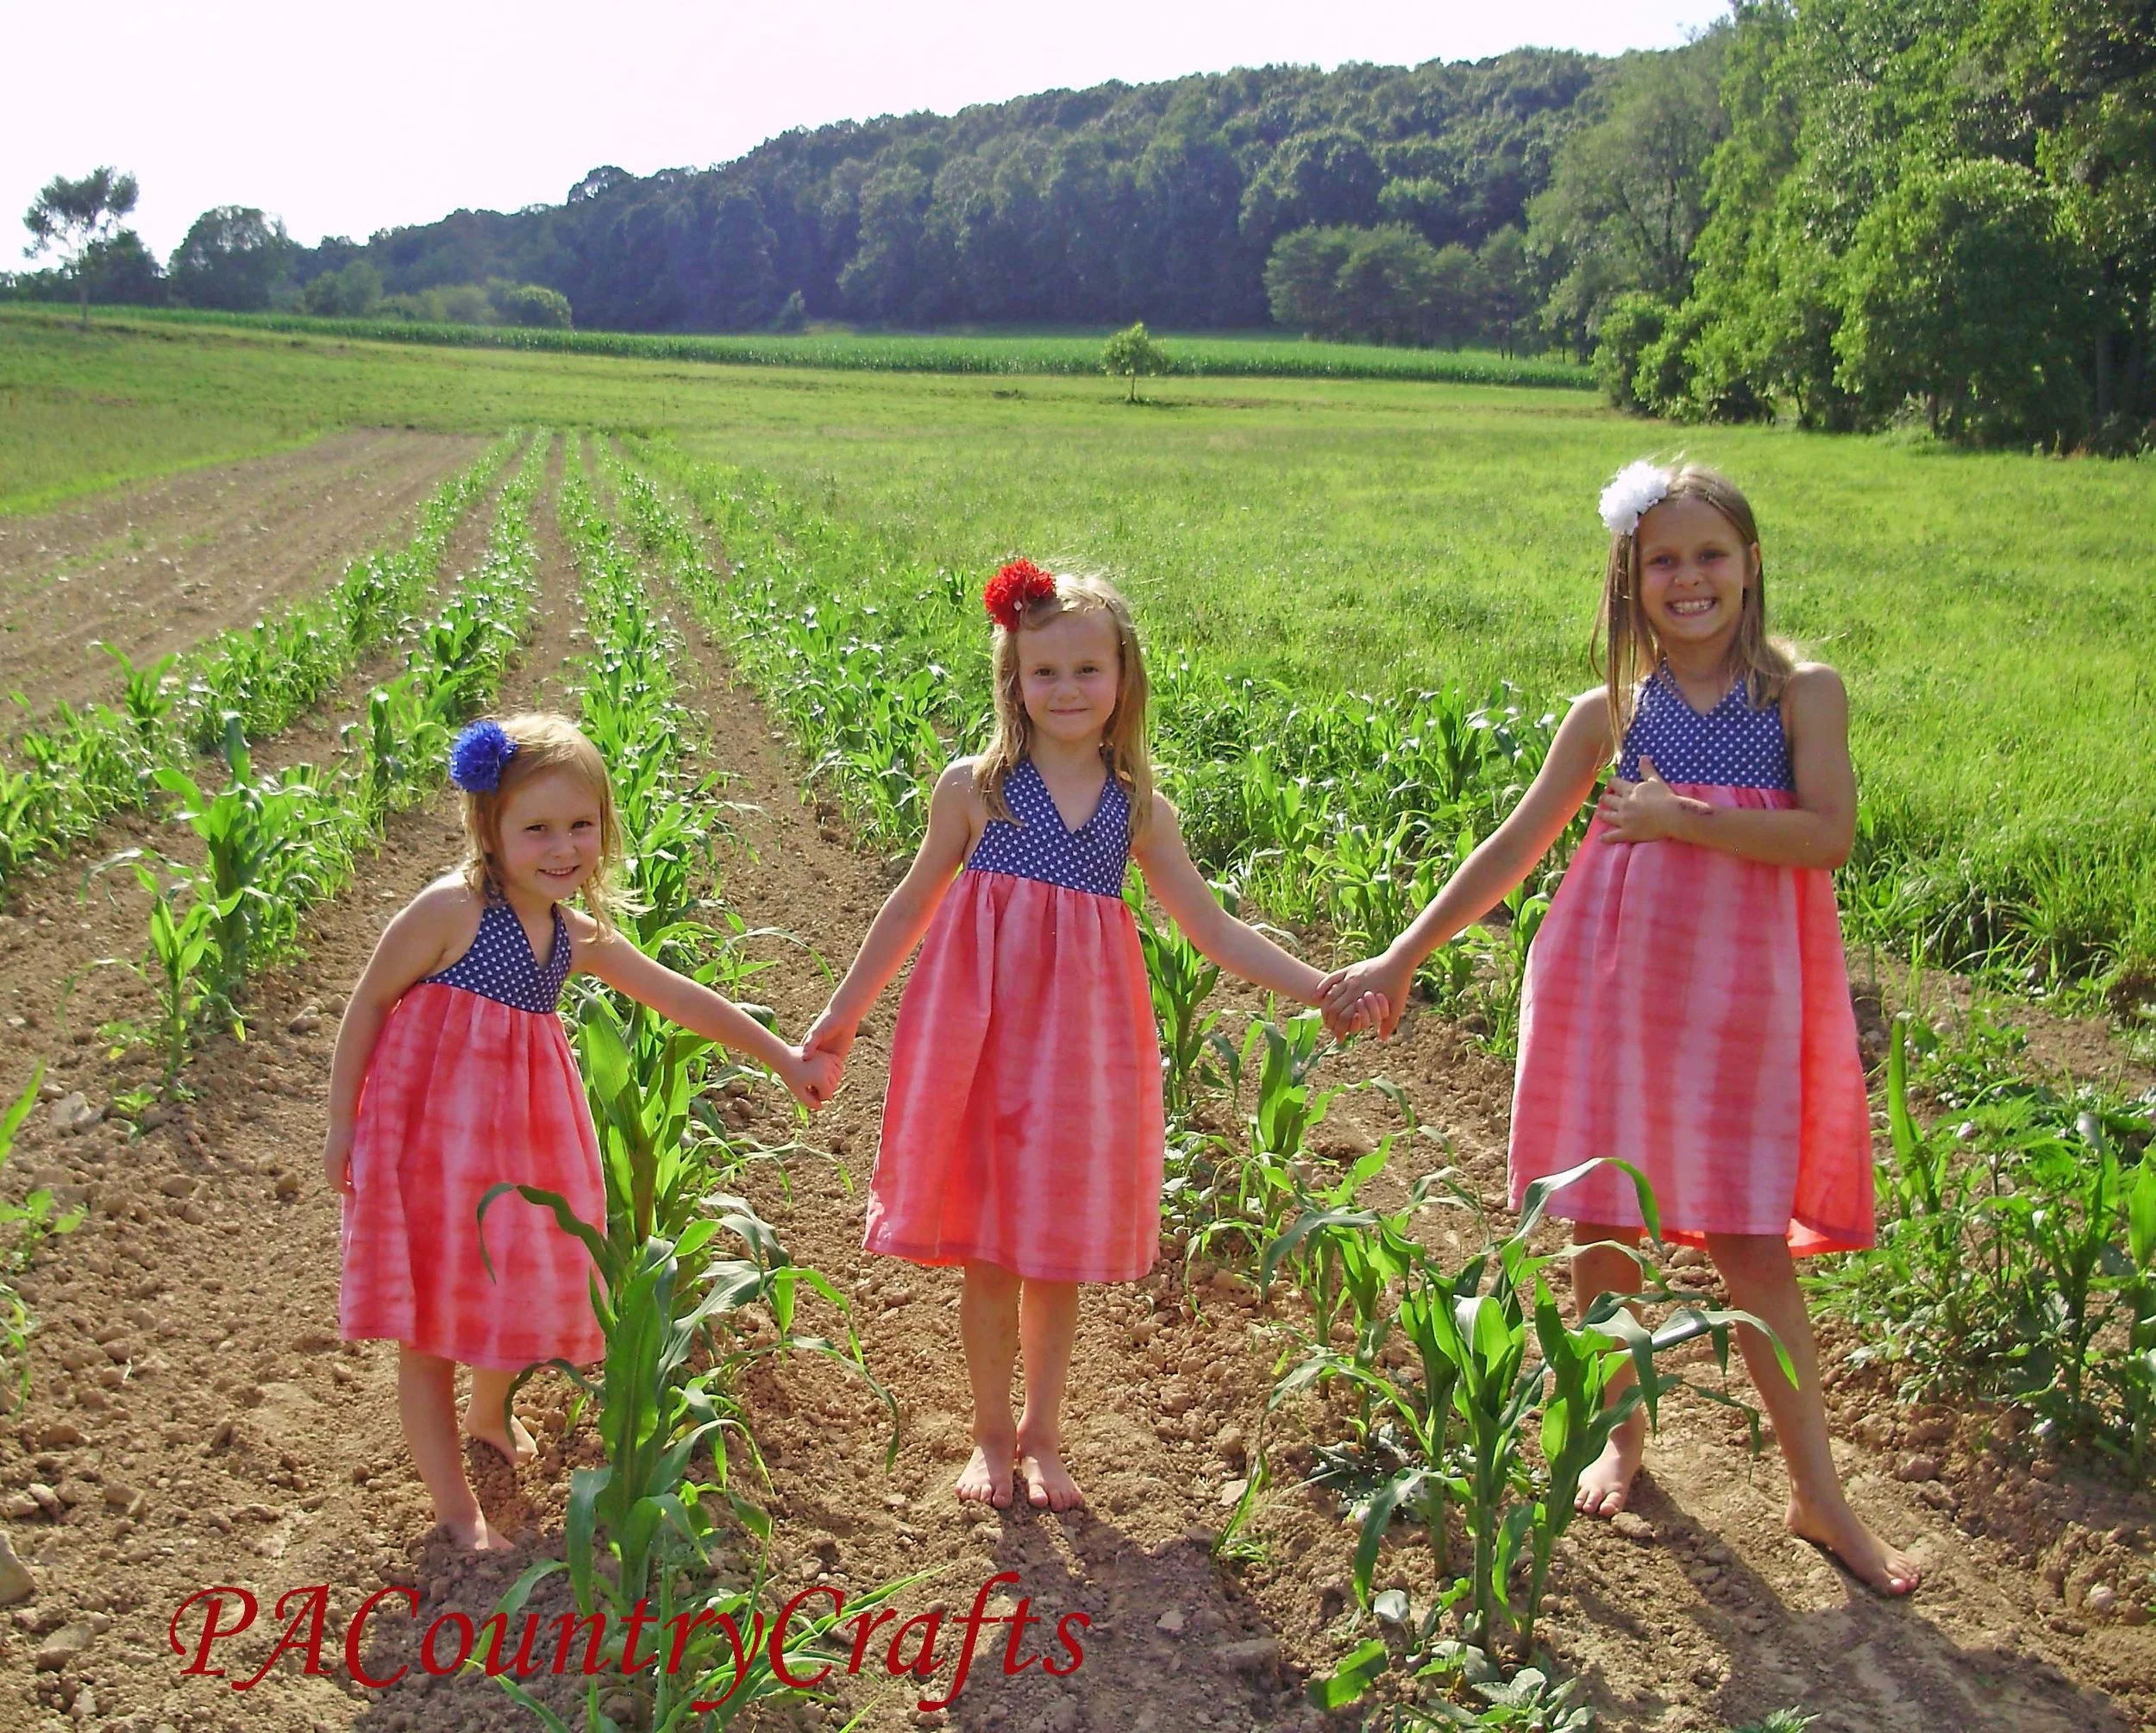
Read MoreTutorial for sewing this easy girls’ halter dress in any size. You can make it out of any fabric, but some patriotic stars and dyed sheets make perfect July 4th dresses!
Read MoreThis week I made something special for my baby girl! I am sharing the full tutorial over at Fireflies and Jellybeans next week, but here is a little sneak peek...


Make sure to check out my tutorial over at Fireflies and Jellybeans! I will update this post with the link when it is up!

UPDATE: You can see my CUTE Sweet Summer Halter Top tutorial HERE!

Next to nothing in the way of PJs or nightgowns survived the first two girls to be passed down to my 3yo. Nightgowns are, in my opinion, way too much $ for what they are to buy them in stores. I made it from some great giveaway prizes, so it cost me nothing but a little bit of thread, elastic, and time. Sweet!
 |
| There is that picture smile again. |

Then, I sewed a yard of lace onto the bottom edge- directly onto the right side of the fabric because the pretty lace covers the serged edge.


Then, I took the leftover lace- 18 inches, and cut it in half to make straps (See? The amounts were PERFECT!) I pinned them two inches from the center on each side, but I forgot to figure in the gathering, so they should have been out another inch. I turned the top of the fabric down 1 1/2 inches and sewed all the way around on the same line where I attached the lace. I sewed back and forth several times over the straps to make it extra durable.

Then, I made a casing for the elastic. I carefully sewed 1/2 inch from the top all the way around, leaving a small opening to insert the elastic. I was careful not to catch the lace from the top edge, but I did sew the straps down again really well.

Finally, I inserted the elastic by putting a safety pin in the end and pushing it through. I sewed the ends of the elastic together by overlapping them about an inch.

And that was it! Very, very easy!

She loves it and I like its simple, vintage style... kinda' dreamy.

Thank you again to Karen and Carly for the great prizes. :)
I have decided to participate in Kids' Clothing Week Challenge since I have some other sewing projects in mind for my girls. The goal is to sew for an hour a day, but for me, it will probably be little bits of time here and there as I can grab it. Wish me luck!!


Pin all the way around the top, lining everything up...

Sew in place. If you flip it, now it should look like this...

But, wait! We need the straps! You probably could have put some of them in before sewing, but I figured it was enough to worry about getting everything lined up. So, turned it inside out and seam ripped a little to put the strap and a tie in like so...

I tried the dress on her first to get the angles- you can do that or just estimate from this picture.
For the back side, I did the tie the same way, but the strap I just inserted from the right side.

Then I topstitched the back to hold it in place. (Don't look too close! My totpstitching stinks!)

I added a ruffle at the bottom, too, for more length and more white to match the other dresses. It is just a strip 6 inches by about 90 inches pressed in half, gathered, sewed on, and topstitched. Kinda basic, but if you have any questions, let me know!


I also used some scraps to make her a cute, rolled rosette fabric headband. You can find tutorials on those everywhere... just do a search for it.

I hope this one is a lot more clear than yesterday's Bubble Dress Tutorial. It is a totally different style. Just like my girls.
Well, that wraps up my Easter dress posts for this year... four dresses, four colors, four styles, four sweet girls! Thanks so much for letting me show all of them off a bit! =)

Sewing, crafts, tutorials, recipes, and a little look at our life in the country - raising half a dozen children.

Hi! Thanks so much for stopping by! My name is Lindsay and on this blog you will find sewing, crafts, decorating, recipes, and tutorials with a little bit of honesty and encouragement.