Hula Hoop Wreath Tutorial
/Make a beautiful, floral wreath from a dollar store hula hoop with this easy tutorial!
Read MoreMake a beautiful, floral wreath from a dollar store hula hoop with this easy tutorial!
Read MoreFollow this simple tutorial for making farmhouse style pillows from drop cloth, paint, and stencils from Stencil Revolution!
Read MoreThe new Rocky Shore Tights by Sofiona Designs feature a fun, peekaboo detail on the lower leg. I was able to make some from upcycled shirts and thrifted fabric.
Read MoreProject Run and Play has a new shop! I sewed up an All Spice Dress from a thrifted women’s skirt. It has long sleeves and is perfect for fall!
Read MoreEarth Day is coming up! To be honest, I generally don't do anything to celebrate it, but I tend to do a lot of upcycling projects so I thought that I would do a round-up post of some of my favorites! I picked the top ten, but you can see more of my upcycle projects HERE.
Women's Dress to Girls' Maxi Skirt (and bracelets and headband!)
I got a women's dress at the local thrift store and turned it into a maxi skirt for my daughter. I even seam ripped off the beading from that jazzy medallion at the waist and helped her to make bracelets out of them. One of the waist ties became a headband. Triple upcycling! Do I get bonus points for that? You can see the full post and tutorial HERE.
Altoid Tins to Magnetic Playset
This is a non-sewing project that you can do with the kids. Some washi tape, stickers, paper, and old promo magnets transform these into little magnetic playsets that you can tuck into your purse to keep kids occupied in waiting rooms, etc. Full tutorial to make these available HERE.
Sweater Scraps to Hand Warmers
Got a hole in your favorite, softest sweater? These little hand warmers are really cute and I have a little trick to sewing these! See the tutorial HERE.
Men's Shirt to Girls' Vintage Style Dress
Upcycling with Men's Dress Shirts is actually a fun project. There are a lot of possibilities. I have a mini-tutorial showing how I used this shirt as an efficient fabric source to make the dress HERE.
So, this is a pretty popular post on the blog. It is a really sweet way to preserve a special baby outift, though! Full tutorial and pattern available HERE.
Three Ways to Mend Holes in Jeans
One daughter in particular is really, really hard on her jeans! Which style is your favorite? Details on how to do each one are available HERE.
Vintage Sheets to Easter Dresses
I made five Easter dresses from a couple of vintage sheets that had belonged to my Nana. I was strategic so I didn't even have to hem some of them! This was my absolute favorite year for Easter dresses and I have tutorials for each of them. They are all linked at the bottom of THIS post.
EEK! I was so big here (at only 29 weeks)! Trust me, this shirt stretched out WAAAAAAY further until the end and surprisingly still covered my watermelon belly. Full tutorial HERE.
Hey! Look! Something for the boys! (Although my girls play with cars, too.) Using old jeans legs for the base of this made it sturdy and more durable. Full tutorial HERE.
Now, for my all-time favorite upcycle project. Drumroll, please! .....................................................
Collage Wall from Thrift Store Frames
I love this wall so much! It still looks pretty much the same, except the girls put some things on the tops of their beds and block the stuff on the bottom sometimes. We got a bunch of frames at yard sales and thrift stores (plus a few from Michaels) and we turned them into this cute collage wall. See all of the details (and get free printables) HERE.
If you want to pin this for later...

Don't forget to check out all of my upcycle projects HERE!
Refashion a thrifted women’s dress into a girls’ maxi skirt! Step by step tutorial pictures to upcycle stretch fabric in a few simple steps.l
Read More
My great-grandmother, Caroline, was Bohemian; so "boho" means a little something different to me because I think of her. I remember her fierce hugs and the stories of her spunk and determination. Widowed, with three young children, she moved from the city to rural PA and married a bachelor farmer. I have always thought she was brave, and I wouldn't be here if she hadn't taken a chance. Characteristic of her generation, she was very resourceful. My baby quilt is pieced from flour sacks and her quilt templates were cut from old cereal boxes. One Christmas, we all got stuffed pigs made from polyester scraps. She also worked hard and never gave up. She had to quit school to help at home, but got her GED in her 80s because it was something that she had always wanted to do. I still remember her showing us the certificate hanging proudly in the frame on her living room wall. She made the best out of any situation with creativity and determination. That is a bit of what I tried to do this week. We had 2 feet of snow and 3 snow days, so I had to "make do" with what I had on hand, although it meant a lot more work. In the end, both outfits cost less than $5 to make and all that I had to purchase when I finally was able to leave the house was some thread, embroidery floss, and buttons.
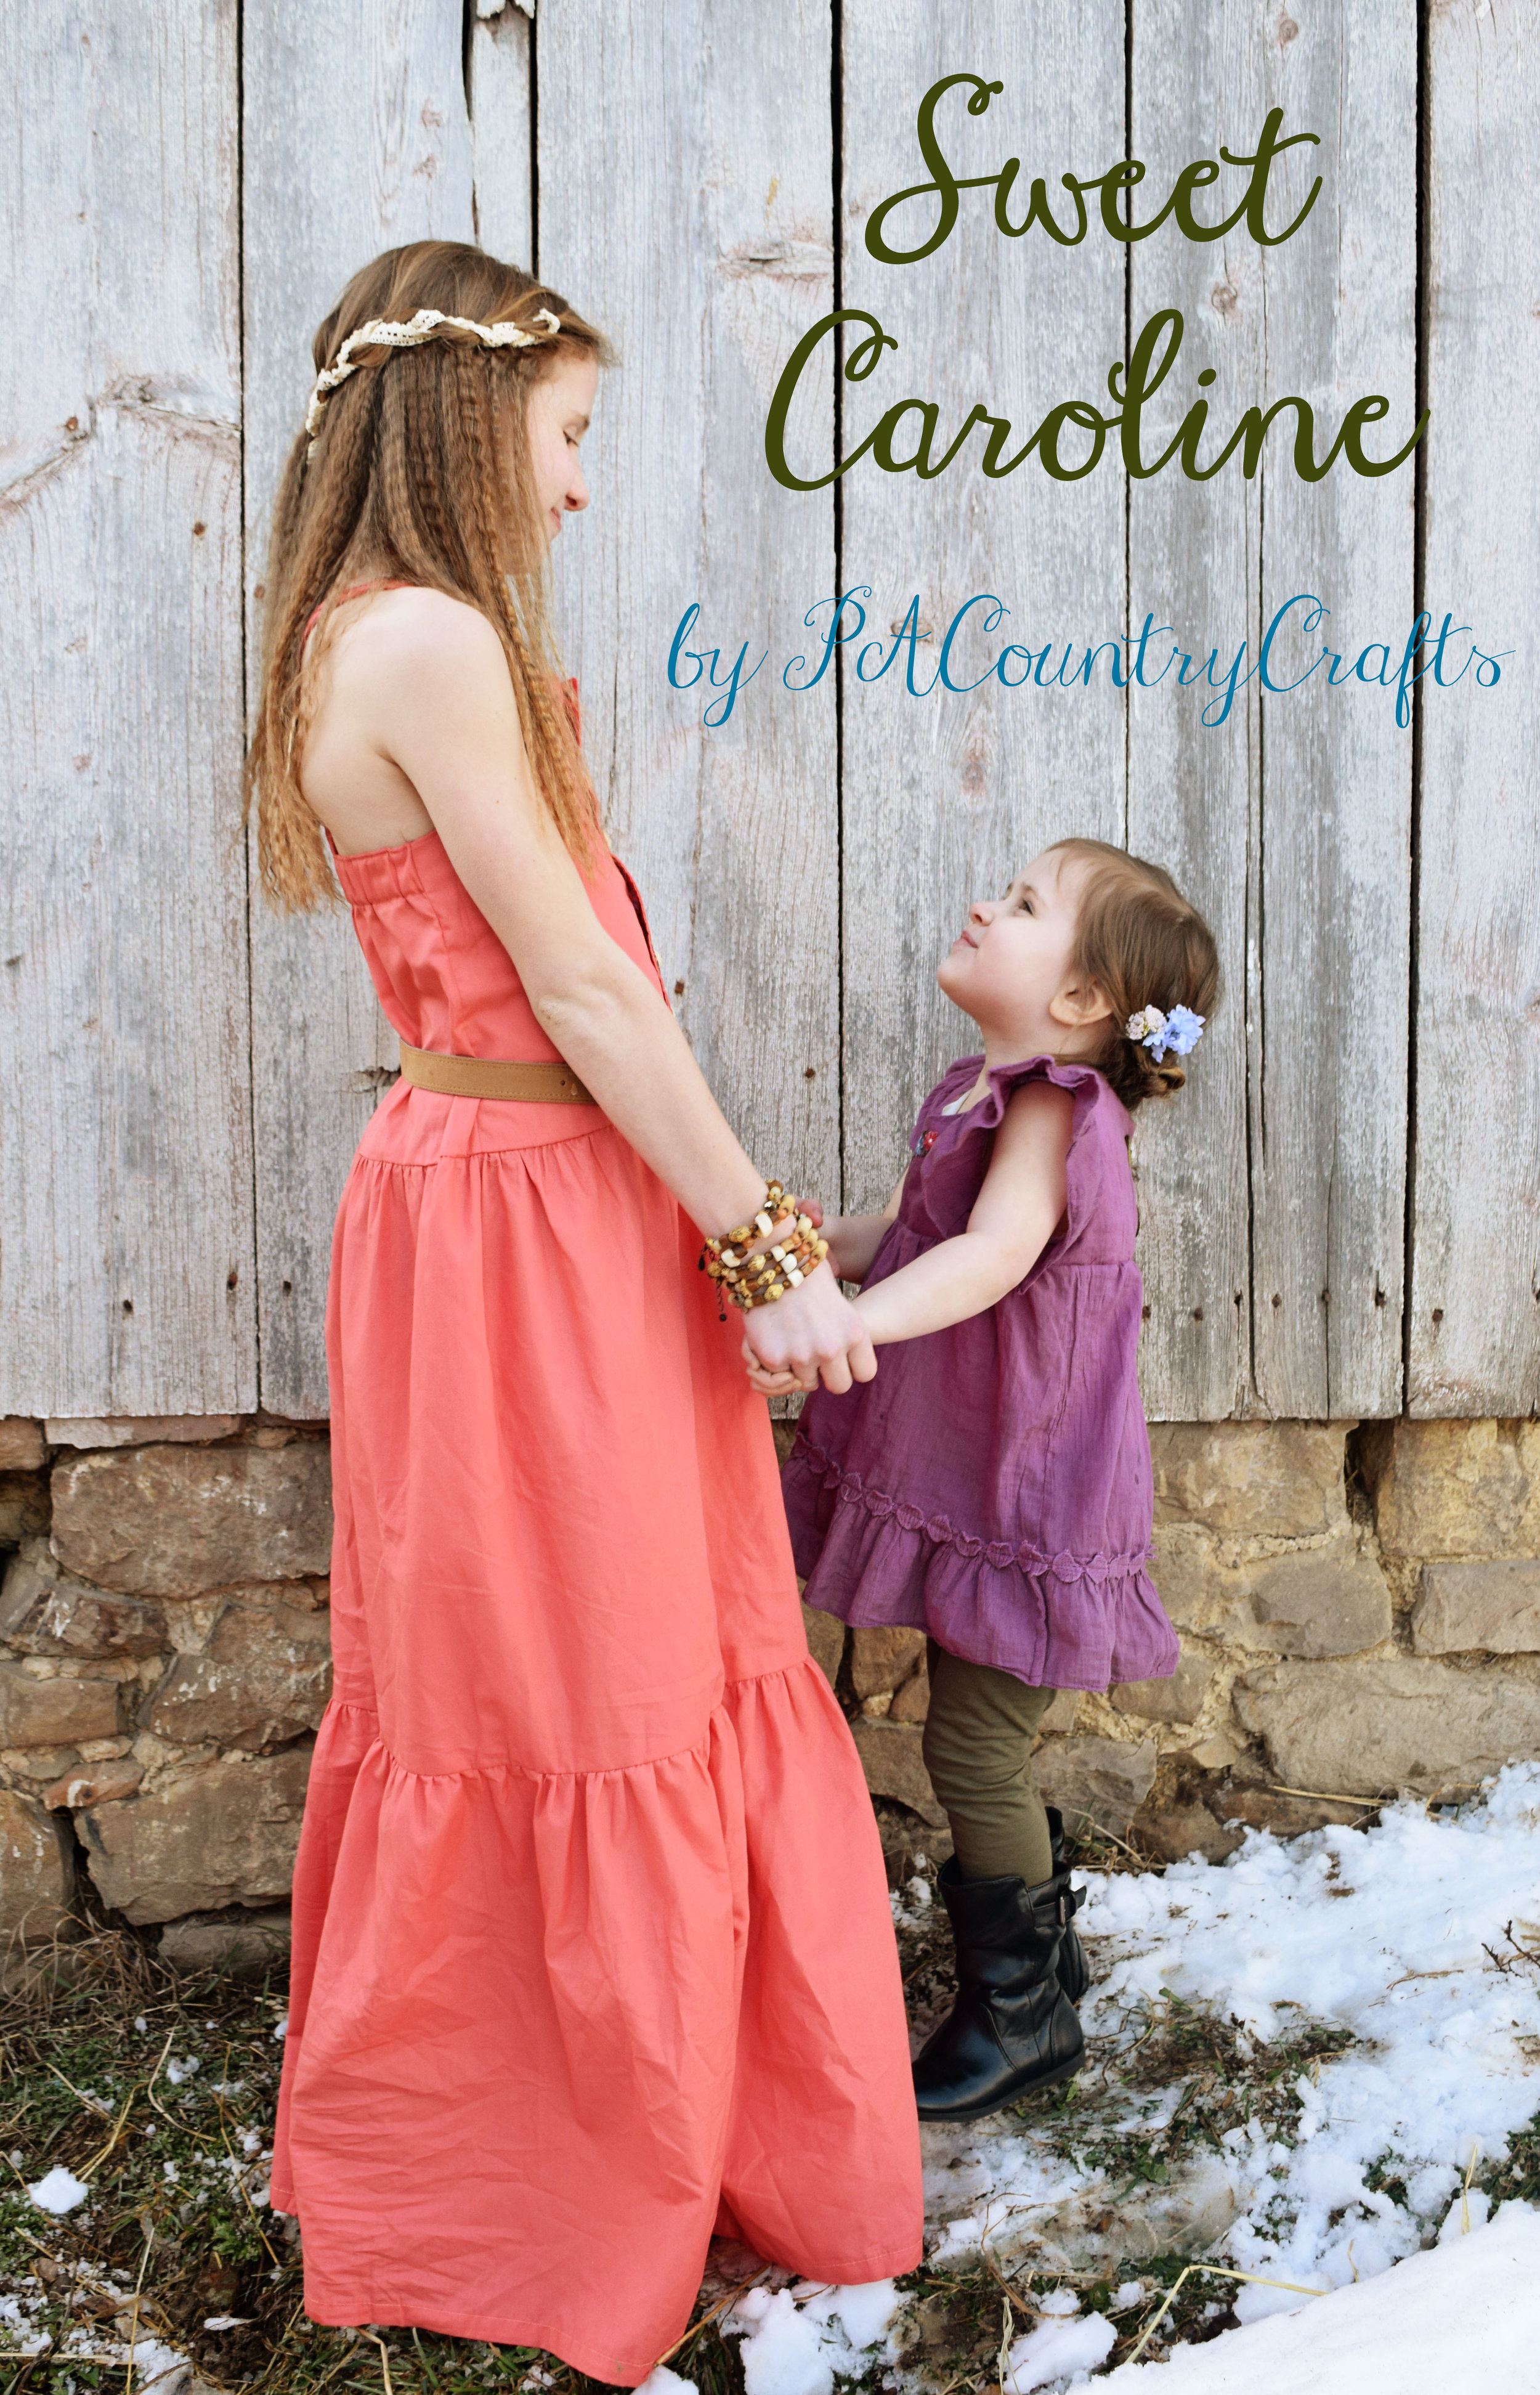
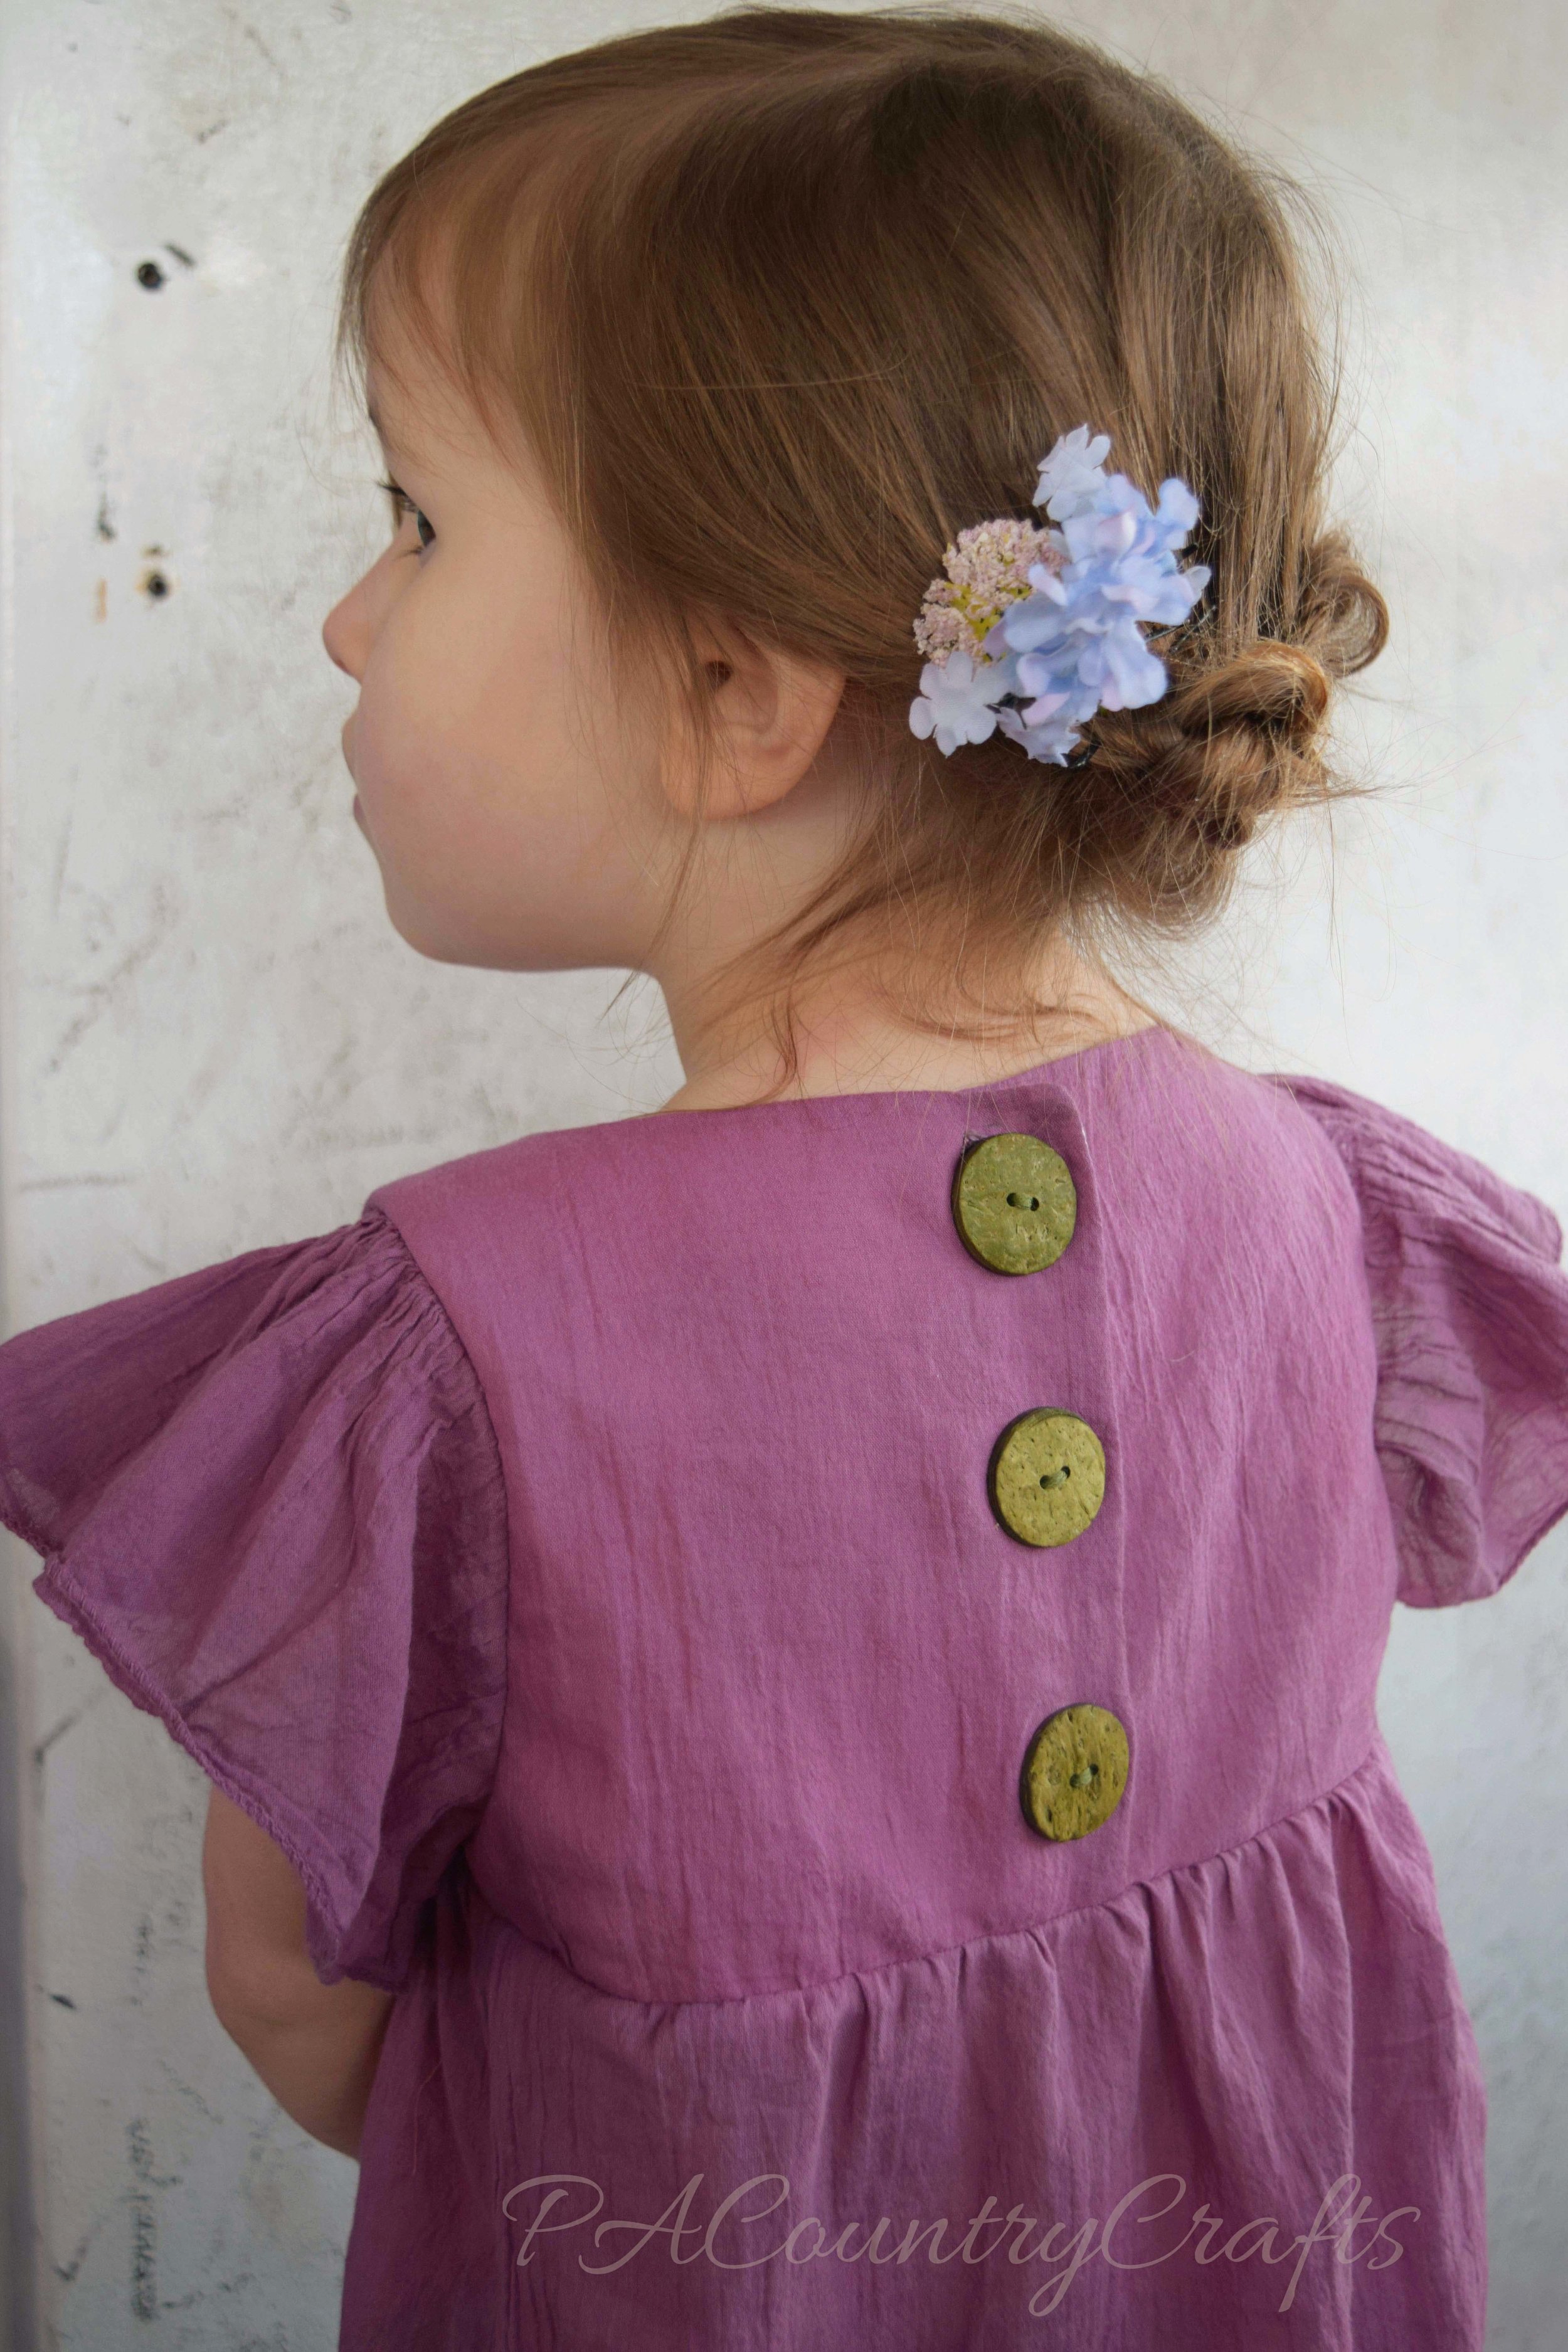
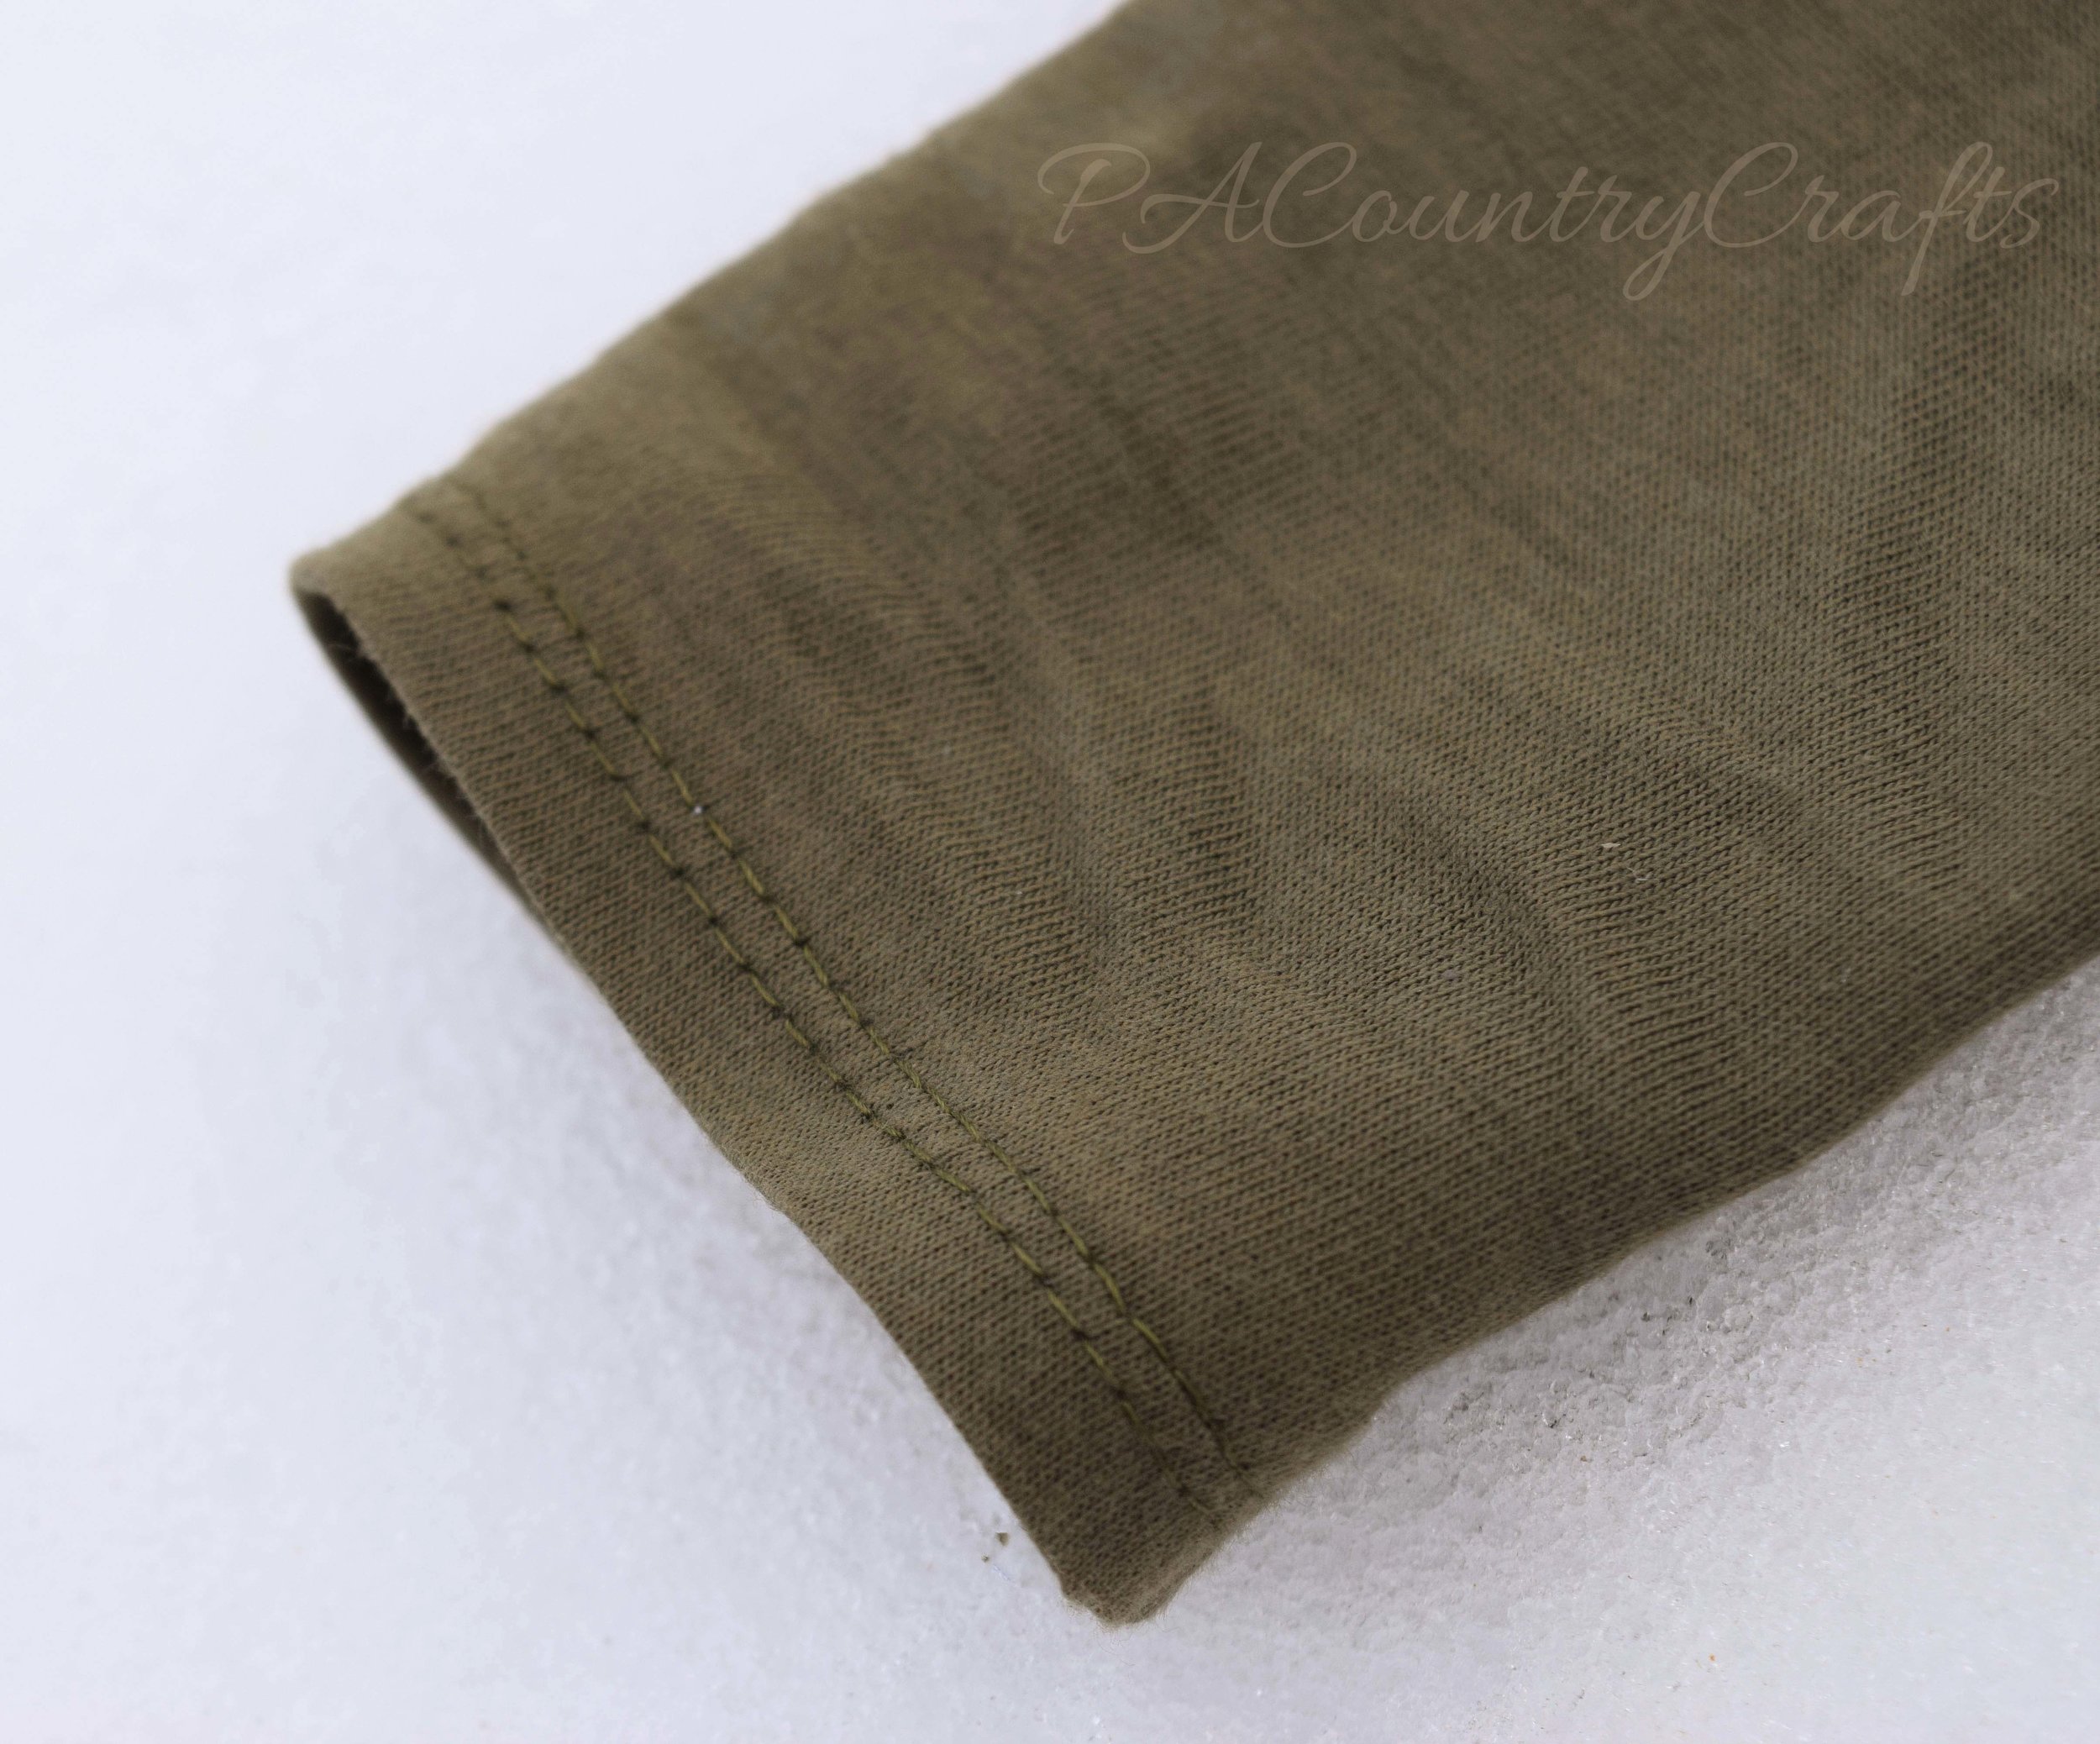
I still tried to incorporate the modern "boho" style in my designs. First, I made a tunic from an old shirt that was given to me. I loved the color (with a slightly uneven dye effect) and it was a thin, flowy fabric perfect for what I had in mind. I removed the bottom ruffle (the open part was badly torn) and the bottoms of the sleeves. Then, I carefully cut the rest of my pieces from what was left of the shirt. I drafted a bodice with a curved front and trimmed the front of the bottom skirt portion a bit to create a high-low effect. The original ruffle was resized and sewed onto the bottom of the tunic. I embroidered the neckline with some simple flowers and vines. It took awhile, but it was definitely worth it to add some lovely detail. The top is lined with remnants of a really soft sheet I used to line THIS dress and I understitched along the inside neckline. I reshaped the sleeves to create a loose, flutter sleeve with a bit of gathering at the top. Then, I sewed it to the bottom and added buttons on the back. I also made a pair of leggings from some olive green knit fabric that I found in a tote after digging a path to my storage shed.
Before...

After...




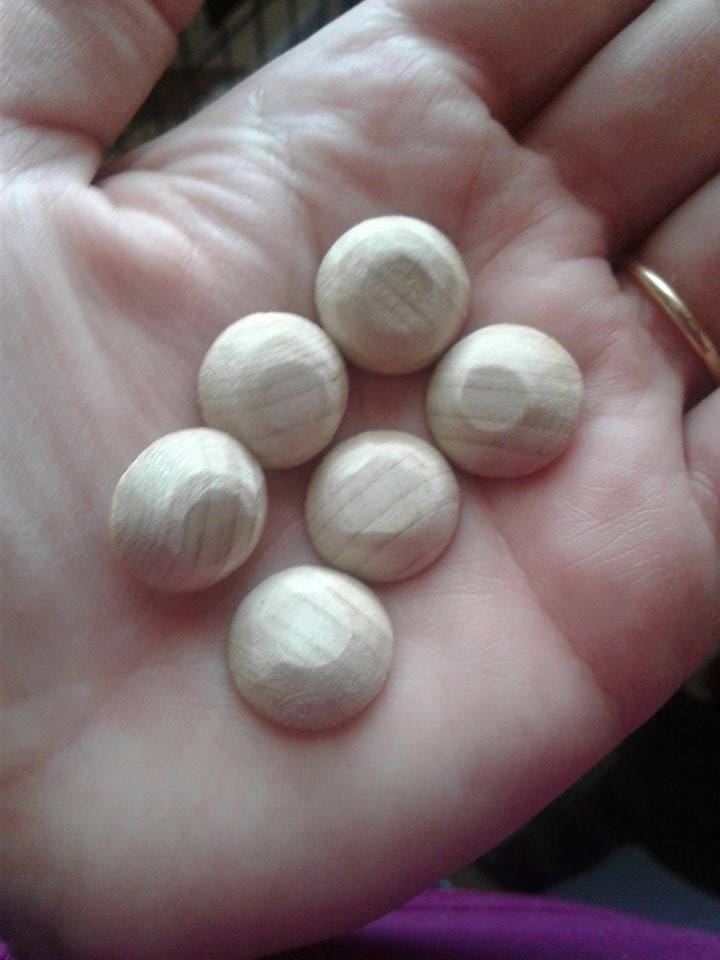
My other daughter wanted a maxi dress and I found a dusty coral sheet I had purchased years ago on clearance at Target and stuffed under my fabric table. I only used about half of the sheet to make this dress. I drafted the pattern to have a drop waist and long, gathered tiers. I was careful in my cutting and able to use the original sheet hem, too! Yay! This time, I put the buttons in the front and hand embroidered the button placket in the same intricate flowers and vines. Oh, and those buttons? My husband made them from a dowel rod! He sanded them on the belt sander to make them round and carefully sliced them off of the dowel. I sanded them by hand to smooth and even them out. After a last-minute trip for 1/16th inch drill bits, he drilled holes in them for me. The straps are made from braided strips folded like bias tape and sewn together. They cross in the back and I added an elastic casing so that it would fit well and not gap in the back.
Some more before pictures...

After...
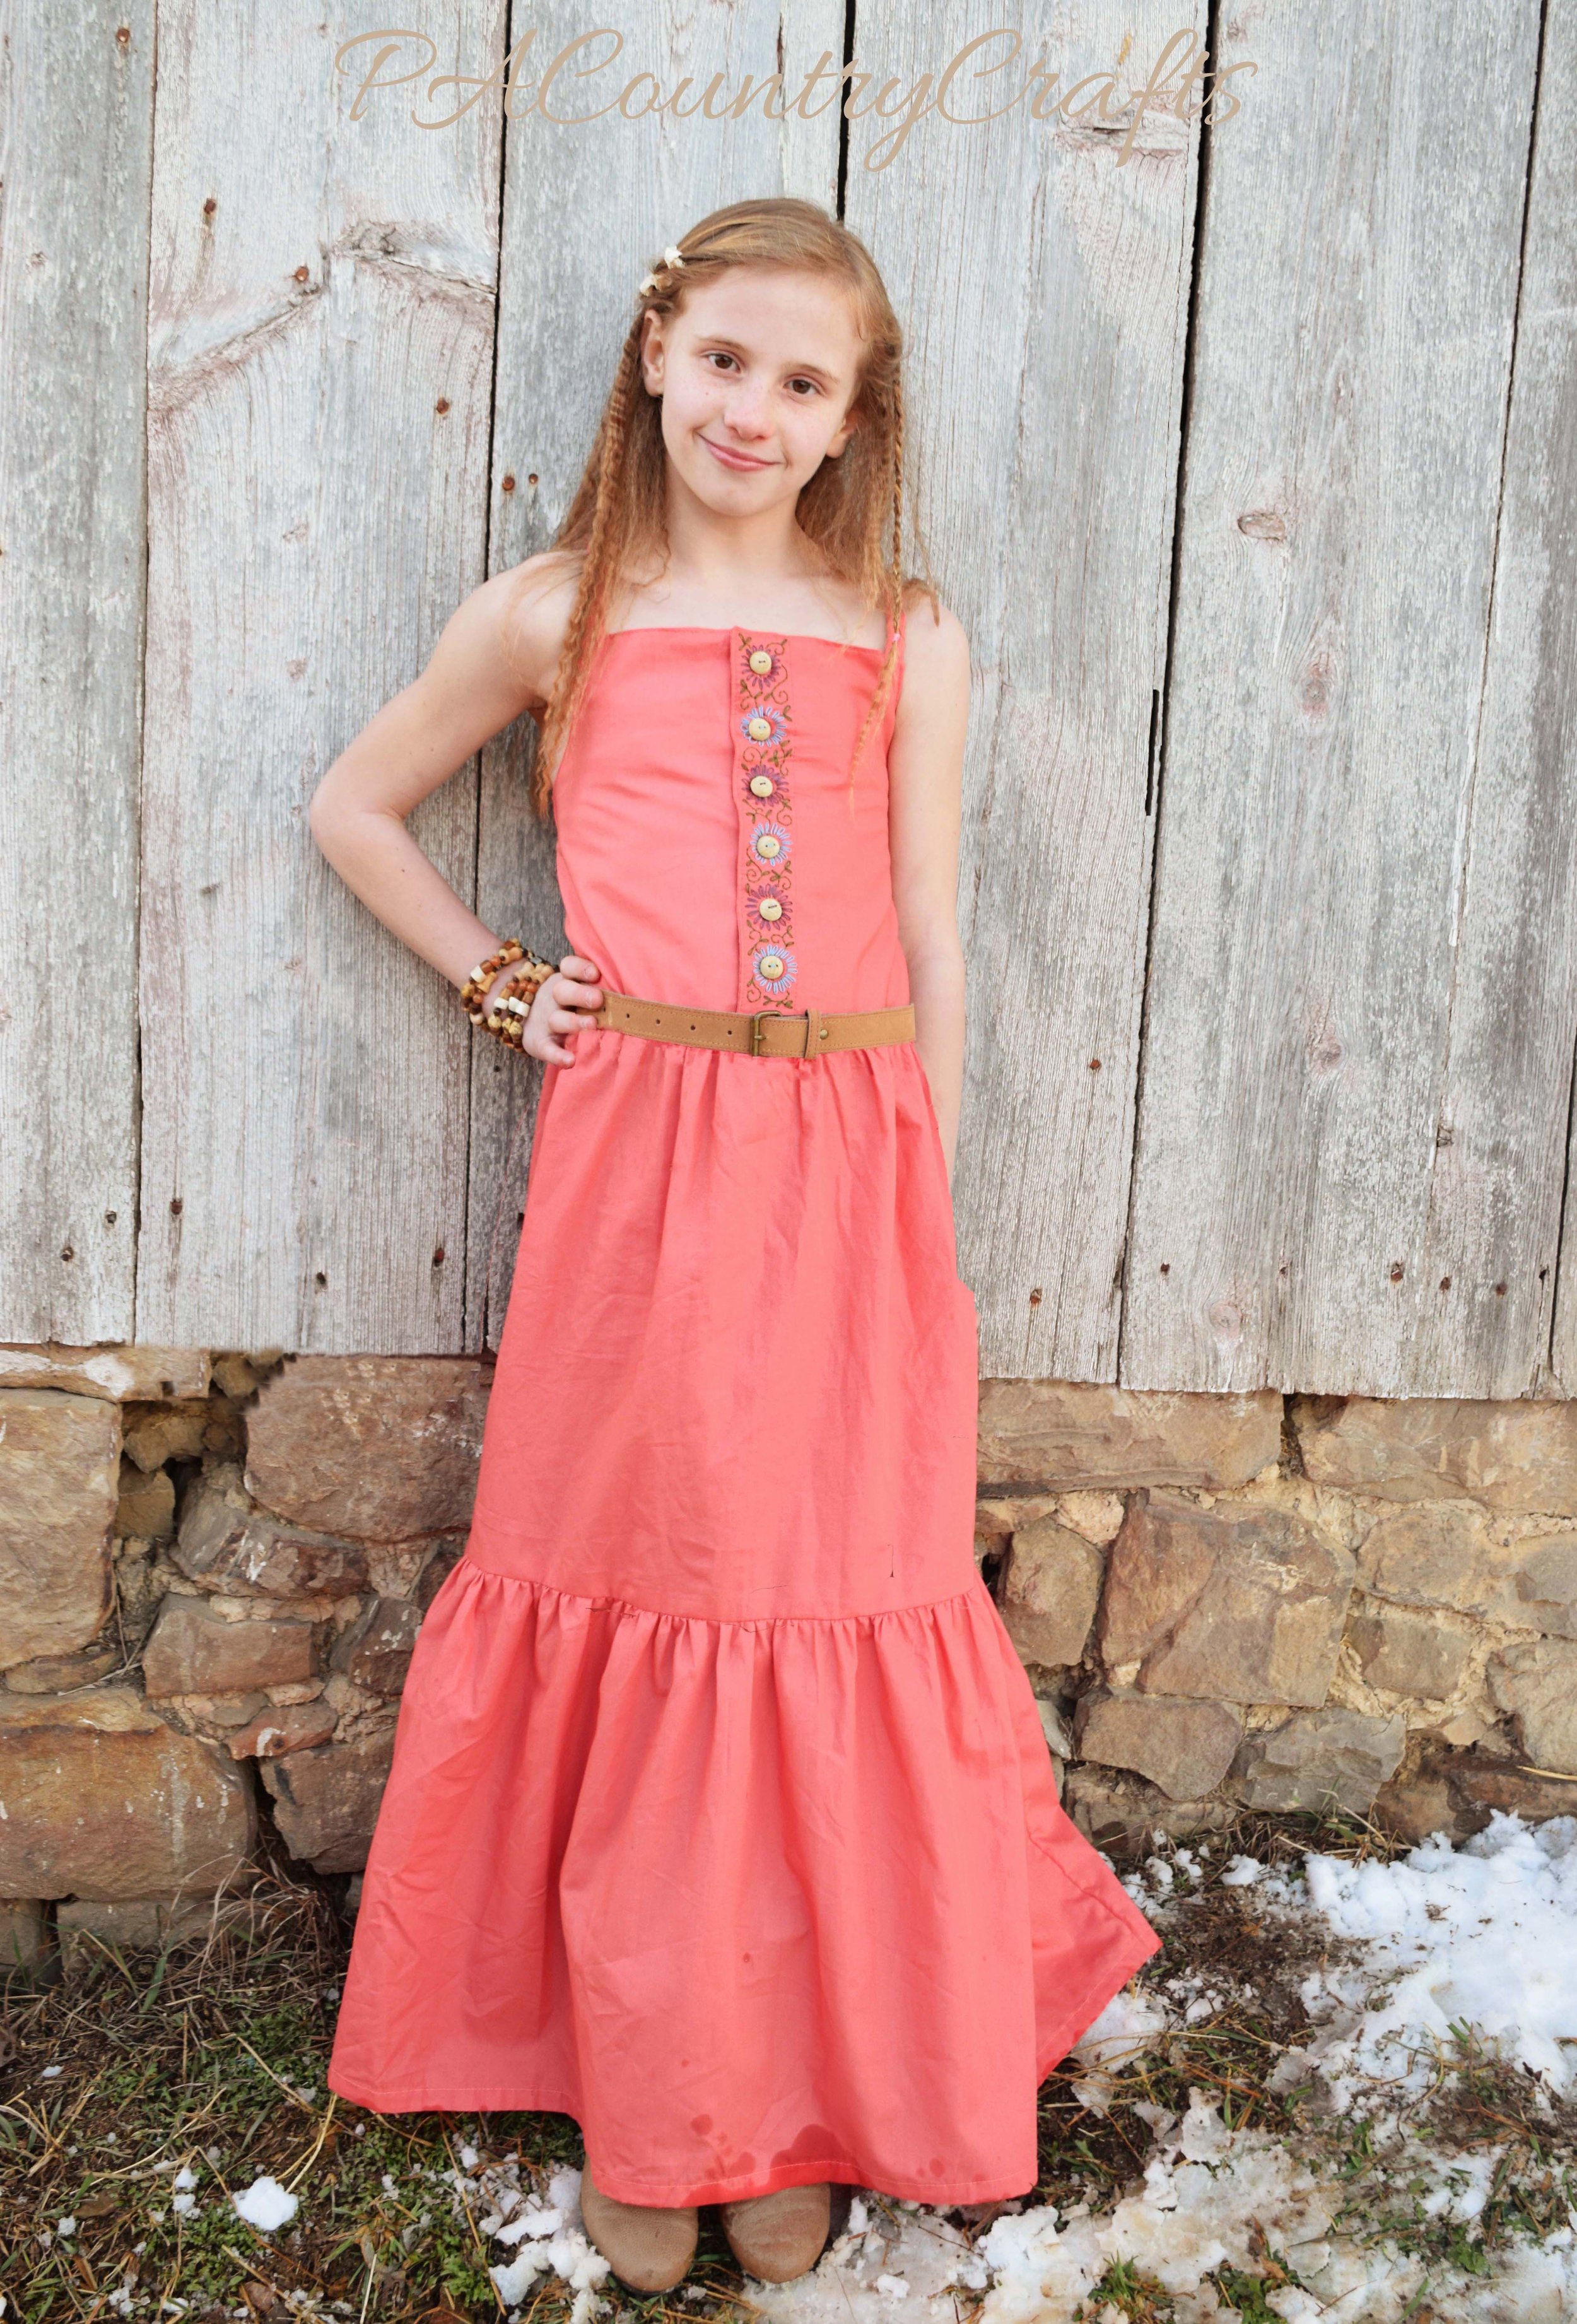

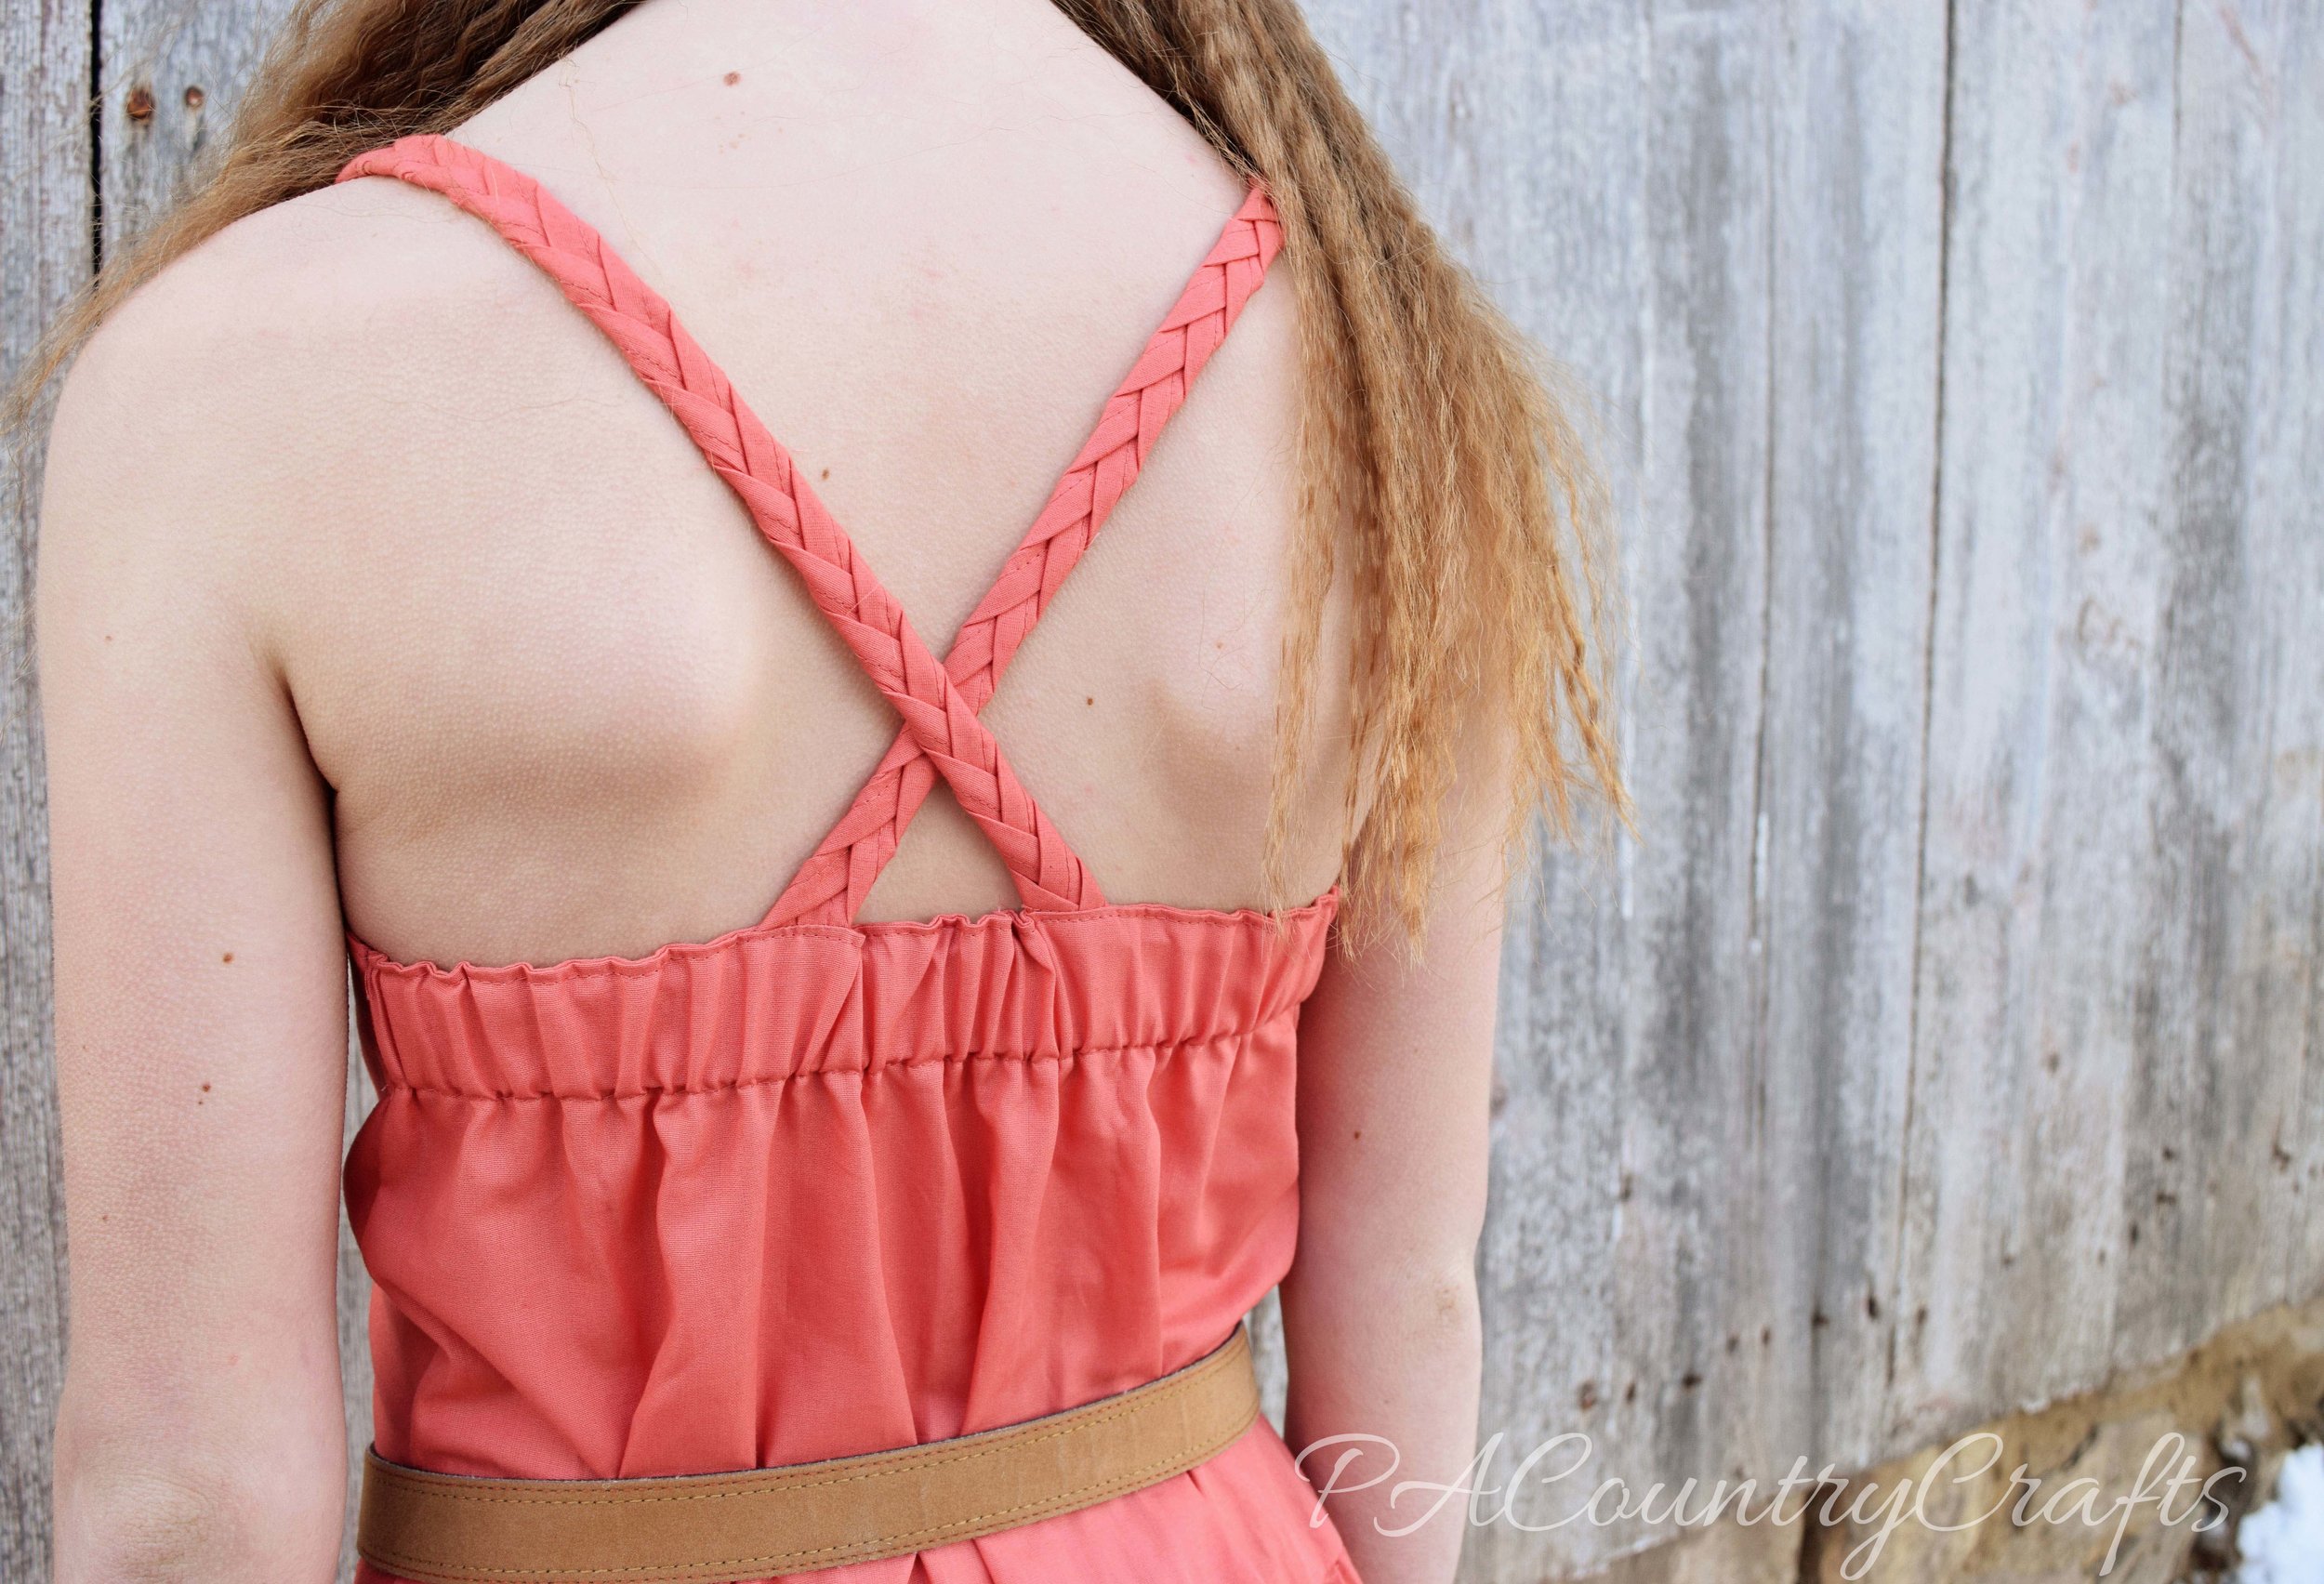

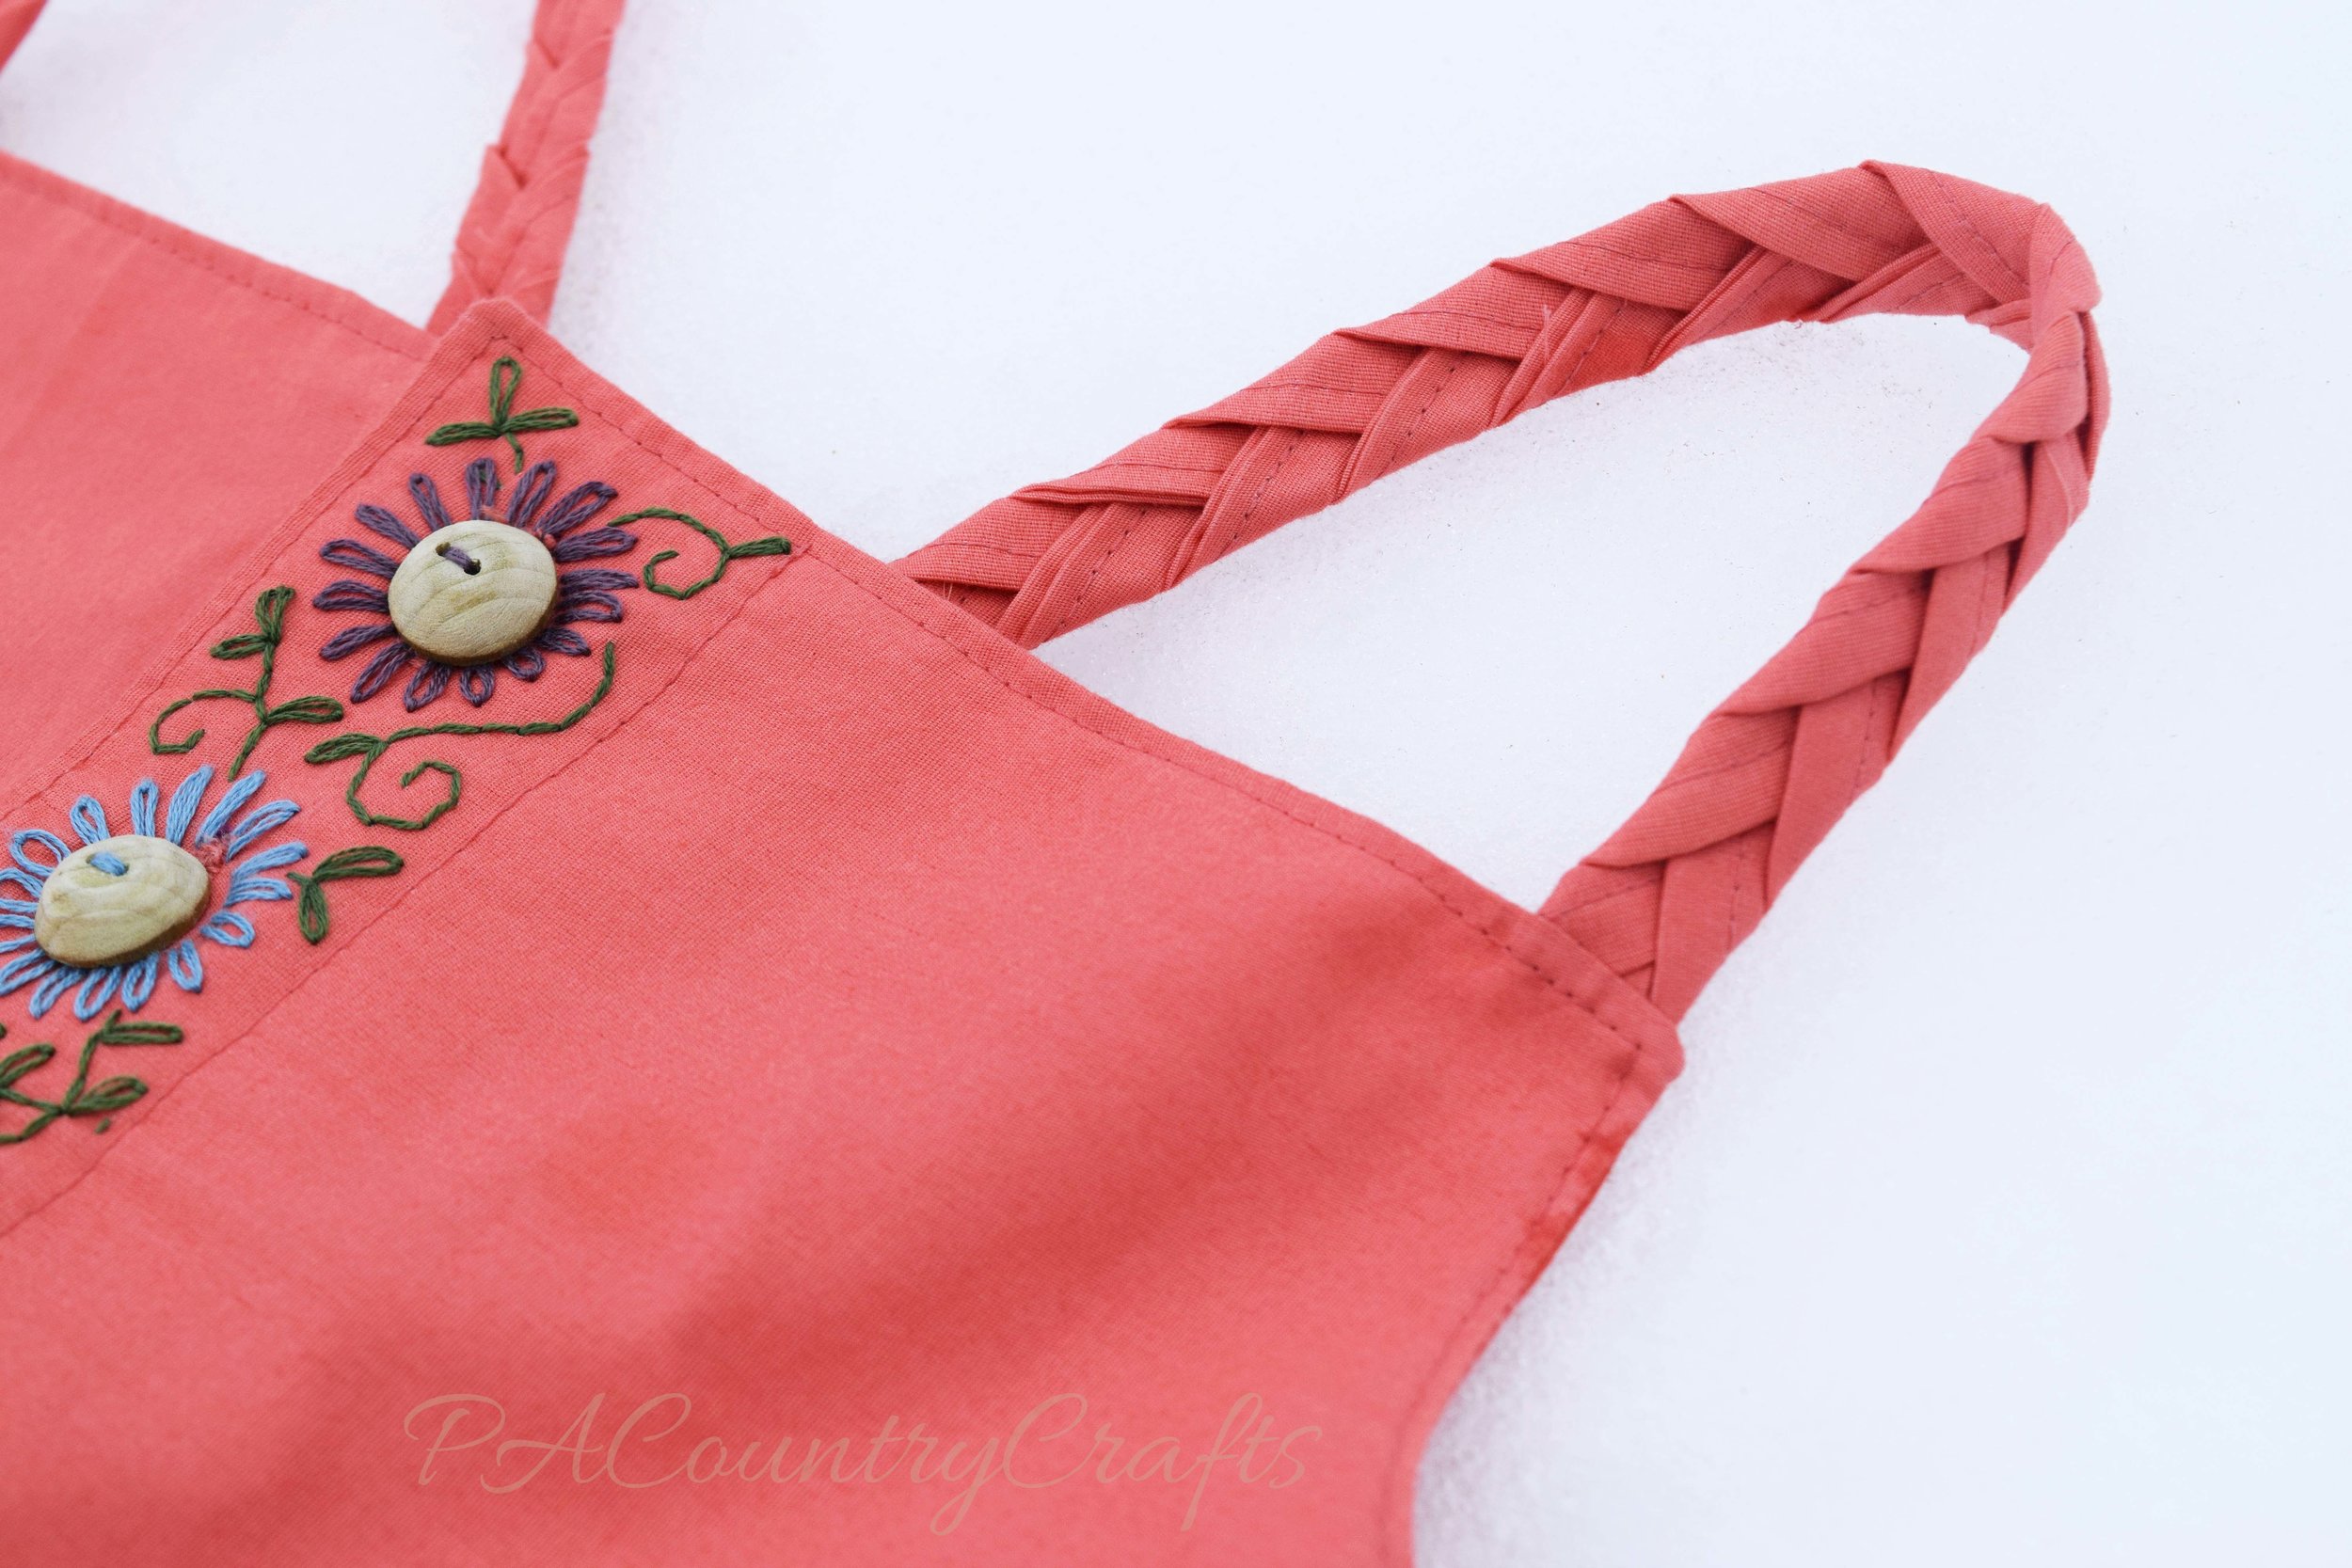
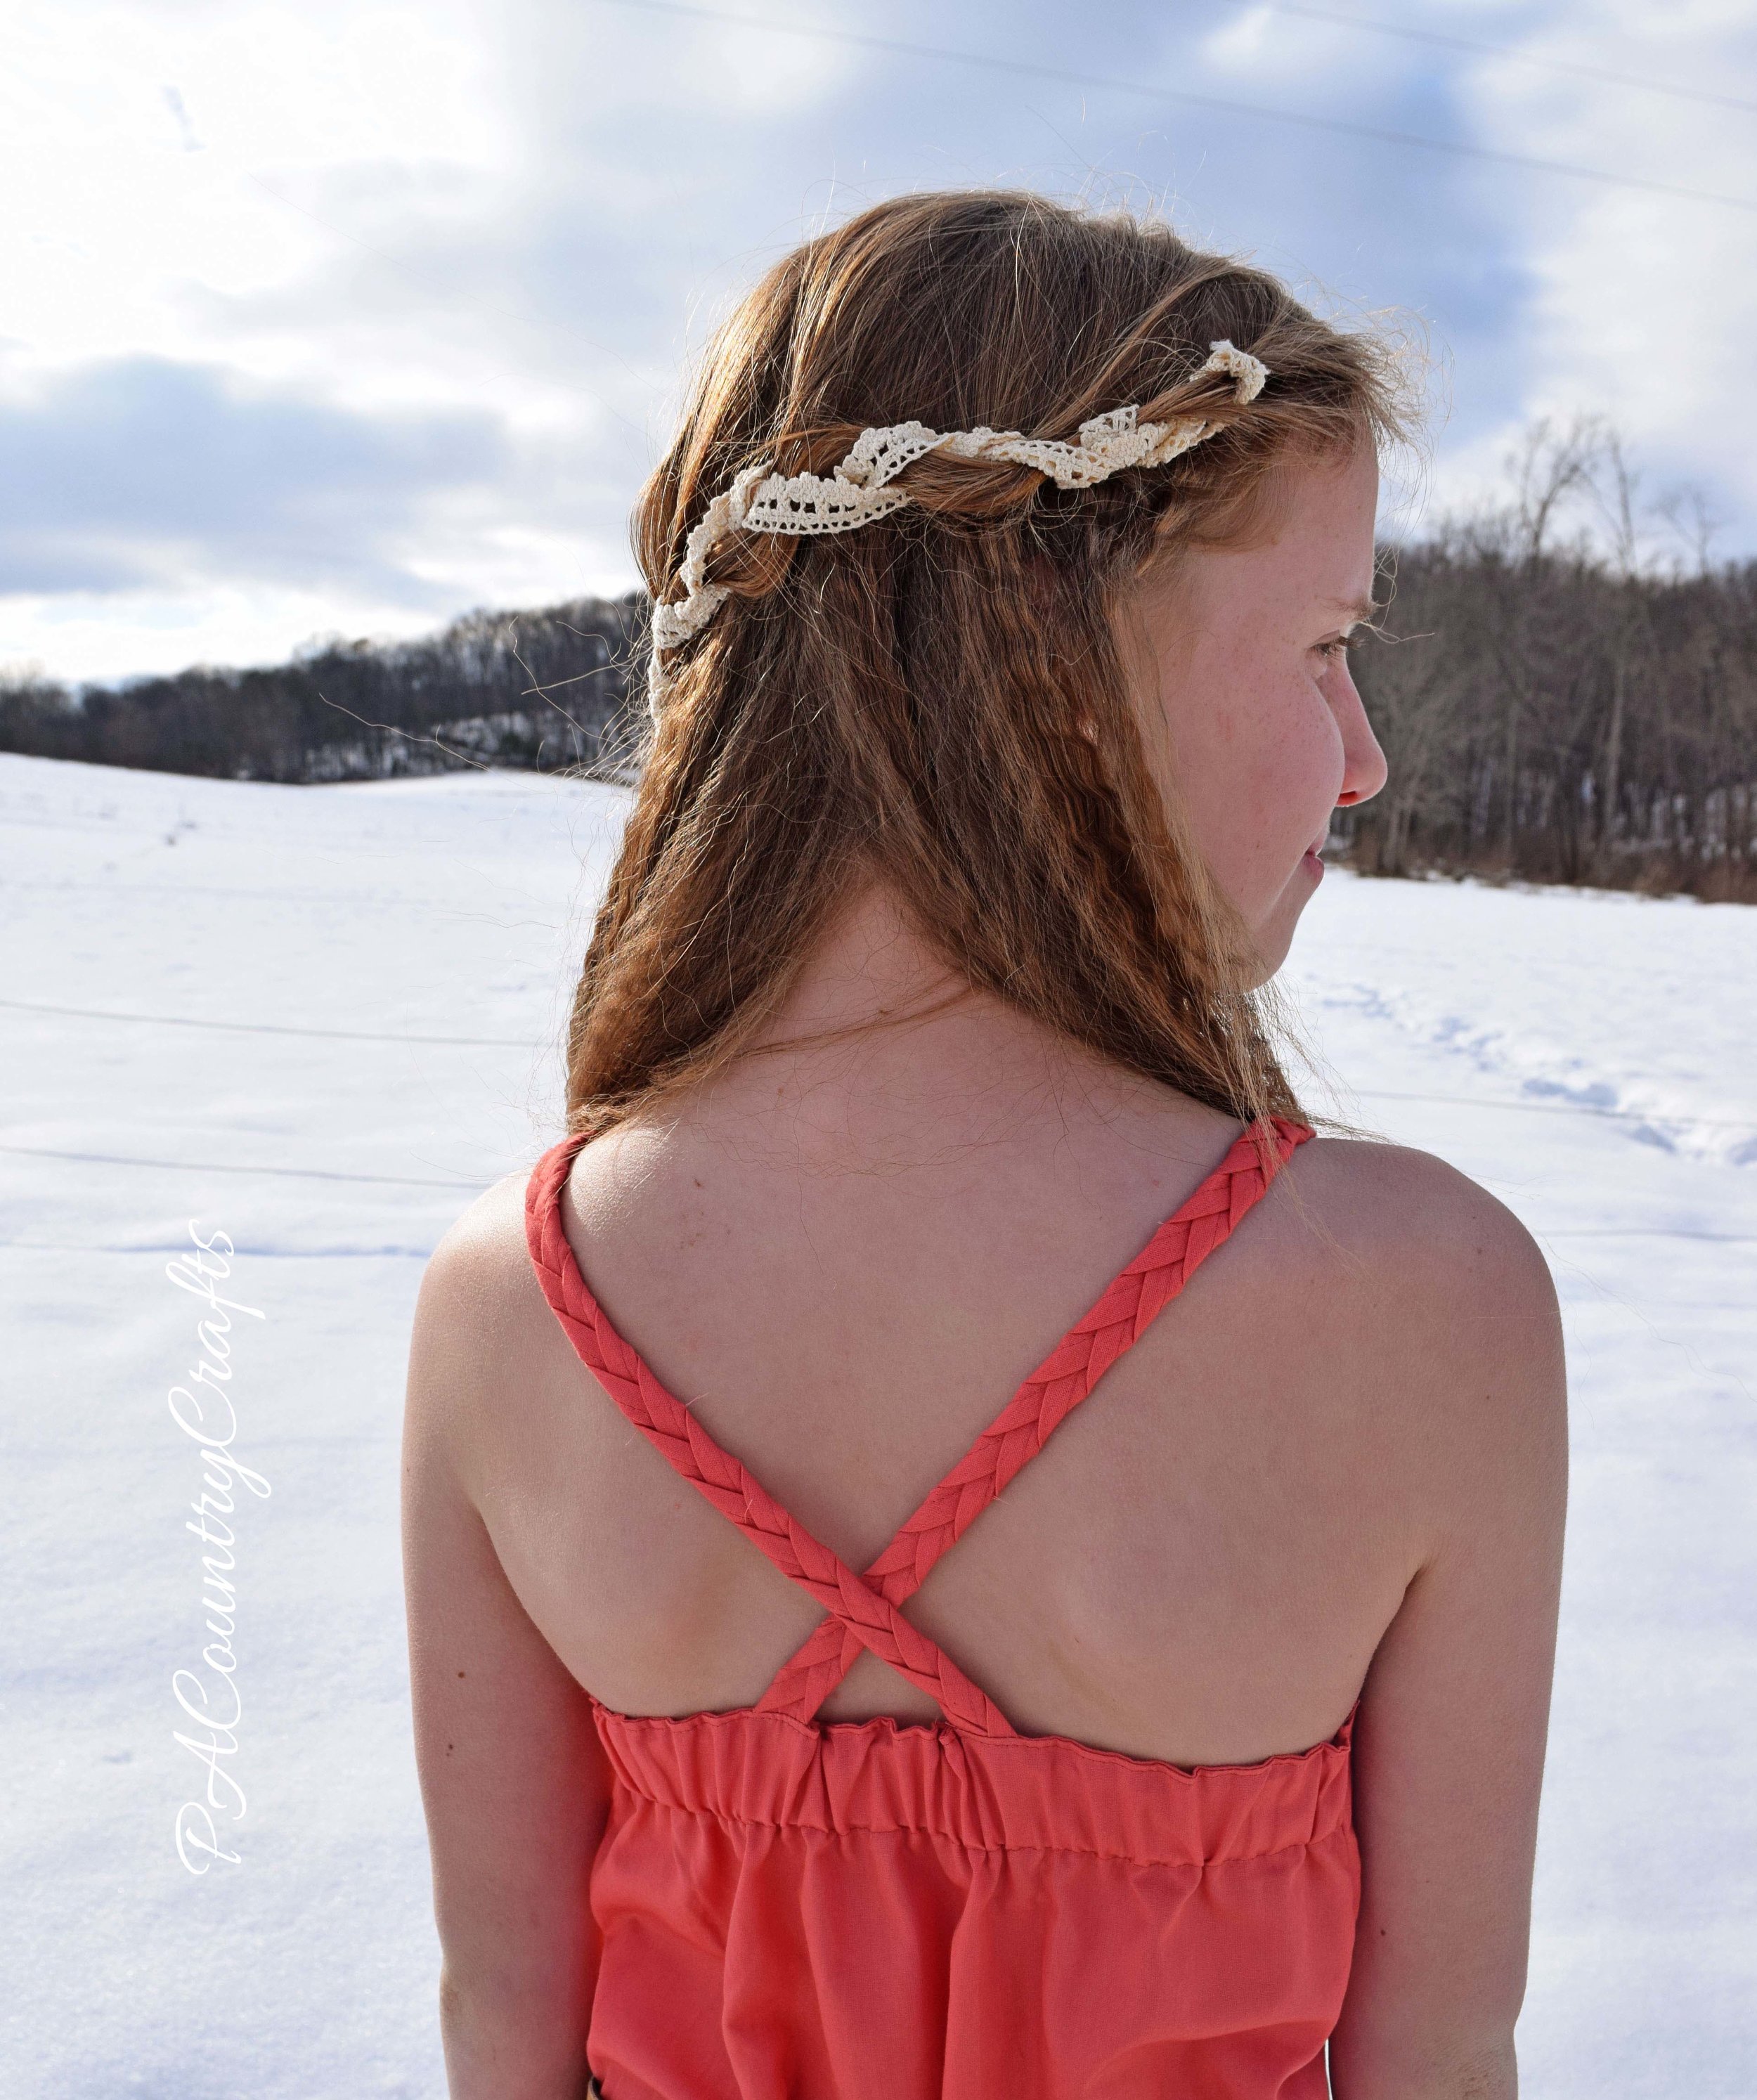

We tried to do a farm themed photo shoot, but it is hard because our options right now are: a) snow or b) mud. At the end, I decided to try to take some pictures with our new chicks, but it was clearly a bad idea. Let's just say that this was the second week in a row that an outfit had to be washed right after the pictures. Ew!!!


You can vote for your favorite "boho" look HERE over at Project Run and Play!
Thank you again to all of those who have voted and shared and supported me!!! Thank you to Aunt Karen for the purple shirt. A very special thank you to my sisters this week! Loni, you did an awesome job as my hairstylist and ironer. (Also, thank you for returning my vintage crimping iron.) Thank you to my husband for those awesome buttons and for carrying girls over the mud for pictures! Thank you most of all to my grandmother and other family members who pass down stories and leave a legacy to inspire future generations.

Sewing, crafts, tutorials, recipes, and a little look at our life in the country - raising half a dozen children.

Hi! Thanks so much for stopping by! My name is Lindsay and on this blog you will find sewing, crafts, decorating, recipes, and tutorials with a little bit of honesty and encouragement.