Rustic Chicken Wire Photo Display

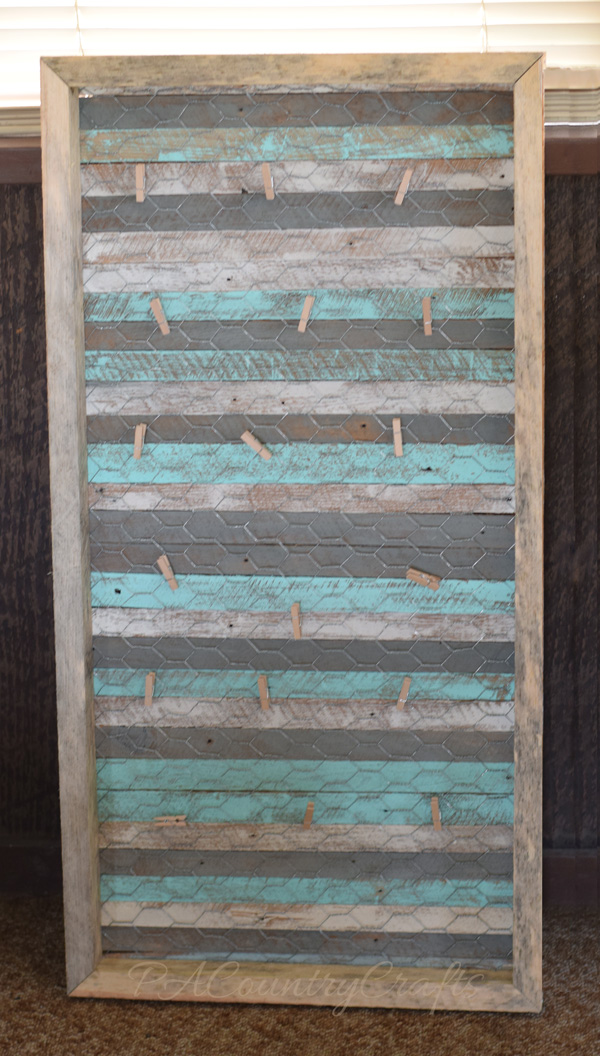
I think my 17yo son inherited some of my crafty genes. When I took him school shopping he asked to go to craft stores to get inspiration for his girlfriend's birthday gift. I didn't mind. ;) They are renovating her bedroom, so he wanted to make something for her new room. He combined inspiration from a few different pieces that we saw, made a small tray for a practice run, then built the final product.

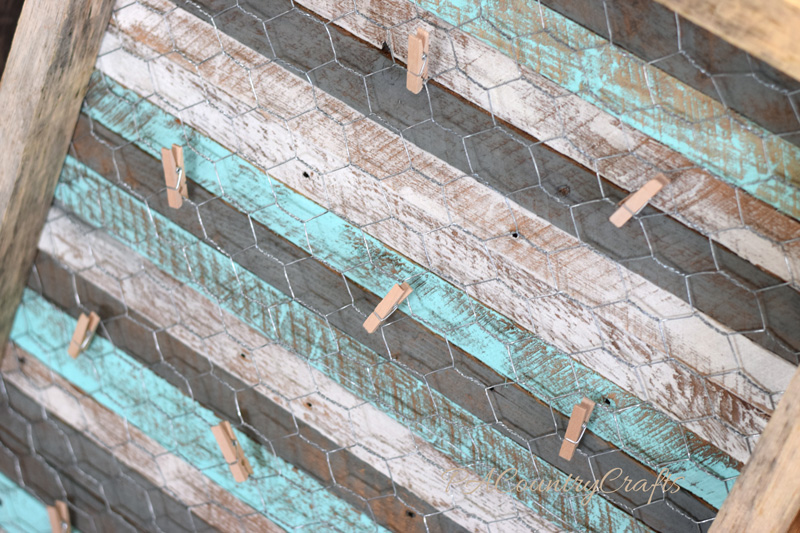
Rustic chicken wire photo display made from lath

He chose the paint colors (the aqua will match her decor) and did everything by himself. The back of the display is made of plaster lath so it has a rough texture that looks really rustic when painted.

Paint strips of lath for a rustic photo display

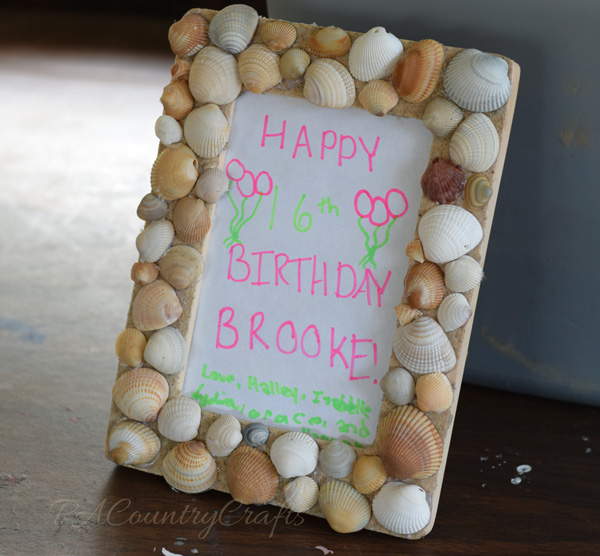
His sisters also wanted to make something for her birthday. They insisted that I was not allowed to help them, but somehow blamed me when things didn't work. (You can't hot glue shells to wet sand!) On the third attempt, after much fighting and drama, they finally succeeded.

Sand and seashell frame kids craft

Hopefully she likes to decorate with pictures. :)

Scrapbook Paper Picture Frame Tutorial

April is generally the craft month for our MOPS group. We wanted to come up with something that every mom could use... picture frames! At the March meeting we set up a photo booth with two background choices: an aqua sheet thumbtacked to the divider with THIS pink and yellow bunting or a navy sheet thumbtacked to the divider with some yellow stars that are part of our "Starry Eyed" meeting decor. They were simple, but beautiful (and FREE!) One of our steering team members is also a talented photographer. She has a good eye for capturing those special moments. She photographed the moms as they came in with their little ones and we got free 4 x 6 prints through the Shutterfly app printed before the April meeting. We figured if there was a picture to put in the frame right away it would be used.

Cute and easy MOPS craft with picture frames!

The frames were easy and inexpensive. I got them at Michaels and used a 30% off your entire purchase coupon so they were only 70 cents each. We also used up leftover paper from our journal craft in September (see HERE). I picked up some more scrapbook papers in neutral and blue colors that would be better for pictures with the navy background.

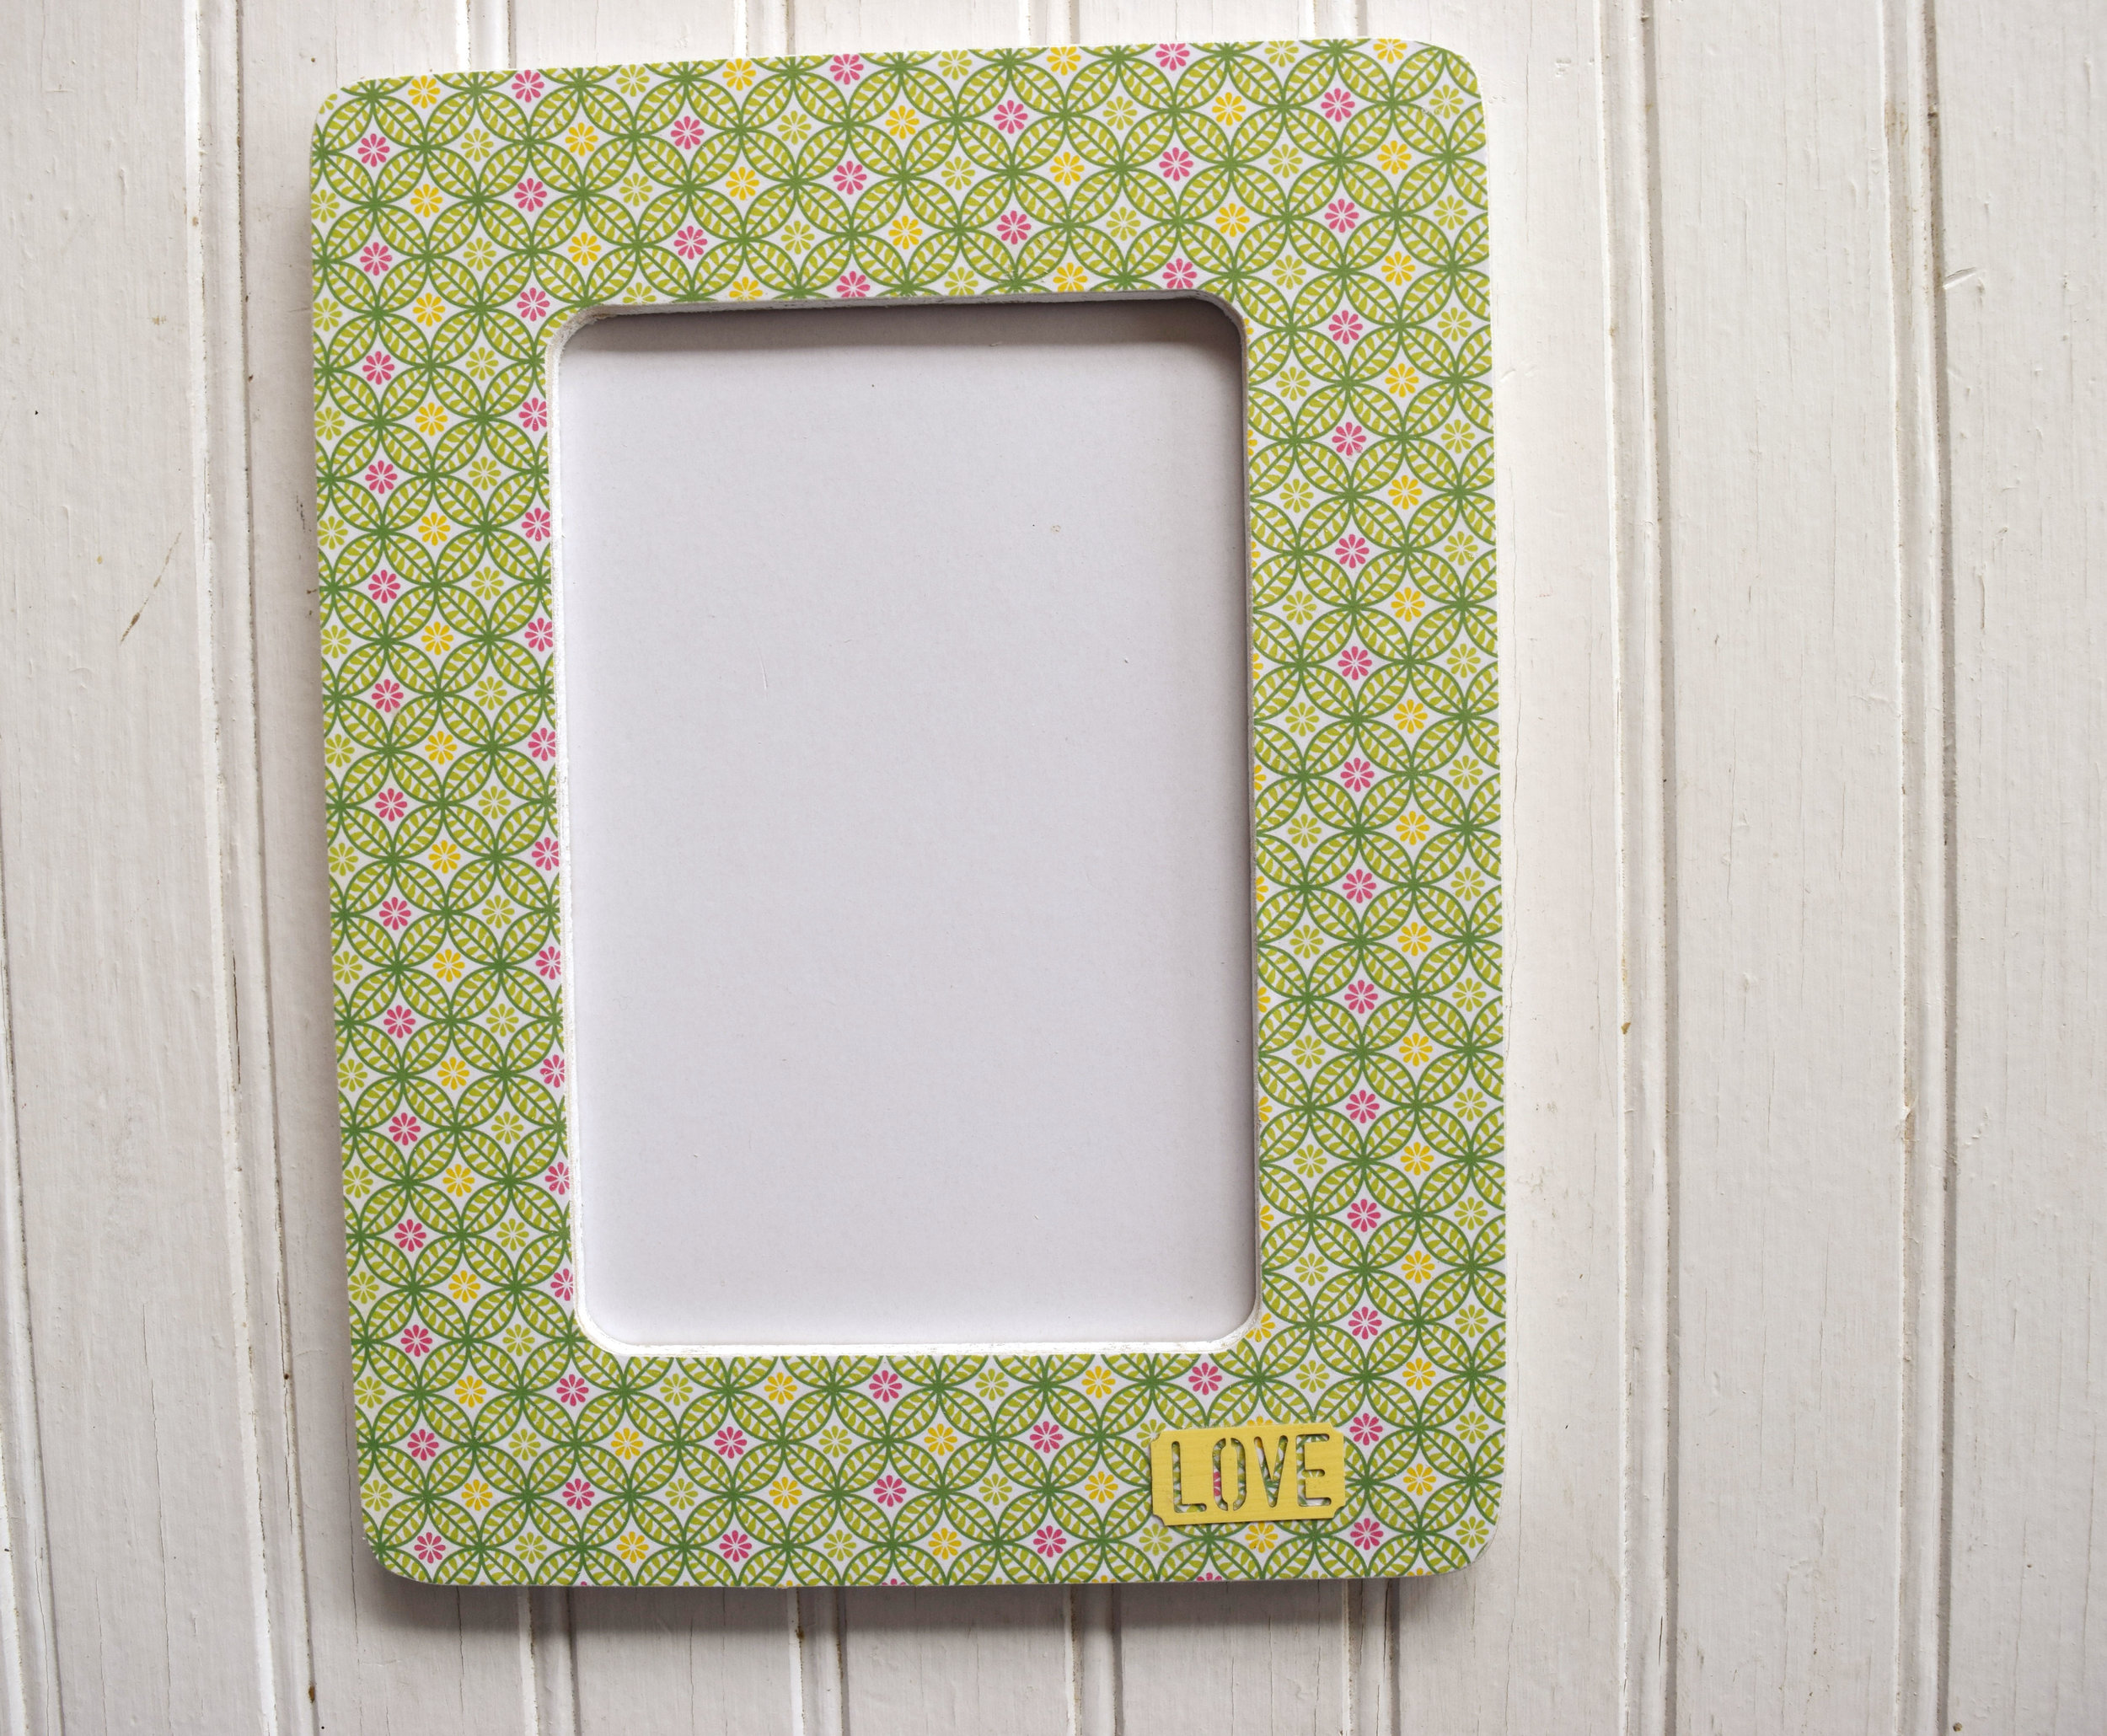
DIY book page picture frame

Scrapbook paper over a wood frame...

MOPS photo booth and picture frame craft

I have made these frames before and you can see some of them in my daughters' collage wall HERE. It is the perfect craft for a ladies night or a group. You can add little embellishments like baker's twine, washi tape, fabric flowers, die-cuts, etc. so they will all be unique. In addition to flat frames like these, you can use this same technique on any flat wood surface. I made a mustache for the collage wall, too!
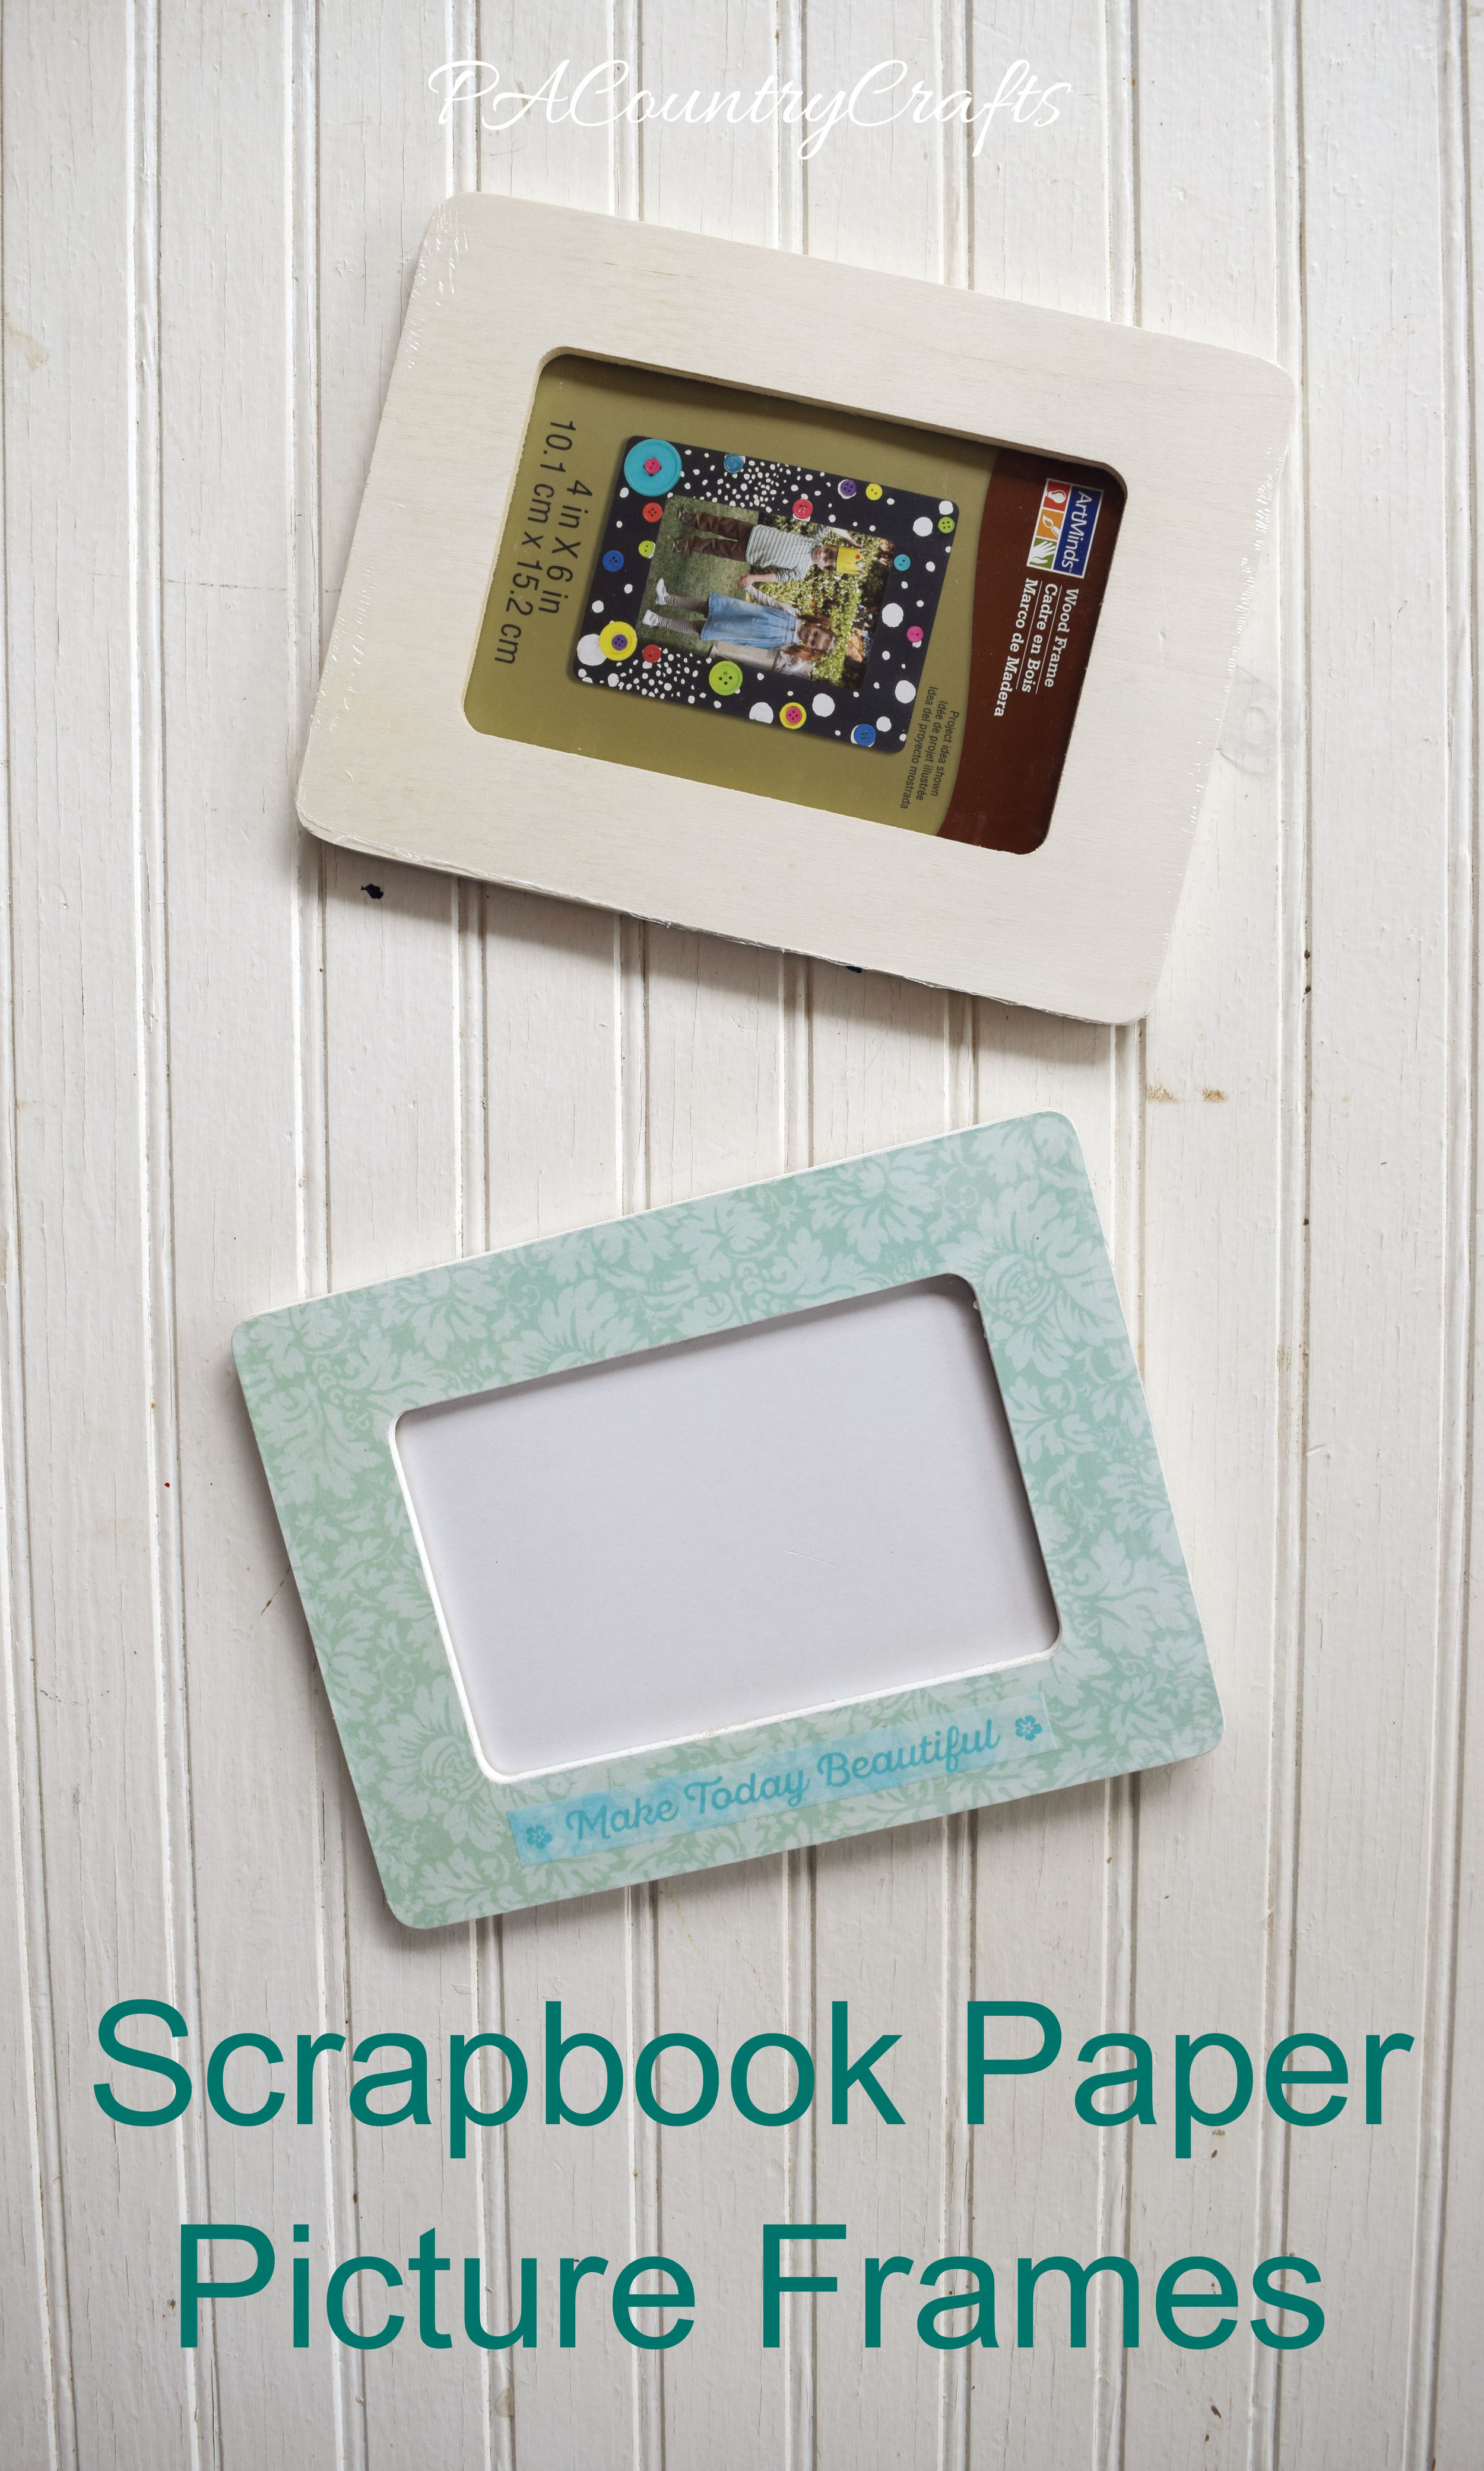
Easy group craft- scrapbook paper covered picture frames!

Here is what you need:

~wood frame ~mod podge ~foam brush ~sandpaper ~scrapbook paper ~scissors ~pencil ~embellishments (optional) ~paint (optional)

Easy DIY frame craft with scrapbook paper, cheap wood frames, and mod podge.

I began by painting the edges of the frames just to make the finished product a little nicer. I used white acrylic.

Paint the edges of frames for a nicer finish

Lightly sand the frame to remove any rough edges or extra paint. (My craft table is a disaster! #keepitreal)

how to prep a wood frame for decorating

Trace the frame on the wrong side of the paper (so you don't see pencil marks in case you mess up).
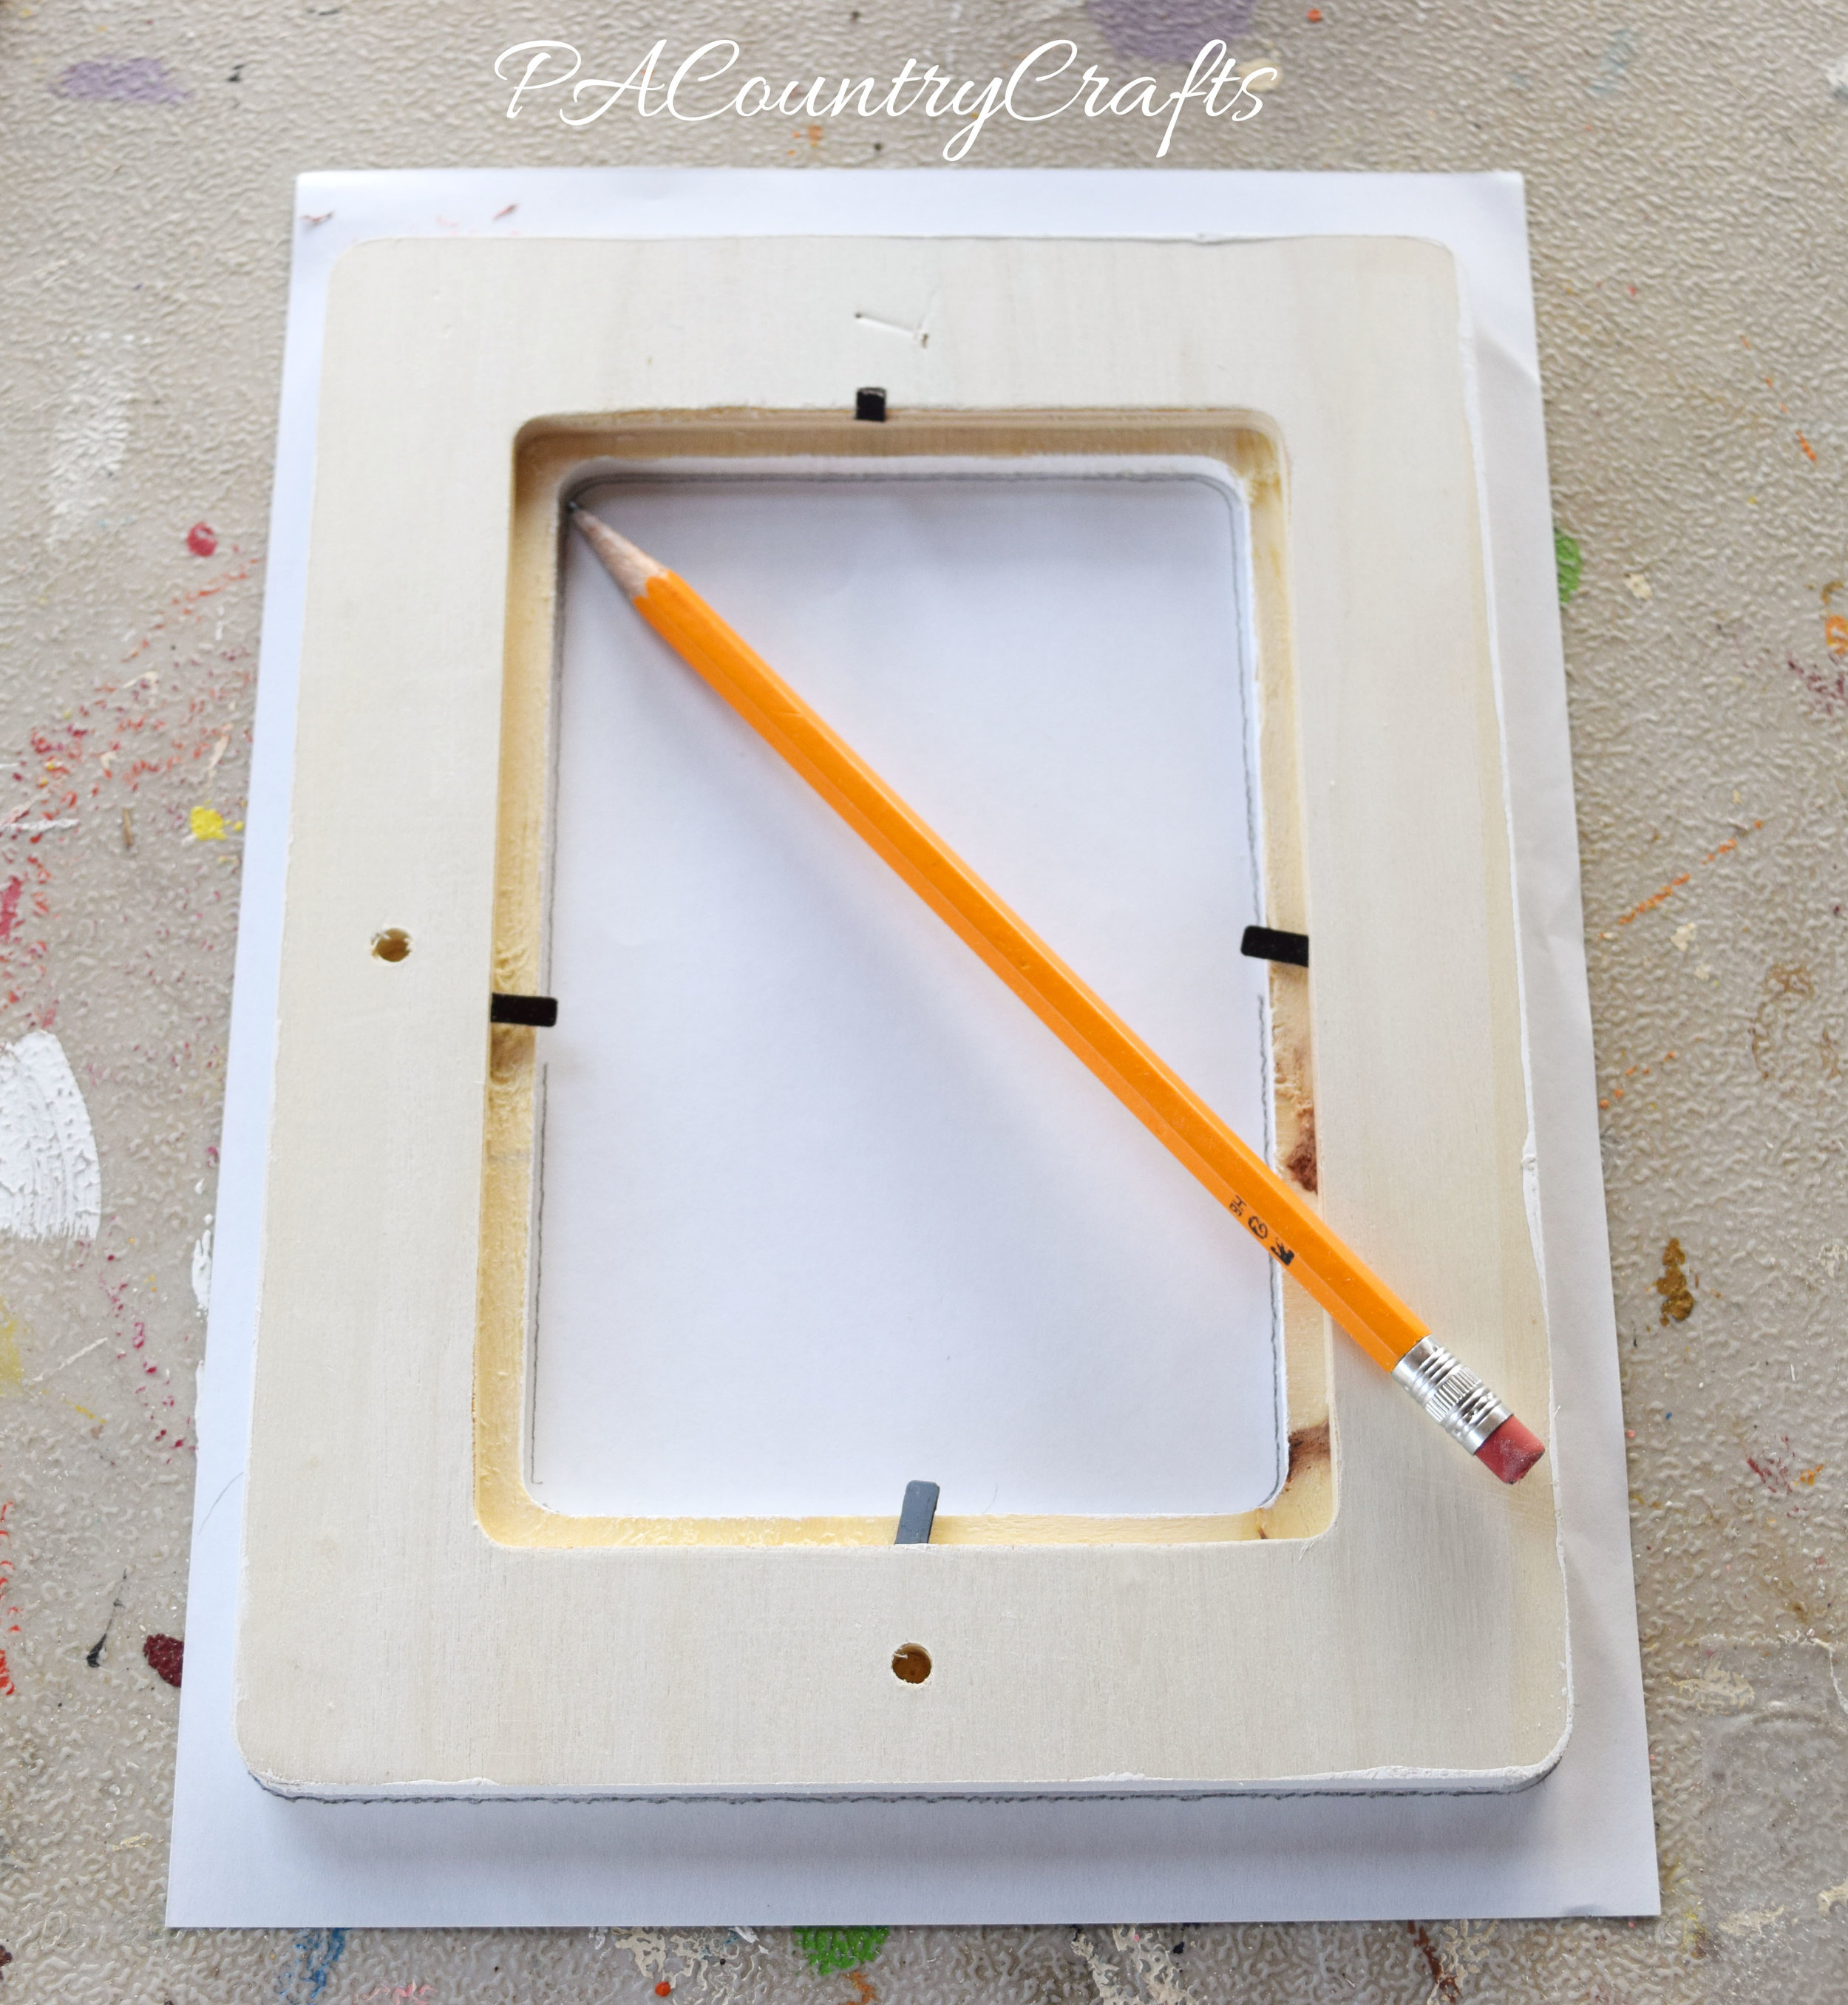
how to make scrapbook paper frames

Cut out the frame shape you traced, but leave a little extra outside the pencil lines. Always go big, not too small!

Cute paper to cover wood frames

Brush a layer of mod podge onto the frame. It should be a fairly thick layer, but it should all be smoothed out- no runs or lumps.

mod-podge-frame

Lay the paper on top of the frame, lining up the center opening and edges as best as you can. There should be a little extra all around.

How to cover a wooden frame with paper

If you get big wrinkles, you can take it off and redo it, but only if you are fast about it. Some wrinkles can be pushed out by hand, or you can even try scraping with a credit card. Just smooth it all out the best that you can and let it dry. We did our "speed friending" activity awhile.

Then, it is time to sand the extra paper off of the edges. Make sure to use a perpendicular, downward motion (if you have ever done Jamberry nails it is the same technique!) Don't ever push the sandpaper back upward or you might lift the paper. Just keep scraping down at as close to a 90 degree angle as you can. Use some muscle! It takes a bit of pressure to make it work. The paper will begin to loosen and peel off.

This tip helps you sand extra paper of the edges of mod podge frames for a clean finish.

The secret to getting perfect edges on mod podge picture frames...

Don't forget the inside, too. It looks very crisp and neat when you are done! Nothing at all like my messy table.

How to get clean edges on a paper covered frame

It is a good idea to seal it by brushing on a thin layer of mod podge. If you want to add embellishments, just brush a little mod podge on, stick it on top, then just brush over the whole frame.

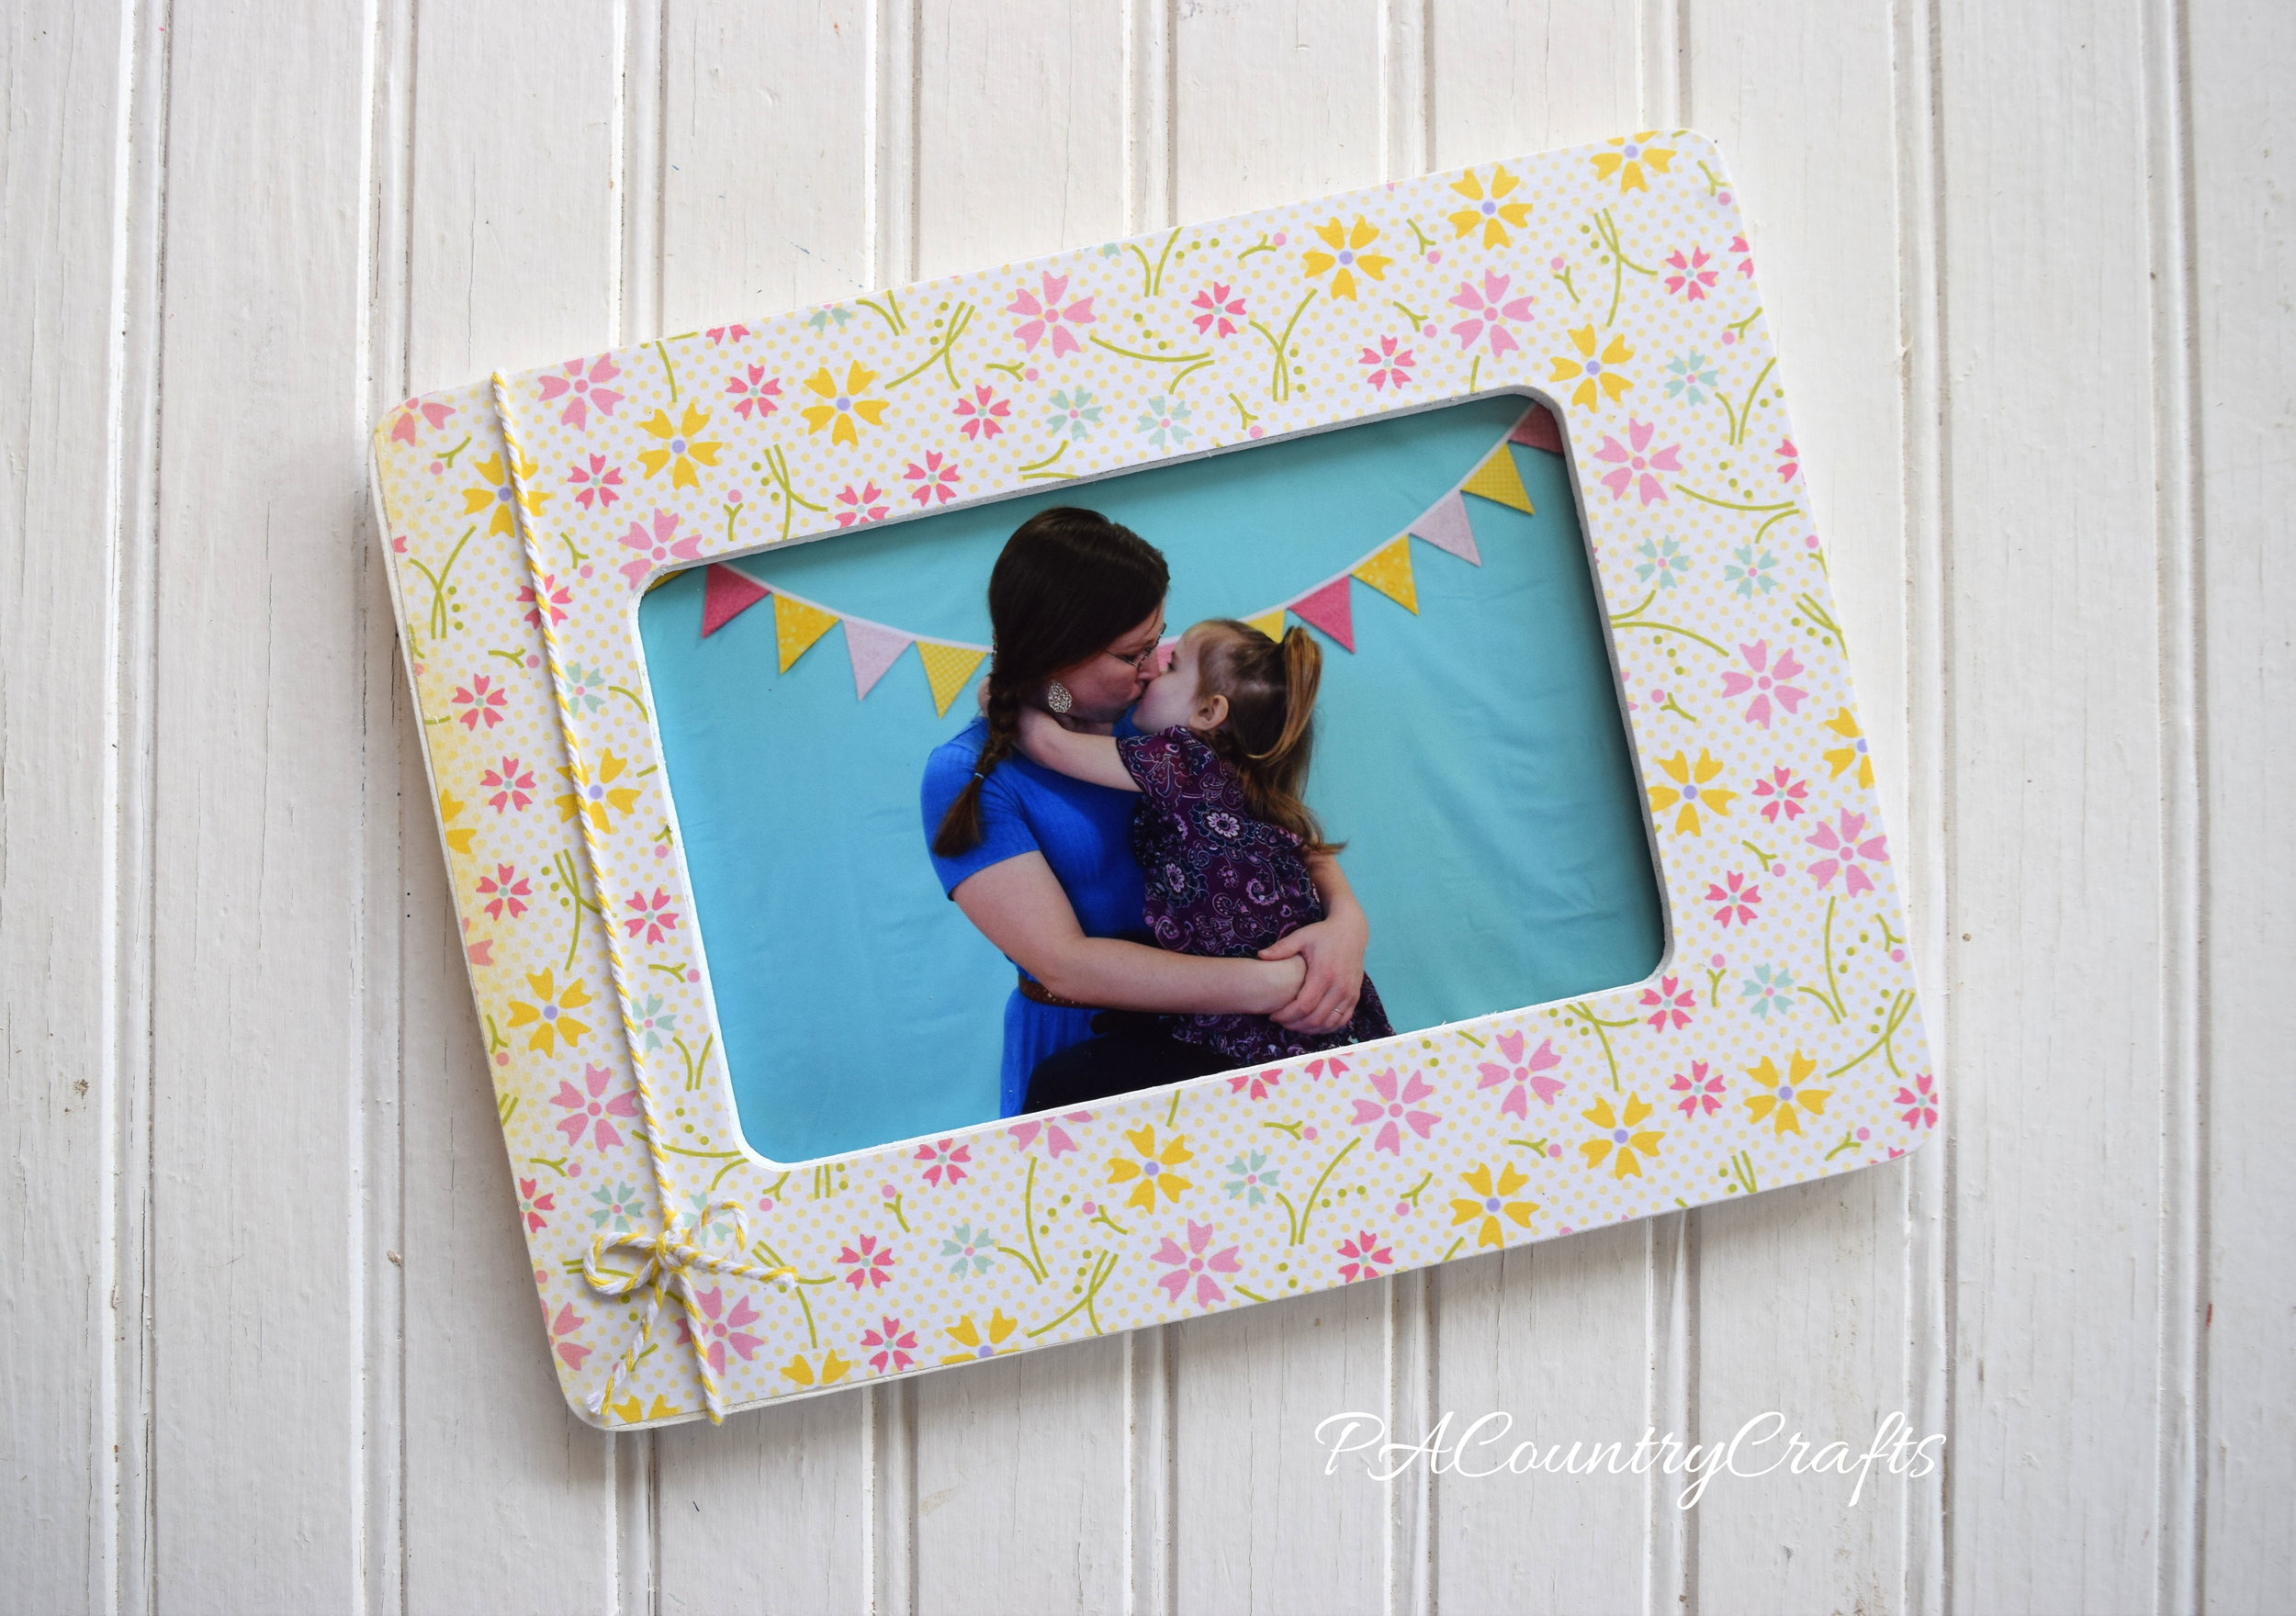
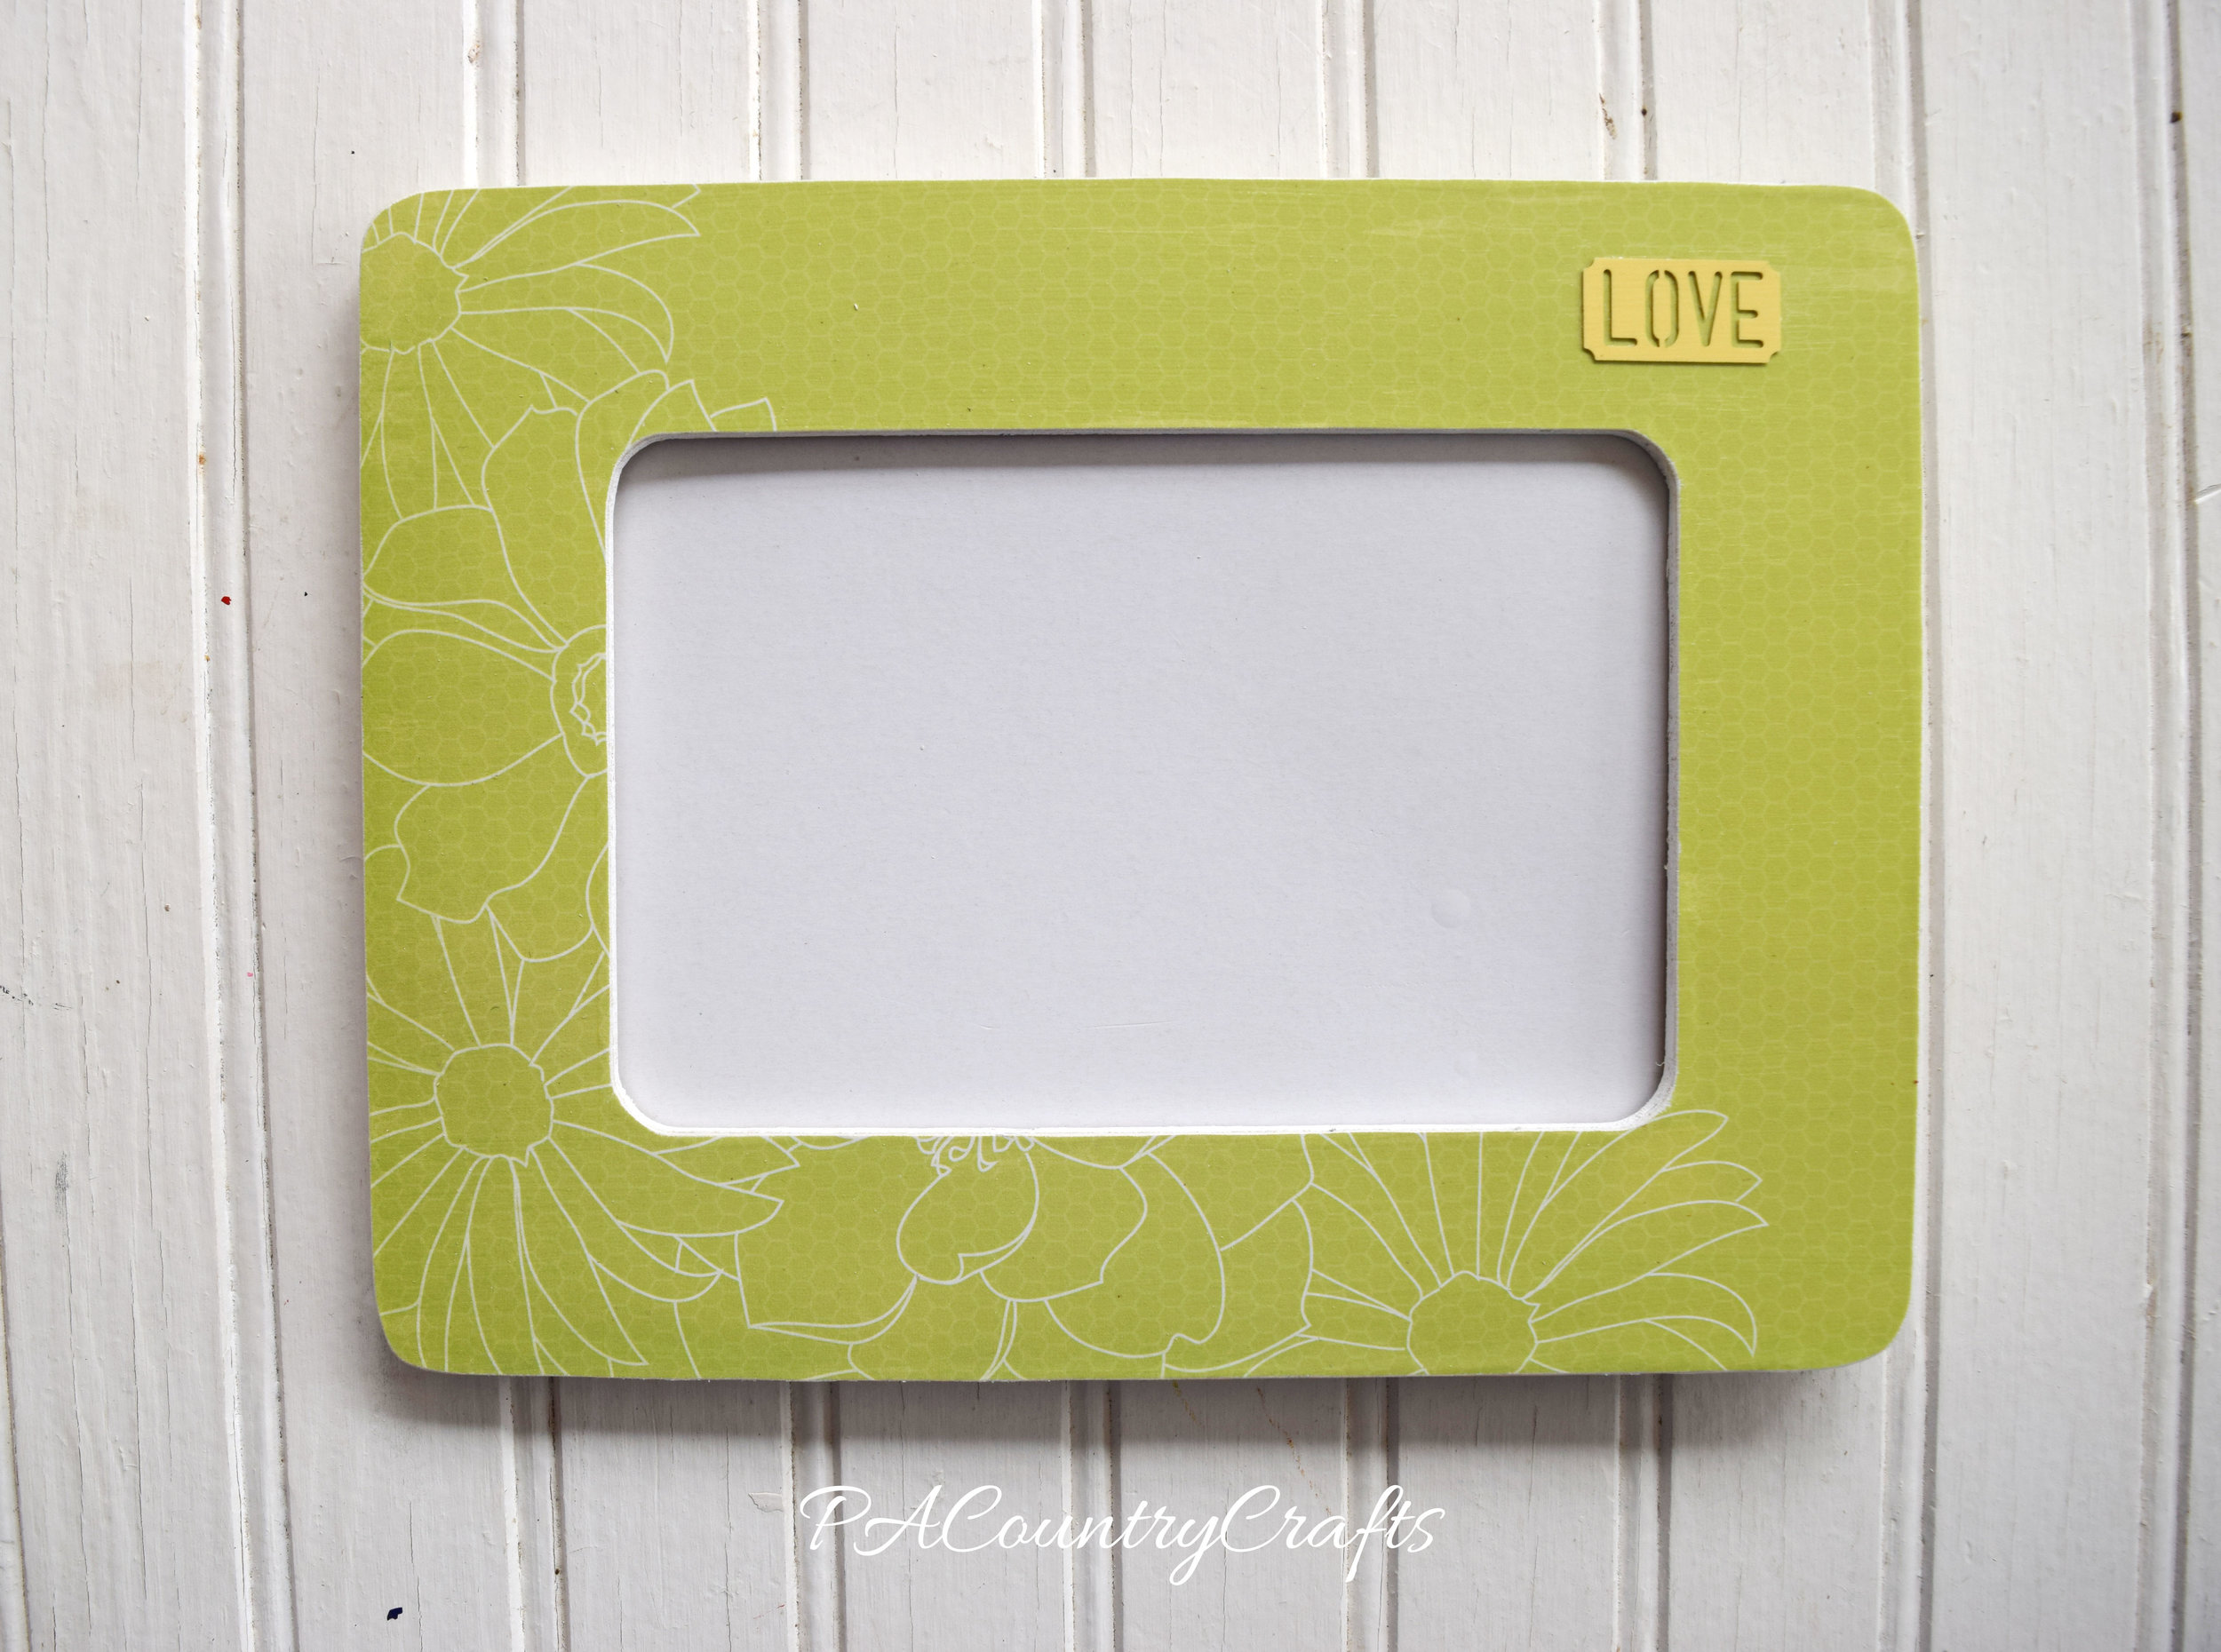
Cute embellishments on a DIY frame. Mod podge is great!

See? It dries clear.

Easy picture frame craft project!

You can also add washi tape to a dry frame and lightly seal over that.

Washi tape on a DIY picture frame

Pretty easy, right? I think the sanding is the trick to this. And now, on a nicer background than my icky table...
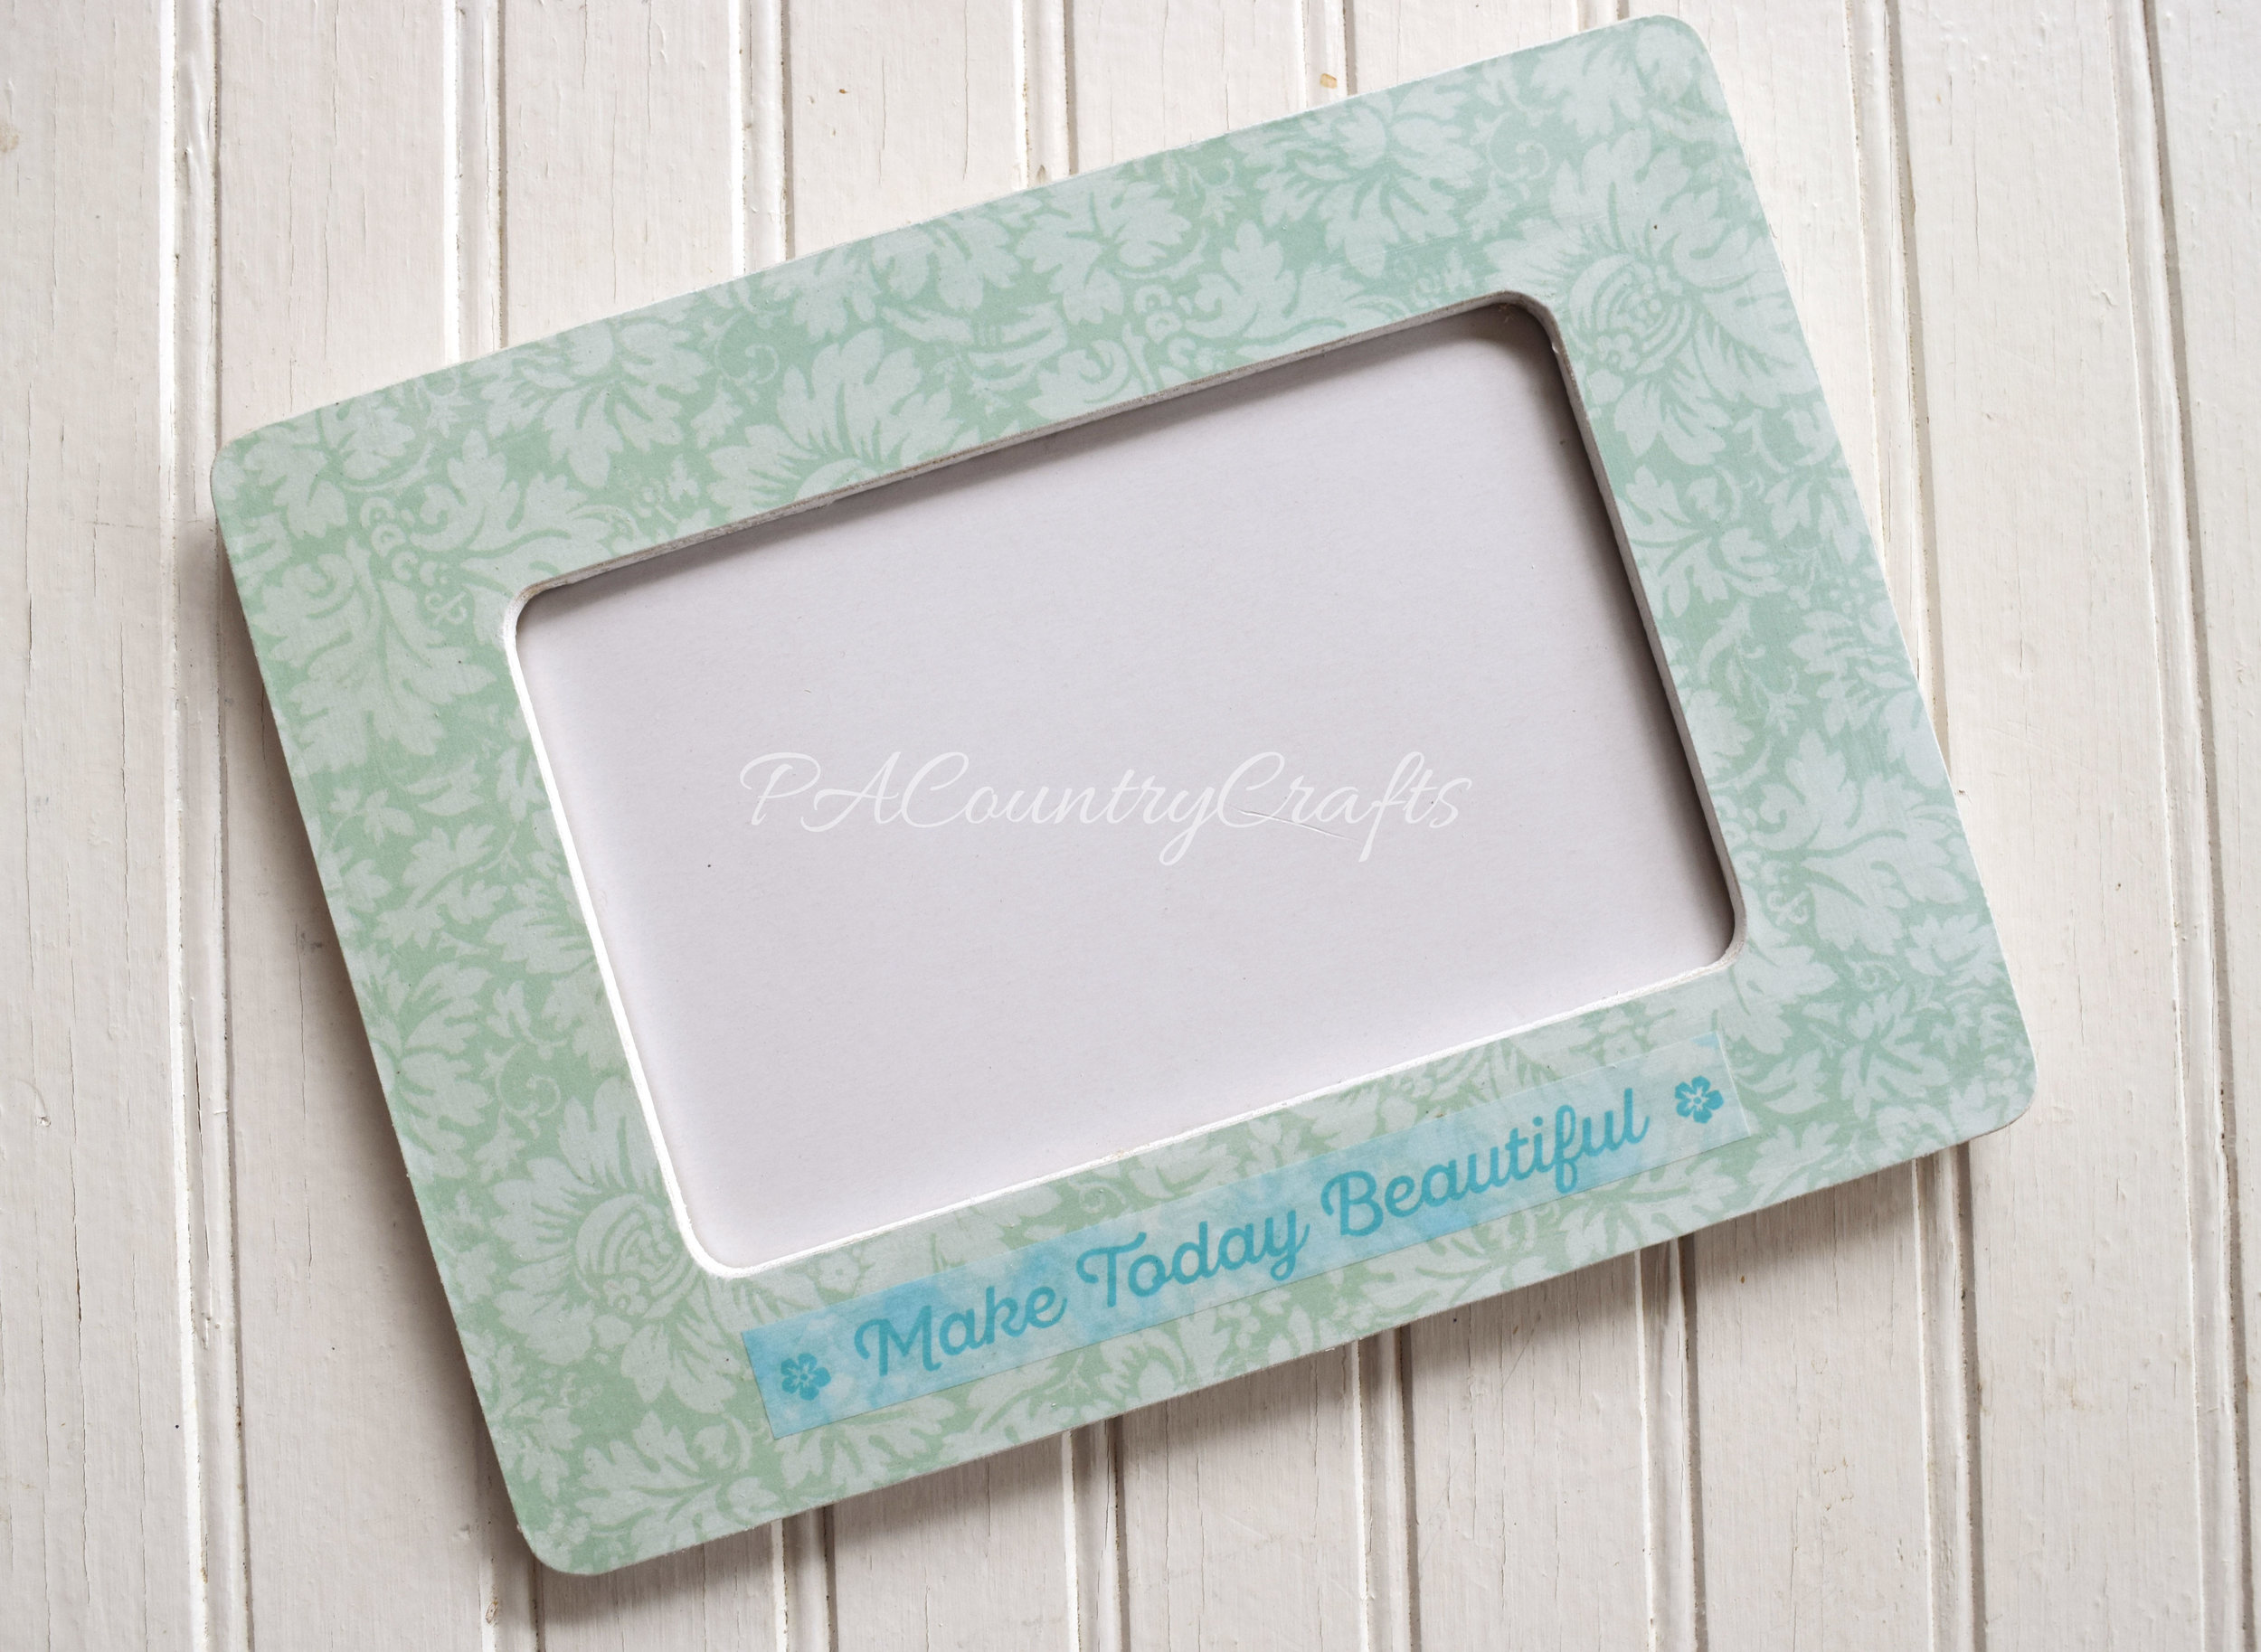
Mod podge, scrapbook paper, and washi tape make this cute frame!

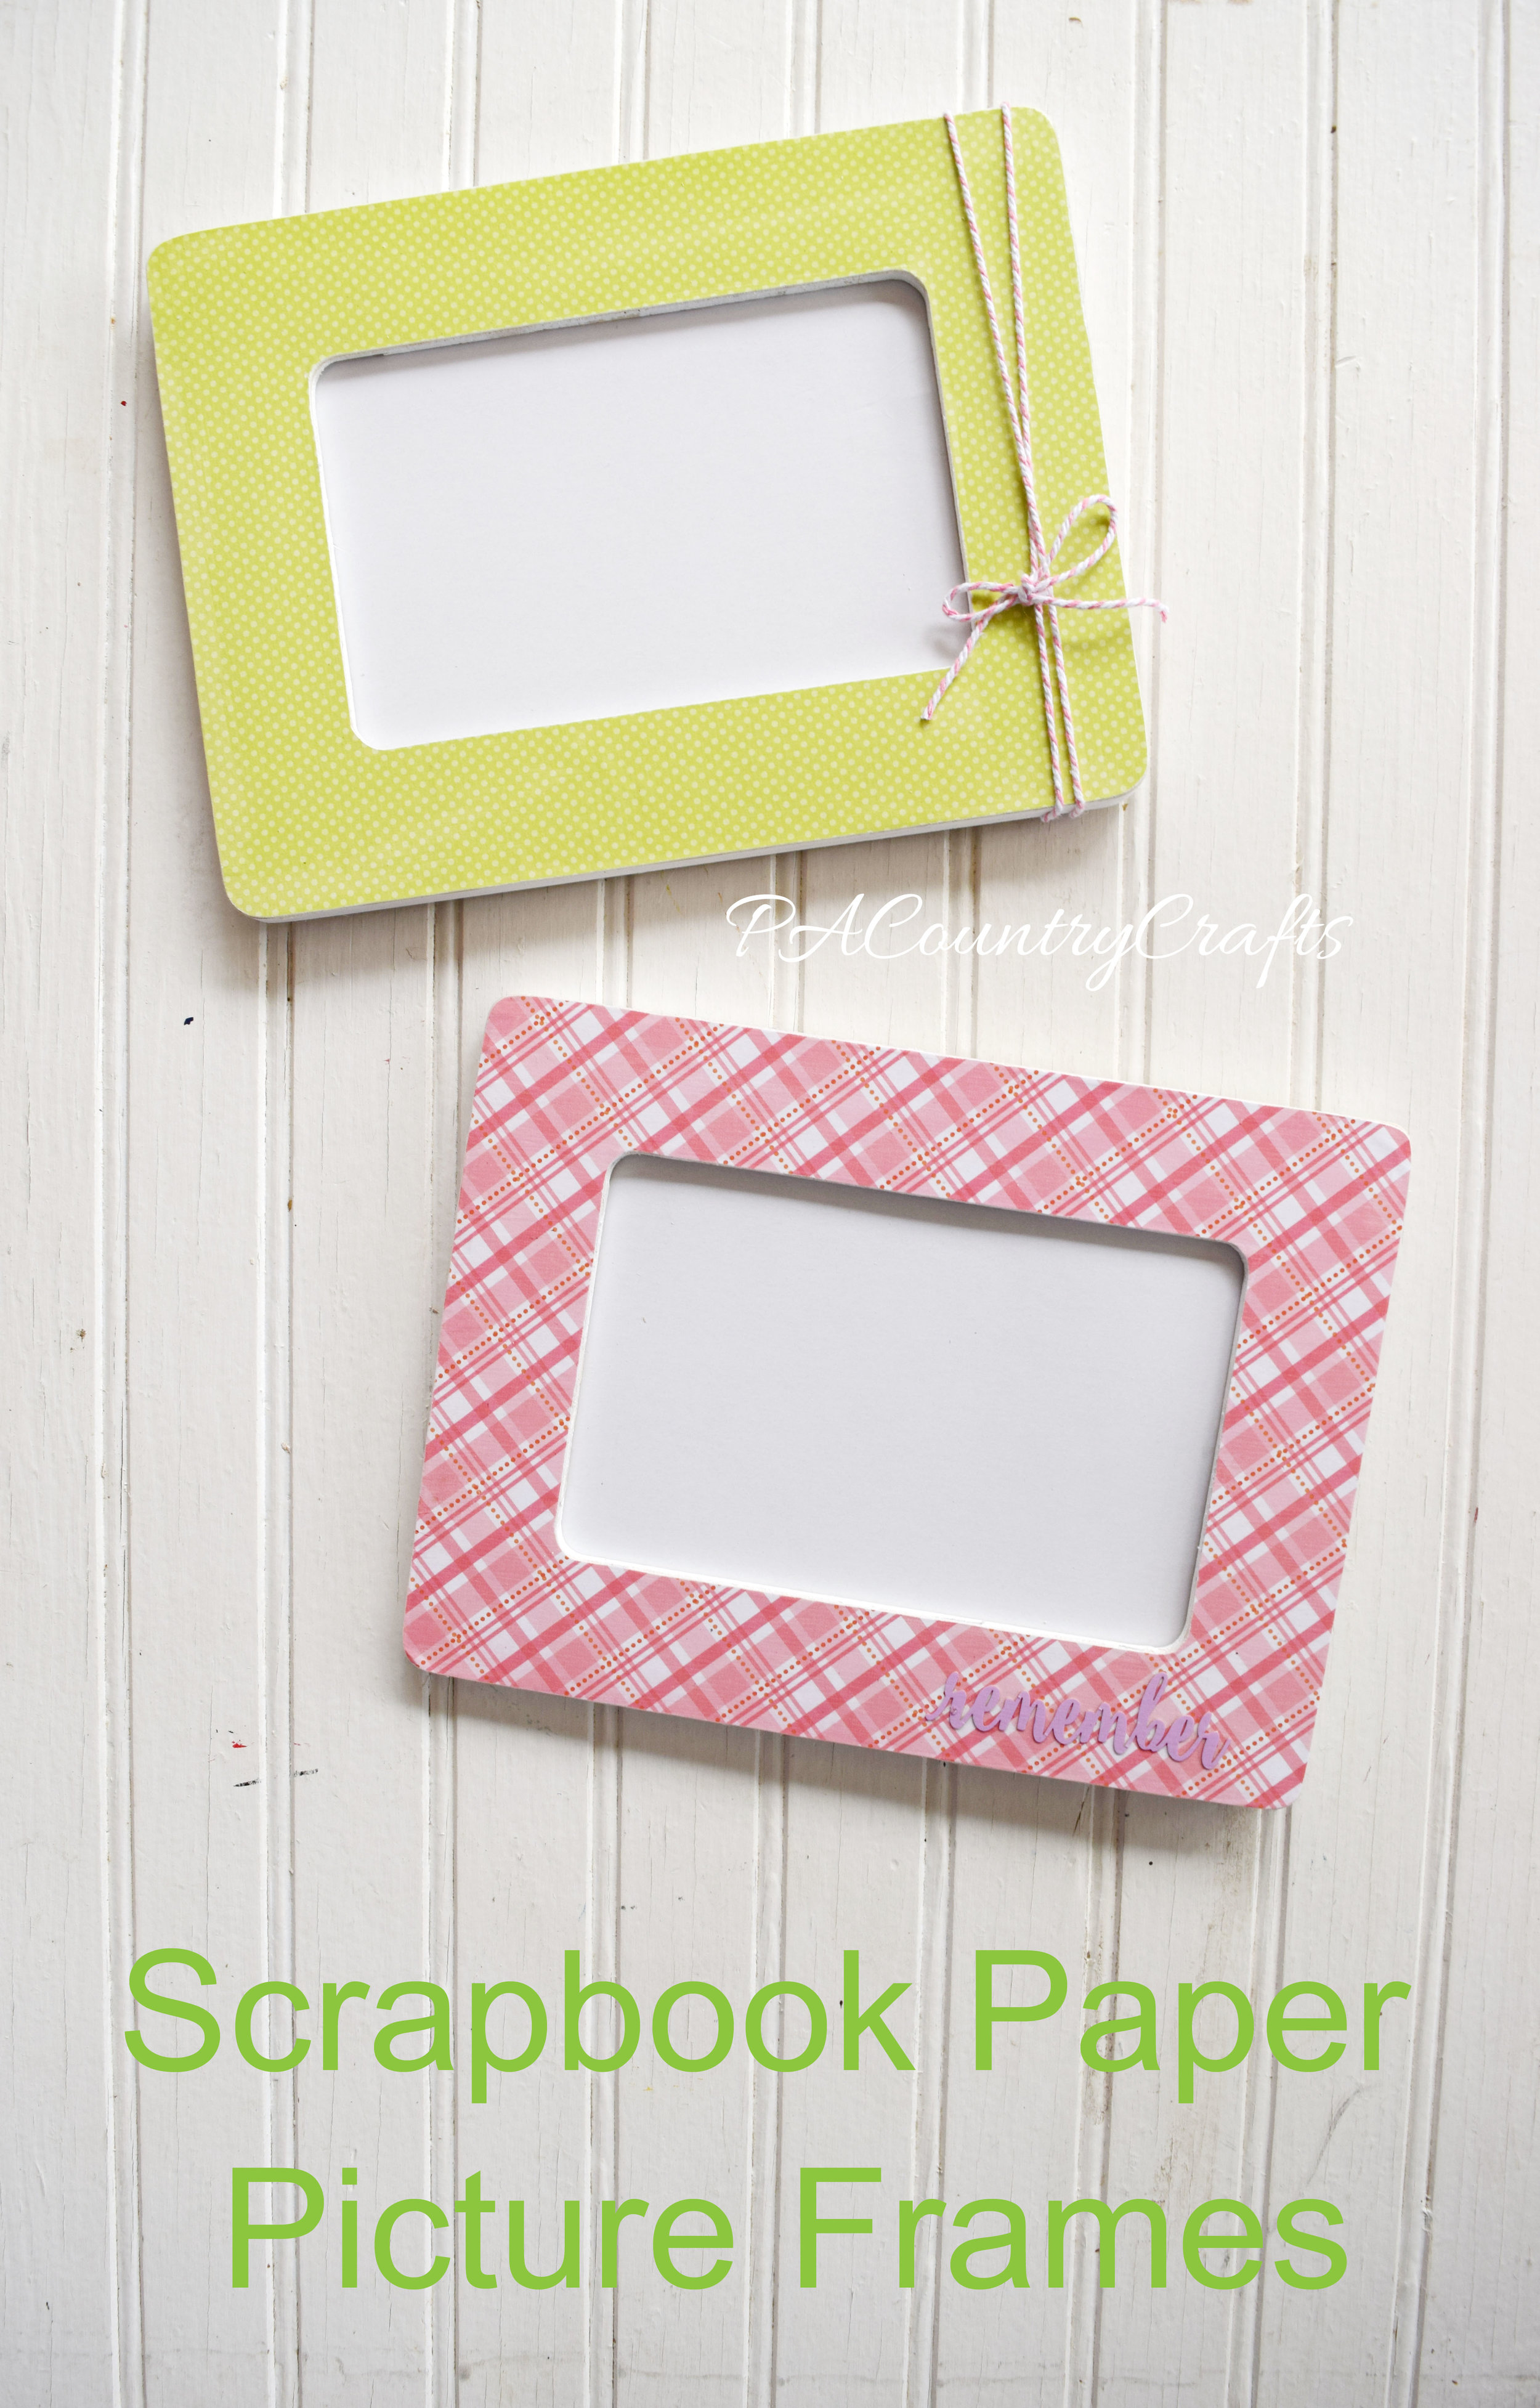
There is a lot that you can do with these. They don't take too long and don't cost much to make. If you mess up and get too many wrinkles, you can always rip the paper off, sand, and try again. Or, you can call it "texture" and just go with it. No one will see small wrinkles from across the room. Just you.
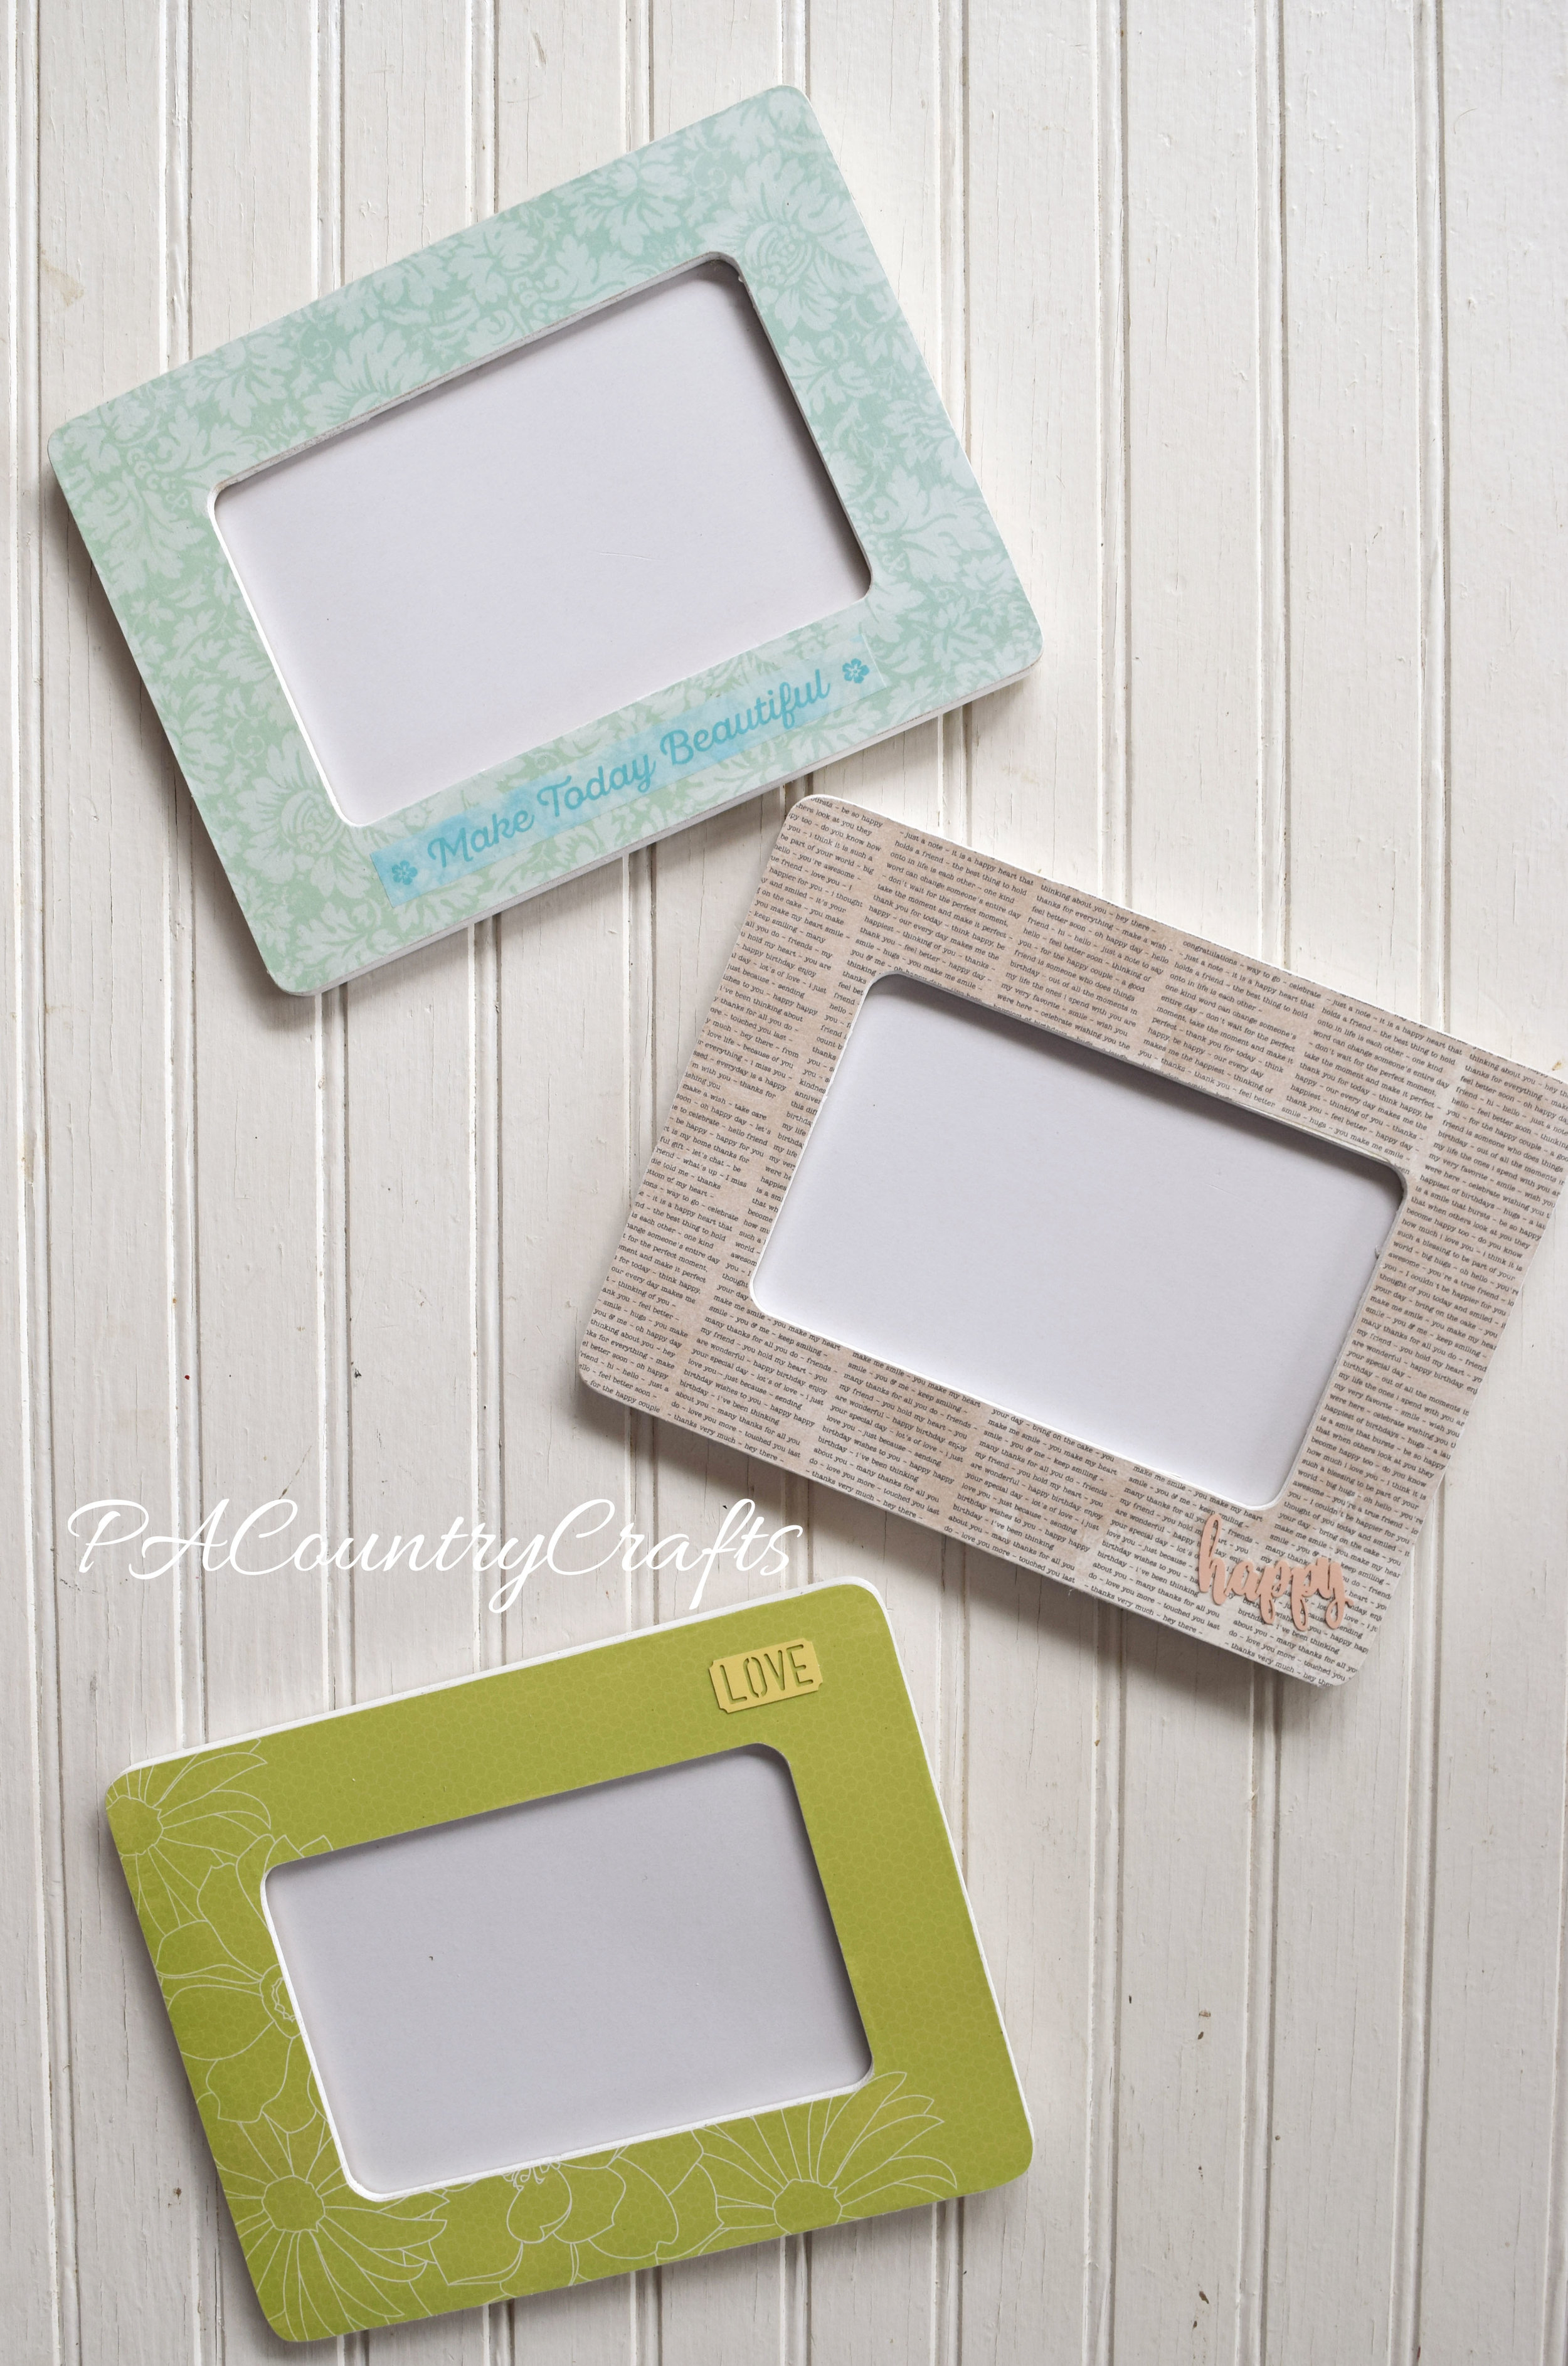
scrapbook paper mod podge frames

Feel free to pin it for later...

Use scrapbook paper and cheap wood frames to make a cute craft - perfect for craft nights and groups!

You may also like...

composition-book-journal

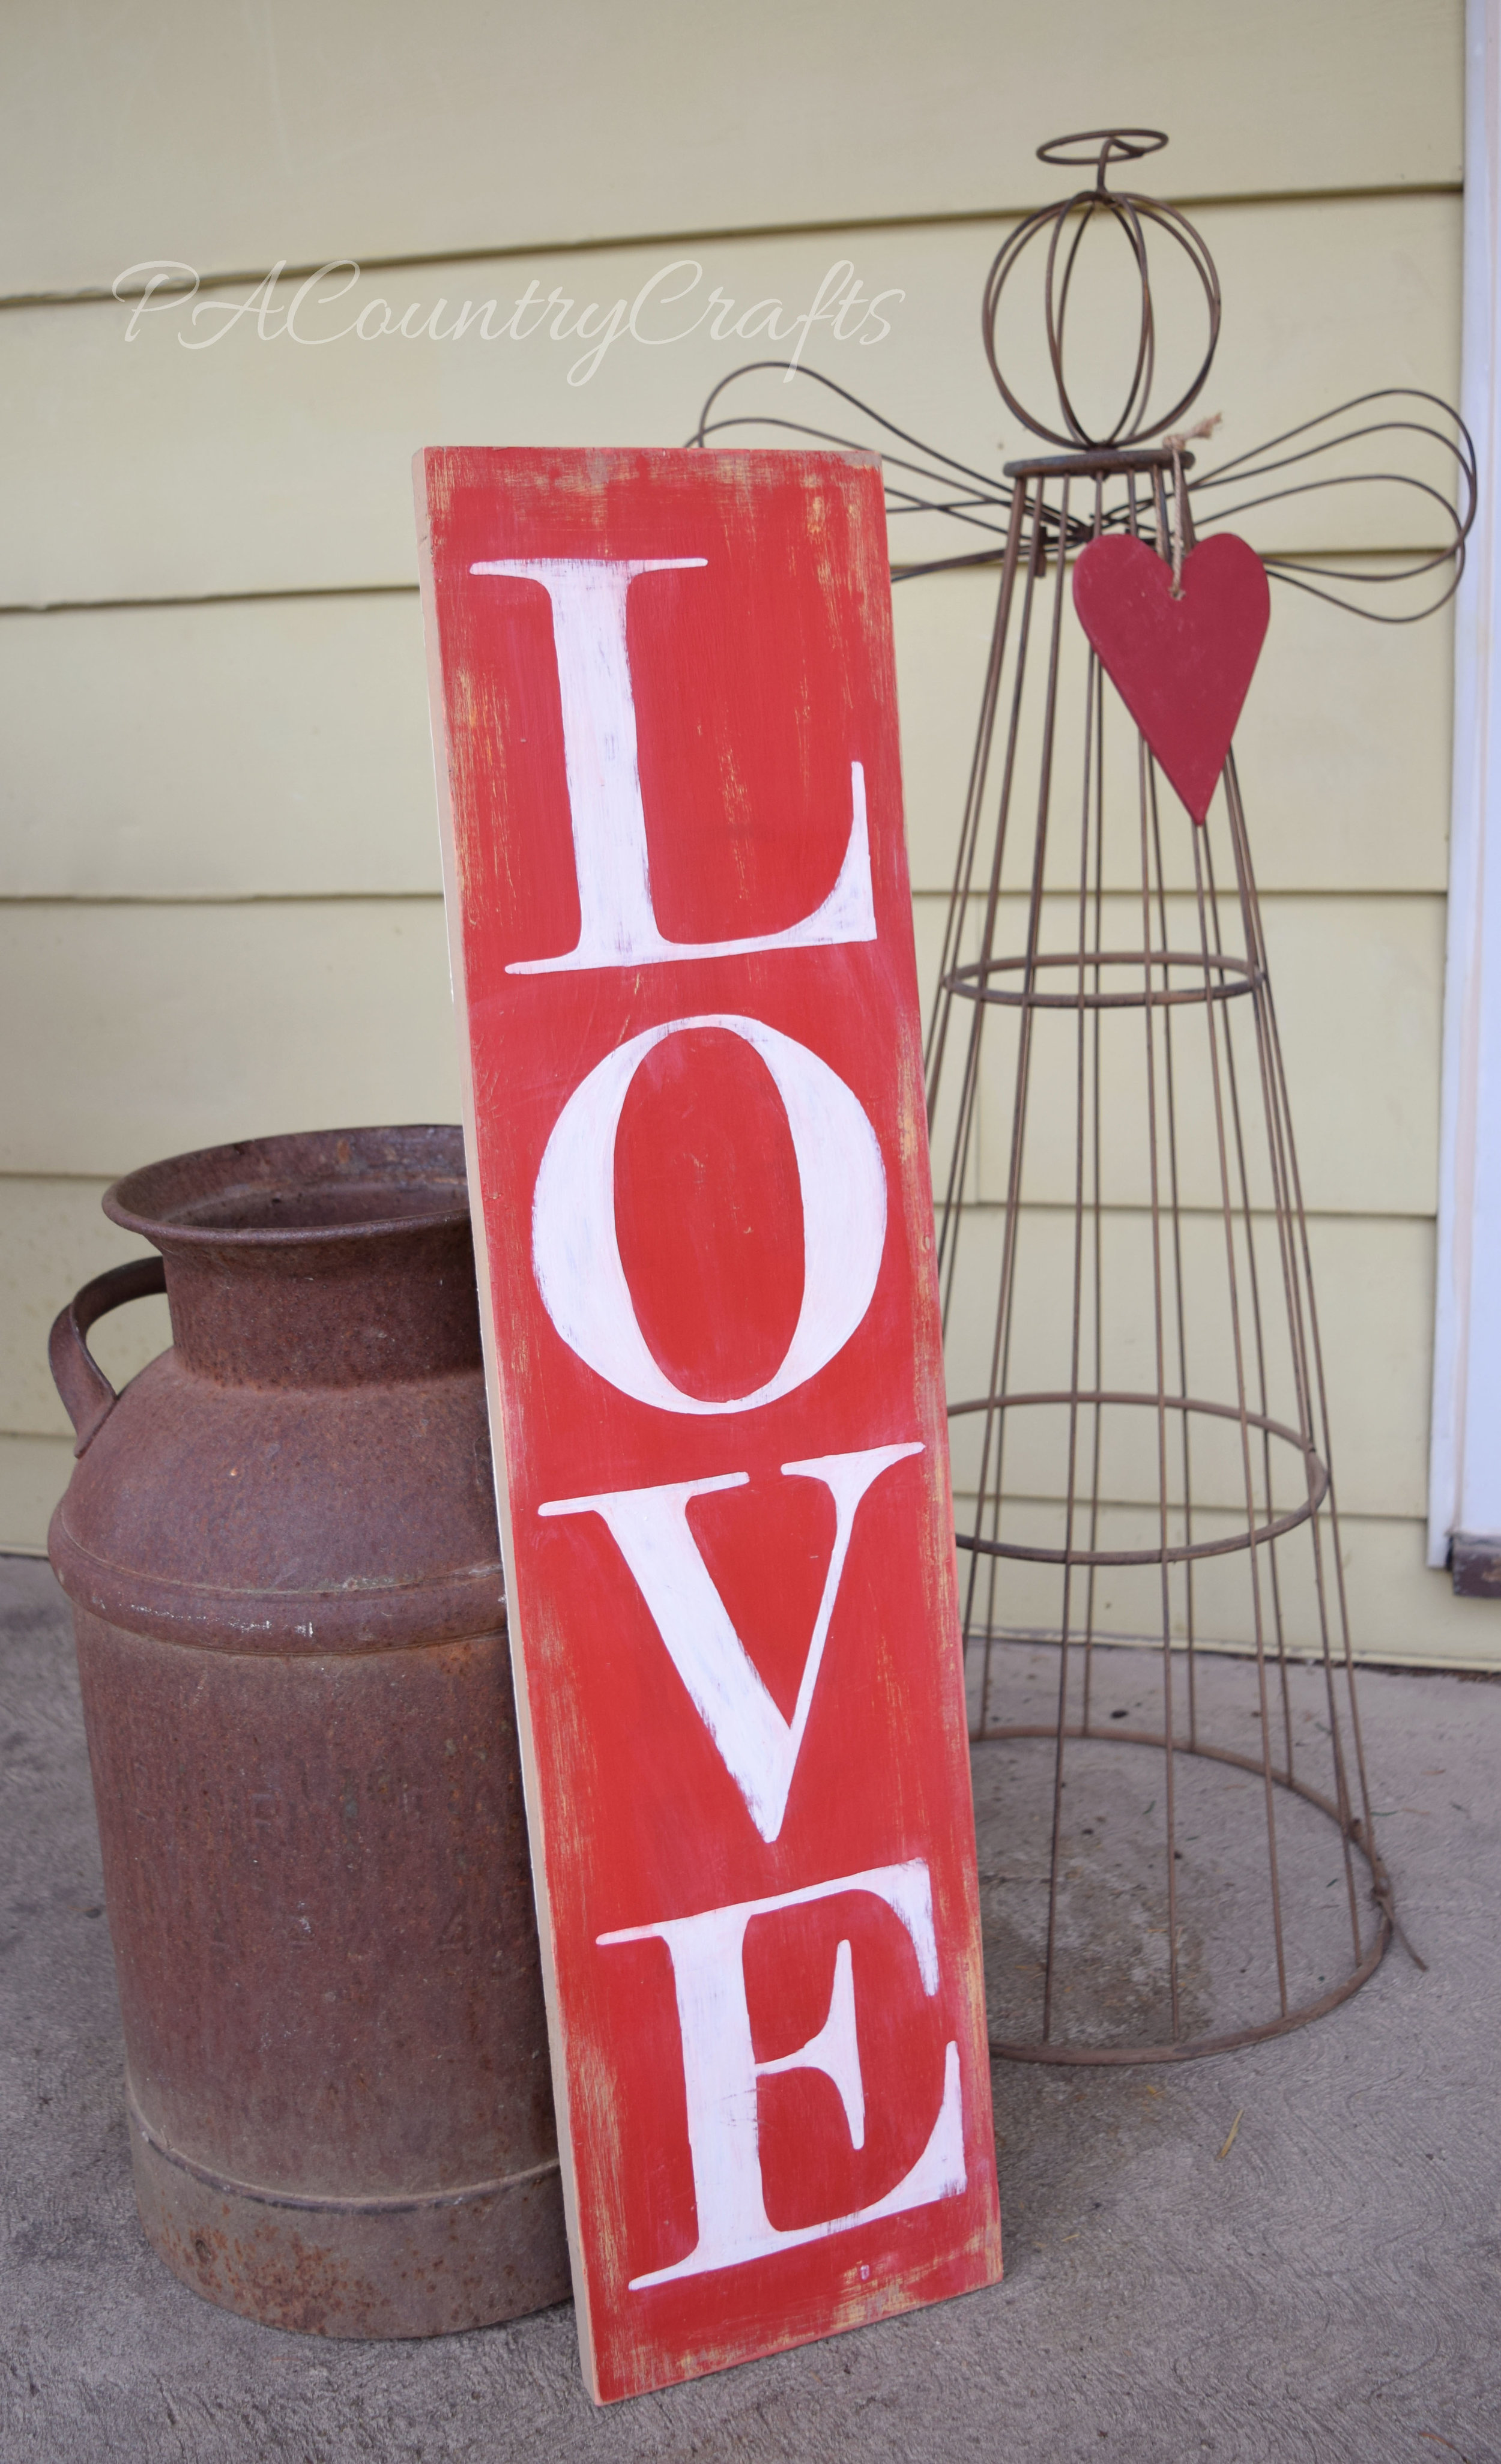
LOVE sign

I painted a sign last fall, but I didn't like it. Not everything that I make is beautiful and blog-worthy. Some things are kind of a flop, but I am usually stubborn enough to keep on trying. (There is your crafting tip for the day: Be stubborn sometimes.) So, because I felt like it, I painted over the whole thing in red and made a giant LOVE sign for Valentine's Day. It was actually really easy- simple, white block letters and lots of sanding to distress. I didn't worry about perfect lettering because the entire thing was meant to be rustic. All of those layers of paint underneath from the sign I didn't like show through from sanding and just add to the character.

rustic valentines day porch love sign
rustic painted letter L on red and white sign

I am not really big into Valentine's Day decorations, but the bright pop of red really stands out and adds a little something cheerful to all of the drear of winter. And the sign I didn't like has been turned into something that I LOVE. (cheesy pun intended)

Turn and old board into a hand painted LOVE sign for your porch.
Valentines Day LOVE porch sign

You can see more Valentine's Day ideas here:

Crochet Snowflakes

I procrastinate. Especially with my craft projects.

If it doesn't have a deadline, who knows when it will be finished? I started crocheting snowflakes a really long time ago. It was at least 10 years, but some of them could be older.

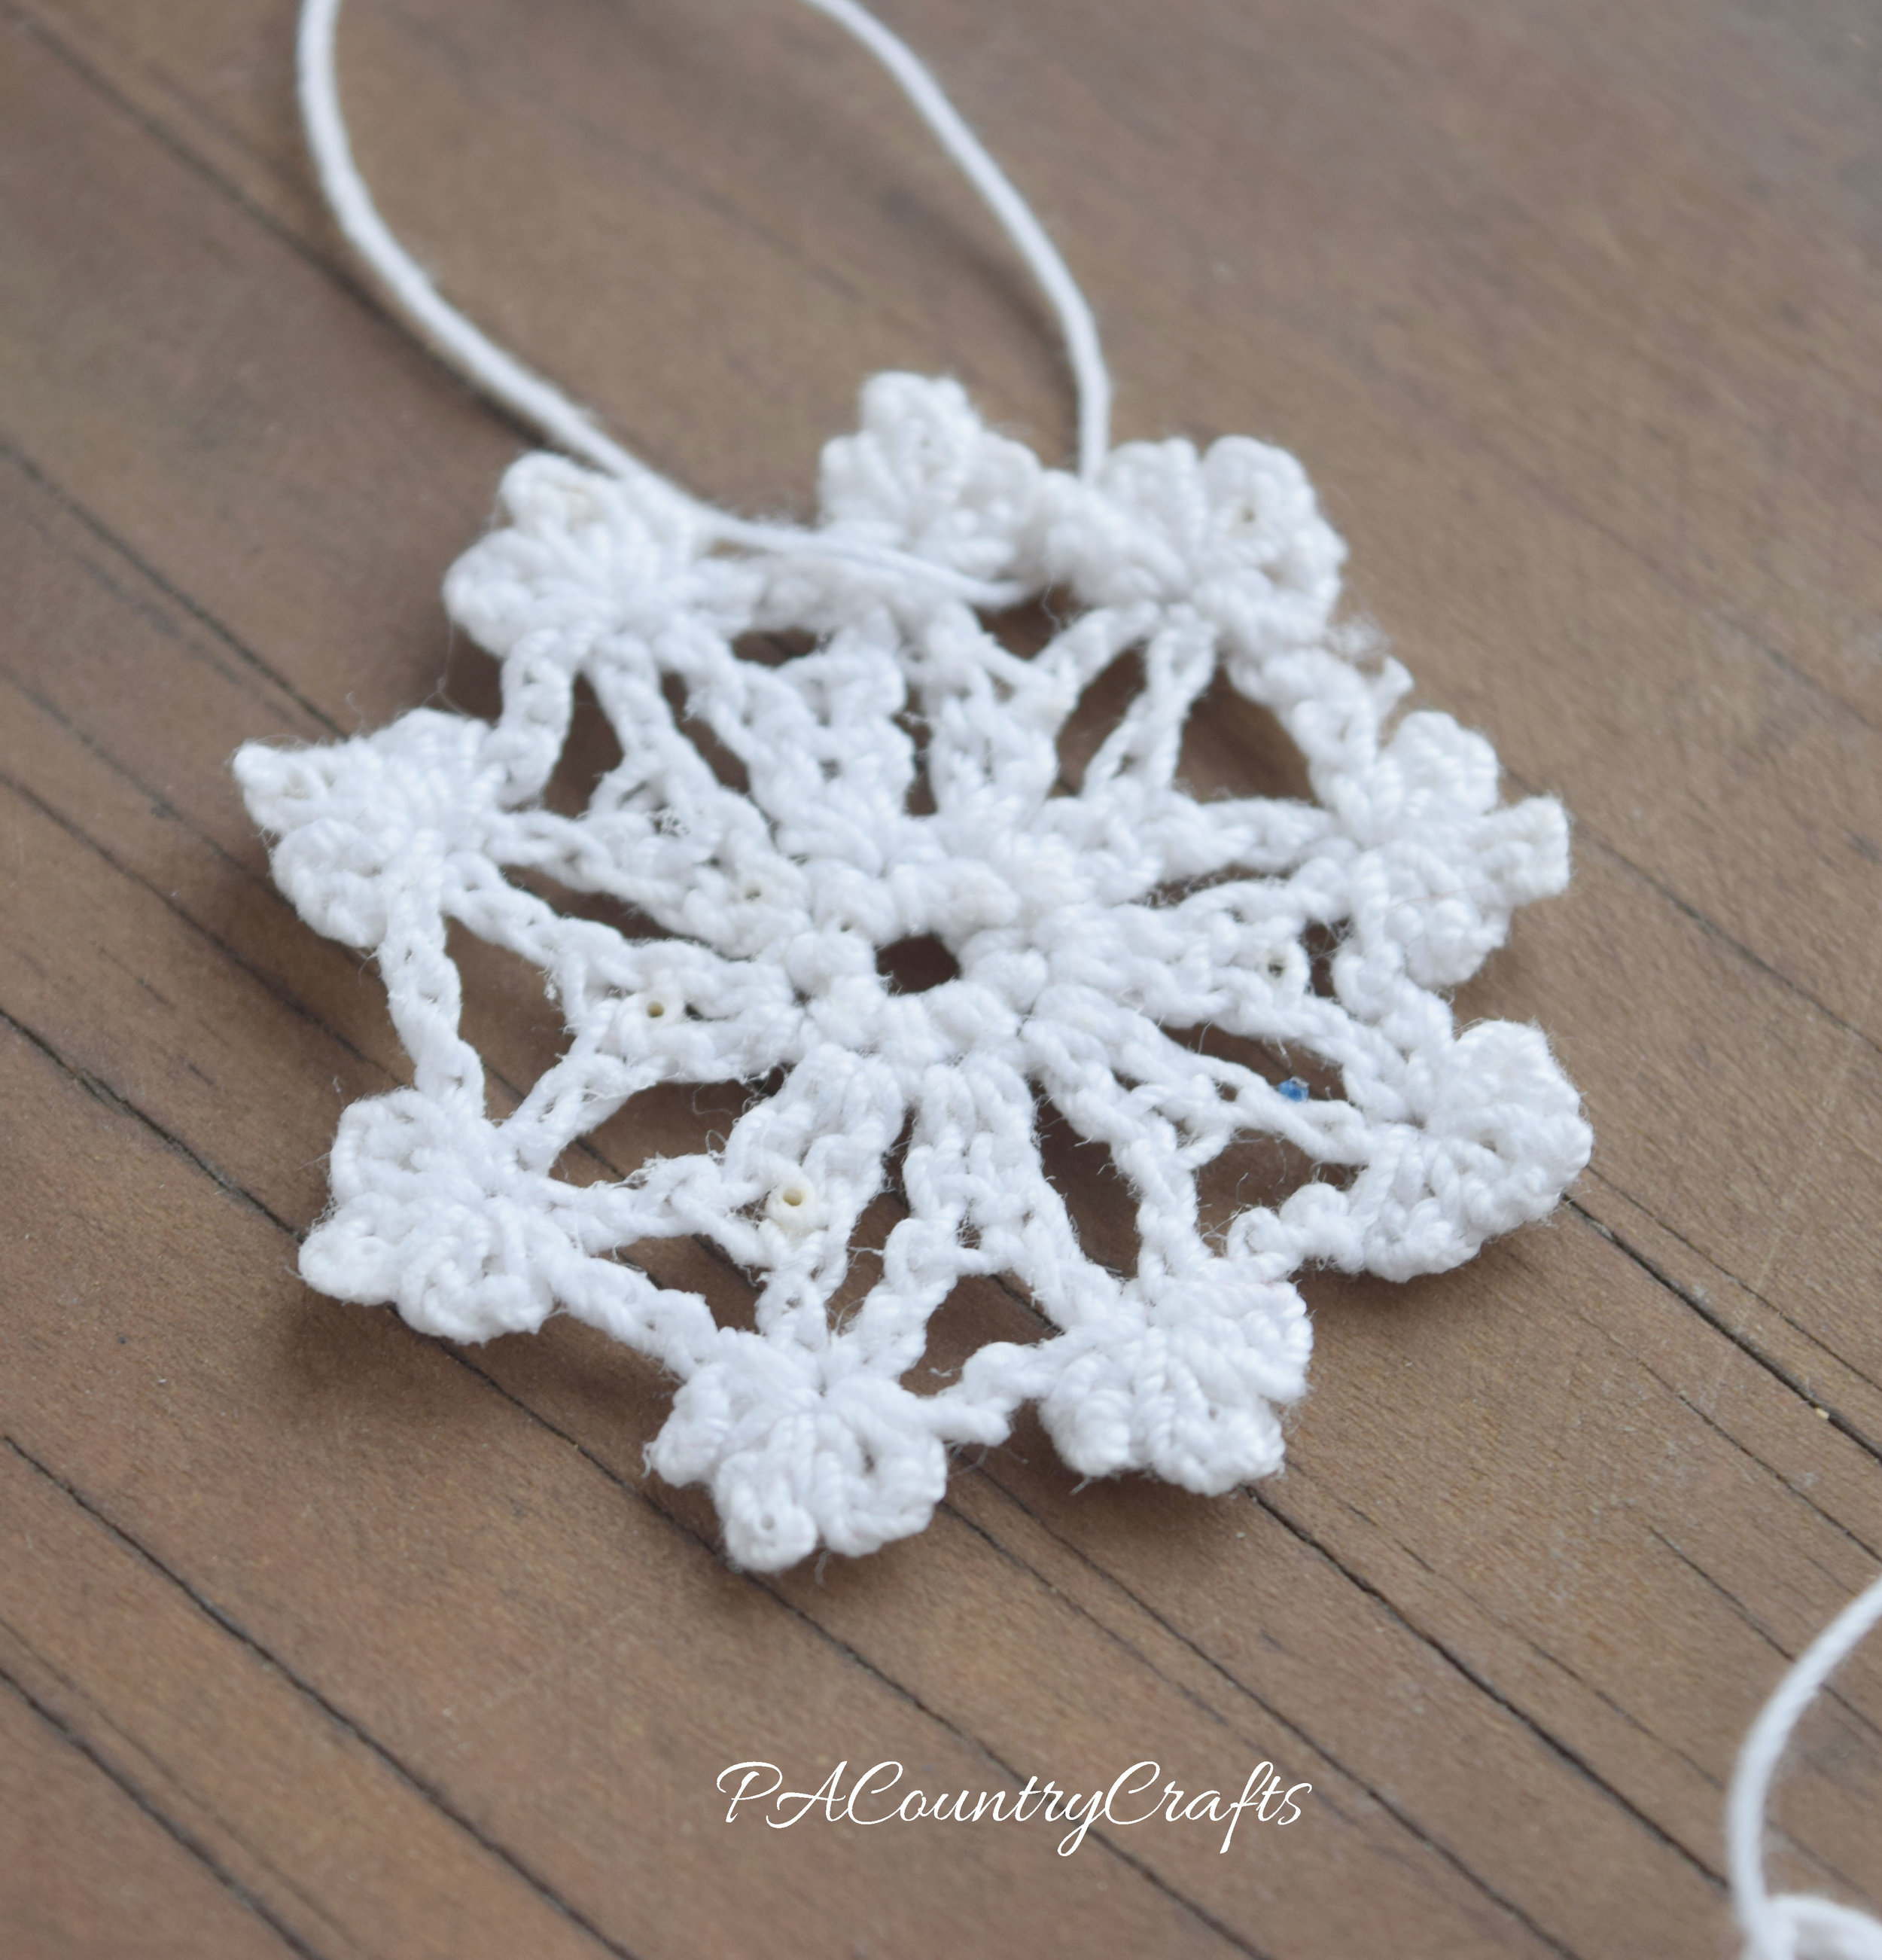
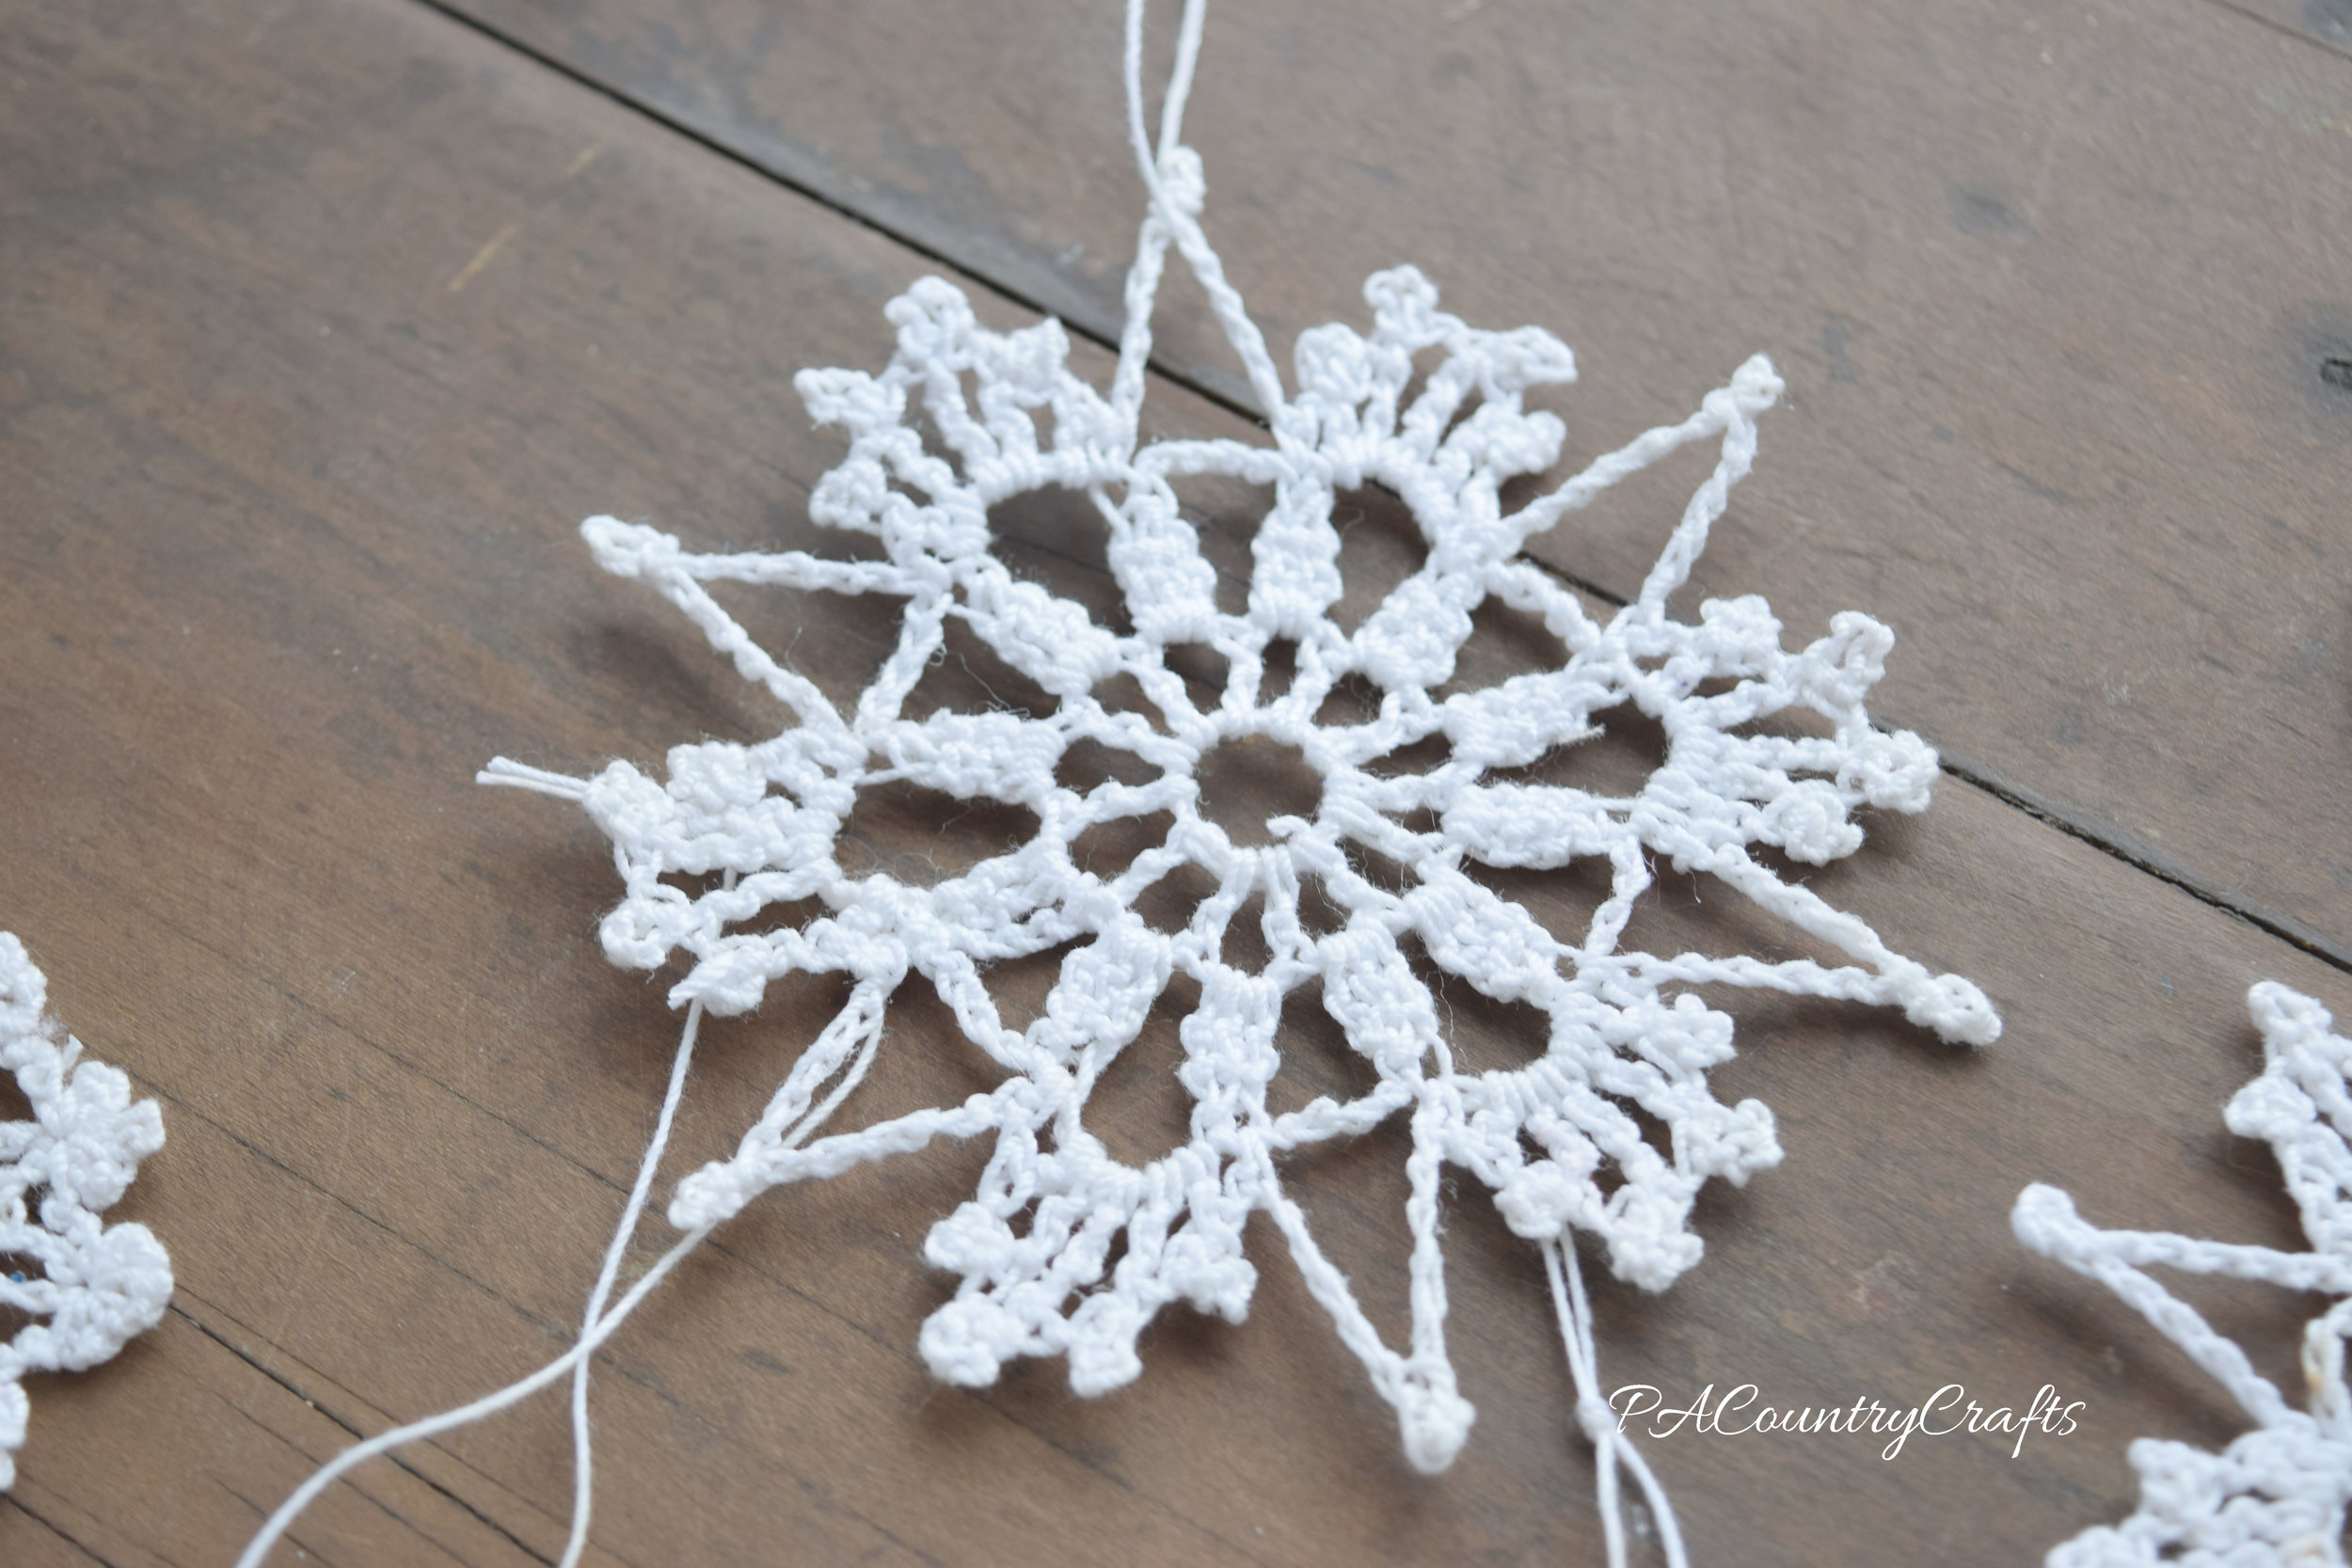
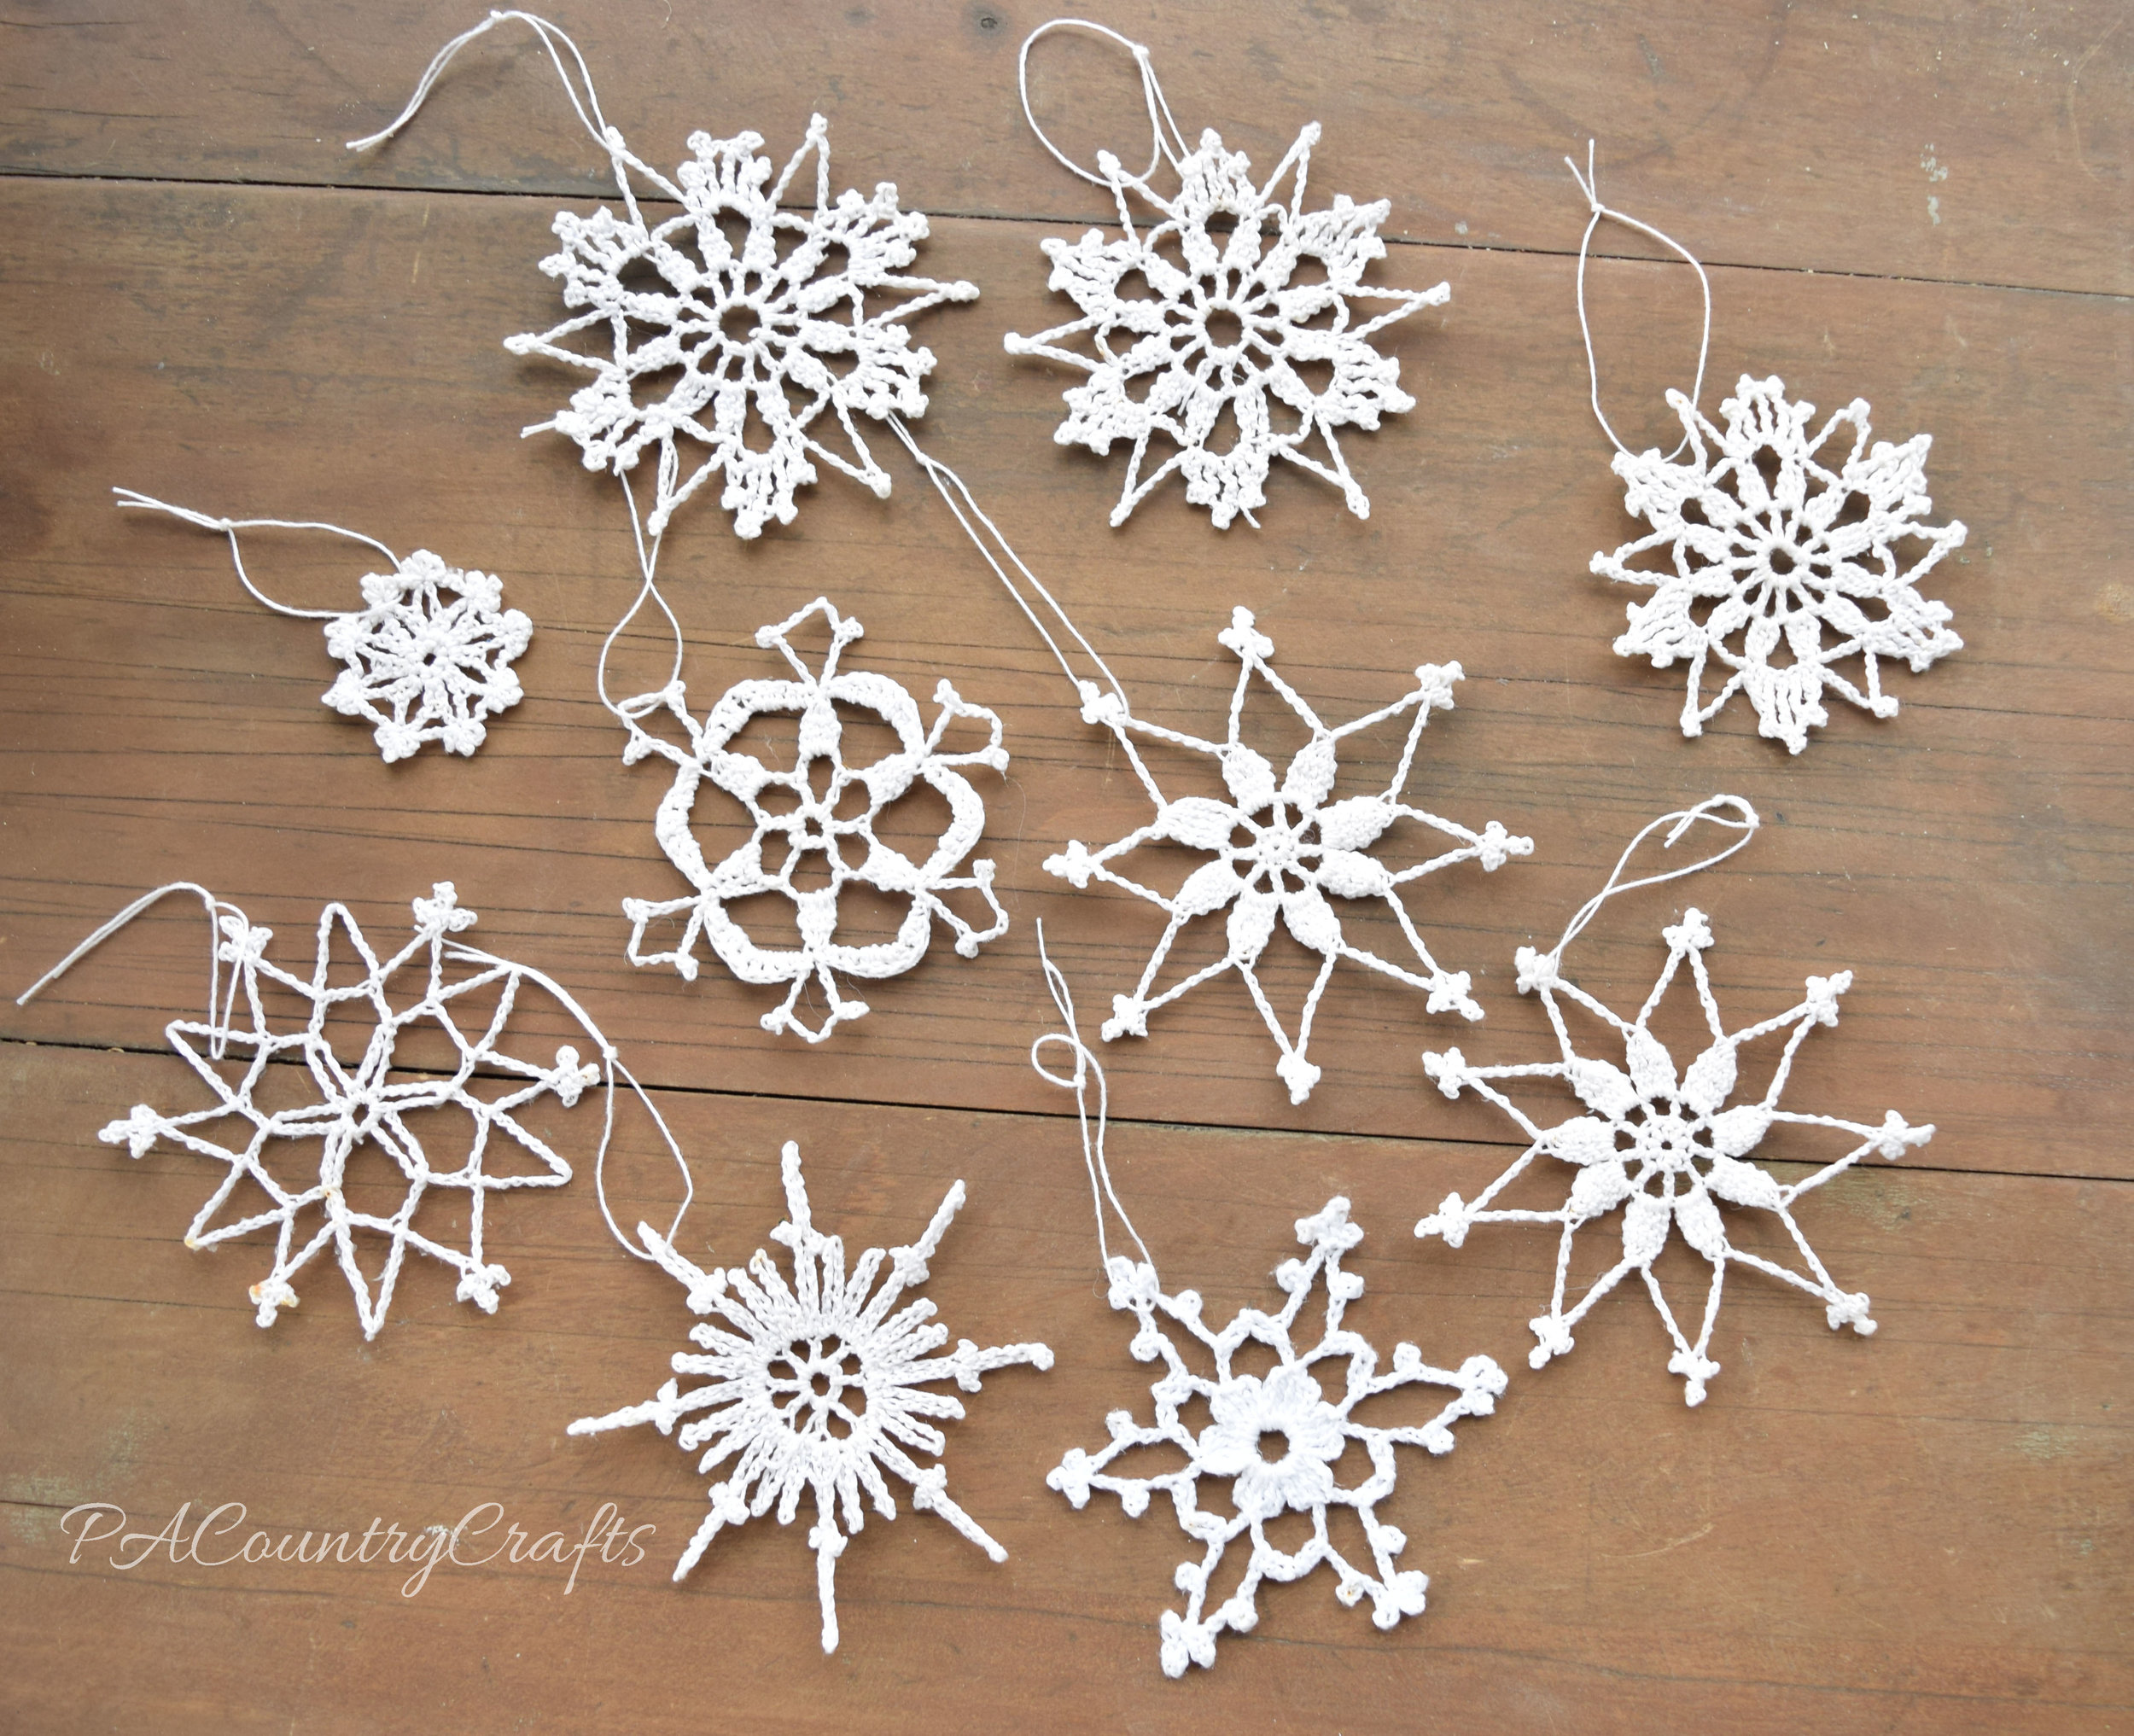
Vintage inspired crochet snowflakes

I don't know what is wrong with me, but all of these unfinished projects make me feel like a failure. That is not at all what crafting is supposed to be like. I don't need any guilt or stress added to my life over something so silly.

Someone challenged me to think of a focus for my life for the year 2017. I have never really tried that sort of thing, but I think my goal for this year is best summed up by this: I want to get my act together! I got a planner (LOVE IT!!!) and I want to be more organized. I want to keep my home managably clean and clutter free. I want to finish projects I have started. I want to do all of this so that I can bless my family and bring more peace to my home. (Now, there wasn't a lot of peace in my Momma-flip-out-moment over intentionally-made messes yesterday, but that is another story).

So, these may just look like little crocheted snowflakes, but they mean more than that to me. I mean, I like them, but it is more about the tiny sense of accomplishment.

Beautiful and simple crochet snowflakes
Crochet snowflakes- so easy to make!

I don't have patterns for these. Most of them came from a very old book that my mom gave me that was made on a typewriter. A few I might have found online back in the days of dial-up internet. I guess everything about these is old in some way. It is fitting. They look sort of vintage.

tiny crochet snowflake
crochet snowflake
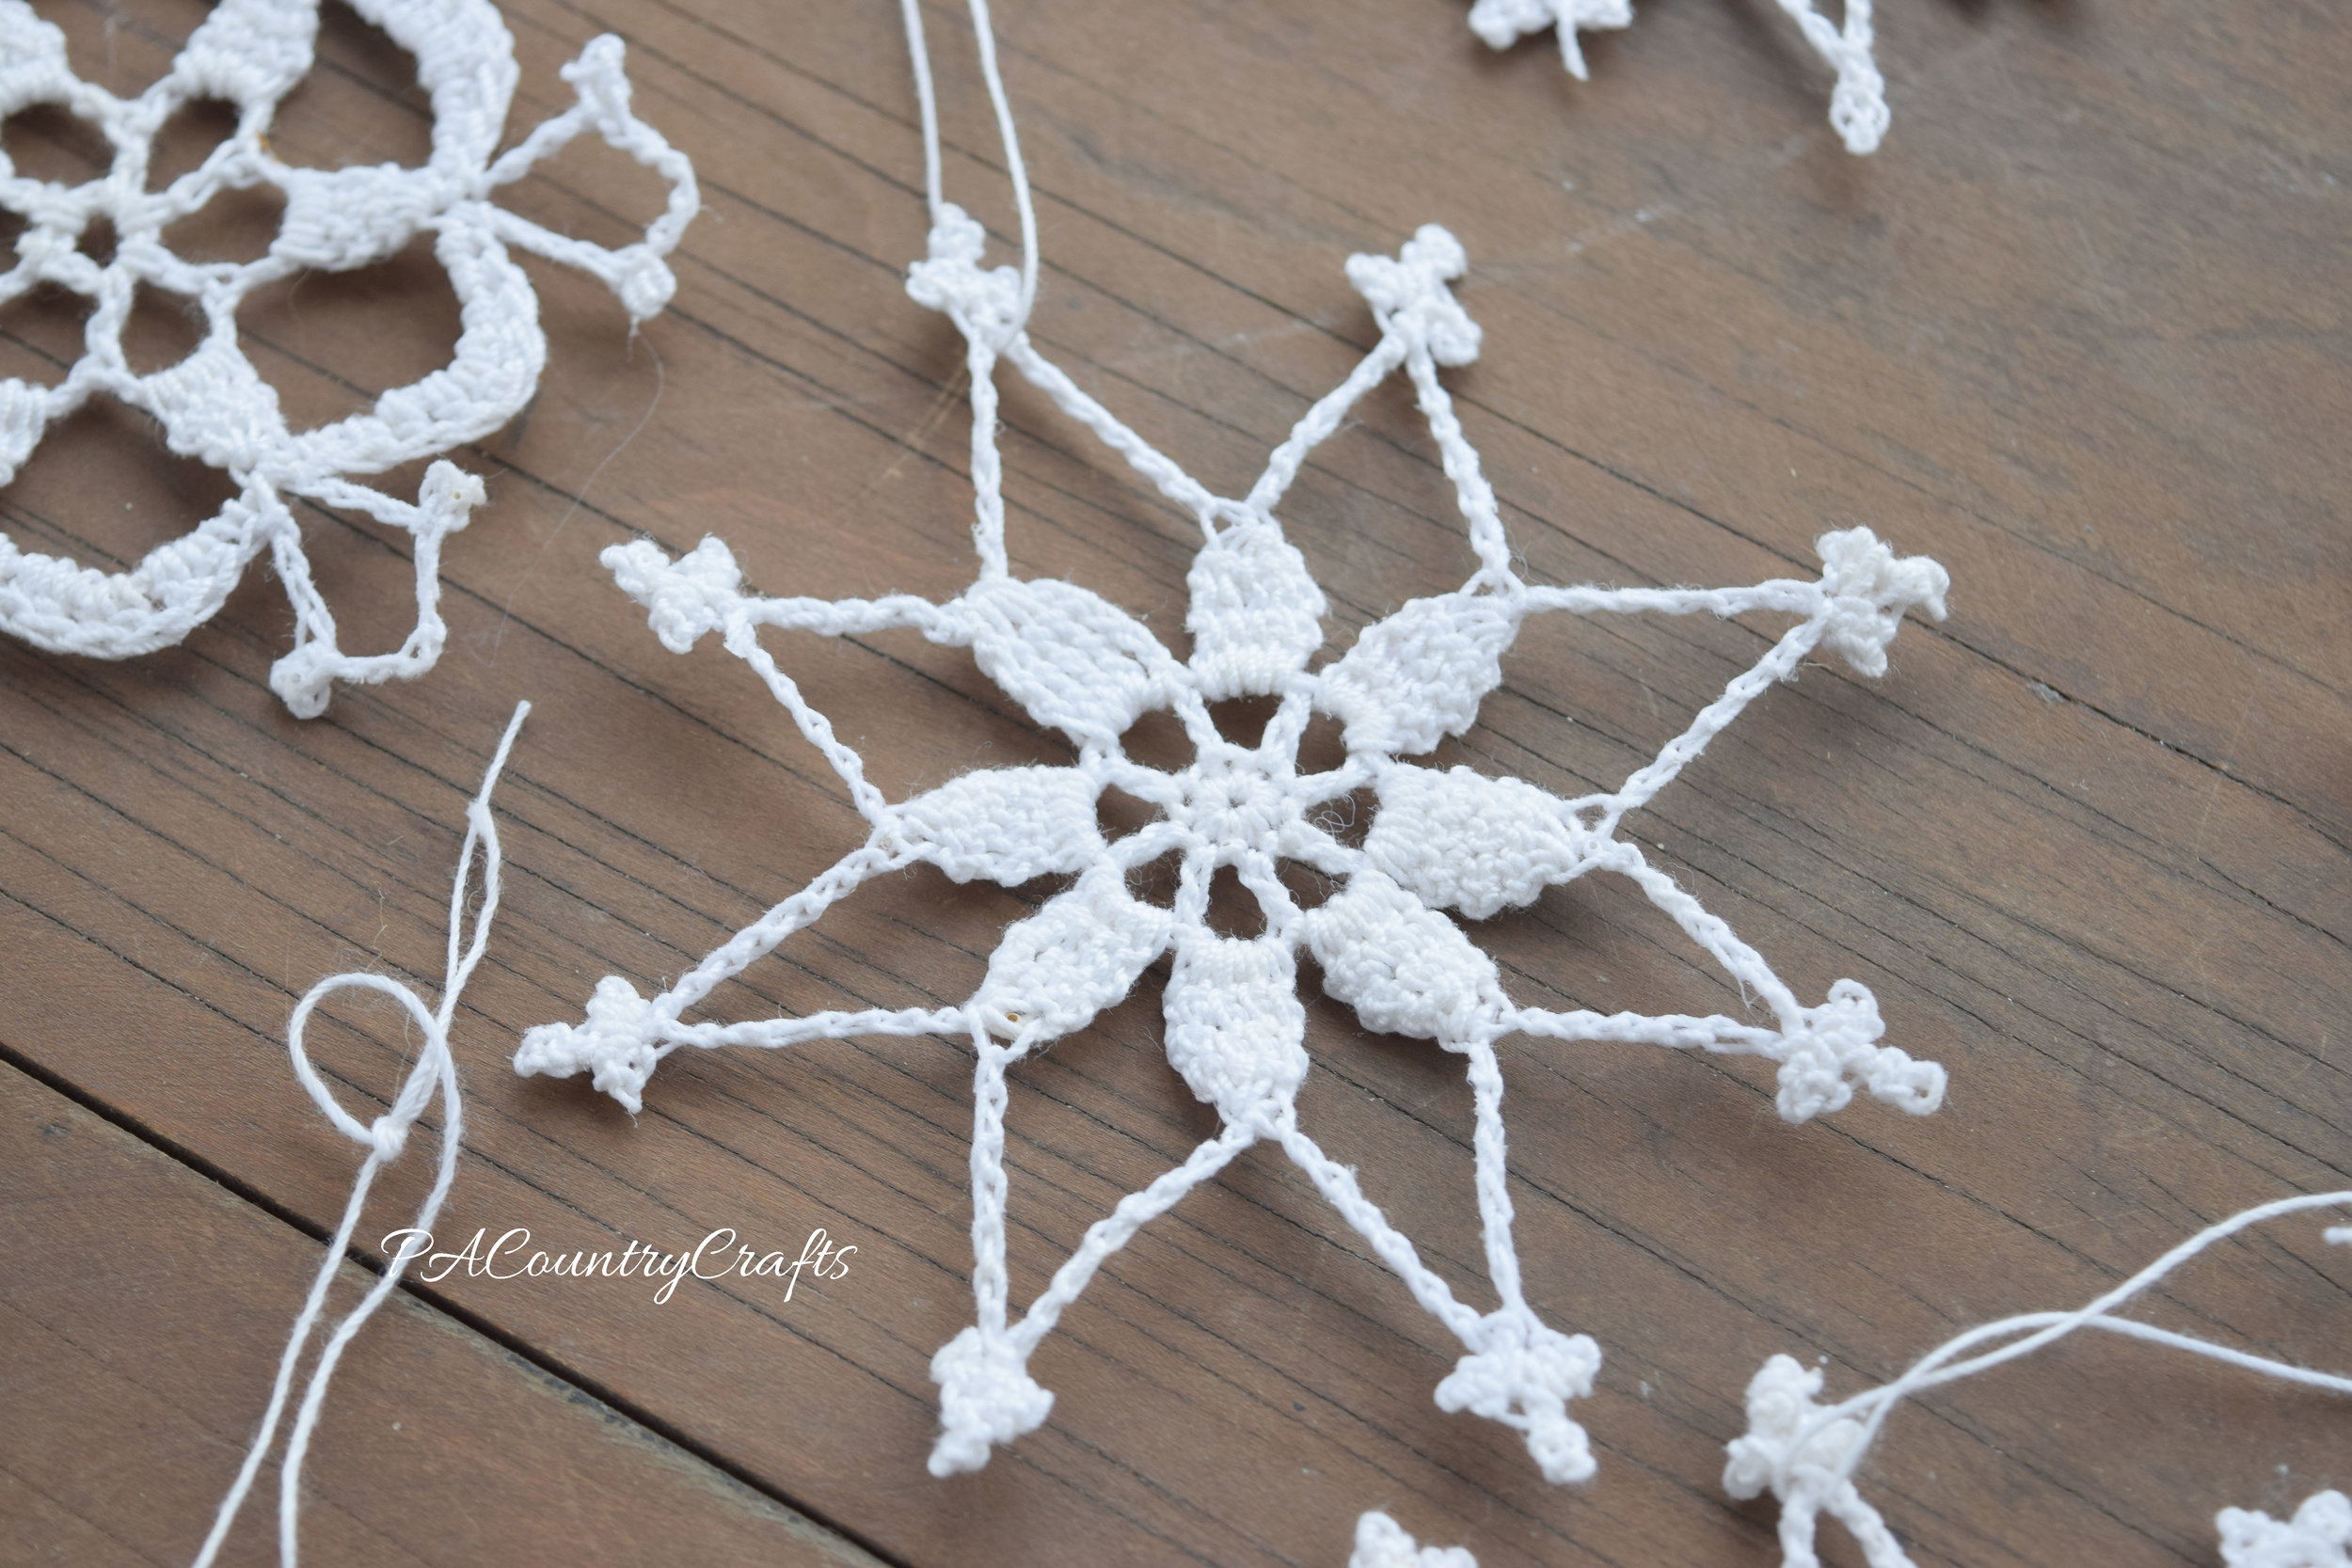
I love this star shaped crochet snowflake!

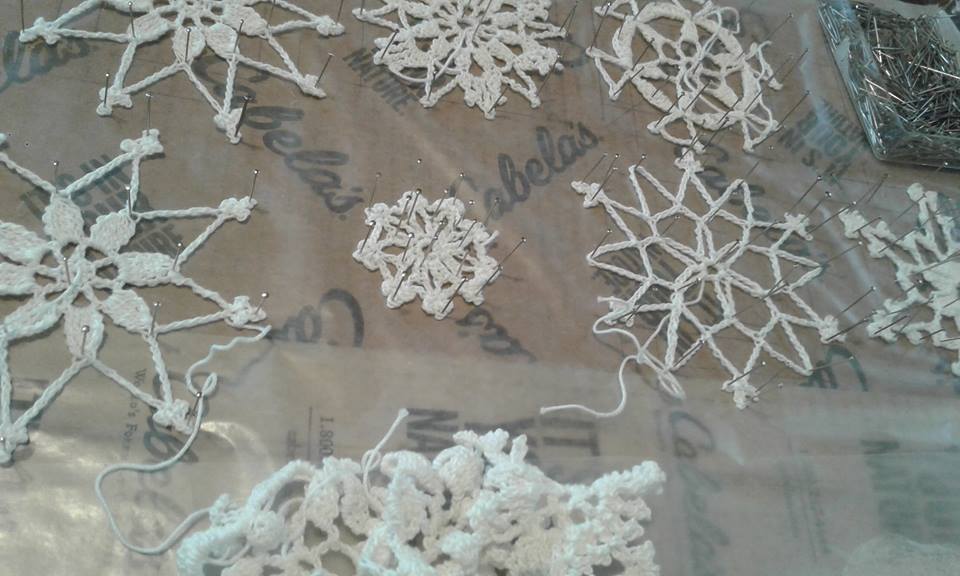
All I had to do to finish them was to block them. I put wax paper on a box and pinned them fast. Then, I watered down glue and painted it on them. (My daughters helped, too.) We took them off when they were dry the next day. It definitely wasn't hard or worth procrastinating for a decade.

how to block crochet snowflakes
Crochet snowflakes- so easy to make!

I am heading somewhere with all of these little projects from our craft day and you won't want to miss the final result!!!  If you missed the last few posts, you can click on the pictures below to see more...

DIY Rustic Twine Balls

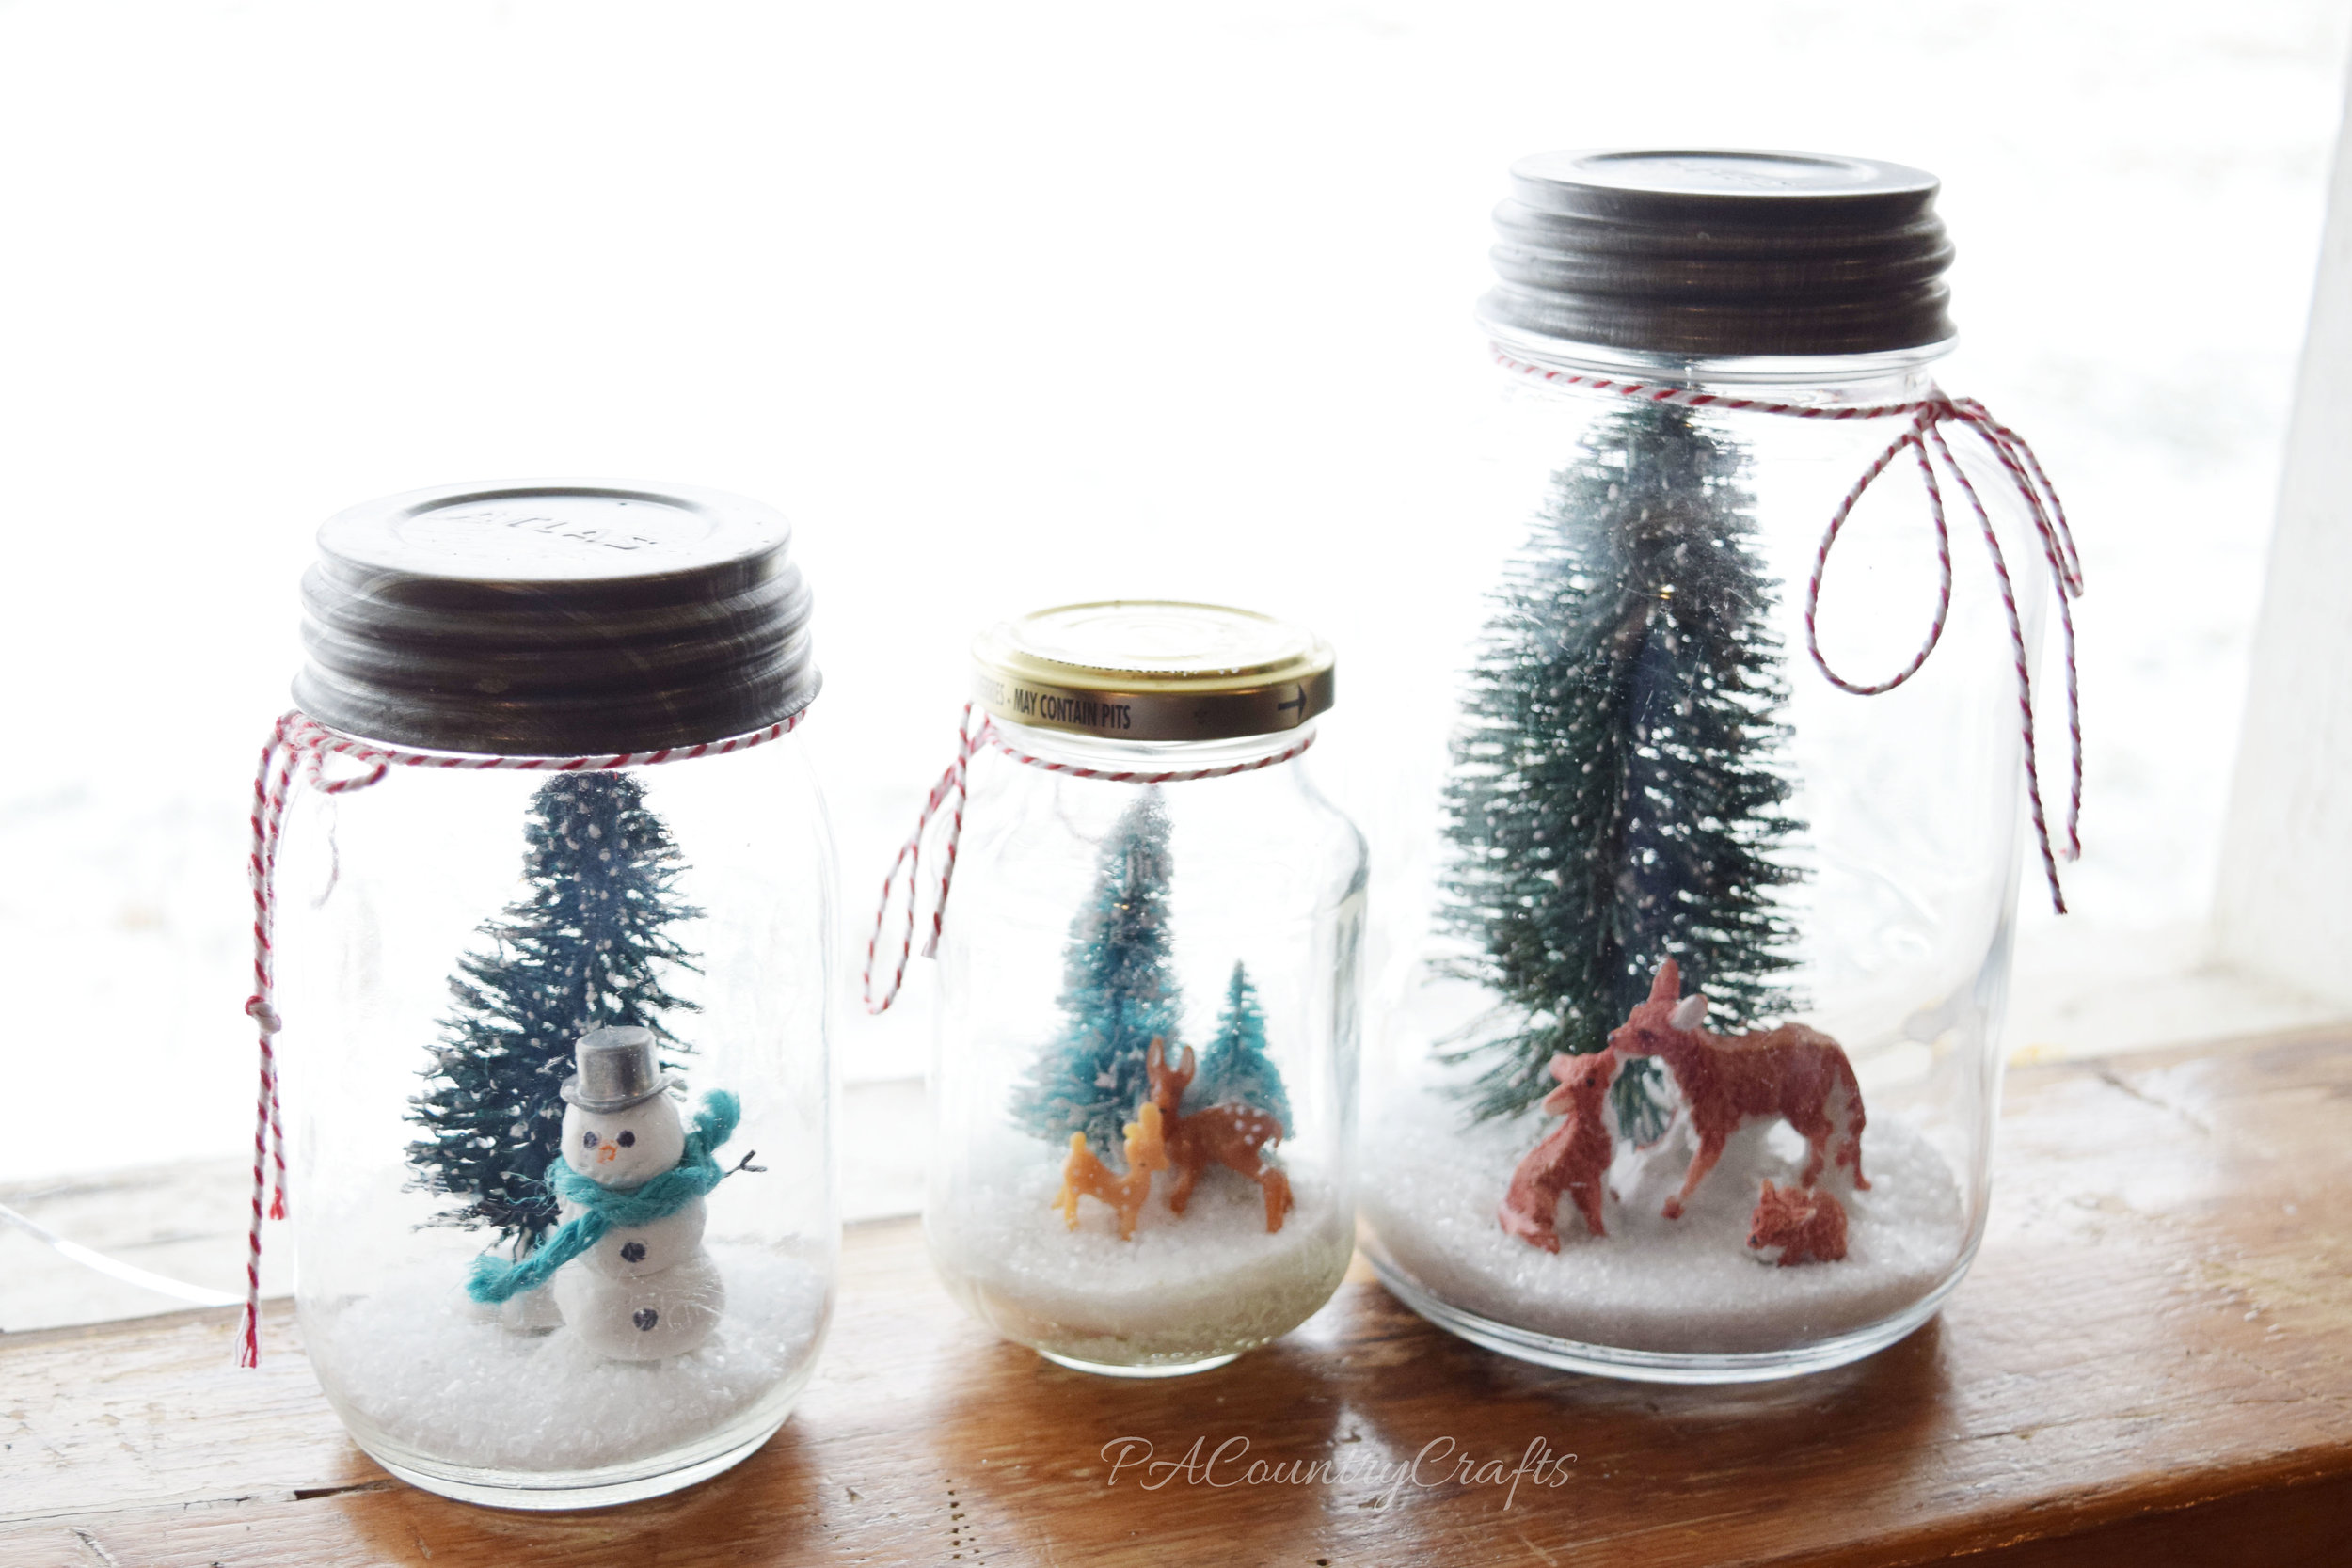
I really didn't think these were going to work! On Martin Luther King, Jr. Day the girls and I had a "craft day" on their day off of school. We occasionally have themed days like this with special projects. (They have requested a baking day next time!) We had a craft day over Christmas break and made mason jar snow scenes, baked pine cones, and painted ornaments. This time, we worked on winter decor for our home.

I had seen twine balls on Pinterest, looked at several different tutorials, and then did my own thing anyway. I am kind of stubborn like that. I wasn't sure that it would work and after I shared it on facebook, several friends told me that theirs failed, so I was not very optimistic.

However, they turned out great!

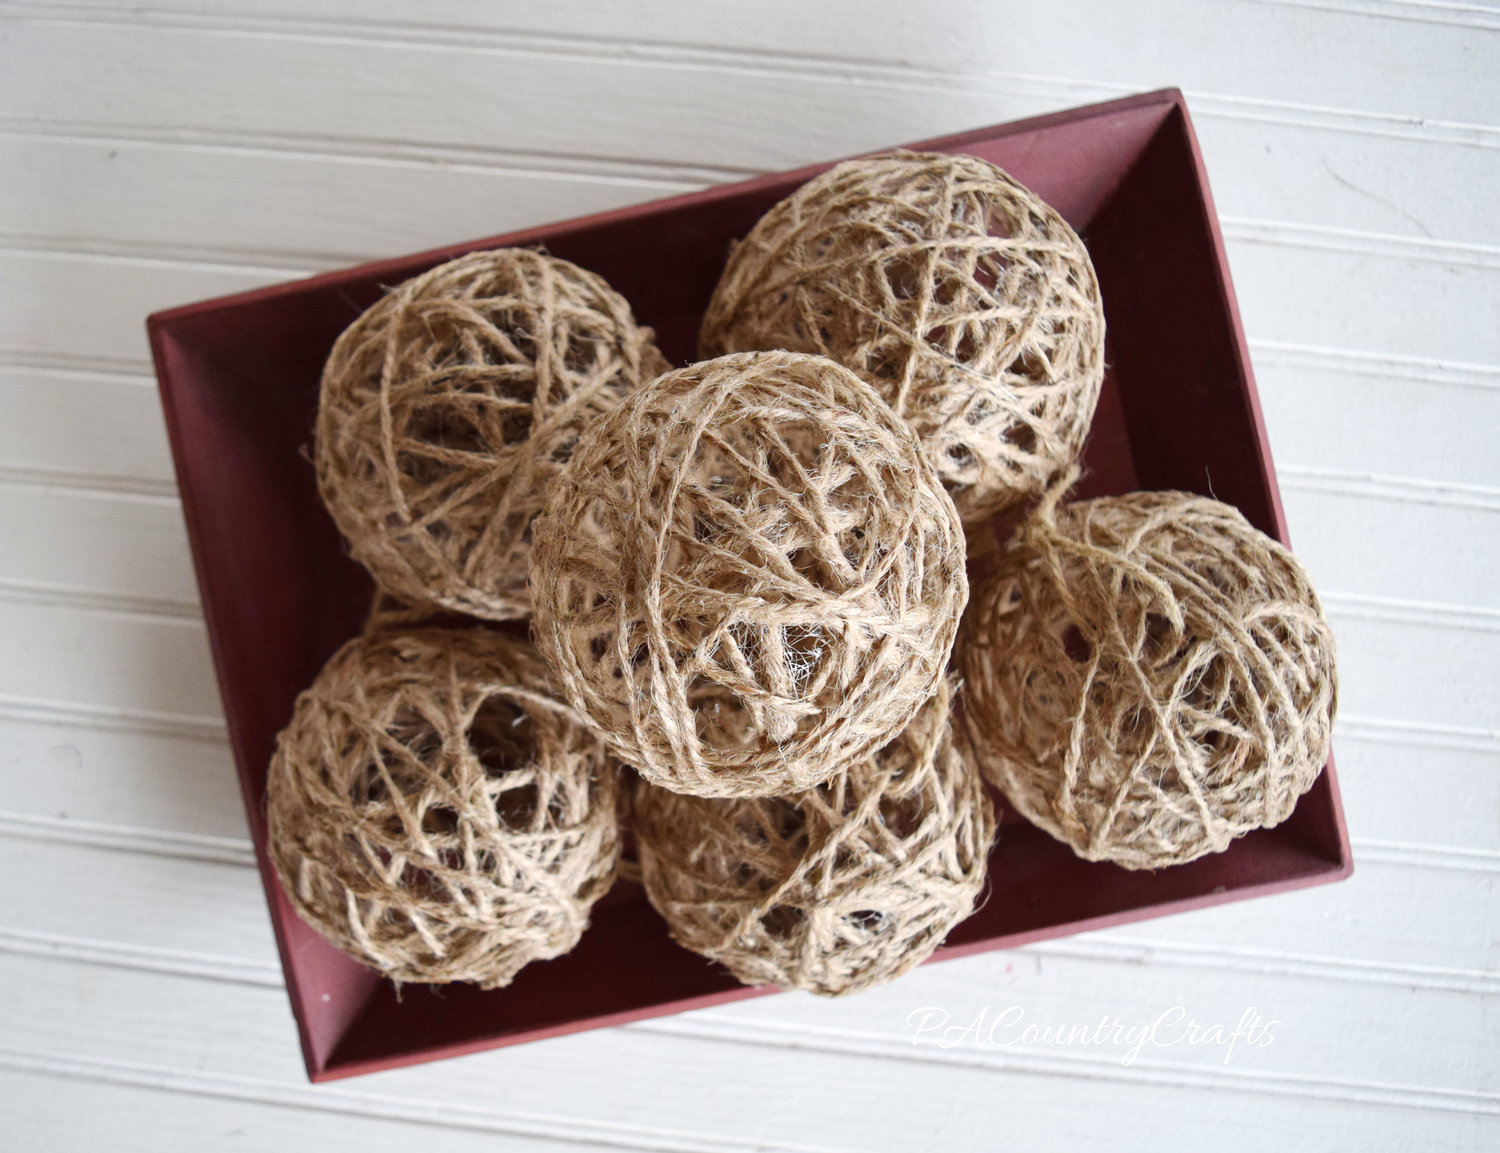
DIY twine balls made with jute, balloons, and glue!
Easy to make twine ornament balls
how to make twine ornament balls- so simple and perfect rustic Christmas decor!

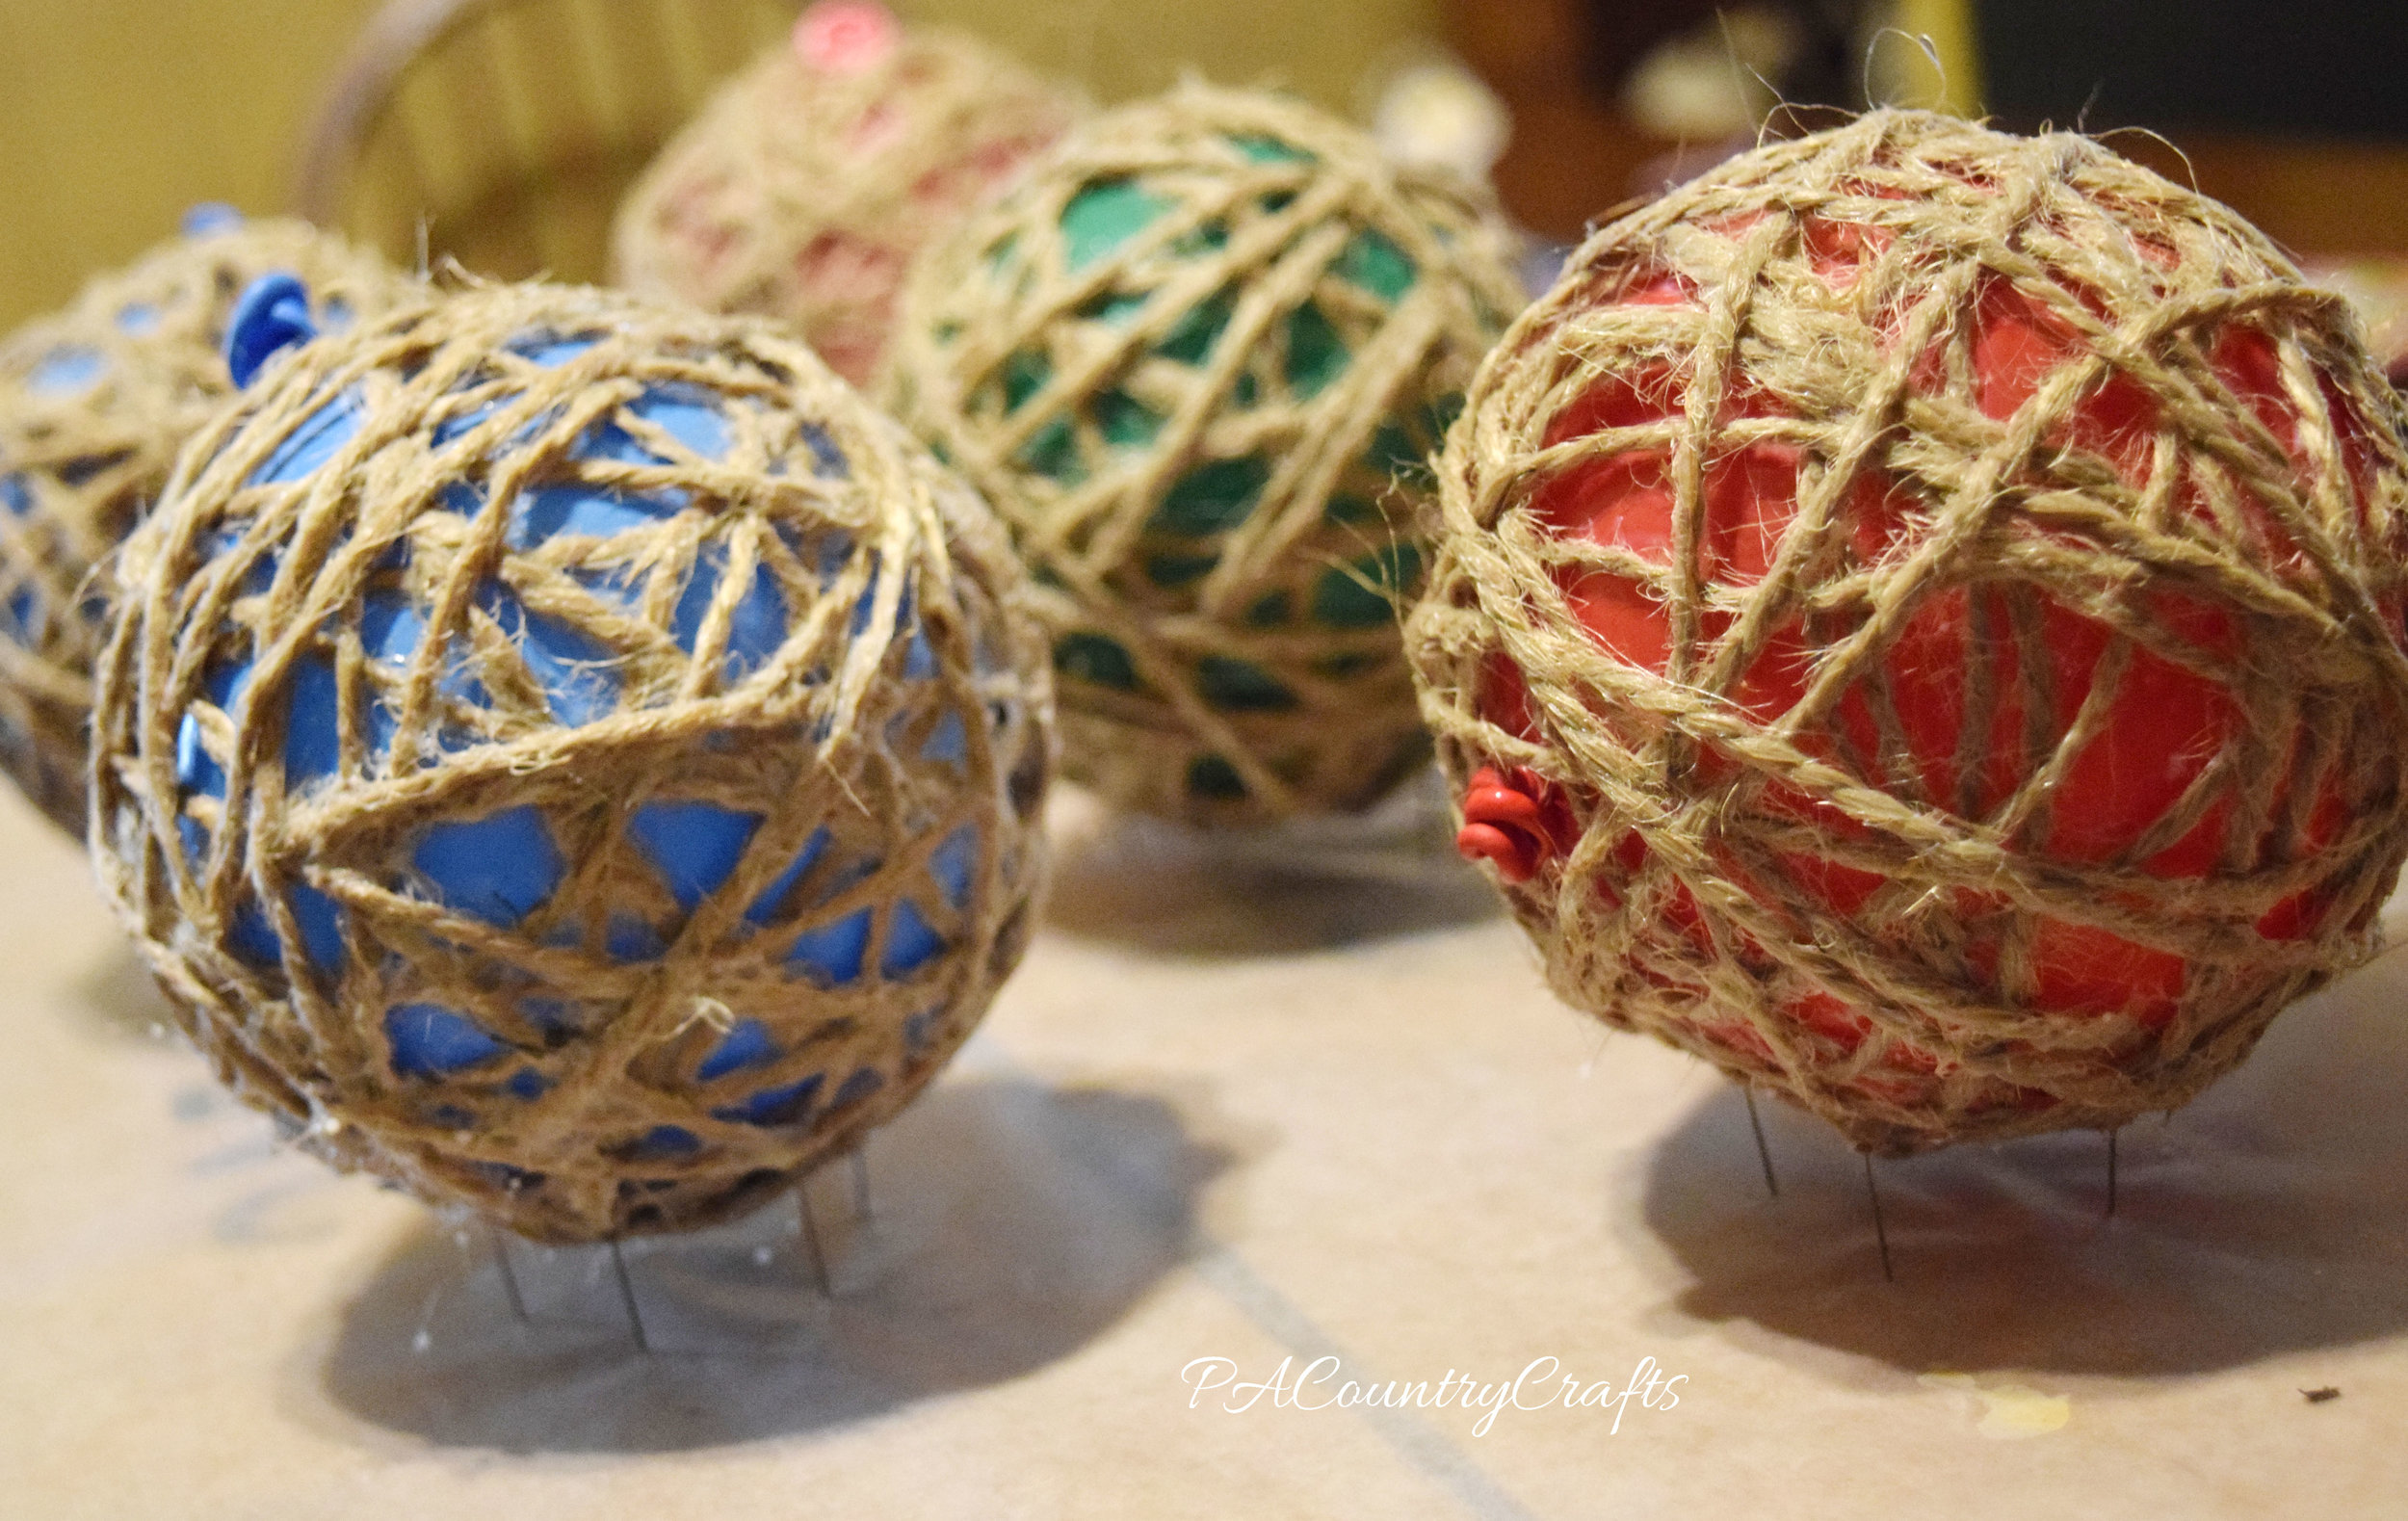
I just blew up some balloons to a small size and wrapped twine around them. We painted watered down glue all over the twine and let them dry for a day. So that they would get air flow all the way around, I covered a box with wax paper and pushed pins partway into the cardboard to set them on.  The next day, we used the pins to pop the balloons (holding onto the balloon end) and just pulled the deflated balloon out. Some tutorials called for cooking spray on the balloons, but I didn't like the thought of greasy twine decorations.

DIY Twine Balls
how to make twine balls

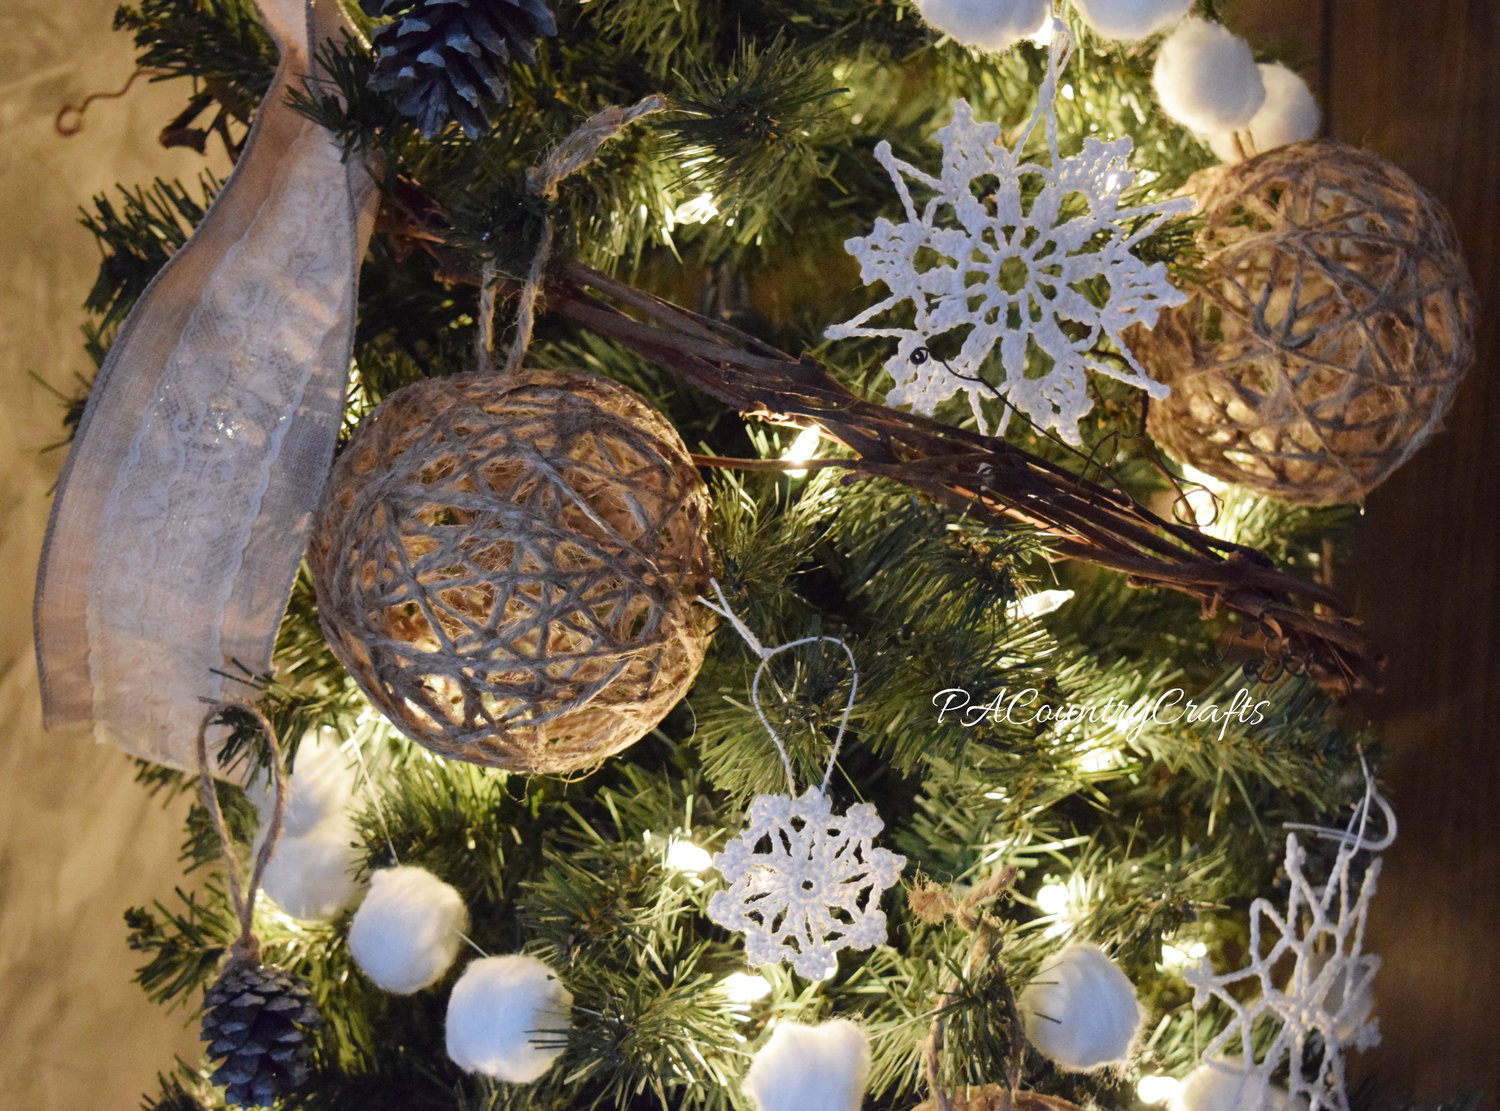
These were really simple and inexpensive to make. They definitely fit with the rustic, natural winter look I was going for. I can't wait to show you the rest of the decorations!

rustic twine balls for winter decor

You can see more of our winter decorations here…