My Favorite Things Winter Mantel Decor
/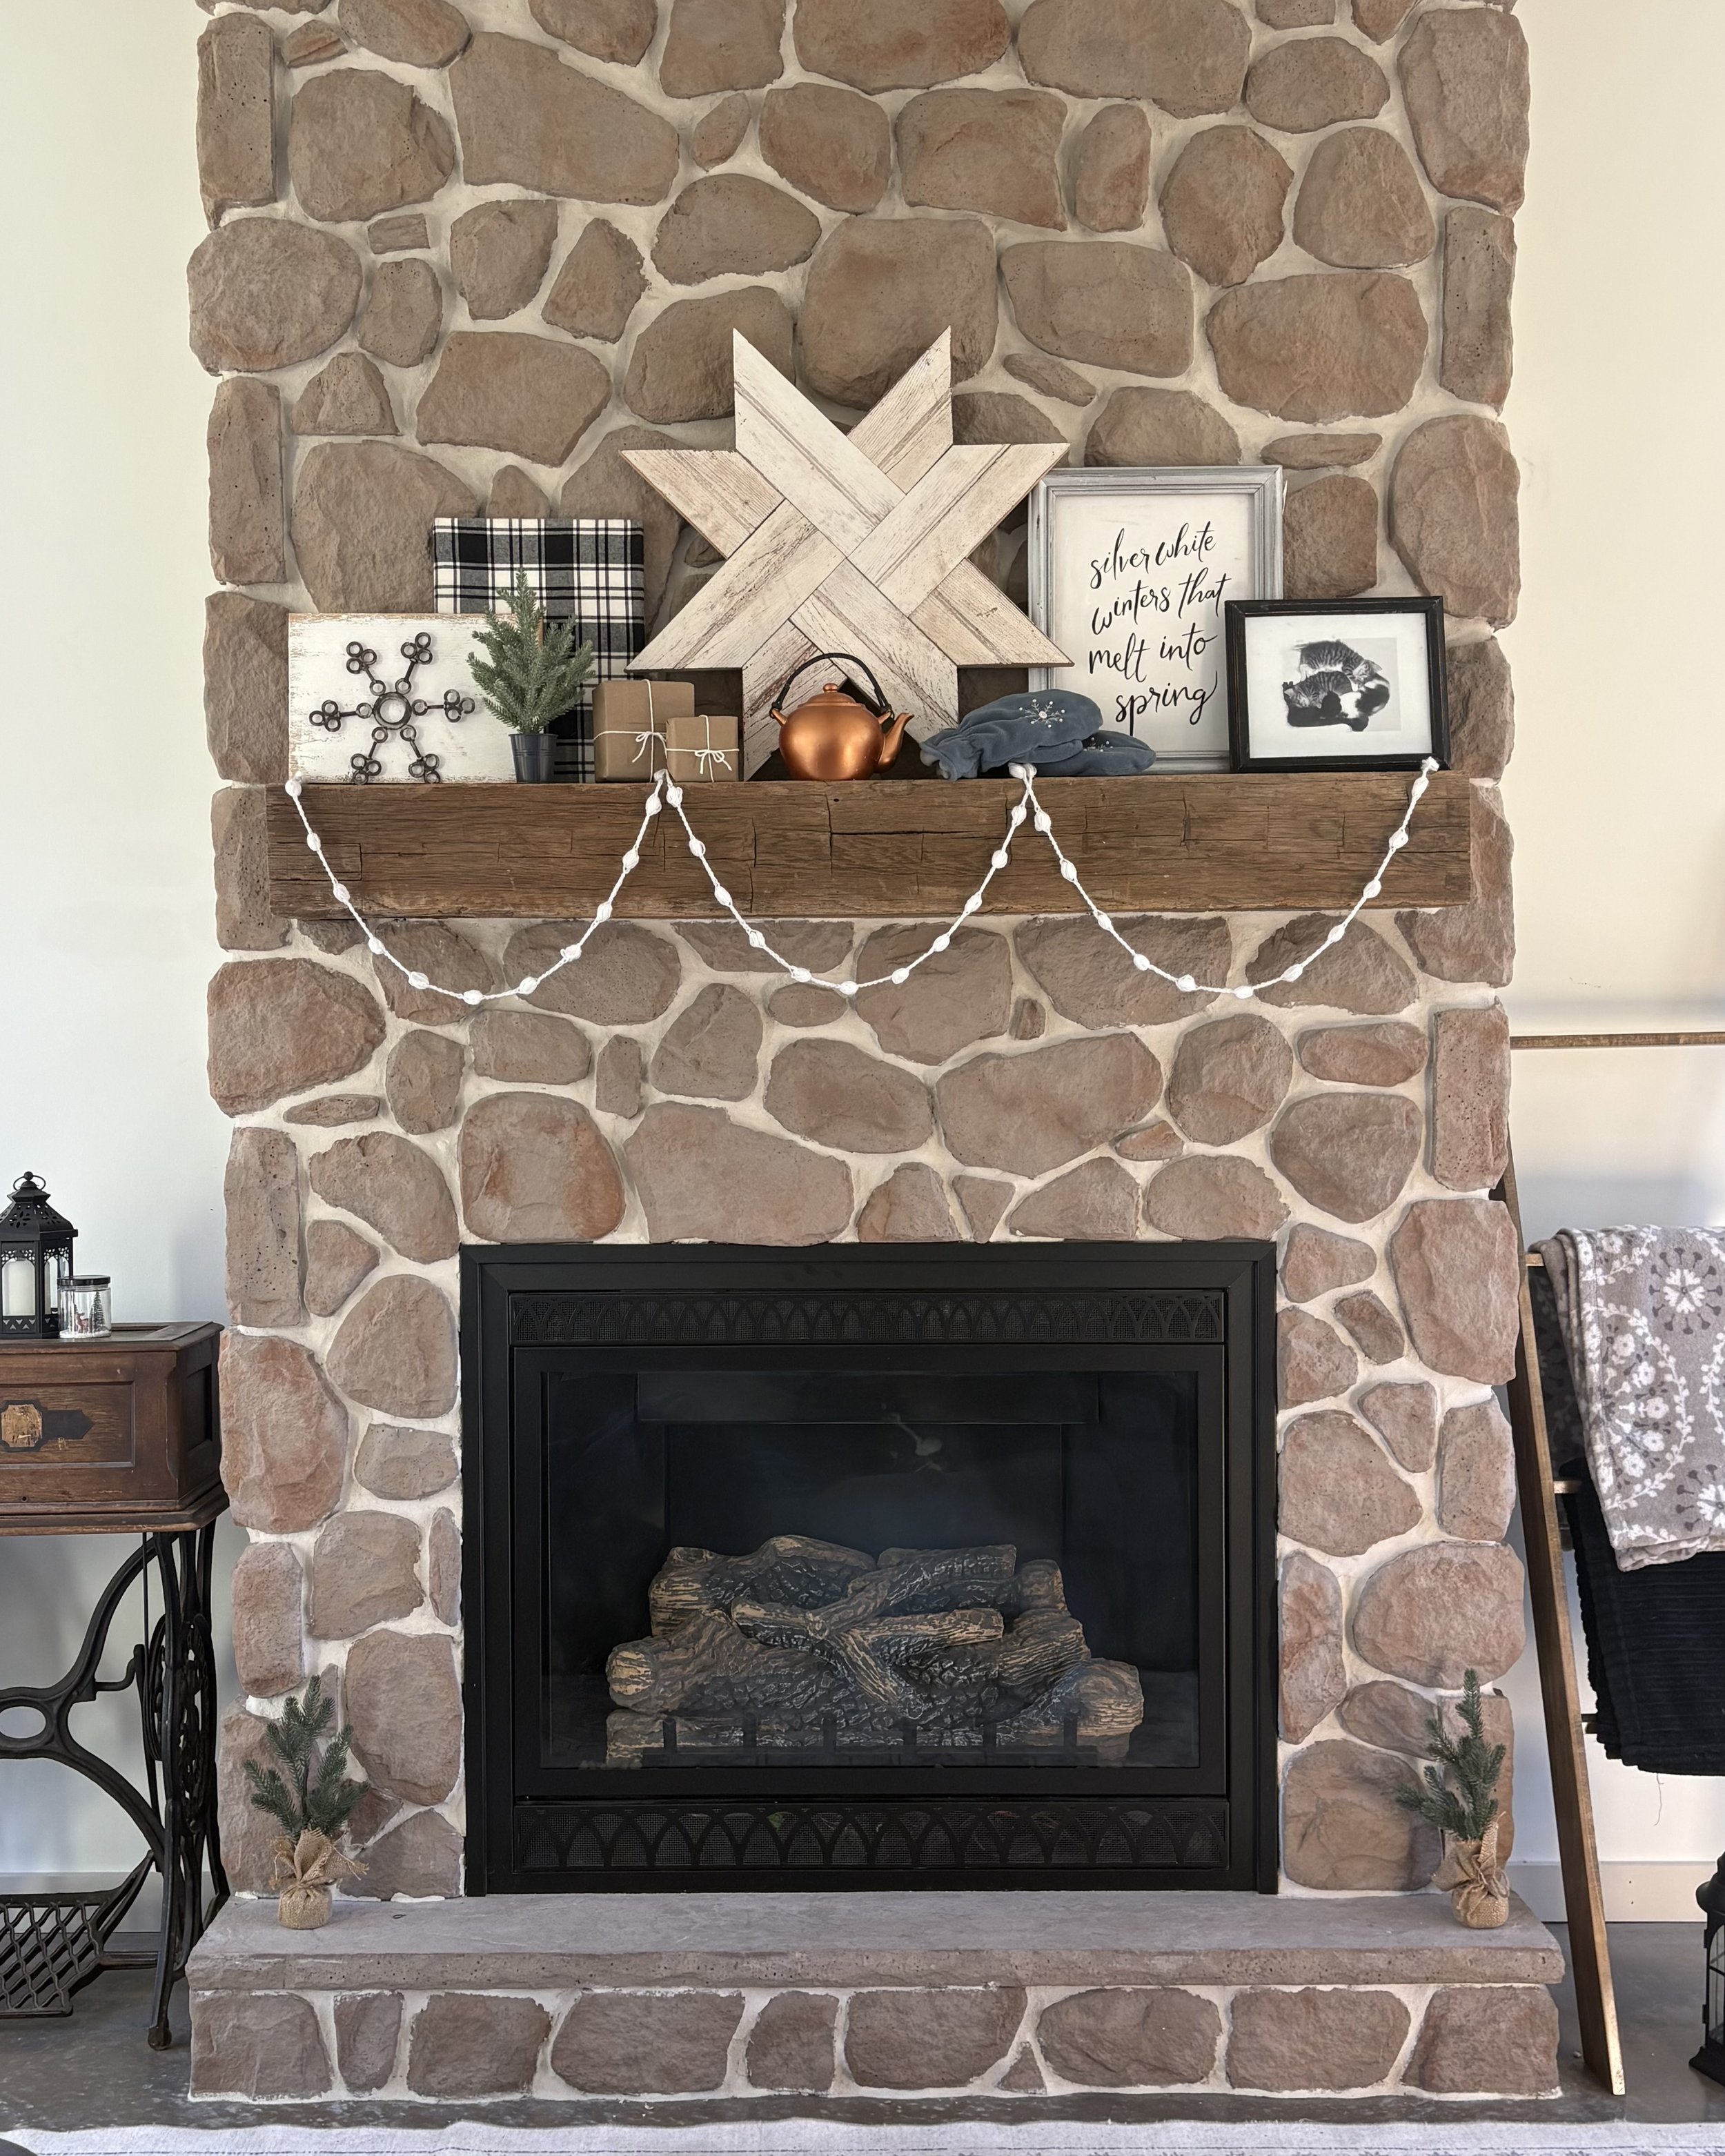
A few of my favorite things - this themed winter fireplace mantle has an assortment of thrifted and upcycled items related to the song from The Sound of Music.
Read MoreA few of my favorite things - this themed winter fireplace mantle has an assortment of thrifted and upcycled items related to the song from The Sound of Music.
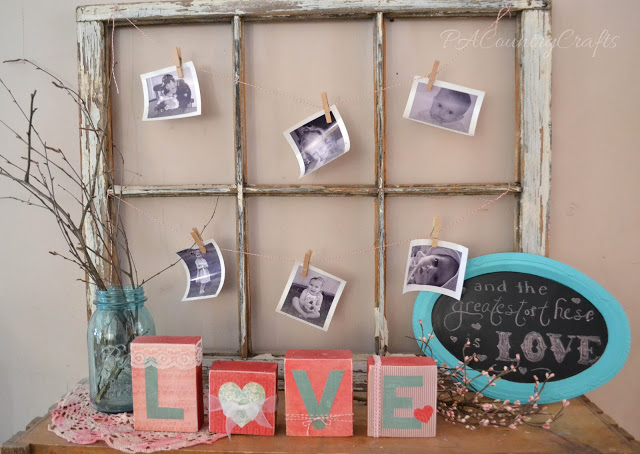
Read MoreFree printable Classic Happy Planner stickers for winter or Valentine’s Day. They feature rustic, yet cozy designs in black, white, gray, and red.
Read MoreAdding just a few simple winter touches- greens, battery candles, galvanized accents- made it a little more cozy after the Christmas decor was put away. It isn’t Pinterest perfect, but I am trying to create a home that blesses my family by making the best out of what we have.
Read MoreSometimes I get these overly ambitious ideas and that is as far as they go. Just big ideas.Sometimes, a year or so later, I actually act on them. And, more often than not, it was a lot easier than I anticipated.
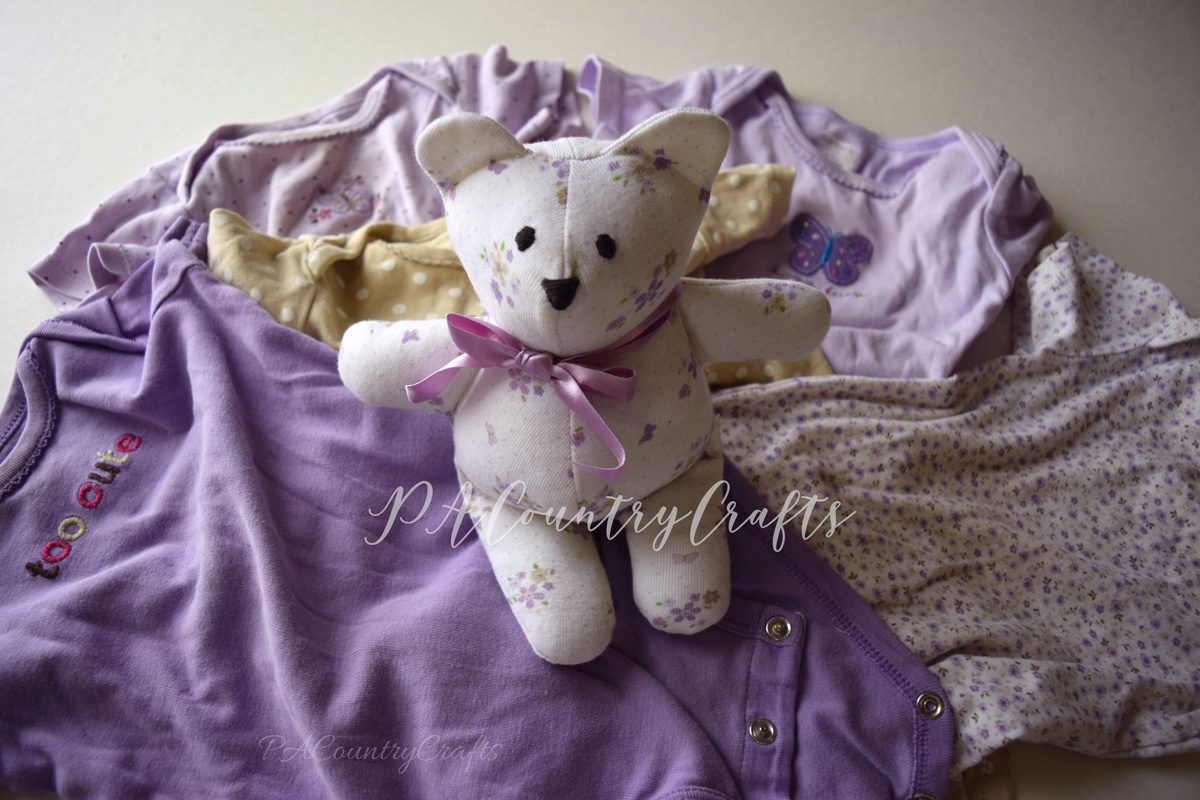
This particular big idea: I wanted to make hand warmers from sweater scraps. I made some sweater pillows (some are still not finished, so I will blog about them eventually) and I have a pile of sleeves laying around. Originally, I was going to make hand warmers for my kids' classmates for Valentine's Day, but I really don't have that much ambition. I realized that they are best in pairs, so I would have to make 80+ hearts. No, thank you! Instead, I gave them out as little thank you gifts for some friends and family.


They are soft and lavender scented and pretty. Just microwave them for about 30 seconds and tuck them in your pocket. They make a really pretty little favor or thank you gift. I just tied mine with baker's twine and made little tags to go with them.

I took some pictures to show you how to make them, and I even did it two different ways to make it even more beginner-friendly!
Start with your fabric- I used scraps from a sweater sleeve.

Make a template- mine are about 3" across. I used an old receipt from the grocery store. Place the sweater scraps right side out and pin the template to them. You want to leave some extra fabric all around the template so that there is wiggle room if/when it shifts.
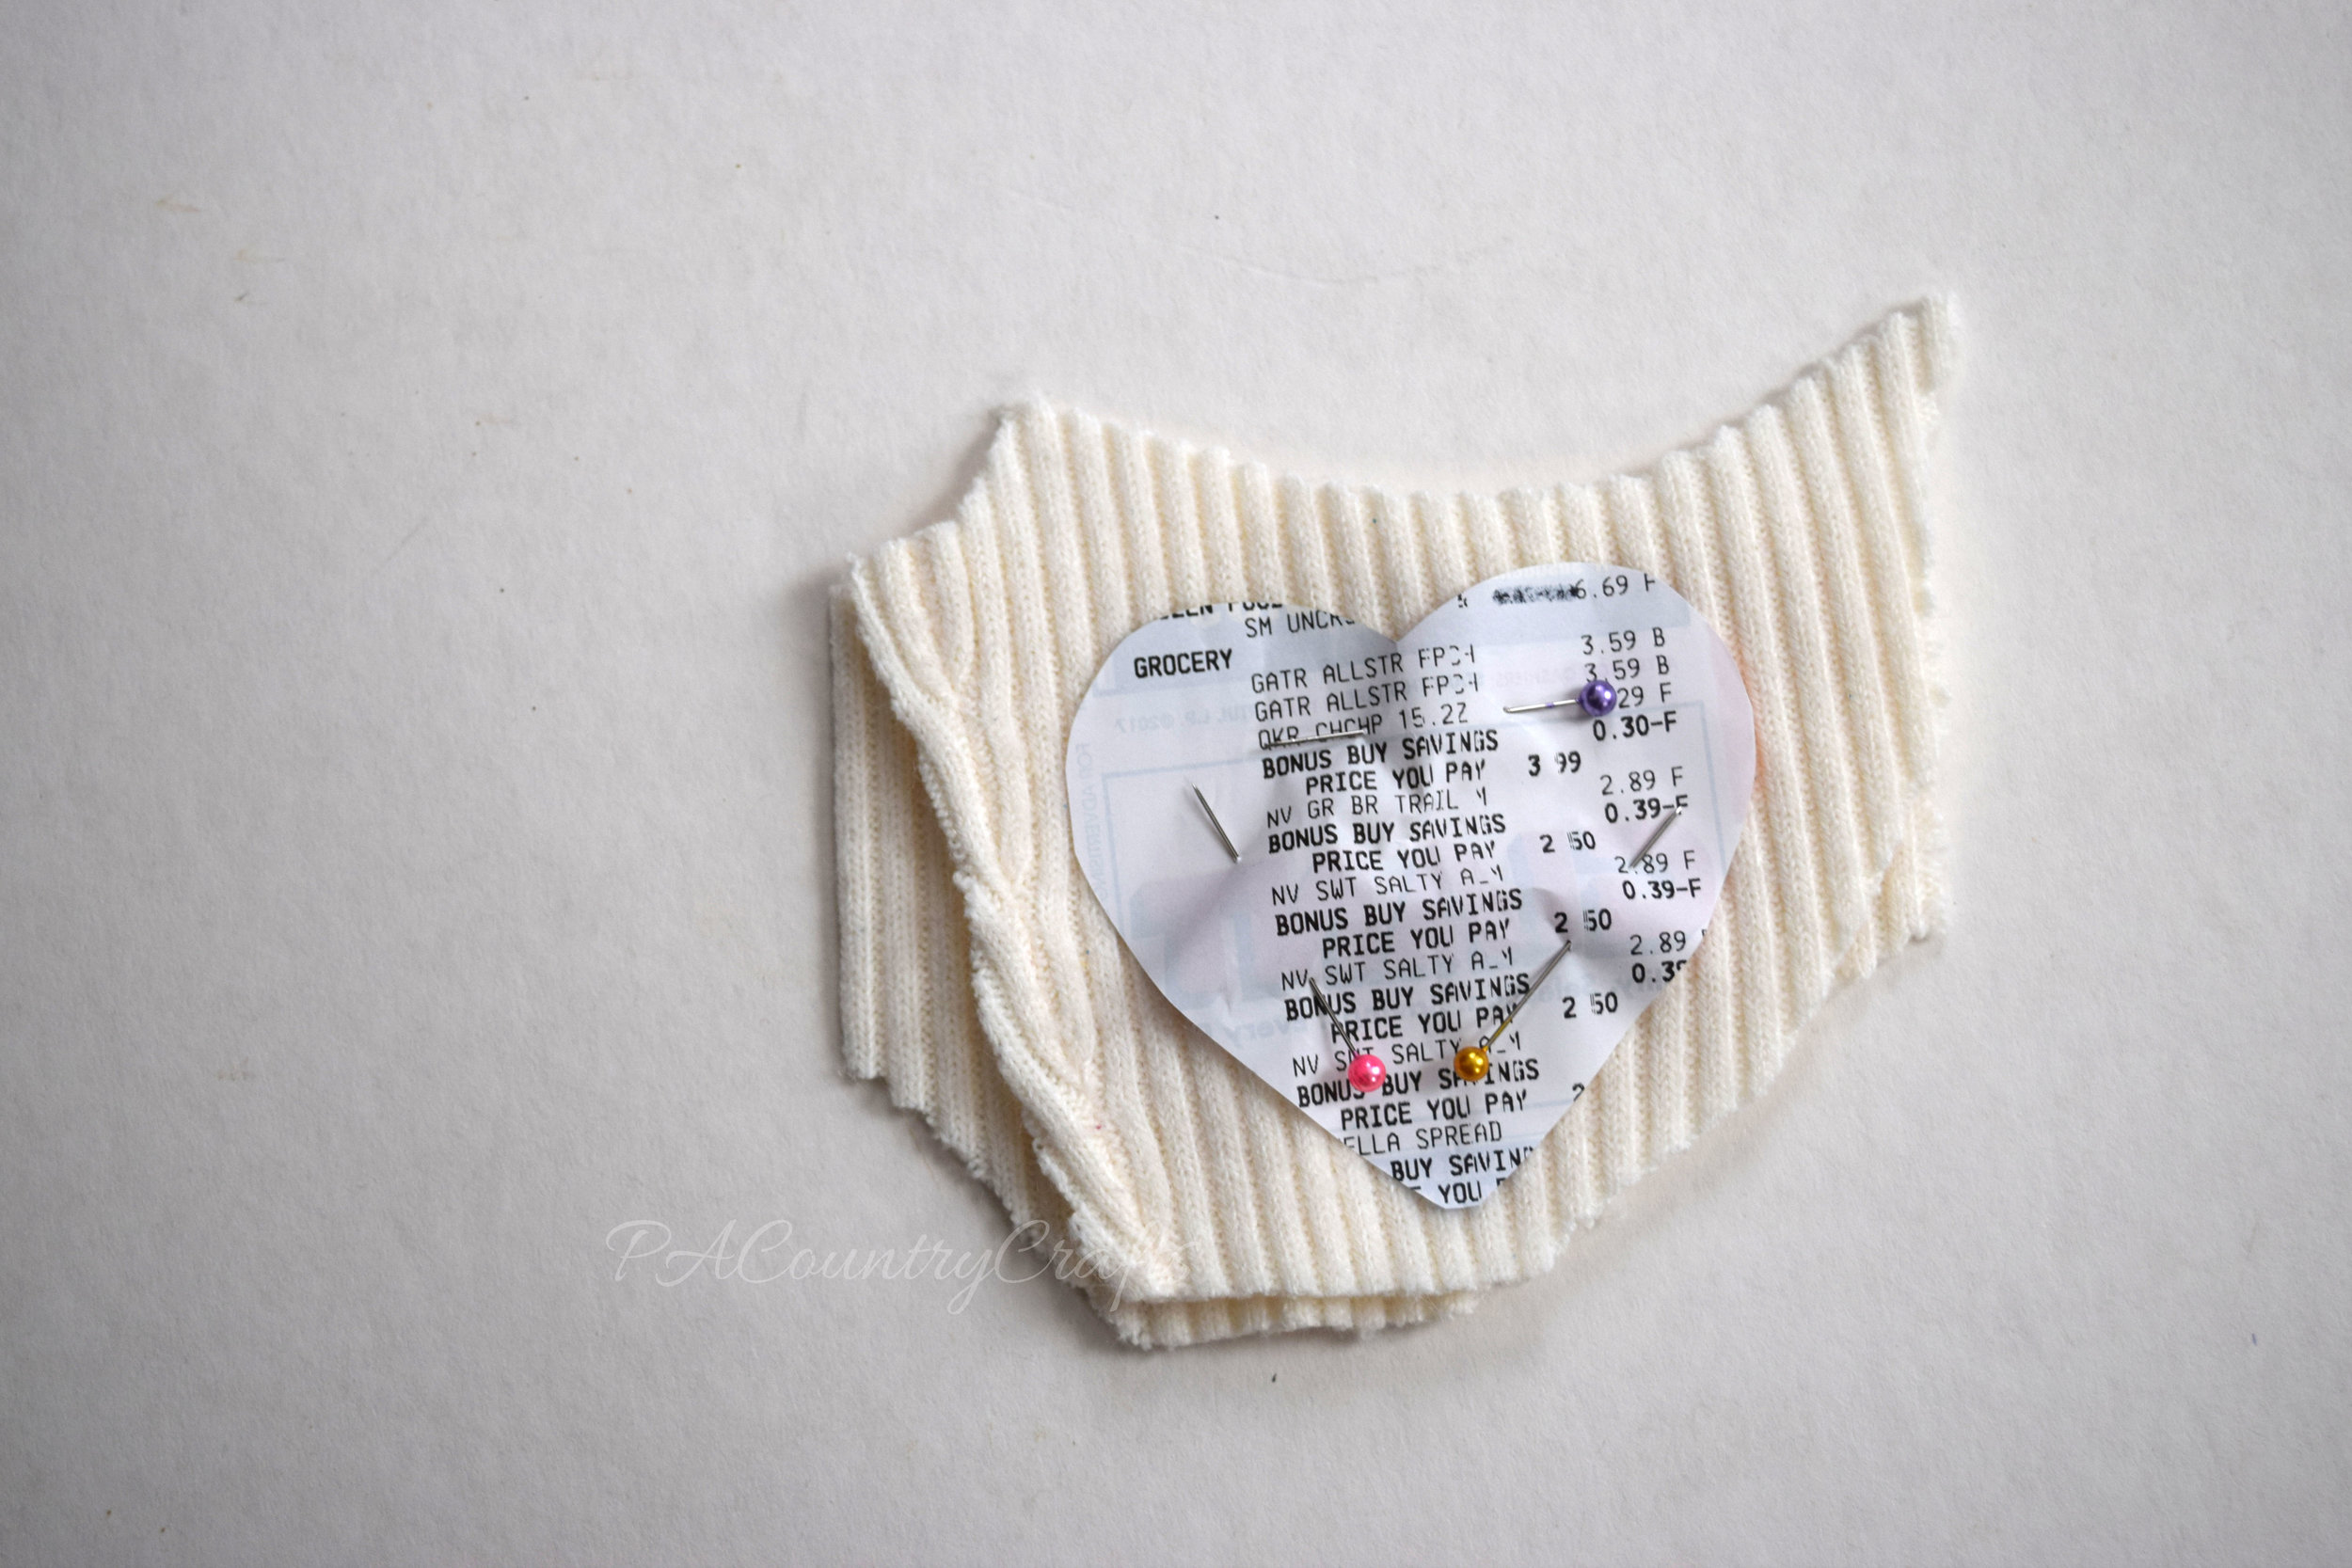
Start on the straight side of one heart just before it starts to curve. Backstitch, then sew all around the template, leaving a small opening on the straight side. I used a receipt because if I caught the edge of the paper it didn't matter- it tears away easily.

Take our your pins and remove the template.

Fill the hand warmer with rice. (A funnel is really helpful!) I mixed mine with some lavender essential oil.

Sew the opening closed. It is a straight line, so it is pretty easy!


Use pinking shears to trim all the way around the heart.

Easy, right?

But there is another way to do it that I found to be even easier...
Draw a template on a piece of tissue paper.

Pin the template to your sweater pieces- I just folded the bottom of the sleeve in half, keeping the right sides out.

Now, here is the even easier step... sew right on top of the tissue paper, following the lines you drew on the template. Again, start on the straight side right before the heart starts to curve and leave an opening at the end, stopping a half inch or so after the point at the bottom of the heart.

See? The tissue paper just tears right off!

Now, the only downside that I found was that the pencil from the template made my threads darker. So, if this bothers you, don't say that I didn't warn you. I put it in bold AND italics. Maybe a Frixion pen would work and iron out? If you try it, let me know! I can't find mine.


If you want to pin it for later…

Here are some more ideas you might like…

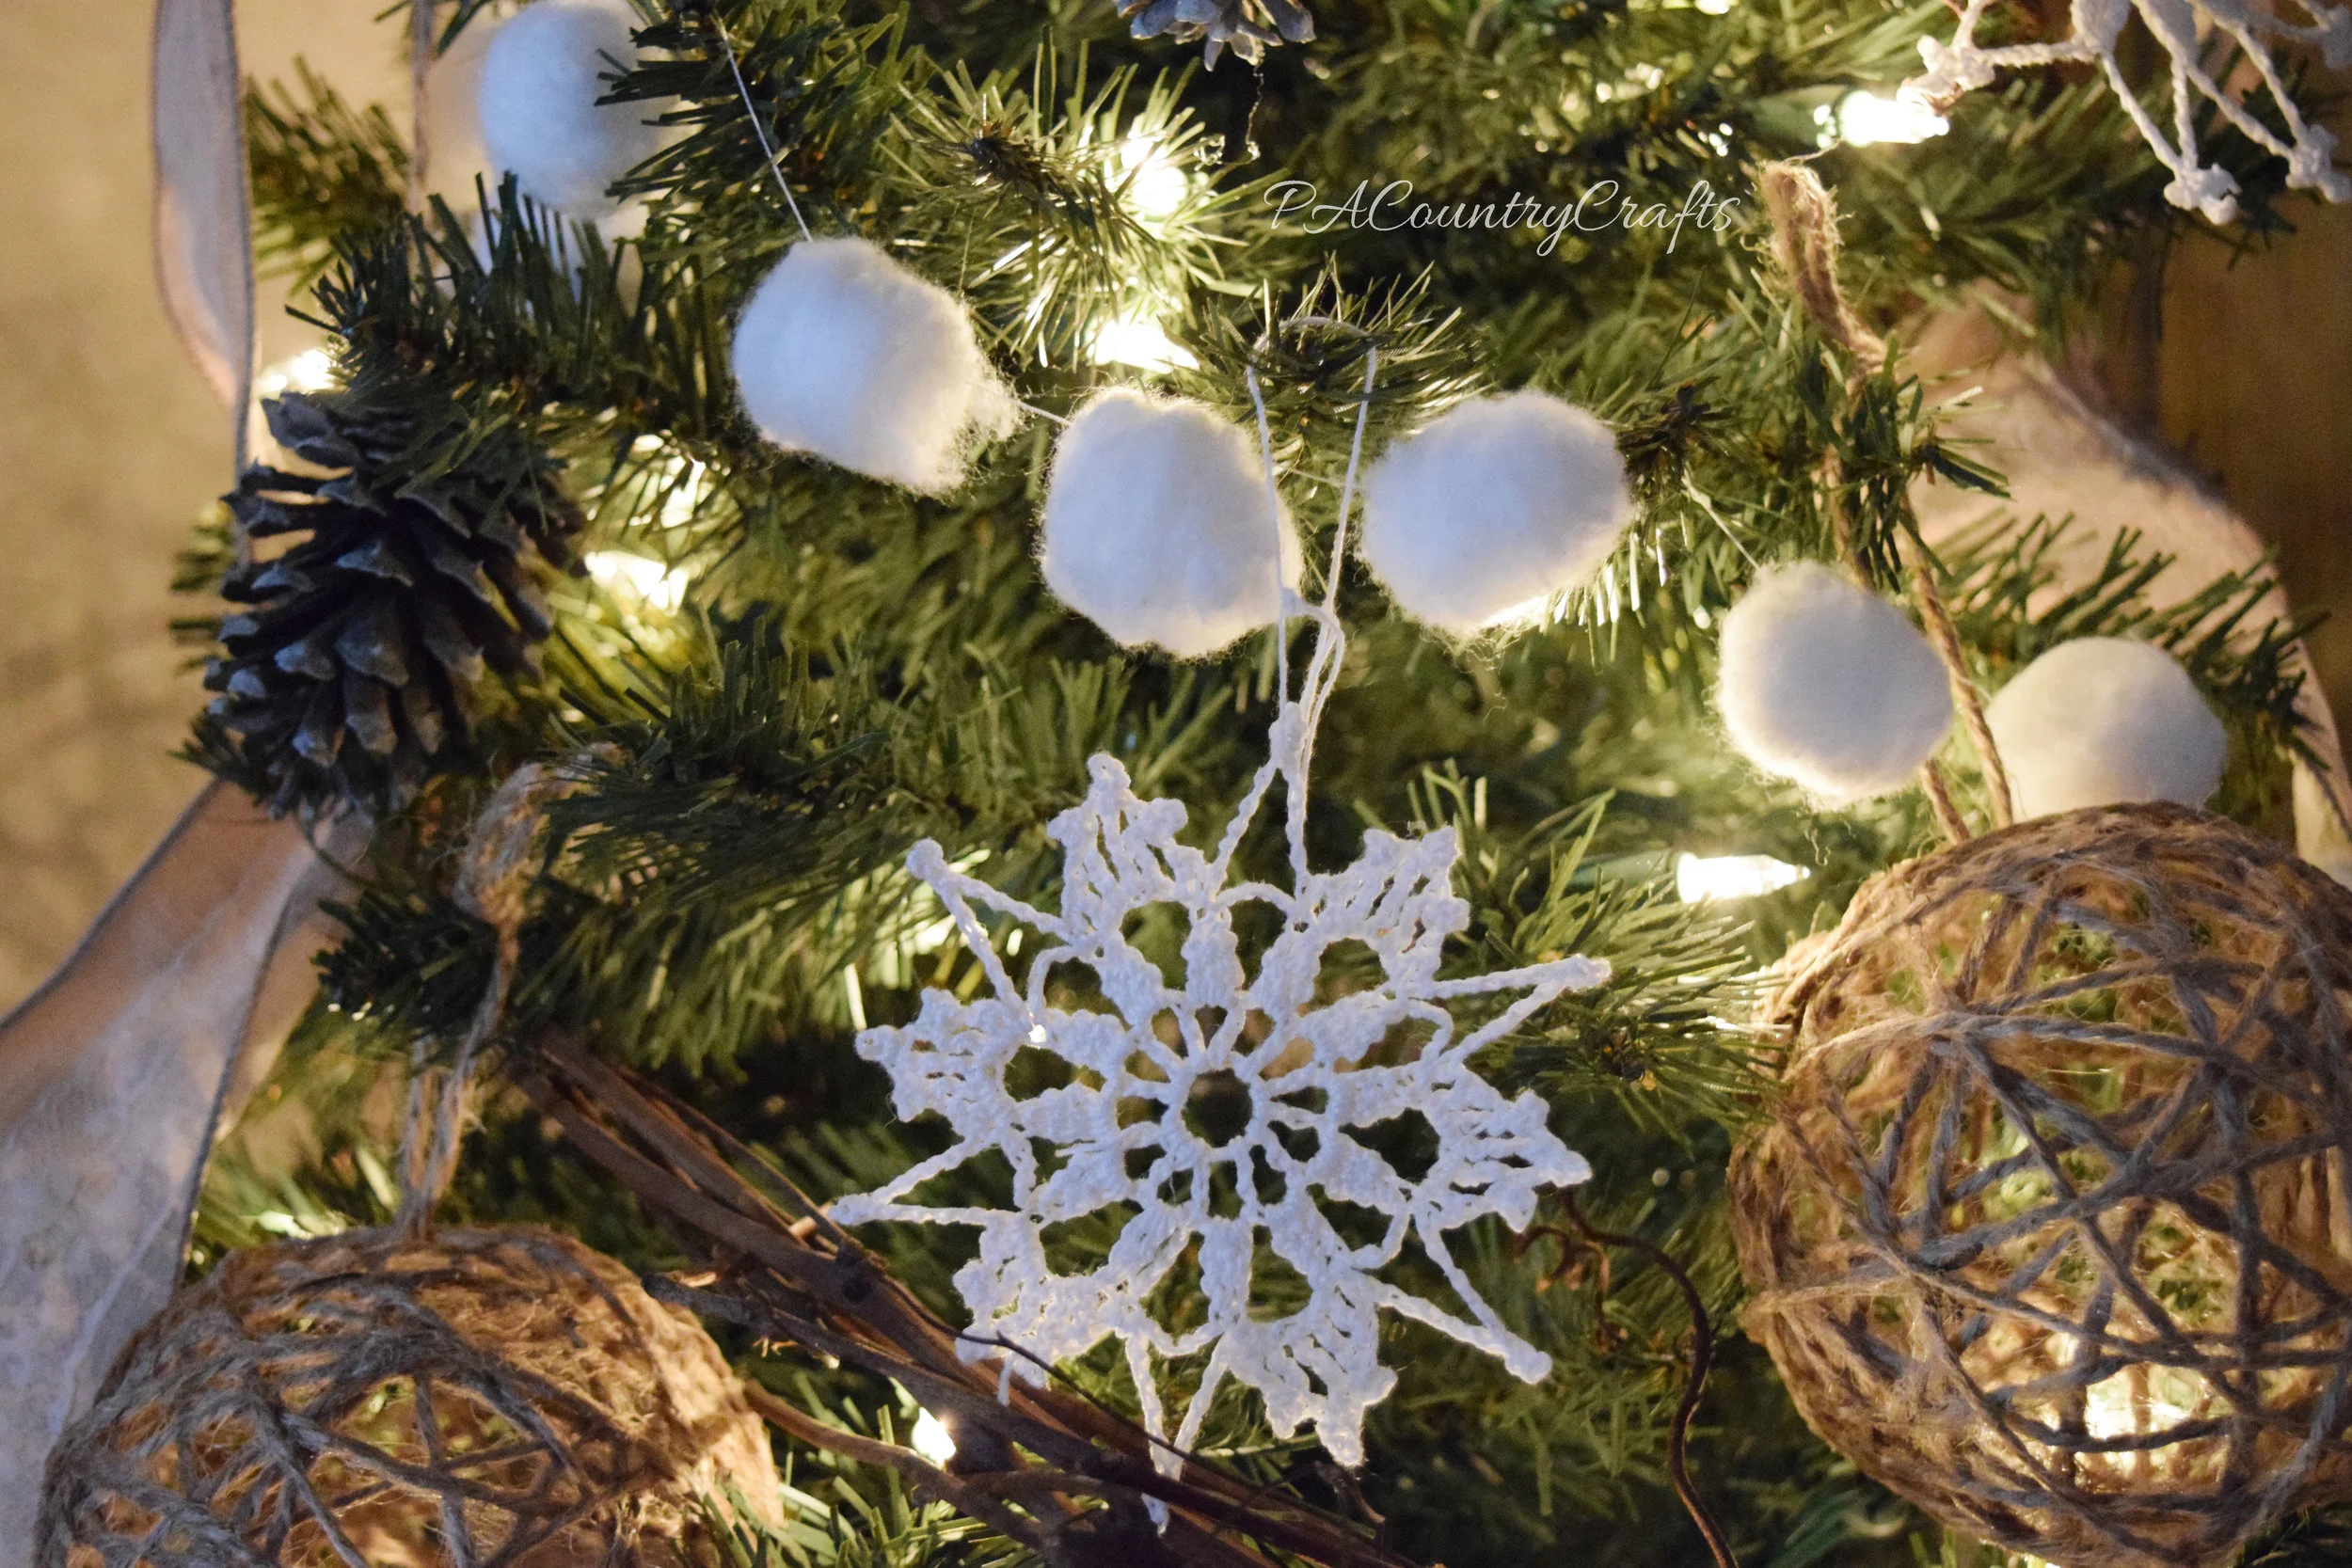
Decorate a tree with rustic, winter decor to leave up all winter! Crochet snowflakes, cotton ball and grapevine garlands, pine cones, and twine balls make a simple, natural theme.
Read MoreI procrastinate. Especially with my craft projects.
If it doesn't have a deadline, who knows when it will be finished? I started crocheting snowflakes a really long time ago. It was at least 10 years, but some of them could be older.

I don't know what is wrong with me, but all of these unfinished projects make me feel like a failure. That is not at all what crafting is supposed to be like. I don't need any guilt or stress added to my life over something so silly.
Someone challenged me to think of a focus for my life for the year 2017. I have never really tried that sort of thing, but I think my goal for this year is best summed up by this: I want to get my act together! I got a planner (LOVE IT!!!) and I want to be more organized. I want to keep my home managably clean and clutter free. I want to finish projects I have started. I want to do all of this so that I can bless my family and bring more peace to my home. (Now, there wasn't a lot of peace in my Momma-flip-out-moment over intentionally-made messes yesterday, but that is another story).
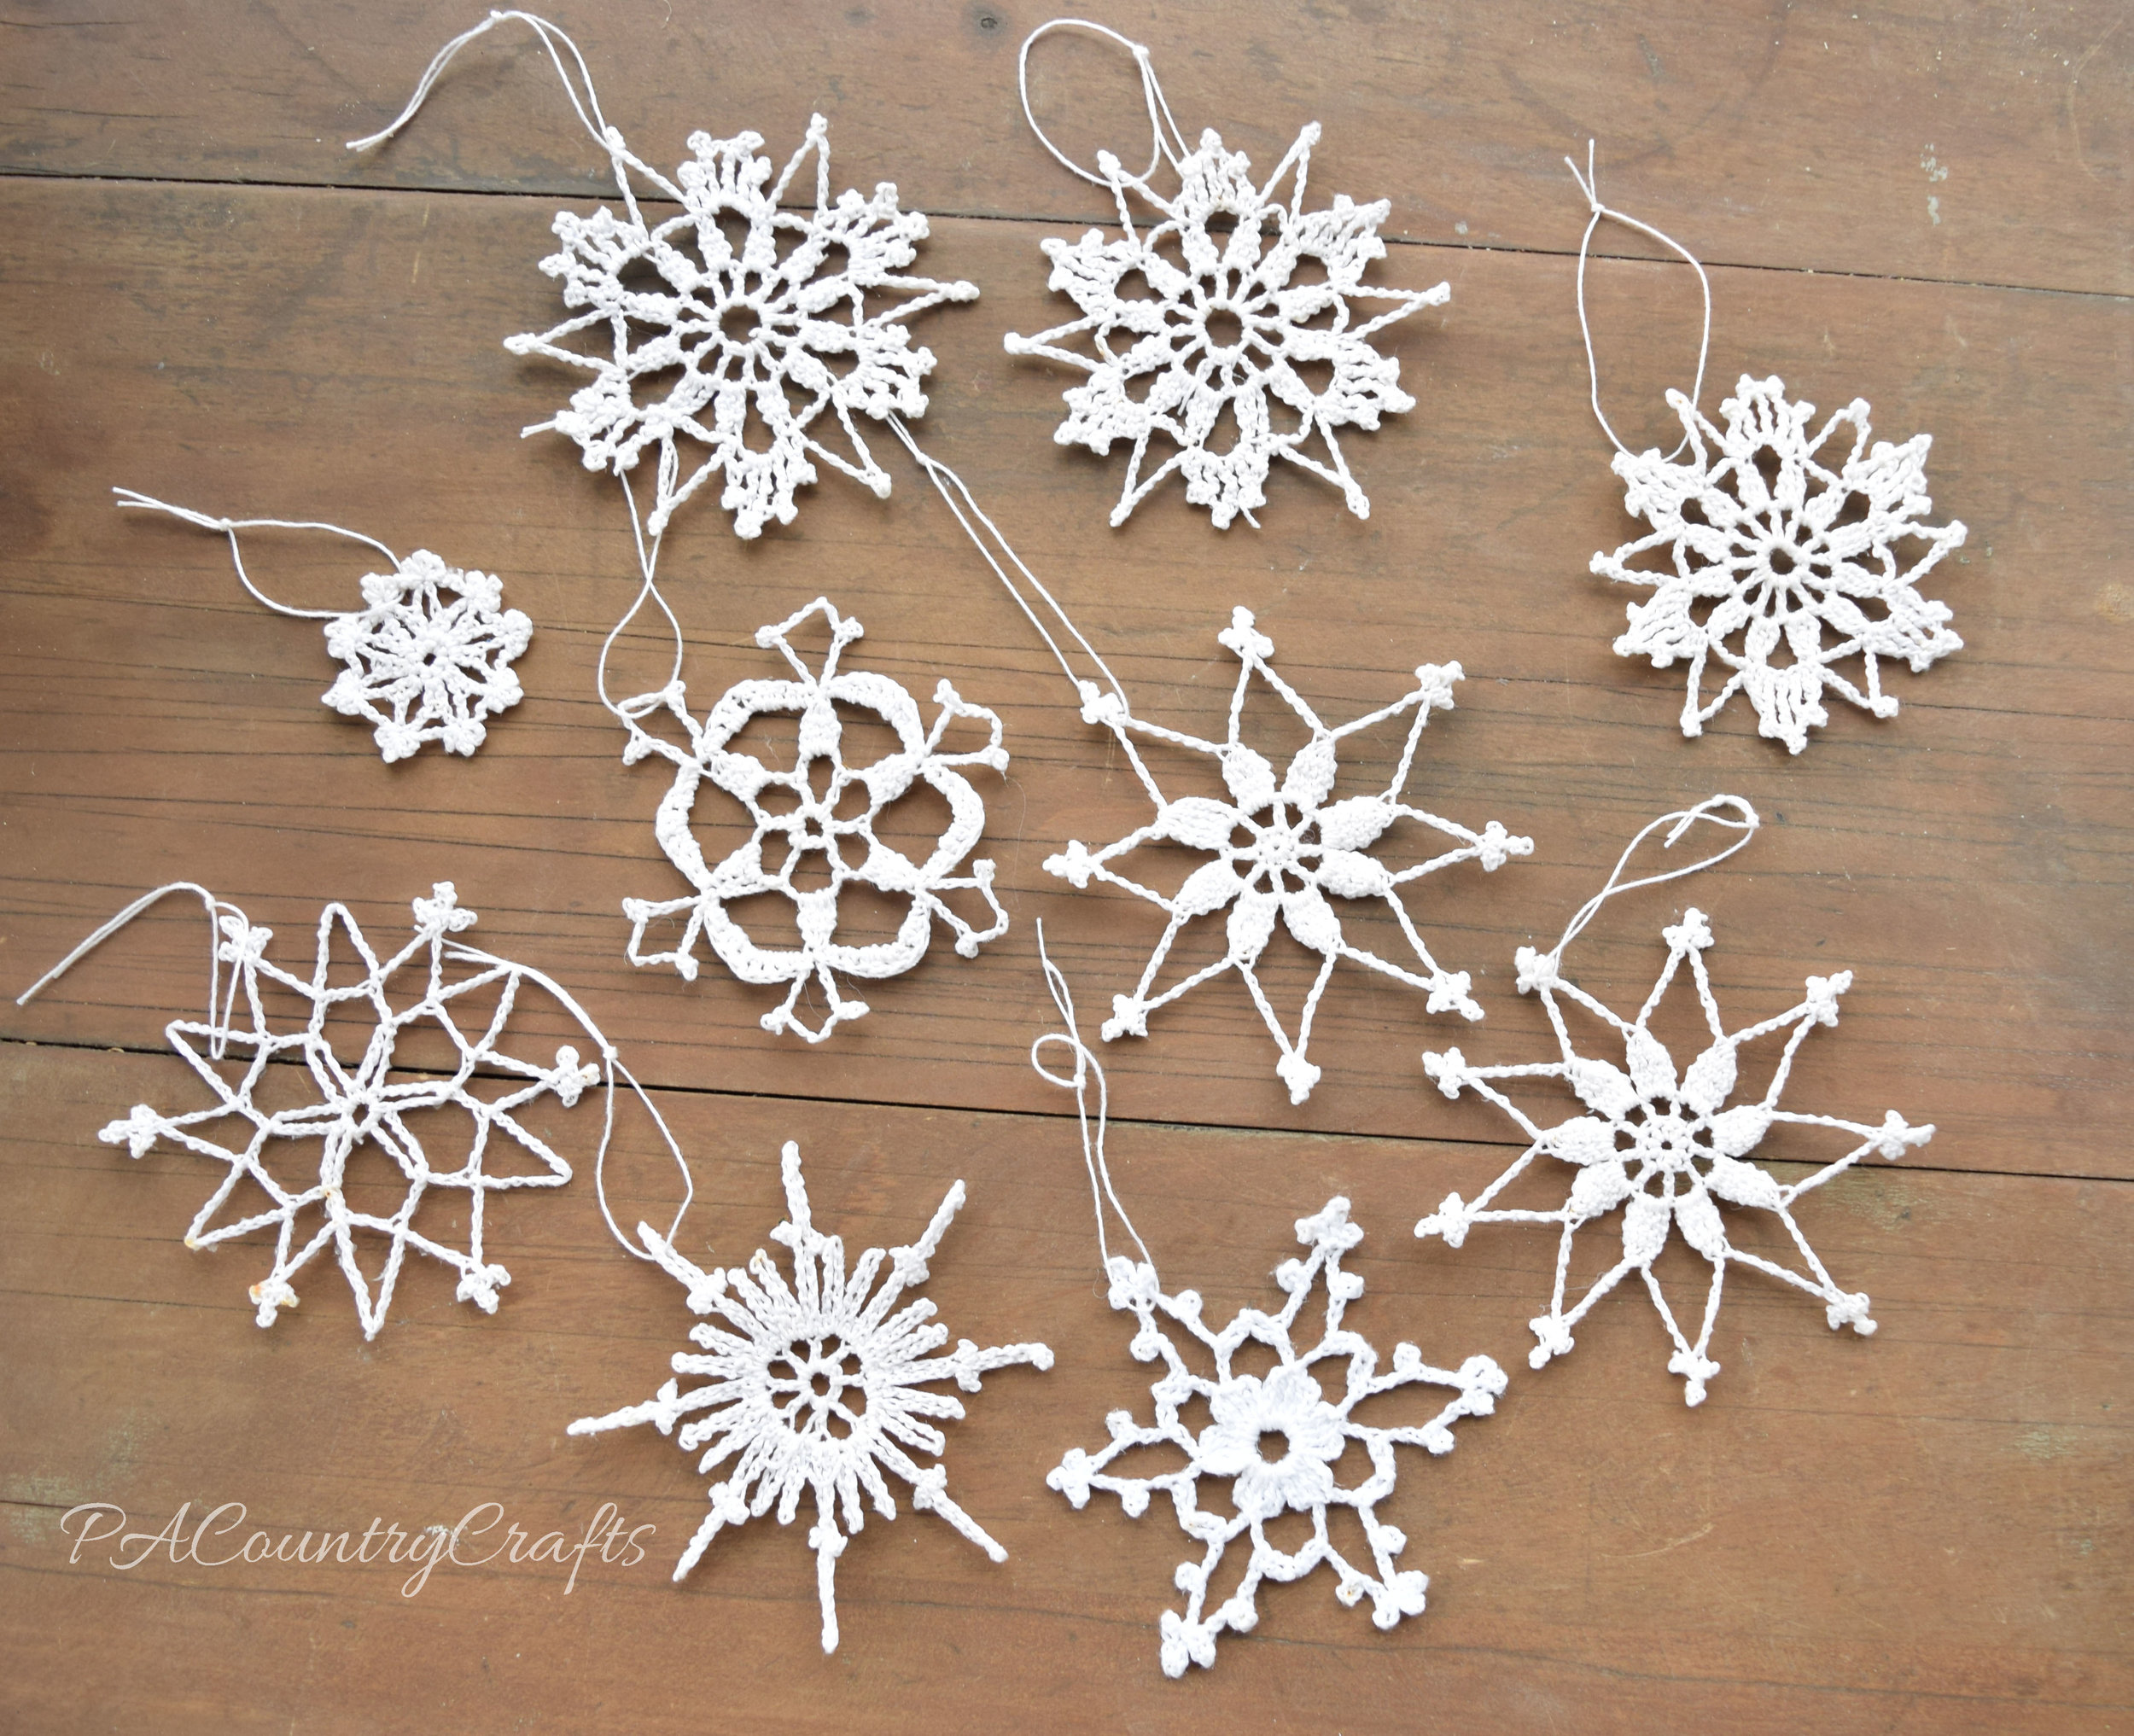
So, these may just look like little crocheted snowflakes, but they mean more than that to me. I mean, I like them, but it is more about the tiny sense of accomplishment.


I don't have patterns for these. Most of them came from a very old book that my mom gave me that was made on a typewriter. A few I might have found online back in the days of dial-up internet. I guess everything about these is old in some way. It is fitting. They look sort of vintage.
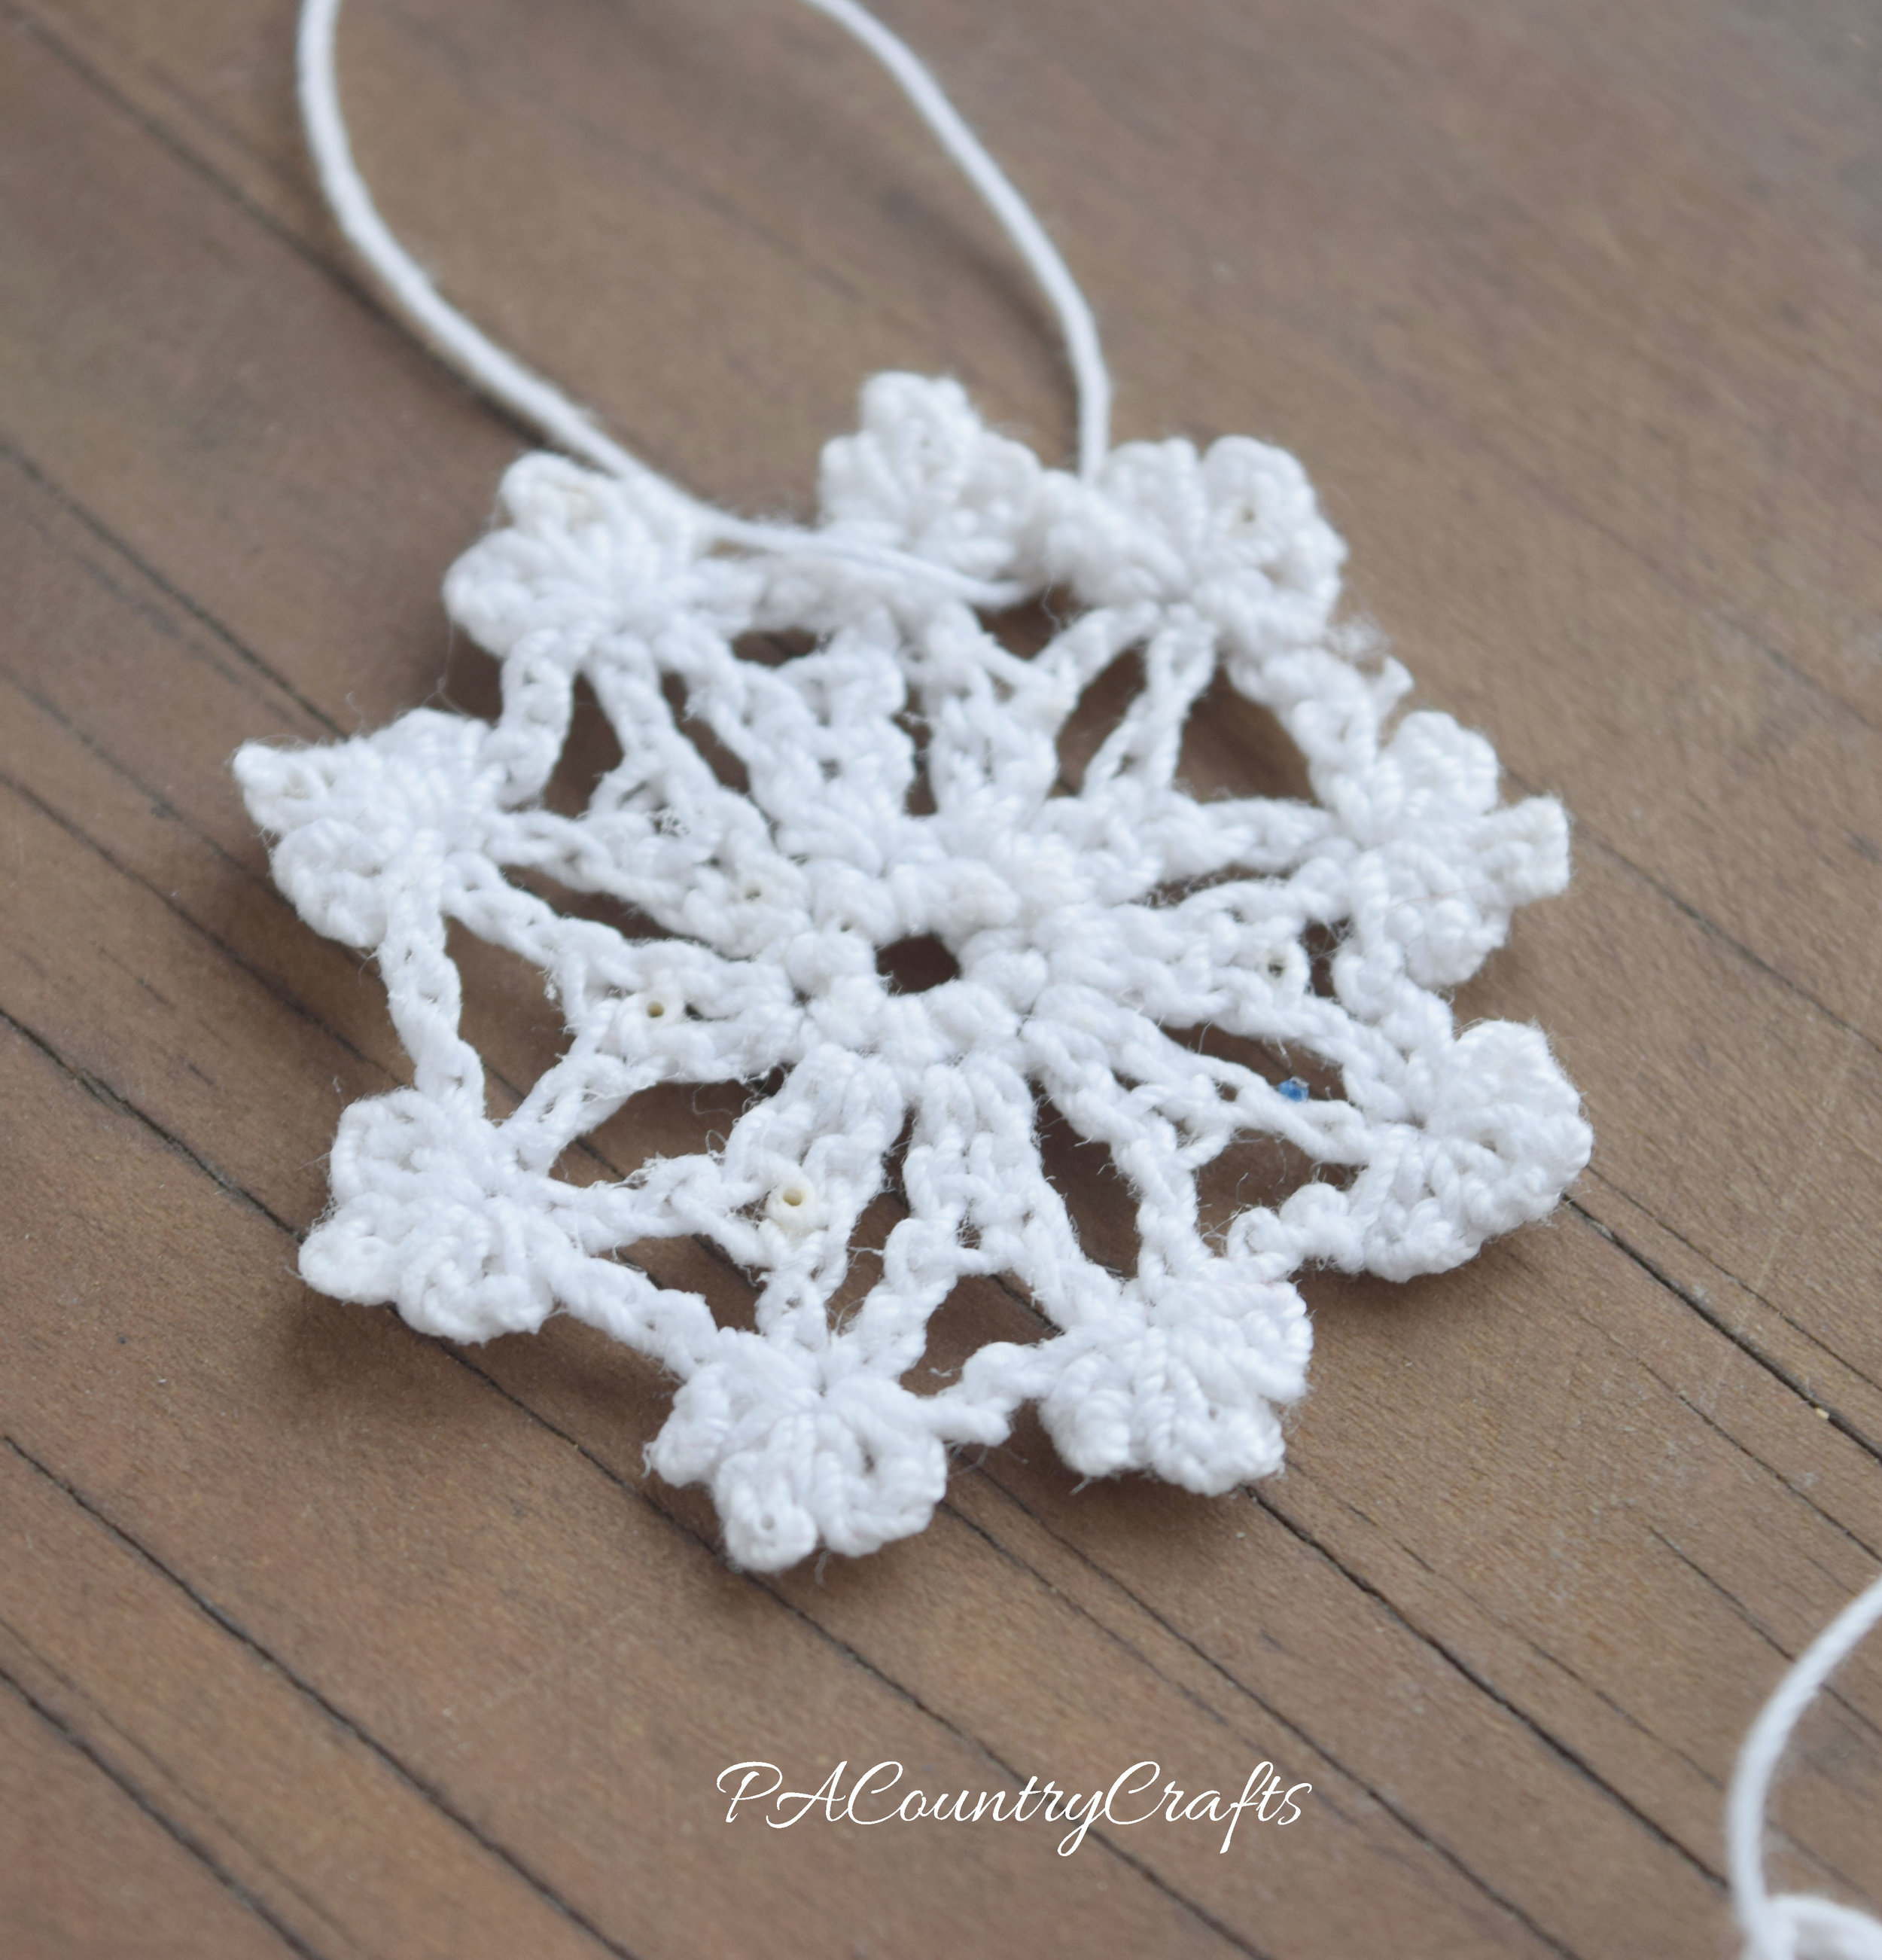
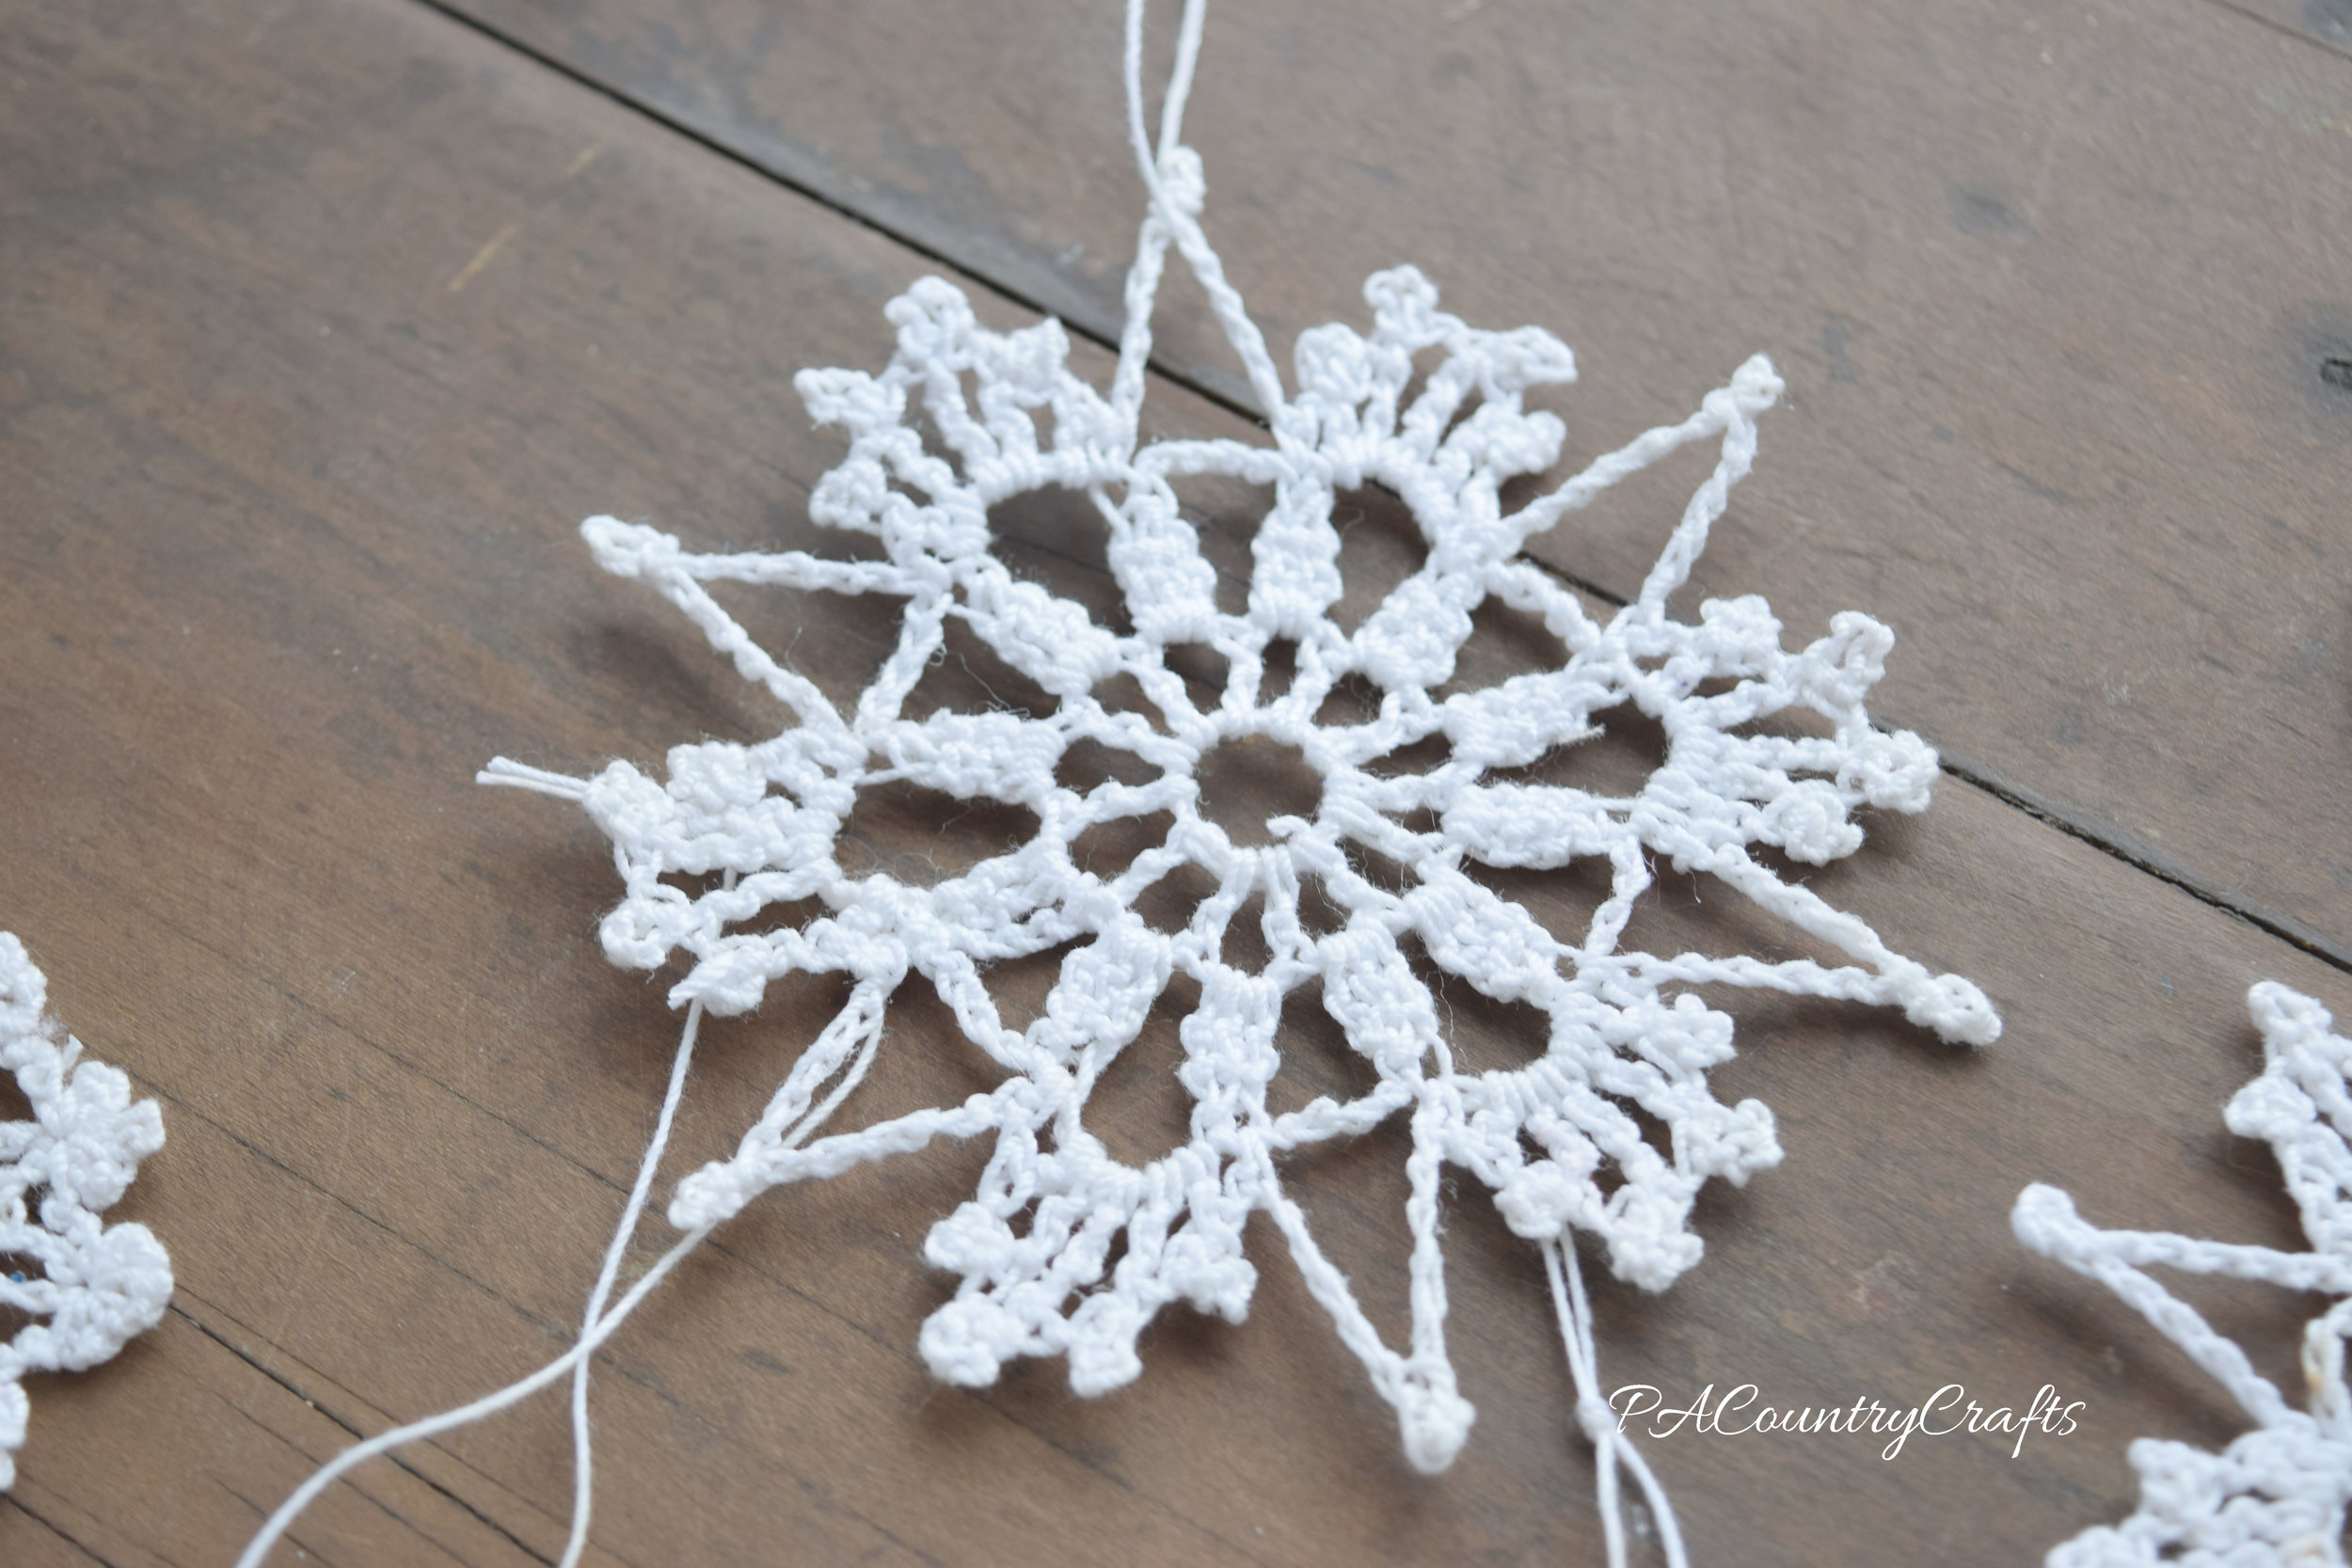
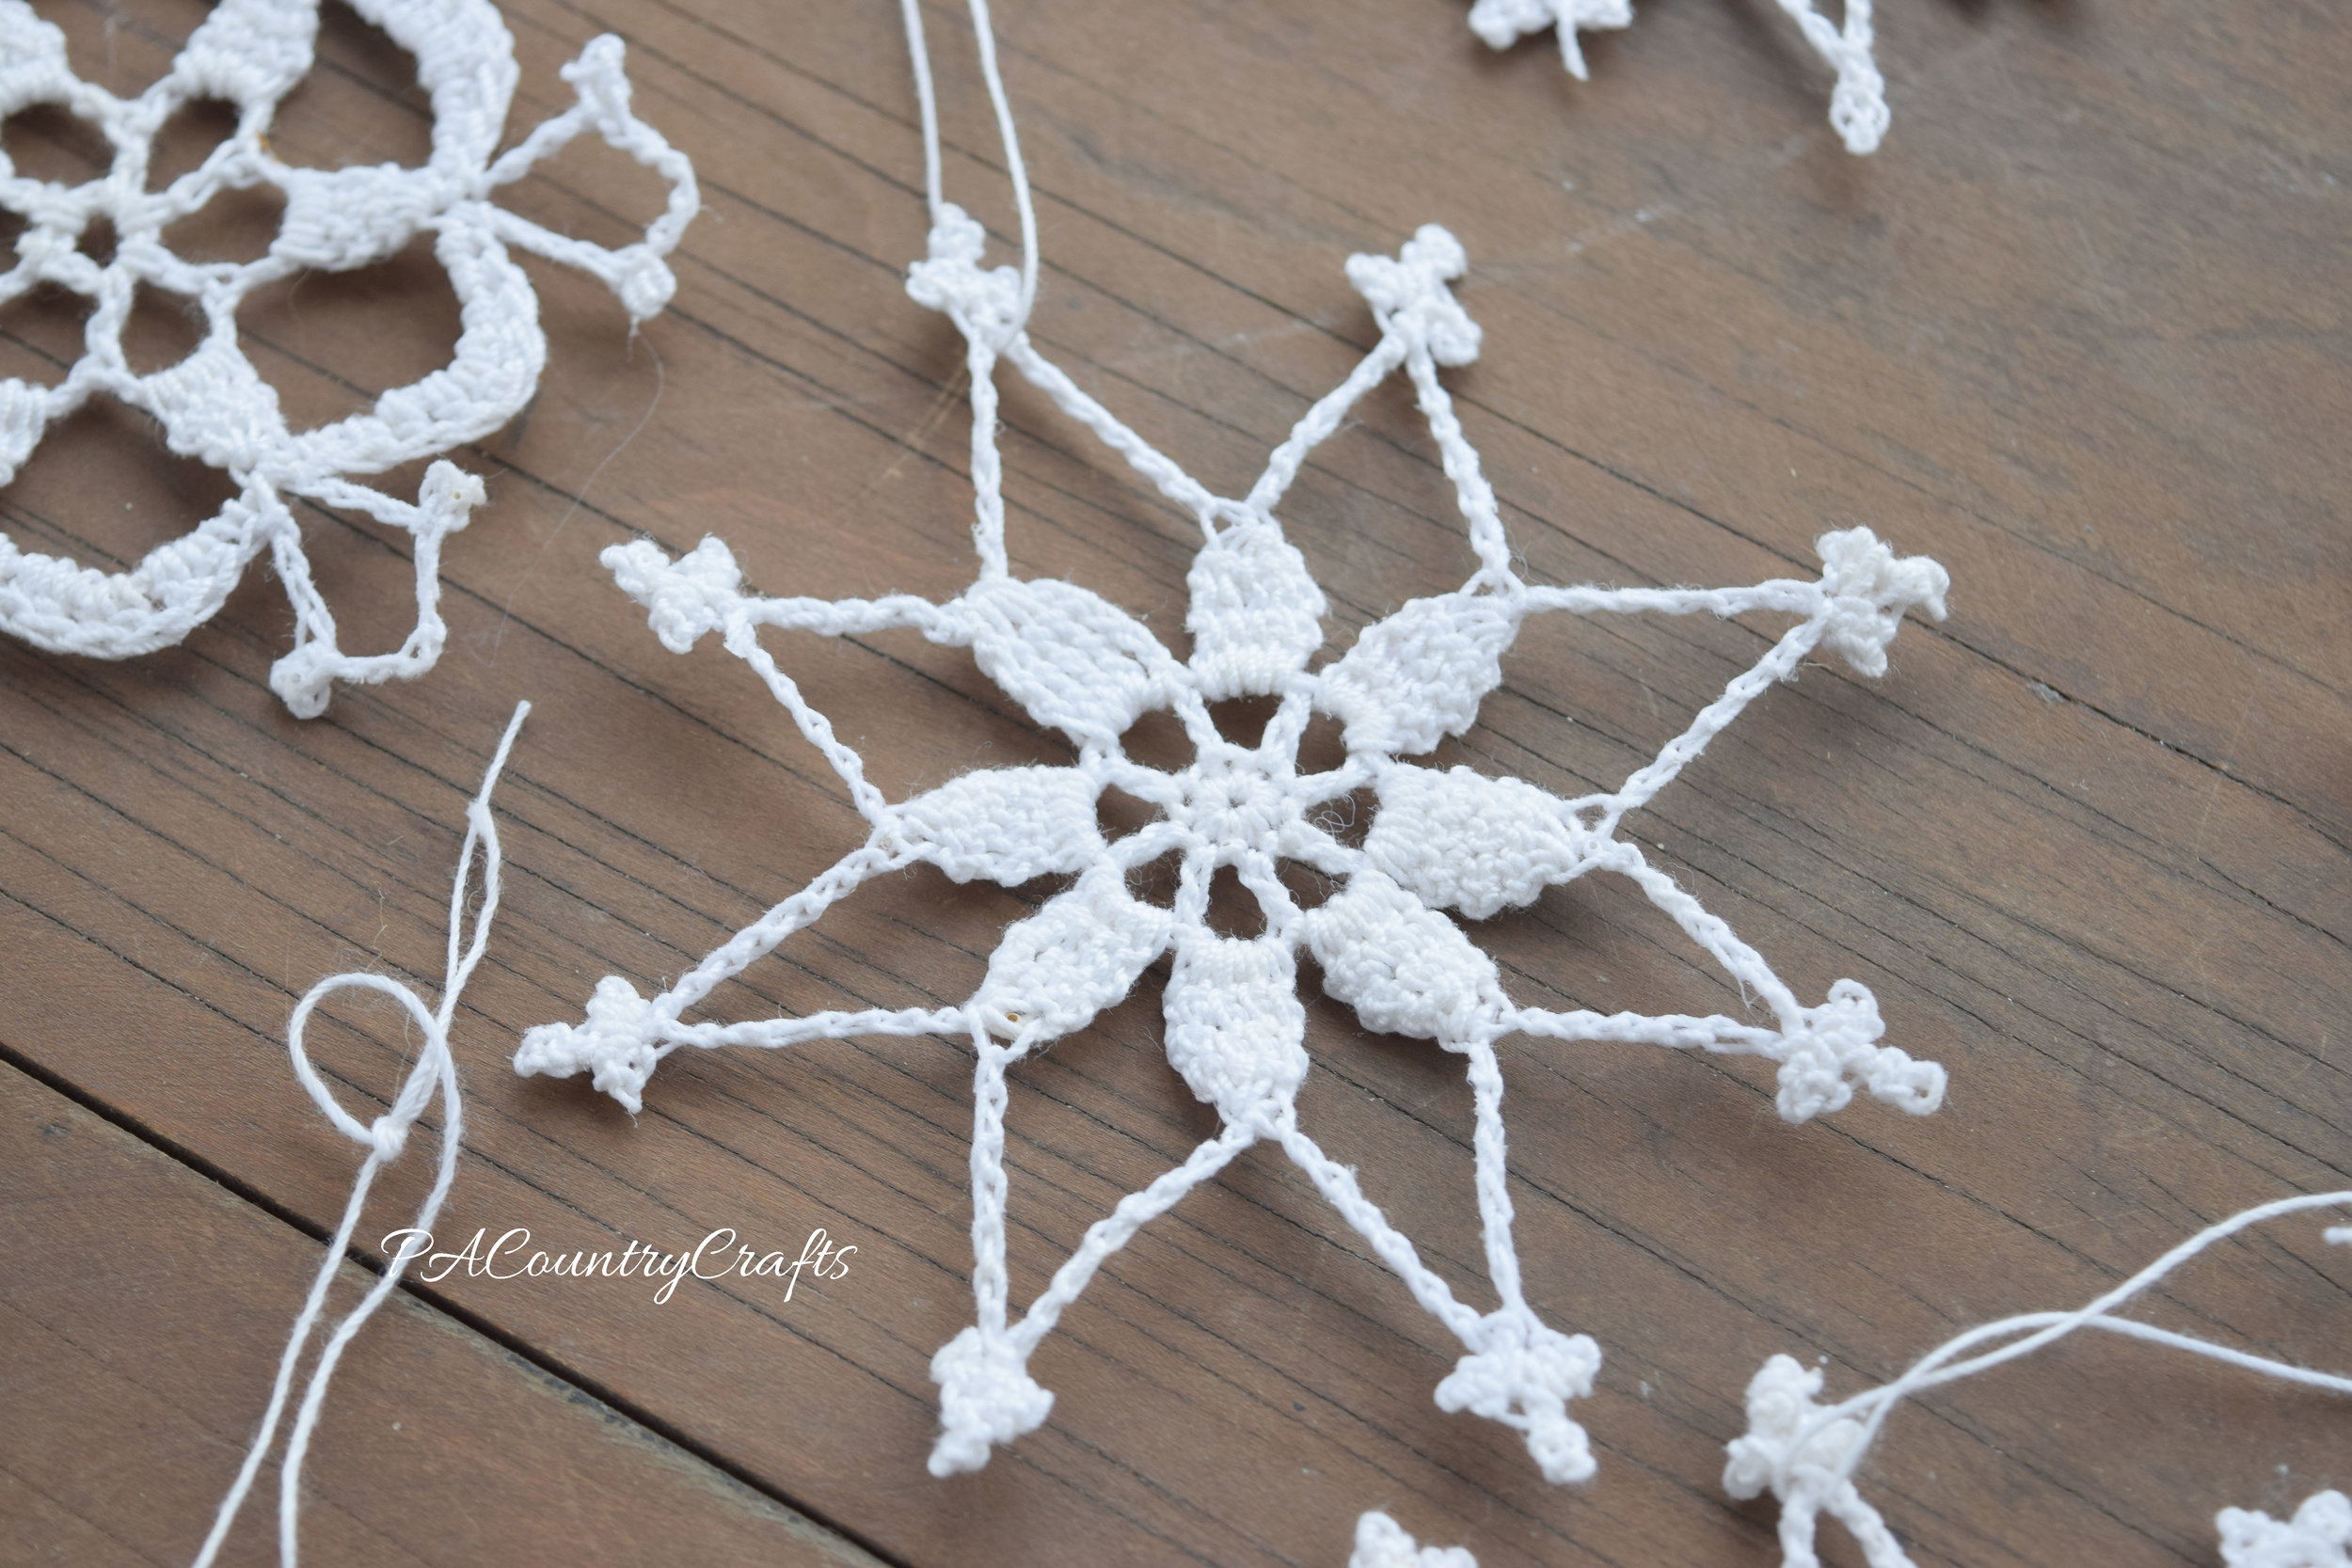
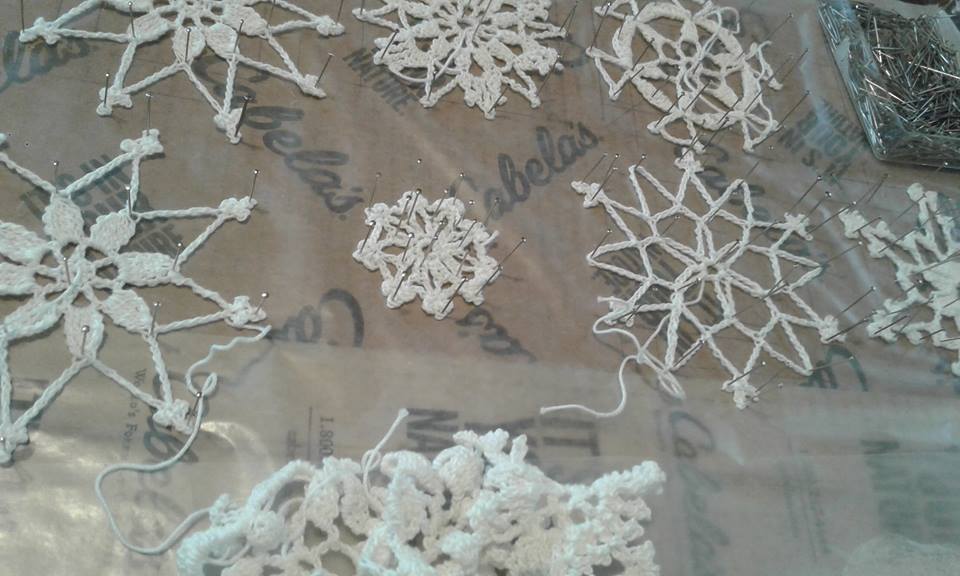
All I had to do to finish them was to block them. I put wax paper on a box and pinned them fast. Then, I watered down glue and painted it on them. (My daughters helped, too.) We took them off when they were dry the next day. It definitely wasn't hard or worth procrastinating for a decade.
I am heading somewhere with all of these little projects from our craft day and you won't want to miss the final result!!! If you missed the last few posts, you can click on the pictures below to see more...


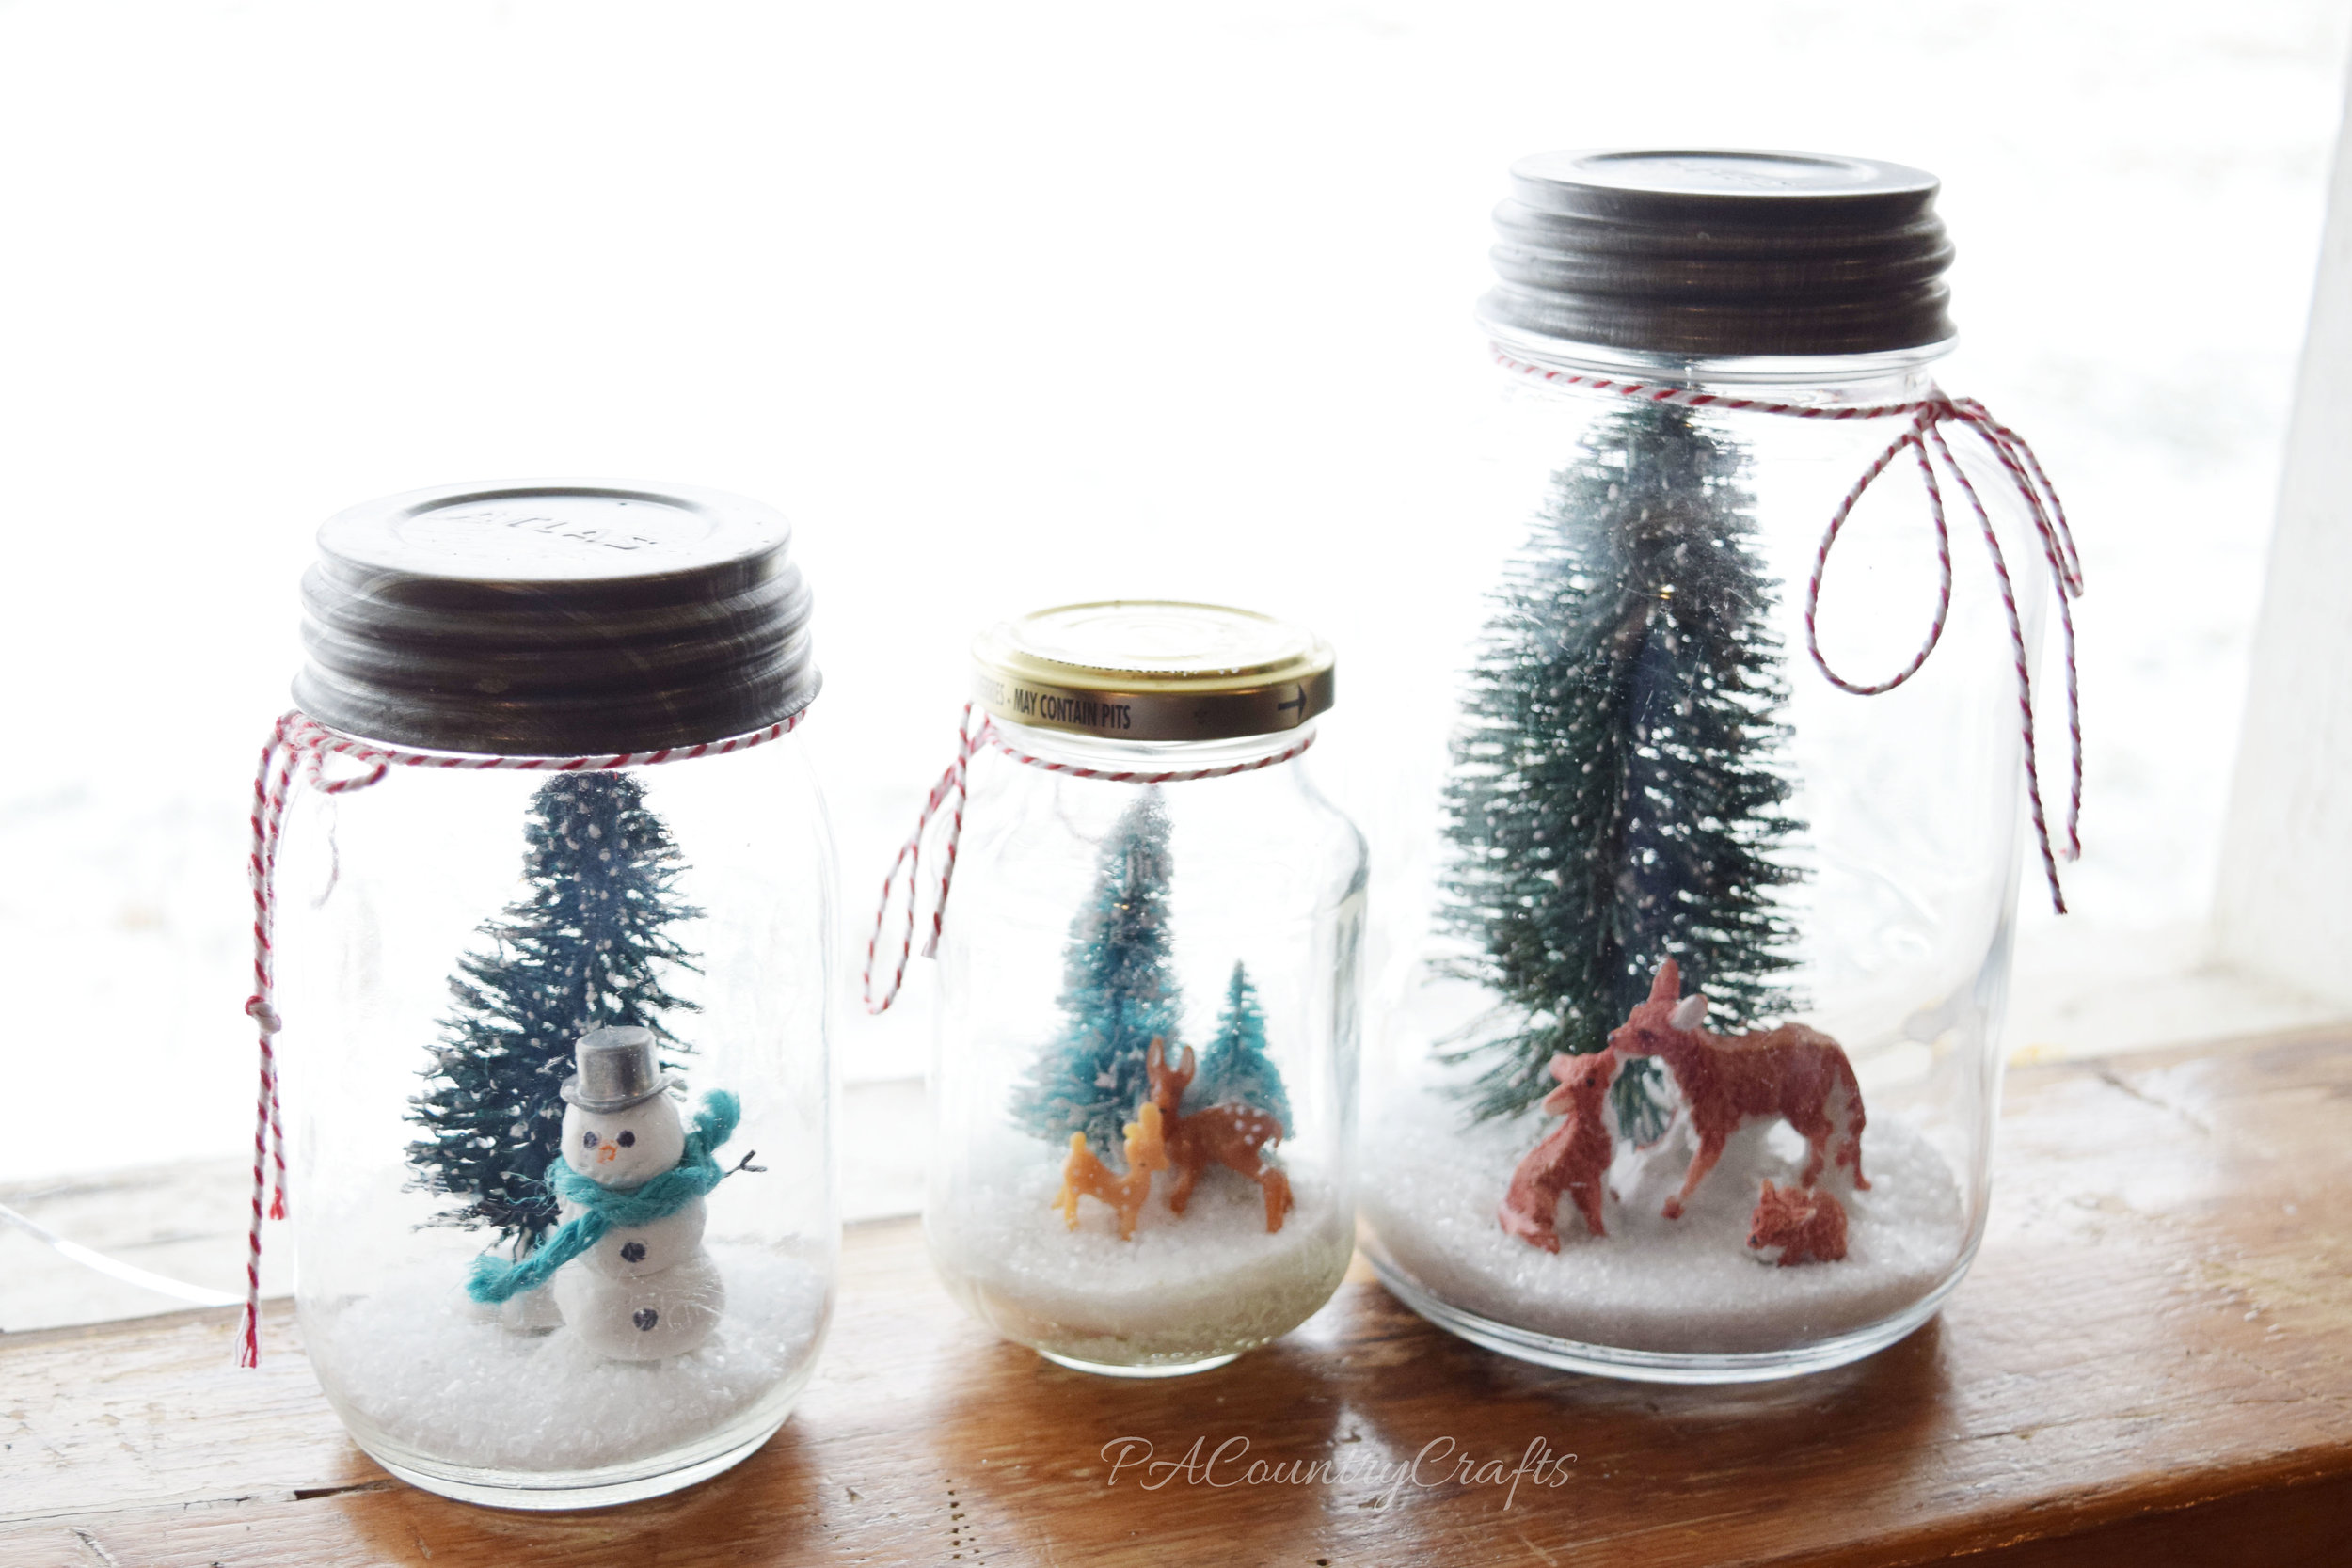
I really didn't think these were going to work! On Martin Luther King, Jr. Day the girls and I had a "craft day" on their day off of school. We occasionally have themed days like this with special projects. (They have requested a baking day next time!) We had a craft day over Christmas break and made mason jar snow scenes, baked pine cones, and painted ornaments. This time, we worked on winter decor for our home.
I had seen twine balls on Pinterest, looked at several different tutorials, and then did my own thing anyway. I am kind of stubborn like that. I wasn't sure that it would work and after I shared it on facebook, several friends told me that theirs failed, so I was not very optimistic.
However, they turned out great!
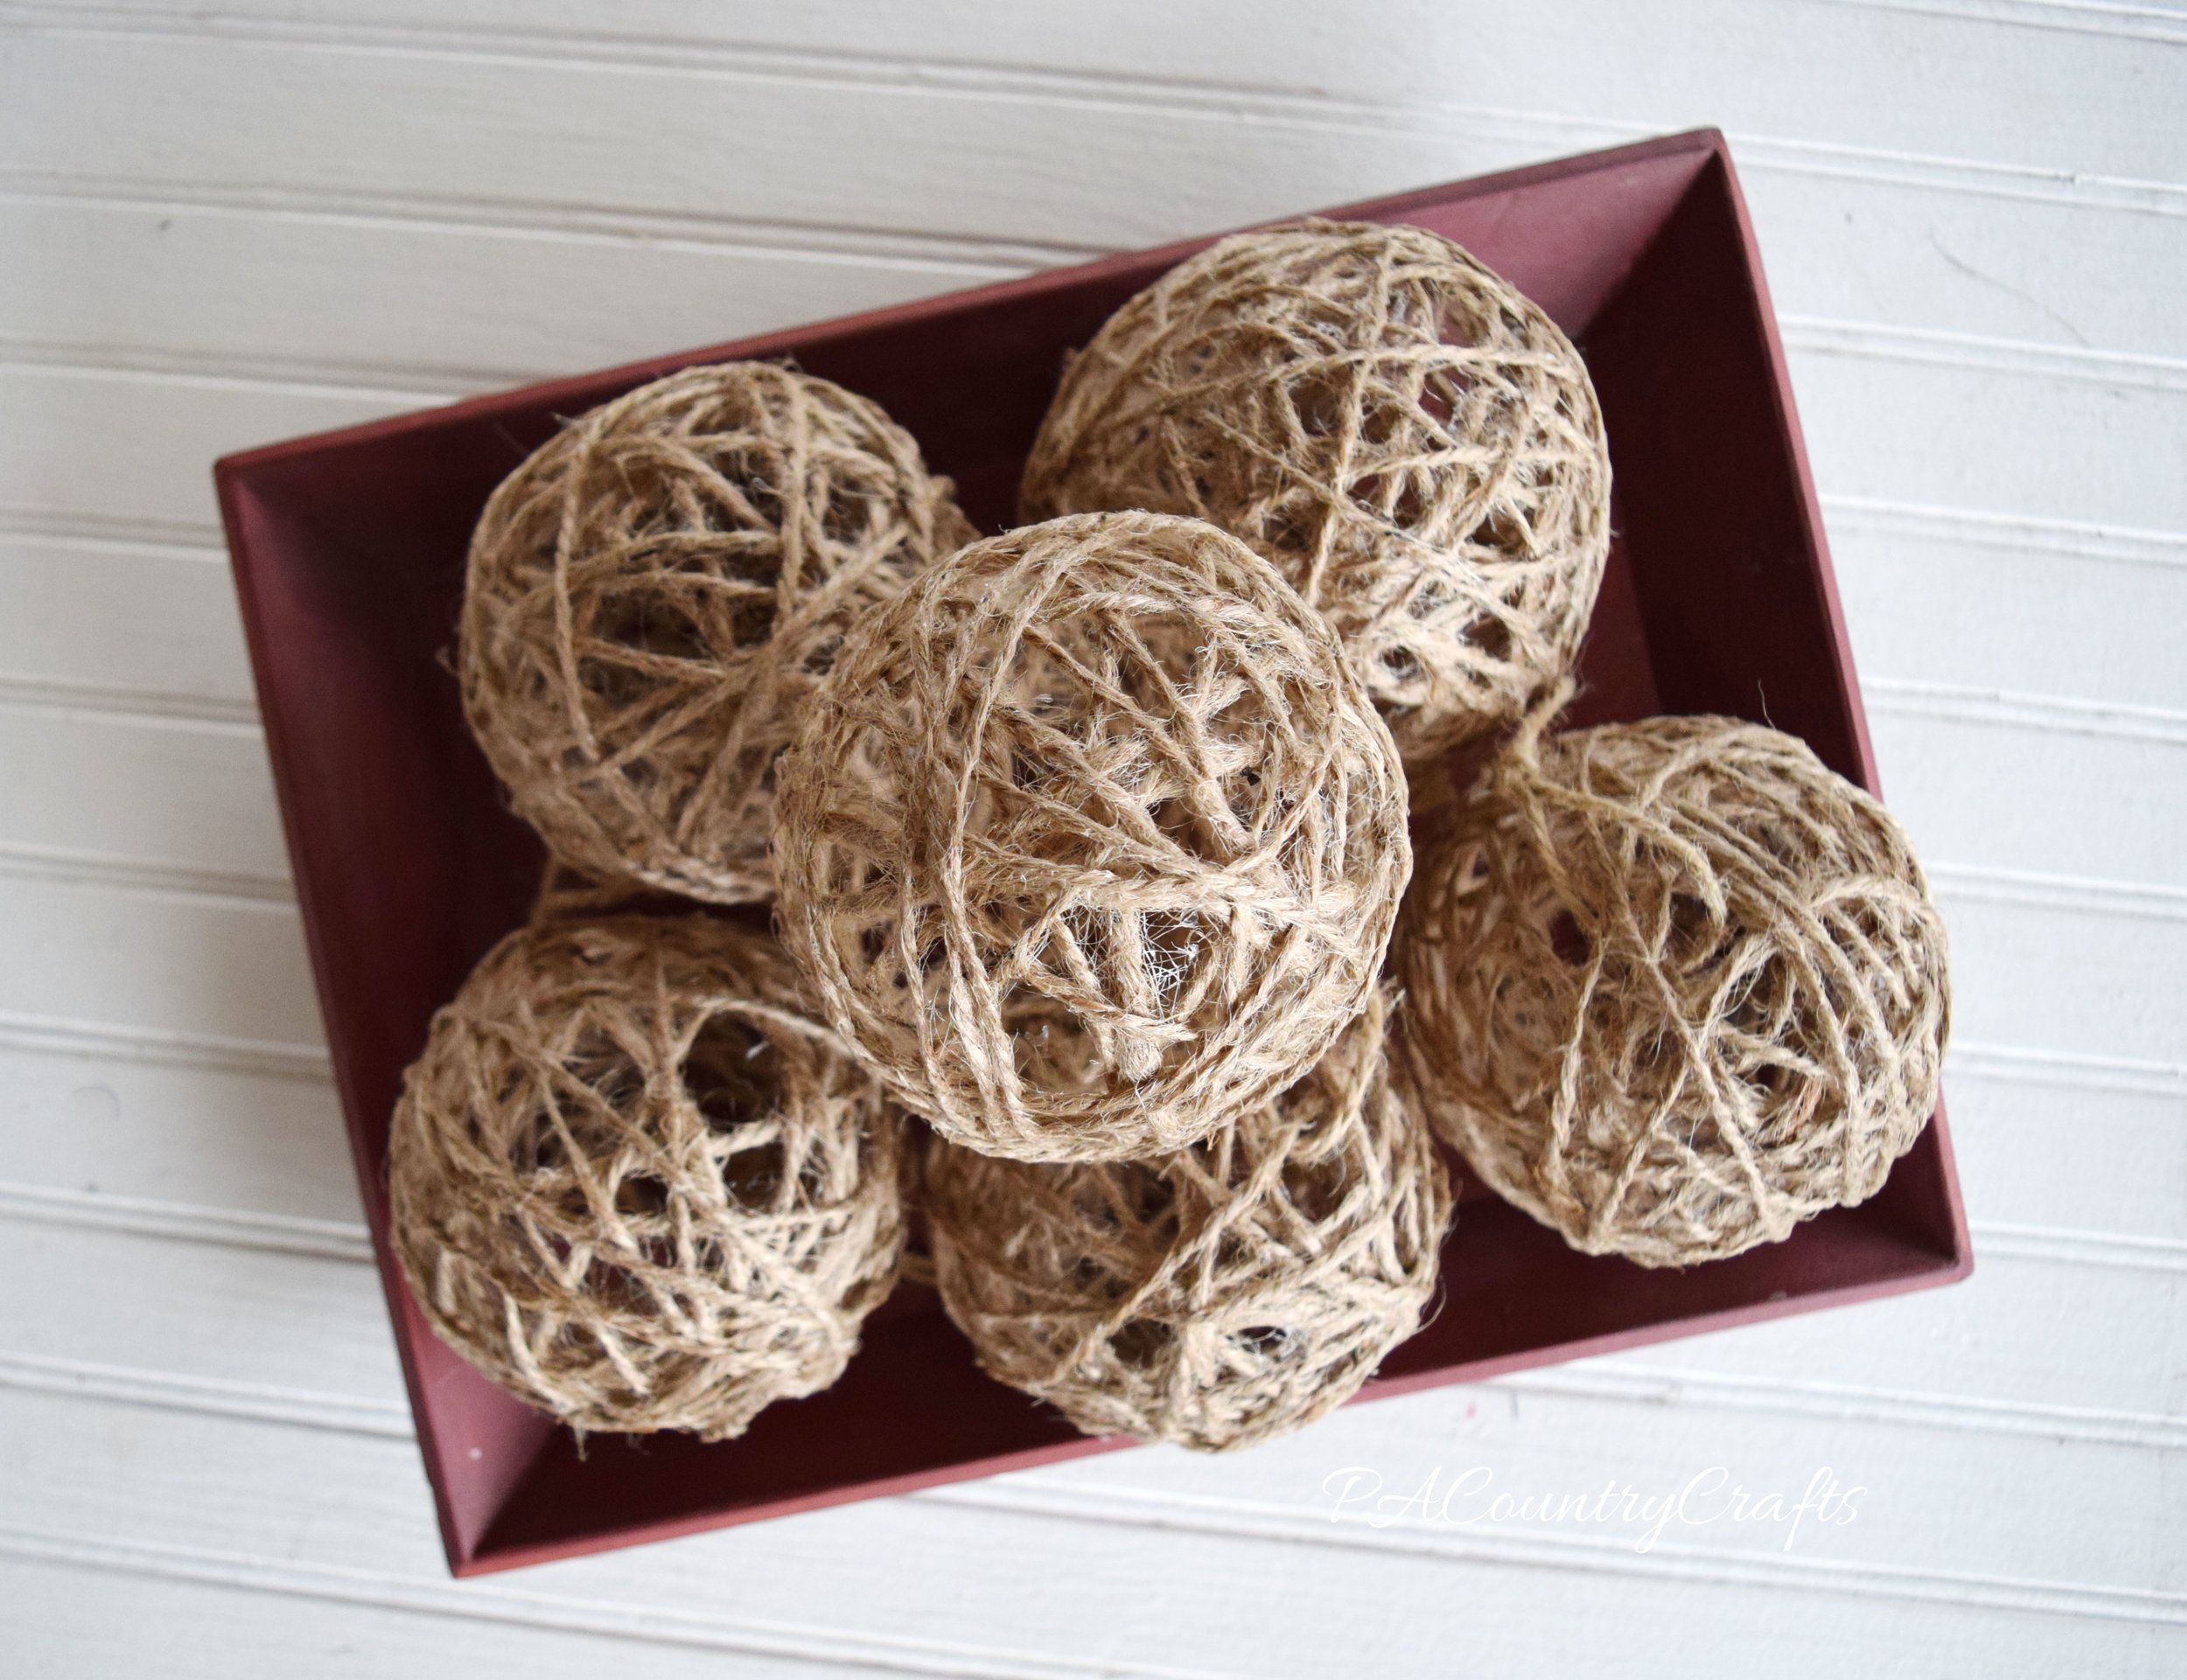


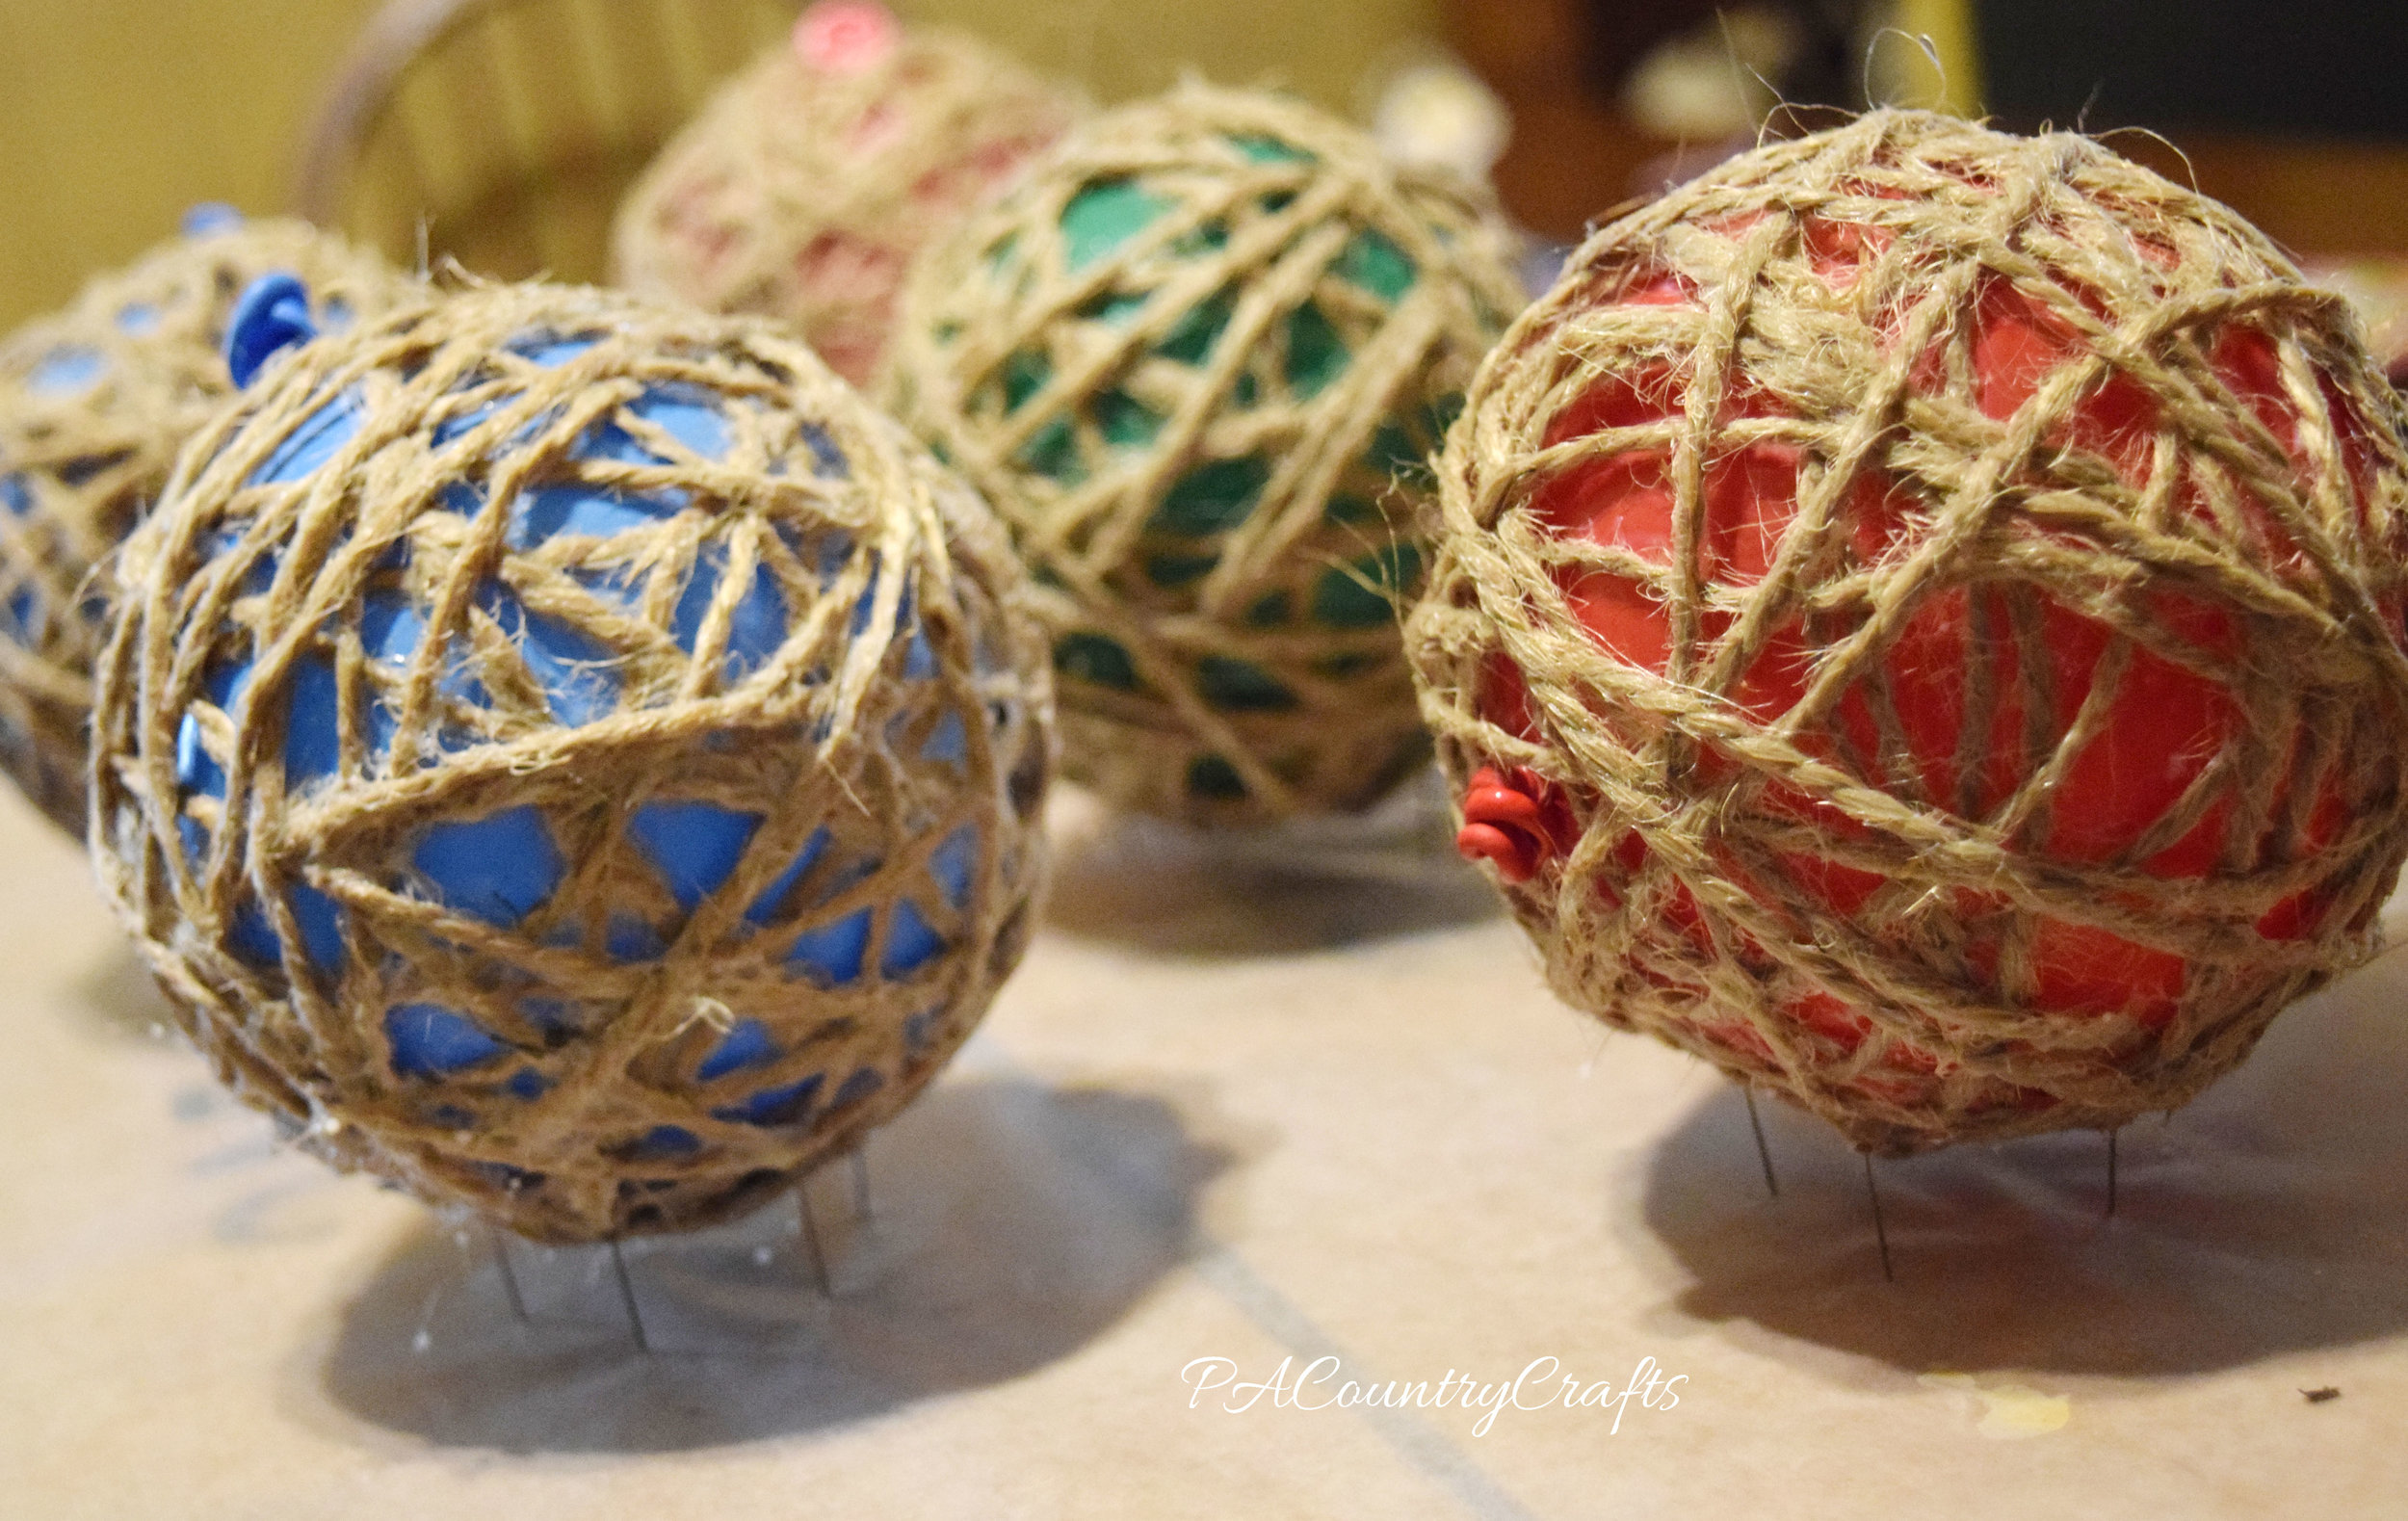
I just blew up some balloons to a small size and wrapped twine around them. We painted watered down glue all over the twine and let them dry for a day. So that they would get air flow all the way around, I covered a box with wax paper and pushed pins partway into the cardboard to set them on. The next day, we used the pins to pop the balloons (holding onto the balloon end) and just pulled the deflated balloon out. Some tutorials called for cooking spray on the balloons, but I didn't like the thought of greasy twine decorations.

These were really simple and inexpensive to make. They definitely fit with the rustic, natural winter look I was going for. I can't wait to show you the rest of the decorations!

You can see more of our winter decorations here…


Sewing, crafts, tutorials, recipes, and a little look at our life in the country - raising half a dozen children.

Hi! Thanks so much for stopping by! My name is Lindsay and on this blog you will find sewing, crafts, decorating, recipes, and tutorials with a little bit of honesty and encouragement.