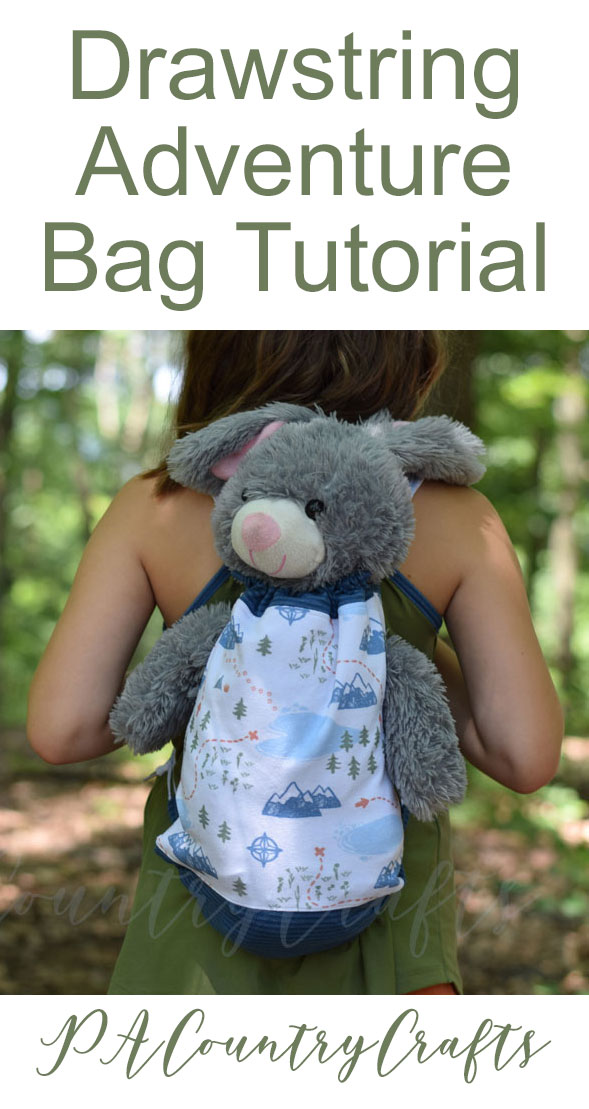
Drawstring Adventure Bag Tutorial
/I am so excited for today’s full reveal of the Project Nature Adventure Lookbook! Over the past few months four other designers and I have been working really hard to create a children’s fabric line inspired by outdoor adventure and play. Although we all have very different styles and mediums, we managed to create one main fabric that used aspects of each of our designs in a fun map print. (Can you see my little wildflowers in there?)

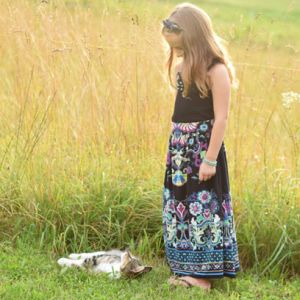
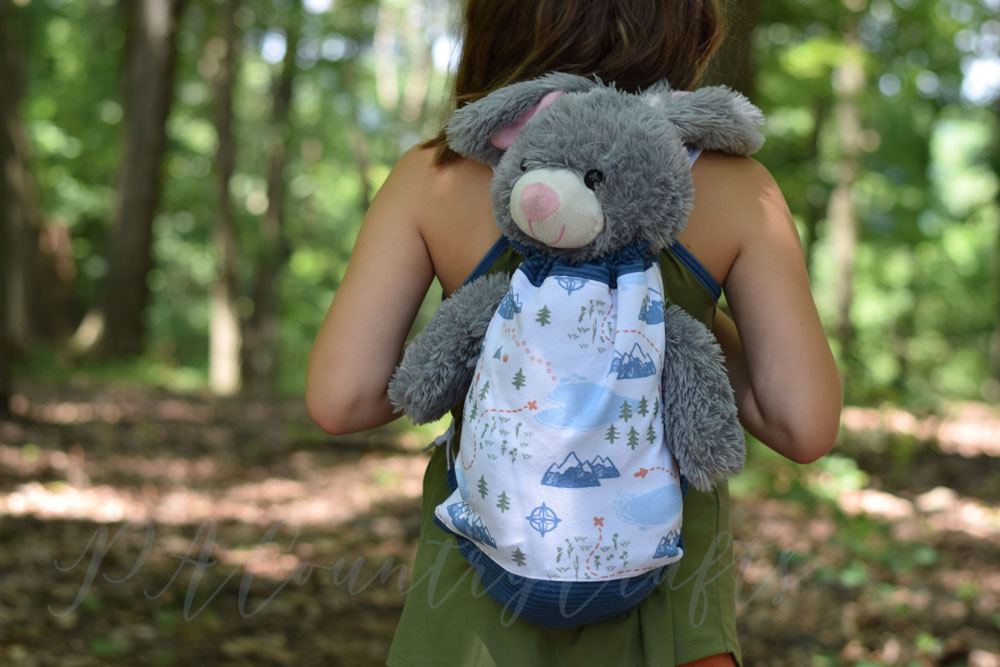
I will share full details later, but I made a mix and match pajama set for my daughter. I was very careful about how I cut each piece and was able to make my one yard stretch! I was happy to have enough left to create a drawstring bag to carry the pajamas. The soft fabric keeps everything comfortable, which is important to my daughter. Since my kids often ask to take just one stuffed animal along, I left openings in the sides for arms. It is perfect for taking a favorite stuffed animal or doll along on an adventure!
To take tutorial pics I ended up making two more bags. One of them includes an iron on transfer of one of the new cut files added to the Project Run and Play shop. (Although, my transfer pack is about 10 years old and missing the directions. Apparently you can’t iron them directly?) Delia’s design with the little moon seemed like the perfect addition to a sleepover bag!

Ready for the tutorial? Great! Let’s get started!
You will need:
(2) top pieces- 4” x 11 1/2”
(2) main fabric pieces- 10” x 10 1/2”
(2) bottom pieces- 4” x 10 1/2”
(2) loop pieces- 3” x 2 1/2”
(2) 54” shoelaces or other drawstring cording
***Use a 1/2” seam allowance unless otherwise noted.***
I tried to cut everything with the stretch across but was really scrounging for scraps of the map print at this point so the top bands are cut sideways for this tutorial. These bags are all made of cotton jersey which means that the raw edges do not have to be finished.

One one of the main fabric pieces, mark 1 1/2” from the top and 4” from the top on each side.

Now take the top band pieces and hem each side by turning under 1/2” and stitching 1/4” from the folded edge.

Fold the bands in half lengthwise with the wrong sides together.

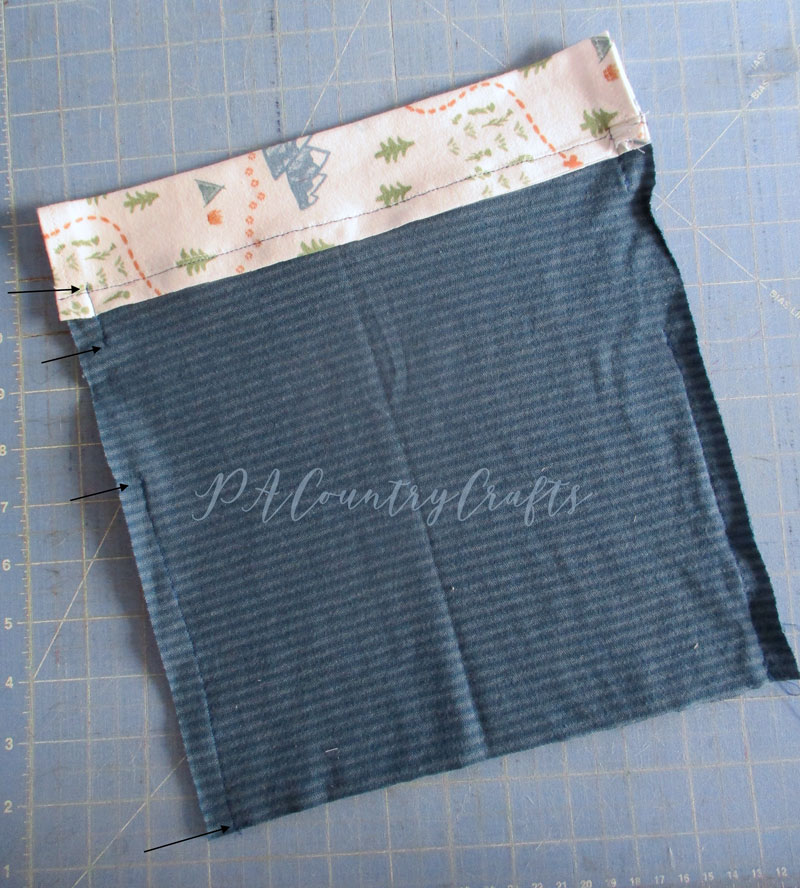
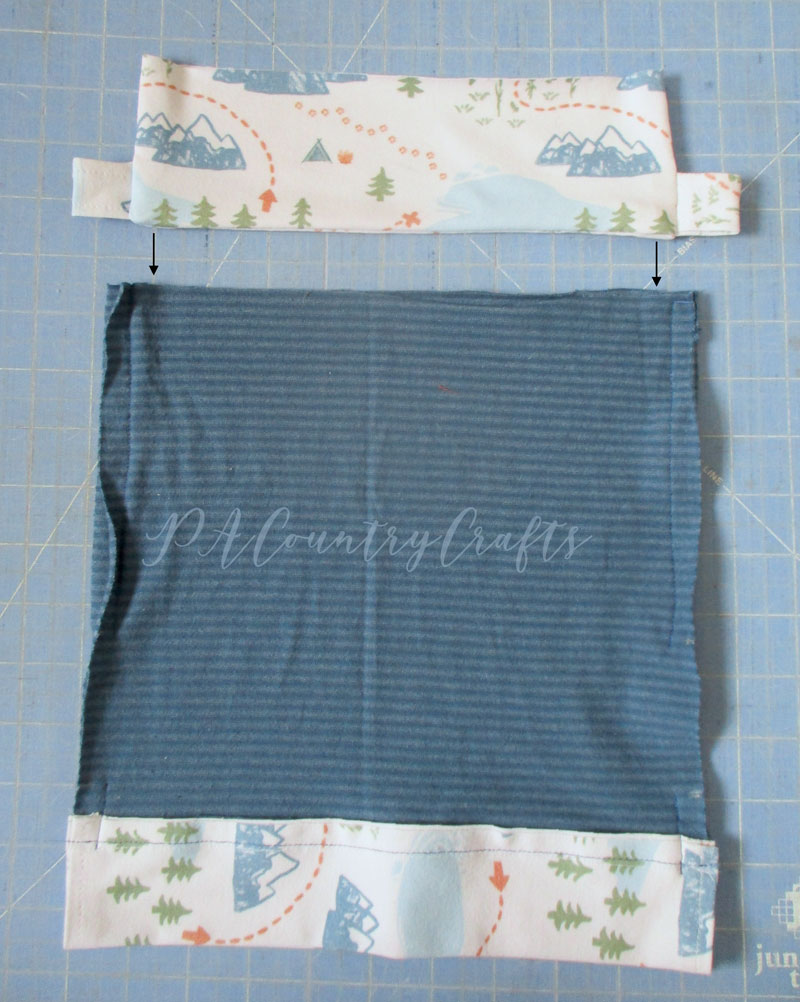
Lining up the raw edges and keeping right sides together, sew the top bands to the upper edge of the main pieces.

Press the seam allowances towards the main fabric and topstitch to hold them in place.

Place the two bag pieces right sides together and sew the sides. Start at the stitching line where the top band is attached and leave openings between the marked points, making sure to backstitch.
Now that the main part of the bag is finished it is time to sew the bottom of the bag.
Fold the loop pieces in half lengthwise and sew using a 1/4” seam allowance!

Turn right side out, press, and topstitch 1/8” from the edge along on each side..

Fold the loop pieces in half with the seam towards the top (that keeps the bottom corner from becoming too bulky) and pin in place 1/2” from the lower edge of one of the bottom pieces. Stitch in place using a 1/4”-3/8” seam allowance.

Place the bottom pieces right sides together and sew around the sides and bottom using a 1/2” seam allowance and being careful not to catch the loops along the bottom. I also like to stitch back and forth over the loops a few times.

Turn right side out and press. Insert the bottom of the bag into the main part of the bag.
Line up the side seams with the seam allowances open and stitch all the way around the bag.

Turn the bag right side out and press. The sewing part is finished!

Thread the shoelace/drawstring through the front band, then through the back band, and then through the bottom loop before tying in a knot.

From the opposite side, thread the drawstring through the front band, through the back band, and through the bottom loop before tying in a knot.

Pull on both sides to tighten the top and the bag is finished!

If you want to pin it for later…
Don’t forget to head over to Project Run and Play to see all of the great ways the designers chose to use this map print fabric. There are more tutorials and fun activities included in the lookbook, too!
Here are some more tutorials you might like: