Elastic Sleeve Doll Peasant Dress Pattern and Tutorial
/Peasant dresses are really easy to make and there are a lot of simple variations that can drastically alter the style. It is a perfect beginner sewing project! The next step up from the basic peasant dress is the addition of elastic to the sleeves. Now, for a peasant dress for a human girl I would just make an elastic casing, but since doll clothes have smaller pieces I like to just add the elastic to the sleeves before sewing the dress together. I even came up with a handy trick for the little elastic pieces.
So, of course that meant I needed to take some pictures for a tutorial. Are you ready? Great!
You will need:
a fat quarter of fabric or 1/3 yard of fabric if bought from the bolt
18 1/2″ of 1/4″ wide elastic
thread
pins or wonder clips
sewing machine and needles
printed free pattern- available HERE
Tape the pattern together and cut the dress out. (See the original tutorial HERE if you need help with that.) You might want to iron your pieces better than I did. #doasIsaynotasIdo
We are just going to deal with the sleeves for this tutorial. First, fold the bottom edge under 1/4" and press well. Then, fold it under again 1/2" and press. (Confession: most times I just fold as I sew but for you I actually ironed and took a picture.)
Now be very careful and sew about 1/8" from the folded edge on each sleeve.
This is my little elastic trick...
Cut two pieces of 1/4" elastic 5" long. Mark 1/4" from the ends on each piece.
Use a safety pin to feed the elastic through the casing, but stop when the pencil mark is at the edge of the fabric.
Stitch it in place 1/8" or so from the edge of the sleeve. Pull the rest of the elastic through the other side and sew in place, lining up the pencil line with the other edge of the sleeve fabric.
This is what the sleeves should look like:
From here you just need to sew everything together as in the original tutorial. I didn't feel like taking and editing more pictures of the exact same process so you can just reference it HERE. The elastic ends will be trimmed by the overlock machine if you are using one, or you can just trim them off.
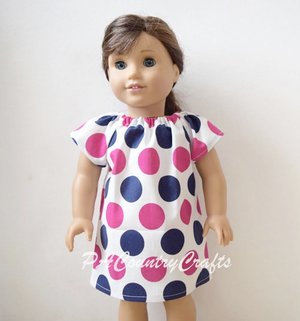
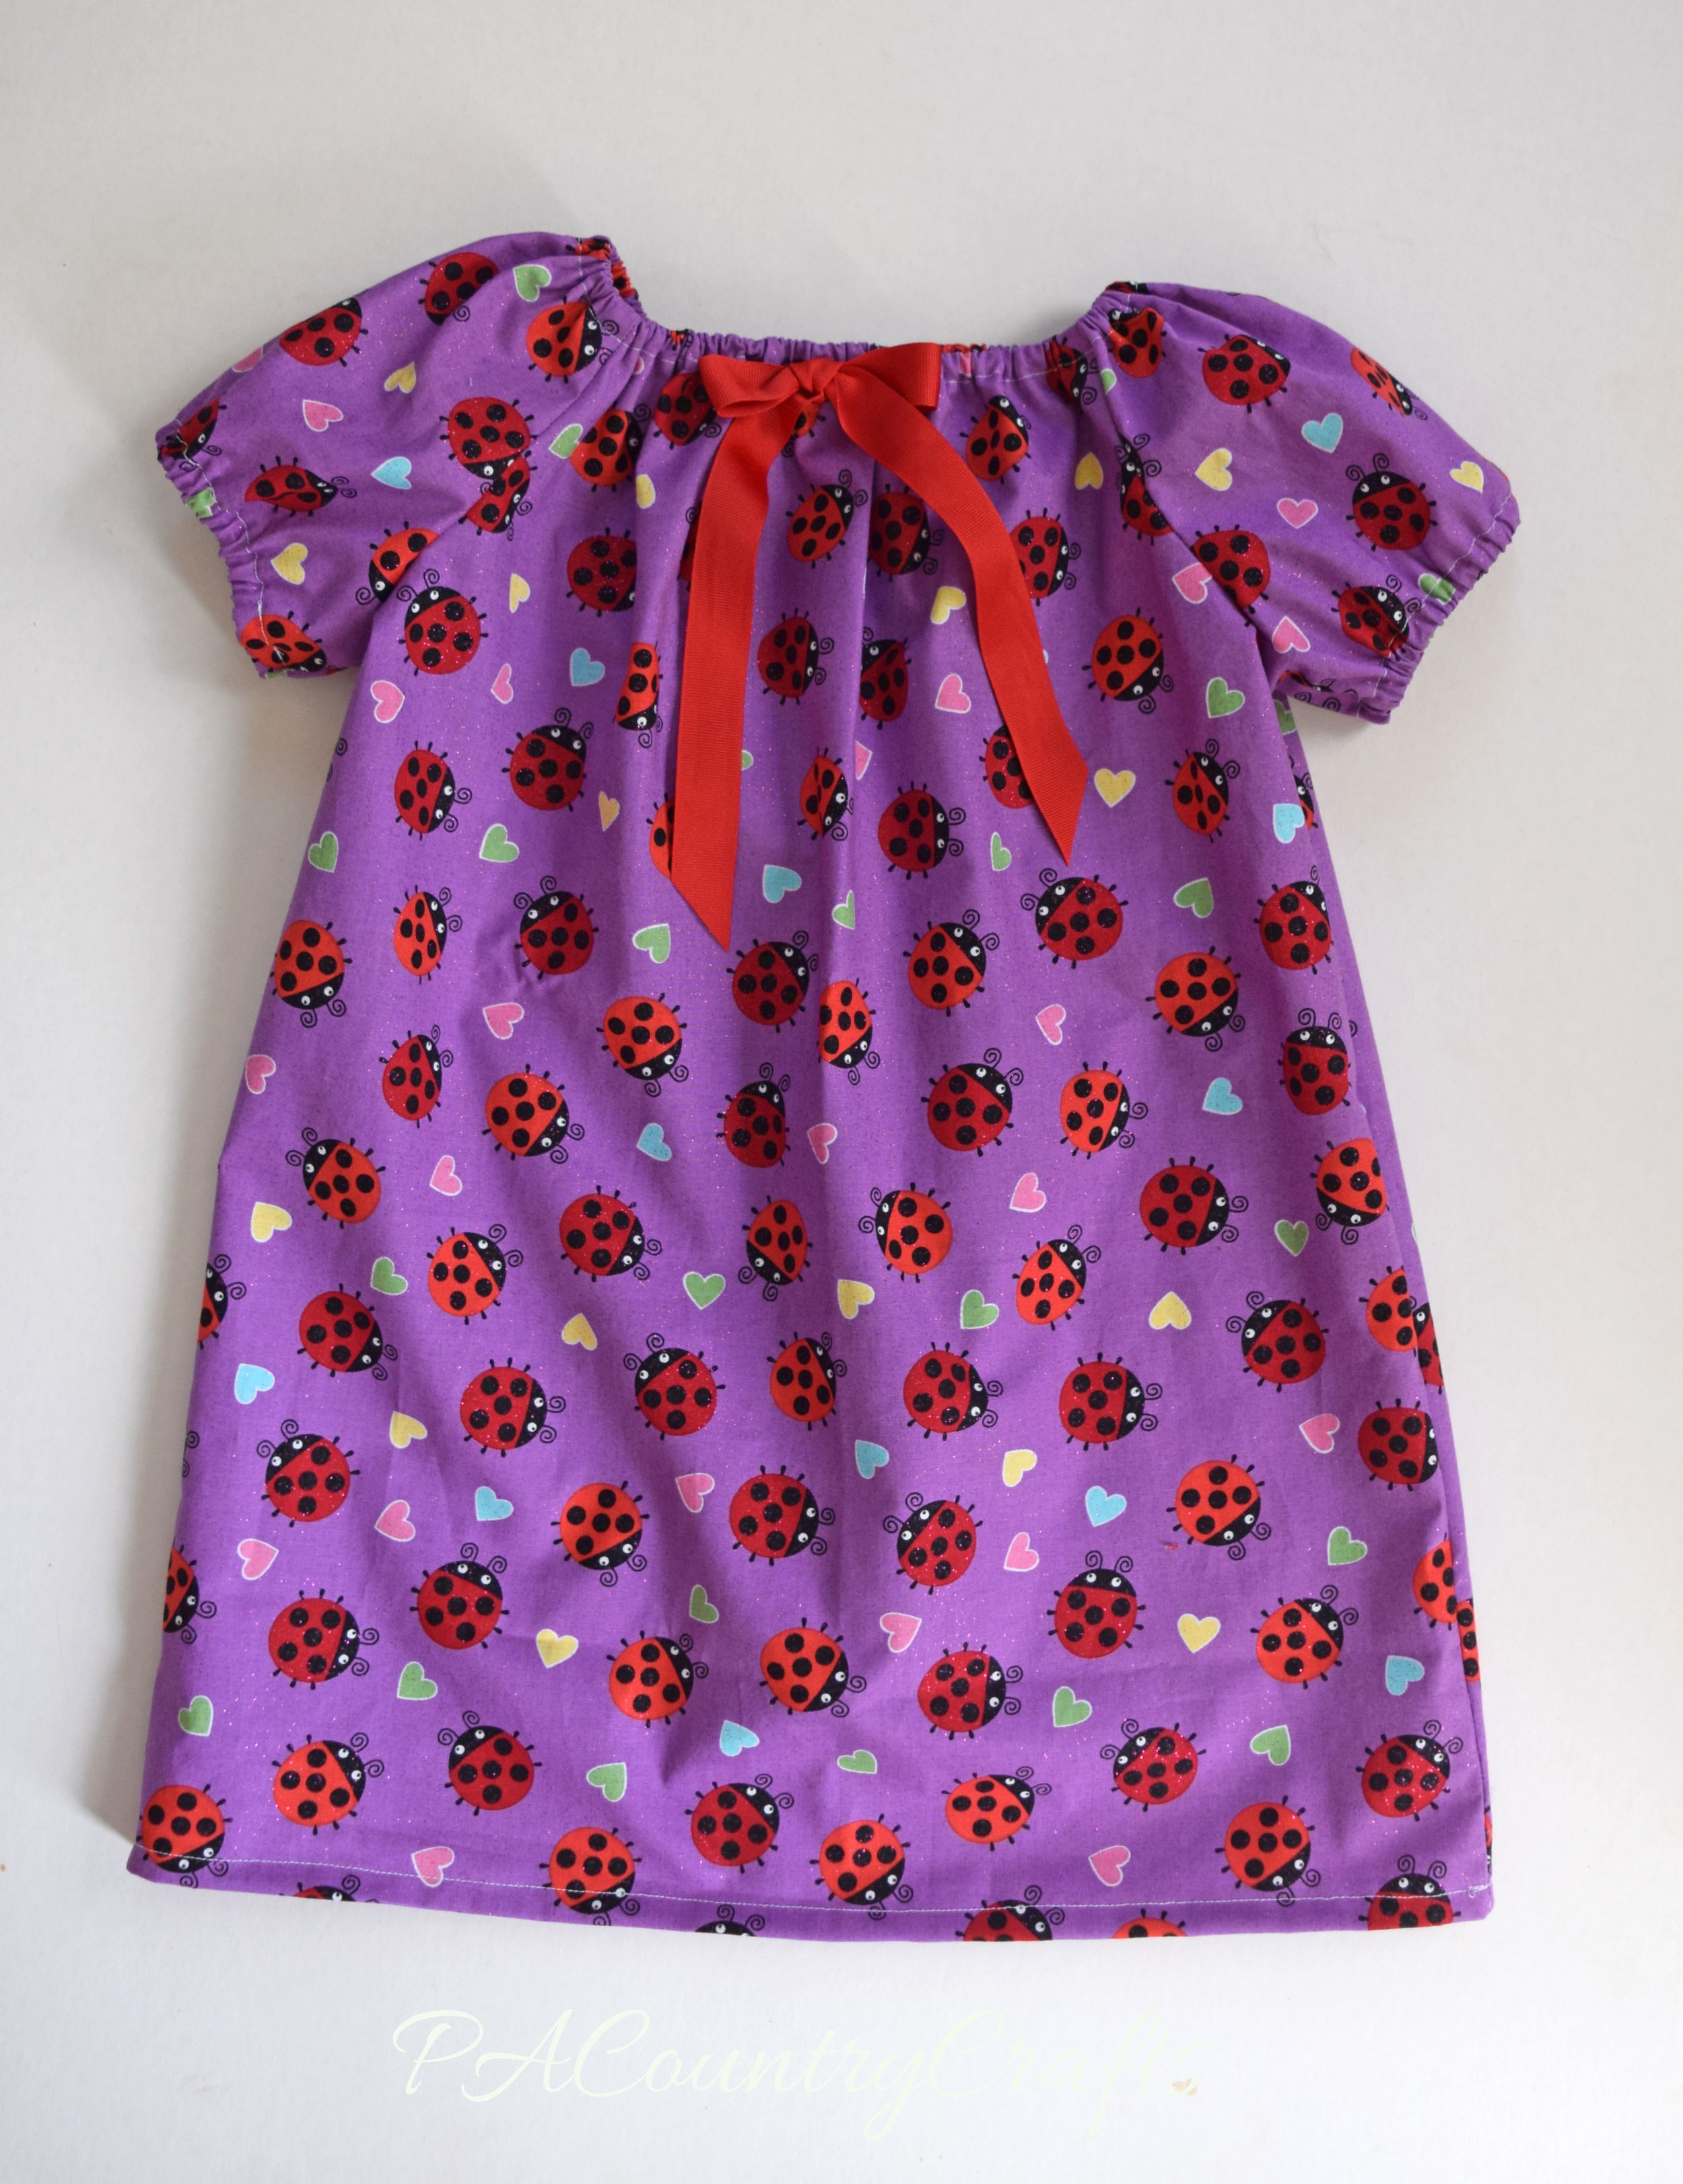
This is what it will look like when it is finished:
How to make a peasant doll dress with elastic sleeves
Don't forget the free pattern!
If you want to pin it for later:
Before you go, here are some more sewing tutorials that you might find helpful!


