Gracie Dress Tutorial
/Do you know what it harder than sewing a dress for a 2yo?
Taking pictures of that 2yo wearing the dress.
I tried being sneaky and taking pics when she wasn't looking.

Her sisters tried to help...
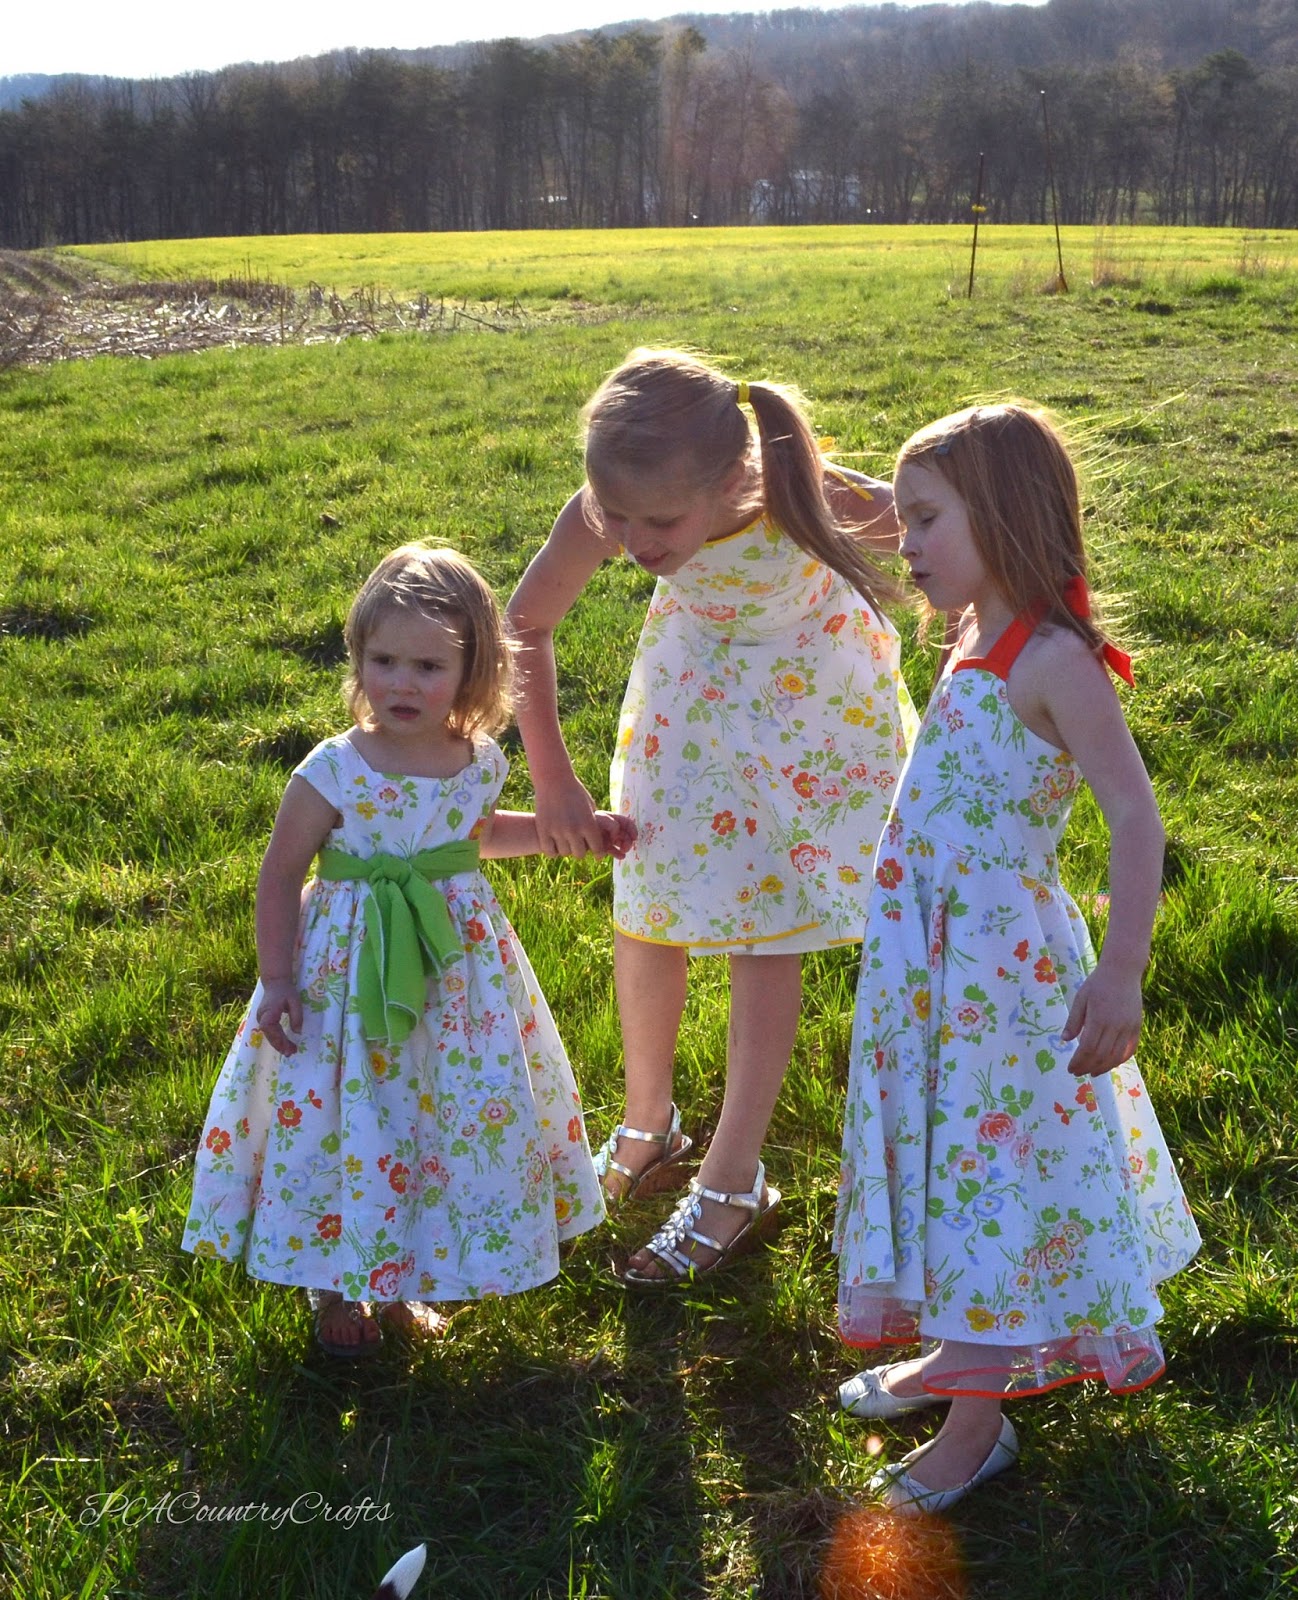
She even said, "I'm not cooperating!" and sat down in the grass with her arms crossed.
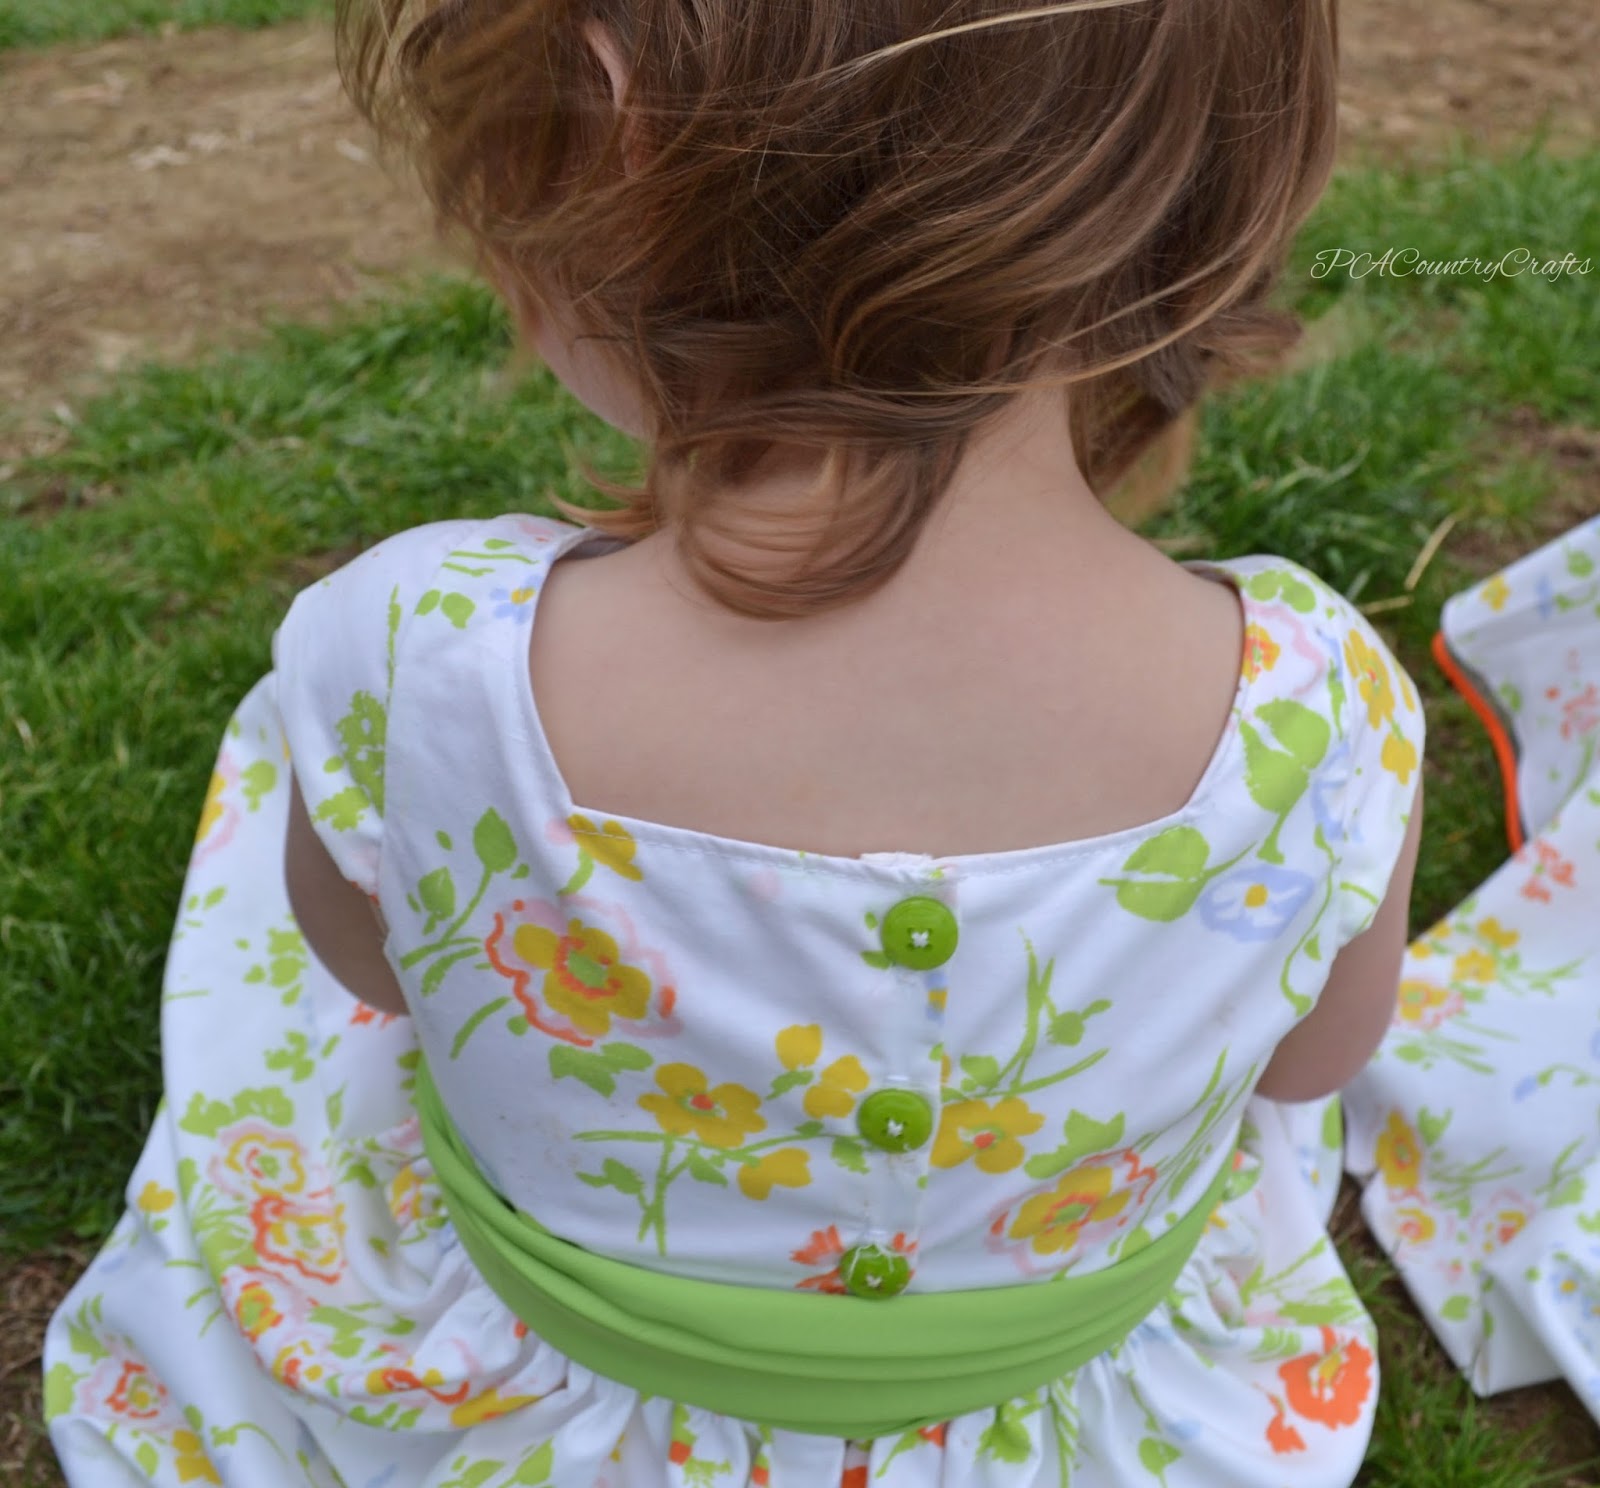
Even bribery didn't work. This one is stubborn!
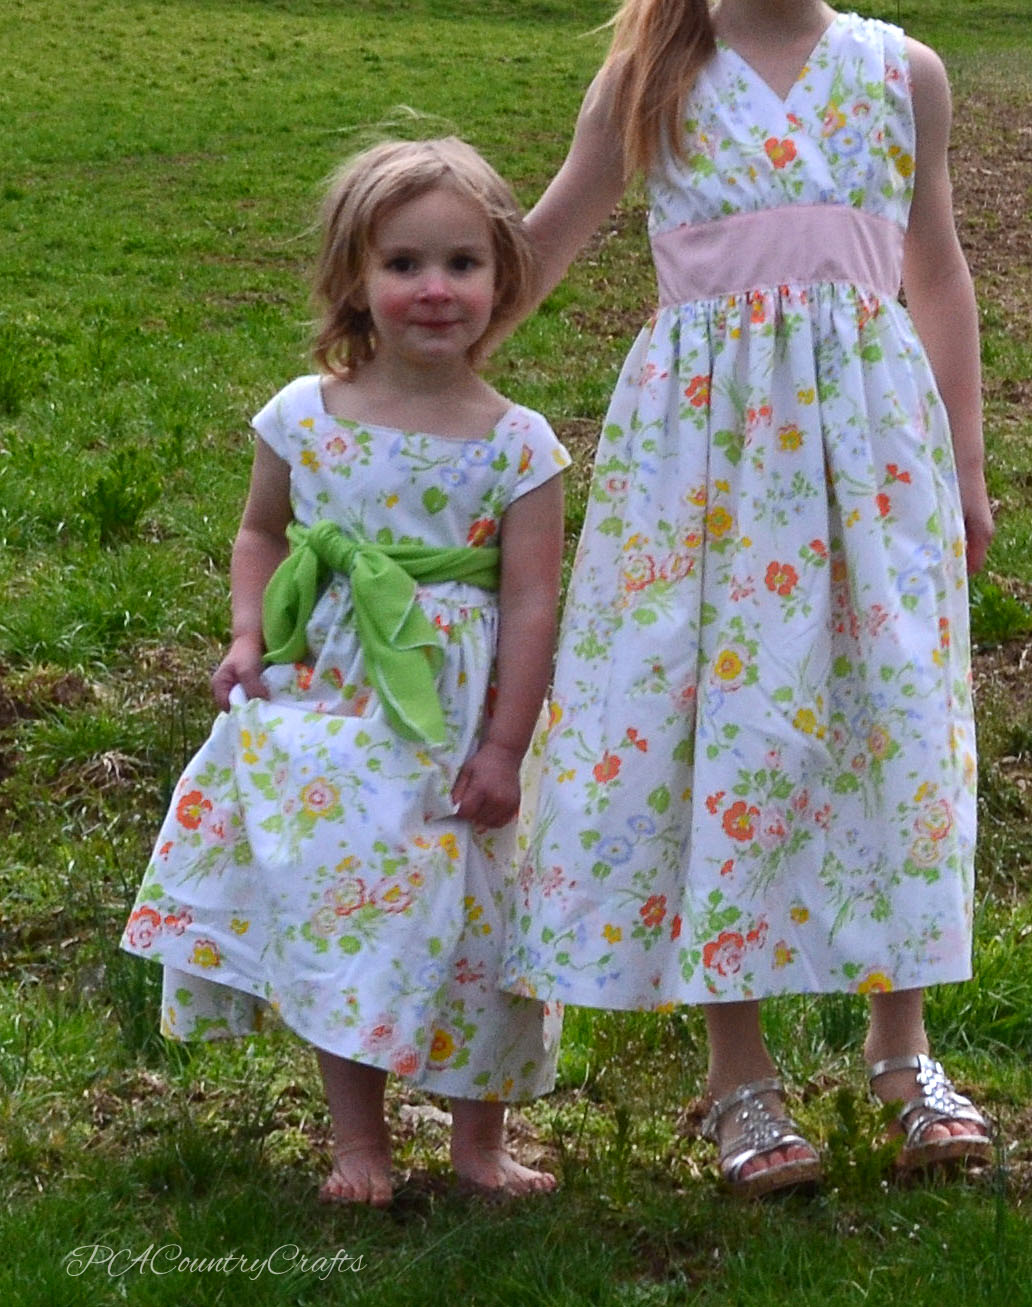
Unlike the picture-taking, she did not voice her opinion on the dress. So I got to do things MY way! I originally wanted a wide, high neckline with cap sleeves and a full skirt. I wanted each neckline to be very different, though, so in one of my many phone calls to bounce ideas off of my Mom that week she suggested a square neckline. I started out just squaring the back, but changed it as I was sewing. Decisions are not really my thing.
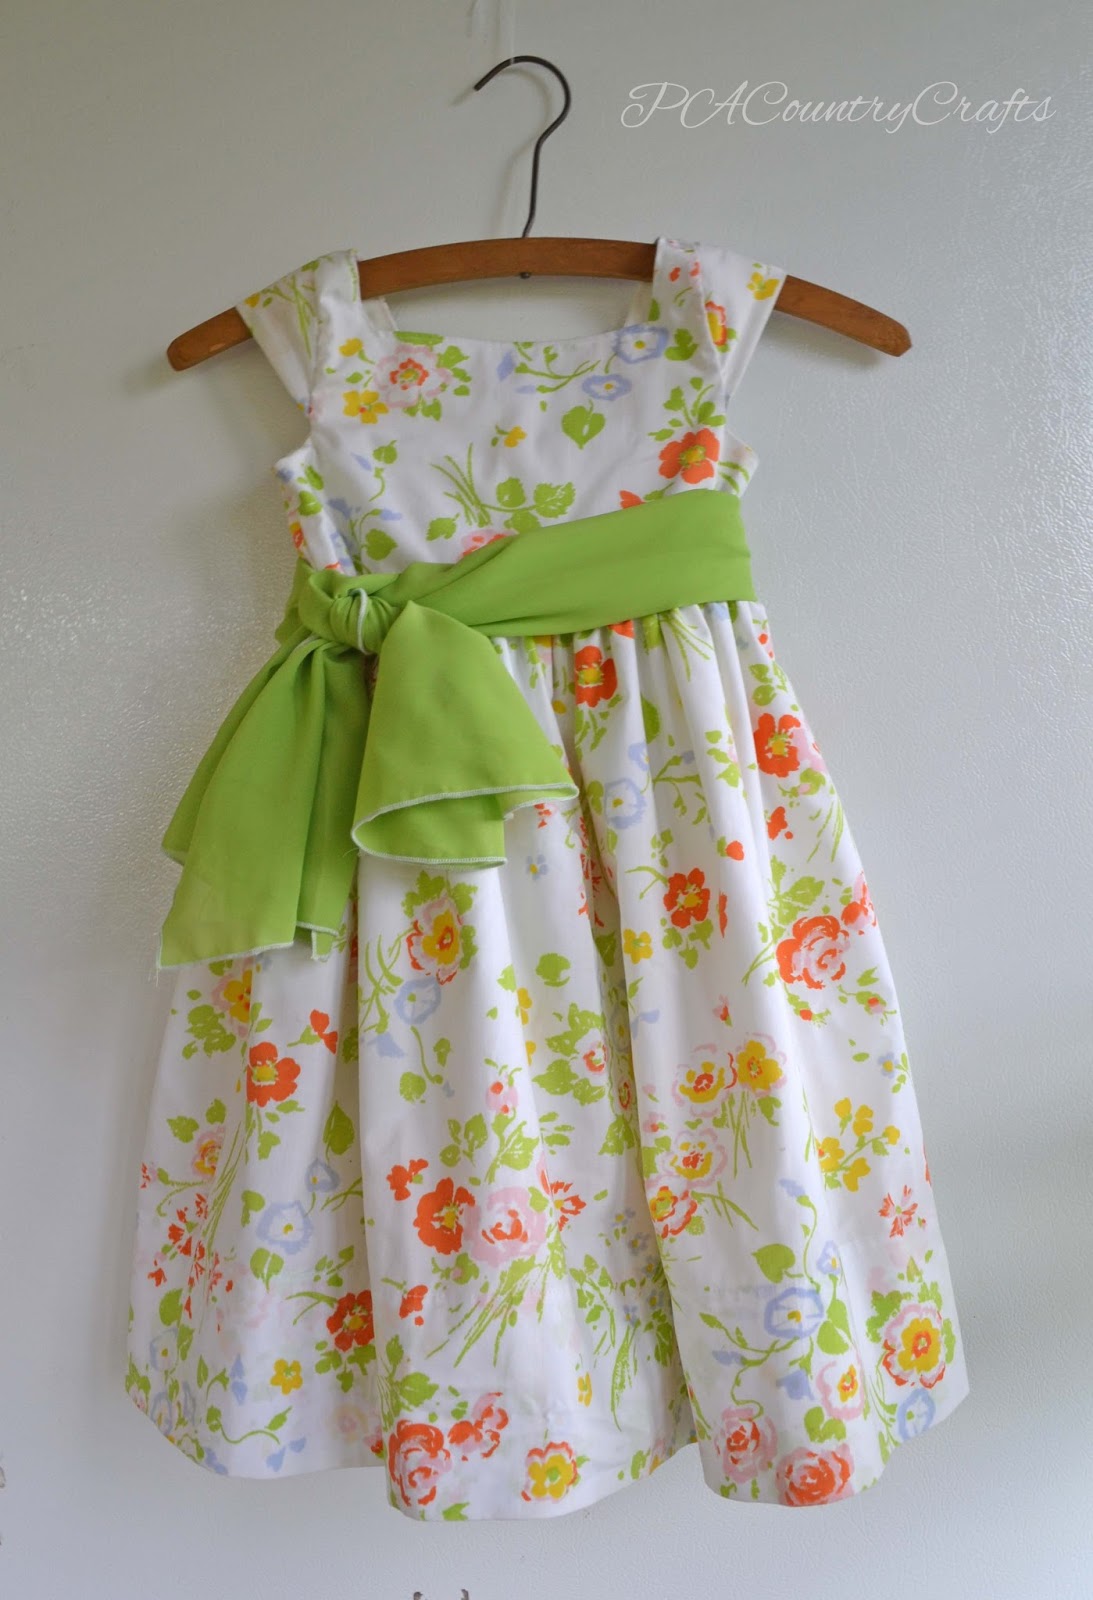
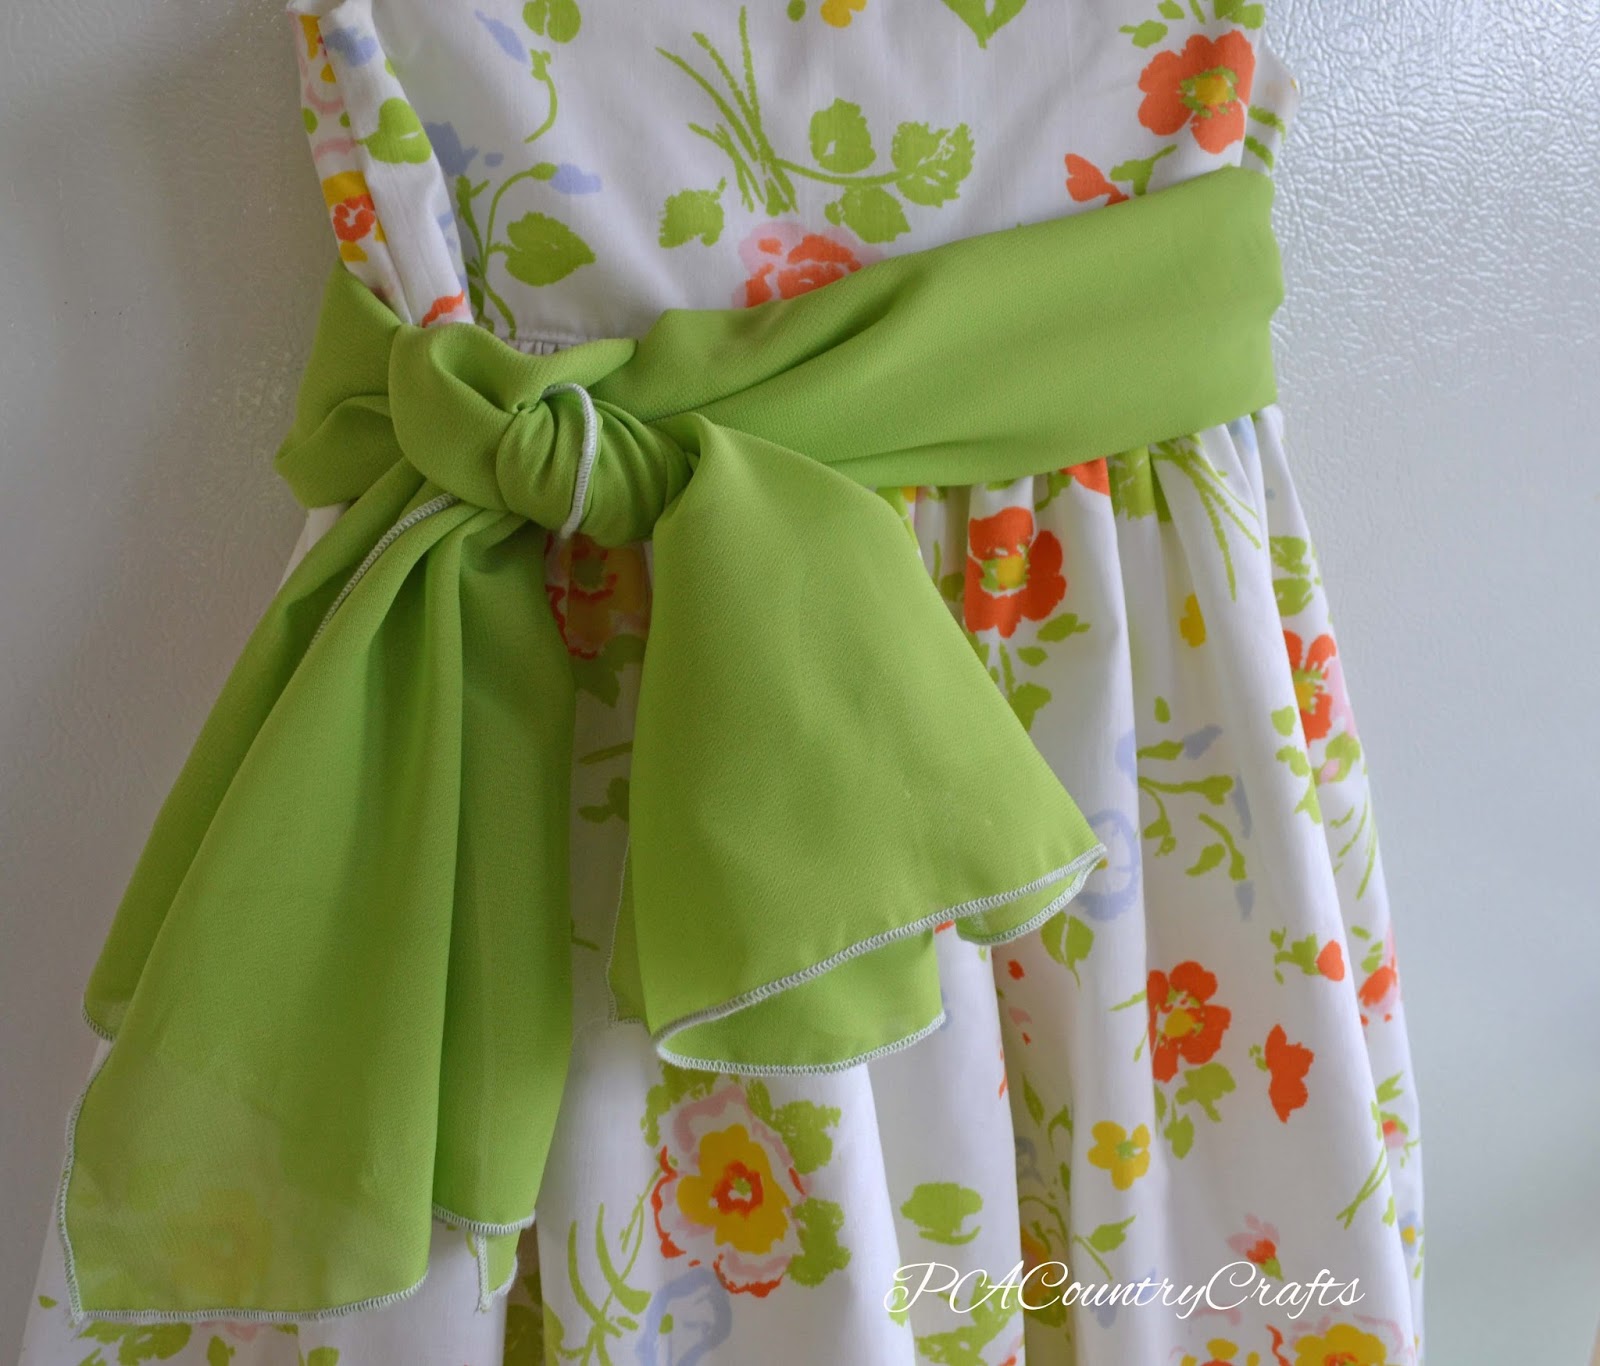
There are green, vintage buttons in the back and I tied the sash in the front for added interest.
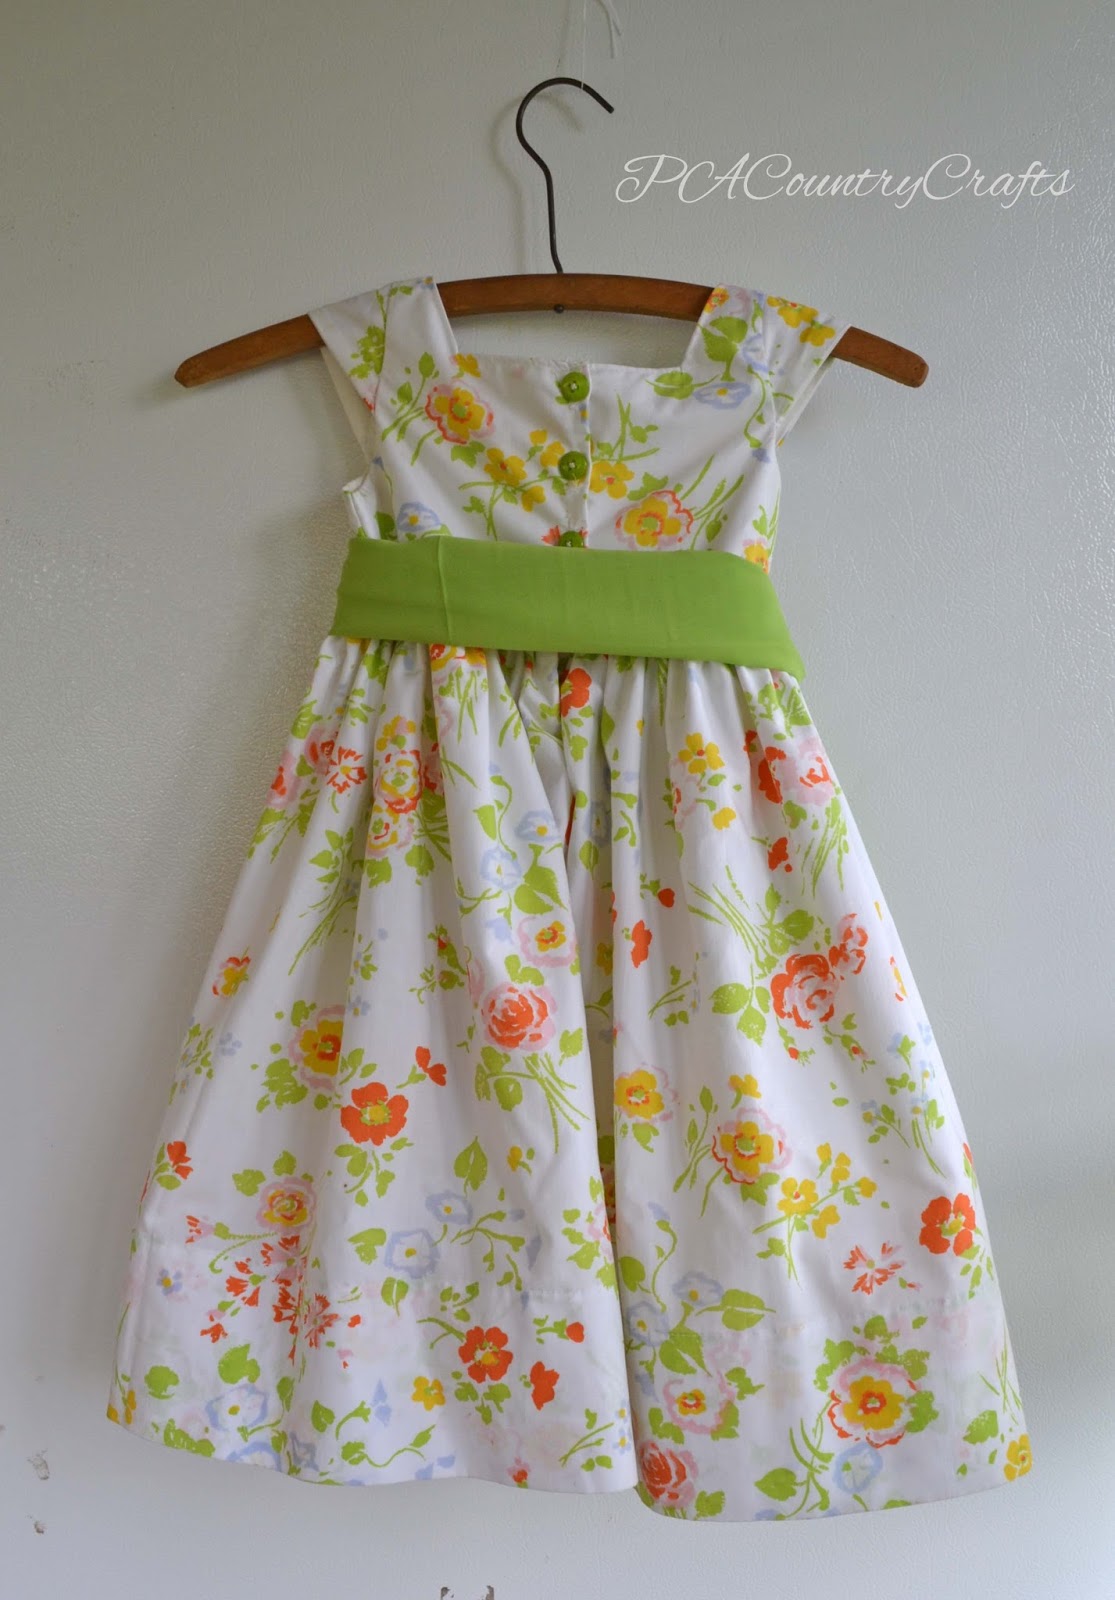
I love the pretty, vintage 1950s style of this dress. I want one for me! :) I did manage to piece together a tutorial if you want to make a girls version, though. OK?

Back to the "trace a Tshirt that fits" method for this dress. Now originally I was going to do a wide neckline and switched it up partway through, but you can square it off to begin with. To be completely honest, this dress fits her perfectly, but the wide neckline causes some gapping in the front when she moves around a lot. And she moves around a lot. So, you might not want to go quite so wide. OK? Add 3/8" seam allowances to the arms, shoulders, and sides.

For the back you just need to add an inch in the center for the buttons.
Draft a little cap sleeve. It will look like a little semi-circle.

Cut one front bodice (on the fold), two backs, and two sleeves from both the main fabric and lining. Ignore my non-square neckline in the front. I changed my mind after I started sewing. Pretend that the cap sleeves aren't already sewed together, too. I got a little ahead of myself before taking pics.

Sew the cap sleeves with the right together on the straight edge and press as shown above. Sew the shoulders of the main fabric and lining pieces together. Line up the center of each sleeve with the shoulder seam of the main fabric and sew the sleeve in place at the arm opening.

Sew the lining and main fabric bodices together at the neckline and arms, but be very careful to keep the sleeves out of the way. It might be a little tight.

Clip the corners of the square neckline and the curves of the arms before flipping right side out.
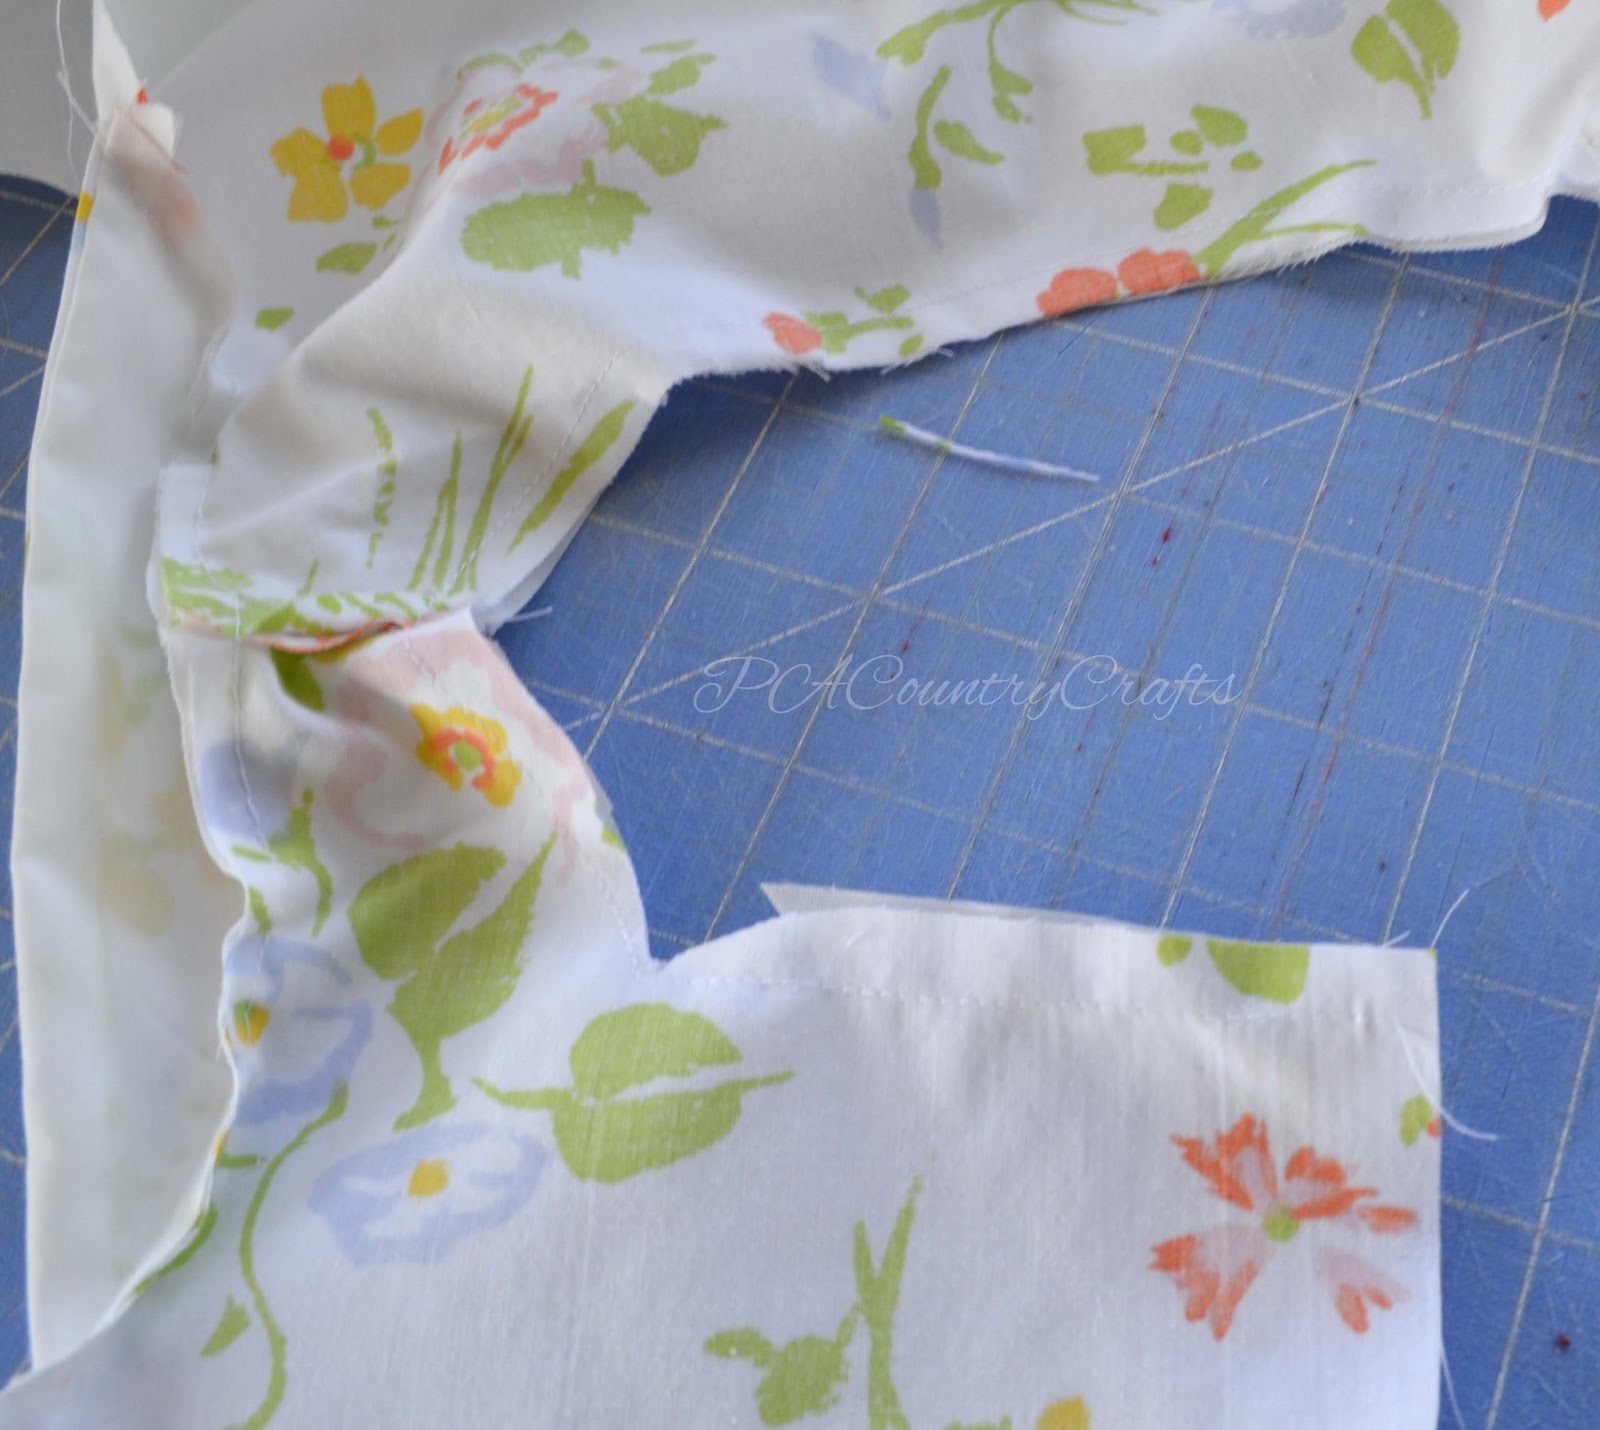
The inside at the arms will be all neat and tidy now.
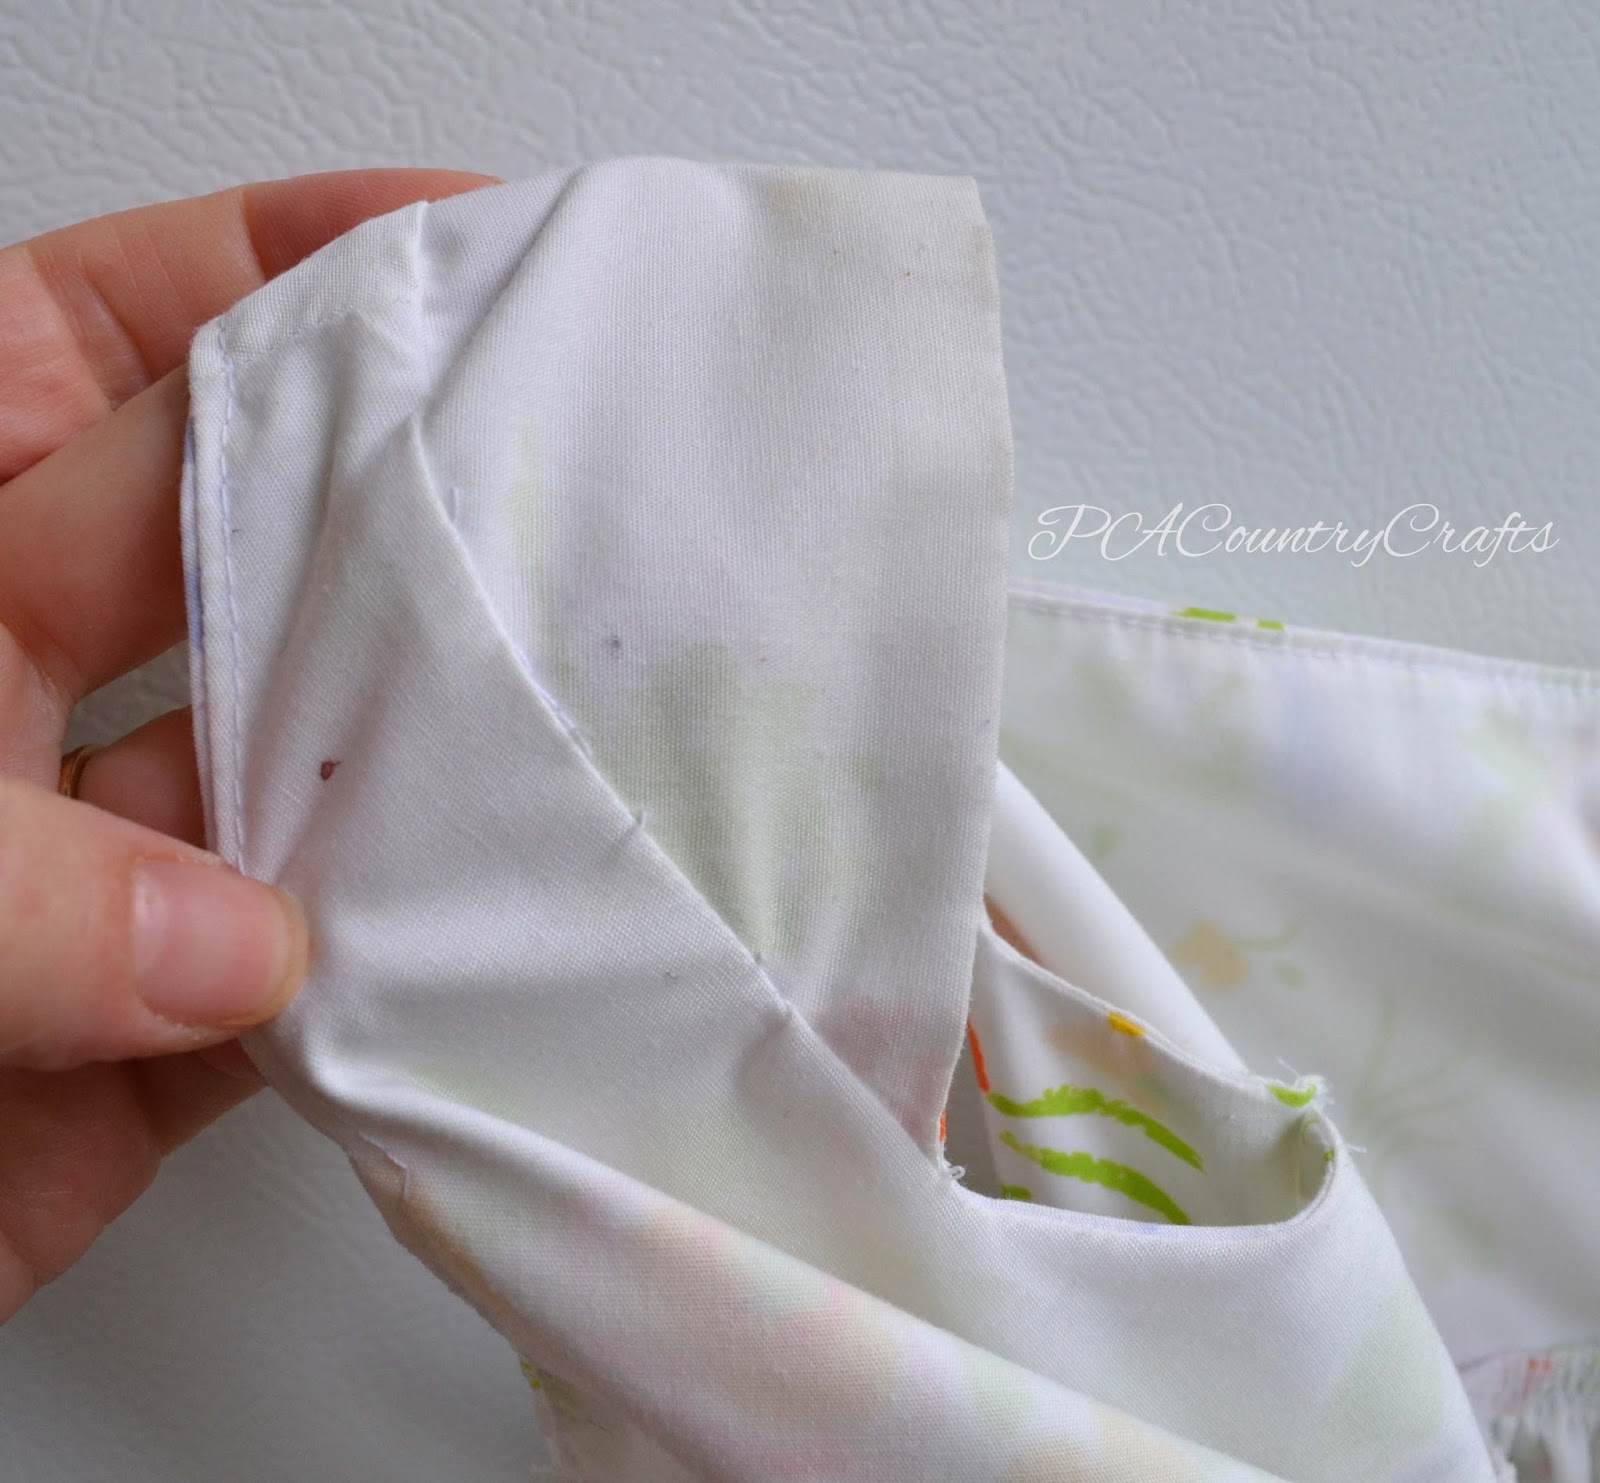
Press well and topstitch around the neckline. Sew together under the arms and serge or zig zag over the raw edges.
Now for the skirt...
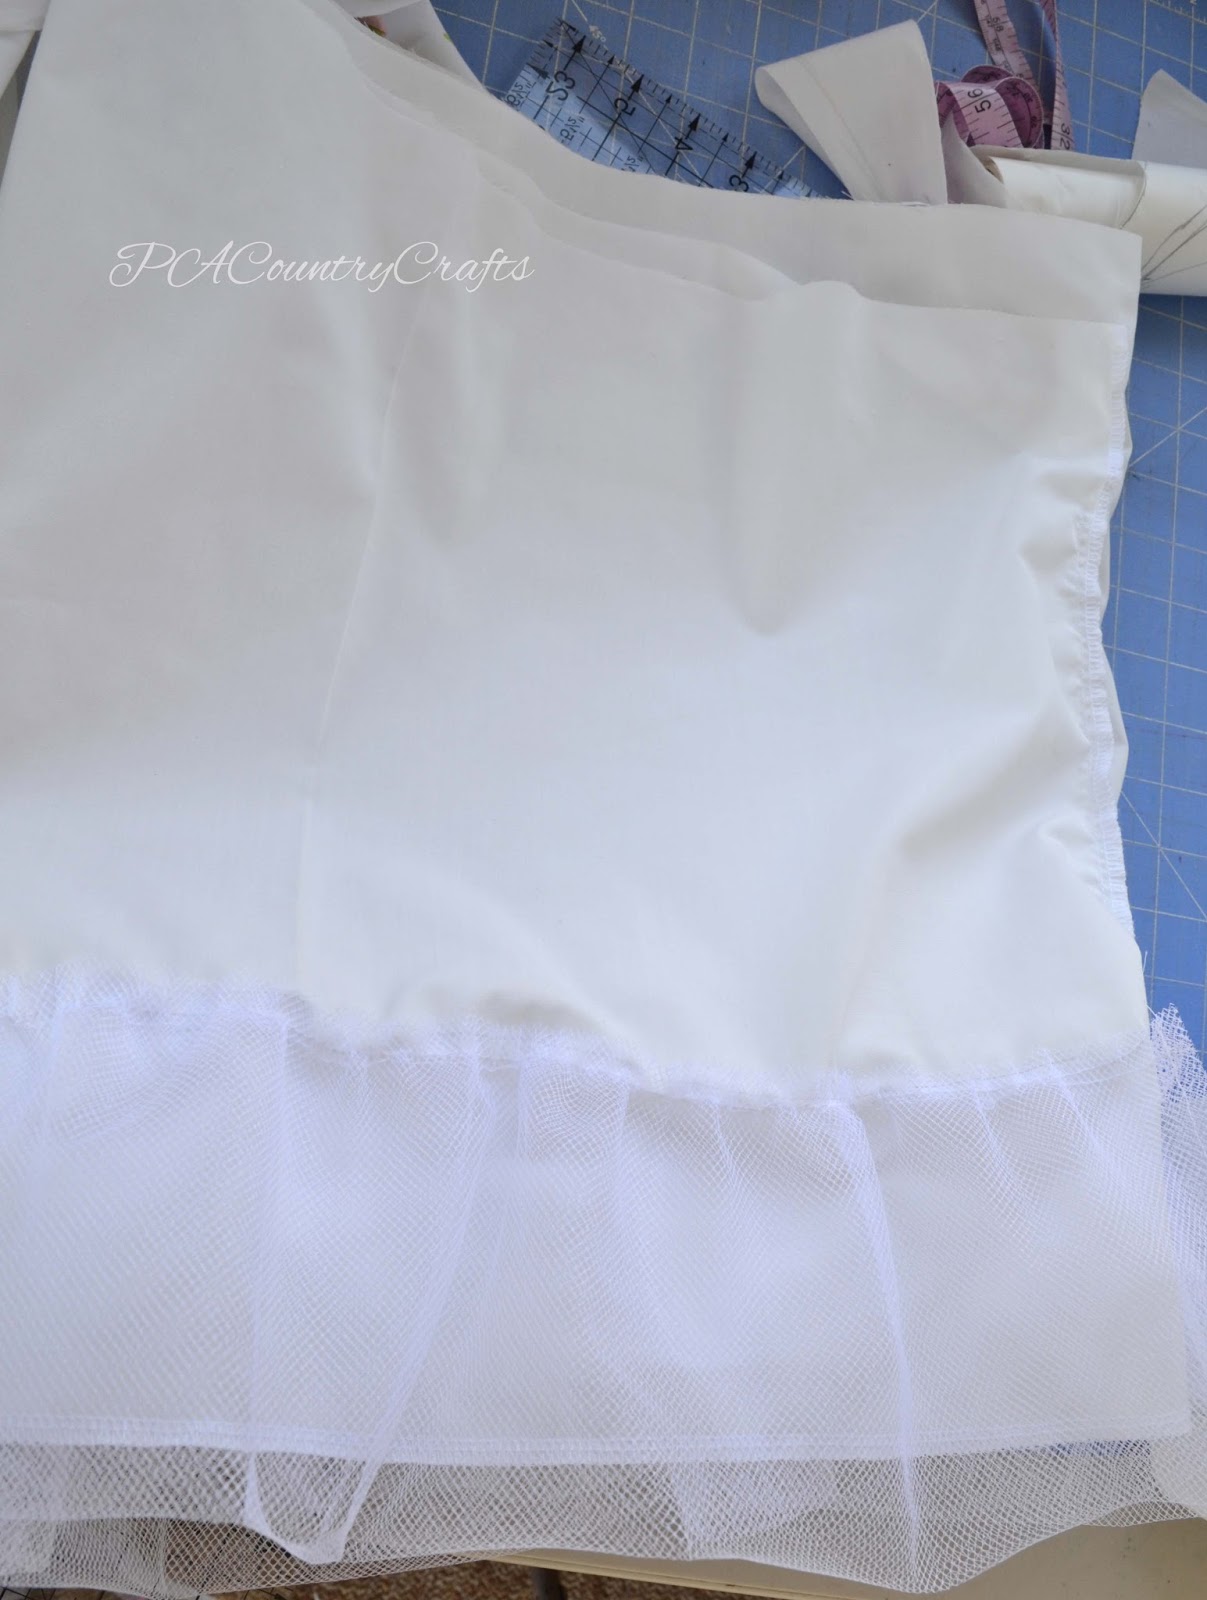
I used the bottom of the sheet (no hemming! hooray!) but you do whatever you want. Make it at least twice the width so that it is nice and full and cut the length as long as you would like (but add a little for hemming at the bottom if needed.) You may need to cut two rectangles for the front and back and sew them together if your fabric isn't long enough. You will also need a lining, so cut that about 2 " shorter than the outer skirt.
The lining has a petticoat ruffle built in for added fullness. Directions for that part are found HERE.
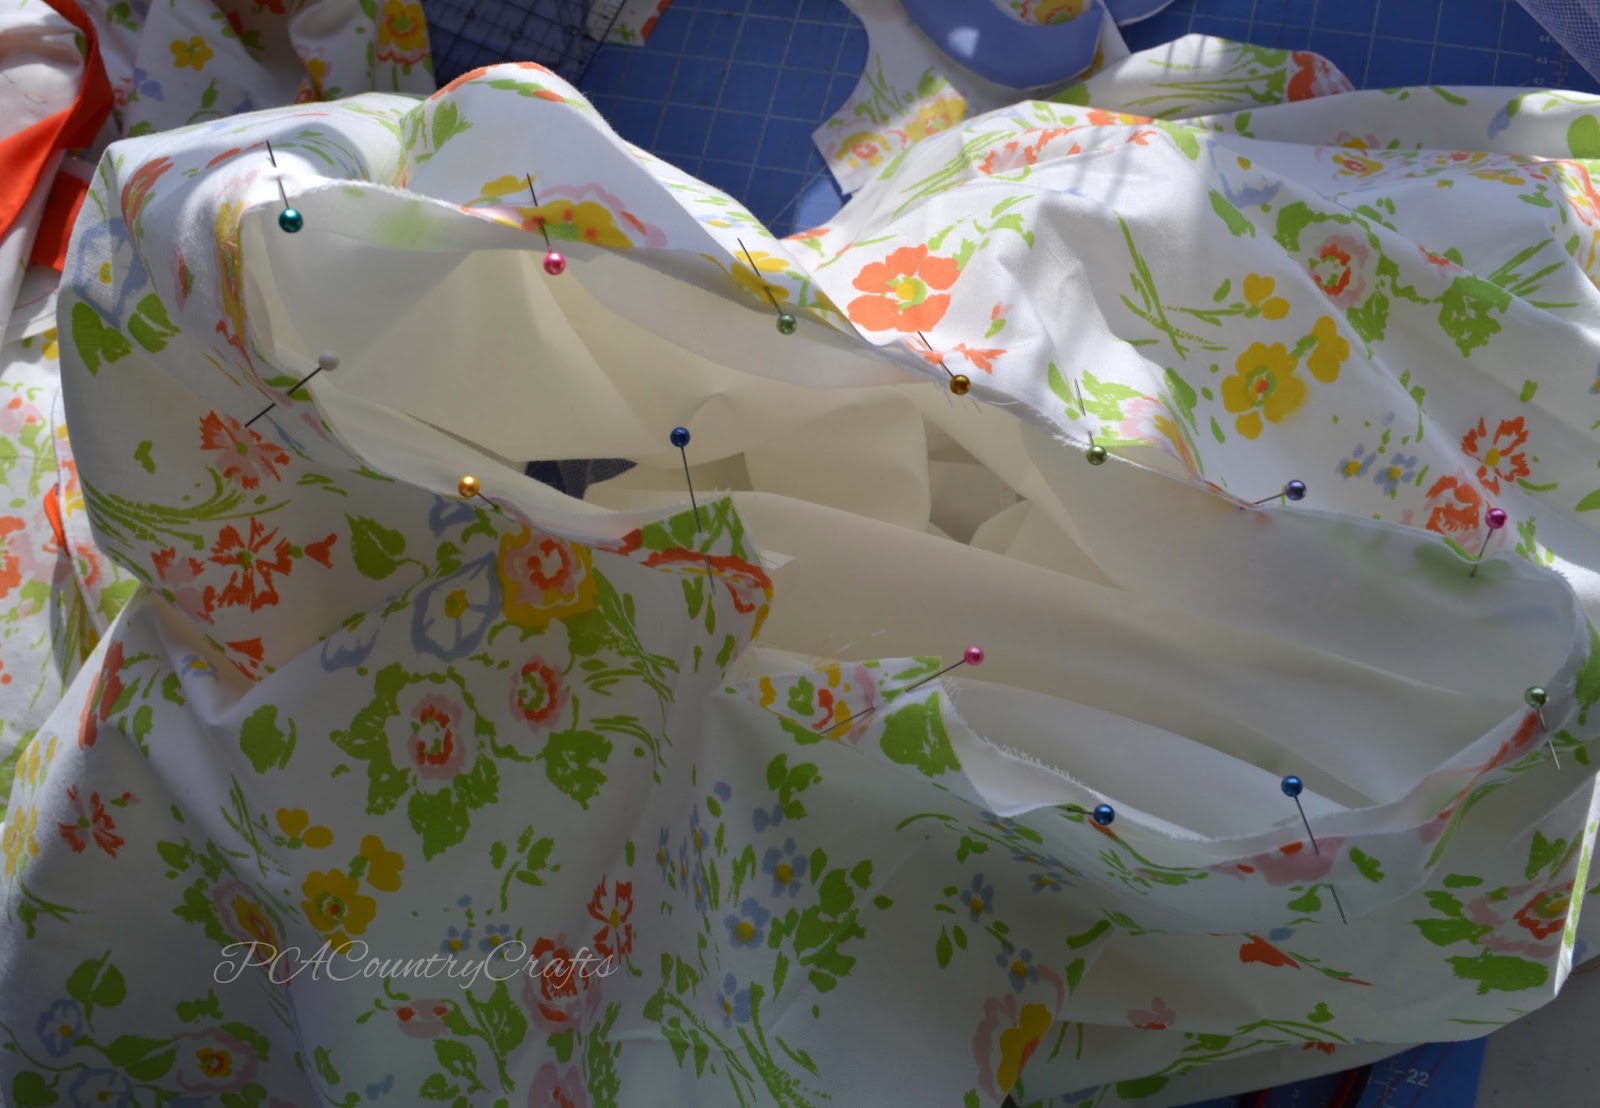
Make a button placket like I explained HERE. Make buttonholes and sew buttons on the back. For the sash, I bought a half yard of green chiffon and did a rolled hem edge on my serger all the way around.
That is it! There are so many variations you could do with this dress- flutter sleeves, no sleeves, different necklines,...
My tutorials are for personal, non-commercial use only. If you make one, I would love to see a picture!

Also, here are the other dresses in the series if you want to check those out:


