Homeschool Trailer Makeover
/As I shared yesterday, I did a little makeover on my sister’s office/homeschool trailer that they will use during the busy season of their seed and fertilizer business. (Again, this is only temporary for this year and speed was of the essence so I I didn’t paint the walls. ) The front section of the trailer is the office and the back section is the homeschool room. The middle needed to be an area for the younger children to play and nap. We tore out an unusable bathroom which gave us a lot more space! I noticed that the remaining partial wall was the perfect size for a crib mattress so I had a bed frame built to tuck in there. It is fastened to the wall and was made to be high enough for totes to be placed underneath with toys. So far the bed has been a really big hit for naps and the toy bins are keeping things tidier.
Since I wasn’t painting the walls I wanted to decorate them as much as possible to brighten the space up! Each child chose their favorite color and I spray painted old frames that I had on hand. I fastened binder clips behind each one and mounted the frames to the wall so that they could have a place to display their most recent artwork.
We also had a little art class and I made a more permanent art collage wall on the larger wall. Theoretically, if a child helps with creating a space they will develop a sense of ownership and take better care of it. Theoretically.
I added lots of brightly colored pillows. The quilt was made by a preschool class last year. The TV is on the opposite wall so I am sure it will be a place where all of the kids hang out.
The school room is in the back. New carpet and curtains really made a big difference in the space. The only other major change was moving the desk from the front of the trailer to the back wall. I tried to make most things reuseable since this is a temporary office so we placed plastic drawer units underneath the center for more storage.
Each child chose their favorite color and animal so I tried to incorporate that in some way. The older two students had space for bulletin boards and there were some already stored in the office. I spray painted the cork and then used black paint pens to decorate them. One of them has the breaker box near her desk so I made some shrink plastic tiger magnets for that as well.
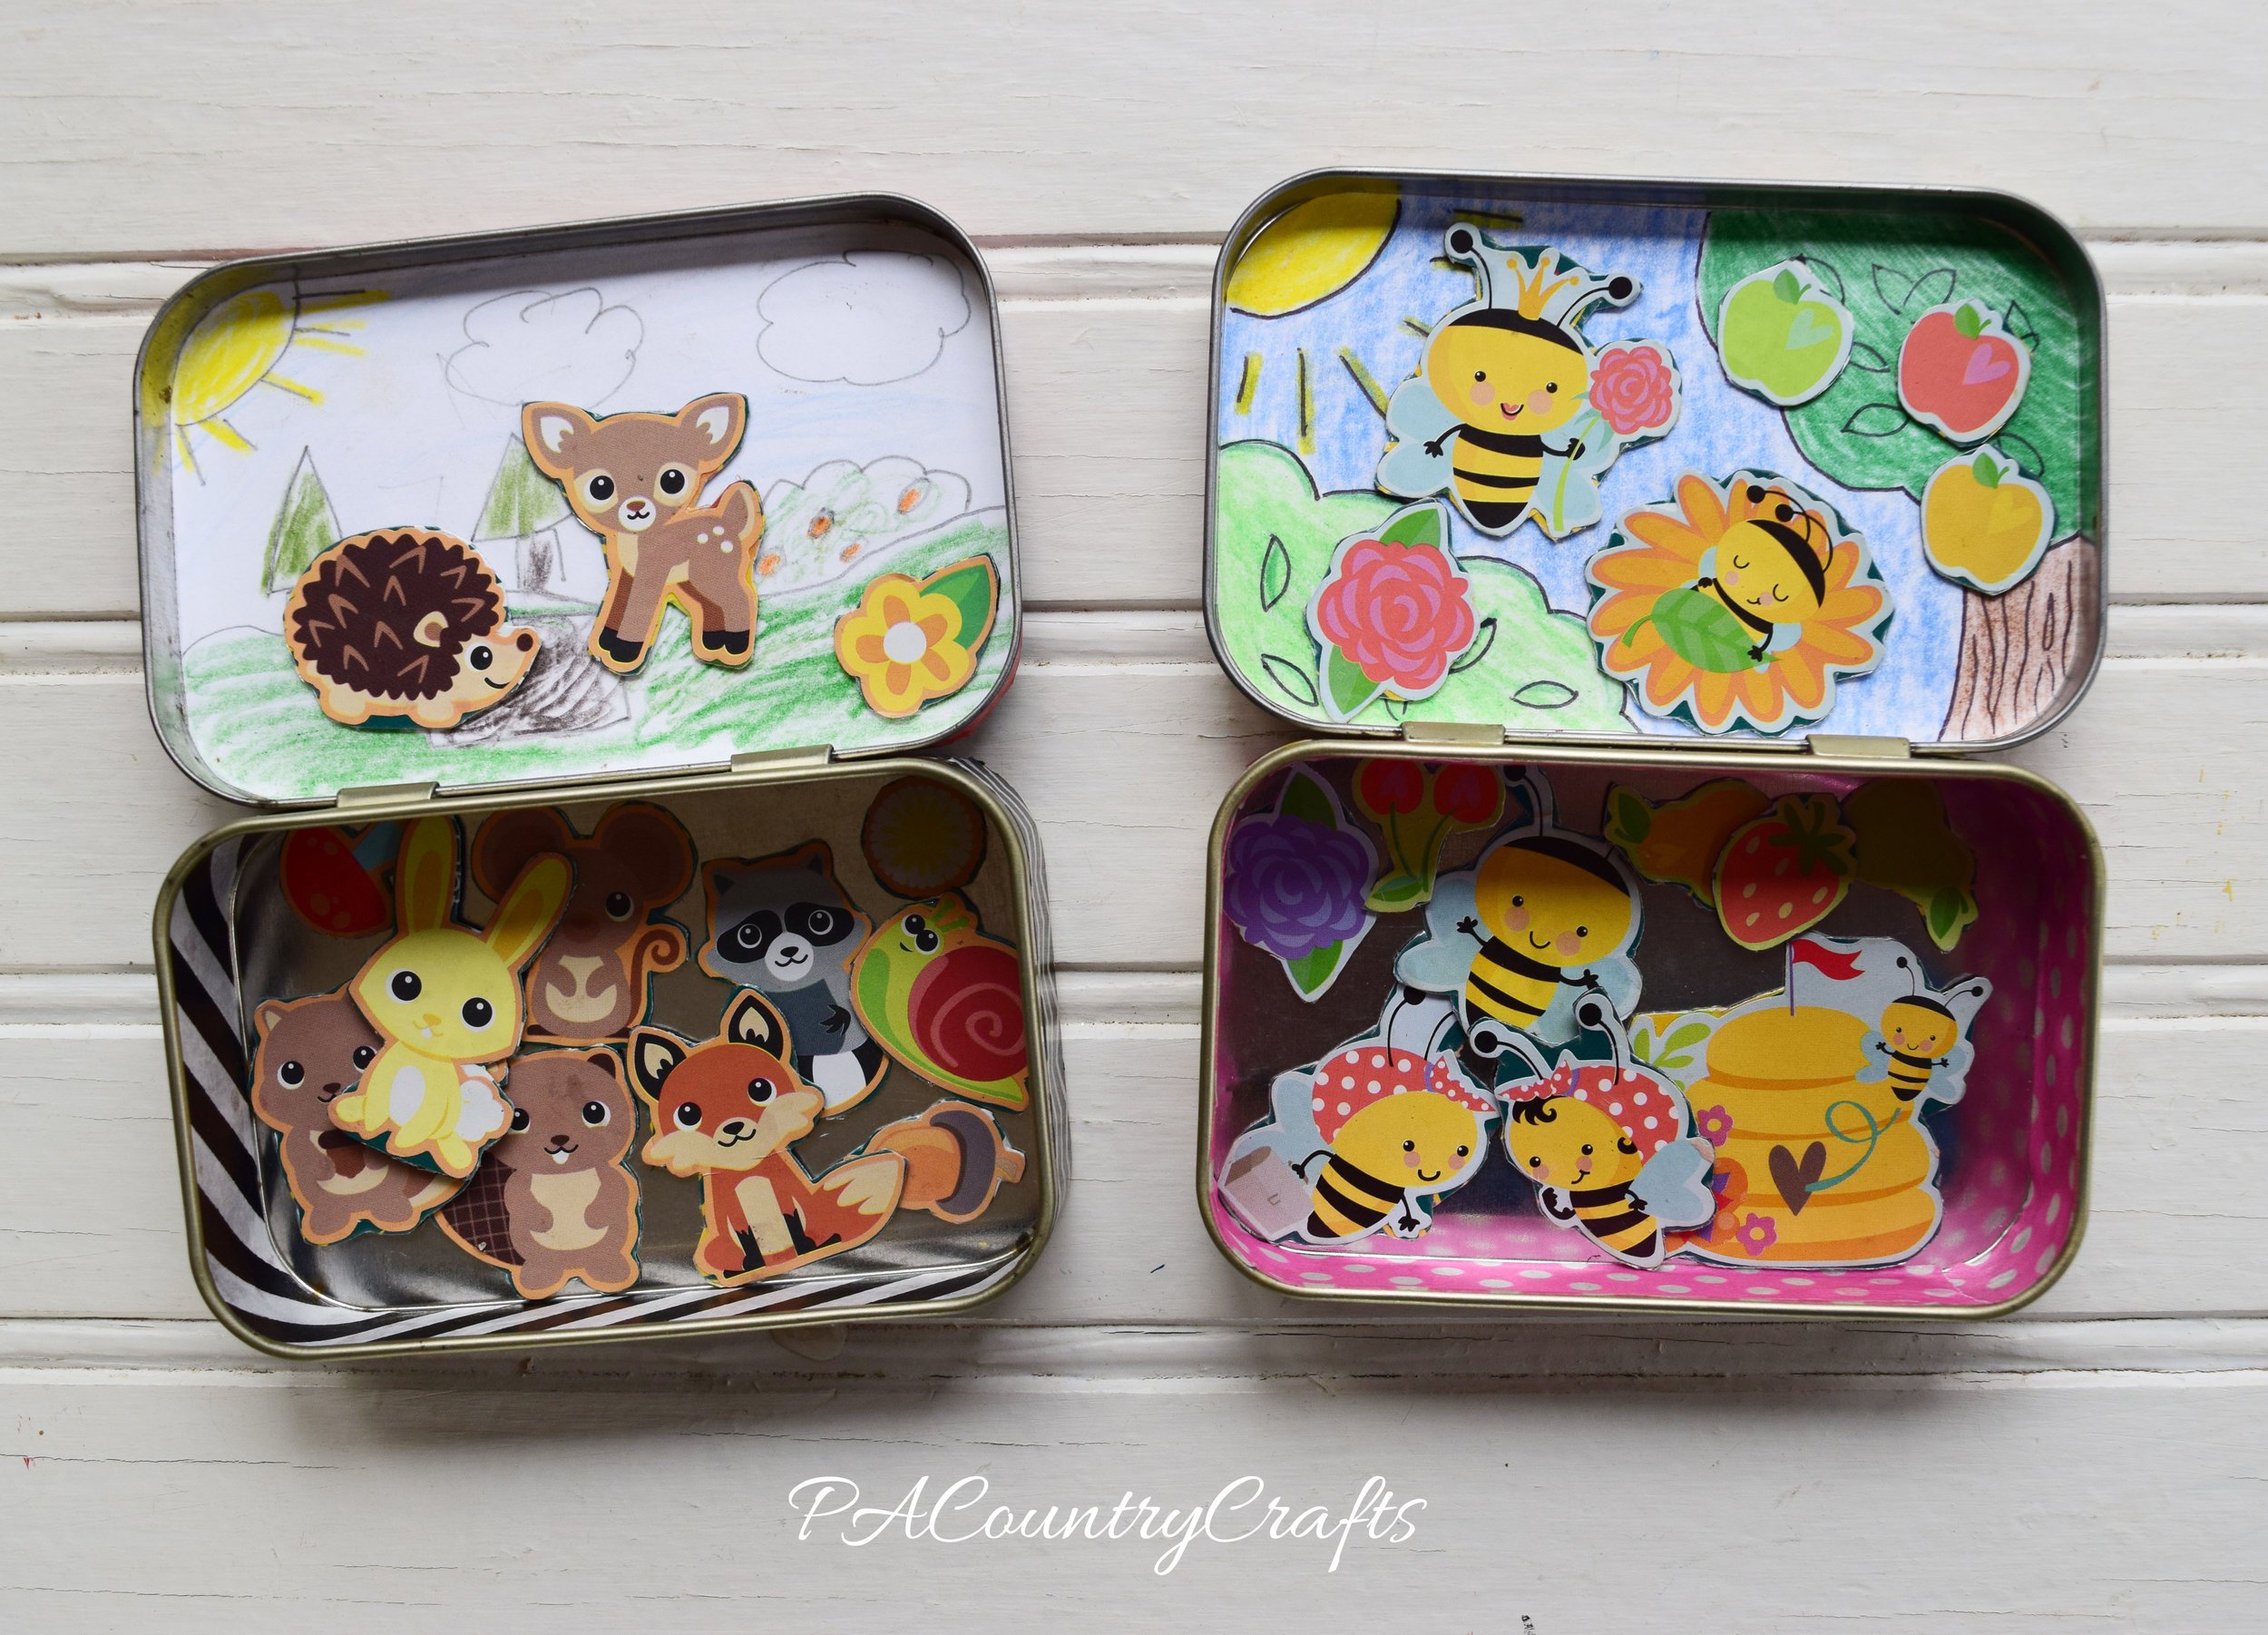
As a safer alternative, I made magnetic boards for the younger students. I mod podged scrapbook paper to cookie sheets and hung them on the wall. I added magnetic tape to the backs of little bins to hold the magnets (I would recommend hot gluing it though!) I also made some coordinating magnets using scapbook paper, mod podge, stickers, and wood. For their animals, I spreay painted the inside of an Amazon box and used paint pen to draw animals on them, and cut them out, and used putty to hang them on the wall.
My sister had dry erase boards for each student and I also bought them clipboards. I thought that she could take them back to her desk to attach the work for the day to each one, then hang them back up. I also spray painted and decorated those.
The curtains are made from a Pillowfort flat sheet that I got at Target. I used a solid navy flat sheet for the bottom edge to stretch the fabric and hopefully show less dirt where kids might tough them. For above the windows I resized and printed THIS free books of the Bible poster. On the other side we hung sign language alphabet flash cards. Under the windows I hung maps that I ripped out of an atlas. On the back wall I hung a number line that I found at Ollie’s. (I was way too excited about finding a number line!) Oh, and there are alphabet wall stickers from Dollar Tree under the window, too.
At the end of the makeover I did a “grand reveal” since I had been keeping the decor and details a secret. That was especially fun, but the entire project was a much needed burst of creativity and mental challenge. I just hope the space is a bit more fun and functional for the everyone!
You may also like…


