Kids Easter Canvas Paintings
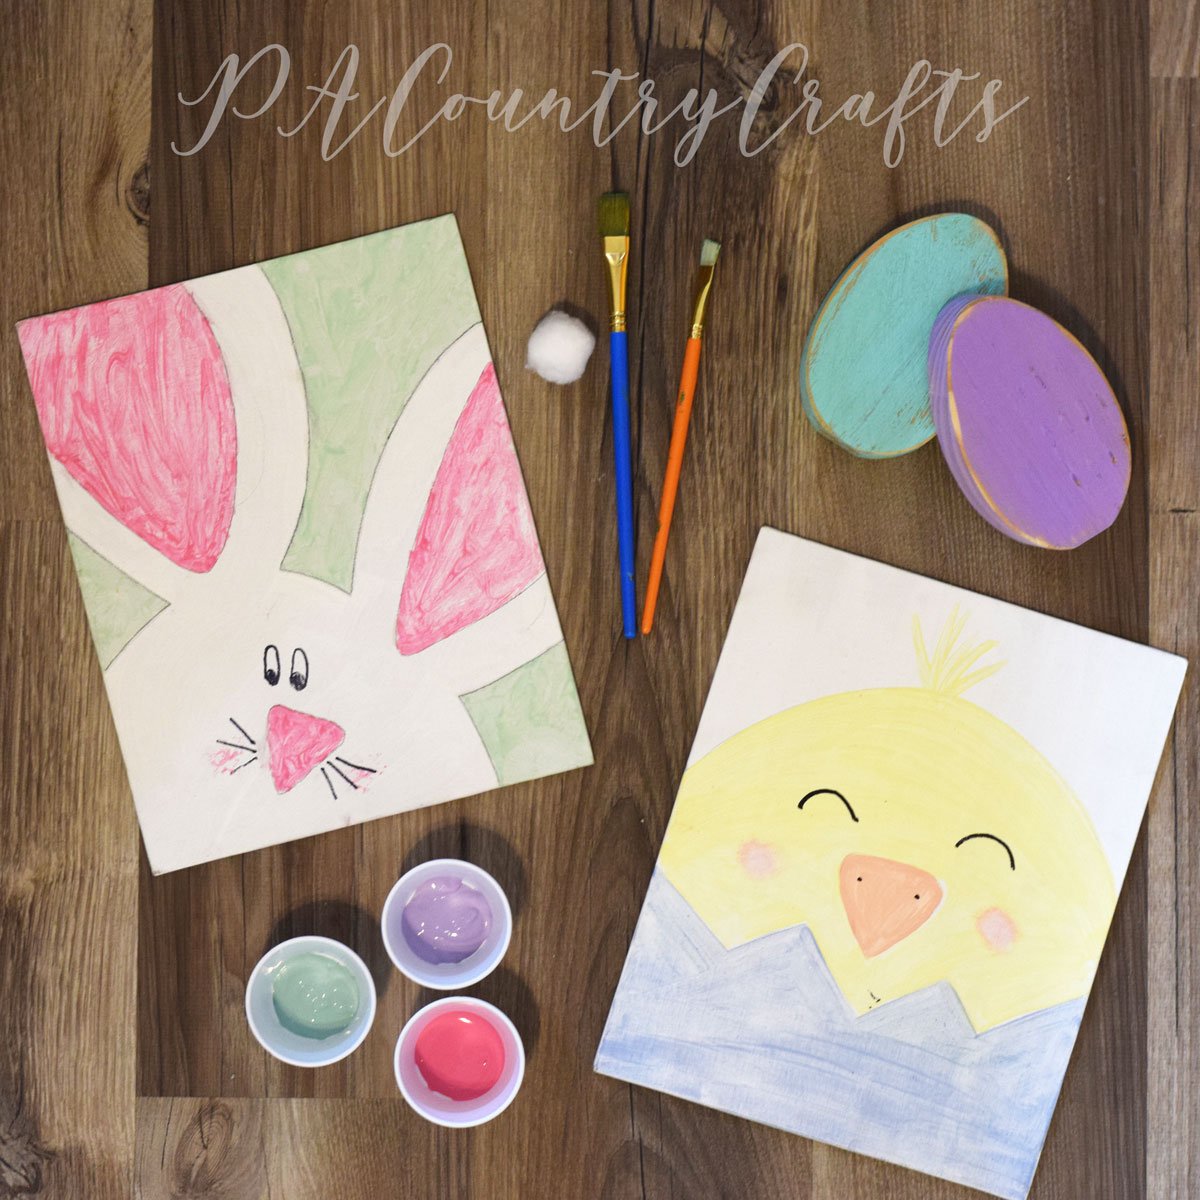
/I think I have mentioned a few times that it is my last year as an elementary parent and I am way more tired than sad. I have taken my turn as class parent a few times and I am always too exhausted to actually get the cute crafts we did posted to the blog. So today, I present to you: Kids Easter Canvas Paintings from 2019-2022.
Paint parties were all the rage back in 2019 and this was a very simple, calm class party (which was miraculous for that particular group of kids). We did this all together in one big group and then they built towers with jelly beans and toothpicks while we passed out the snack. The teacher also did this with the kids two years later when class parties were limited because of Covid.
Since it went so well, we did another version last year. This time, the kids were rotating through various Easter stem stations so they completed it in smaller groups.
I don’t really need a full, step-by-step tutorial for this one, but I will explain in detail what we did to make this go a bit easier.
Kids Easter Canvas Paintings
Start with 8x10 flat canvas panels. Wrapped canvases are harder to paint and less likely to survive the bus ride home.
Use the templates (links at the end) to trace the outlines onto each canvas lightly in pencil.
Before the kids begin painting, have them write their names in pencil on the back of the canvas.
We used washable paint. The coverage is not stellar but the decreased risk of stains was worth it to me.
Washable paints usually only come in bright colors. To get pastel paints, mix white paint with the brighter colors in other bottles or jars with lids.
Small brushes are cheap and make it easier to do the smaller details and edges. Wider brushed make it go faster but are less likely to stay in the lines. We just went with the small, basic kids brushes.
Each child will need one brush per paint color. Trust me. It is easier than setting out cups of water to clean them. Someone or several someones spill the water or mix the colors together accidentally.
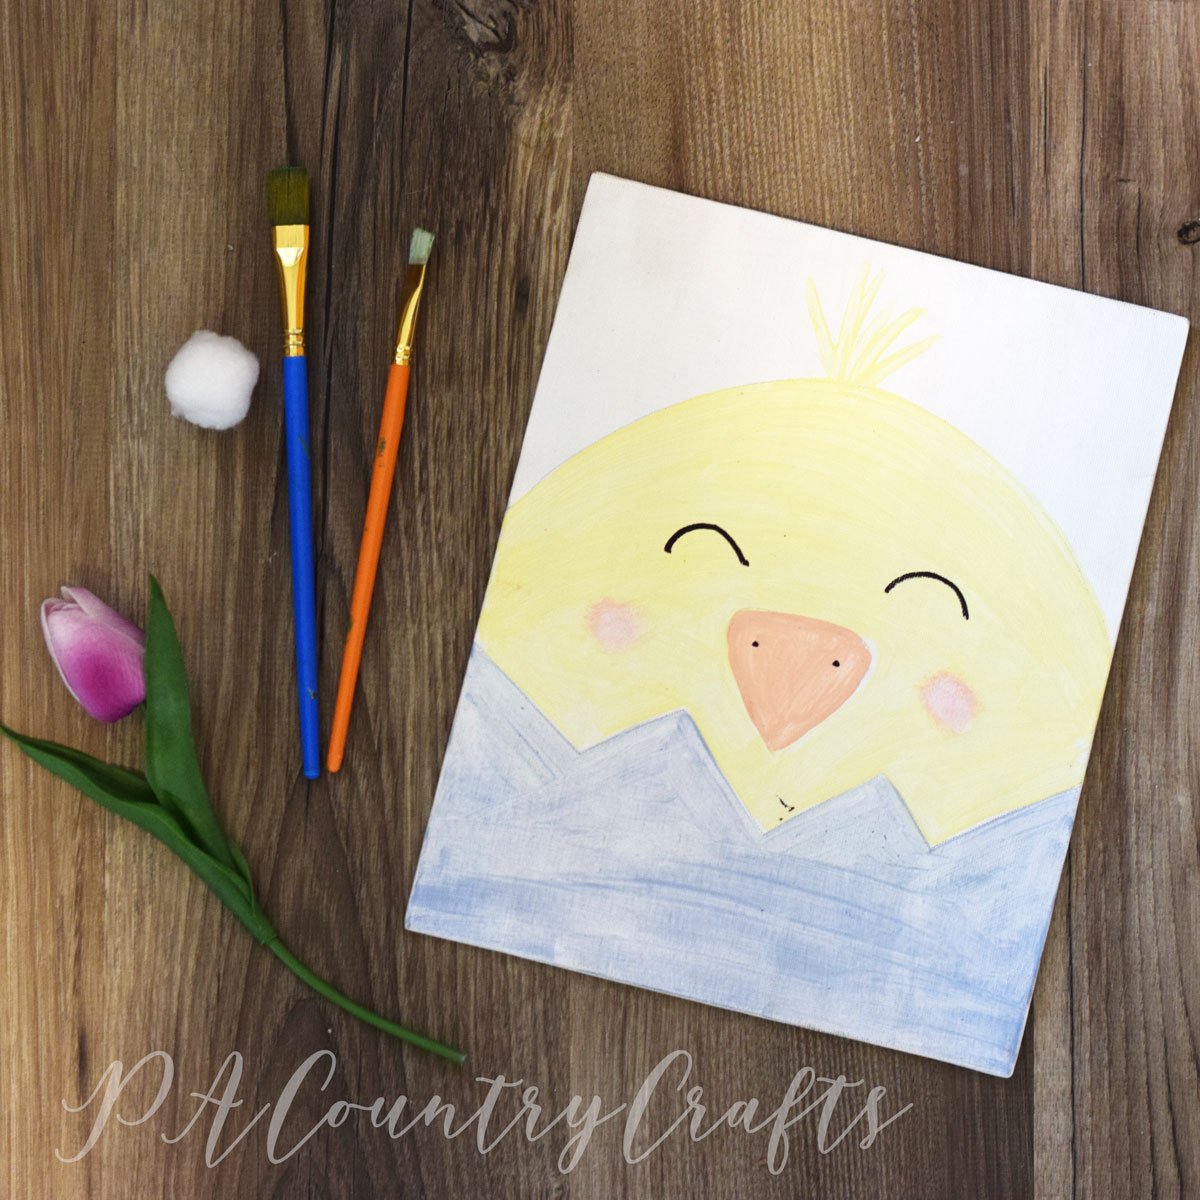
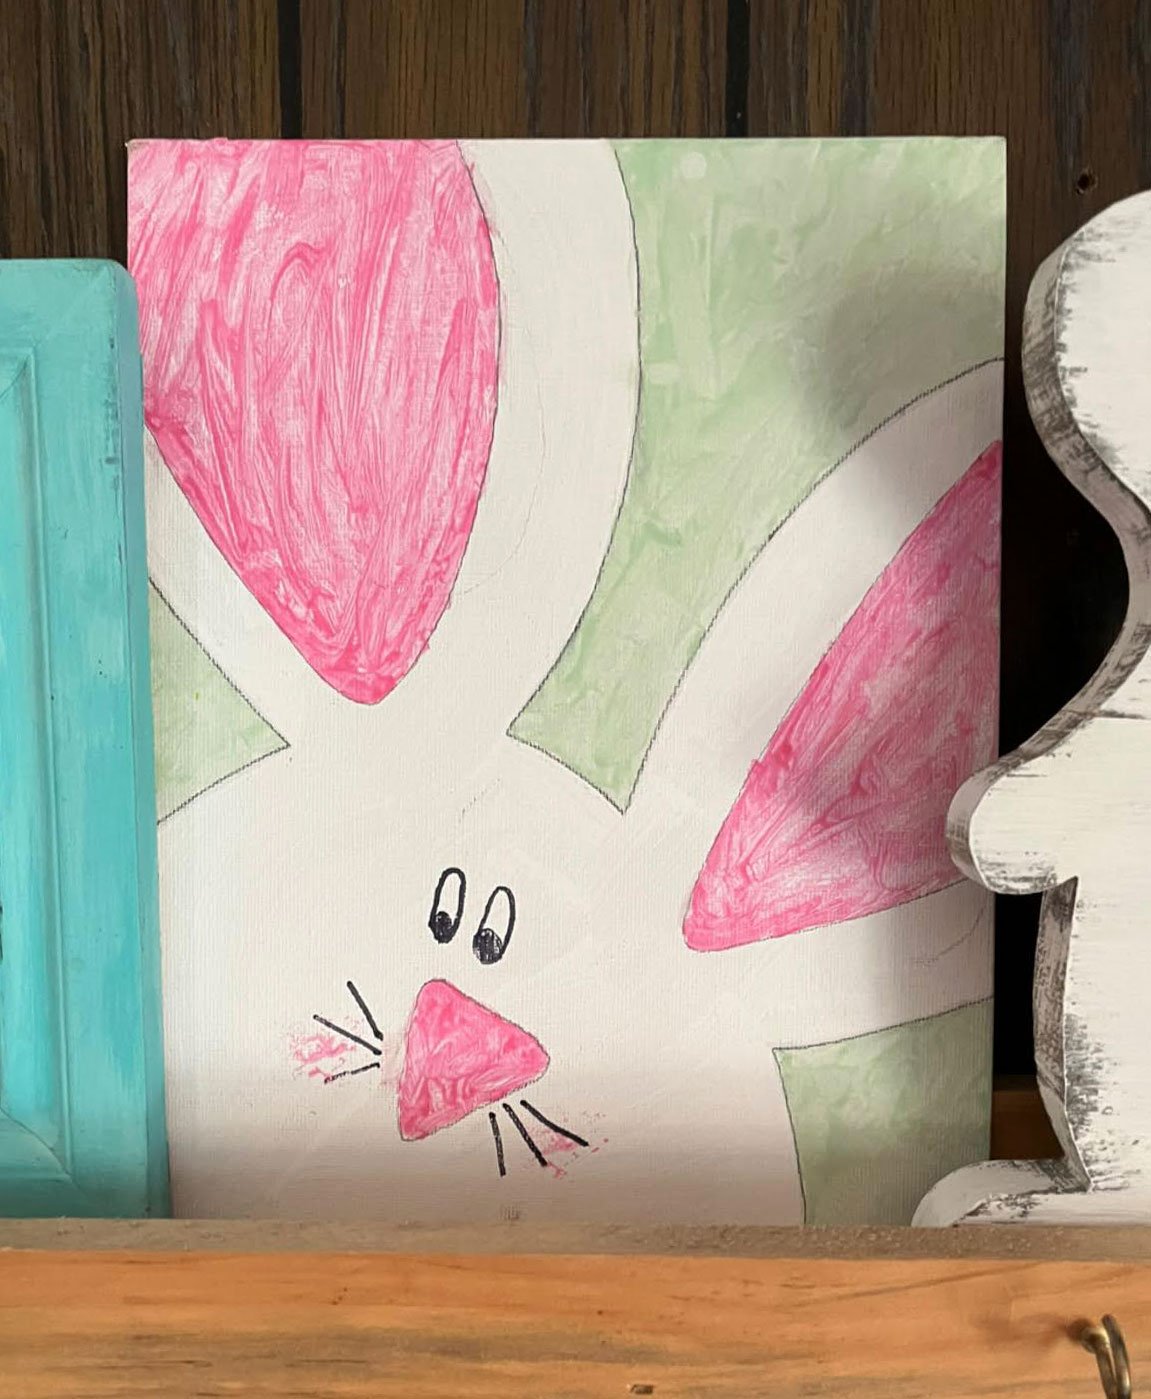
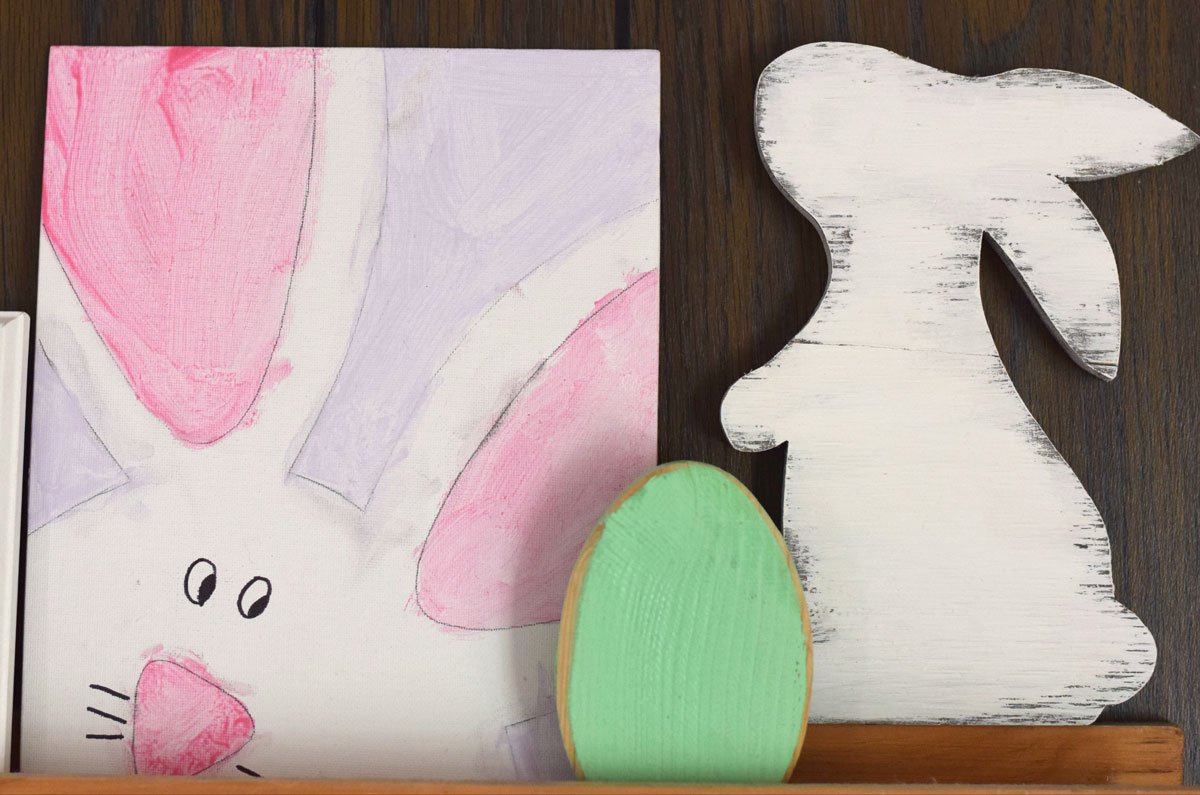
Use condiment cups or small bathroom cups for the paint. Each child will only need 1 Tbsp or so of paint. For the bunny they needed pink and one other color (we left all of the bunnies white - from the canvas - to keep it easy!) For the chick they chose a chick and shell color in addition to a small amount of orange.
When the paint is dried, use cotton balls to make the cheeks. I had the kids dab the extra paint off on a paper towel until it got light enough to leave a blush effect.
Finally, use black markers to add details. Permanent markers if you are brave. Some kids really got carried away with this part.
It is definitely best to do this activity first if you are using it for a party. The paint can dry while having a snack or doing other games/activities.
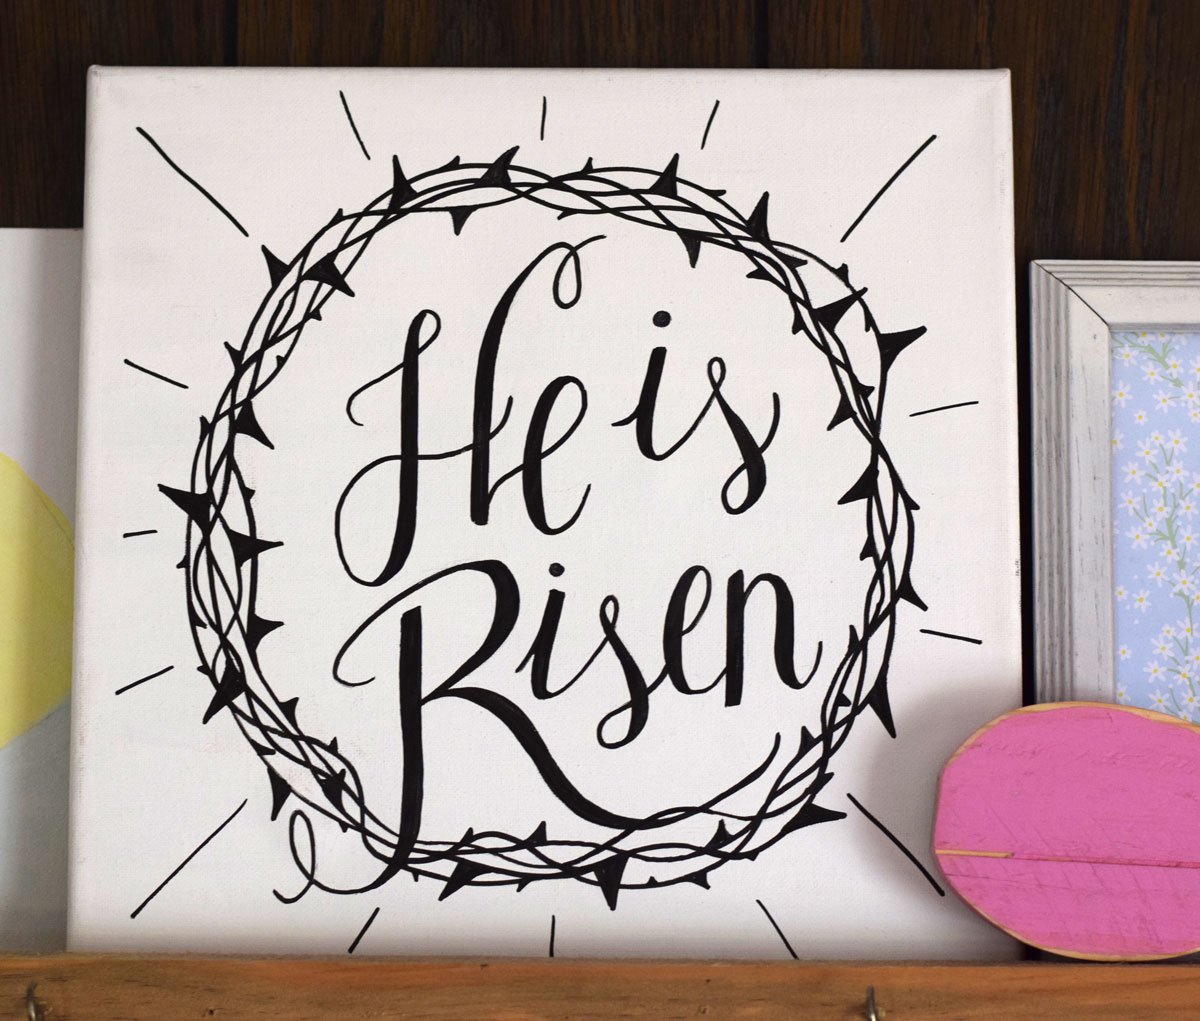
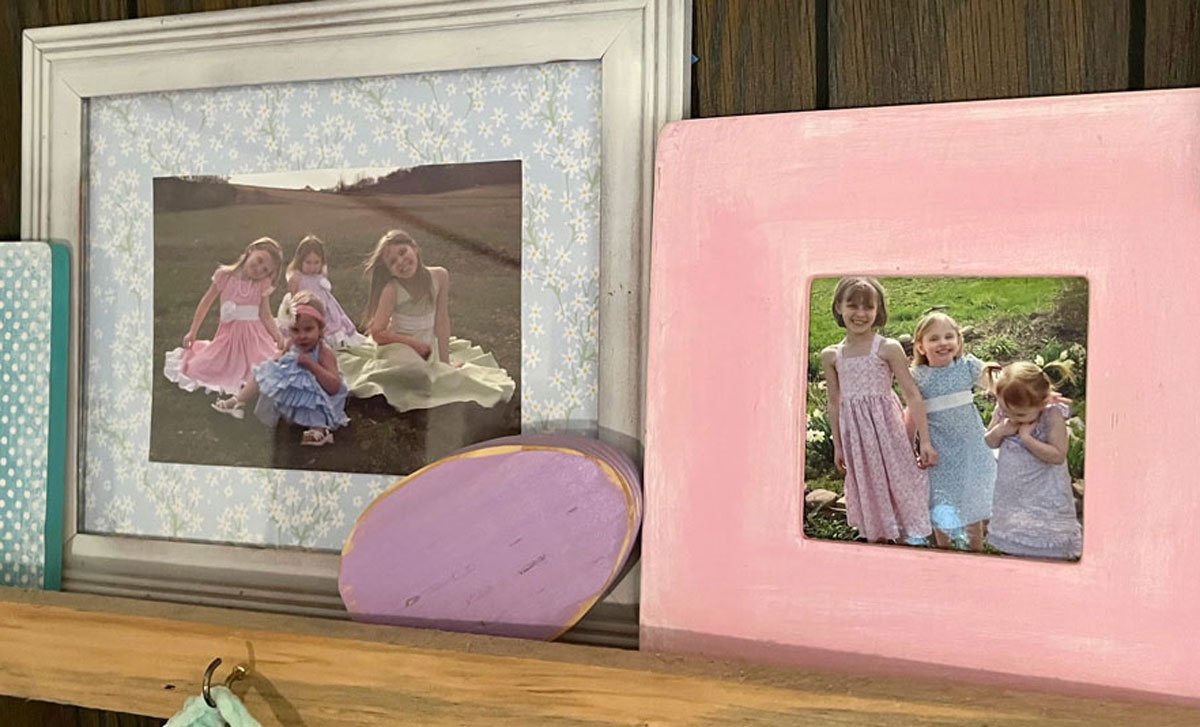
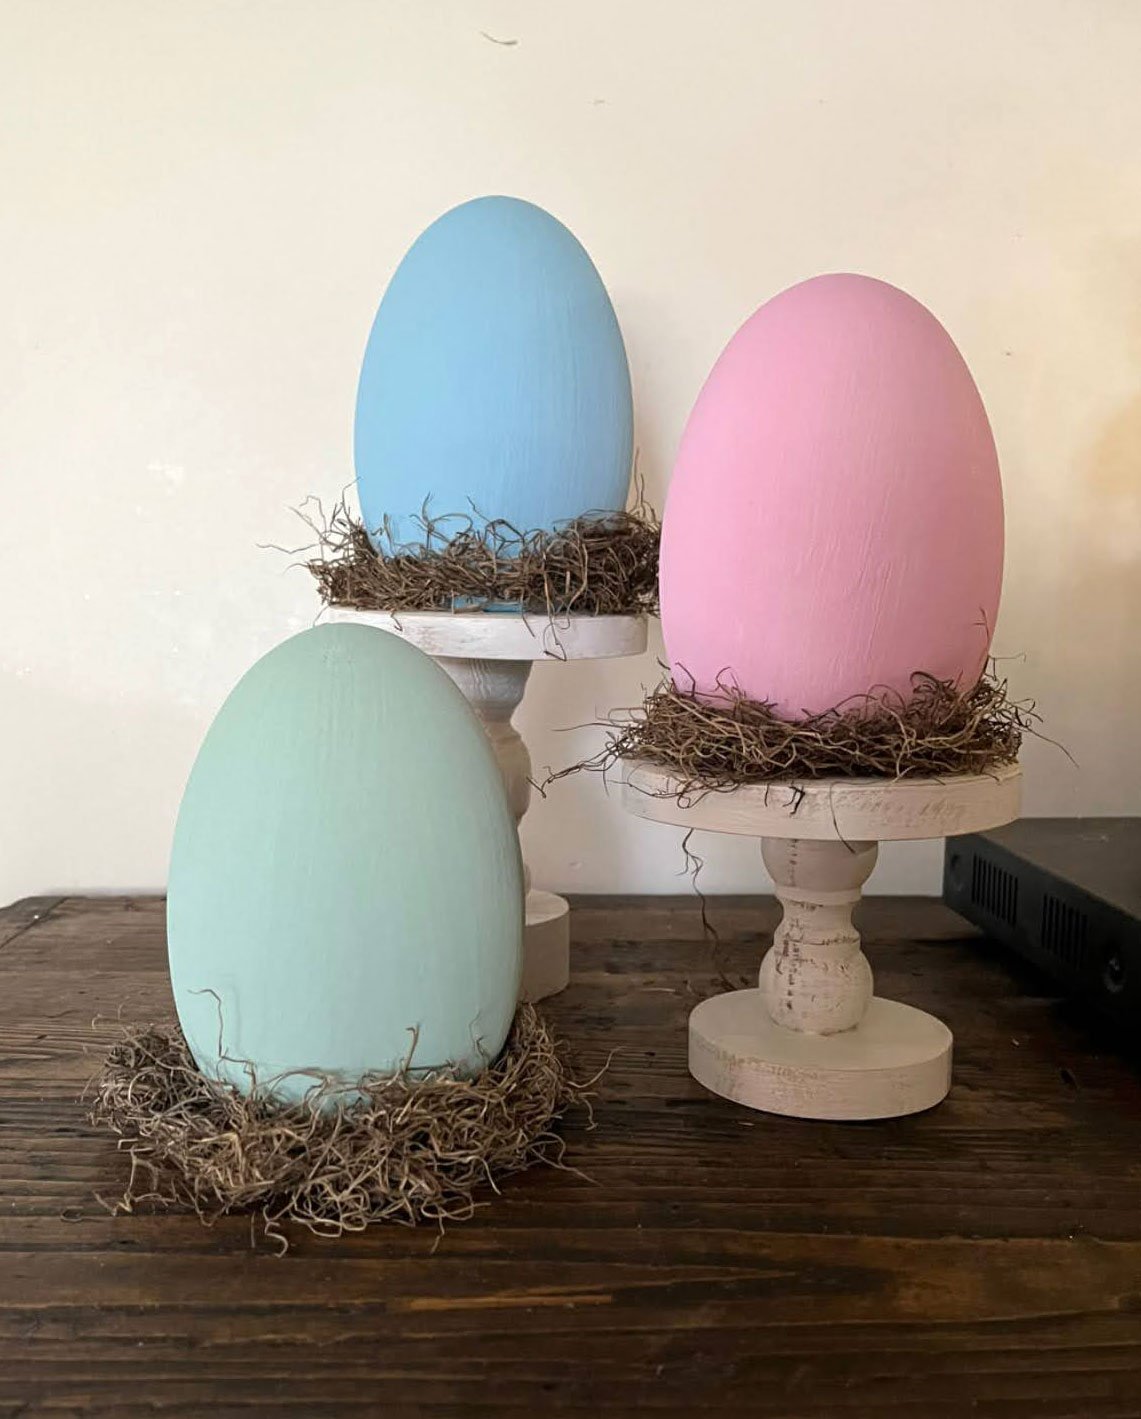
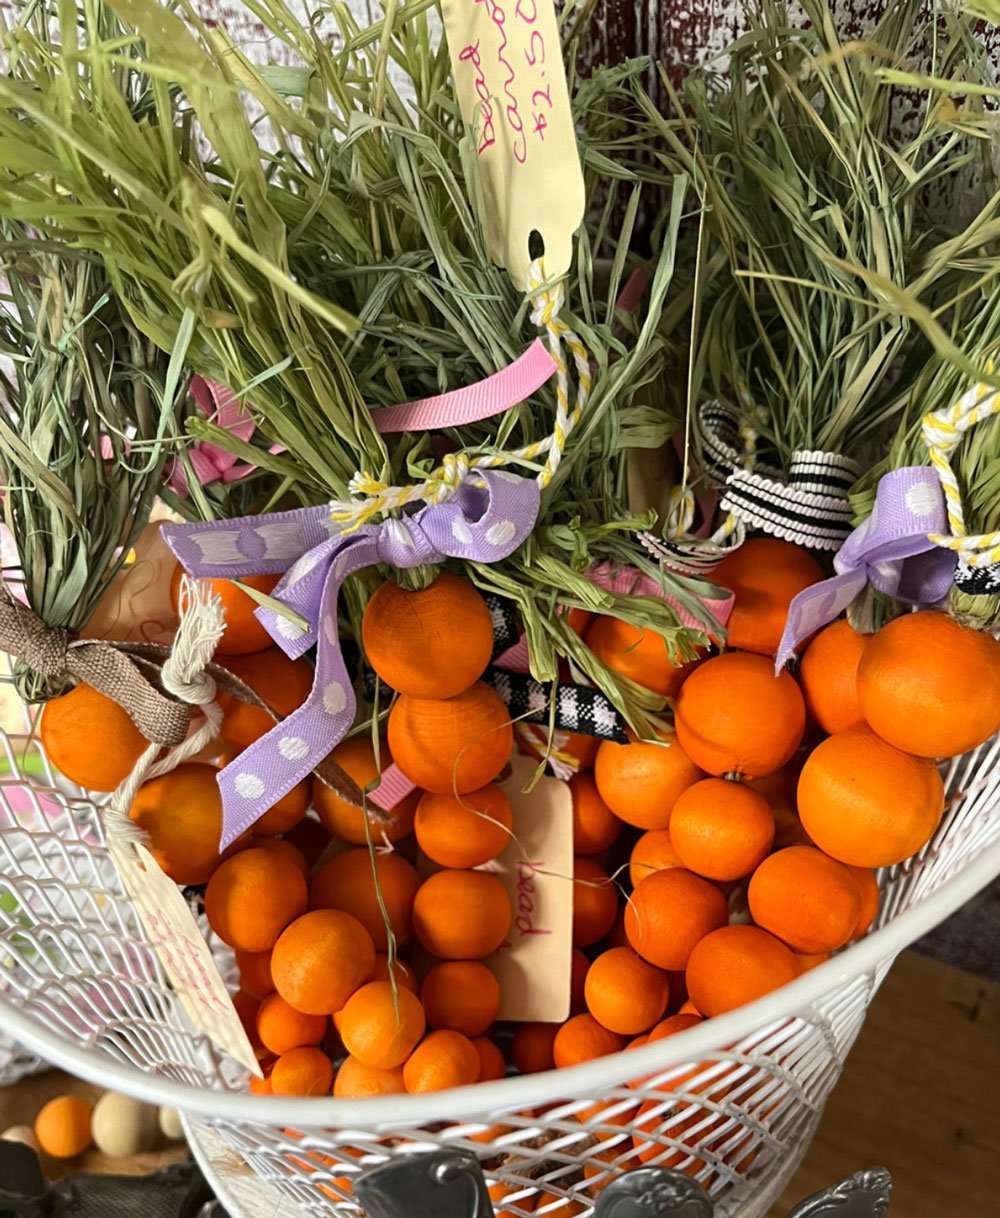
I usually decorate the collage shelf in my living room with old pictures of the kids from around Easter. These canvases fit nicely with the framed photographs. Then I work in some other items that I have made for my vendor space at Sunbury Station.
I digitized the templates (mine are cut from old file folders) and saved them as pfd and svg files. You can print the pdf and cut it by hand or use a cutting machine with the svg files.
Bunny Canvas Template
Chick Canvas Template
If you want to pin it for later…
You may also like…


