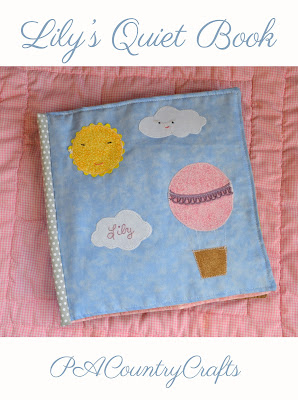
Lily's Quiet Book ~ Cover Pages
/
So, I guess I might be back to blogging a little bit. I mean, don't expect anything consistent from me. Quiet moments like I am having right now are far and few between. Yeah, I could be folding laundry, but I just don't feel like it. It has been a long week.
Since I have been away for so long, I have a lot of crafty projects that I have done in the meantime. I snapped a few pictures of them, so I will go ahead and schedule some blog posts while I have some time that I am claiming for myself right now.
First up is a quiet book that I made for my cousin's daughter,Lily. I put a lot of thought and effort into this one. Her parents are missionaries in Mexico and this was their first Christmas there. I kinda' stalked their facebook page a little bit to get ideas of what Lily might like. Her hot air balloon first birthday party was the inspiration for the cover page.

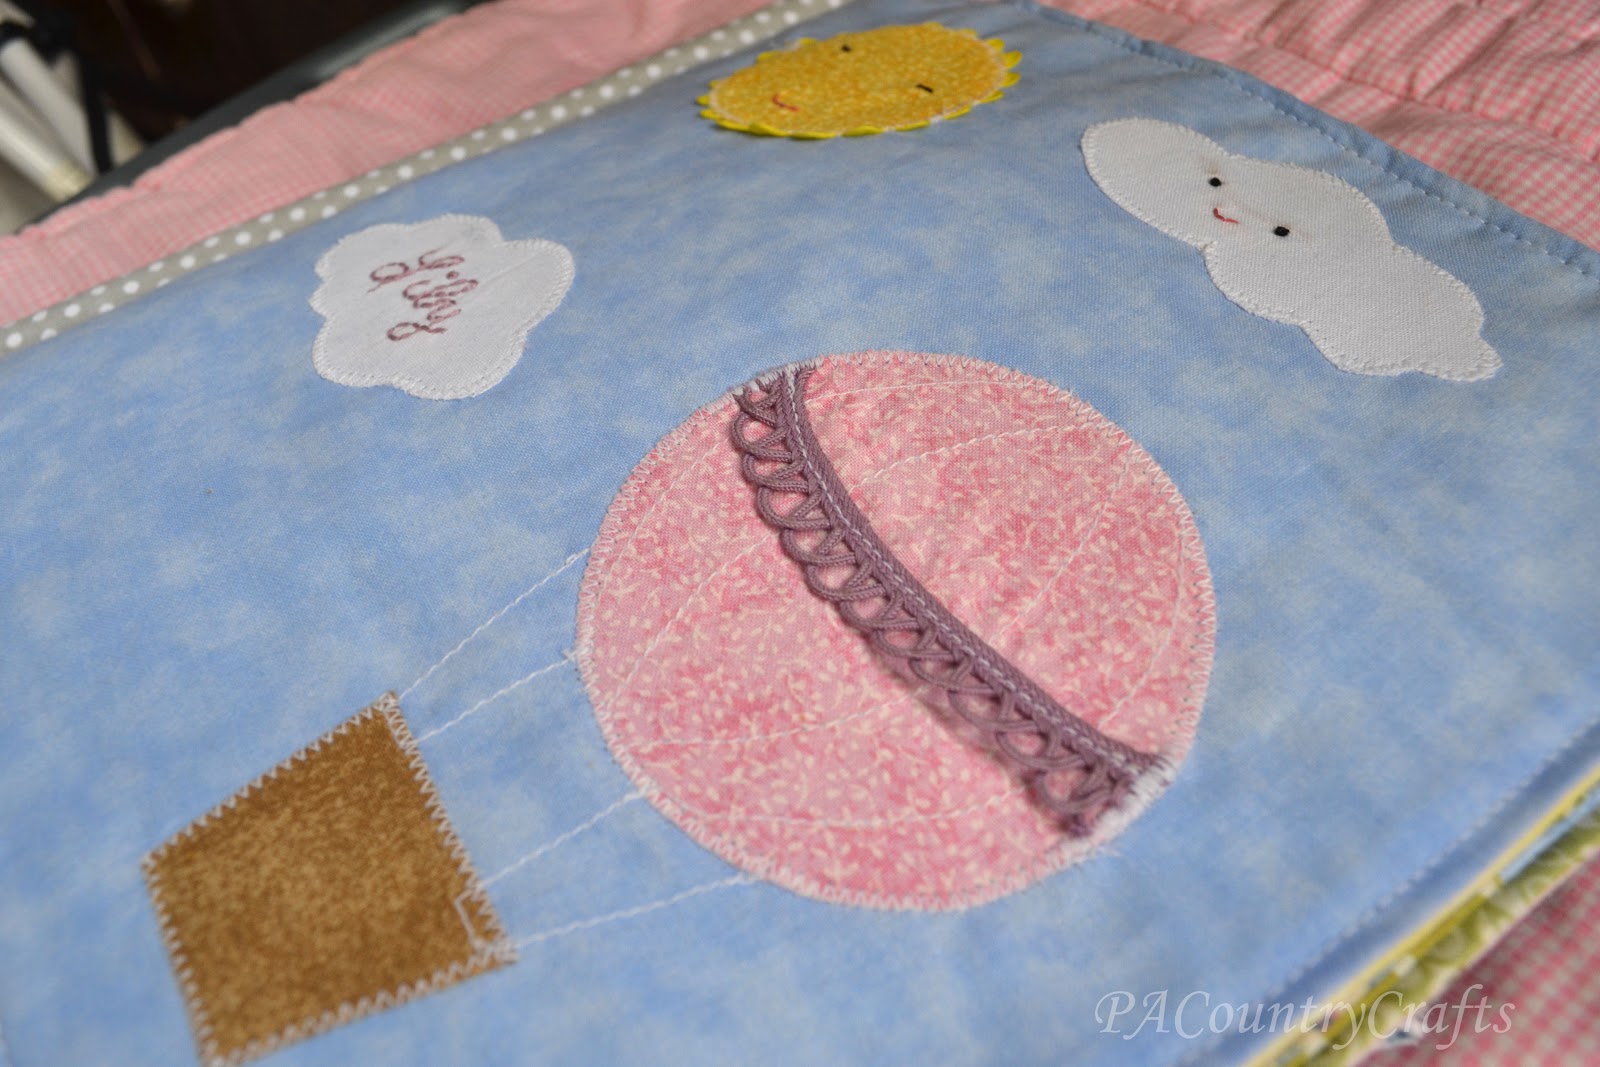
I used a sky blue fabric for the background and added clouds and a sun with embroidered faces. The sun has yellow ric rac around the edges (and a tiny mistake that drives me crazy). On the lower cloud I embroidered her name.


The hot air balloon includes this fun vintage trim that I got at a thrift store.

I used gray polka dot fabric for the binding. It was left over from a tie that I made for my son to match his sisters' Easter dresses a few years ago. (He said it was "girly" and wouldn't wear it anyway.) I also stitched around the edges of all of the pages and it really makes them more crisp.
In hindsight, I wish I had made everything larger. The empty space bothers me. It was still a fun concept.
I can't really show you the front without showing the back... they sorta' go together.

I found this fun blue fabric that matches the front, except it has tiny white stars all over it. I embroidered a little face on the moon and I think it is adorable!

Since this one was going so far away I added a label with my initials and the year embroidered onto it. Also, if you look close you can see my stitches for the binding- I do it just like quilt binding and fold the ends over and tuck them in at the top and bottom.

I am getting a few more posts ready to go for next week or so, so keep checking back if you want to see the rest!