Sunrise Dress Tutorial
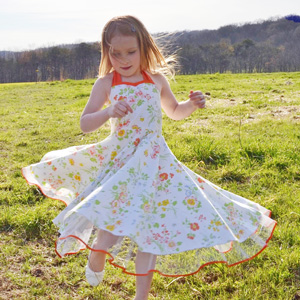
/I am going to be totally honest here. This was my least favorite dress when we sketched out all of the designs. In the end, I LOVED it! Sometimes my 10yo's fashion ideas make me raise an eyebrow, but it was her dress, so I went along with it. Yeah, she was right.
This time.
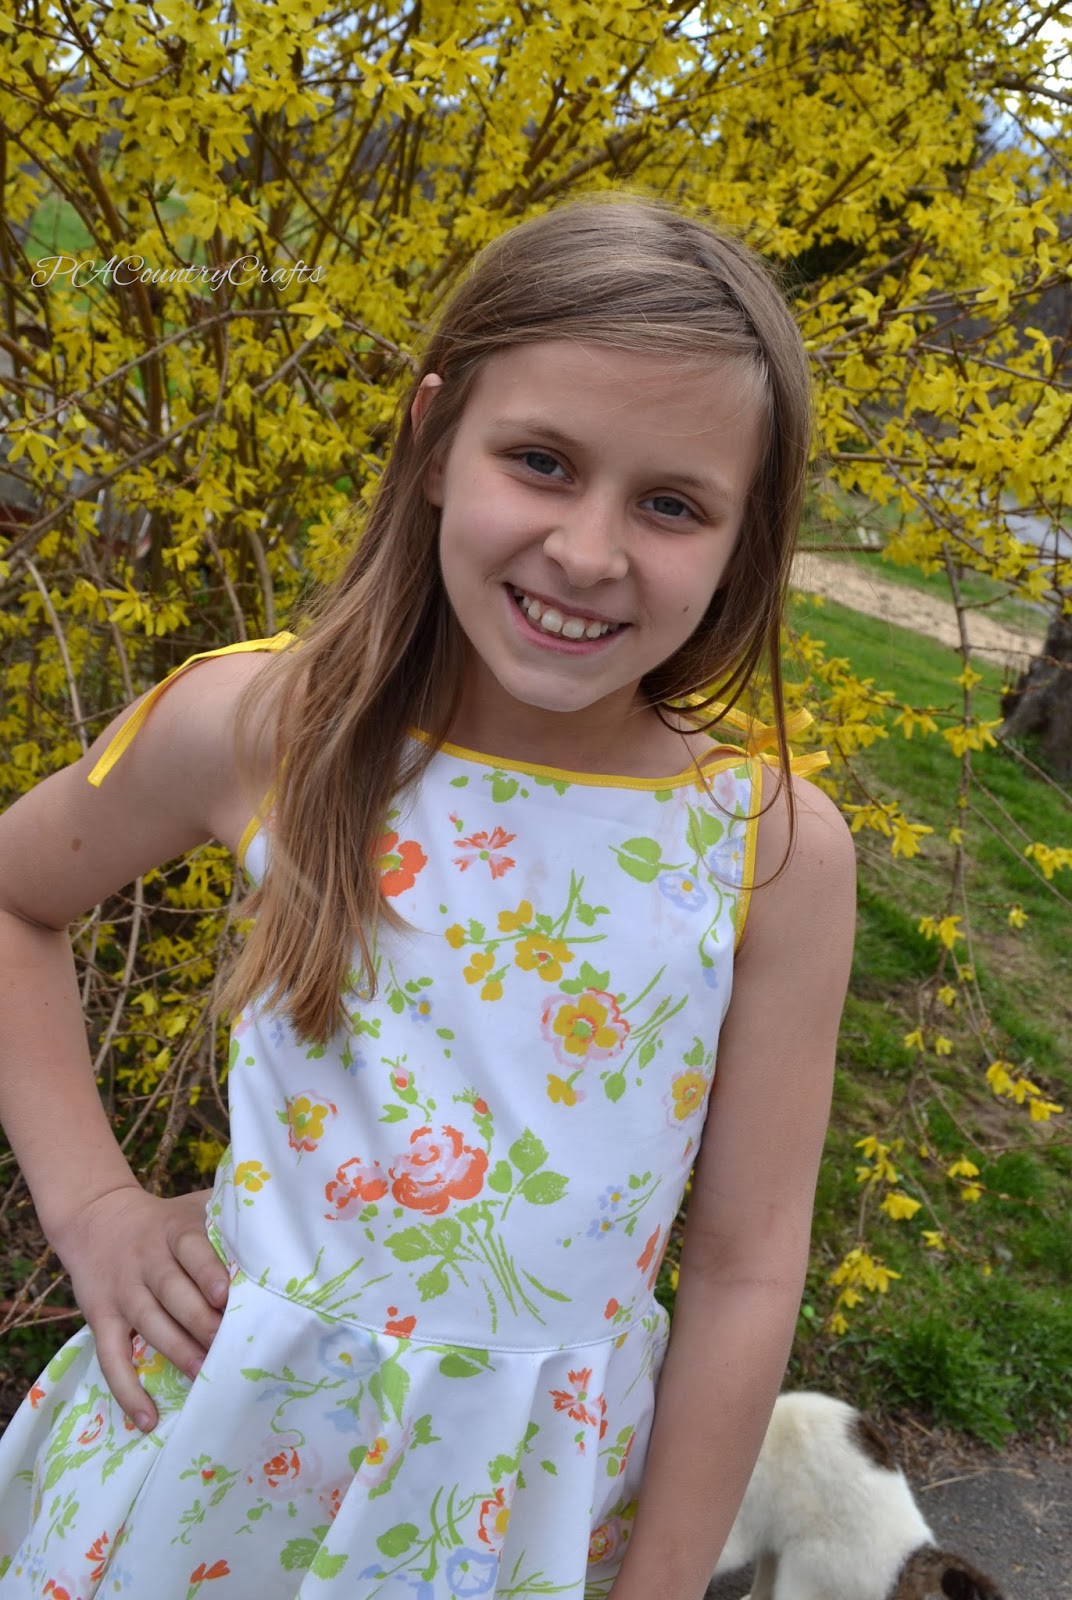


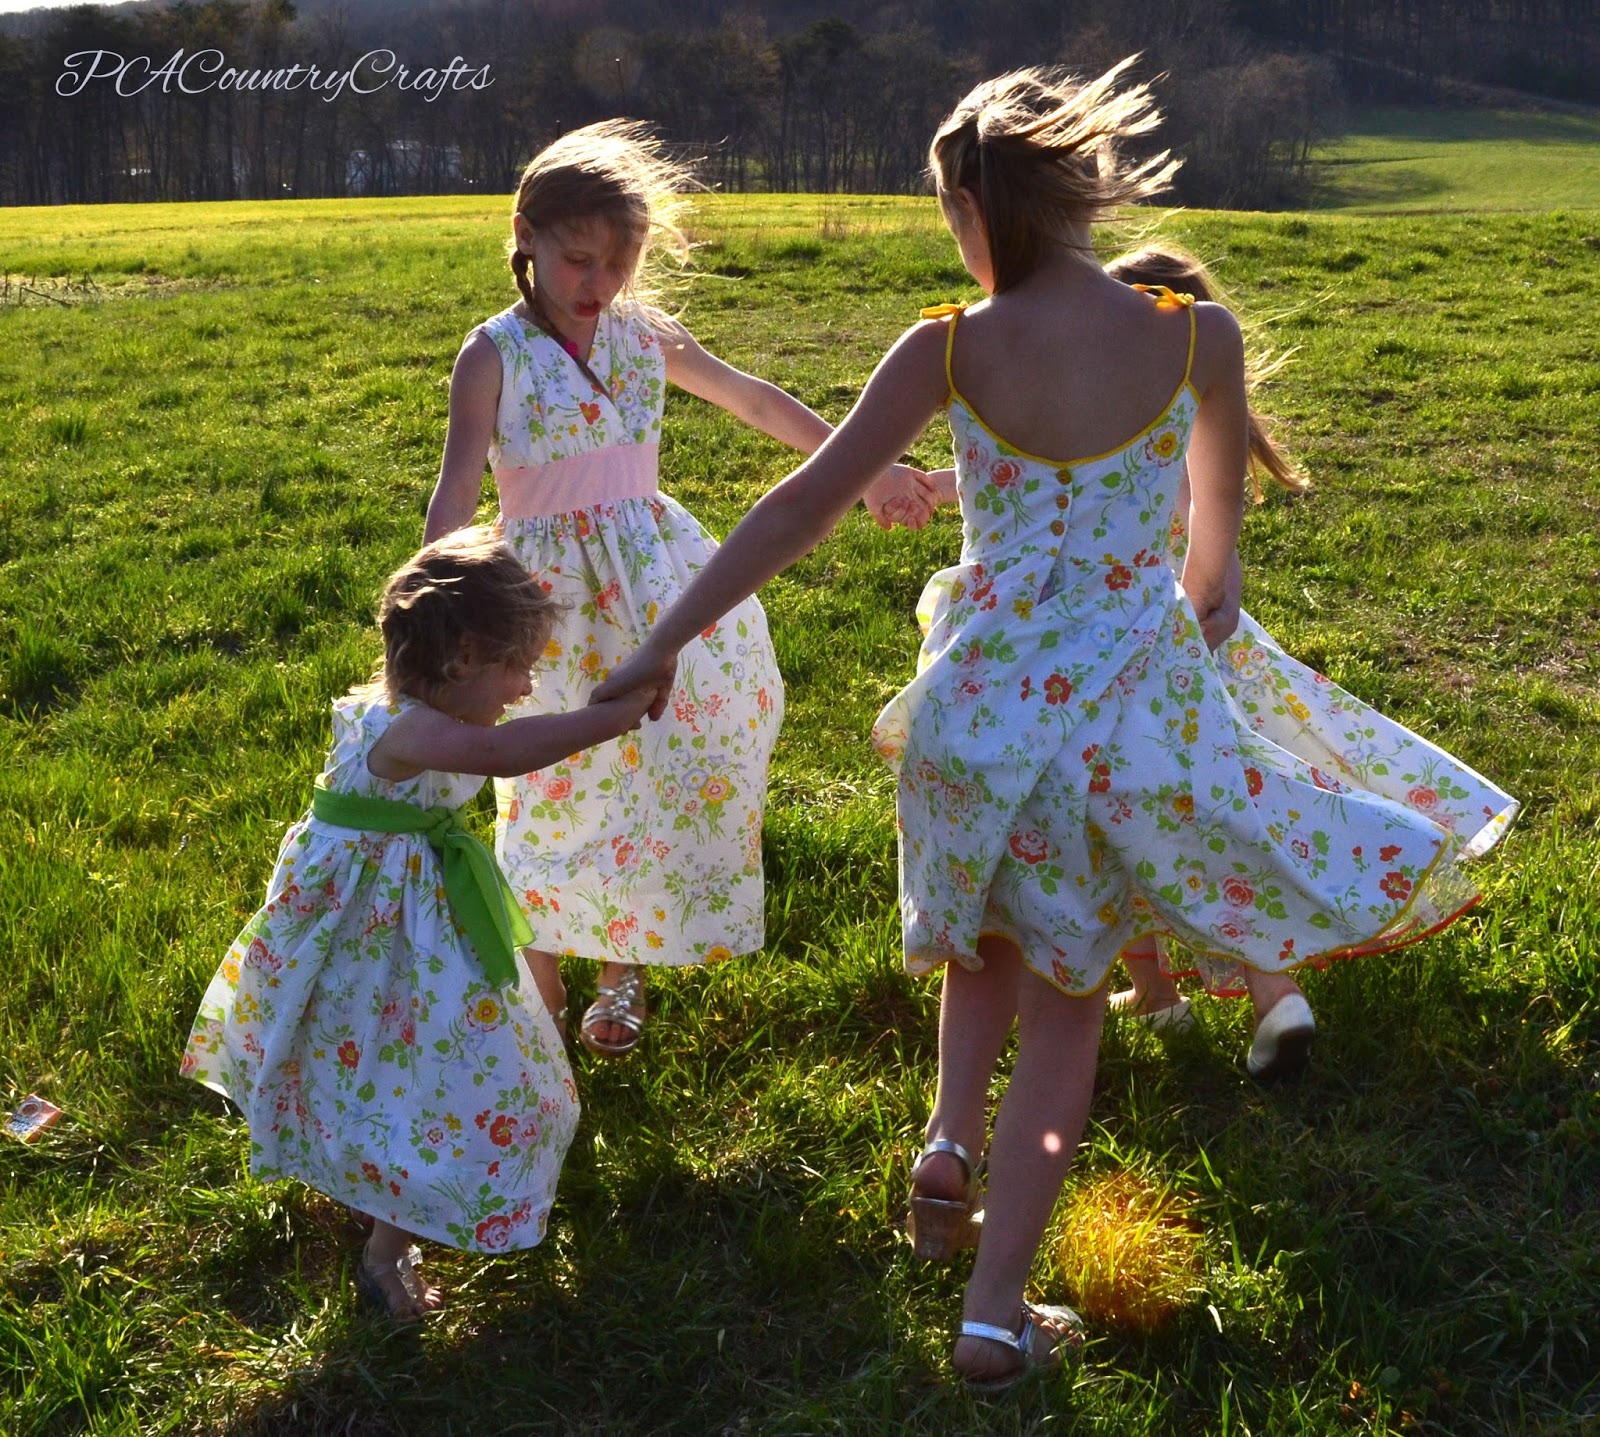
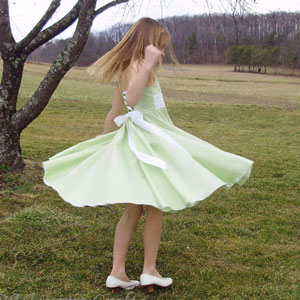
I pushed for a wide neckline and scoop back because I knew it would look great on her body type. Those elements are consistent with the vintage, 1950s style I was aiming for with the dresses. She insisted on a high-low dress (which crushed my poofy, petticoat dreams) and a circle skirt. She may try to act older than she really is, but she still loves twirling in a circle skirt.

I think this dress would be GREAT with a brown belt, but I haven't found one for her yet. With all of the high-low features and the yellow trim, she named it the Sunrise Dress. And she wore it to Sunrise Service on Easter Sunday, so it is perfect.

So, how can you make one? Glad you asked. I found a tutorial HERE for the top. Originally, Halley wanted thin, double straps, but I found this vintage, yellow, double fold bias tape that worked out so well. Obviously, I didn't have darts, but the construction was similar.
So, draft your pattern pieces from a T-shirt that fits well. I made the top higher and wider and scooped the back down low. The only seam allowances needed are at the sides, bottom, and an inch at the center of the back for buttons. Cut one of the front fabric from the main fabric and one from the lining. Cut two backs from the main and lining fabrics, facing opposite directions.
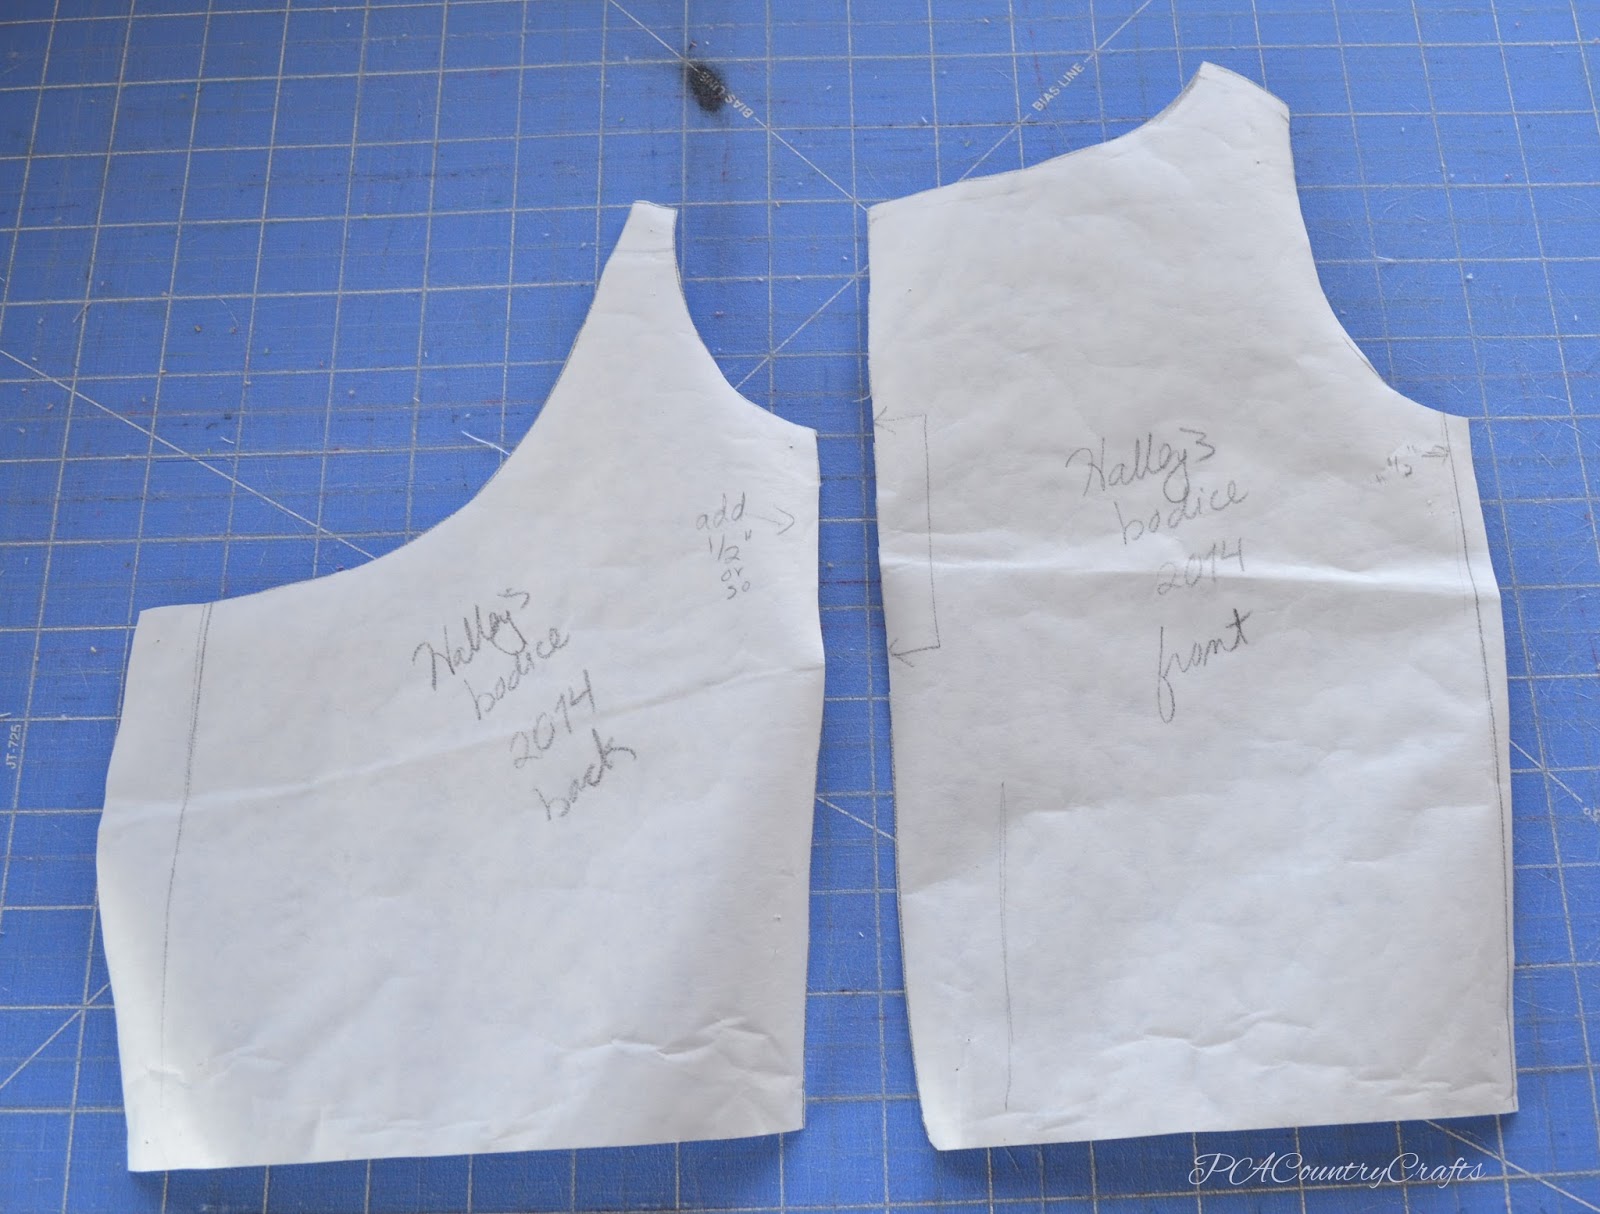
Sew the sides together of the lining and main fabric. Note, I did trim things up a little bit in the front later so that the bias tape came together tightly.

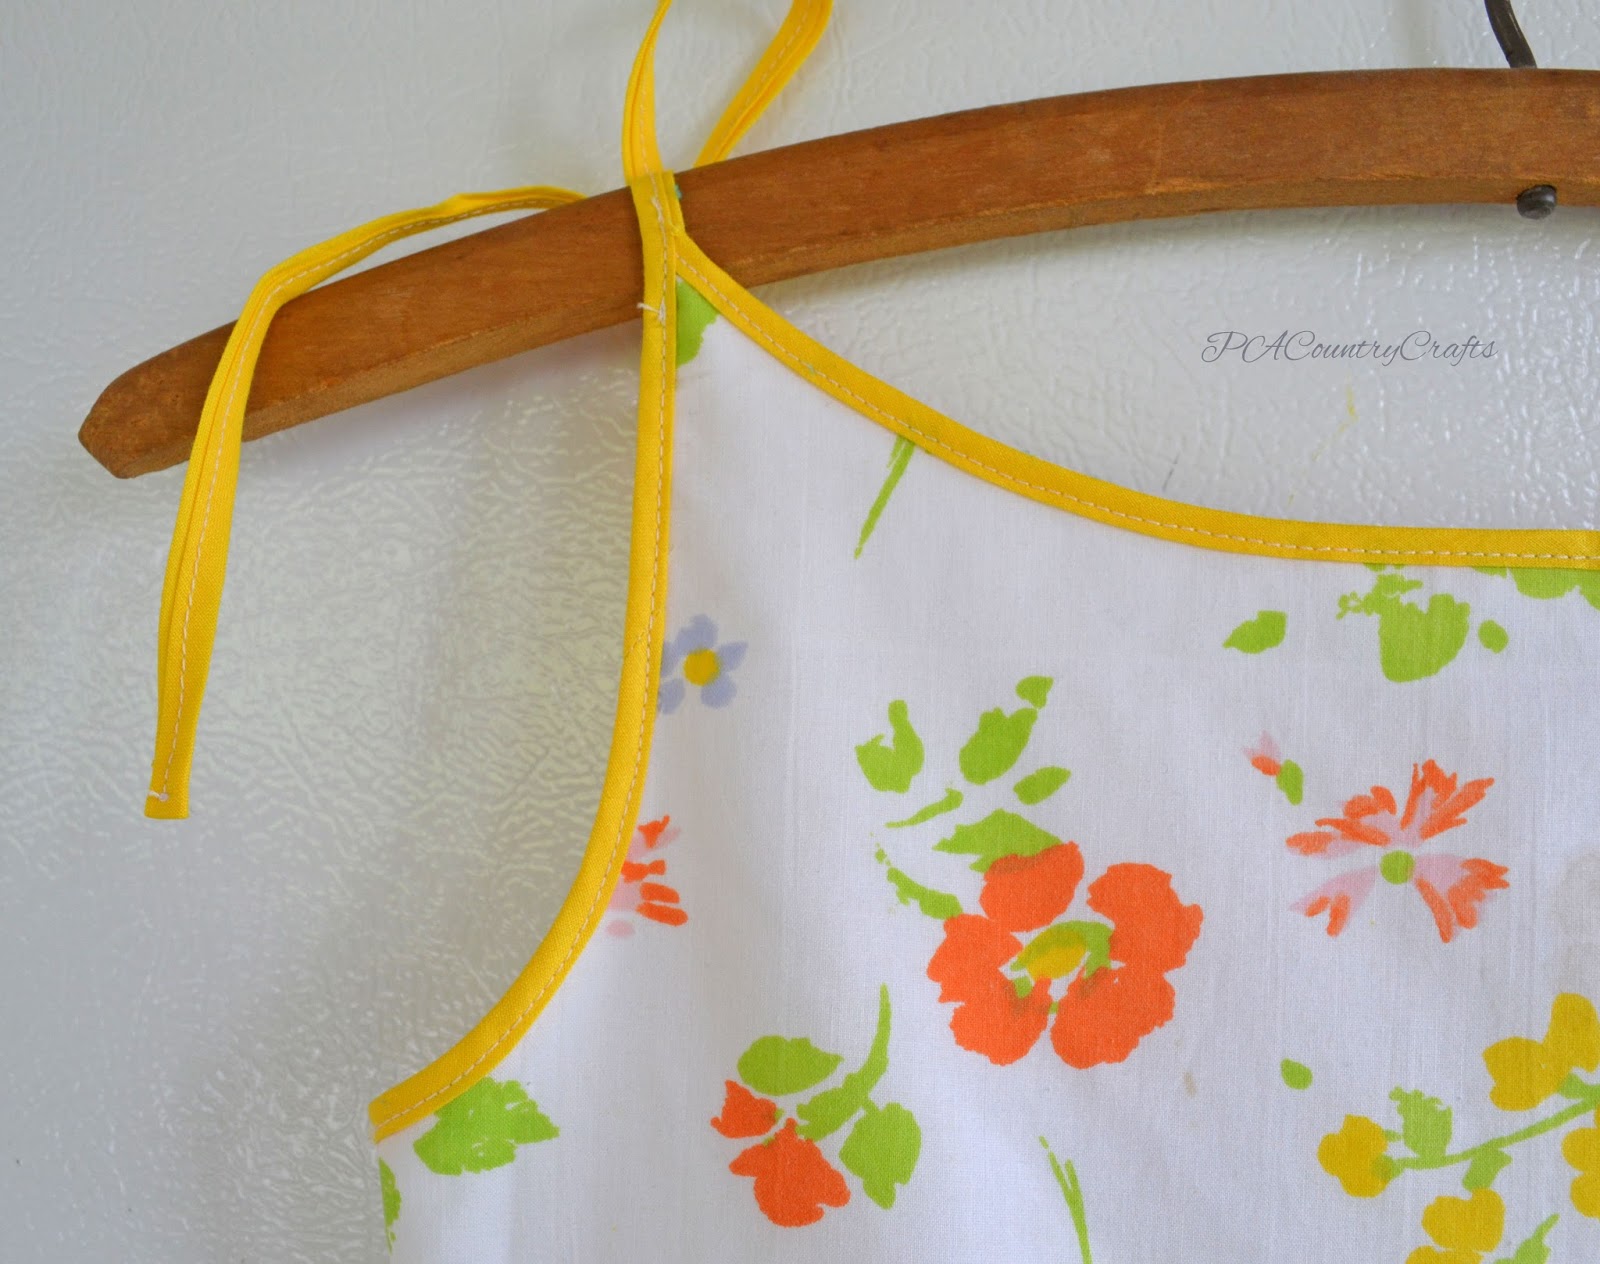
Sew the right sides of the back centers of the main fabric and lining together, then flip right side out again. Sew bias tape across the top neckline and trim (1). Sew bias tape from the back of the arm up to the front of the arm and continue for about 8 inches after the shoulder to create straps (2). I just folded the end in and tacked it in place when I got to the end. Sew bias tape from the back center and continue up past the shoulders about 10 inches for the straps again (3).

Be super careful with your sewing so that you don't miss on the back side. I had to do a lot of fixing later. A wider bias tape would be so much easier!
The skirt was fantastically easy! Cut out an arc for a basic circle skirt. I explained the measurements for that a bit last year HERE, but this is just a bit different. Let's start off with a little math.
You are working with circles, so we need to go back to all of that fun pi, radius, circumference stuff you tried to forget since school (except me because I am nerdy and enjoy that kind of thing.) The circumference measures the outside edge of a circle, like your waist when you wrap a measuring tape around it. The radius is what you would measure from the center of the circle to the outside edge. To get that radius, you need to divide the circumference by 6.28 (which is doubling pi, or 3.14.) My daughter has roughly a 23" waist so I figured 23"/6.28=3.66". We also need to figure in a little bit of "ease" or wiggle room so that the kid can actually move in this dress. The standard is an inch so, if you divide that by 4, you can add 1/4" to the radius. I just rounded it up to 3 7/8" total.
To figure out how big the circle skirt needs to be we need to do a little more math (which I think is fun!)
length of front
+
length of back
+
2 x radius of waist
Add those up and cut a big square of fabric at least that size. For Halley's skirt, it was 16" in the front, 24" in the back, and I rounded to another 8" for double the waist. The total was 48" so I cut a square that size.
Fold it in quarters. Now, take that measurement you just got and divide it in half. From the center folded corner, cut a big arc measuring that length. For us, it was 24" so I just marked it with my plastic quilting ruler. DON'T CUT THE WAIST YET!

Now, to get the high-low effect, I did it the same way as the tulle layers on the Strawberry Shortcake Ballgown I made a few years ago. Fold the fabric so that it is off-center. Measuring from the corner, the shorter side should be the length you want the front to be PLUS the radius of your waist. For Halley's dress, it was 16" + 4" for a total of 20" You can see that on the left edge of the picture. The longer edge that sticks out underneath is the back and should measure the length of the back plus the waist radius, or 28" for this dress.
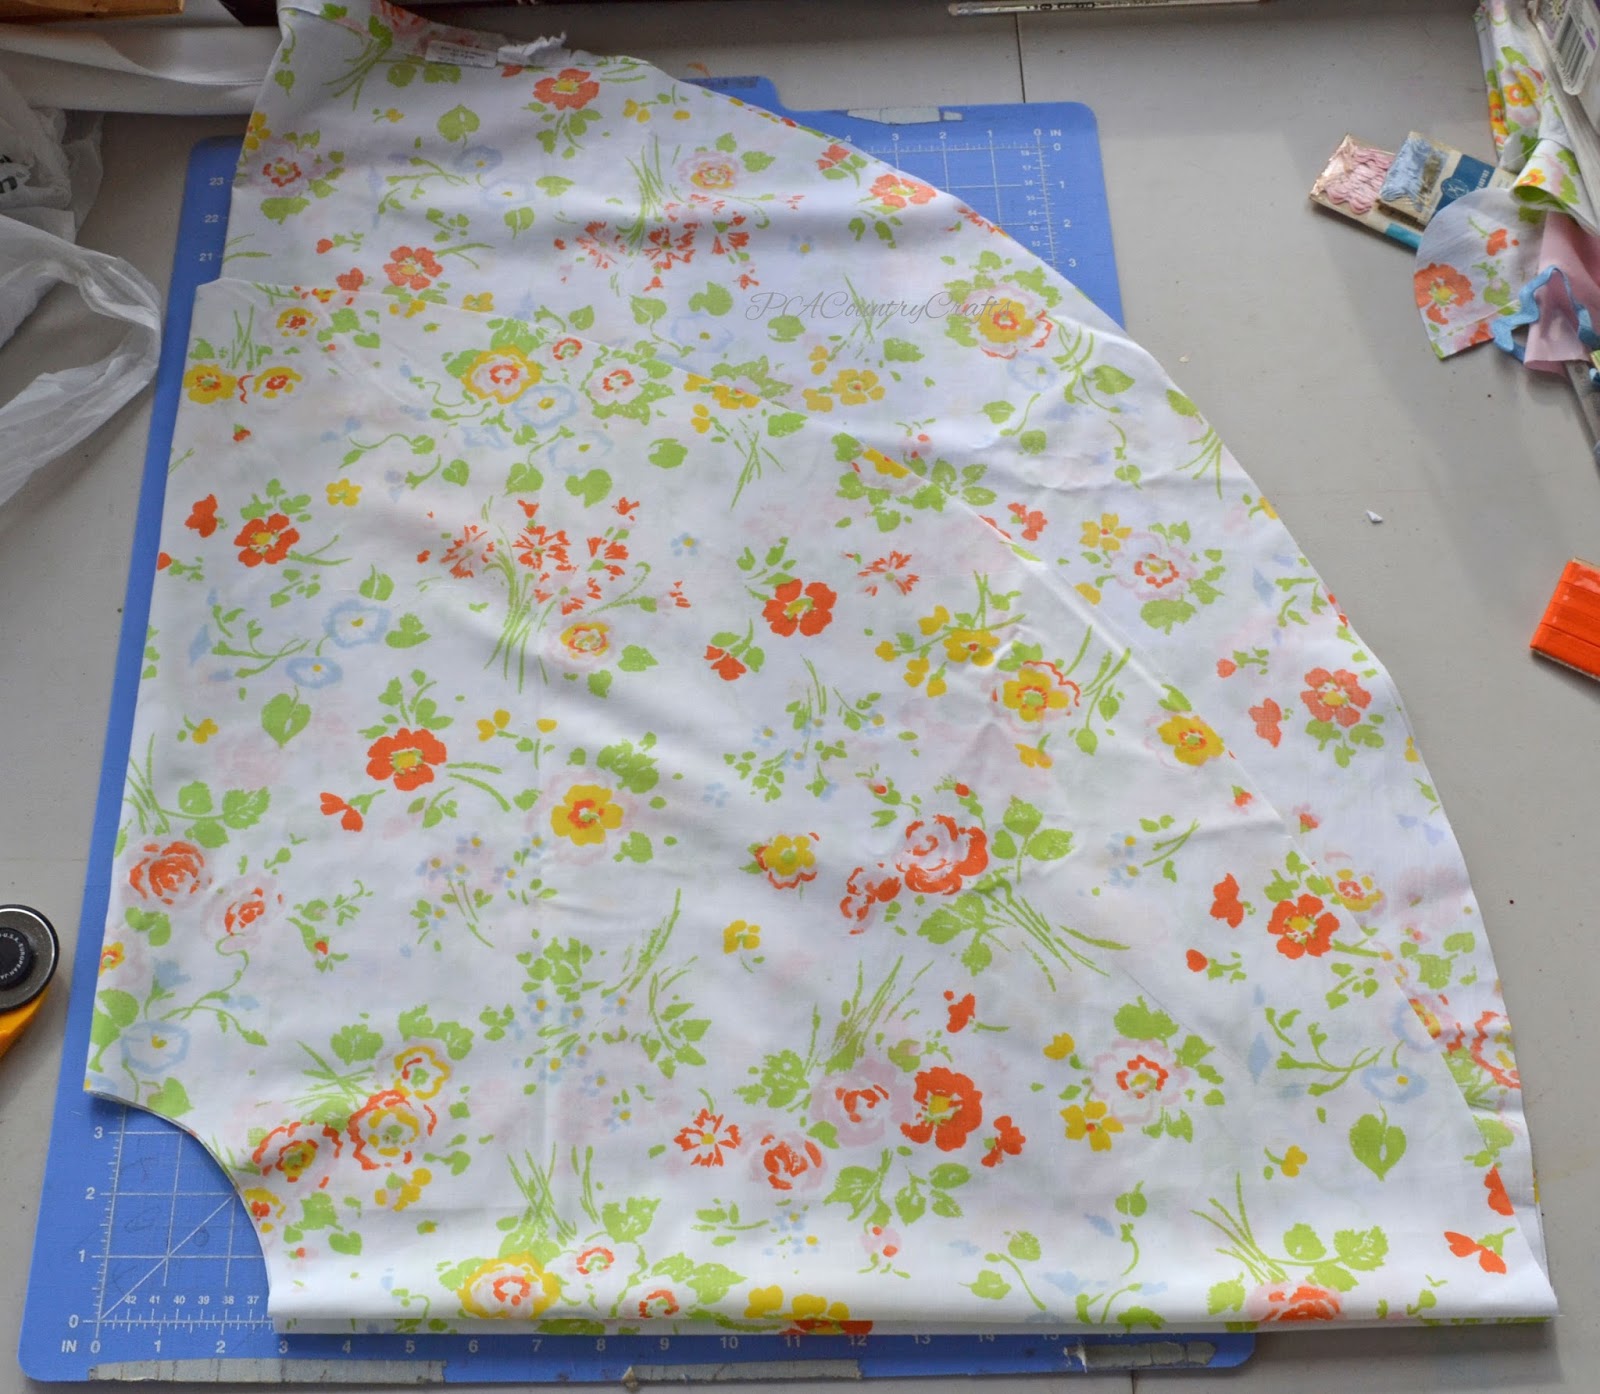
Cut your waist radius out. This is where you need to be precise. I used my exact 3 7/8" to make an arc.
I didn't take a picture, but this dress also needed a lining. It all depends on your fabric, but the sheets I used were white and thin. I didn't want the lining peeking out anywhere, so it is just a standard circle skirt with the waist in the middle and it was cut just a little shorter than the front length. For this dress, I took a 40" square of lining fabric, folded it to make a 20" square, and cut a 20" arc with a 3 7/8" waist arc. I ran the bottom edge of the lining through my serger, but you can do a narrow hem, zig-zag, or whatever you want. I hate hemming curves.
Now, to make it possible for this dress to fit over the hips it will need some slits at the waist. Just make a little slit about 3" down at the very center of the back on the main skirt and lining.

Then, pin the skirt and lining together at the slits and make a placket. Cut a piece of the main fabric 8 inches (so there is extra) by 2 inches. Press the long sides to the center and then press the whole thing in half. It is kinda' like bias tape. Open up the slits in a straight line and sew the placket over the opening. To make it lie flat, then made a little seam at a 45 degree angle on the inside. If this isn't clear (I didn't take pics) you can see my Isabelle's Bubble Dress tutorial for more detail.

Next, pin the top to the skirt. If all of the math is right, it should match up with one of the placket sides folded inward. I made some alterations at this point to make her fit a little better I took in the seams at the sides and the back centers just a little bit, leaving the top alone and tapering in towards the bottom. It made the fit a little better on her back by angling it inwards without needing to add darts. The week of sewing was such a blur at this point, but somehow it all worked out and my waists were the same size.

Sew the skirt to the top. Overlock or zig zag over those raw edges. Press and topstitch right above the waistline.

Finish of the hemline of the outer skirt with the bias tape. Be careful not to stretch it too much as you are sewing or it will add an odd shape to the skirt.

Finally, add some buttons and buttonholes to the top. I used vintage buttons that matched so perfectly!

Bonus points if you make a matching bracelet!

Here is a little peek at the next dress tutorial in the works...

Here are some more tutorials you might like...


