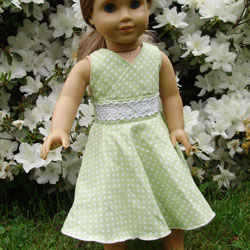
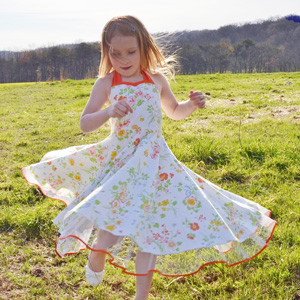
Twirly Lace Dress Tutorial
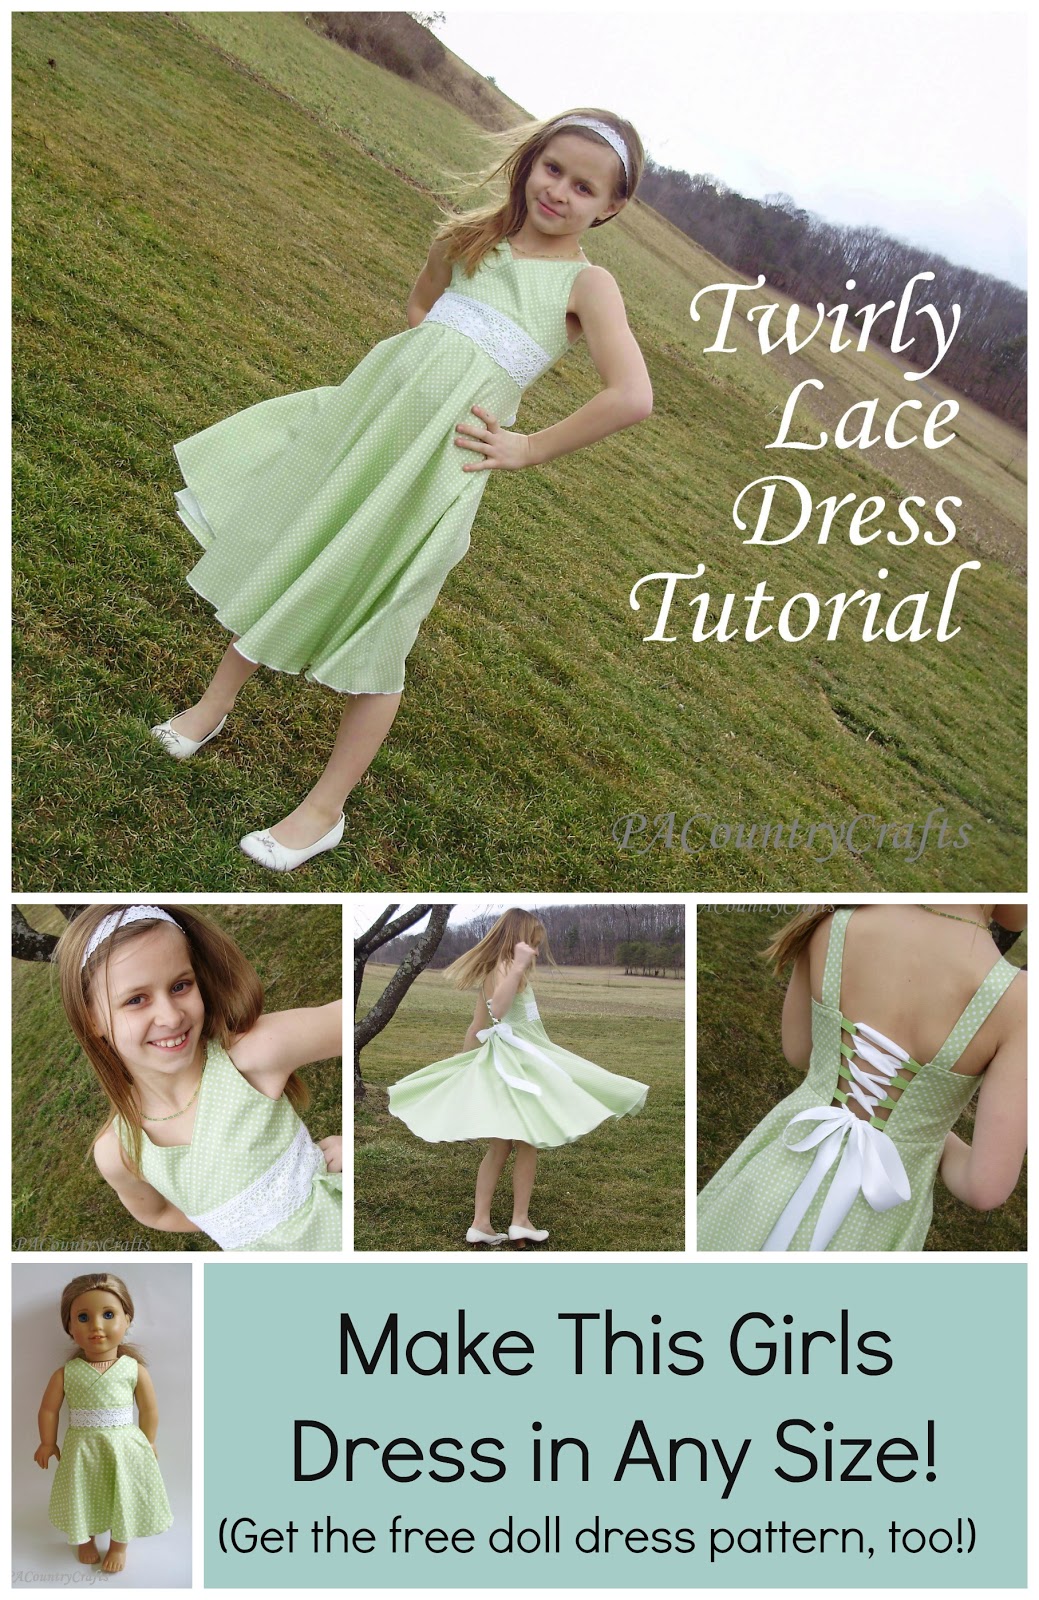
/This dress was deceptively simple to create and since it was the first one I made for Easter, I was able to take (some) decent pictures of the process because I had daylight. :) It has a cross-front bodice, lace overlaid waistband, corset back, and circle skirt. (Say that five times fast!)
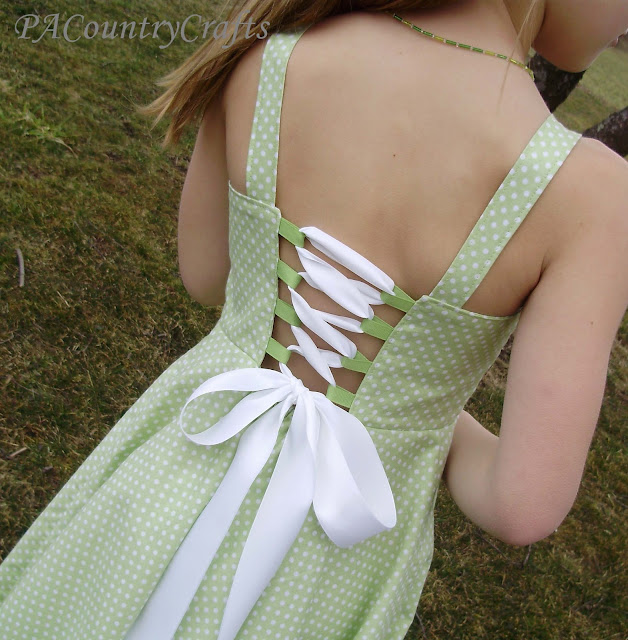
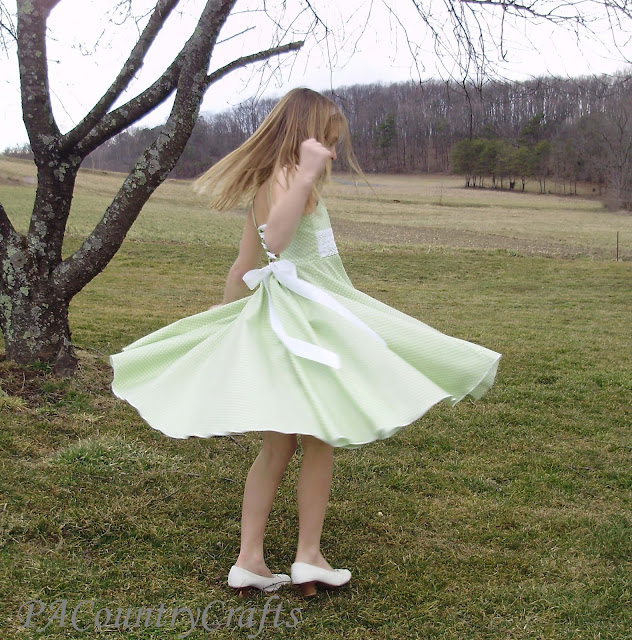
I think she looks so mature and grown-up in this dress, but it would be so cute on a smaller girl, too. OK, so here we go!

First, how much fabric to buy? She is about a size 8 and I wanted it nice and long, so I needed 3 yards of 45" wide fabric for this dress. I had lots and lots left over because of the way the skirt is cut and I am hoping to make a doll-sized version, too. The shorter your child, the less fabric you would need. So, do the math and buy your fabric accordingly. You will also need 1/2 the waist measurement (plus an inch or two for seam allowance) in lace. Also, get a little bit of ribbon and elastic.

Instead of cutting the bodice first like I usually do, I began with the skirt since that used the most fabric (I'm trying to be efficient here!) Since I was making a longer circle skirt, the 45" fabric was not wide enough and I had to cut two semi-circles. I needed hers to fit over her hips so that she can put it on, so to get the radius I needed to cut, I took the hip measurement (H), plus one inch for the seam allowance (SA), and divided that by 6.28.
r = (H + SA)/6.28
Draw a small arc with that radius from the corner of your pattern paper (newspaper for me). From the small arc, measured out the desired length and draw another arc that distance away from the first, smaller arc. My newspaper was four inches too short so I used a ruler to mark lines and extend it when tracing it onto the fabric. Cut off the selvage edge, fold the fabric the opposite way so that the raw edges line up, and cut on the fold.

Then, use that skirt piece to trace and cut another one for two skirt pieces.

Sorry. I take whatever lighting I can get! THIS tutorial is a great reference for circle skirts if you need more help.
Now, it is time to draft the bodice. Find a shirt/tank top/undershirt that fits her pretty well and trace that.
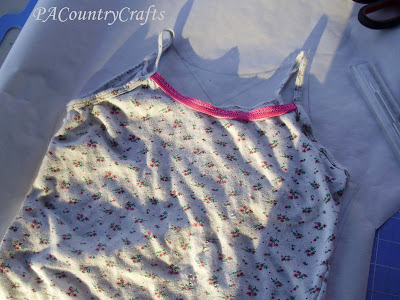
Make the shoulders an inch wide and draw the bottom a few inches below the armpits for a high waist (the waistband goes below that so it will be longer in the end.) Then, mark half and quarter marks along the bottom and draw cris-crossy lines.
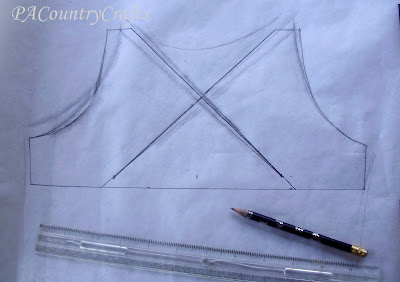
I added seam allowances and fiddled until I came up with this:

Cut four bodice pieces out- two from each side of your pattern (flip it to get mirror images). You will also need two waistband pieces the desired height (depending on your lace and prefernces) by 1/2 the waist plus the seam allowances (mine was 4 x 12). While you are at it, cut one lace overlay the same width. Cut two strap pieces 2 1/2 inches by the desired length (I cut mine about 15 inches but that was plenty long.) The measurements of the back pieces take a little more math. Add the height from the armpit of the bodice to the bottom, plus the height of the waist, then subtract one inch of seam allowance. For example, 2.5"(under arm) + 4"(waistband) -1"(SA) =5.5" height of back piece. For the width, take 1/2 the waist and subtract a few inches, depending on how much of a gap you want in the back. Mine were 5" wide, but could have been wider that that, in hindsight. When you have this figured out, cut four back pieces. Finally, (I know, I know! It's about time!) cut out 8 ribbon loops (or less if your back is shorter and you want less lacing in the back). Mine were 3" long from 3/8" grosgrain ribbon. Seal the ends with a lighter so that they won't fray later.

That seems like a lot of pieces now that I look at it. Just so that you don't miss anything, let's recap:
~2 skirt pieces
~4 bodice pieces
~2 straps
~2 waistbands
~4 back pieces
~1 piece of lace
~8 pieces of ribbon
~oh, yeah, and a little bit of 3/8" elastic- just a few inches
Don't be intimidated! It really is not that hard! OK. Time to sew...
Start out by sewing the bodice pieces right sides together for both sides. Clip the curves and flip. The straps should be sewed right sides together into a tube and flipped.

Press them really well. Then, fold the top of the bodice pieces in 1/4" and insert the straps. Topstitch (carefully) about 1/8 inch or less from the folded edge to hold them in place. Maybe there is a better way to do this, but this is how I did it. It works and it looks OK, too.
Carefully topstitch around the entire piece- bodice and strap- then lay them out crossing and pin them together so that the bottom edge is as long as the waistband. Baste them together and move onto the waistband.

Sew the lace to the outer waistband, leaving a 1/2" seam allowance at the top. I left a little bit extra at the bottom because I wanted it to be snug to the top. Stitch it down along the top, bottom, and middle to hold it in place firmly.
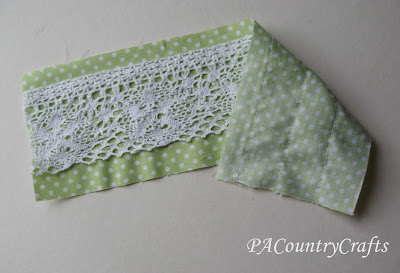
Sandwich the crossed bodice between the waistband pieces, pin, and sew with a 1/2" seam allowance (or a little less, but no more than that or you will sew over the lace).

Press the seams downward. Doesn't the inside just look all professional-like with those seams tucked away nicely? I topstitched along the edge of the waistband later, too, but my machine hates sewing through that many layers so it isn't all that wonderful.

Now, for the back. For this part, pin those ribbon loops in place, leaving seam allowances at the top and bottom, then baste them on there to make it easier later.
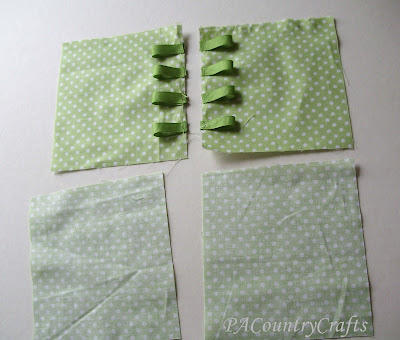
I sewed around the top edge and ribbon loop side, then seam-ripped to stick the straps in, but it would be smarter to do it all at once and skip the seam-ripper. So, your official instructions: sandwich the straps between the back pieces as shown and sew only the top and ribbon loop sides. My straps ended up X" long after I trimmed the extra, but it helps to leave them longer and try them on your recipient if possible to get a good fit, then trim later. Clip the corners and flip it right side out.
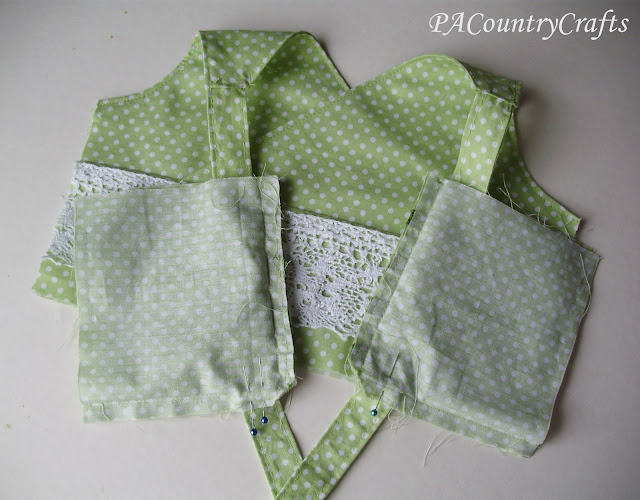
Press and topstitch the edges of the back piece, then sew the sides together. Overlock or zig-zag stitch the edges to clean things up a bit. Yes, I tucked those threads in later.

Just the skirt left to go! Hooray!
Sew the sides of the skirt pieces together, then overlock or zig-zag stitch the edges. Pin the skirt to the bodice, lining up the center of the front skirt panel with the center of the front of the bodice. Note: your side seams will not match up and there is a big gap in the back, but that is normal. :) Sew in place with a 1/2" seam allowance and overlock or zig-zag the edges.

Now, press the seam downward towards the skirt, pressing down 1/2" across the back opening, too. In this gap at the back, sew a line about 3/8" below the fold to create your elastic casing. Insert a short piece of elastic and tack the ends down on each side. My elastic was about 3" long- the waist measurement of my daughter minus the total length of the front and back pieces of the bodice. It might look a little funny, but the bow will cover this.
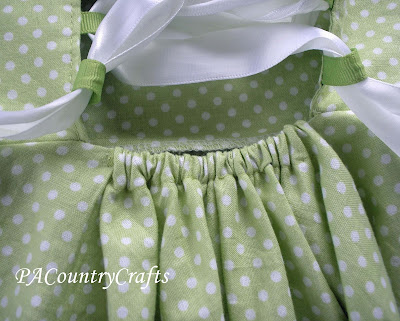
Thread the ribbon through the loops...

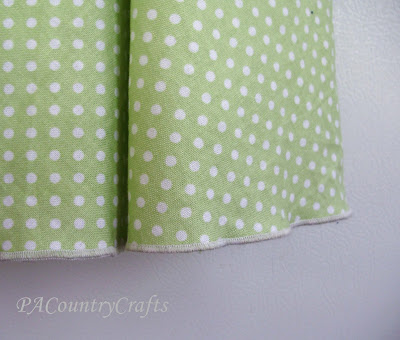
Last step... hem the dress. I HATE hemming on a curve, so I fought with my serger until I finally figured out how to do a rolled hem edge. It probably took longer then just hemming manually on my machine would have, but it proved to be an invaluable skill on the other dress. I love it! You can do whatever you want, though.
So, that is it! One Twirly Lace Dress for a sophisticated-looking, young lady. :)


P.S. I made the headband, too. Super easy! I took a half yard of 1" crocheted lace trim and sewed the ends to a 2" piece of 1" wide elastic. I would show you that, too, but I can't find it right now. :)
Let me know if you have any questions, and if you do use this tutorial, it should be for your own personal use (don't just copy it and sell it as your own pattern/tutorial because that is so rude!) If you make one, I would LOVE LOVE LOVE to see it! :)
UPDATE: You can also get the doll version of this dress HERE.


