Upcycled Sweater Heart Hand Warmers Tutorial

Sometimes I get these overly ambitious ideas and that is as far as they go. Just big ideas.Sometimes, a year or so later, I actually act on them. And, more often than not, it was a lot easier than I anticipated.

This particular big idea: I wanted to make hand warmers from sweater scraps. I made some sweater pillows (some are still not finished, so I will blog about them eventually) and I have a pile of sleeves laying around. Originally, I was going to make hand warmers for my kids' classmates for Valentine's Day, but I really don't have that much ambition. I realized that they are best in pairs, so I would have to make 80+ hearts. No, thank you! Instead, I gave them out as little thank you gifts for some friends and family.

DIY hand warmers made from old sweater scraps
Step-by-step tutorial shows how to make hand warmers from old sweaters.
Hand warmer thank you gifts.

They are soft and lavender scented and pretty. Just microwave them for about 30 seconds and tuck them in your pocket. They make a really pretty little favor or thank you gift. I just tied mine with baker's twine and made little tags to go with  them.

How to make hand warmers from old sweaters

I took some pictures to show you how to make them, and I even did it two different ways to make it even more beginner-friendly!

Start with your fabric- I used scraps from a sweater sleeve.

sweater scraps used to make handwarmers

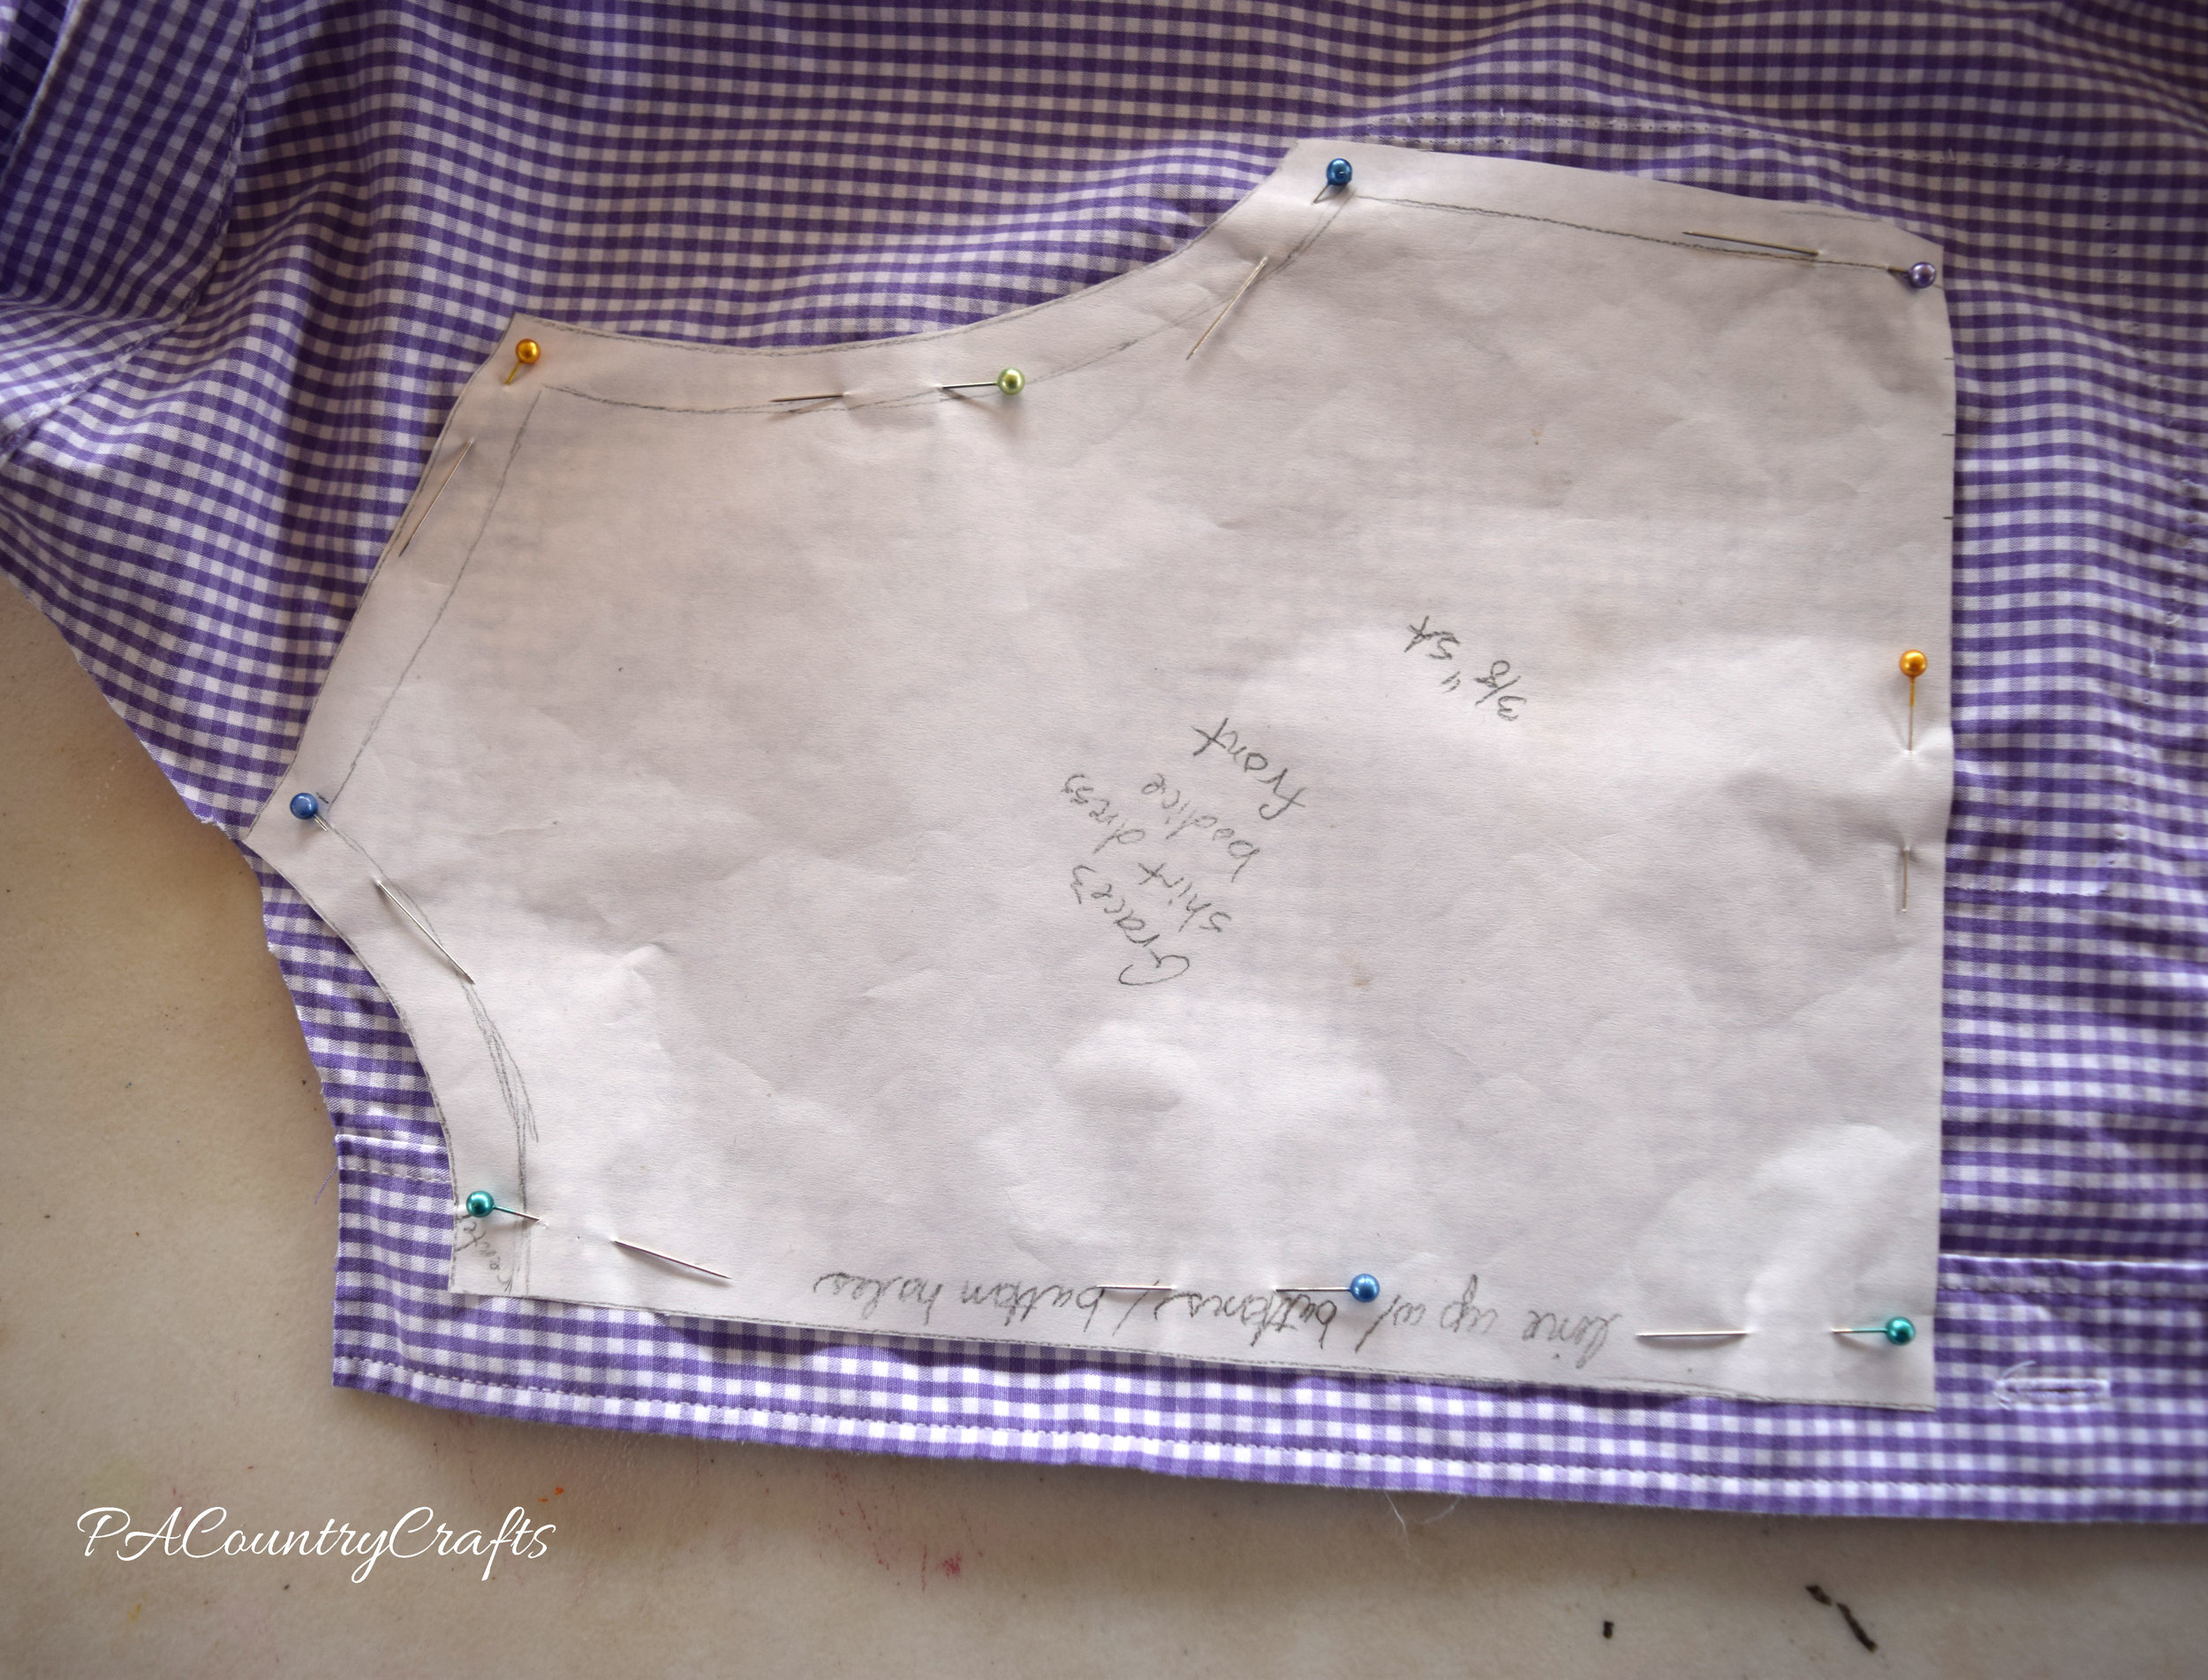
Make a template- mine are about 3" across. I used an old receipt from the grocery store. Place the sweater scraps right side out and pin the template to them. You want to leave some extra fabric all around the template so that there is wiggle room if/when it shifts.

Use an old receipt to make a sewing template

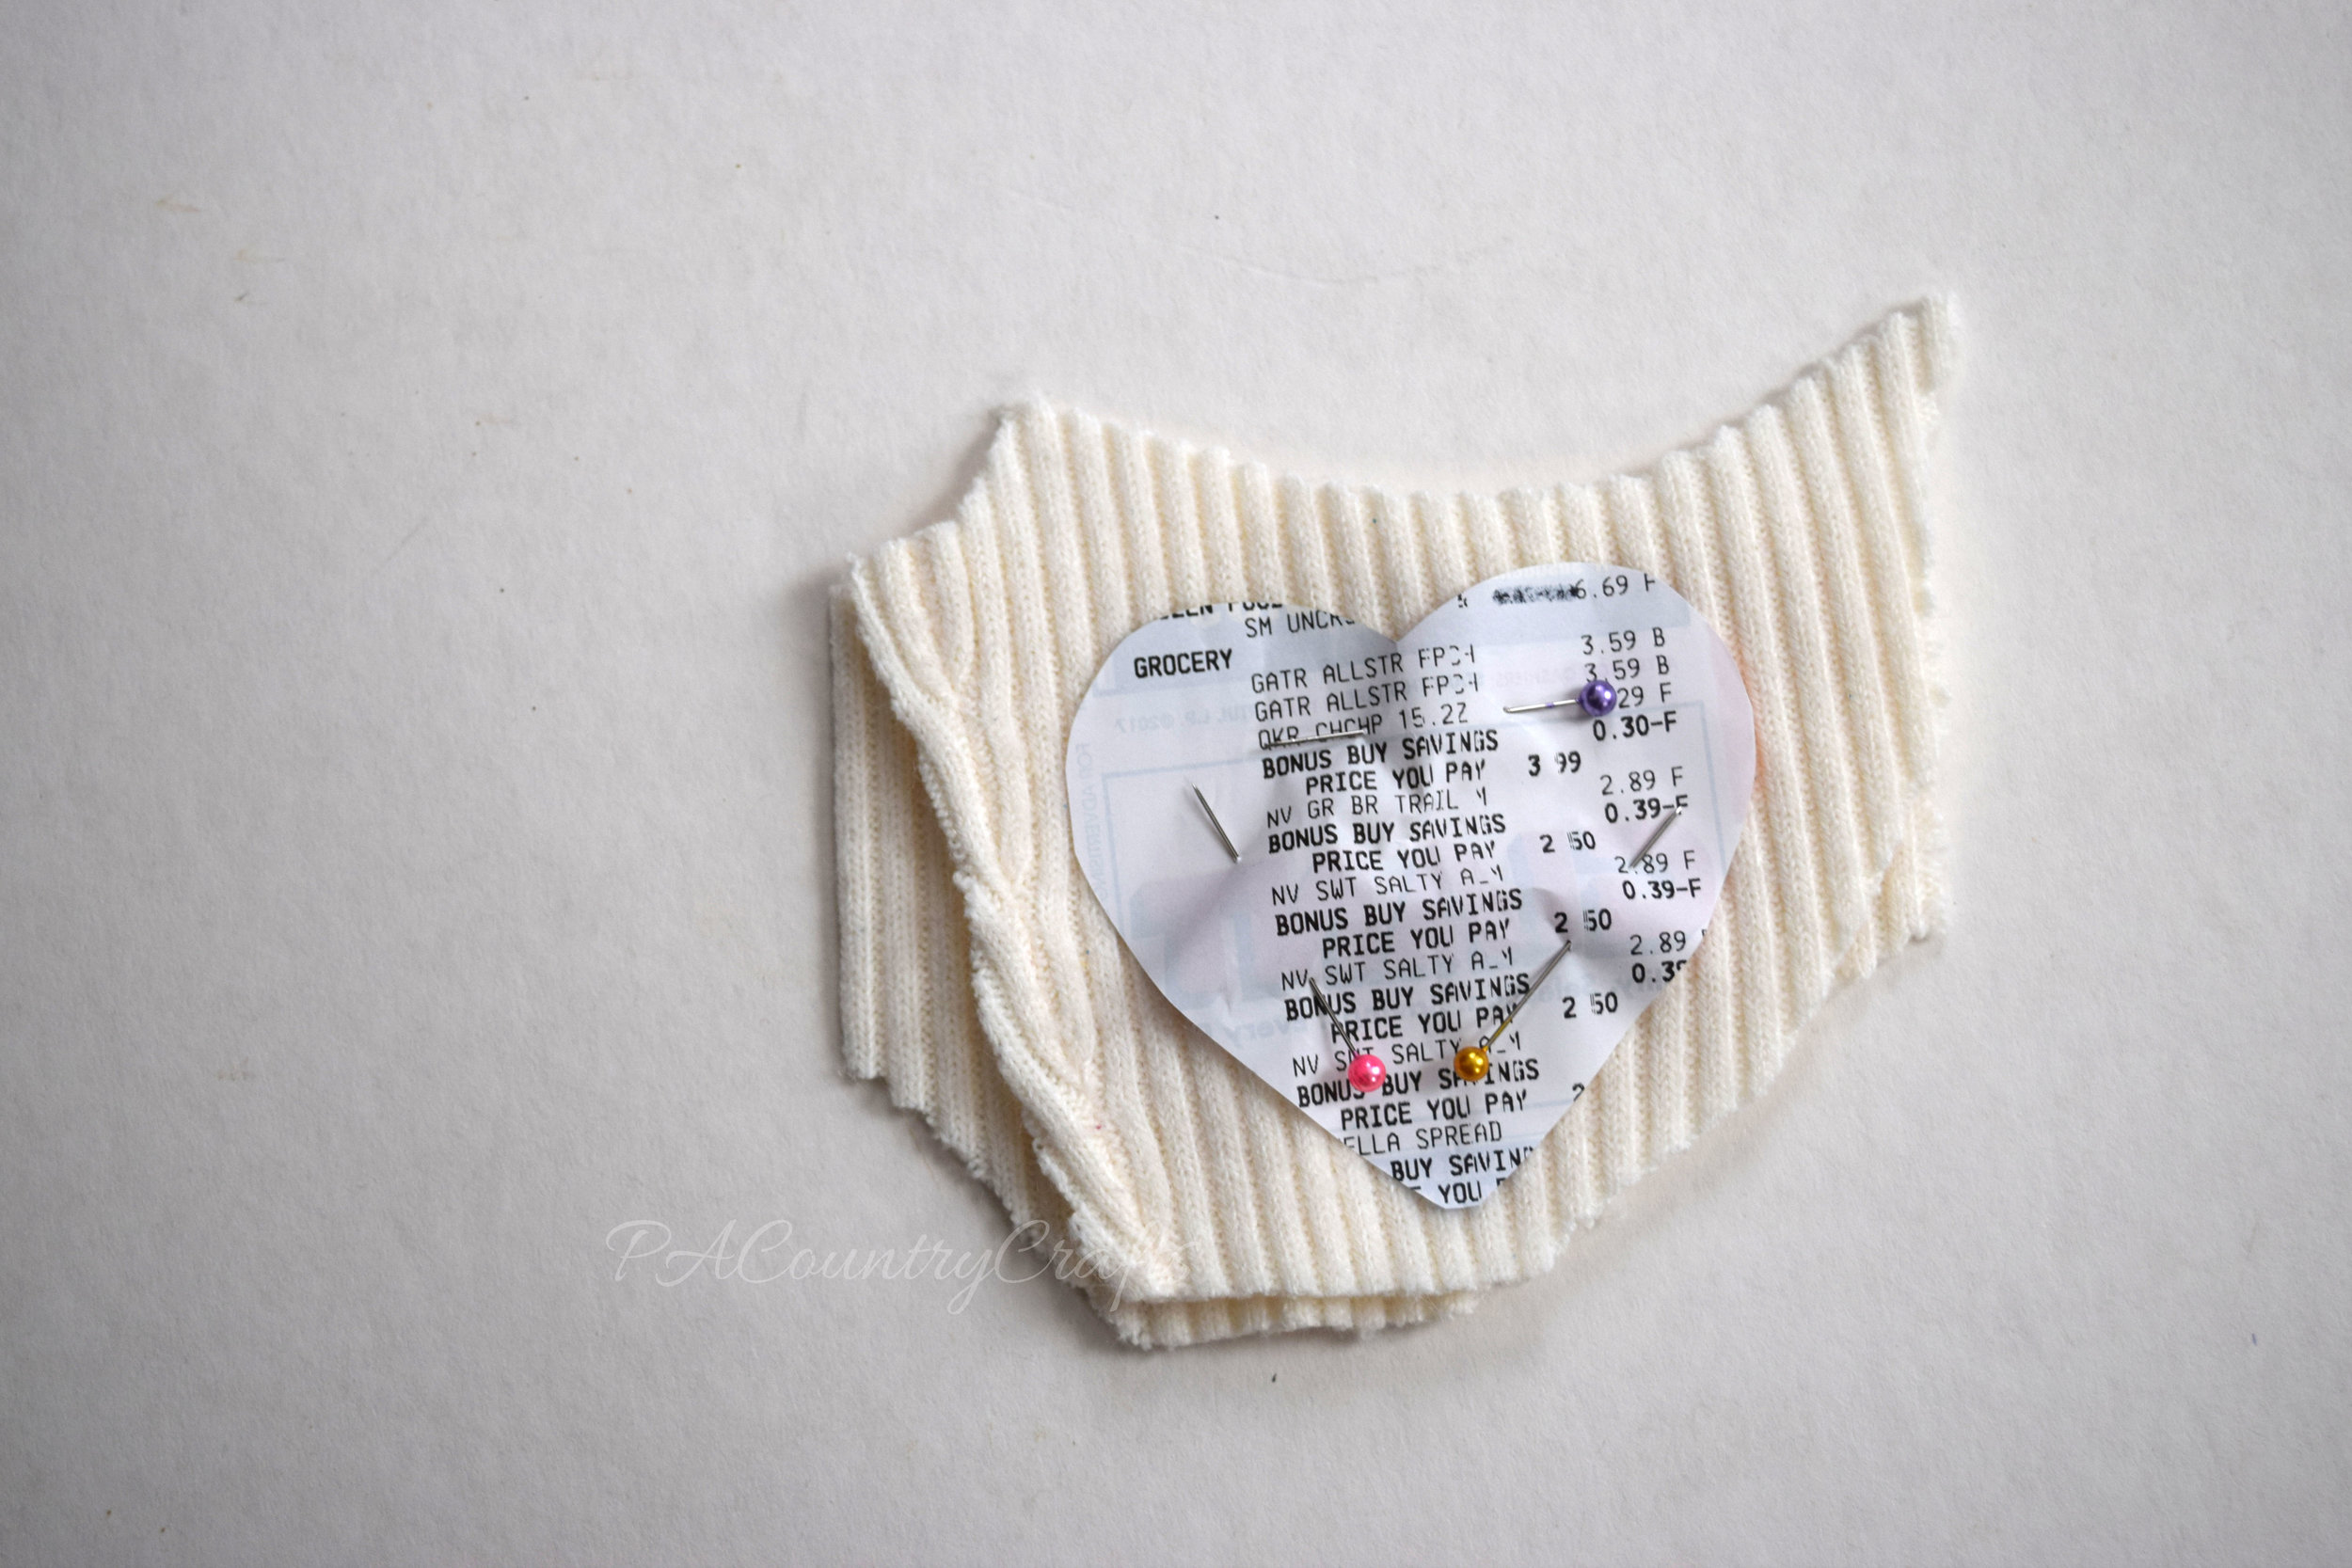
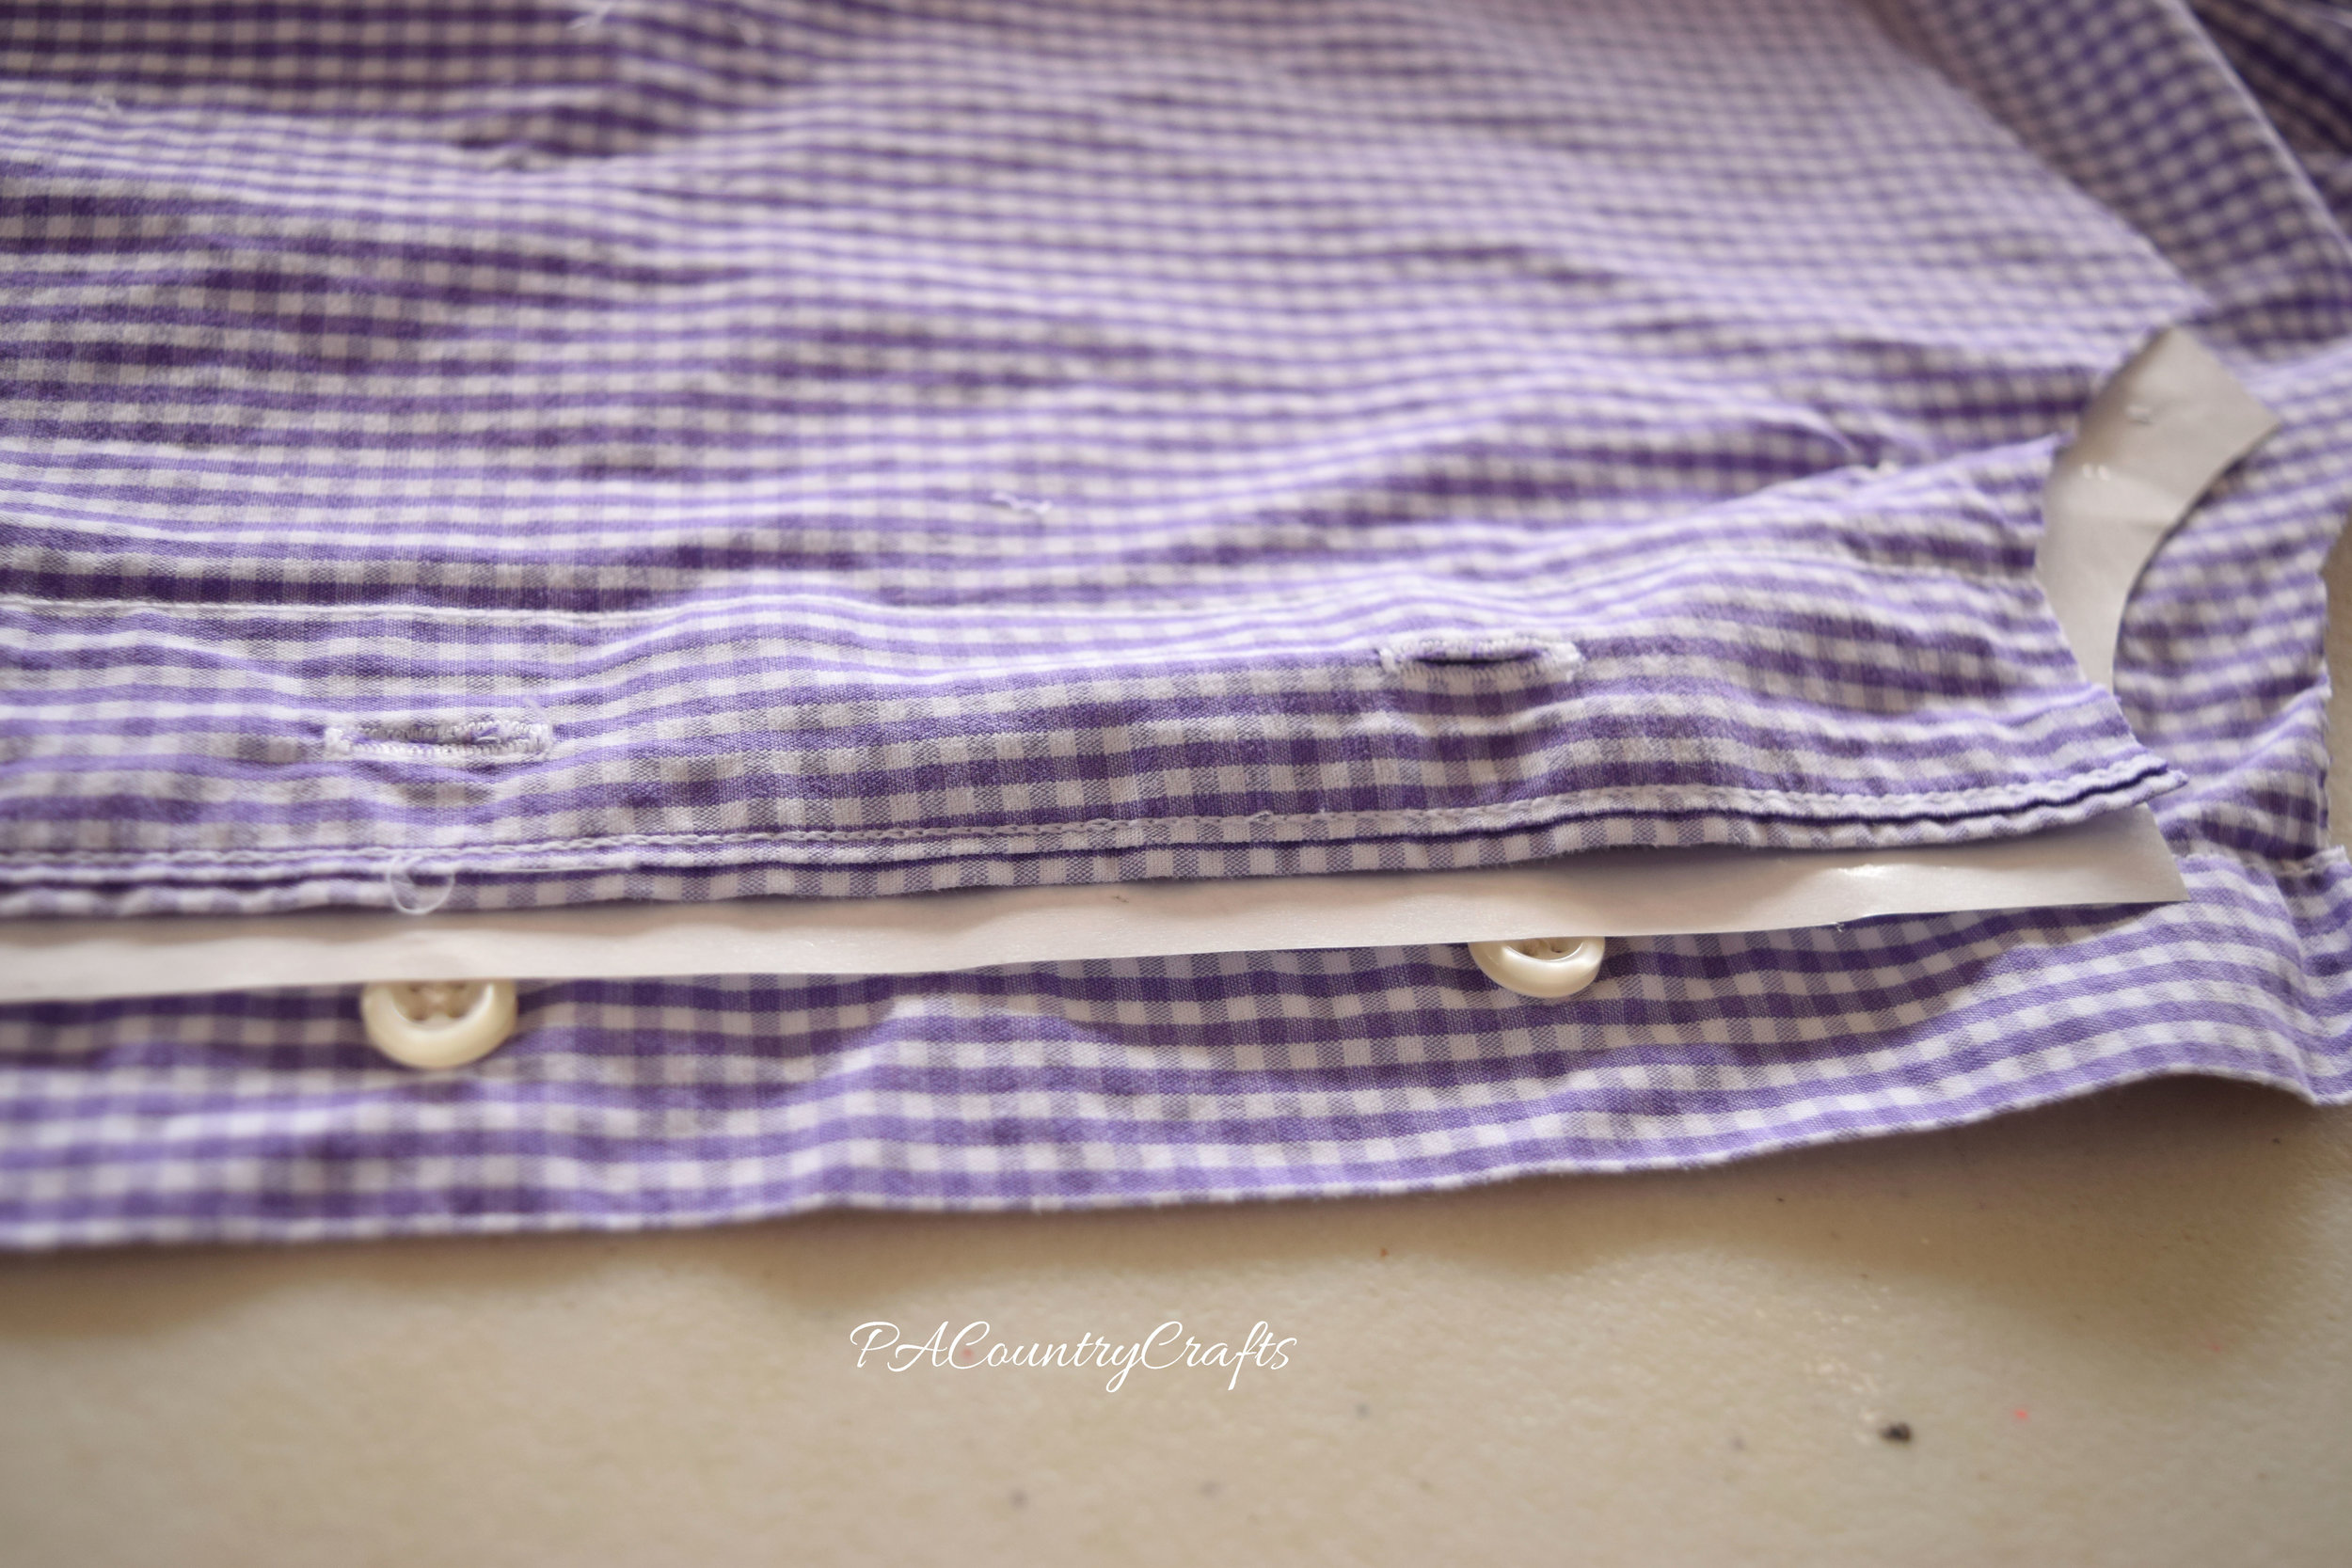
Start on the straight side of one heart just before it starts to curve. Backstitch, then sew all around the template, leaving a small opening on the straight side. I used a receipt because if I caught the edge of the paper it didn't matter- it tears away easily.

Sewing hand warmers from old sweaters

Take our your pins and remove the template.

Sew hand warmers from old sweaters

Fill the hand warmer with rice. (A funnel is really helpful!) I mixed mine with some lavender essential oil.

How to make hand warmers with rice and old sweaters...

Sew the opening closed. It is a straight line, so it is pretty easy!

Sewing old sweaters to make hand warmers
How to make rice filled hand warmers

Use pinking shears to trim all the way around the heart.

How to make hand warmers from old sweaters without small pieces to sew

Easy, right?

Beautiful, soft handwarmers made from sweaters

But there is another way to do it that I found to be even easier...

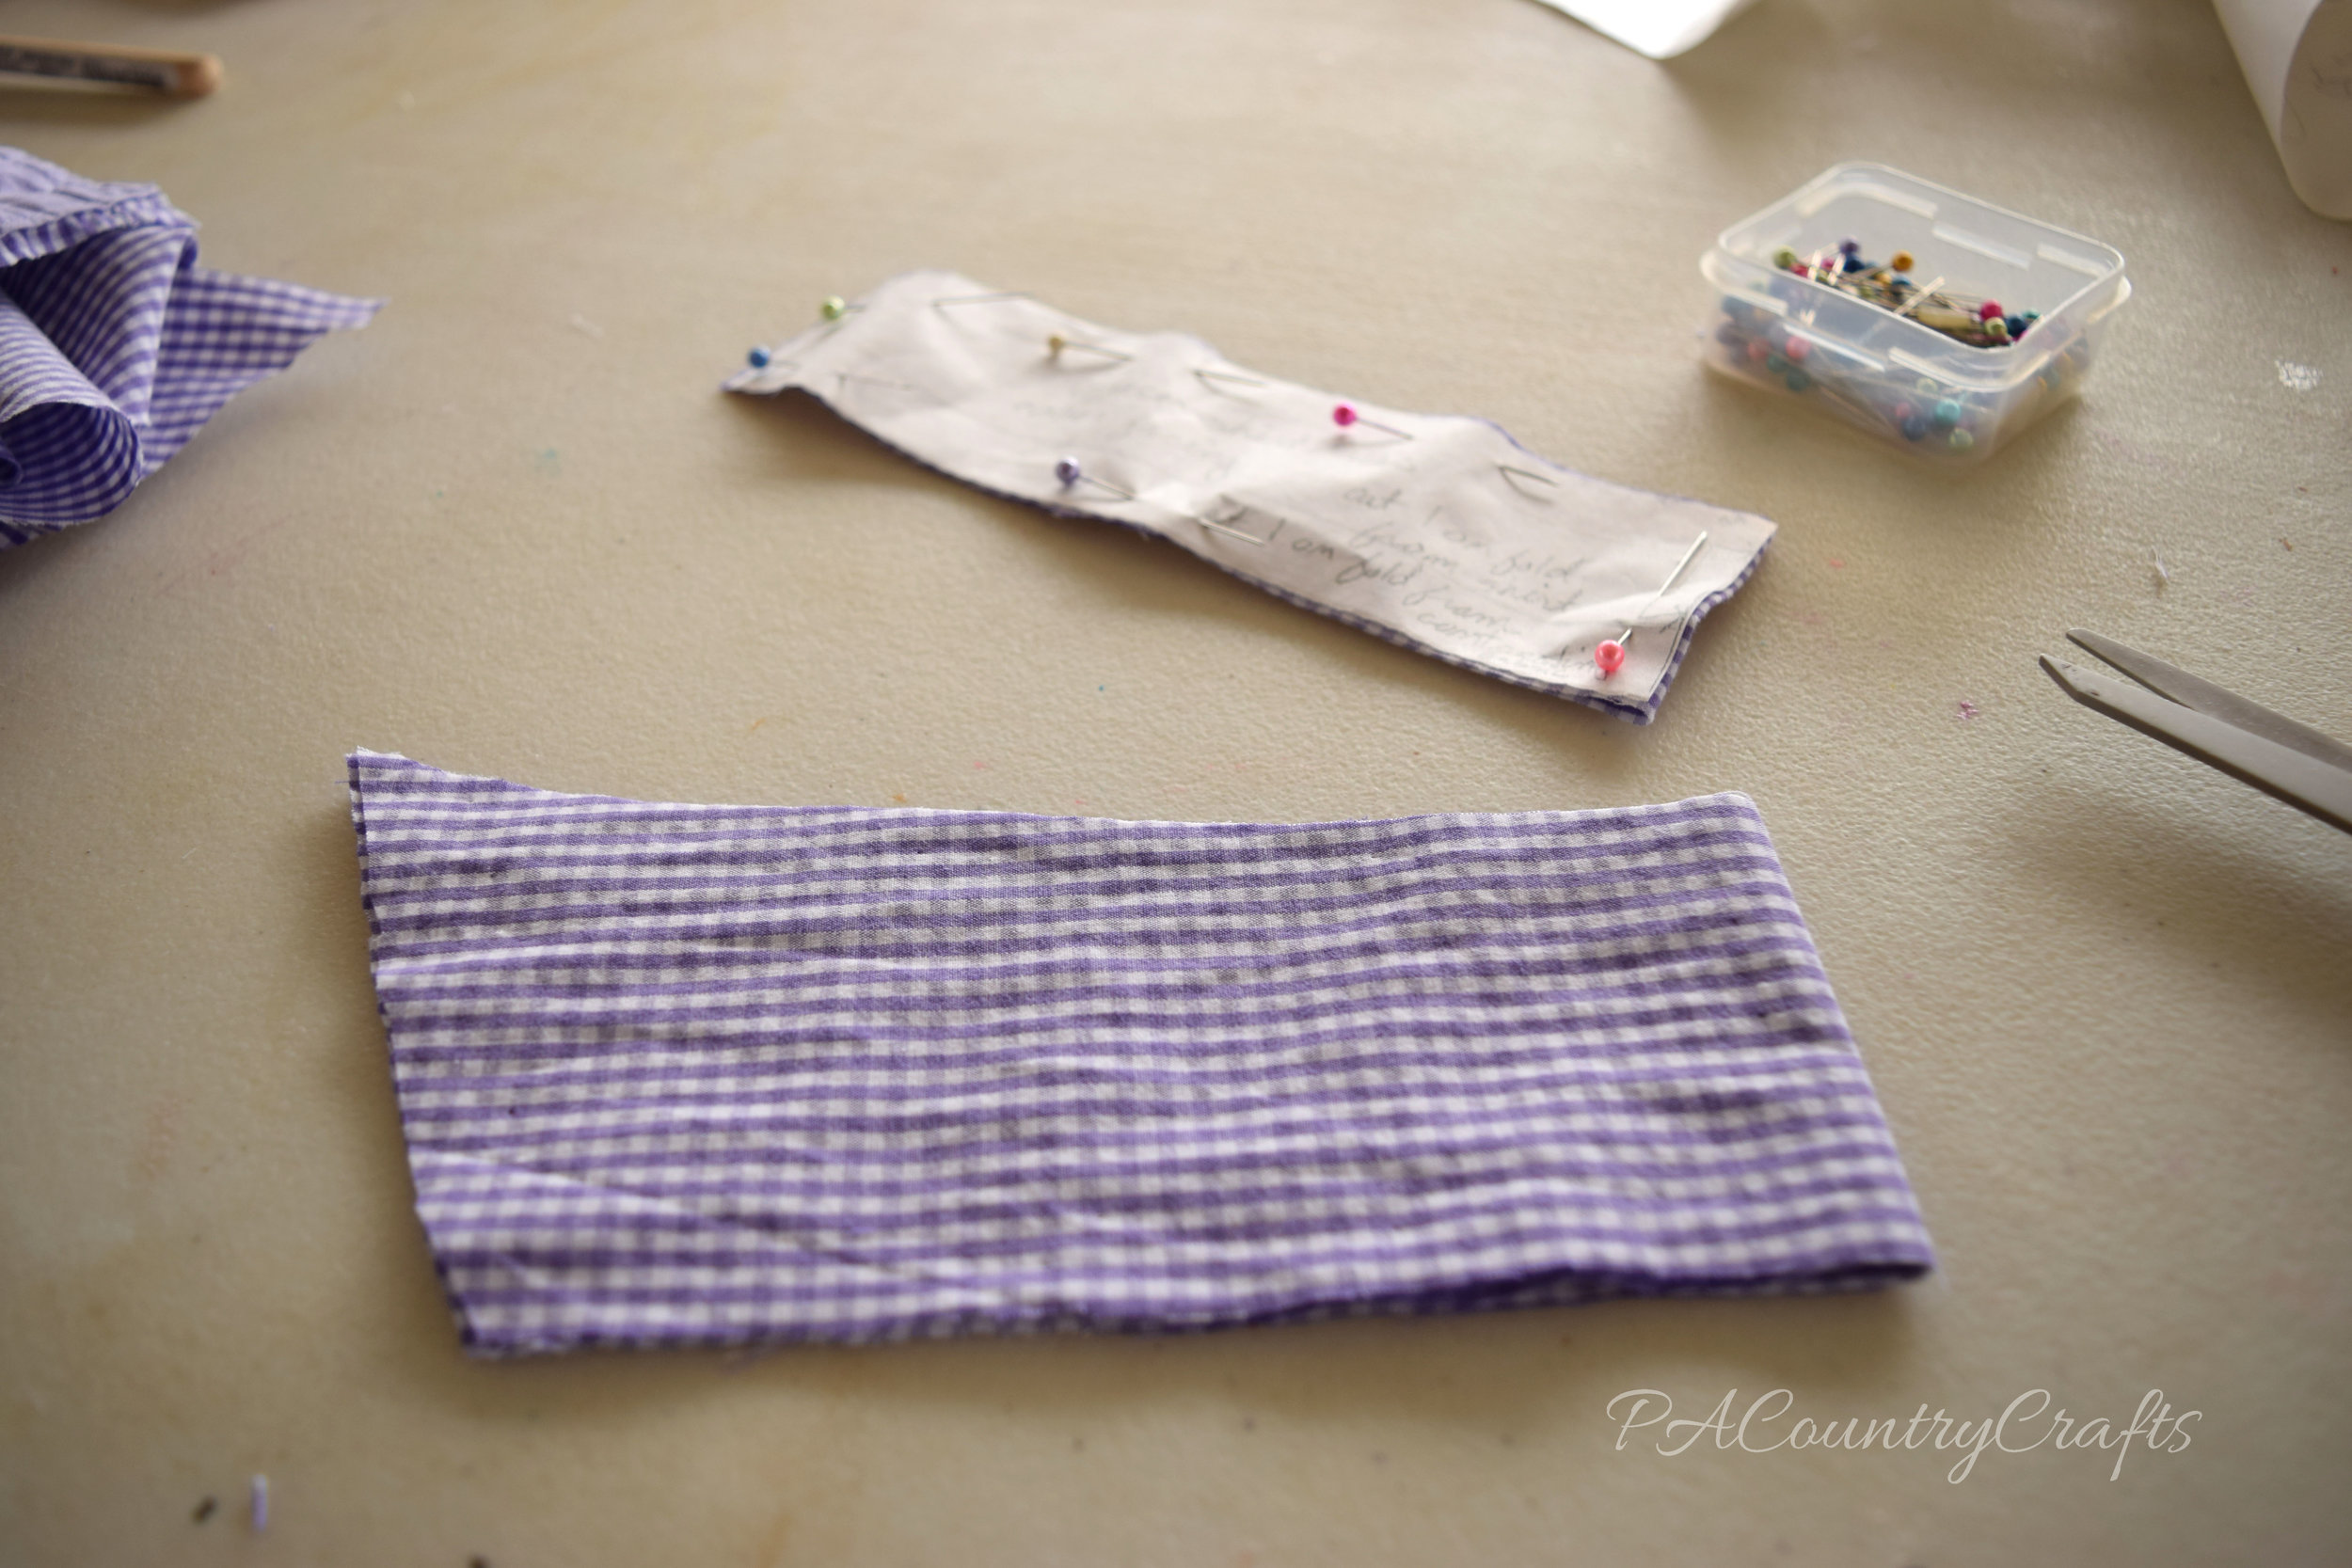
Draw a template on a piece of tissue paper.

tissue paper template for sewing

Pin the template to your sweater pieces- I just folded the bottom of the sleeve in half, keeping the right sides out.

Use tissue paper as a sewing template for small pieces

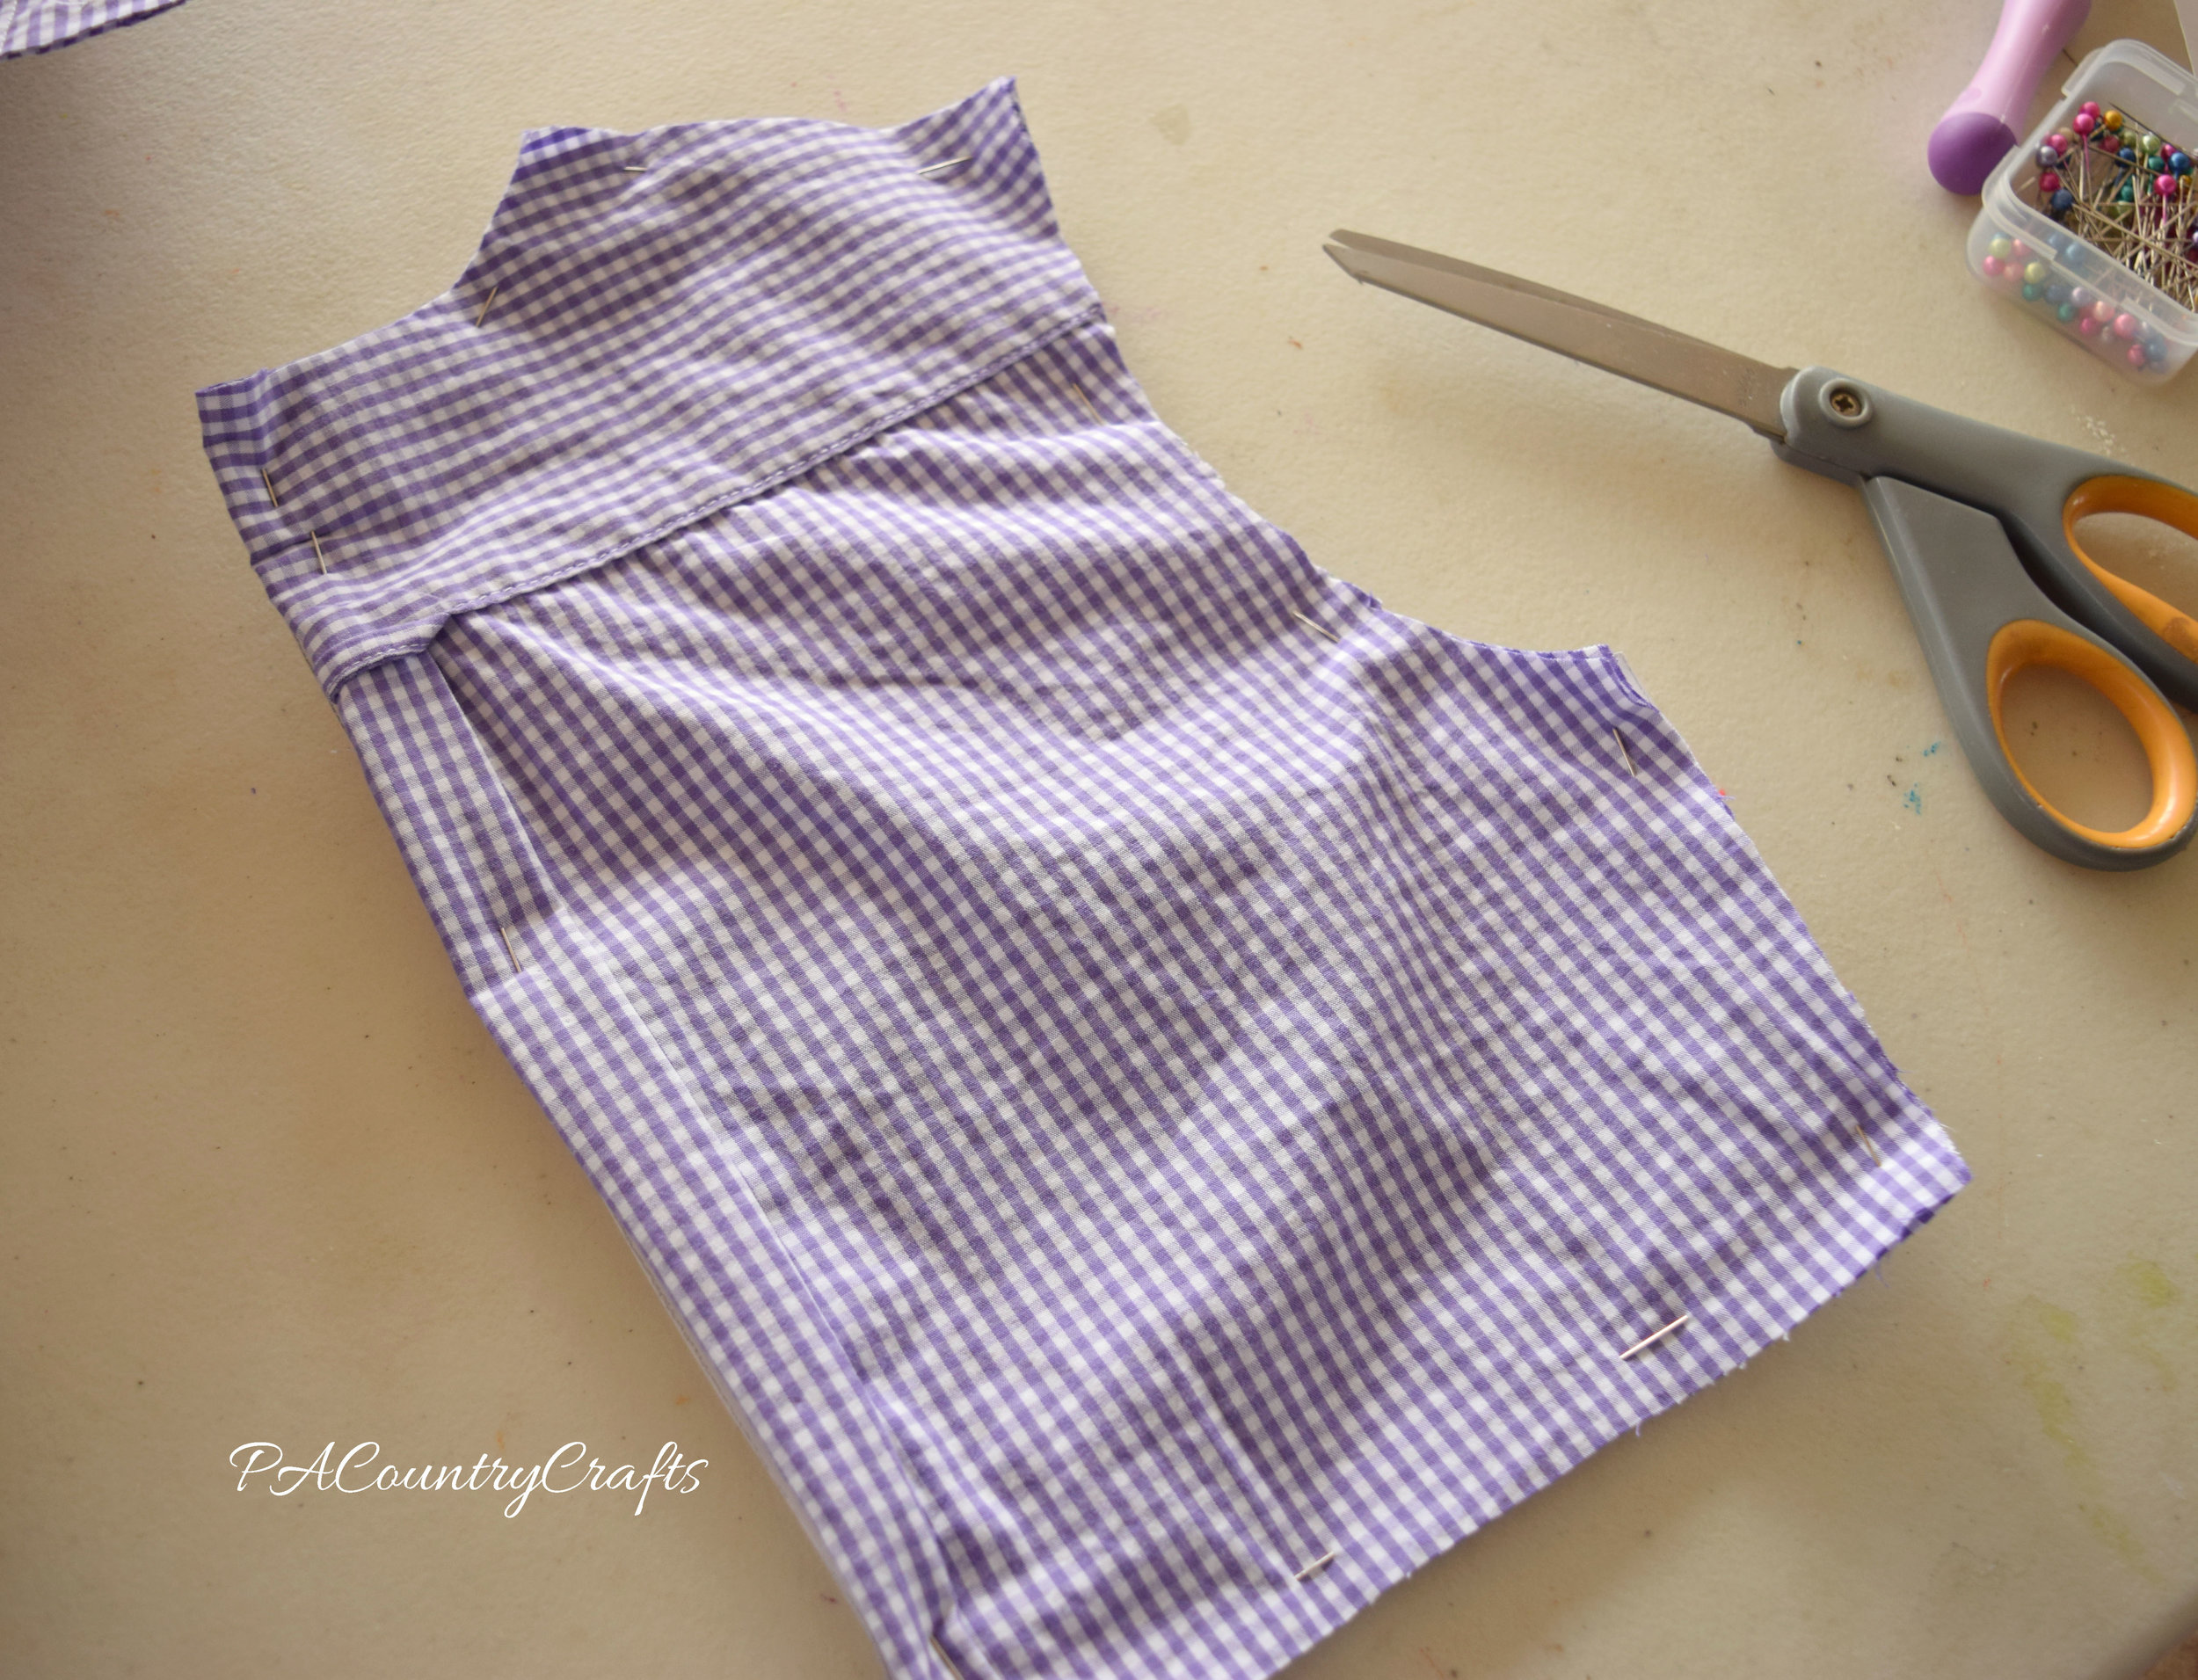
Now, here is the even easier step... sew right on top of the tissue paper, following the lines you drew on the template. Again, start on the straight side right before the heart starts to curve and leave an opening at the end, stopping a half inch or so after the point at the bottom of the heart.

How to sew through tissue paper onto sweaters

See? The tissue paper just tears right off!

How to use tissue paper as an easy sewing template

Now, the only downside that I found was that the pencil from the template made my threads darker. So, if this bothers you, don't say that I didn't warn you. I put it in bold AND italics. Maybe a Frixion pen would work and iron out? If you try it, let me know! I can't find mine.

How to make a pair of pocket hand warmers from old sweaters
I love these soft hand warmers made from old sweater sleeves!

If you want to pin it for later…

Upcycled Sweater Hand Warmers Tutorial

Here are some more ideas you might like…

Easy Ribbon Wands

DIY Ribbon Wands- easy kids craft

Easy Ribbon Wands- takes just minutes to make!

I thought ribbon wands would be a fun craft project for the girls and a nice addition to the little "photo shoot" we do with their new mama-made dresses each year. The girls had fun playing with them and even got to choose ribbon from my stash to coordinate with their dresses.

Fun and easy ribbon wand kids craft project

Beautiful ribbon wands- easy to make a a great photography prop for girls

Easy DIY Ribbon Wands

Simple ribbon wands for little girls to play with

These took just a few minutes to make! Here is how we made them:

  1. Cut dowels into three pieces- each 12" long.
  2. Sand them a little to smooth out any rough edges from the saw blade.
  3. Pre-drill a small hole in the center of the end going straight down into the dowel.
  4. Screw in an eye hook.
  5. Cut a few yards of satin ribbon.
  6. Carefully melt the ends with a lighter so the ribbon won't fray.
  7. Tie the ribbon onto the hook.

Ribbon wands using eye hooks

Fun ribbon wands kids craft

There are a lot of options with these- you could let the kids be a little more involved and paint the dowels, which we might do sometime. The ribbon is easy to change out if you want a different color or it gets to be too dirty. They are also a very cheap project to make, so it would be good for a group of girls or a party craft/favor.

Here is an image to pin if you want to save it for later...

Easy Ribbon Wands Tutorial

If you missed it, here is more about the upcycled dresses that I made for the girls this year...

Girls dresses upcycled from thrift store sheets, shirts, etc.
 Link Parties where I sometimes hang out…

Men's Dress Shirt to Girls' Vintage Style Dress

mens-shirt-to-girls-vintage-shirt-dress.jpg

Ever since THESE dresses, I just can't seem to get over that whole retro, vintage style. I love the 1940s/1950s era of fashion! I wanted to do a "shirt dress" style, but decided to upcycle/refashion one out of a men's dress shirt. (There are also a few aqua polka dot details just for fun!) It even has a built in pettiskirt to make the full skirt pouf out.

back of girls shirt dress

inside shirt dress collar

shirt dress puffy sleeve

grace ribbon twirl wm

I don't have a full tutorial for you, but I did take some pictures to show how I used the shirt as an effective fabric source. First, I used a seam ripper to remove the pocket and cut off the collar and sleeves.

seam rip pocket

This dress was made differently from other tutorials I have seen. I didn't like the way the men's shirt collar fit on her neckline- it was made to fit a large man, after all! So, I constructed a new collar out of fabric from one of the sleeves.

collar

I cut the back bodice I drafted from the center back of the shirt so that I could maintain the little loop and pleats from the original shirt.

cut back from mens shirt

Being mindful of the buttonholes, I cut one front bodice piece out of one half of the shirt front...

cut bodice from mens shirt

...and, lining the buttonholes up, cut the other half from the other side of the shirt front. Now, I ended up messing something up and having to make new buttonholes, but this would work if you don't make my airhead mistakes.

line up button holes

From the remaining sleeve, I cut both sleeves for the dress. I wanted to make longer sleeves, but she wanted shorter puffy ones. She was VERY specific about the sleeve length.

cut sleeves from mens shirt

Finally, the skirt came from the bottom of the shirt. I also had small scraps to make the belt loops at the waist.

mens shirt to girls dress

back of upcycled shirt dressbuilt in pettiskirt

Link Parties where I sometimes hang out…

Girls Ruffle Apron Pattern and Tutorial

girls-ruffle-apron.jpg

My 4yo has been not so patiently waiting for her new apron. Previously, she used a hand me down one from her sister, but it was getting pretty small. She wanted to match my cupcake apron, but I let her choose the fabric for the back, ruffle, and ties.

She LOVES to bake with me. Especially cookies or anything with sprinkles. And now we can match.

I took pictures as I was making this apron, so I am throwing together a little tutorial.

You can adjust the size of the main apron piece as needed. I have a smaller one that my 7yo is quickly outgrowing, so I made this one a little bigger. It fits my 4yo (who is tall for her age) with room to grow. I made a digital pattern and it requires 4 pages. Print them out (check the "actual size" box), tape them together (left to right, top to bottom in numbered order), and cut it out. It is available HERE.

As for fabric requirements, you will need 2 yards total- a half yard for the front, a half yard for the back, and a yard for the ties and ruffles (with some to spare).

Now, I learned to quilt before I sewed anything wearable, so I do a lot of cutting things in strips with the rotary cutter from fabric off the bolt. That is usually about 44" or so. The fabric should be folded with the selvage edges together.

Cut out your pieces as listed below.

Ruffle: Cut 2 strips 6 1/2" x width of fabric (WOF)
Waist Ties: Cut 1 strip 6 1/2" x WOF
Neck Ties: Cut 1 strip 4" x WOF
Front and Back: Cut 1 of each from pattern pieces- available HERE.

I started with the ruffle. Sew one edge of each piece together on the short ends to make one long strip.

Hem the short ends of the ruffle pieces. I just folded it under twice and stitched it down.

Press the long ends together so that there is a nice fold on the bottom edge of the ruffle.

Sew two long gathering stitches and pull the bobbin threads to gather the ruffle. Pin it to the bottom of the apron, making sure the seam where the two pieces were joined is in the middle. Also, start 3 1/2" from the edge on each side to leave room for the waist ties and seam allowances.

Baste the ruffle to the apron. It just makes it easier to work with later.

Now... for the ties...

Fold each strip in half lengthwise with the right sides facing in. Stitch 1/4" from the edge on each piece to make long tubes.

Cut each piece in half, flip right sides out, and press well. Top stitch 1/8" from the edge all the way around each tie, hemming one end by folding it under twice before stitching. When I topstitch, I usually increase my stitch length a bit (to a 3).

Pin the ties in place on the main apron piece, paying attention to the hemmed ends to make sure they will face the same way. Leave 1/4" seam allowance between the tie and the edge of the apron at the corners.

Pin the back of the apron to the front of the apron, sandwiching the ruffle and ties. Be careful to make sure the waist ties are folded down so that you don't catch the edge when sewing the waist area of the apron.

Sew all the way around the edge of the apron, leaving an opening at the top between the neck ties. Also, stitch over the ties several times to make sure they are held in place really well. Use the opening to flip the apron right side out. Press it really well. Finally, topstitch 1/8" from the edge all the way around the apron. This will also close the opening at the top that you used to turn it right side out.

That is it! A pretty, ruffly apron!

Now, some things I have done differently on other aprons...

~you can make the ruffle extend all the way to the corner and put the waist ties under it if you prefer
~pockets can be added to the main body piece which is also nice if girls want to play restaurant and have a pocket to put their order tablet in ;)
~interfacing can be added to the waist ties to make them a little sturdier
~the waist ties can me made twice as long so that they wrap around and tie in a bow at the front
~the back can be made of a more contrasting fabric so that it is clearly reversible
~the ruffles and ties can be made of contrasting fabrics
~pleats instead of ruffles can be made along the bottom

UPDATE- There is a matching doll version available HERE!