MOPS Spa Crafts

I am getting ready to graduate from MOPS :( but I decided that I would share our last craft project for the year. I thought it would be nice for the moms to be able to make some spa themed goodies to take home with them and, hopefully, relax a little bit later. I presented several options to our steering team and they wanted do to them all. So, we made rice socks, sugar scrubs, and bath bombs.  

I have also done some of these crafts with tween girls so these are all simple projects that work well for a girls' night, youth group, girl scouts, birthday party, craft club, etc.  Here are the details on each of them...

Rice Sock

These are really nice to warm up and wrap around your neck to relieve tension. I microwave mine for about a minute, but my microwave is super old so yours may be different. You can also store them in the freezer for boo-boos.

I got socks at the Dollar Tree (2 pair for $1) and small elastic hair ties. Then, I fumbled around in the grocery store with gigantic, 20lb bags of rice. It took about 2 cups of rice per sock.

At the craft tables, we had measuring cups (the glass ones with the pouring spout) to measure the rice and mix in essential oils if desired (we had people bring their own). One person held the sock open while the other poured the rice into the sock. Then, we tied them shut with the hair elastics. However, some people were concerned about the hair ties melting or not holding up over time so they just tied a knot in the end of the sock. That made it faster, easier, and smarter!

Sugar Scrubs

I made these a really, really long time ago and they make nice little gifts. They work really well for getting dirt out of your skin if you are gardening or have kids who play in the mud.

I got 10-packs of little containers at the Dollar Tree. Then, I got sugar and dish soap at the grocery store. We used Dawn Olay Hand Renewal dish soap in blueberry something and the store brand in pomegranate. (I have since found that Target has their generic even cheaper! Click HERE to see it.) It is just the stuff that smells pretty and is supposed to be good for your hands.

For these containers, we used 3 Tablespoons of sugar mixed with 1 Tablespoon of dish soap and stirred with a popsicle stick. (As long as you keep the 3:1 ratio it works.)

Bath Bombs

An April craft meeting meant it was great timing to get plastic Easter eggs as bath bomb molds. I got ours at Walmart and I have noticed that they are smaller then my older plastic eggs. I think the plastic egg industry is slowly shrinking them on us. I got the remaining ingredients at a bulk foods store, except the citric acid which I ordered from Amazon.

This station was really messy, so I am glad that we kept it in the kitchen. To prepare, I had measuring cups set out with each ingredient, bowls for mixing, and sandwich bags to hold the plastic eggs (in case they popped open later). I also melted the coconut oil and kept it warm in a bowl sat on top of a pot of warm water.

We used a basic recipe and the moms were encouraged to bring oils to add to them. Each recipe made 5-6 eggs.

1/2 cup baking soda 1/4 cup corn starch 1/4 cup epsom salt 1/4 cup citric acid 3-4 teaspoons melted coconut oil 1-2 teaspoons water essential oils

The dry ingredients were mixed together and then the wet ingredients were added. It should be the consistency of a wet sand and start to stick together when you squeeze it. If it was too dry, more water or oil was added. Then, we pressed everything together into the egg. The egg halves had to be overflowing a bit. When the two sides were pressed together, the excess fell out. This made sure the eggs were full with no air bubbles.


It was a lot of work to gather all of the supplies for a large group, but the craft went pretty well. They seemed to be simple enough for everyone to easily make. If someone did not want to make all of them, they did not have to do it.

You can see some of the other MOPS crafts we did by clicking on the pictures below...

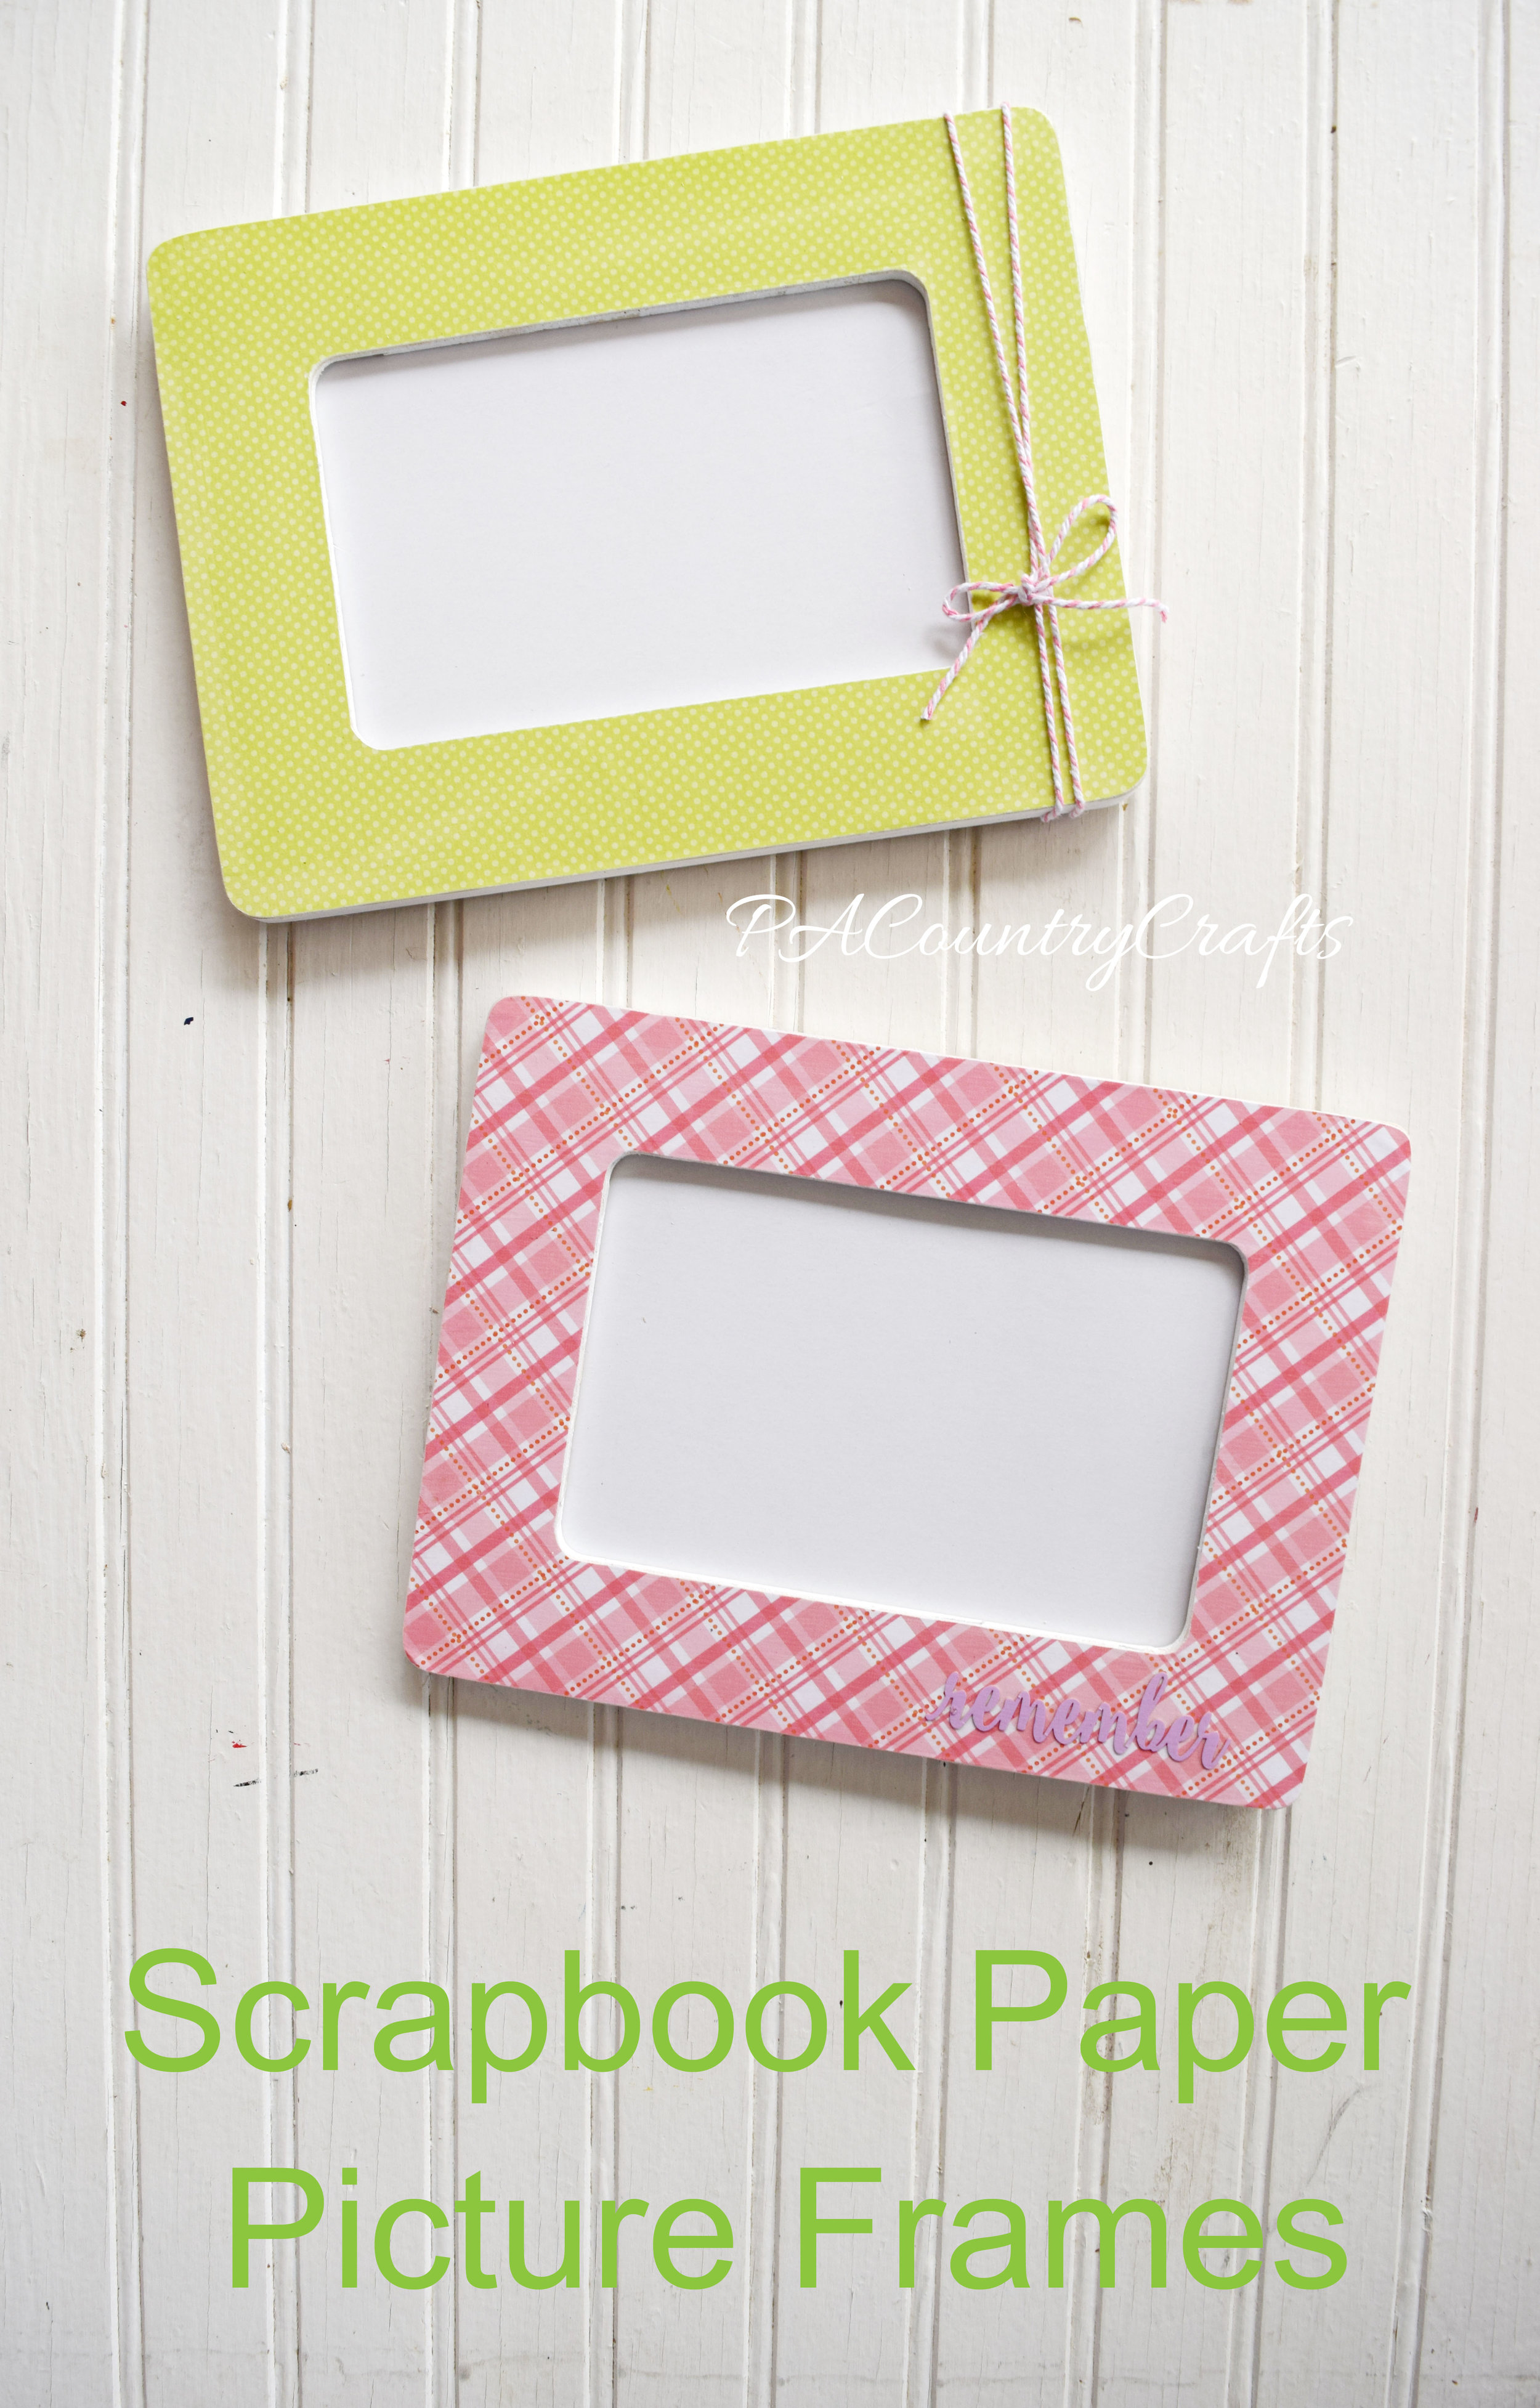
Use scrapbook paper and cheap wood frames to make a cute craft - perfect for craft nights and groups!

composition-book-journal

DIY I Spy Bottles MOPS Craft

Scrapbook Paper Picture Frame Tutorial

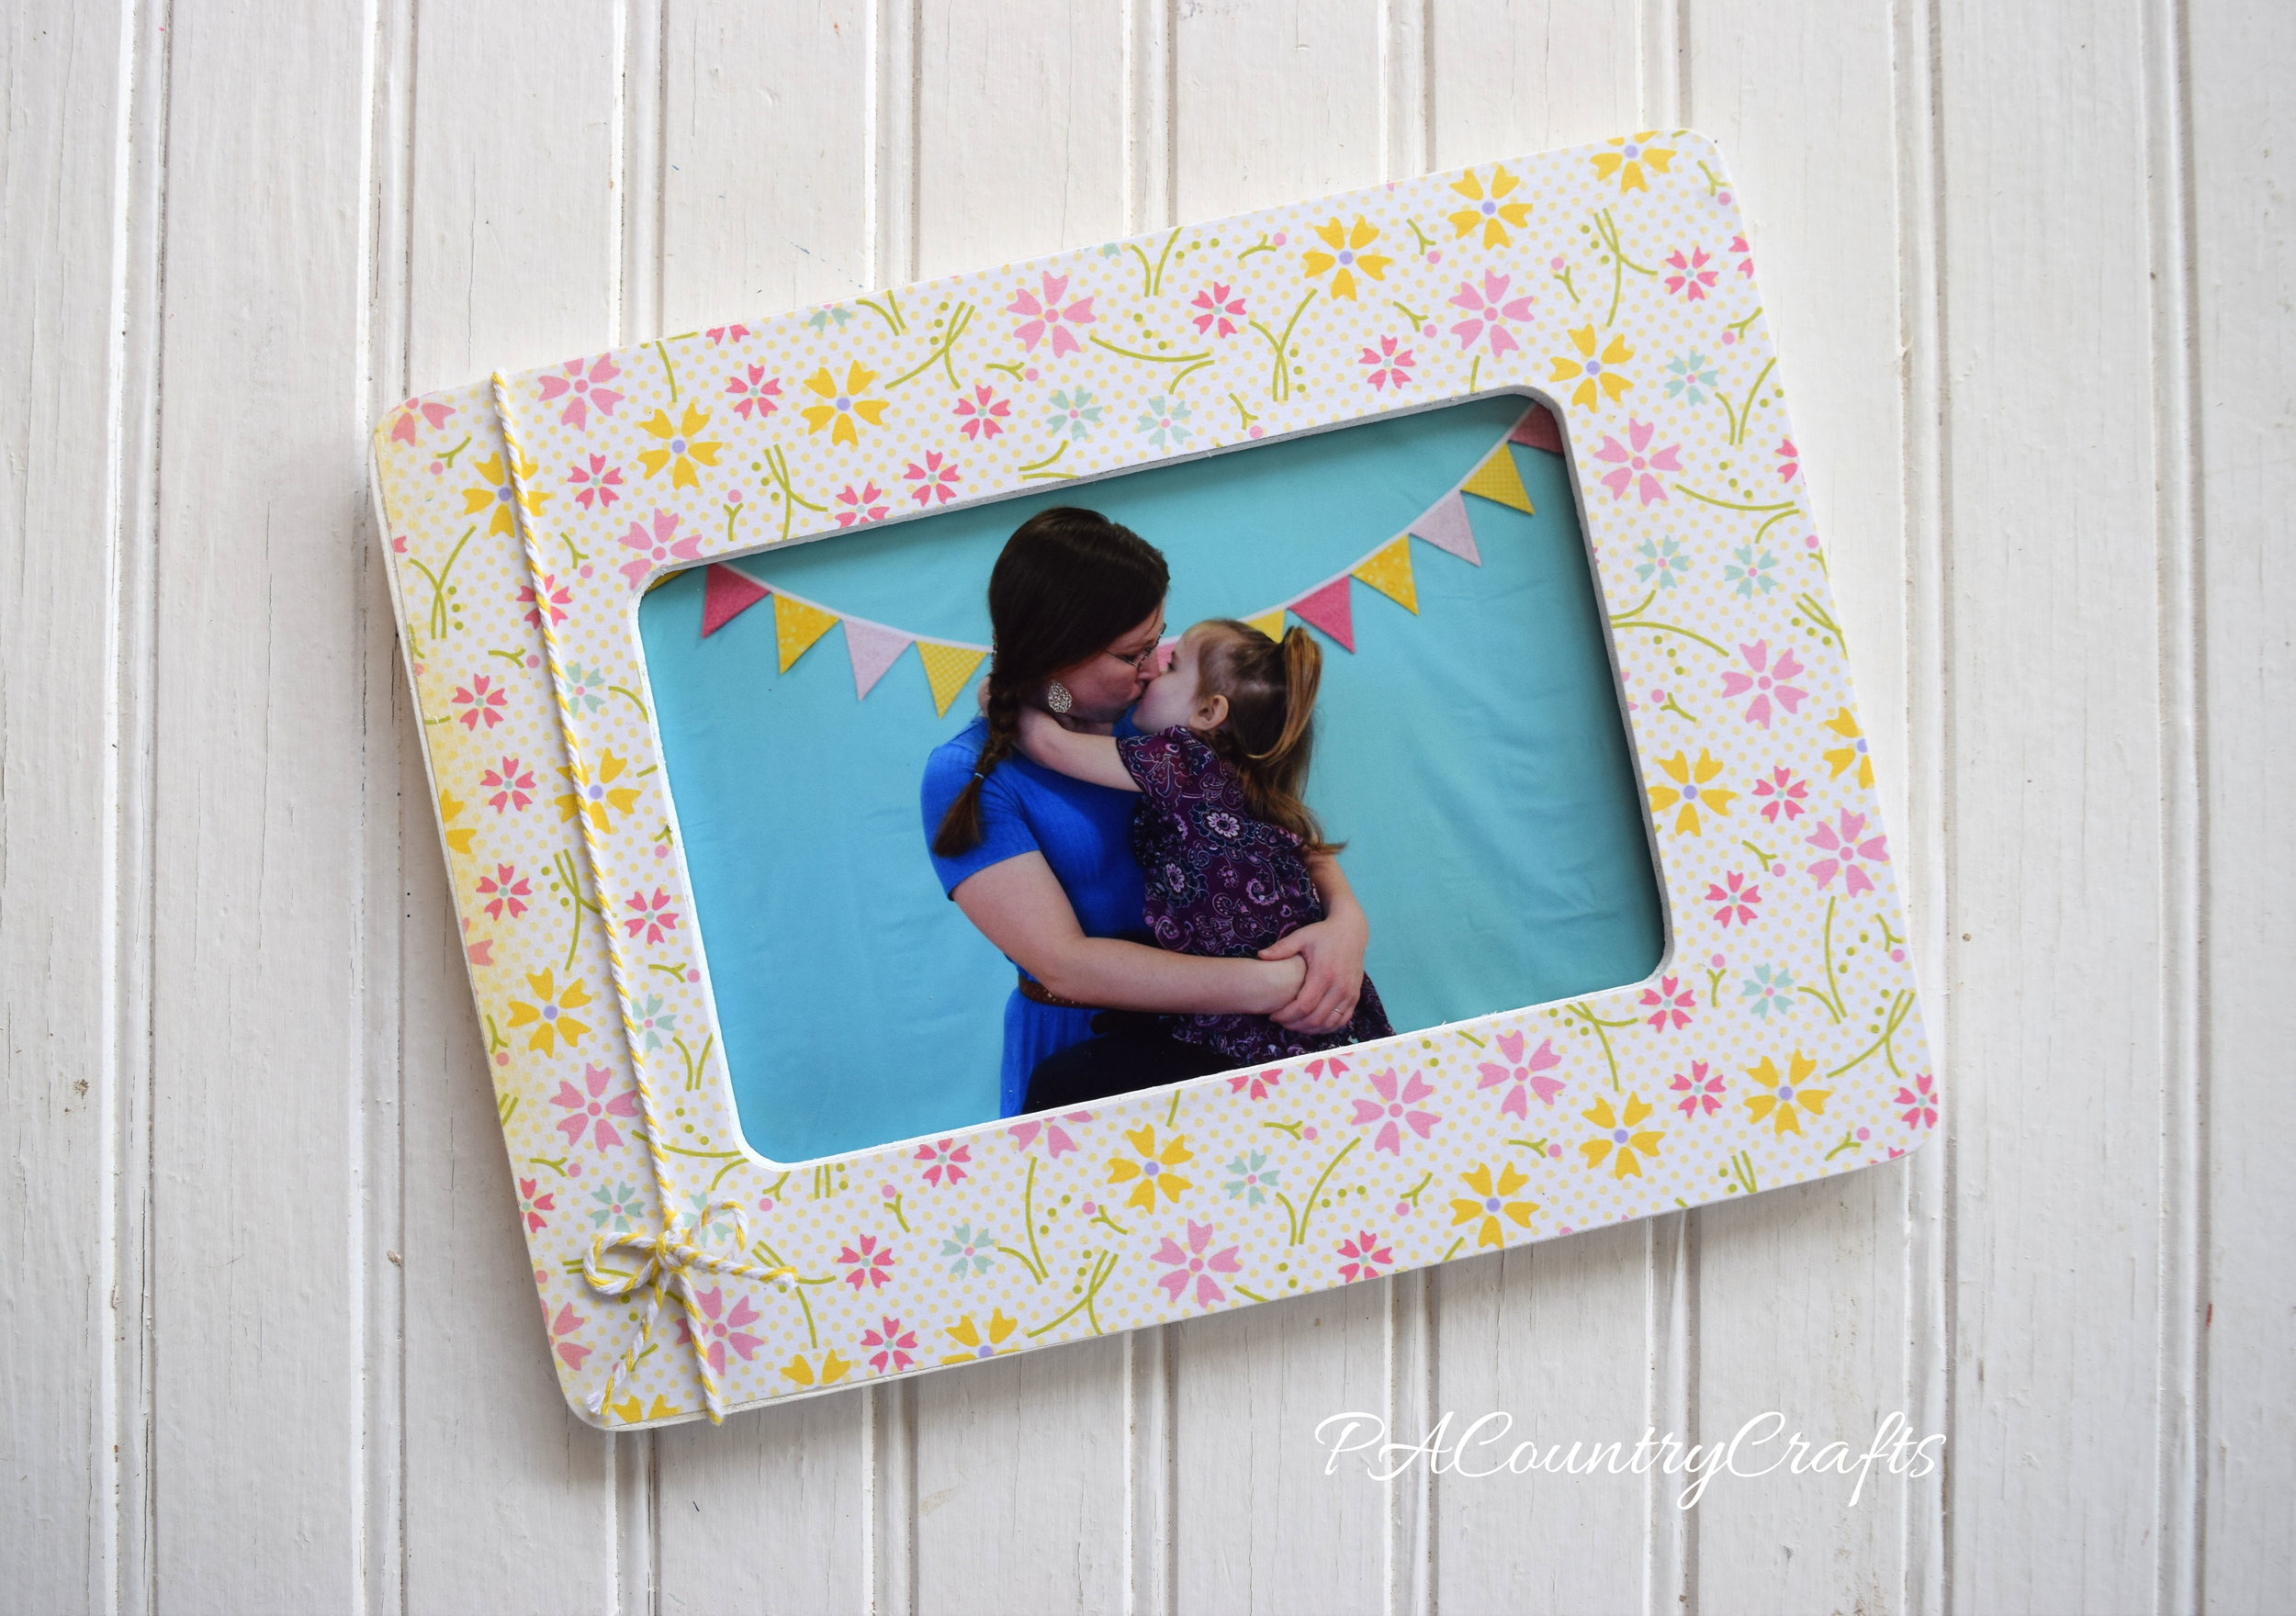
April is generally the craft month for our MOPS group. We wanted to come up with something that every mom could use... picture frames! At the March meeting we set up a photo booth with two background choices: an aqua sheet thumbtacked to the divider with THIS pink and yellow bunting or a navy sheet thumbtacked to the divider with some yellow stars that are part of our "Starry Eyed" meeting decor. They were simple, but beautiful (and FREE!) One of our steering team members is also a talented photographer. She has a good eye for capturing those special moments. She photographed the moms as they came in with their little ones and we got free 4 x 6 prints through the Shutterfly app printed before the April meeting. We figured if there was a picture to put in the frame right away it would be used.
Cute and easy MOPS craft with picture frames!

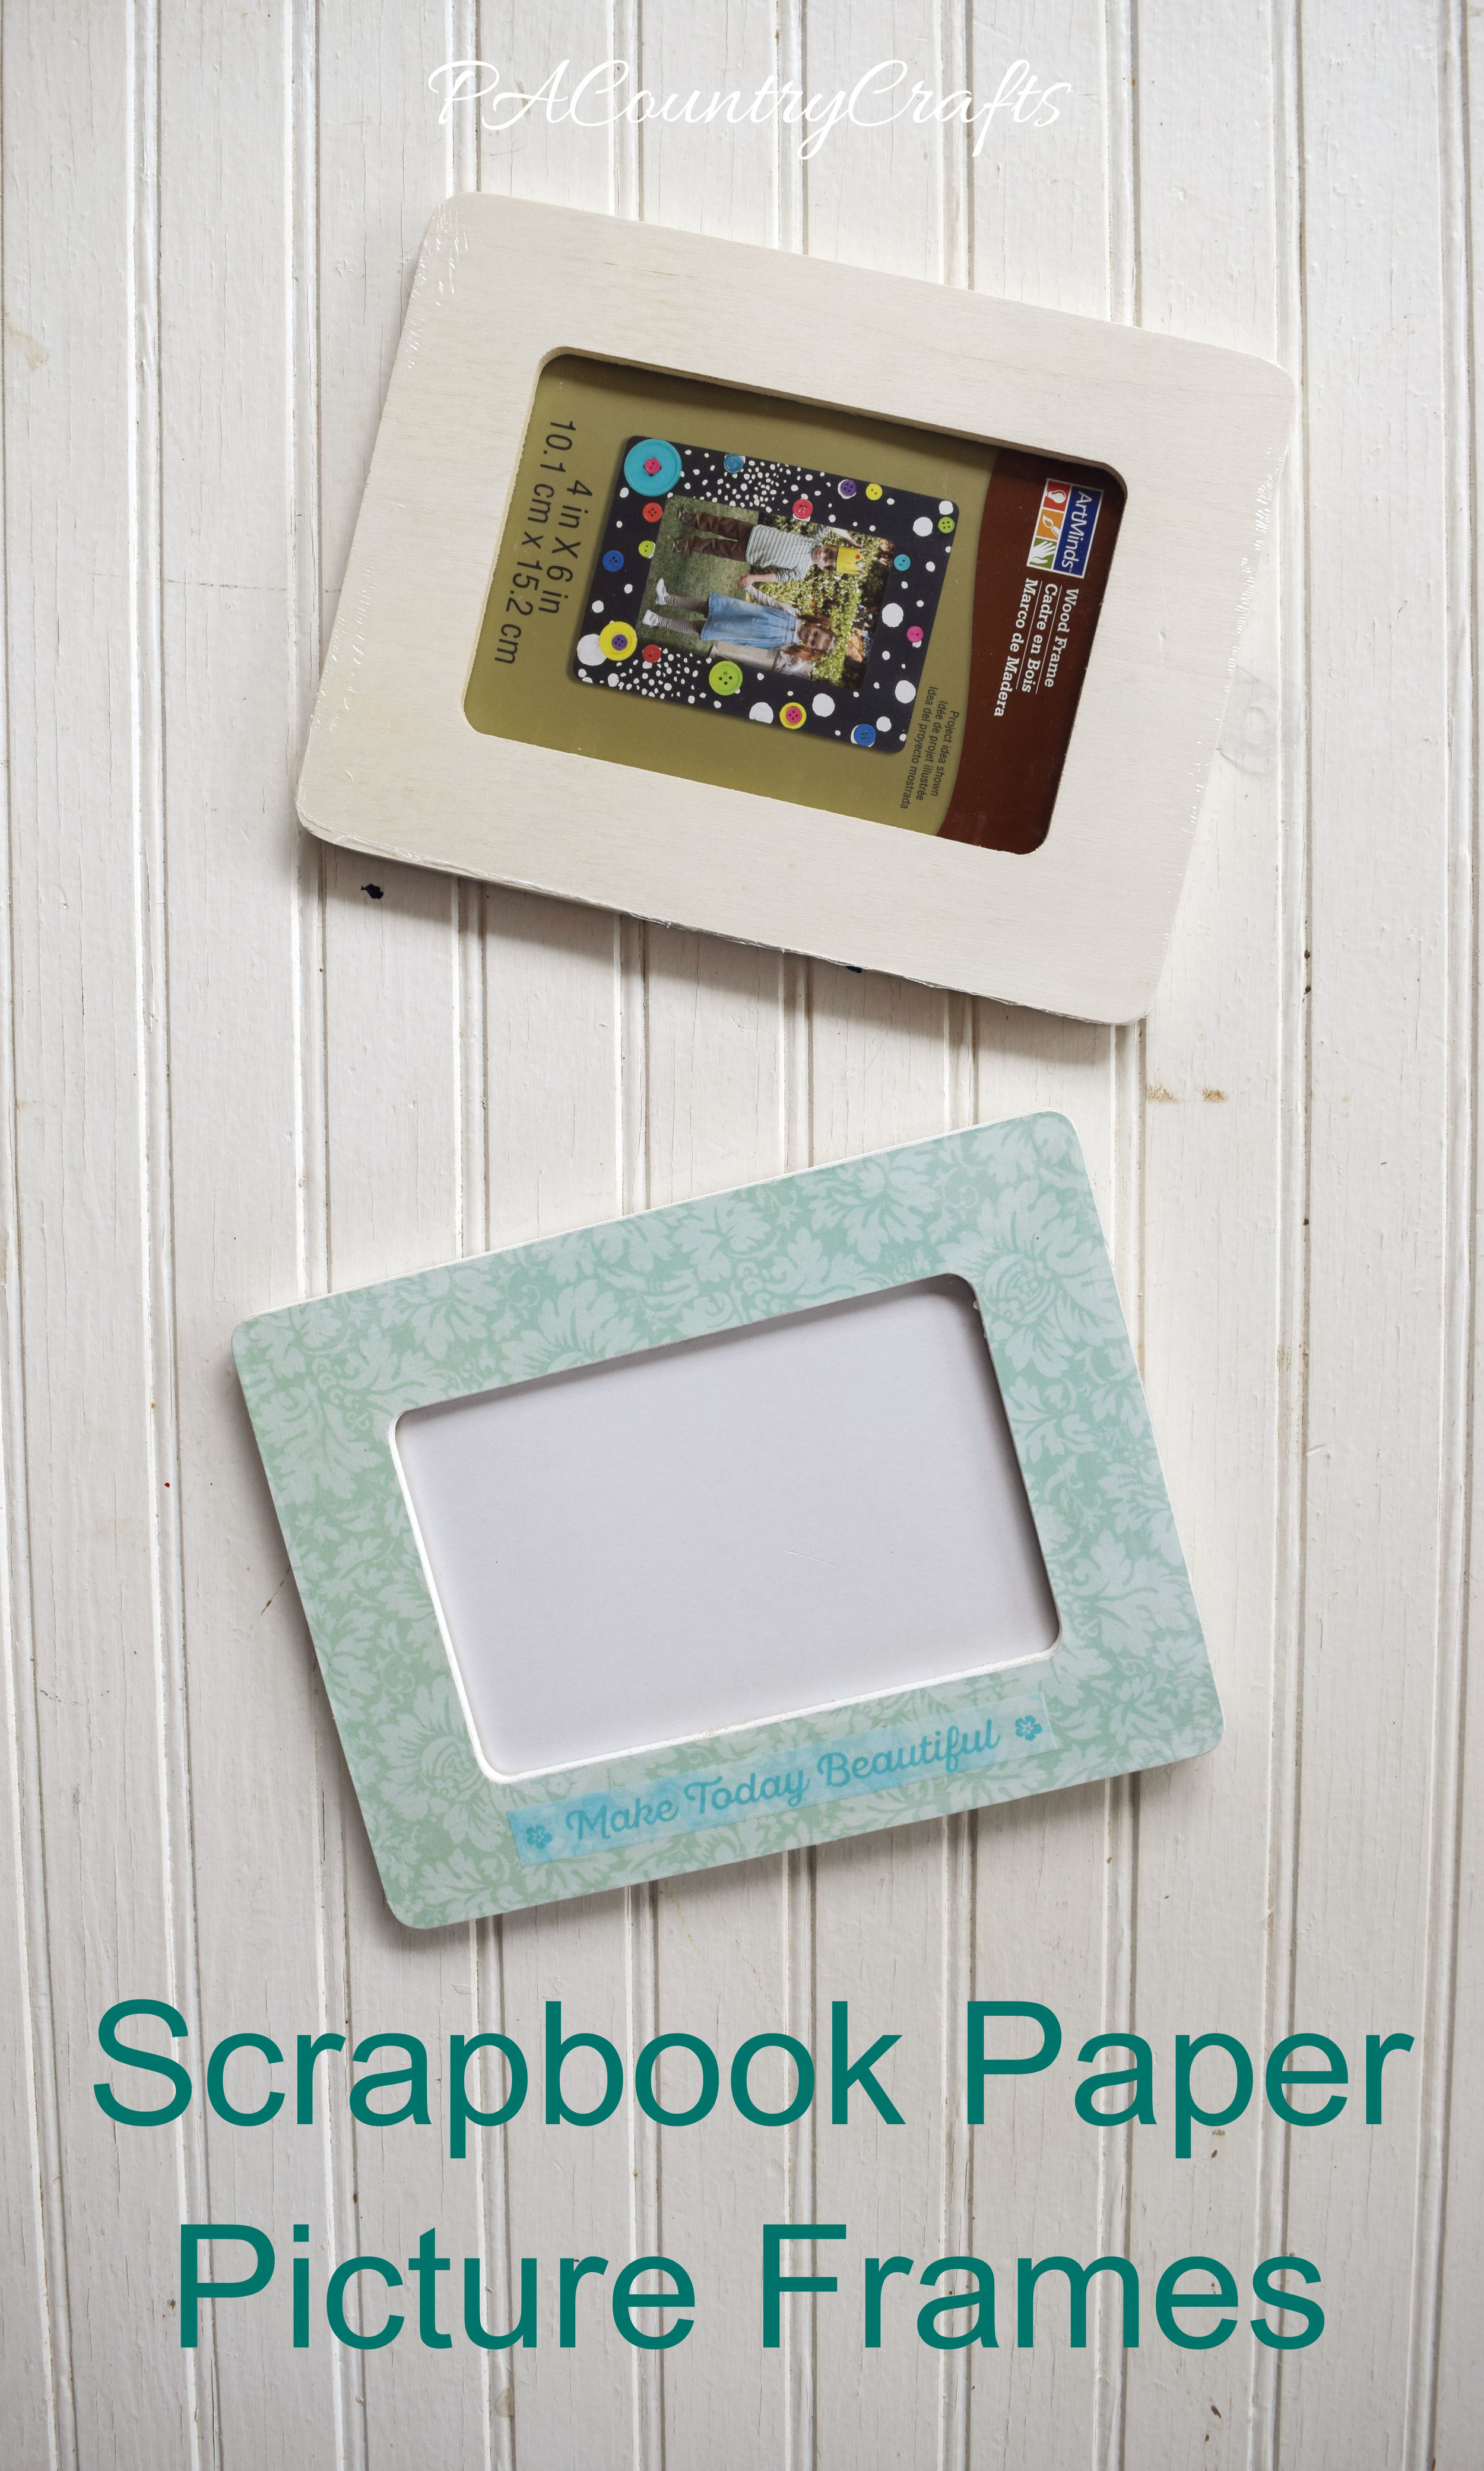
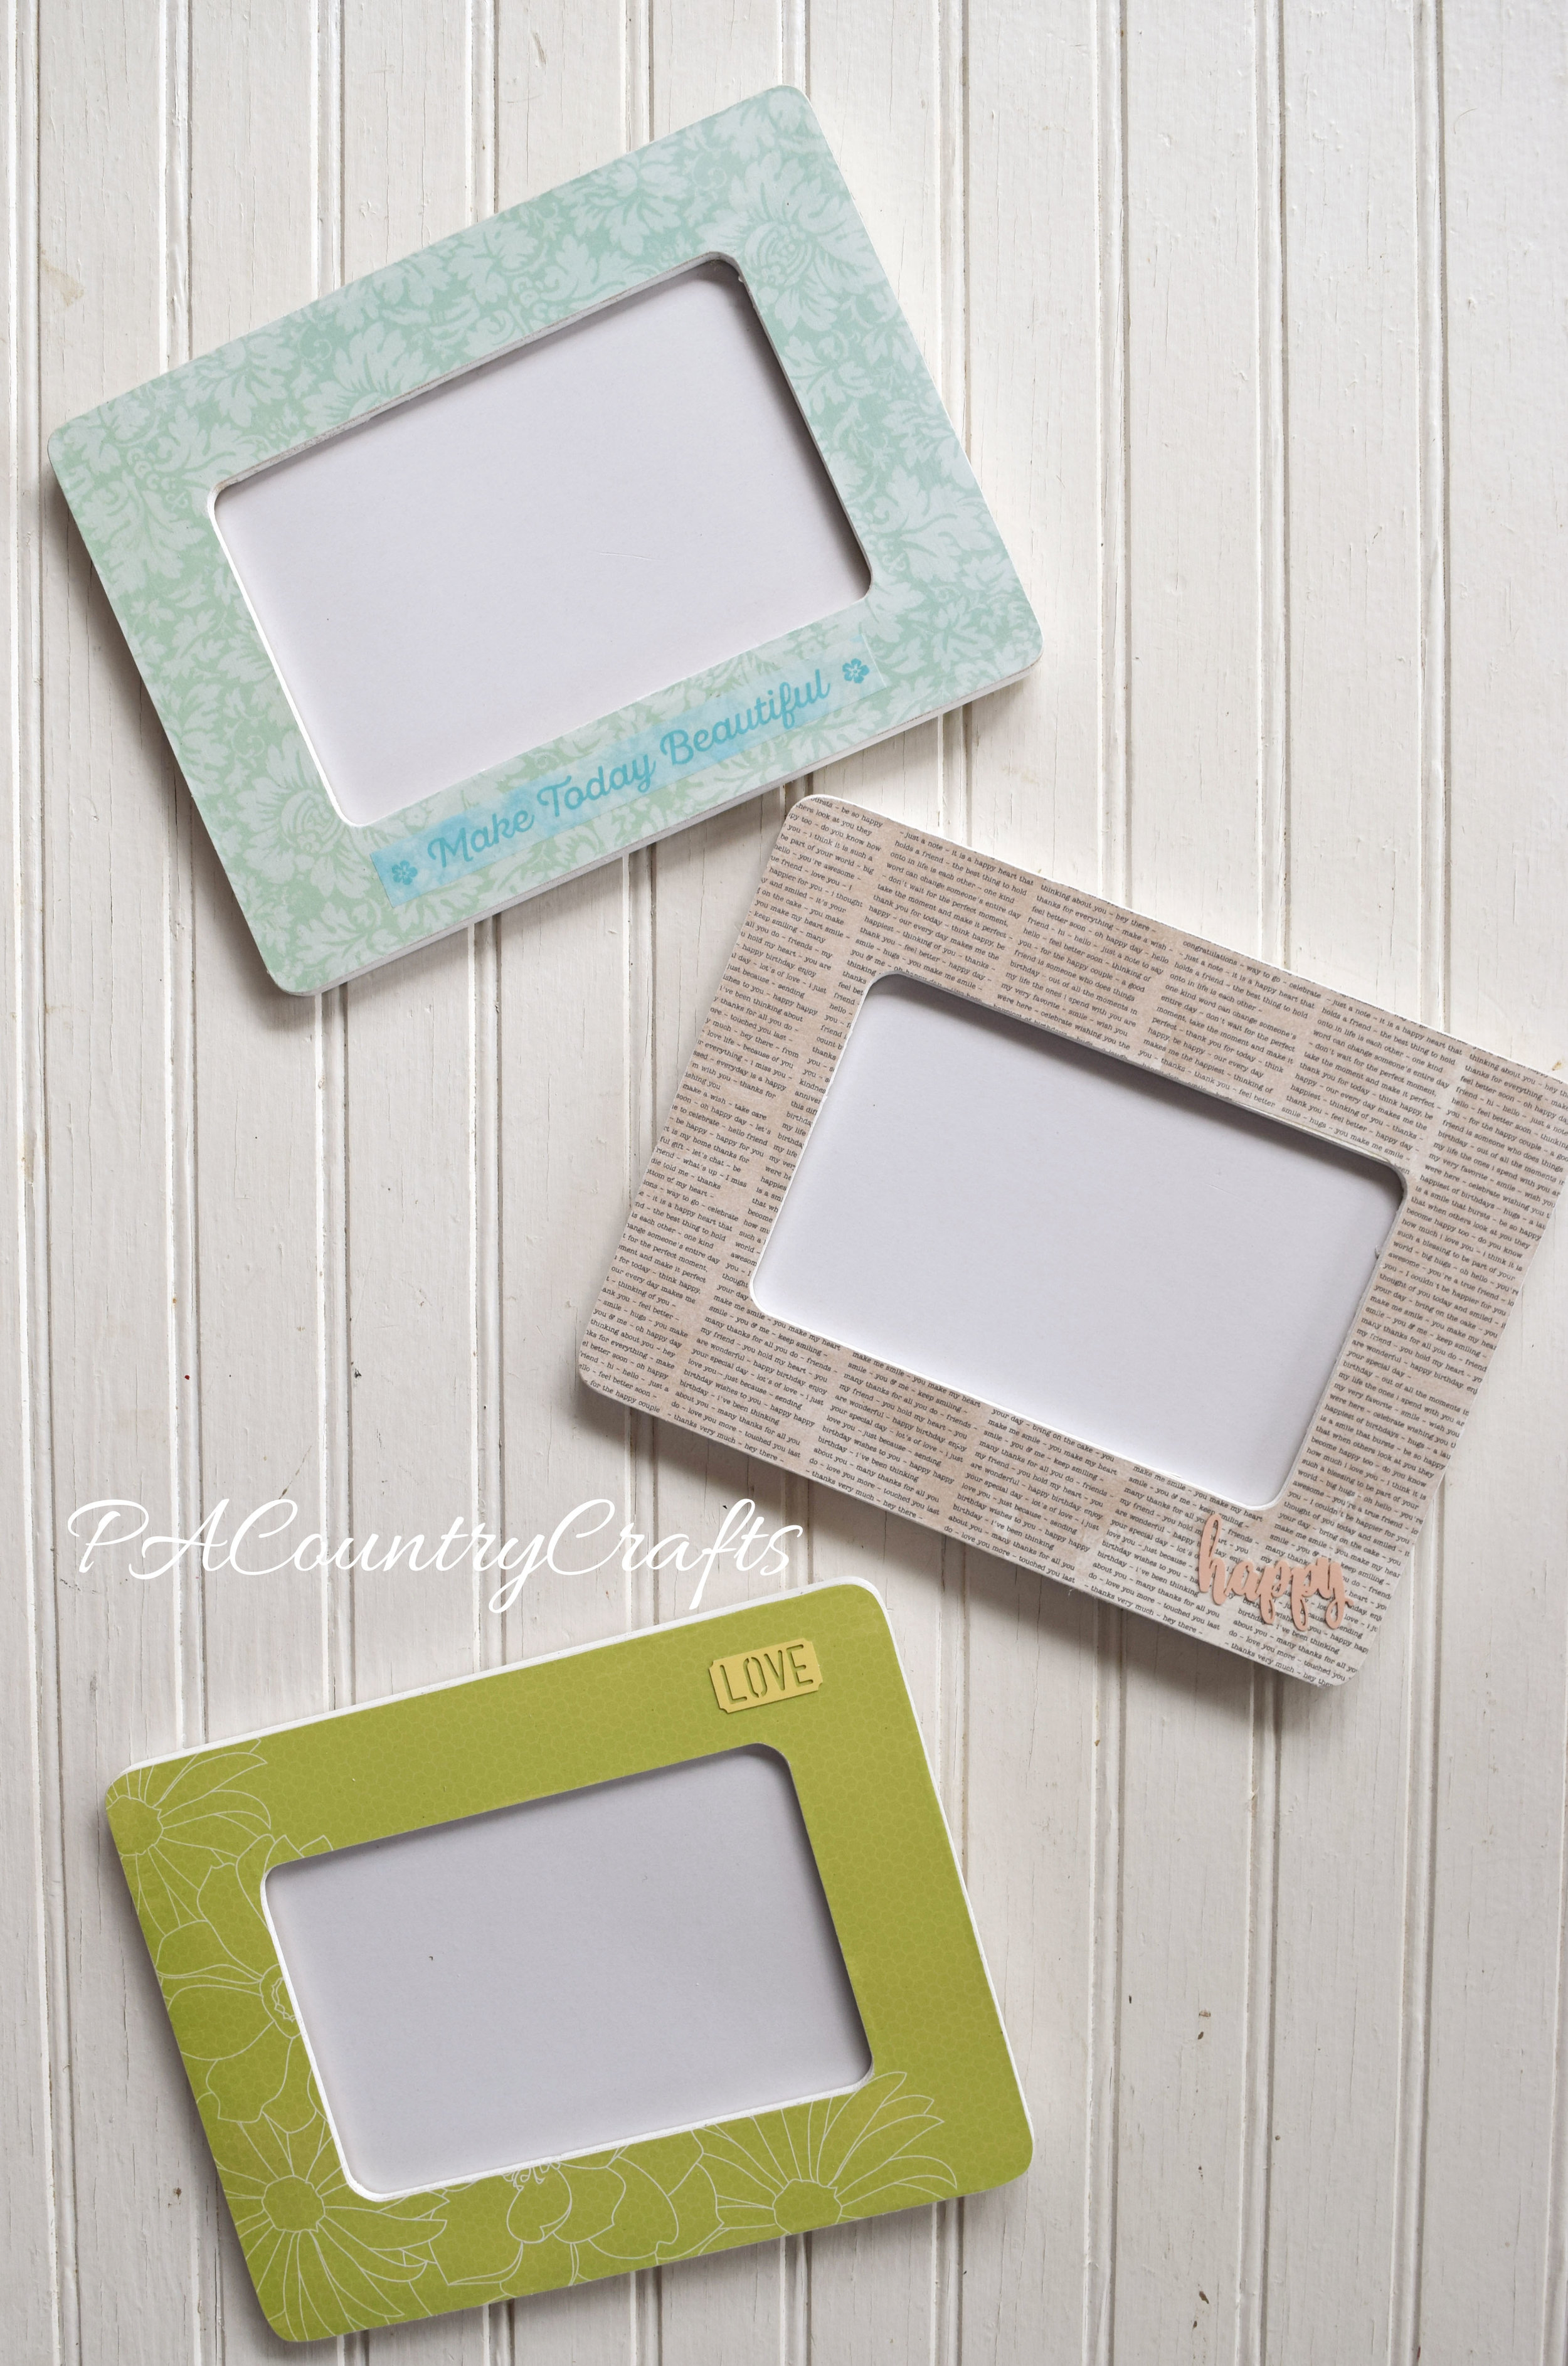
The frames were easy and inexpensive. I got them at Michaels and used a 30% off your entire purchase coupon so they were only 70 cents each. We also used up leftover paper from our journal craft in September (see HERE). I picked up some more scrapbook papers in neutral and blue colors that would be better for pictures with the navy background.

DIY book page picture frame

Scrapbook paper over a wood frame...
MOPS photo booth and picture frame craft

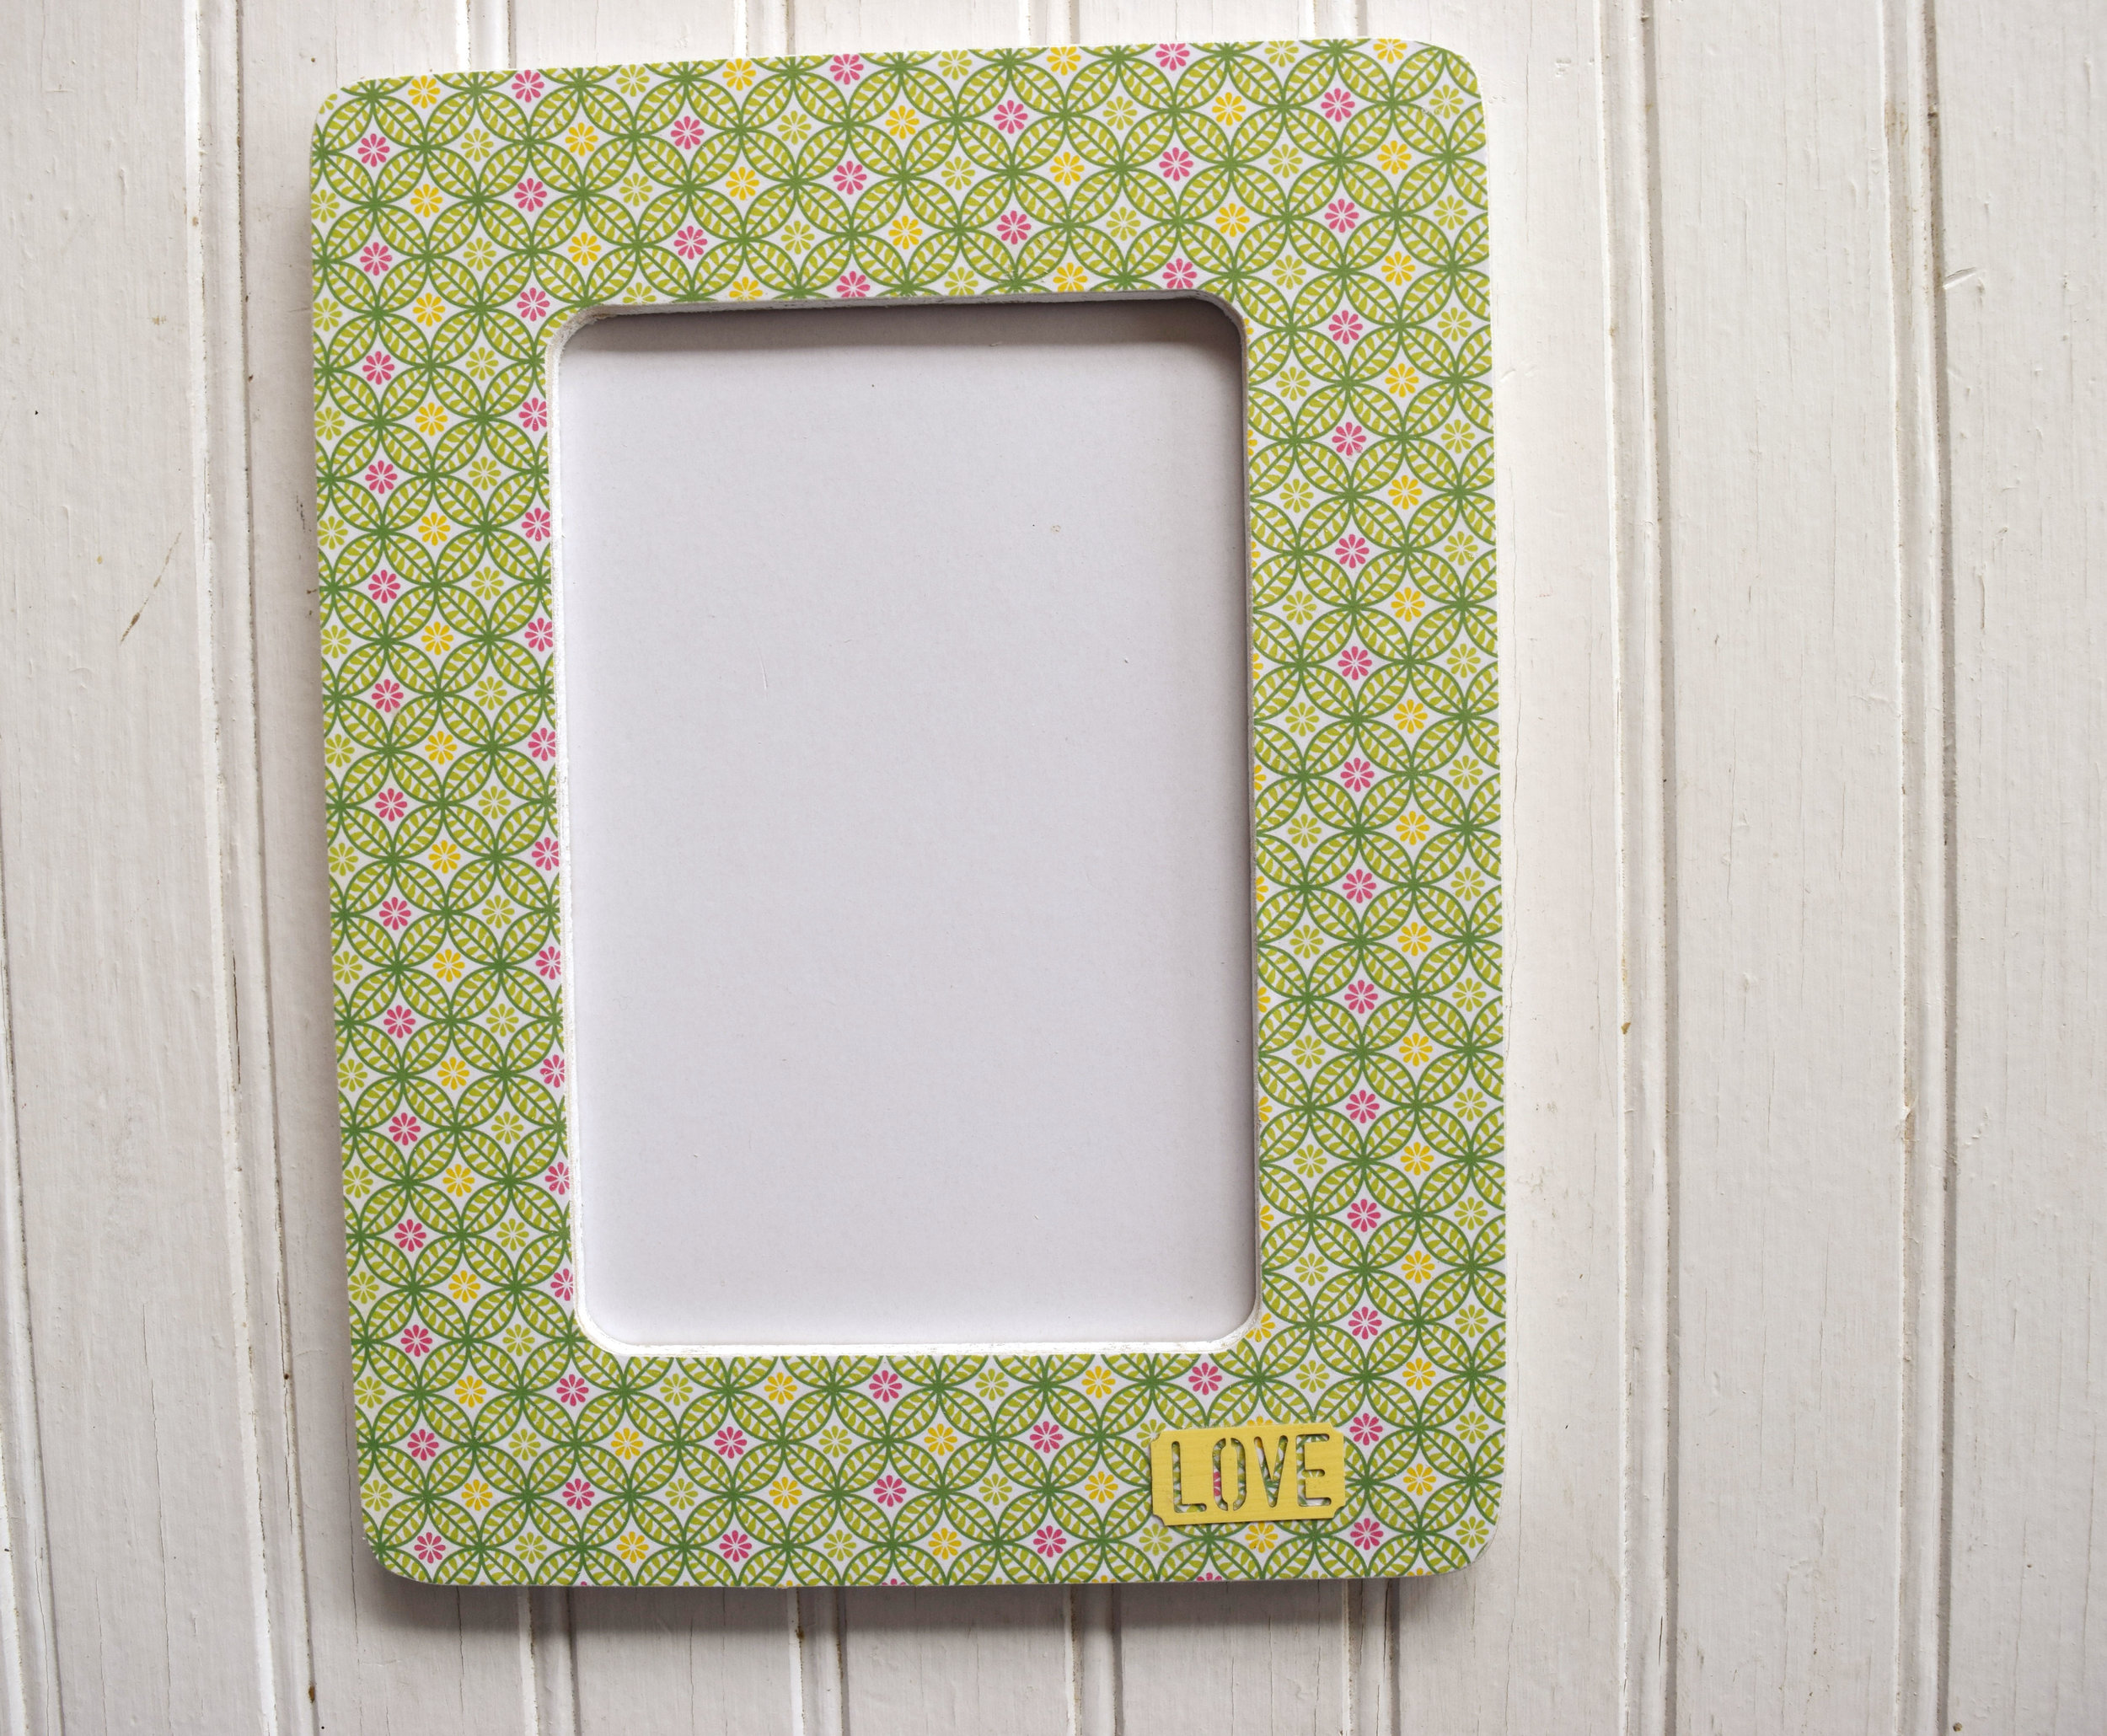
I have made these frames before and you can see some of them in my daughters' collage wall HERE. It is the perfect craft for a ladies night or a group. You can add little embellishments like baker's twine, washi tape, fabric flowers, die-cuts, etc. so they will all be unique. In addition to flat frames like these, you can use this same technique on any flat wood surface. I made a mustache for the collage wall, too!
Easy group craft- scrapbook paper covered picture frames!

Here is what you need:

~wood frame ~mod podge ~foam brush ~sandpaper ~scrapbook paper ~scissors ~pencil ~embellishments (optional) ~paint (optional)

Easy DIY frame craft with scrapbook paper, cheap wood frames, and mod podge.

I began by painting the edges of the frames just to make the finished product a little nicer. I used white acrylic.

Paint the edges of frames for a nicer finish

Lightly sand the frame to remove any rough edges or extra paint. (My craft table is a disaster! #keepitreal)

how to prep a wood frame for decorating

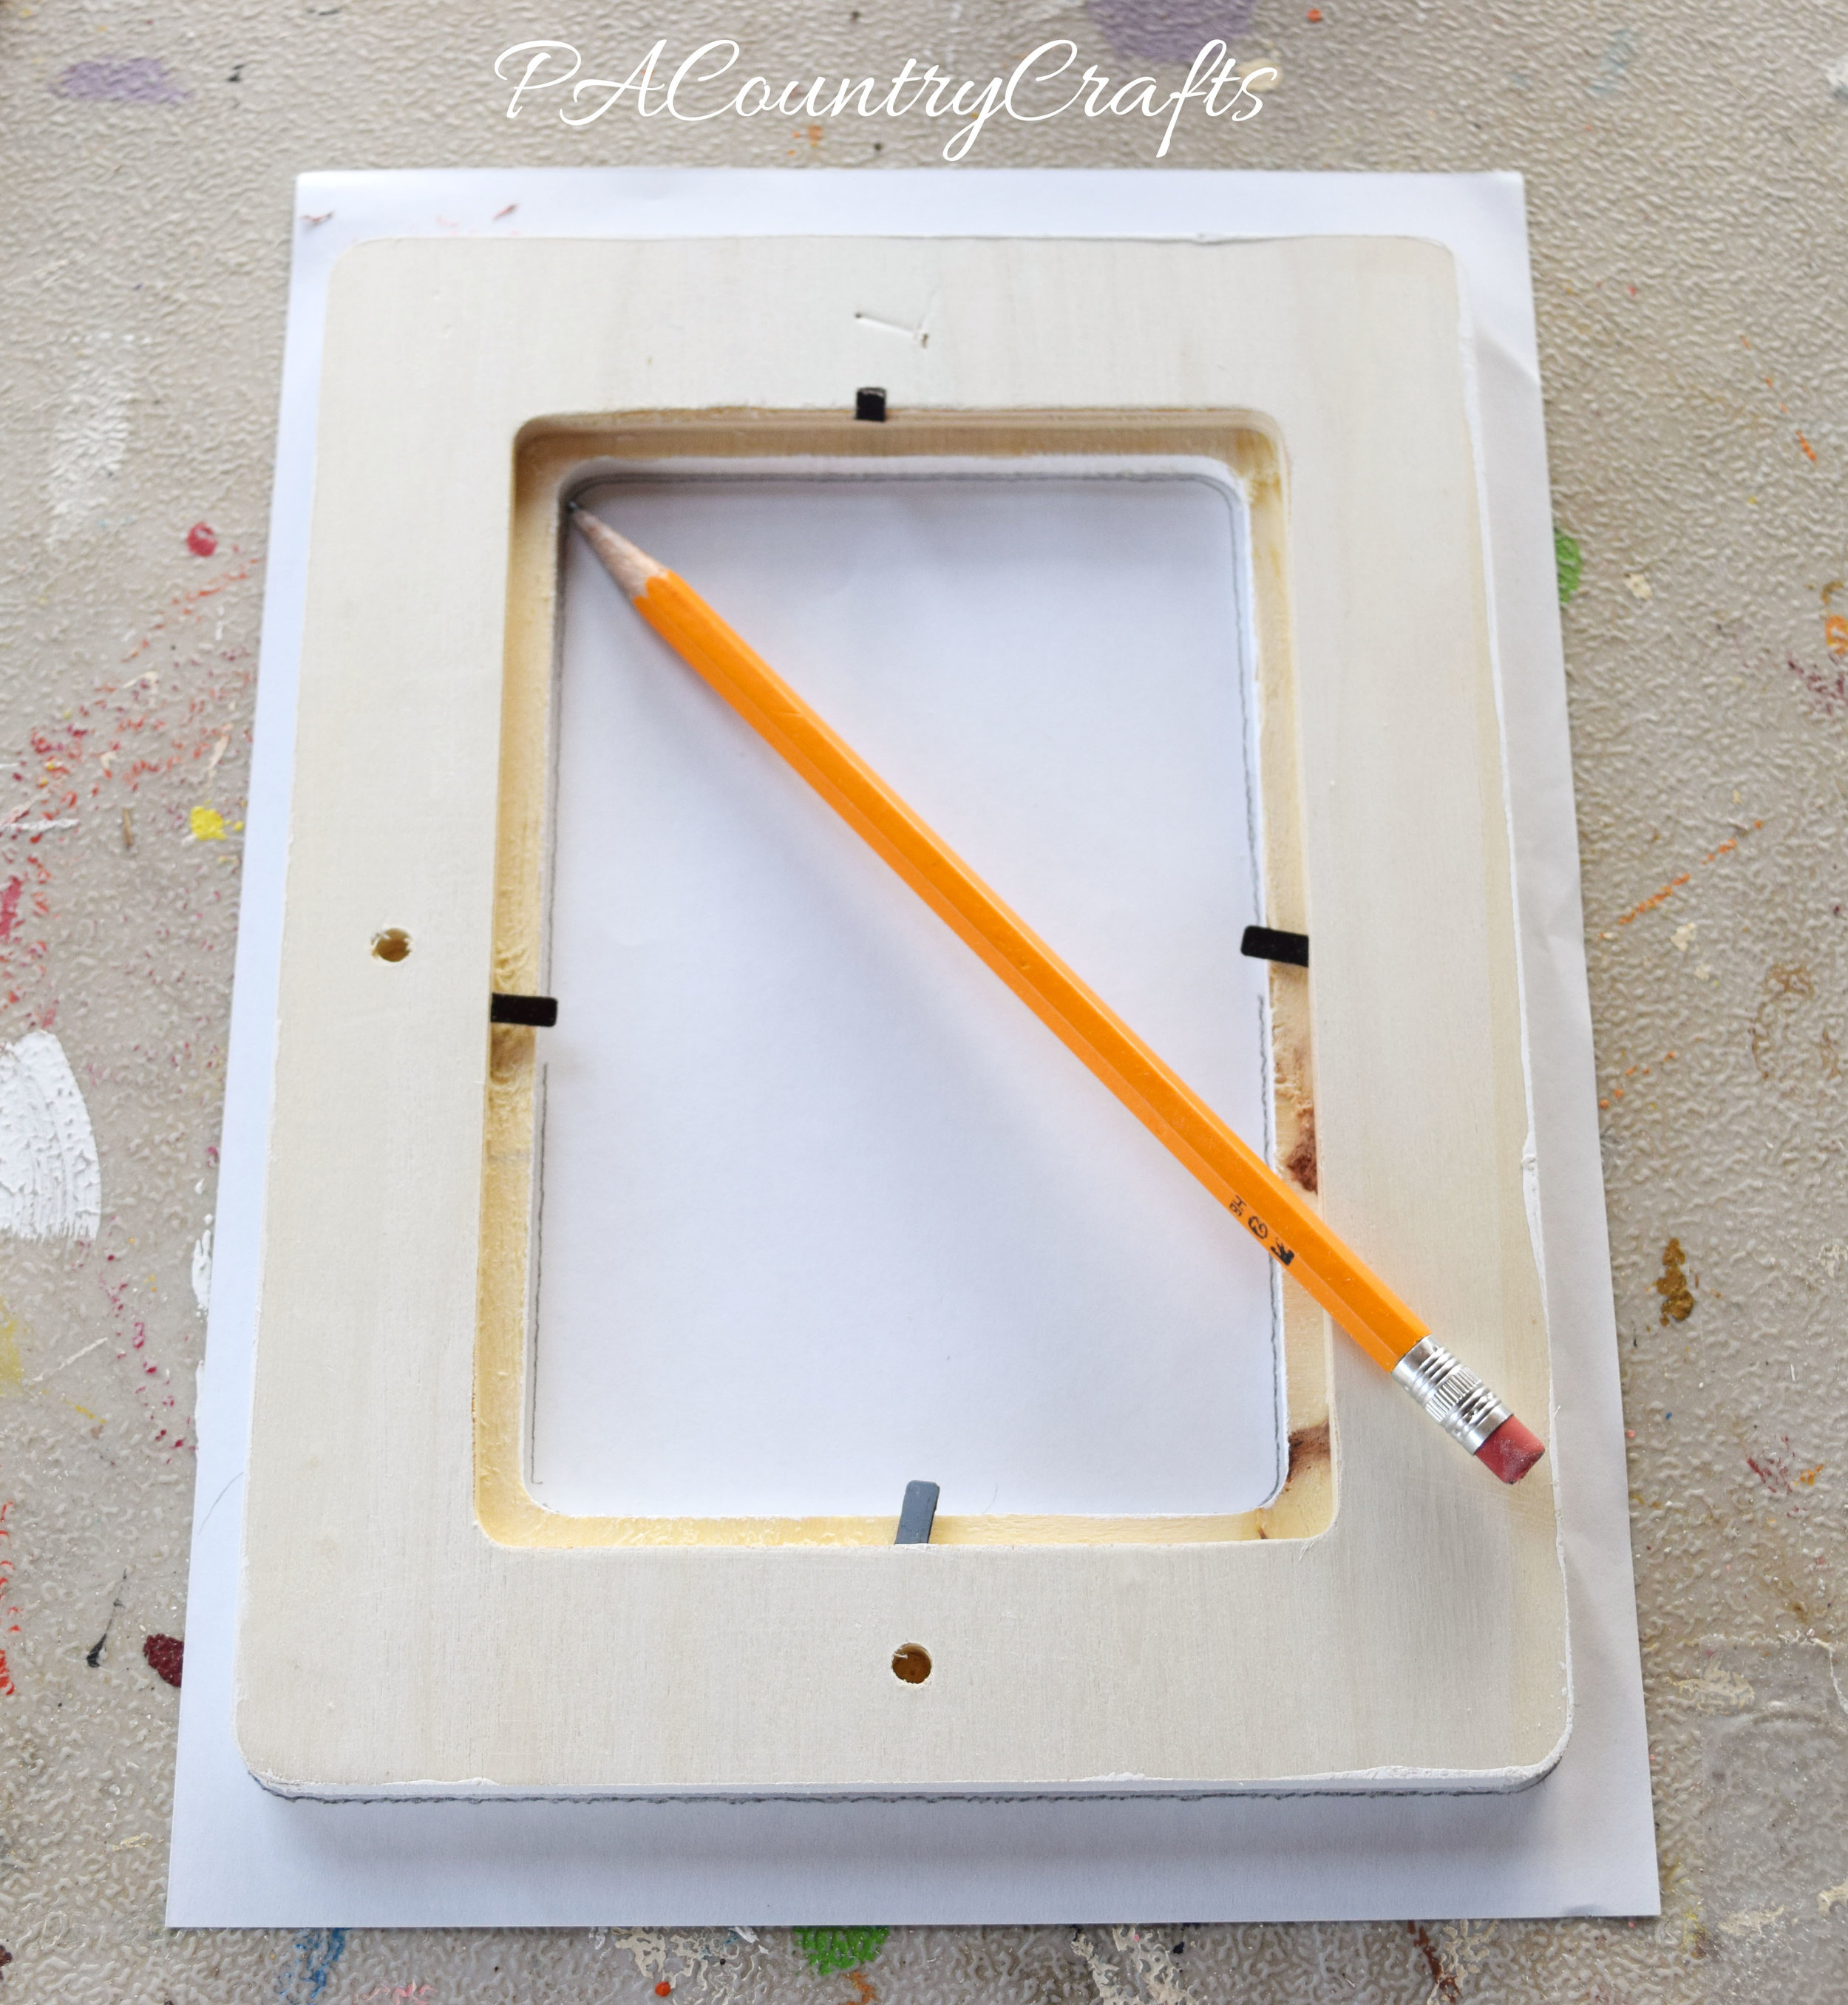
Trace the frame on the wrong side of the paper (so you don't see pencil marks in case you mess up).

how to make scrapbook paper frames

Cut out the frame shape you traced, but leave a little extra outside the pencil lines. Always go big, not too small!

Cute paper to cover wood frames

Brush a layer of mod podge onto the frame. It should be a fairly thick layer, but it should all be smoothed out- no runs or lumps.

mod-podge-frame

Lay the paper on top of the frame, lining up the center opening and edges as best as you can. There should be a little extra all around.

How to cover a wooden frame with paper

If you get big wrinkles, you can take it off and redo it, but only if you are fast about it. Some wrinkles can be pushed out by hand, or you can even try scraping with a credit card. Just smooth it all out the best that you can and let it dry. We did our "speed friending" activity awhile.

Then, it is time to sand the extra paper off of the edges. Make sure to use a perpendicular, downward motion (if you have ever done Jamberry nails it is the same technique!) Don't ever push the sandpaper back upward or you might lift the paper. Just keep scraping down at as close to a 90 degree angle as you can. Use some muscle! It takes a bit of pressure to make it work. The paper will begin to loosen and peel off.

This tip helps you sand extra paper of the edges of mod podge frames for a clean finish.

The secret to getting perfect edges on mod podge picture frames...

Don't forget the inside, too. It looks very crisp and neat when you are done! Nothing at all like my messy table.

How to get clean edges on a paper covered frame

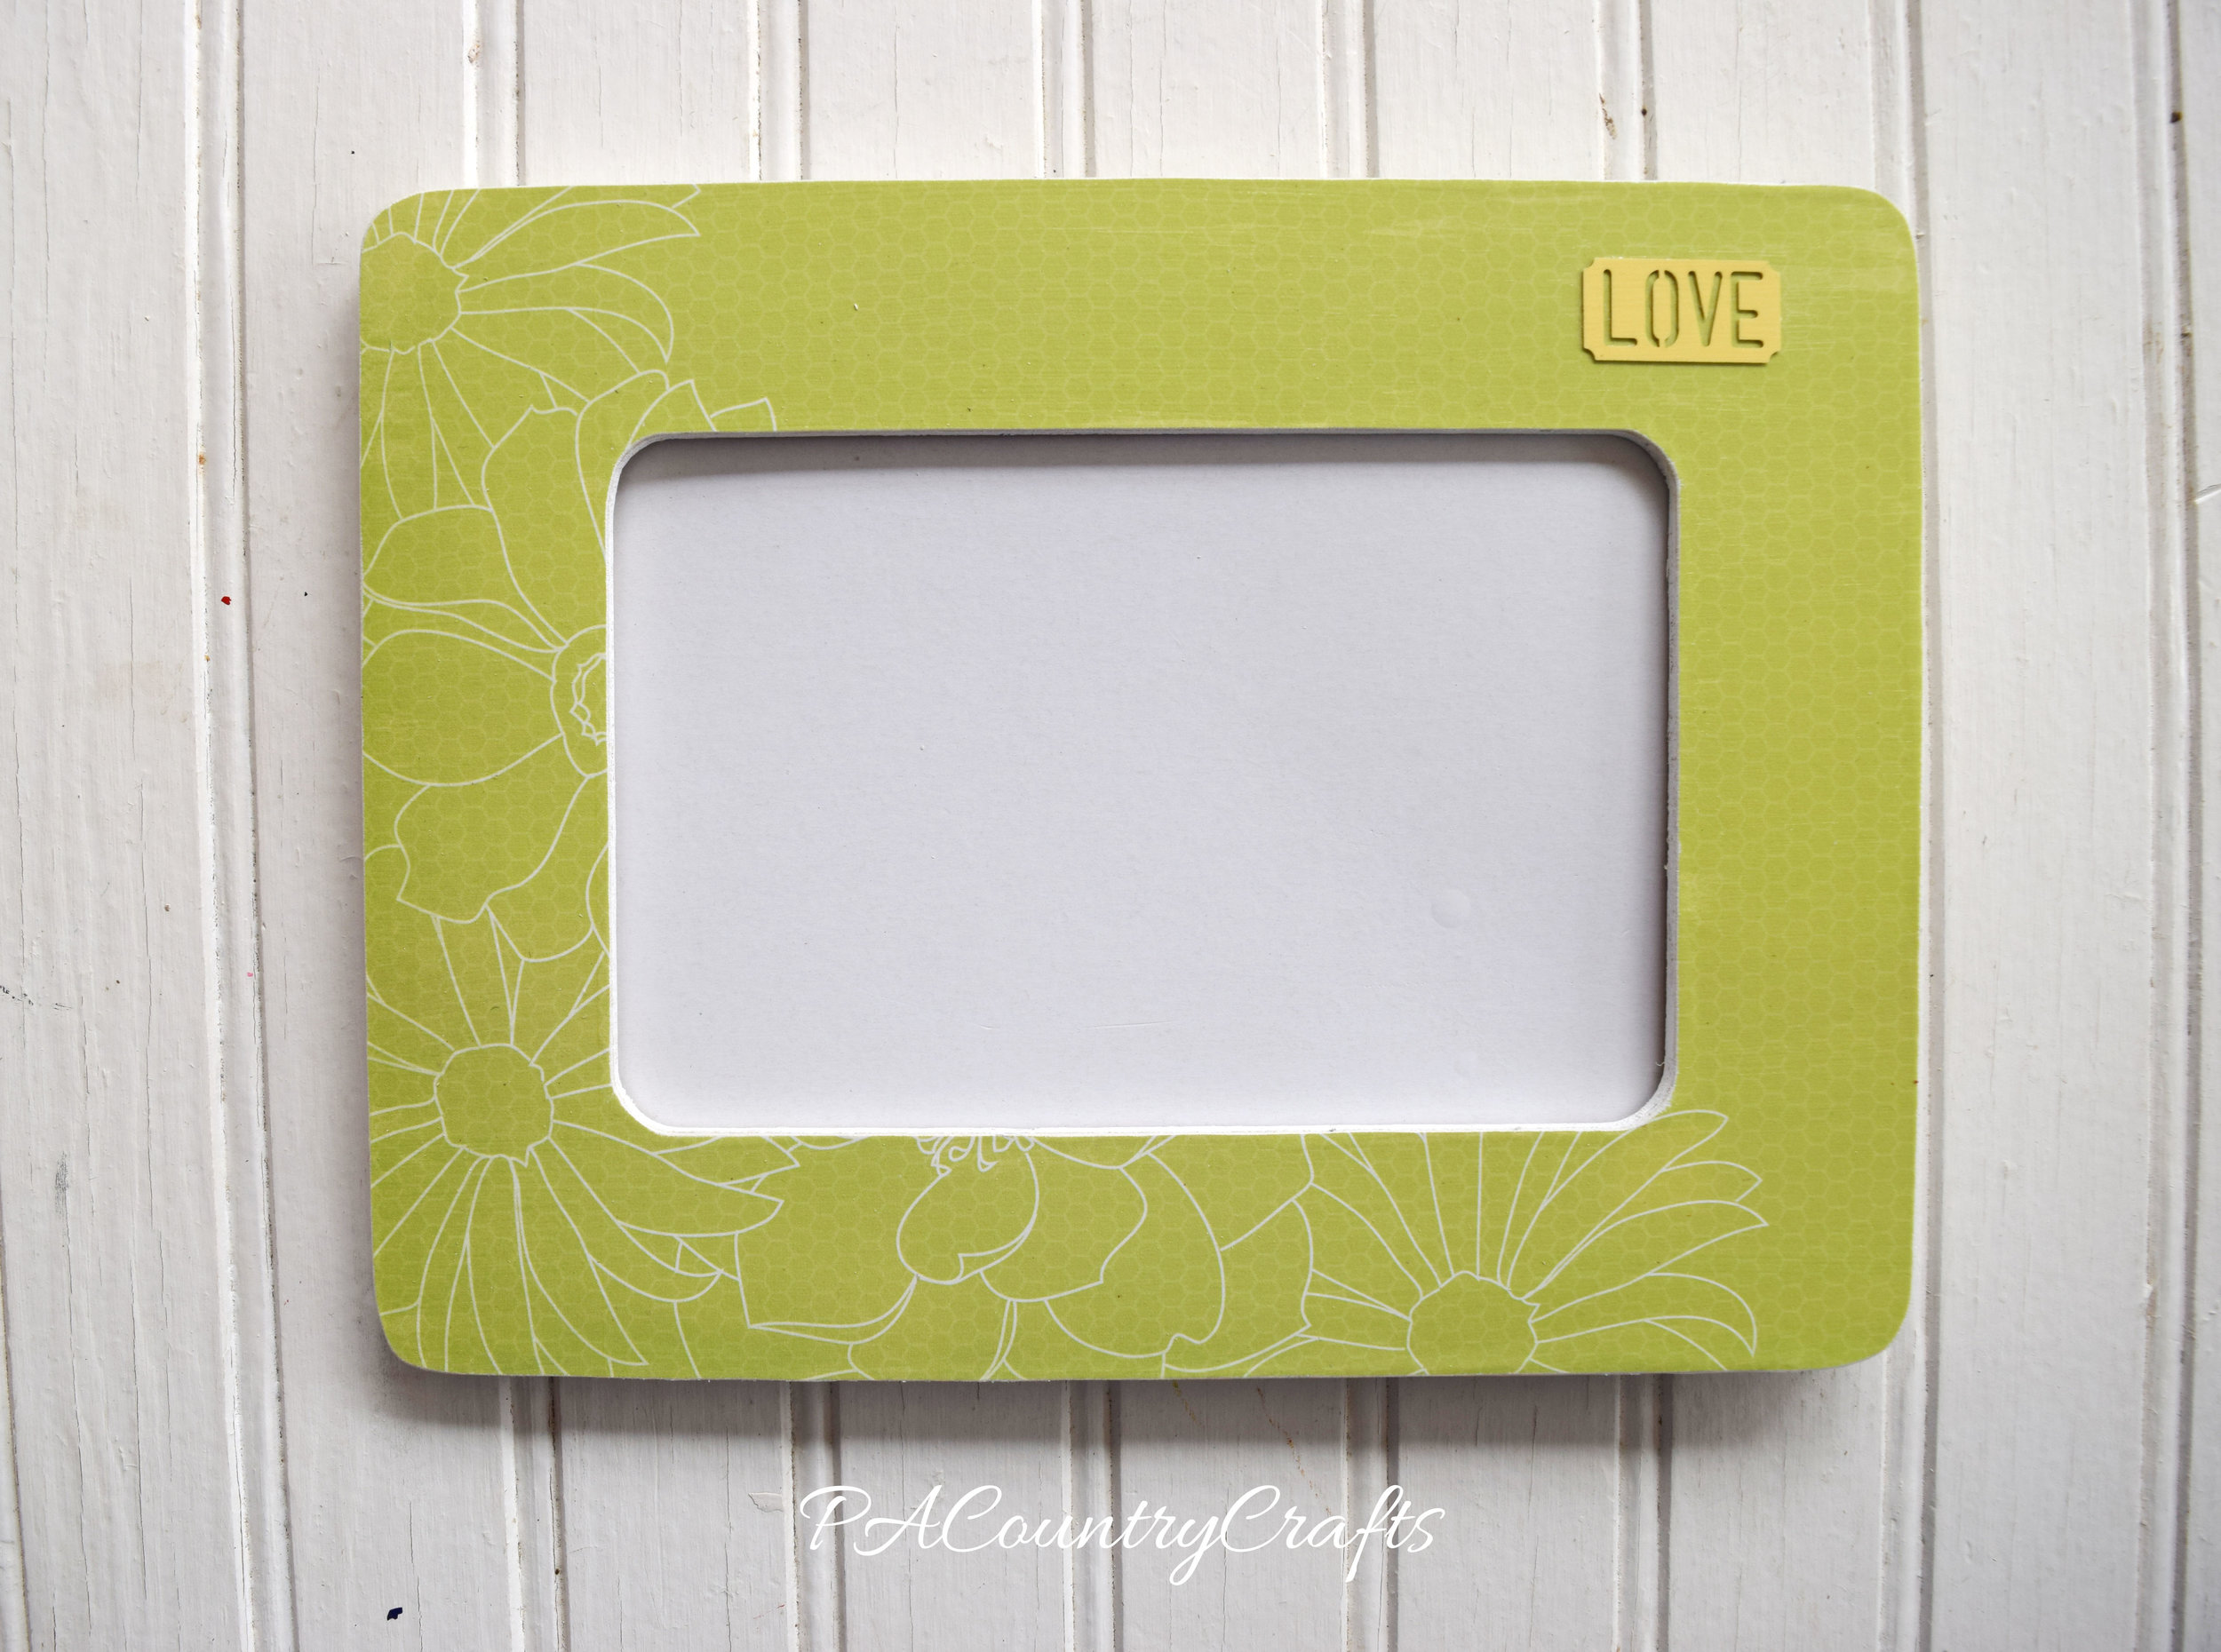
It is a good idea to seal it by brushing on a thin layer of mod podge. If you want to add embellishments, just brush a little mod podge on, stick it on top, then just brush over the whole frame.

Cute embellishments on a DIY frame. Mod podge is great!

See? It dries clear.

Easy picture frame craft project!

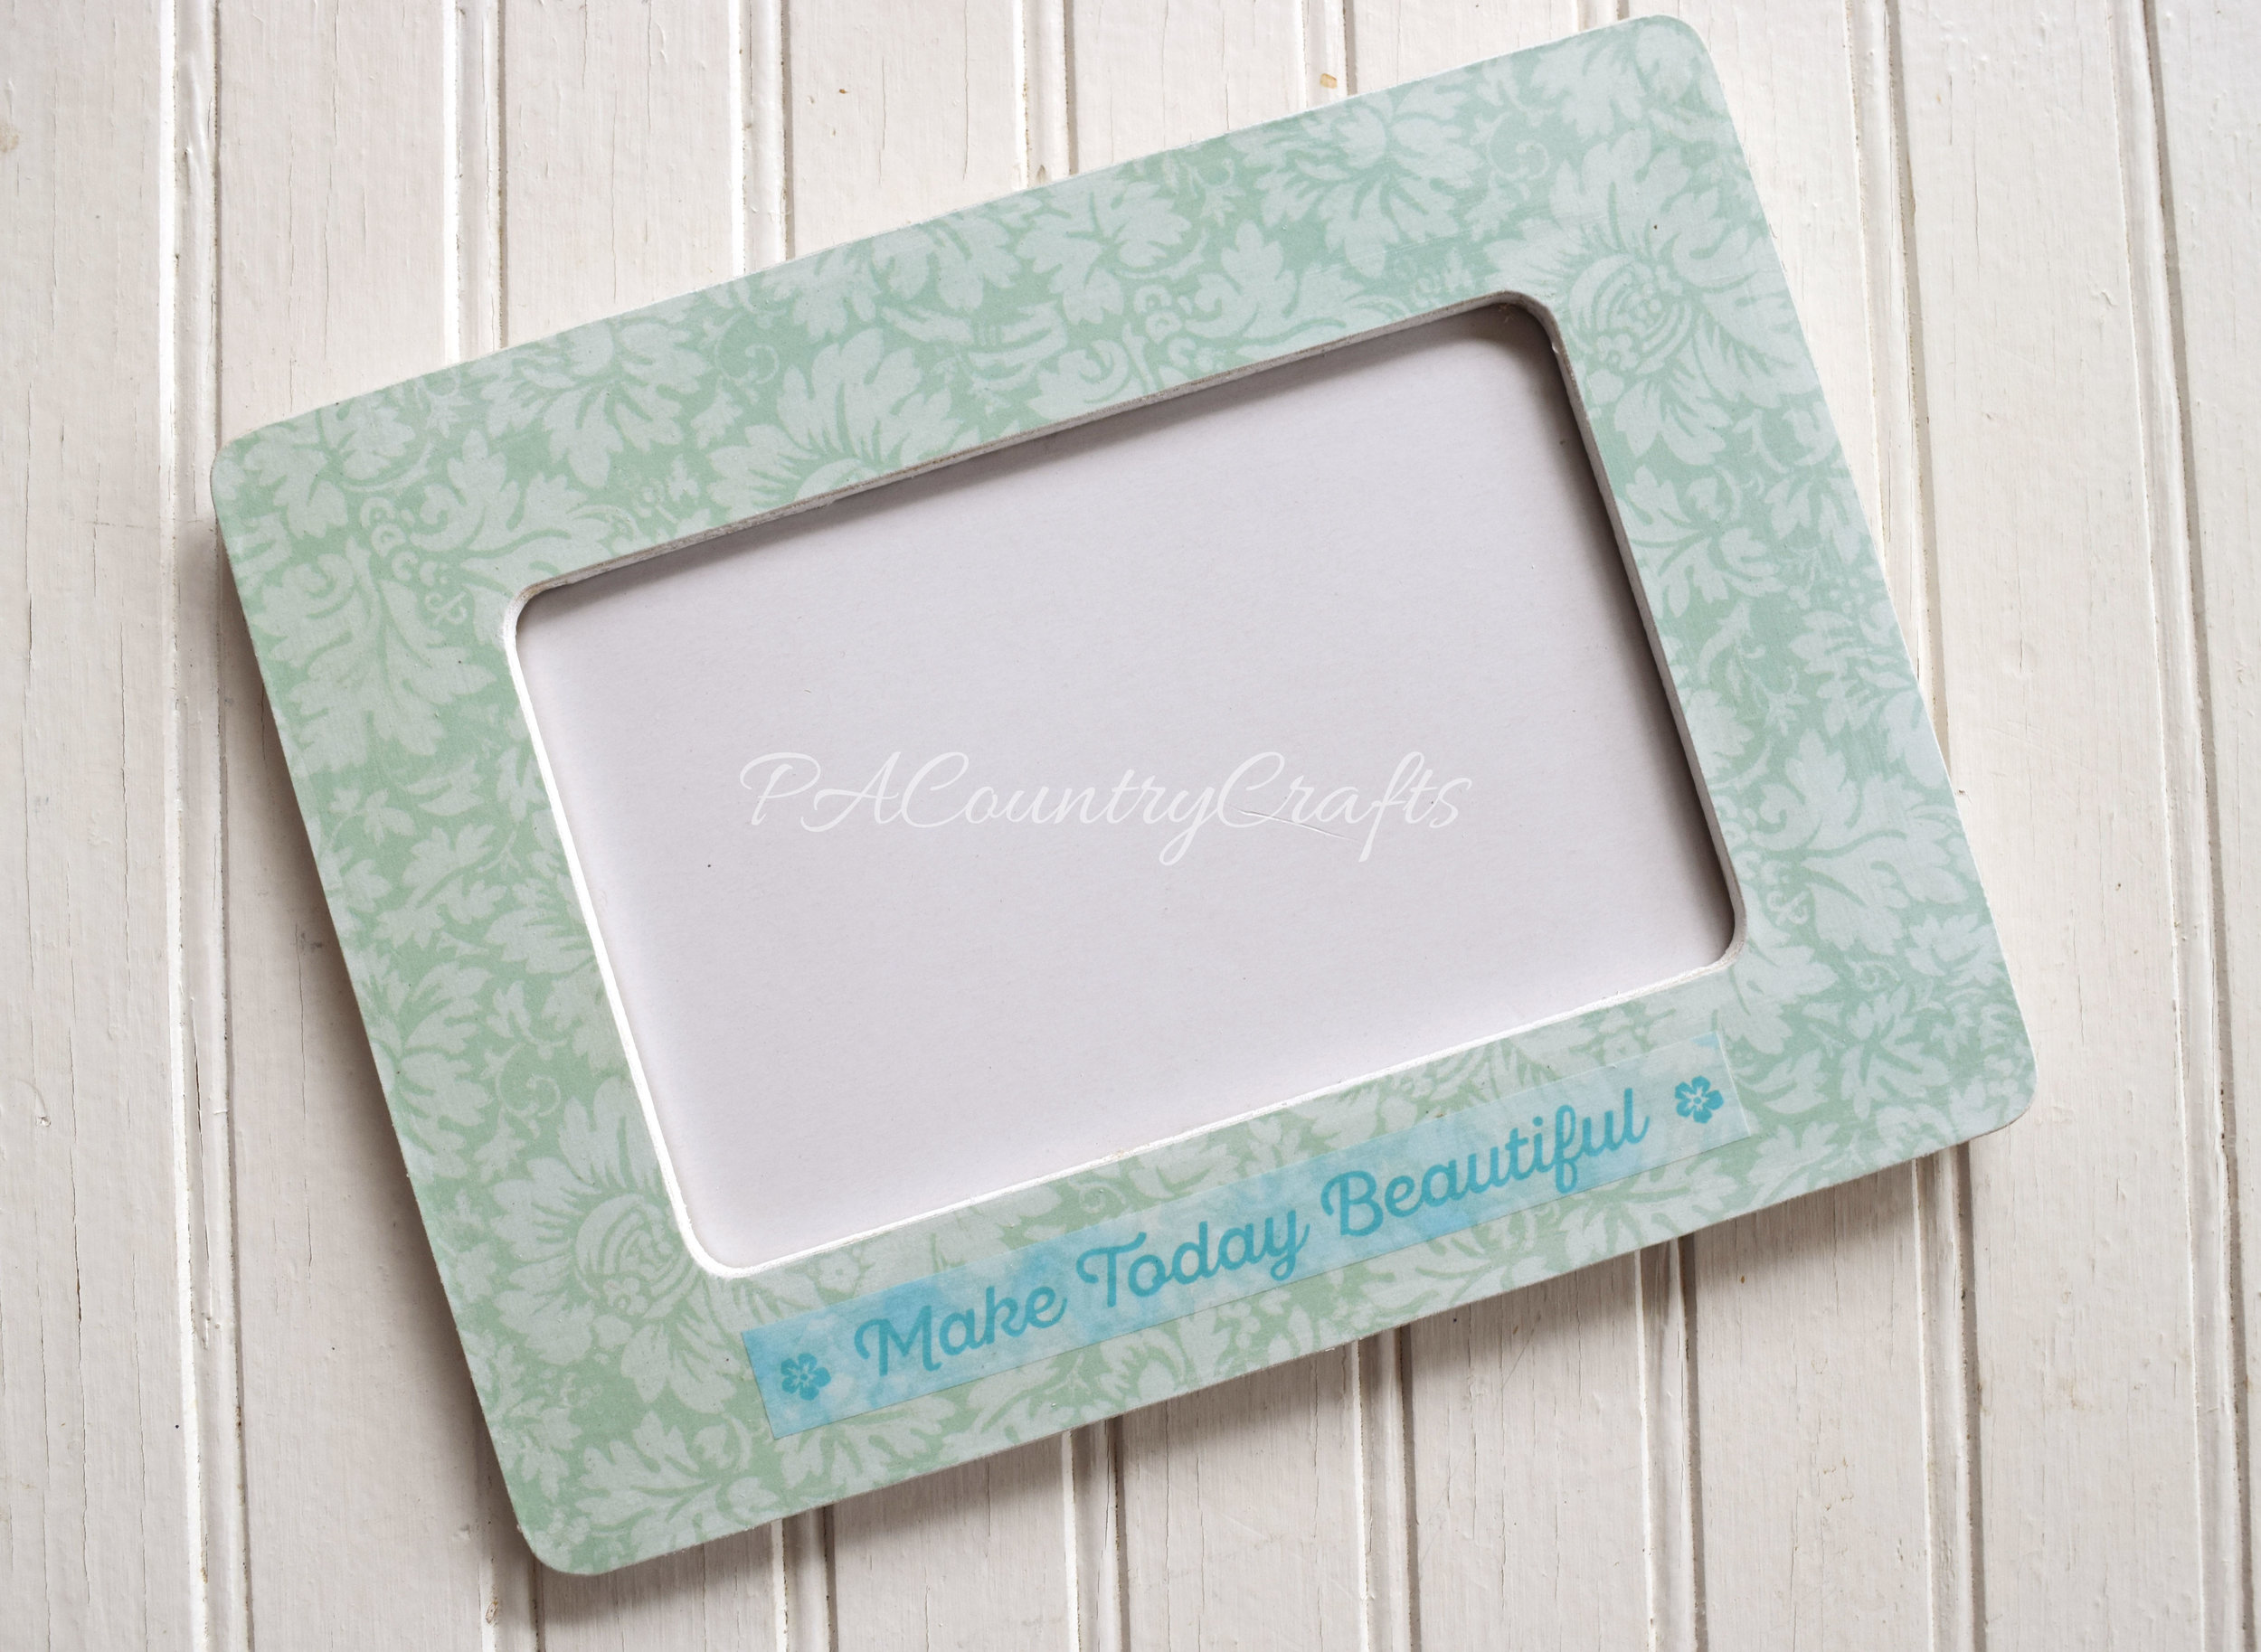
You can also add washi tape to a dry frame and lightly seal over that.

Washi tape on a DIY picture frame

Pretty easy, right? I think the sanding is the trick to this. And now, on a nicer background than my icky table...

Mod podge, scrapbook paper, and washi tape make this cute frame!

There is a lot that you can do with these. They don't take too long and don't cost much to make. If you mess up and get too many wrinkles, you can always rip the paper off, sand, and try again. Or, you can call it "texture" and just go with it. No one will see small wrinkles from across the room. Just you.

scrapbook paper mod podge frames

Feel free to pin it for later...

Use scrapbook paper and cheap wood frames to make a cute craft - perfect for craft nights and groups!

You may also like...

composition-book-journal

DIY I Spy Bottles

I have so many crafty things to share on the blog, but I just haven't had time to edit pics and type up posts. I don't things will ever settle down around here. Here is another MOPS craft projects. We did this at our open gym gathering. Usually the kids just run loose and we can chat while we let them burn some energy. I just set up a table off to the side with this extra craft project to do with the kids if they were interested. It seemed to go really well and the kids had fun choosing items to put in their bottles.

I-Spy Bottles MOPS craft

I-Spy Bottles MOPS craft

I Spy Bottles for MOPS Creative Activities- fun to do with the kids

I Spy Bottles for MOPS Creative Activities- fun to do with the kids

You will need...

~plastic bottles ~rice ~funnel ~scoop ~sharpie marker ~hot glue gun ~assorted trinkets

For the trinkets to include in the bottle, some of us just collected assorted choking hazards and craft supplies. We had alphabet beads, seashells, buttons, toys, feathers, colored beans, metallic confetti (this looked great in the bottle!), animal beads, charms, etc.

They were really easy to make...

  1. Choose a clean, dry, plastic bottle. I brought small Gatorade bottles, but some people had some really nice bottles from other beverages.

  2. Fill the bottle partway with rice. We used a funnel and a scoop.

  3. Choose small trinkets to place in the bottle.

  4. Add more rice until the bottle is nearly full, but leave plenty of space to roll the rice around.

  5. Hot glue the lid onto the bottle.

  6. The step we skipped... write the child's name on the lid with a Sharpie.

I love craft projects with kids that are actually useful and last more than a few days!

Composition Book Journals

recovered-compostion-books_edited-1.jpg

composition-book-journal
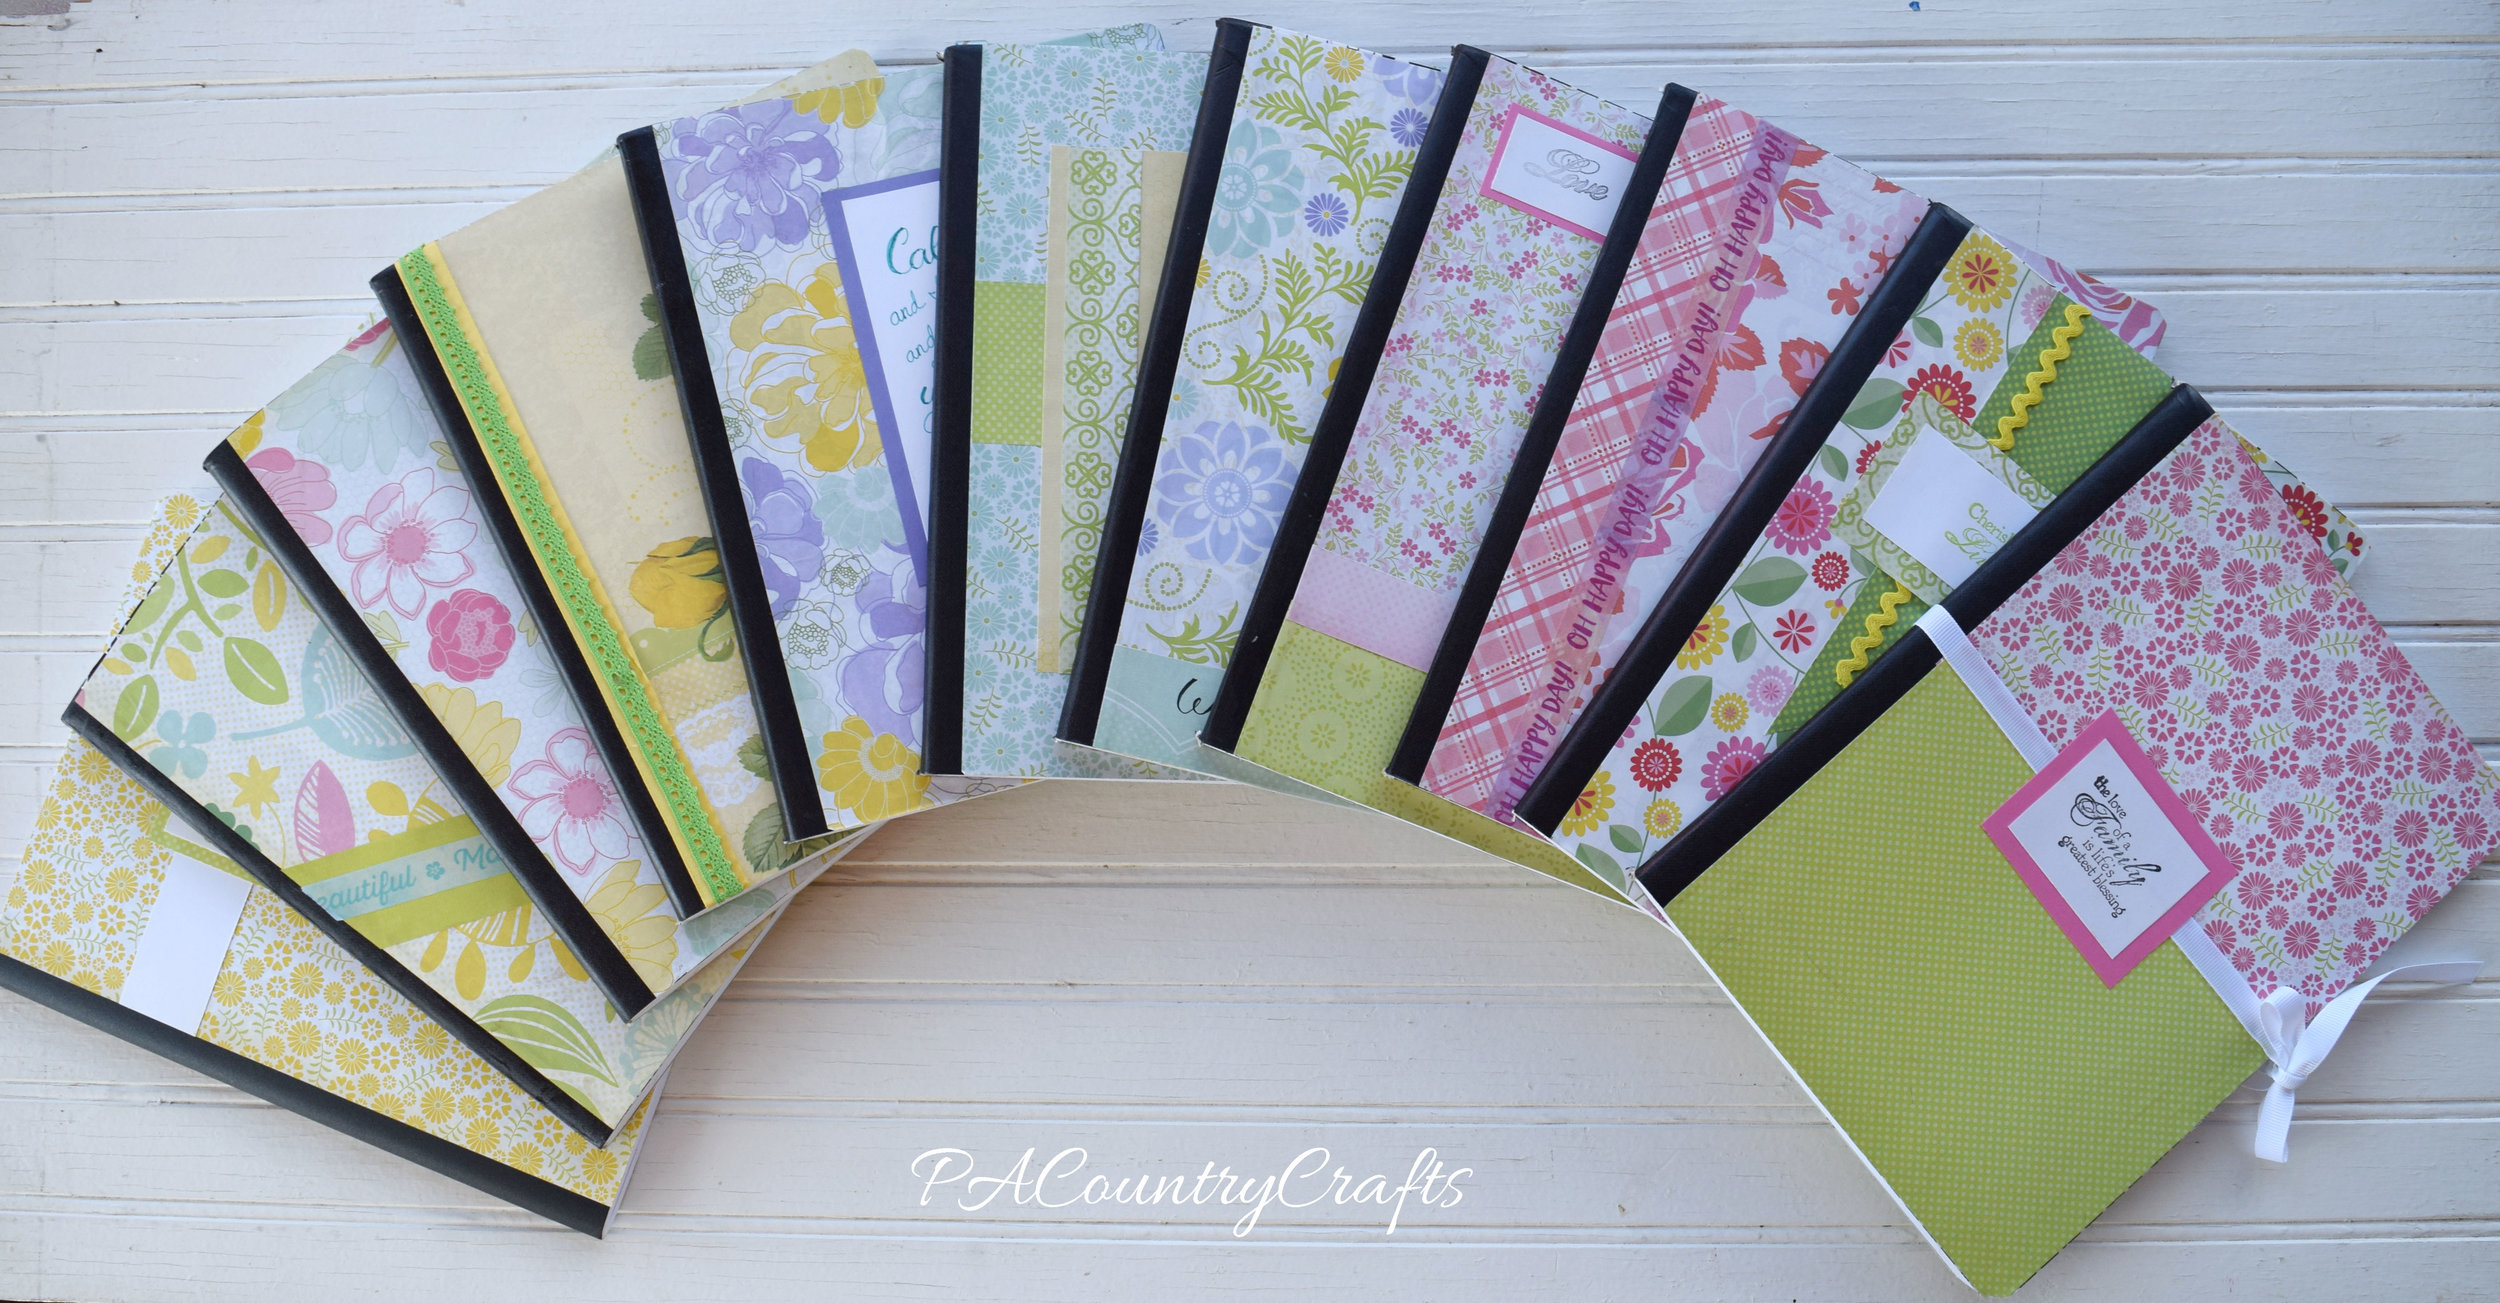
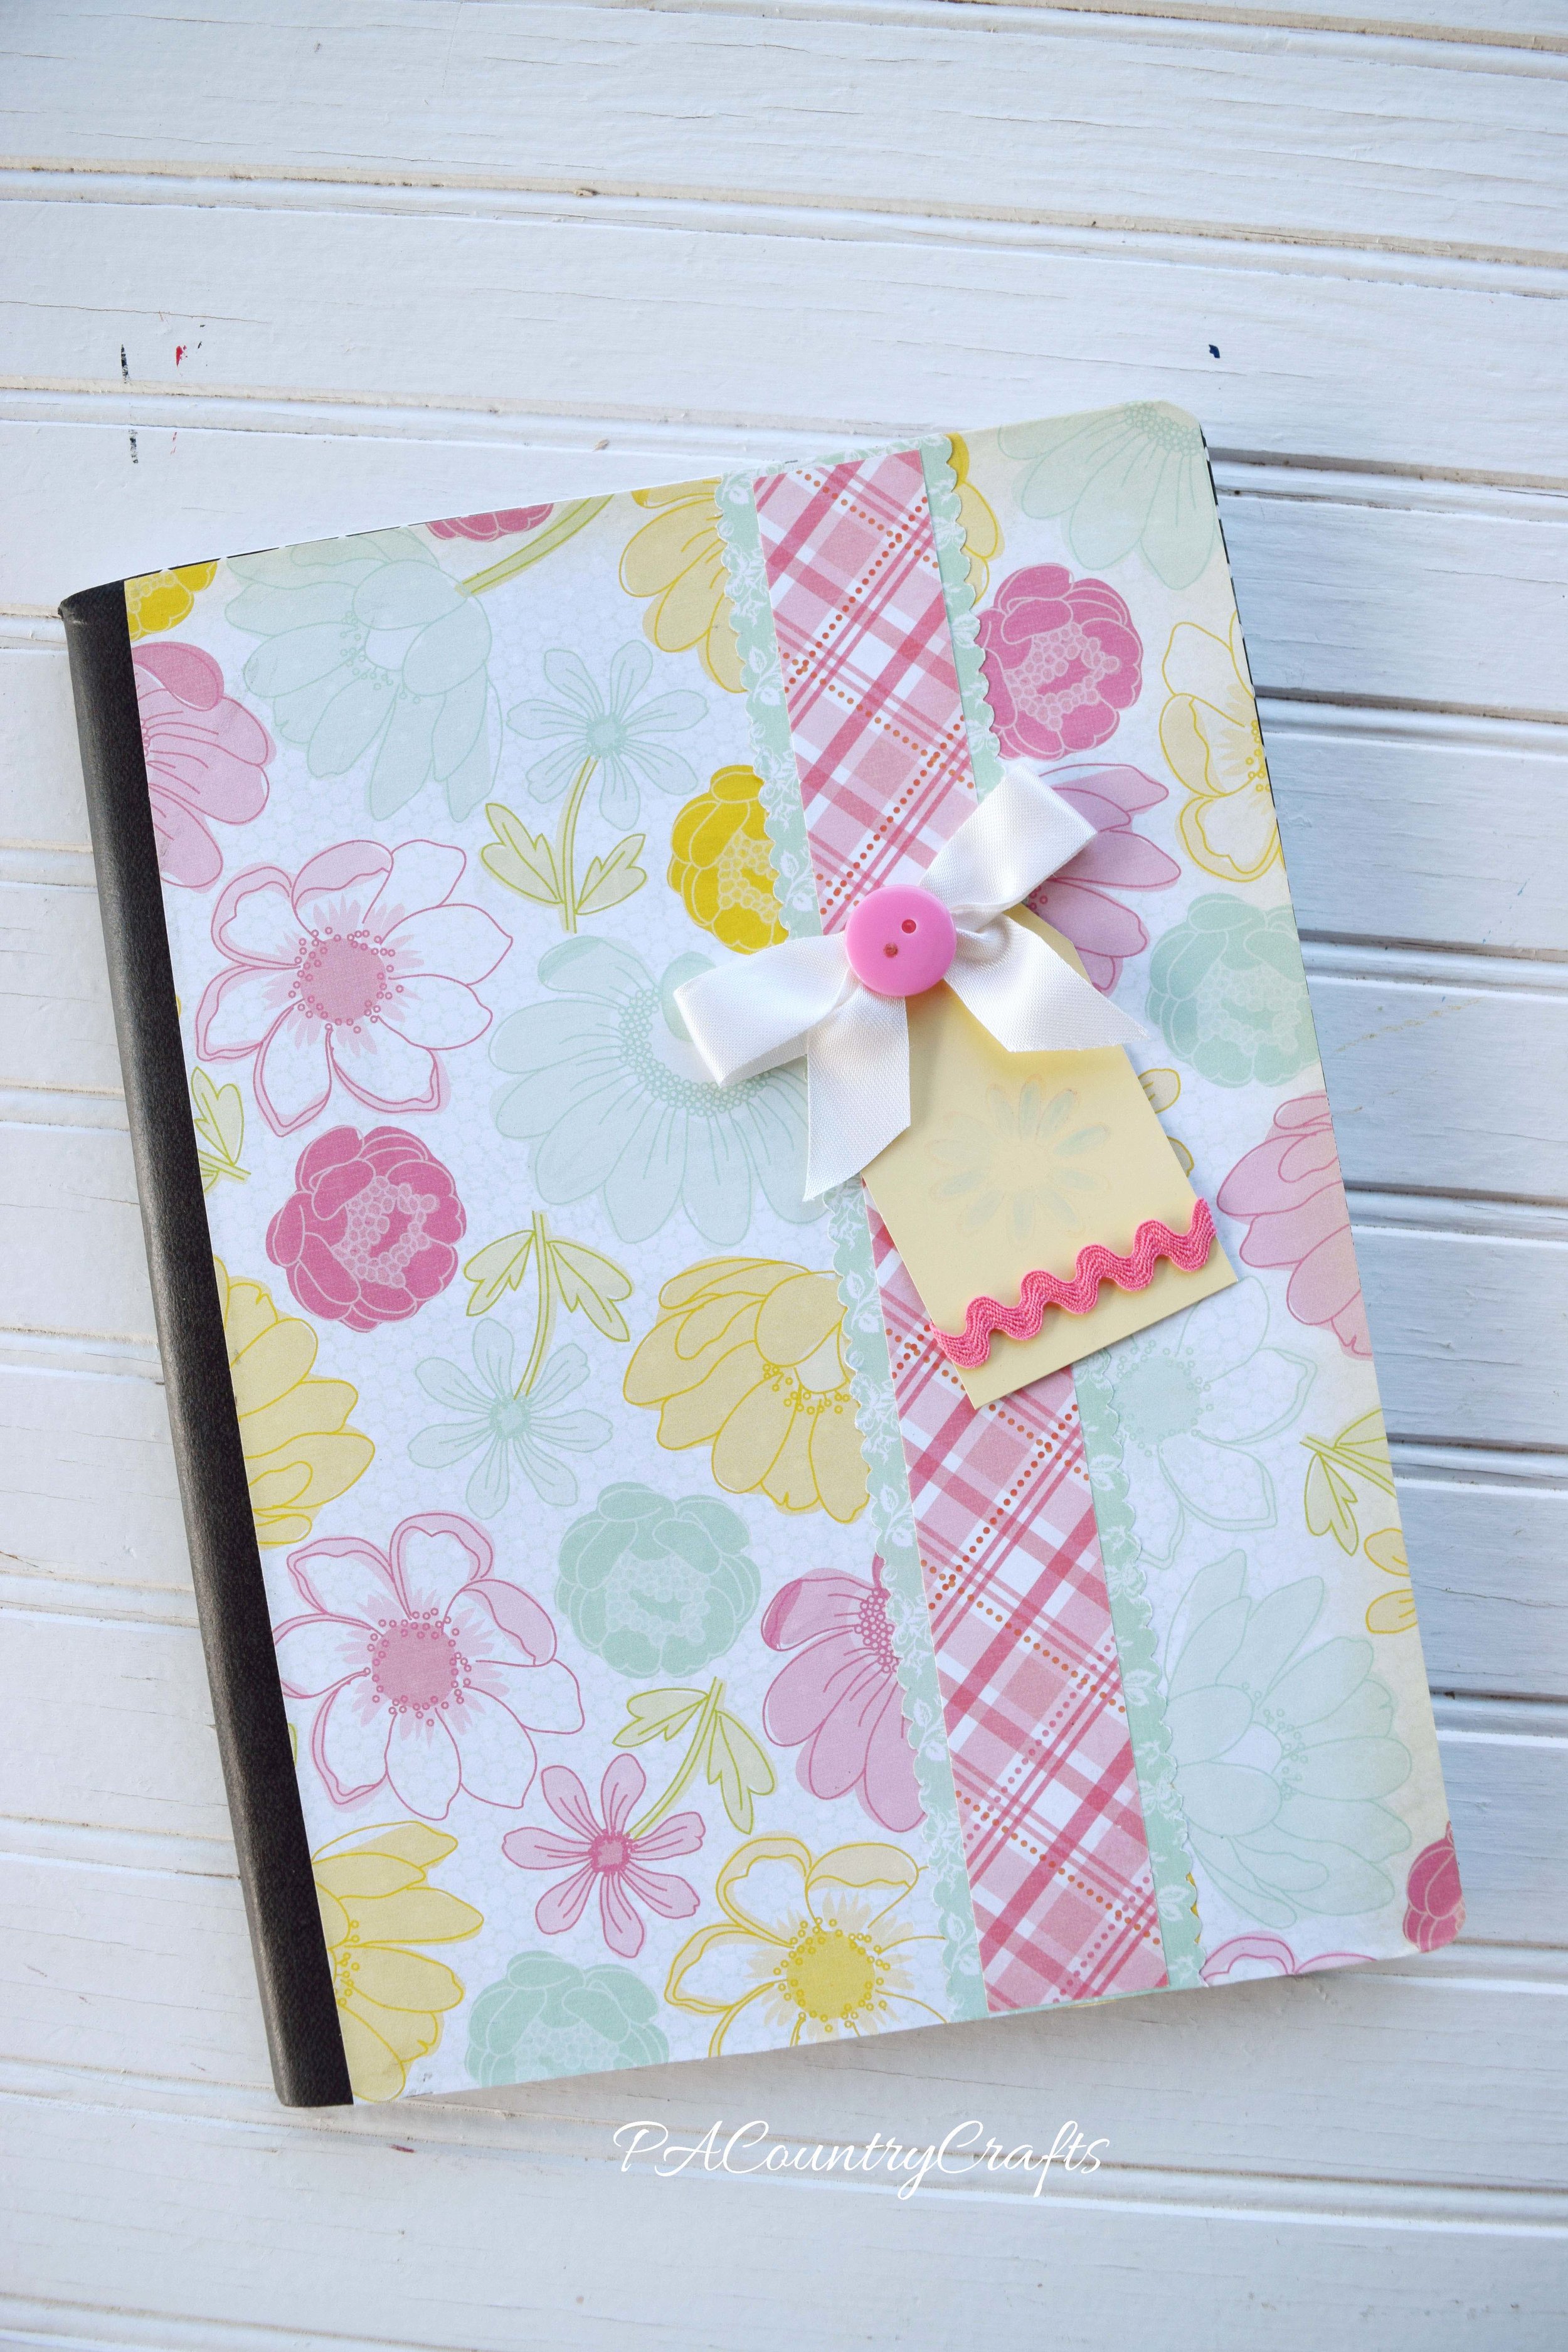
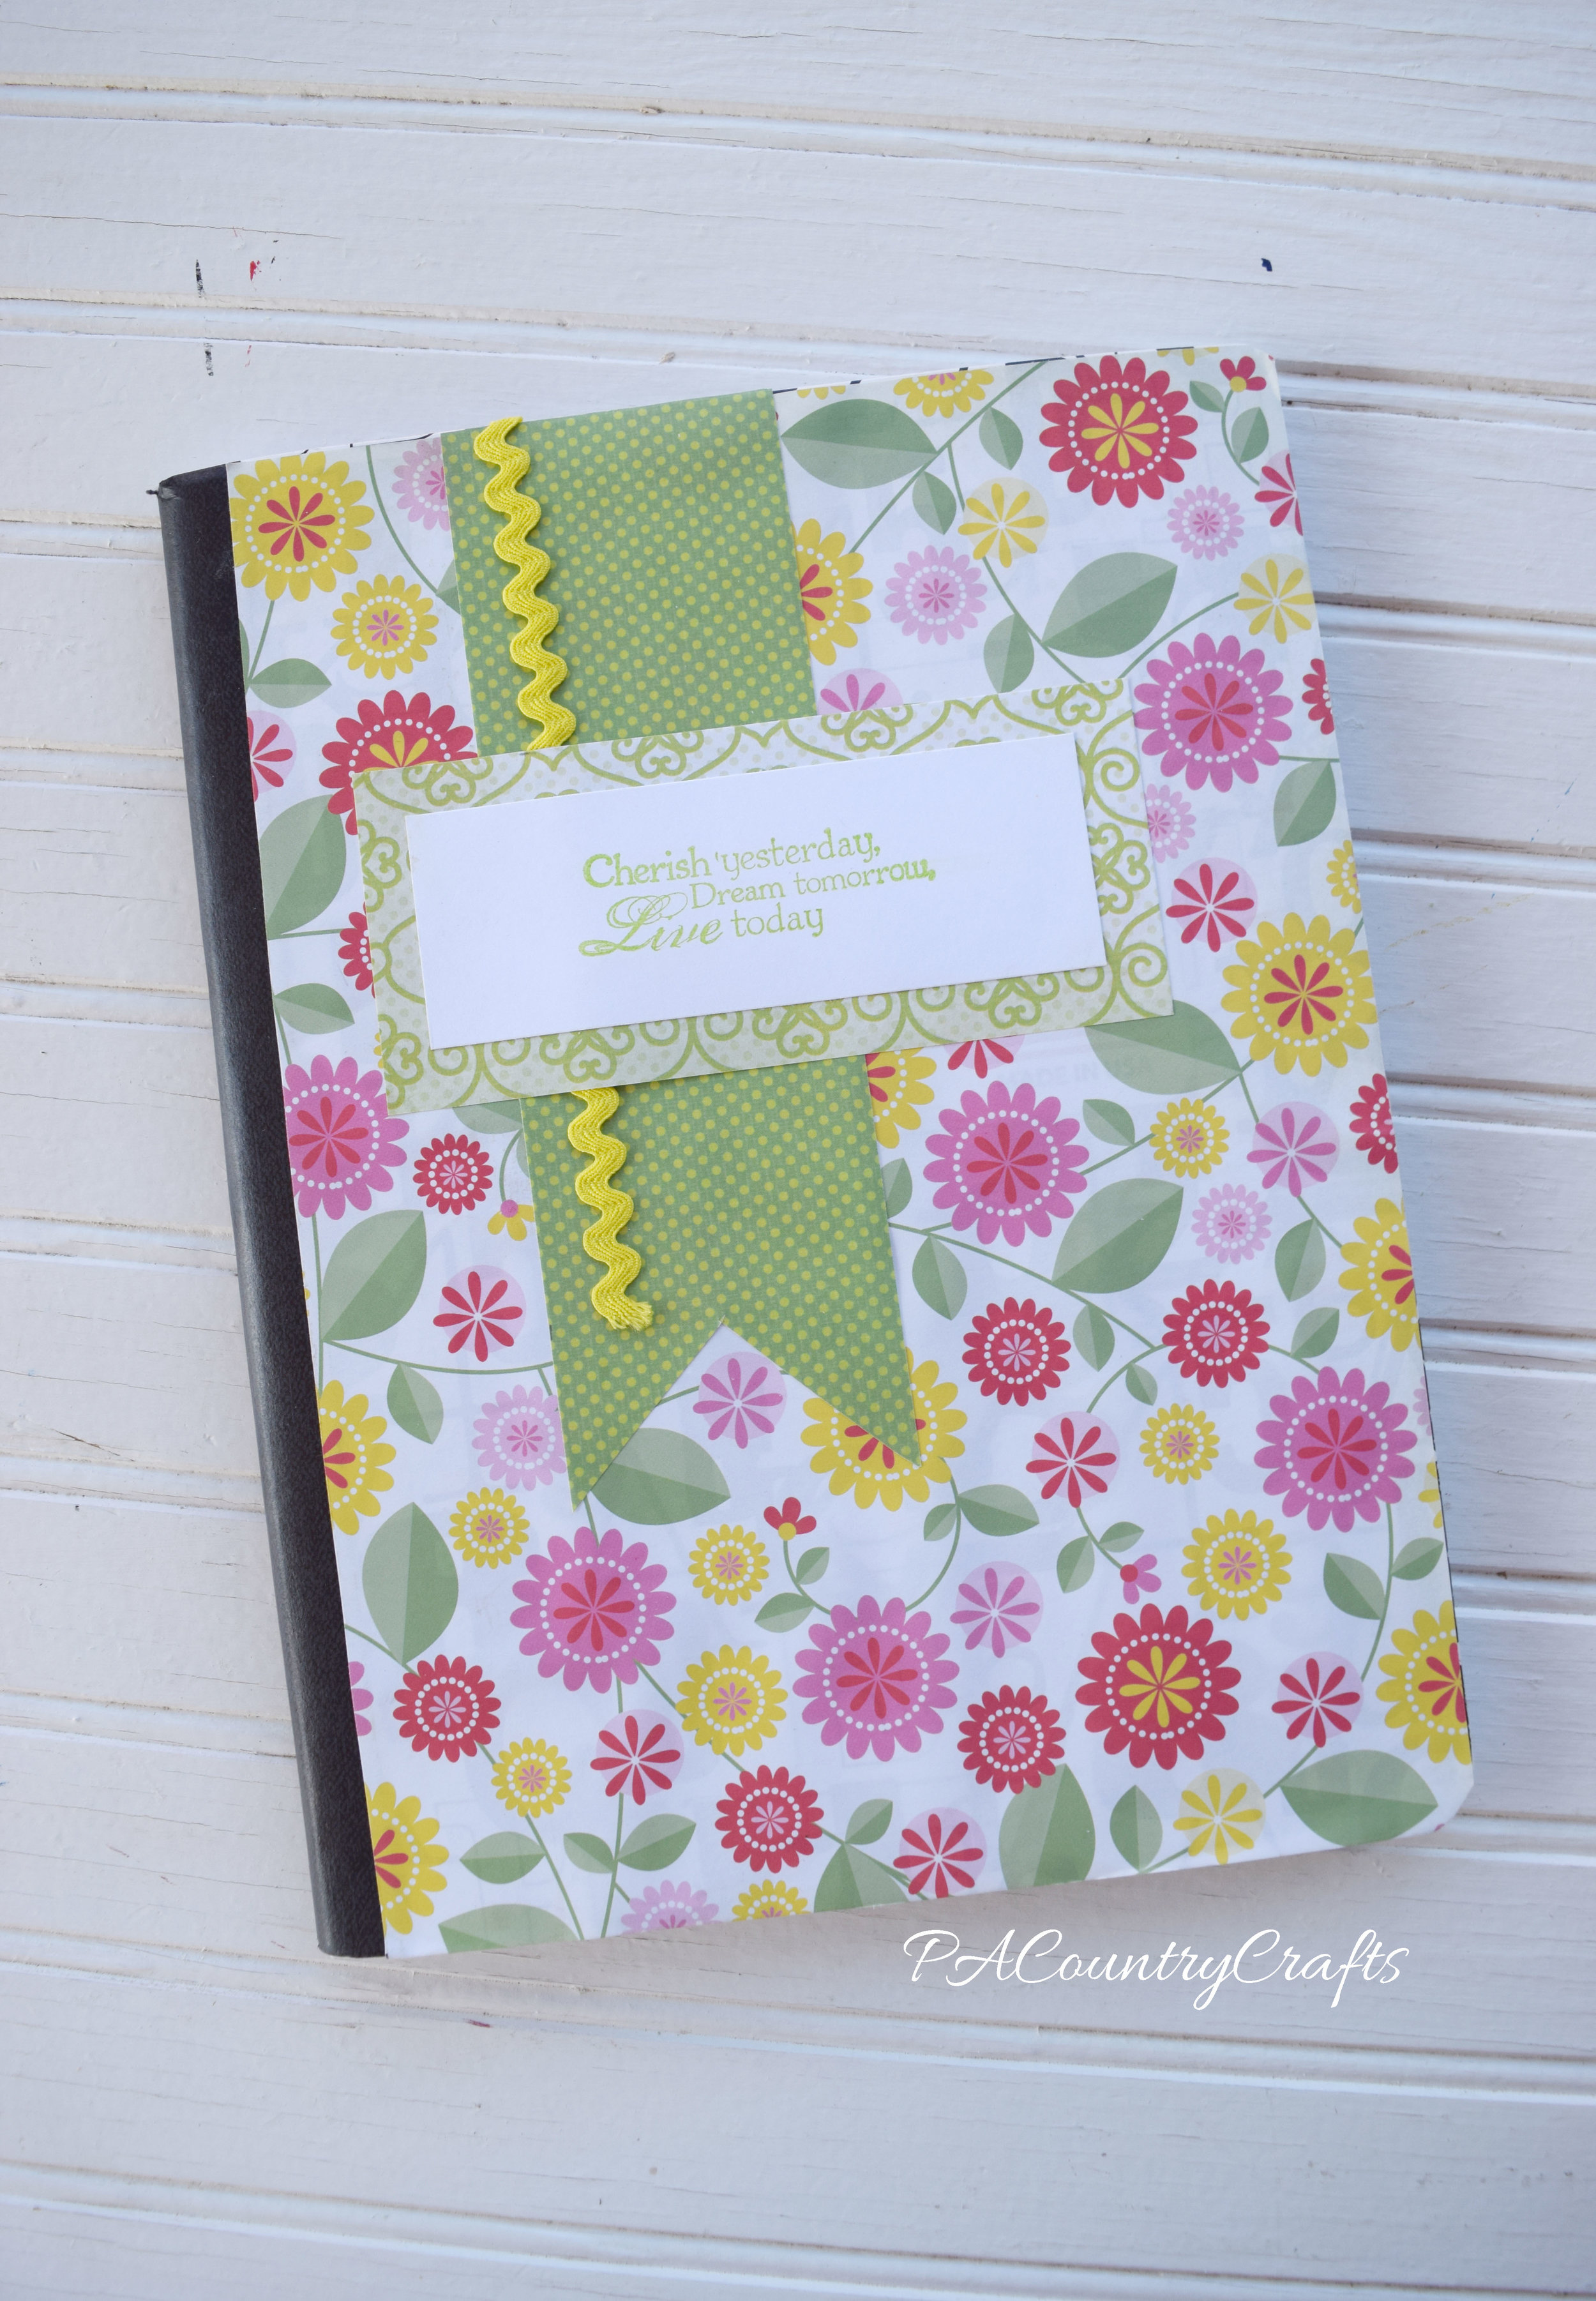
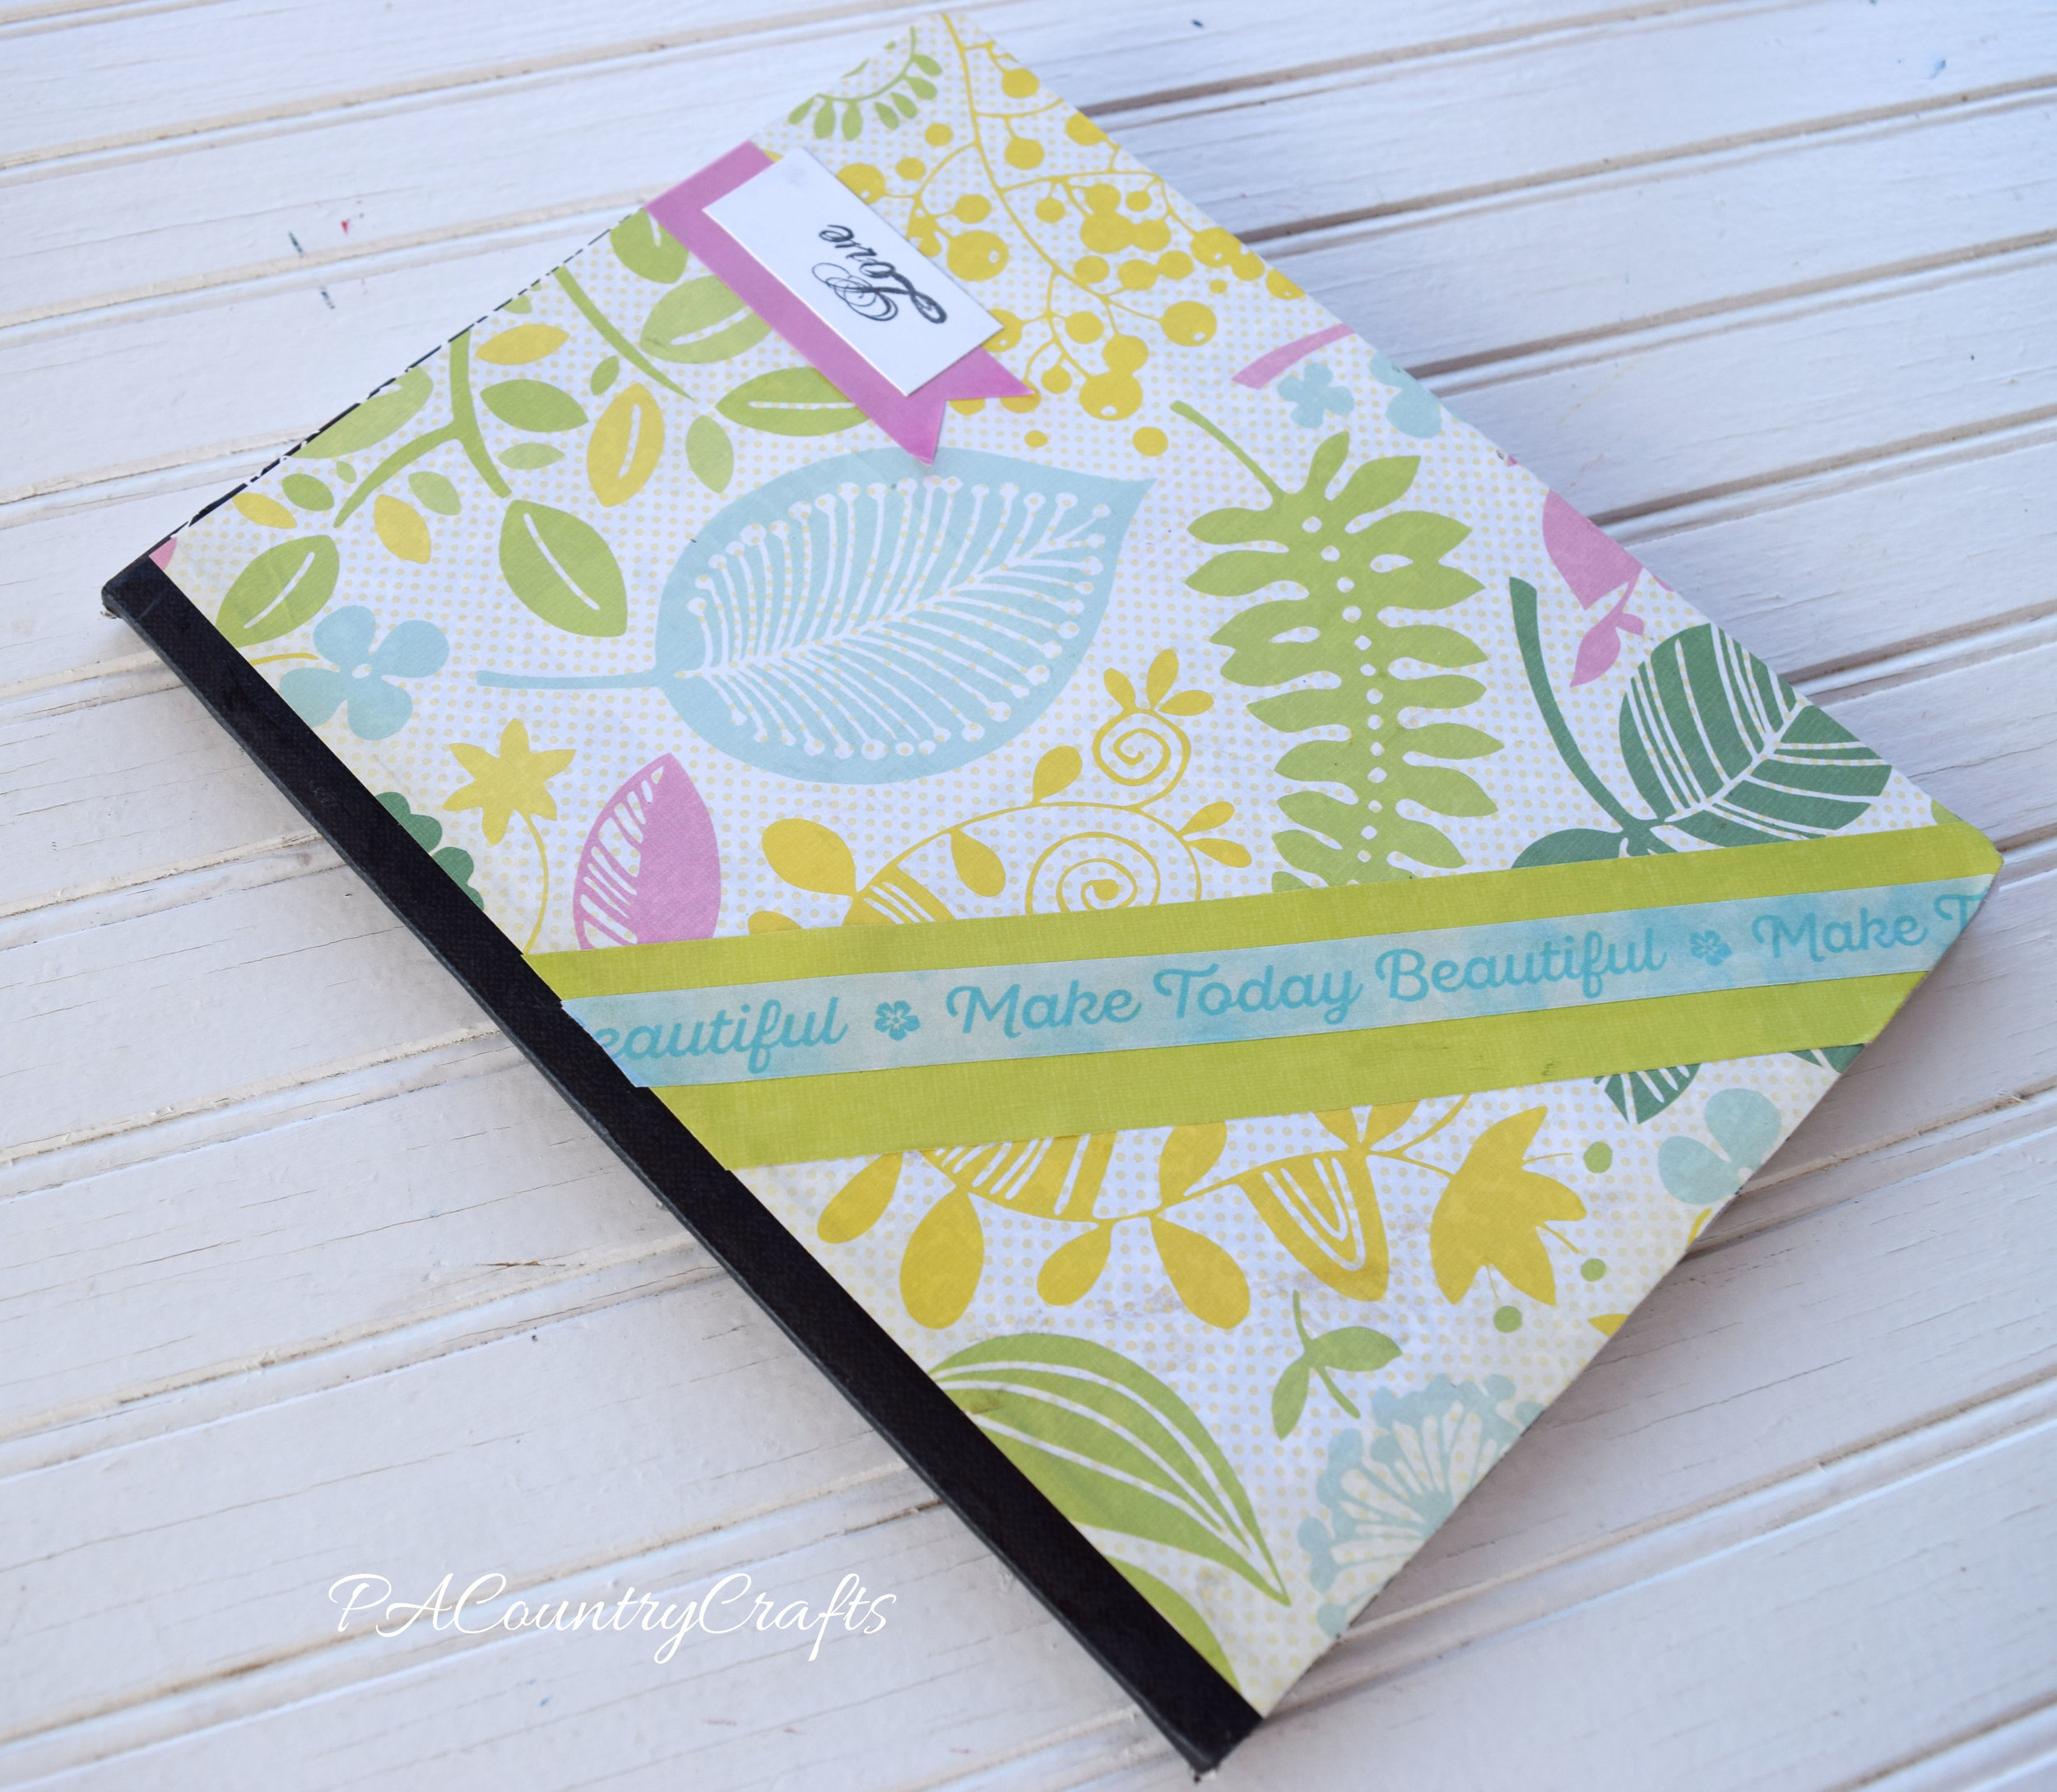
I am super excited to be leading creative activities for our MOPS group this year! For our first meeting, I was asked to come up with a craft project. I put a lot of thought into it and spent a lot of time on Pinterest. ;) I ended up deciding on these composition book journals. It was a very economical craft project and there are some materials left over for some future projects, too. I got a cute scrapbook paper pad on sale at Joann's, then cut each of the 180 pages into pieces the size of the composition book covers. (That took a long time!) I gathered some cute embellishments- ribbon, ric rac, lace, stickers, washi tape, etc. I also stamped some cardstock with some cute rubber stamps and cut them out to give more options. Extra paper trimmings, cardstock, and even paint samples gave everyone a lot of options. I cut some tag shapes out with my paper punch and stamped them with phrases like "starry eyed", "hope", and "wonder" to incorporate this years' theme. We also gave the options of using glue sticks or mod podge to adhere the paper to the book. Both seemed to work fine.

These are my best tips:

  • I cut my paper at 9 3/4" by 6 5/8"- double check your notebook size and if in doubt cut it bigger and trim later. It was more effecient to make a template, then use it mark the back of a paper lightly with pencil. Stack 3 or so together and use a paper slicer to cut them all at once. The leftover strips were spread out at the tables to be used as accents.
  • If using glue sticks, apply heavily to the paper, especially the edges. Use the side of your fist to smooth it all out.
  • If using mod podge, brush a thin layer onto the book and carefully smooth the paper onto it. Do NOT mod podge over the paper.
  • Keep checking the corners to see if they are lifting up and reapply glue as needed.
  • After it is dry, open up the book and trim any excess that may stick out over the edges and the corners.
  • Use hot glue to apply ribbon and ric rac. Other embellishments seem to be fine with glue sticks.
  • We added envelopes inside the covers to hold notes, papers, etc. Someone also covered the inside cover with scrapbook paper, which looked great if you have extra paper!
  • Make sure you have a wide variety of embellishments that coordinate with the papers.
  • Spread the embellishments out and make sure that there is enough room for people to gather around the tables.

These are the samples that I made before the meeting. They will be used as gifts to welcome new moms during the year.

Recovered Composition Books
The backs are also covered with coordinating papers.

Recovered journals- MOPS craft idea
MOPS Creative Activities Journals

Altered notebook craft project

Composition Book to Journal

Scrapbook Paper Covered Journals

I think this one is my favorite. It is simple, but so pretty!

Altered Composition Book
I incorporated this years' theme verse on the cover of this one. I couldn't find papers that coordinated with the Starry Eyed theme, so I added it in a few of the journals as best as I could.

DIY Bible Journal
MOPS Starry Eyed Journal Craft Idea

Altered Composition Books After the meeting, I found composition books on clearance SUPER cheap, so I got some more. I had bought another pad of paper for myself because I loved the prints and colors. So, my daughters helped themselves to my craft supplies and made their own journals. Apparently, this makes a really easy kids craft, too!
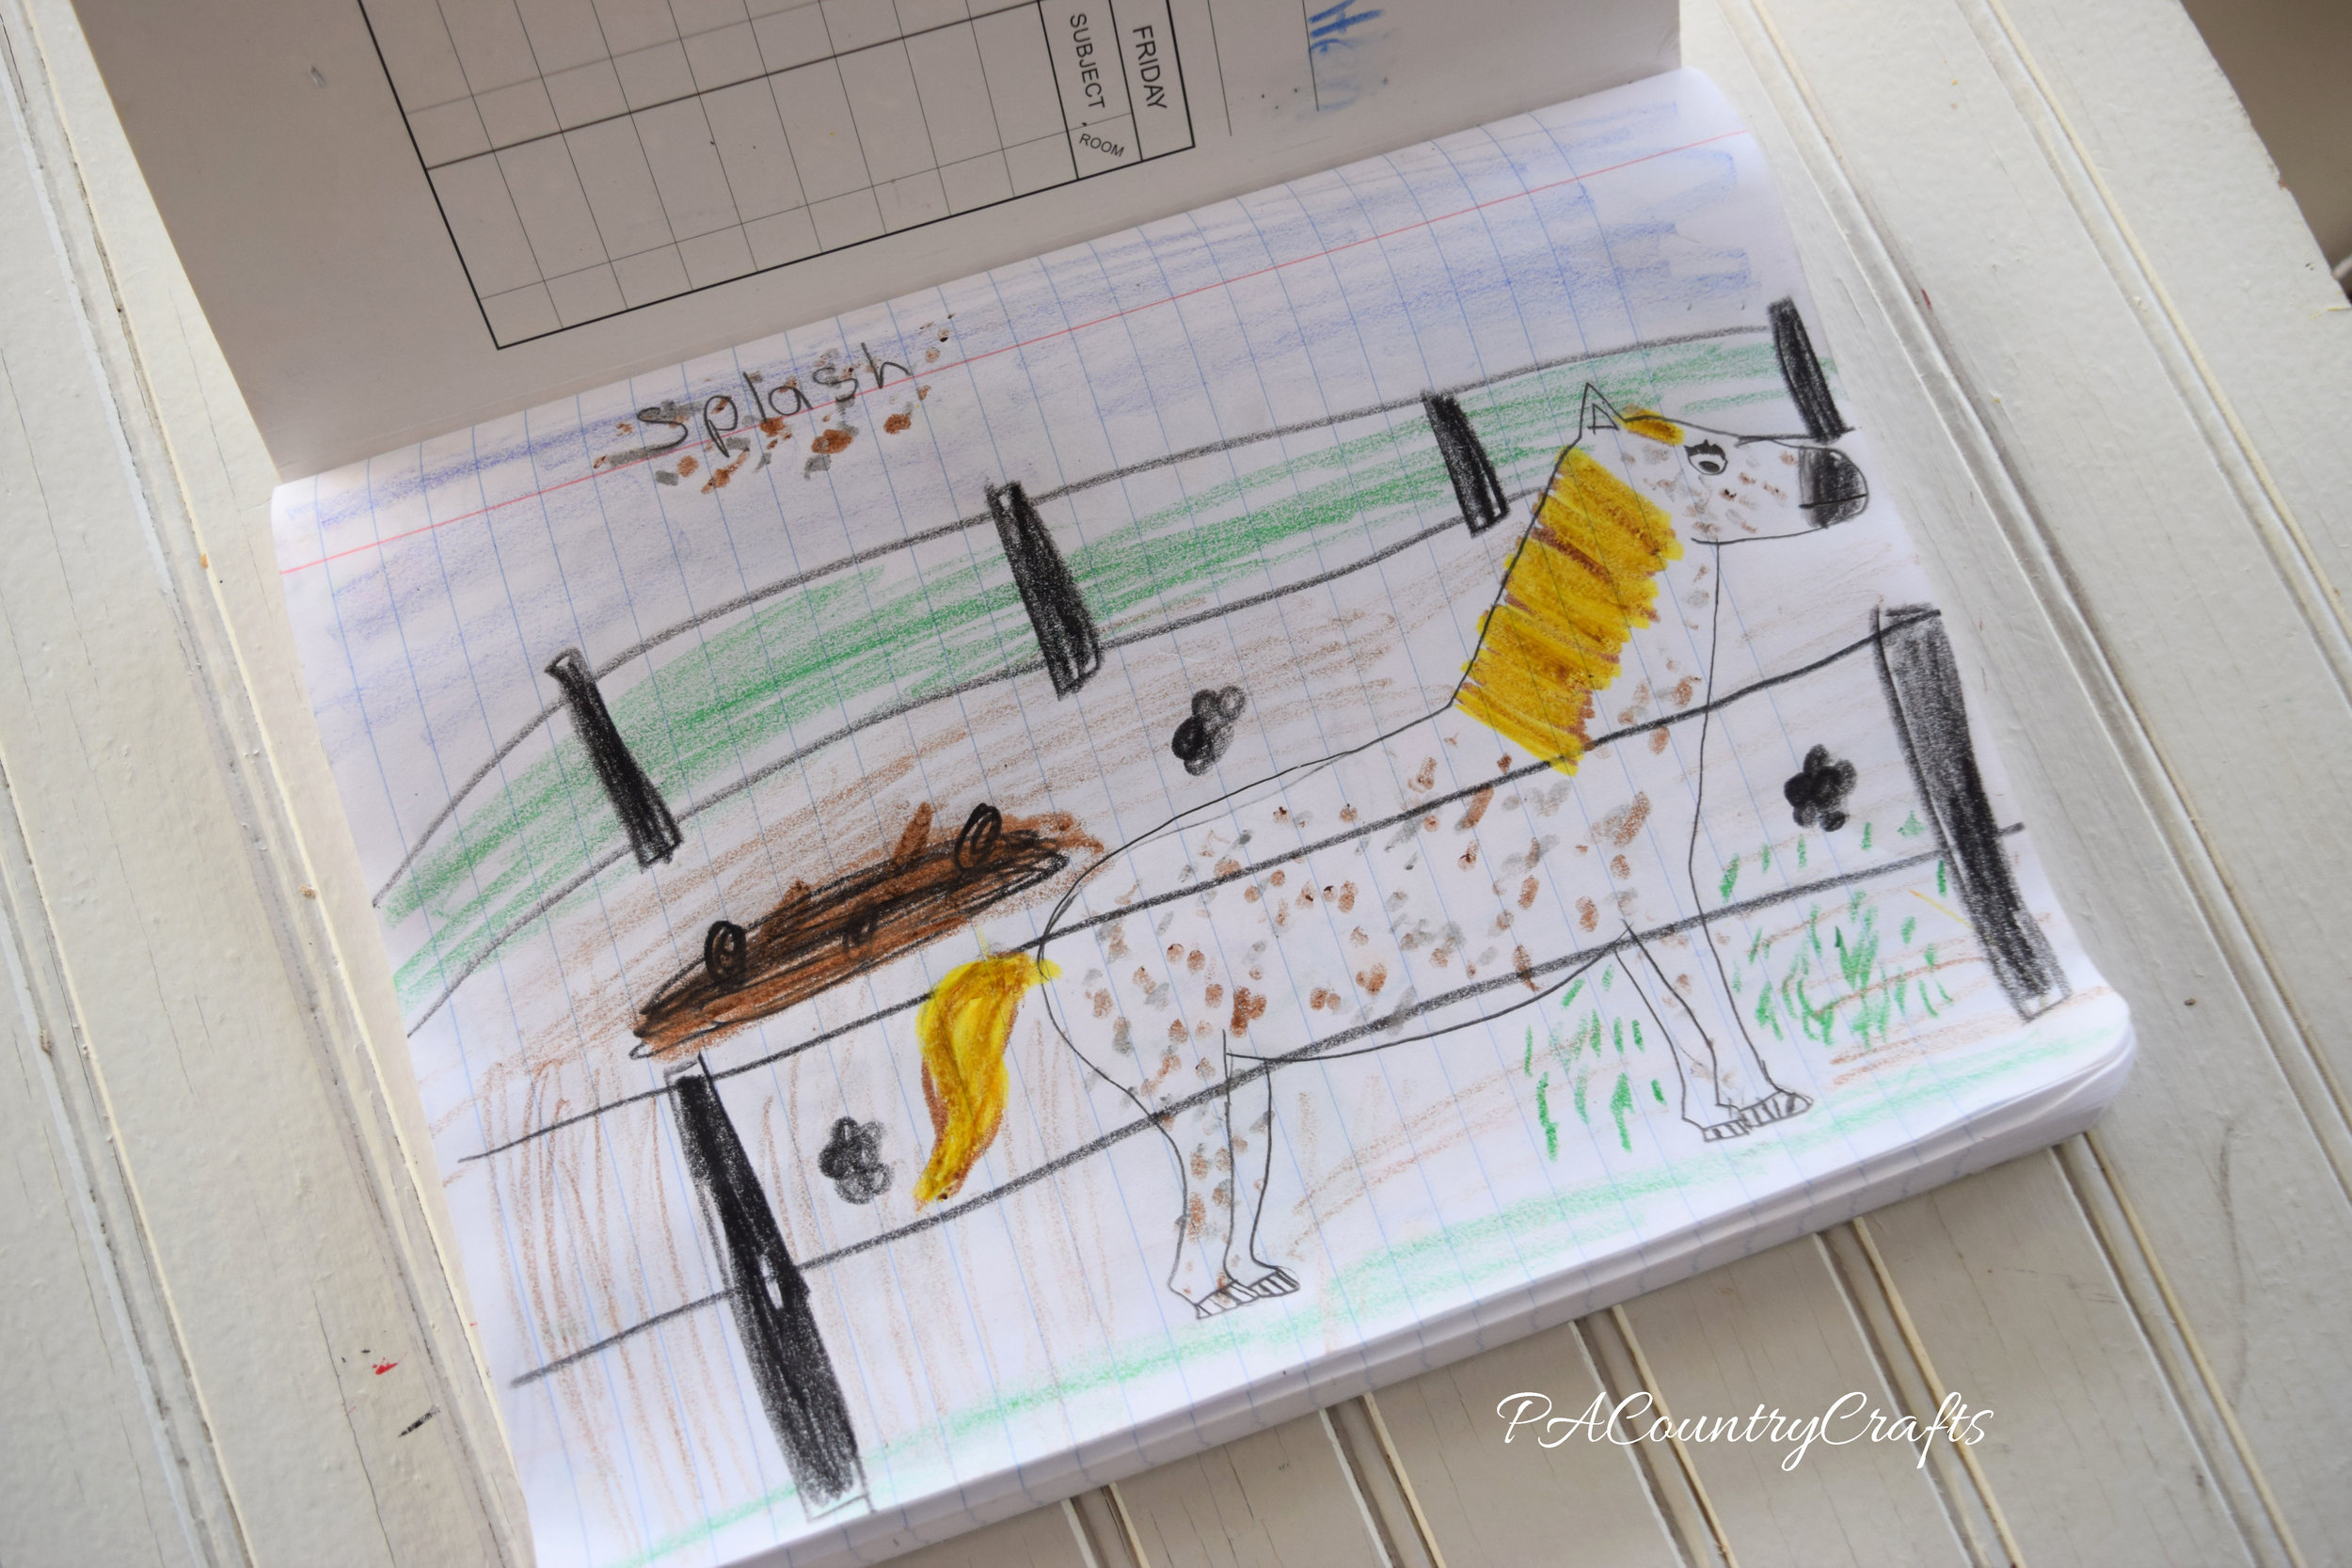
Kids craft journals

They are being used as art and writing journals. They made a few others that I didn't snap pics of and are using them at school. They used glue stick and they are still holding up well.

horse-drawing-journal

They even found some mini ones and made a coordinating doll journal!

American girl doll journal

Overall, this was a successful and EASY craft project! It was simple enough that anyone could do it, but had so many creative options for those who want to challenge themselves a bit more.

You may also like...

Use scrapbook paper and cheap wood frames to make a cute craft - perfect for craft nights and groups!

washi tape crafts and ideas