DIY Spring Moss Wreath Tutorial

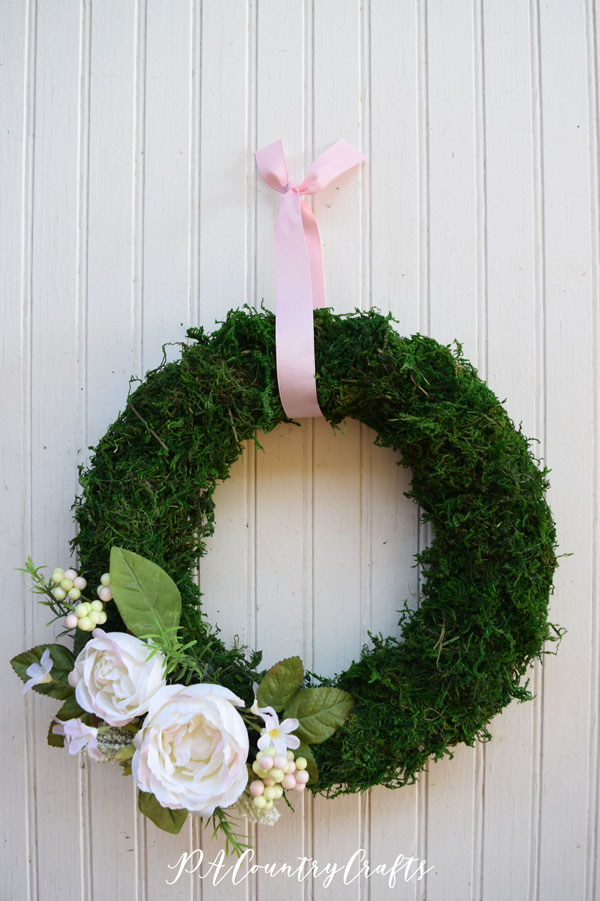
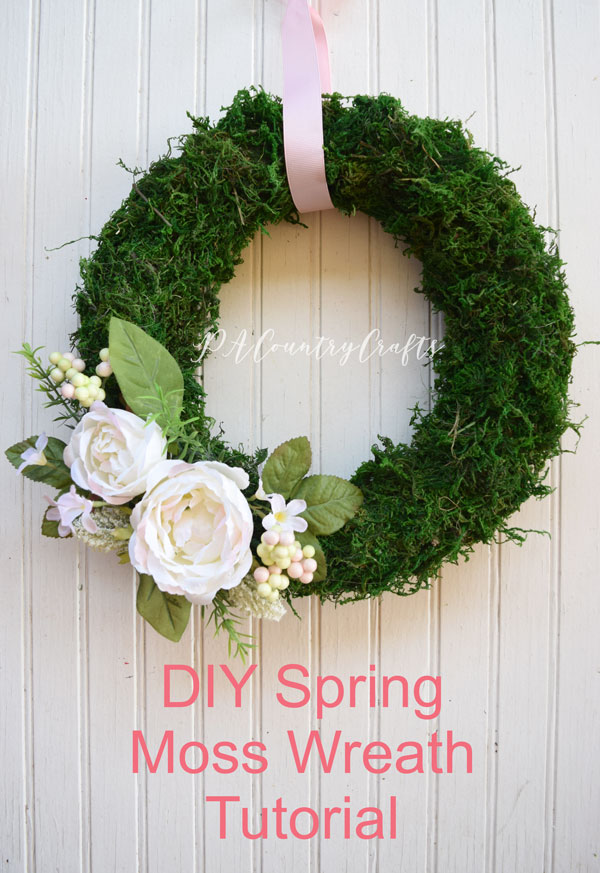
It is not too often that I actually make something for myself. I actually do not have a great place to display this wreath, but I made it anyway and I really love it!

moss-floral-wreath.jpg

I had some foam wreath forms a friend had given to me a long time ago and I just hadn't found a use for them. Recently, I was browsing Pinterest and saw some cute moss wreaths I thought I could make. For myself!

moss-spring-wreath-with-flowers.jpg

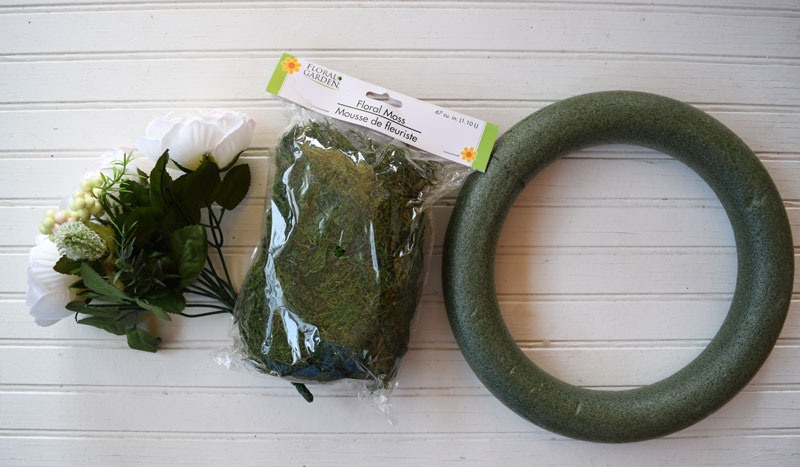
The wreath form was free, but they do carry slightly smaller ones at the Dollar Tree. I also got a bag of moss at the Dollar Tree. The flowers came from Michaels. I actually wanted coral ones, but there was a sweet older lady who asked my 12yo which flowers she recommended (I guess we have similar taste, my daughter and I) so I found something else. Anyway, this was a really cheap project!

So, gather all of your supplies...

A ribbon to hang would be helpful and is not shown. You also need hot glue sticks, a glue gun, toothpicks, and green floral tape.

spring-moss-wreath-tutorial.jpg

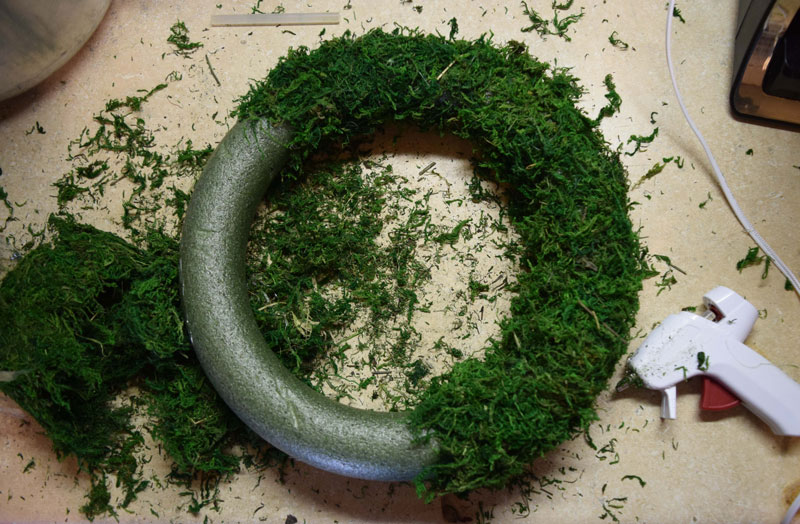
Now, the moss part was a mess. I made this on my kitchen counter, but anticipate snibbles of moss everywhere!

Just take small bunches of moss and hot glue them onto the wreath form. It takes quite a few sticks of hot glue. Check for any thin spots and add more as needed.

how to make a moss covered wreath

It is actually still pretty cute plain!

Dollar Store Moss Wreath

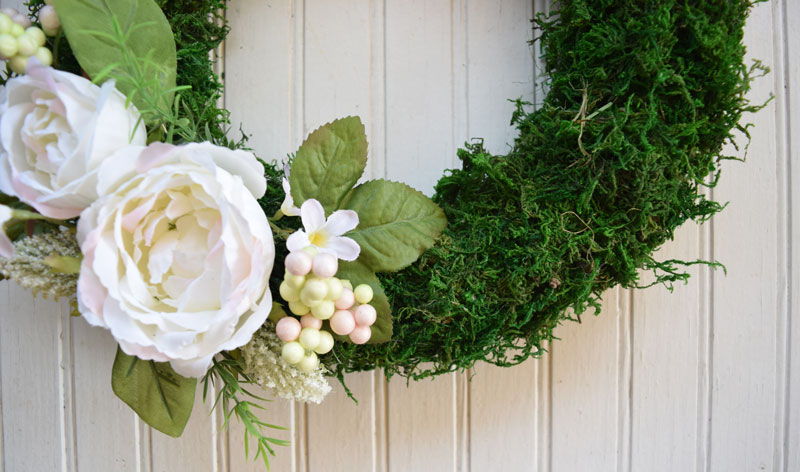
Next, add the flowers. Cut them apart and lay them on the wreath until you get an arrangement you are happy with. My flowers had enough stem to poke into the wreath but I added some hot glue around the bottom of the flower just in case. Attach the leaves to toothpicks using hot glue and green floral tape. Stick them into the wreath as well.

how to add leaves to a foam wreath form
spring-moss-wreath-with-flowers.jpg

Pretty easy, right? Hot gluing the moss is a little messy and tedious, but I priced similar wreaths at $30. The moss sheds a little, so I don't want to hang it on a door that is opened and closed a lot, but on a wall it is pretty!

If you want to pin it for later...

diy-spring-moss-wreath-tutorial.jpg

You may also like these posts...

MOPS Spa Crafts

I am getting ready to graduate from MOPS :( but I decided that I would share our last craft project for the year. I thought it would be nice for the moms to be able to make some spa themed goodies to take home with them and, hopefully, relax a little bit later. I presented several options to our steering team and they wanted do to them all. So, we made rice socks, sugar scrubs, and bath bombs.  

I have also done some of these crafts with tween girls so these are all simple projects that work well for a girls' night, youth group, girl scouts, birthday party, craft club, etc.  Here are the details on each of them...

Rice Sock

These are really nice to warm up and wrap around your neck to relieve tension. I microwave mine for about a minute, but my microwave is super old so yours may be different. You can also store them in the freezer for boo-boos.

I got socks at the Dollar Tree (2 pair for $1) and small elastic hair ties. Then, I fumbled around in the grocery store with gigantic, 20lb bags of rice. It took about 2 cups of rice per sock.

At the craft tables, we had measuring cups (the glass ones with the pouring spout) to measure the rice and mix in essential oils if desired (we had people bring their own). One person held the sock open while the other poured the rice into the sock. Then, we tied them shut with the hair elastics. However, some people were concerned about the hair ties melting or not holding up over time so they just tied a knot in the end of the sock. That made it faster, easier, and smarter!

Sugar Scrubs

I made these a really, really long time ago and they make nice little gifts. They work really well for getting dirt out of your skin if you are gardening or have kids who play in the mud.

I got 10-packs of little containers at the Dollar Tree. Then, I got sugar and dish soap at the grocery store. We used Dawn Olay Hand Renewal dish soap in blueberry something and the store brand in pomegranate. (I have since found that Target has their generic even cheaper! Click HERE to see it.) It is just the stuff that smells pretty and is supposed to be good for your hands.

For these containers, we used 3 Tablespoons of sugar mixed with 1 Tablespoon of dish soap and stirred with a popsicle stick. (As long as you keep the 3:1 ratio it works.)

Bath Bombs

An April craft meeting meant it was great timing to get plastic Easter eggs as bath bomb molds. I got ours at Walmart and I have noticed that they are smaller then my older plastic eggs. I think the plastic egg industry is slowly shrinking them on us. I got the remaining ingredients at a bulk foods store, except the citric acid which I ordered from Amazon.

This station was really messy, so I am glad that we kept it in the kitchen. To prepare, I had measuring cups set out with each ingredient, bowls for mixing, and sandwich bags to hold the plastic eggs (in case they popped open later). I also melted the coconut oil and kept it warm in a bowl sat on top of a pot of warm water.

We used a basic recipe and the moms were encouraged to bring oils to add to them. Each recipe made 5-6 eggs.

1/2 cup baking soda 1/4 cup corn starch 1/4 cup epsom salt 1/4 cup citric acid 3-4 teaspoons melted coconut oil 1-2 teaspoons water essential oils

The dry ingredients were mixed together and then the wet ingredients were added. It should be the consistency of a wet sand and start to stick together when you squeeze it. If it was too dry, more water or oil was added. Then, we pressed everything together into the egg. The egg halves had to be overflowing a bit. When the two sides were pressed together, the excess fell out. This made sure the eggs were full with no air bubbles.


It was a lot of work to gather all of the supplies for a large group, but the craft went pretty well. They seemed to be simple enough for everyone to easily make. If someone did not want to make all of them, they did not have to do it.

You can see some of the other MOPS crafts we did by clicking on the pictures below...
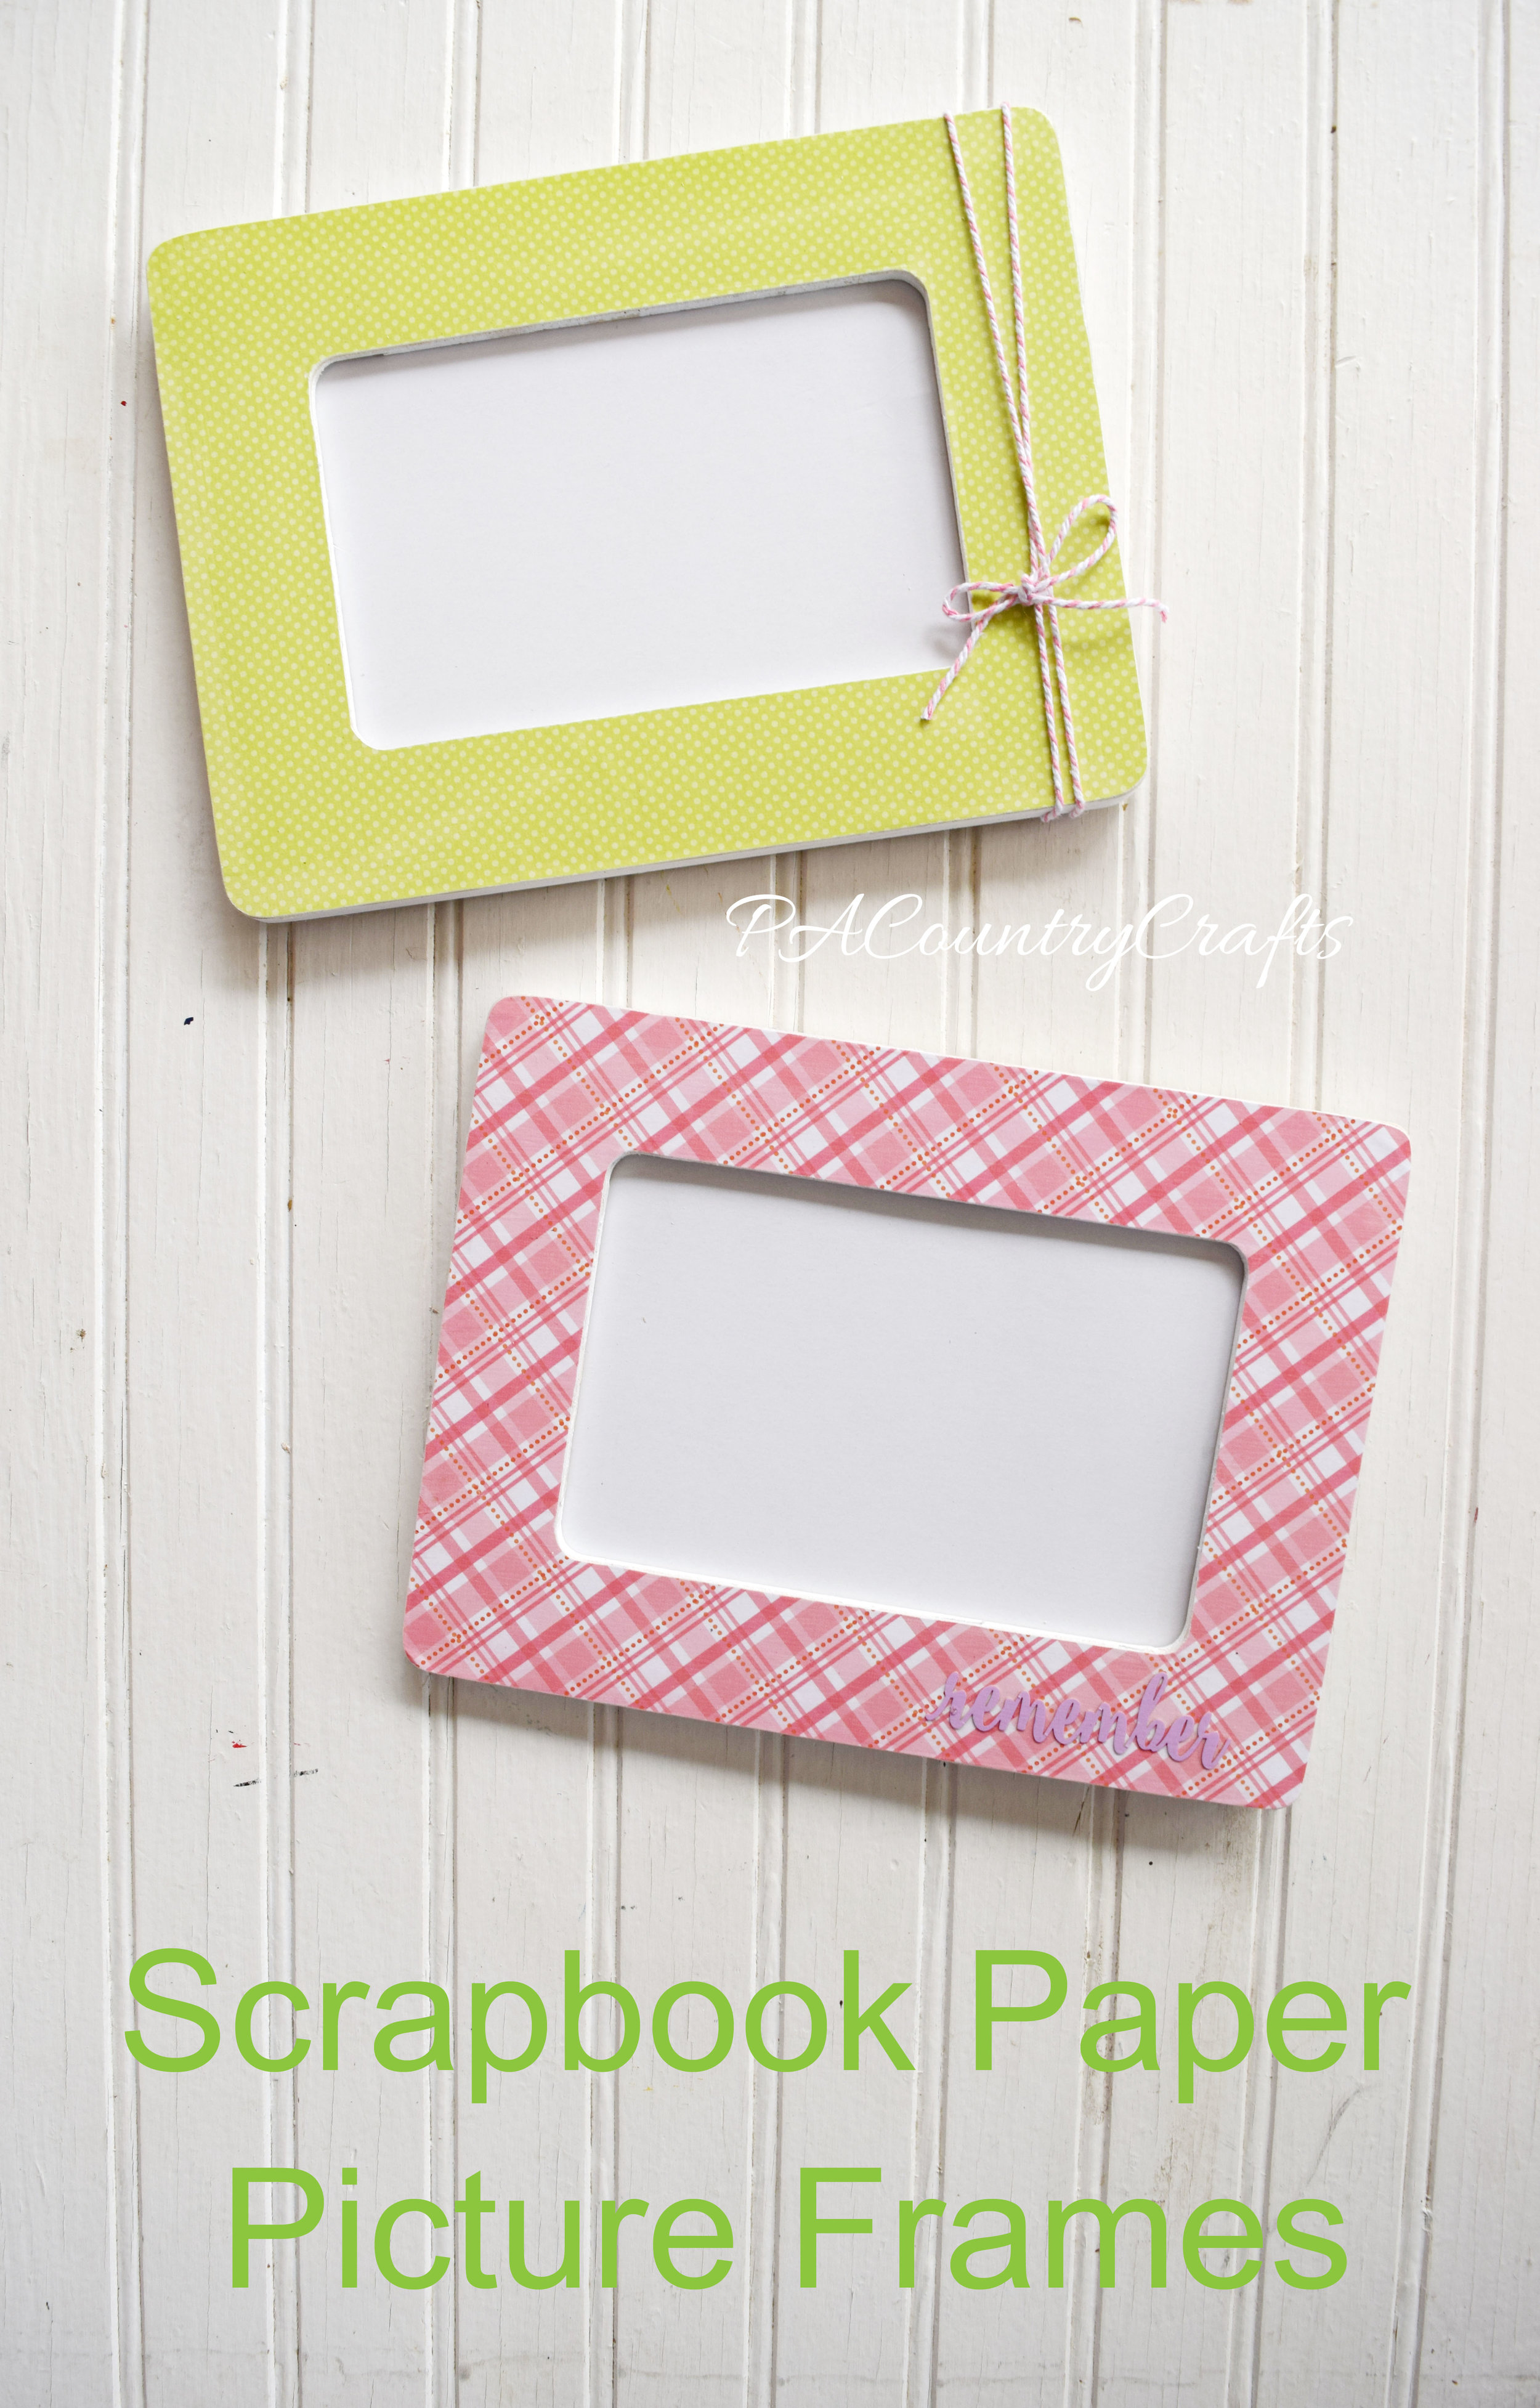
Use scrapbook paper and cheap wood frames to make a cute craft - perfect for craft nights and groups!

composition-book-journal

DIY I Spy Bottles MOPS Craft

Ribbon Bow Mini Hair Clips Tutorial

Several years ago I was very ambitious and made hair clips for my girls. I got a bunch of supplies to get started. Then, over the years, I collected more. And more. And more. And made less. And less. And less.

They are so cute! You can make them for holidays, stocking stuffers, and Easter egg fillers. At one point I wanted to have headbands or hair clips to match all of my girls' outfits!

Ha! I am happy if I can find a plain, black hair elastic most days. (Seriously! Where do they all go?!?)

But in my #springdeclutteringchallenge I purged a lot of my ribbon and trims. It needed to be done because I had way too much stuff. I also used up a lot of what I had, even inviting a friend over to make hair stuff with me. (There were unfinished felt flowers in my box that we made last time- just before her 5yo was born!)

Since I was mass producing these adorable (and EASY!) little bow clips I decided to put together a tutorial. We had a Nor'Easter here at the time, so the pics are kinda dark. That is PA spring weather for you, though. Anyway, here it goes...

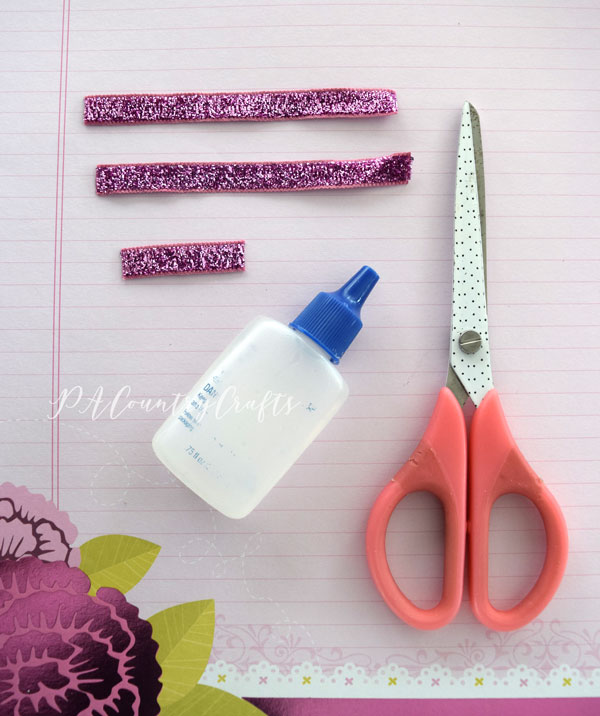
Here are the supplies you will need:

I used 3/8" glitter ribbon from the Target Dollar Spot that I got around Valentine's Day. Grosgrain ribbon also works. I got my 1 3/4" double prong alligator clips from etsy (in bulk) but if you just want to make a few of these you can pick some up at craft stores.  That bottle with the lettering worn off is my fray check. :)

Side note: The U.S. government has all sorts of safety rules to keep our kids safe from lead, so please be aware that there are regulations out there if you sell things like this!

You will need to cut two pieces of ribbon 4" long and one piece 1 1/2" long. Seal the ends with fray check. If I am using grosgrain I carefully melt it with a lighter.

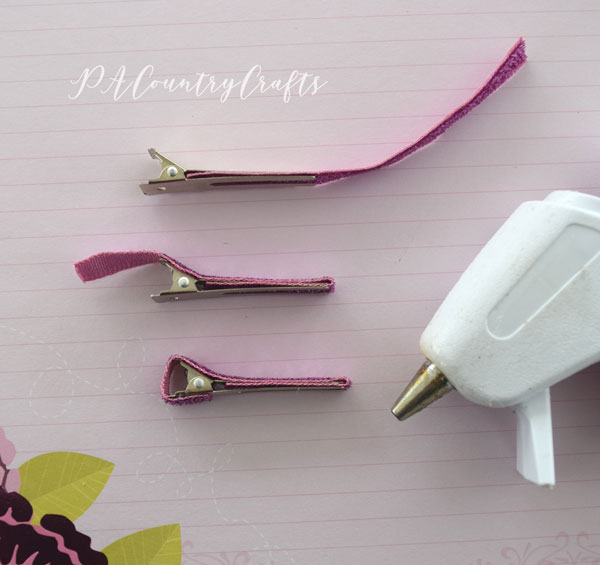
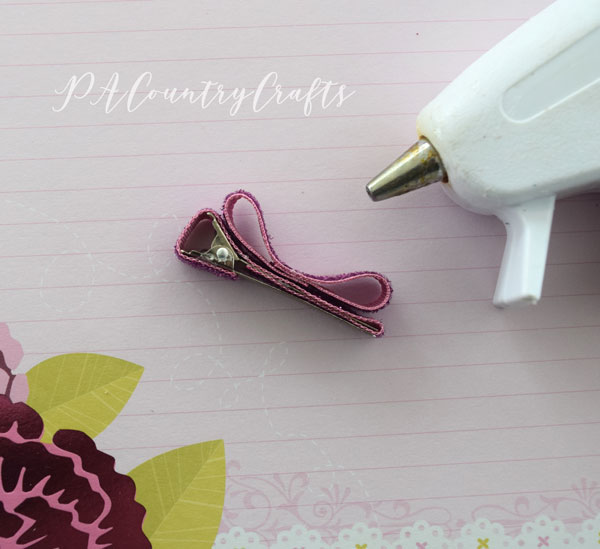
Wrap one piece of ribbon around the hair clip, using hot glue to attach it. The underside of the bent, top prong will have ribbon over them, but the bottom prongs on the flat side do not. These clips are actually really cute with only the glitter ribbon covering them so you could stop there if you would like. I usually add the little bow, though.

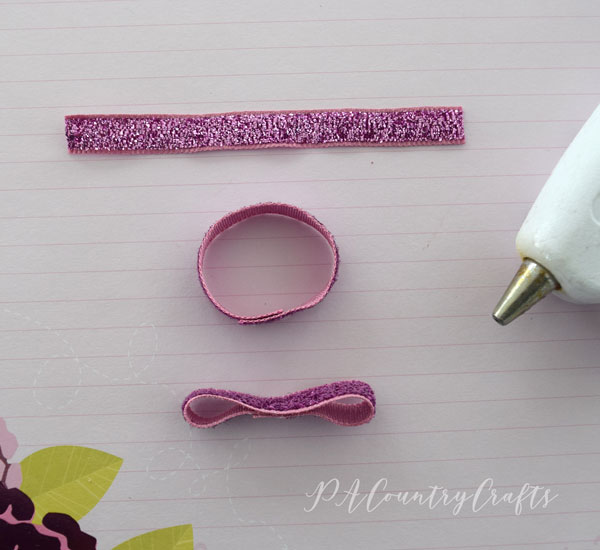
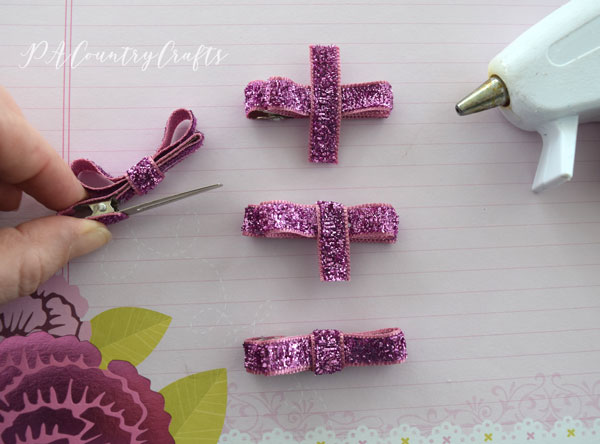
To make the bow, take your other 4" piece of ribbon and overlap the ends, hot gluing them together. Then, glue the top and bottom of the circle together in the middle. Be careful to make these loops the same size!

Next, glue the bow to the center of the top of the hair clip. I just glue it down in the middle. You could glue more if you would like.

Finally, use the short pieces of ribbon to wrap the center of the bow. Glue it on top and overlap both ends on the bottom of the upper prongs. You have to squeeze the clip to open it up so that you can get to the underside. If you have non-slip grips you can put them on the underside of the top prongs as well. I don't have any.

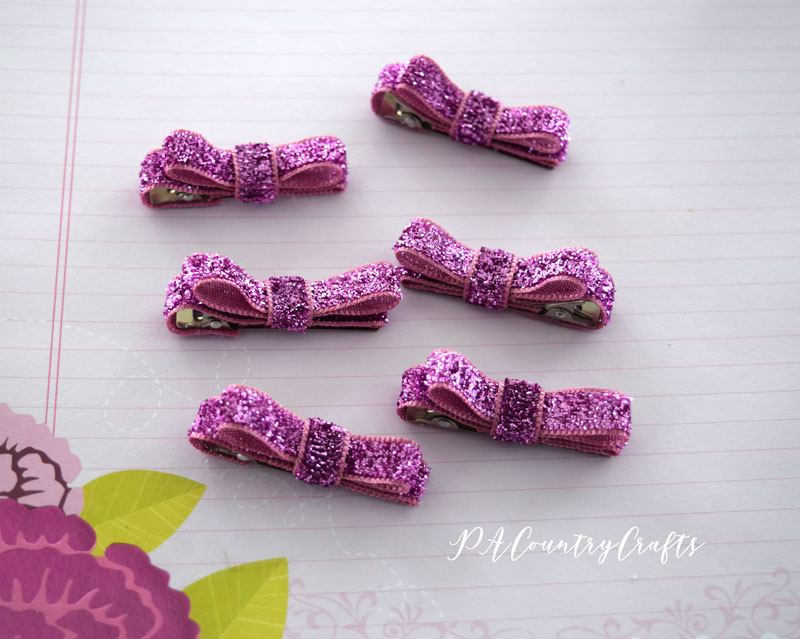
Finished! These only take a few minutes to whip up. Can you see why I overbought supplies? I am being good now, though. I promise!

If you want to pin it for later...
Make these easy ribbon bow hair clips in just a few minutes! Tutorial with clear, step by step pictures...
You may also like...

Puffy Petal Flowers


Fabric Bow Tutorial

The Easiest DIY Unicorn Costume

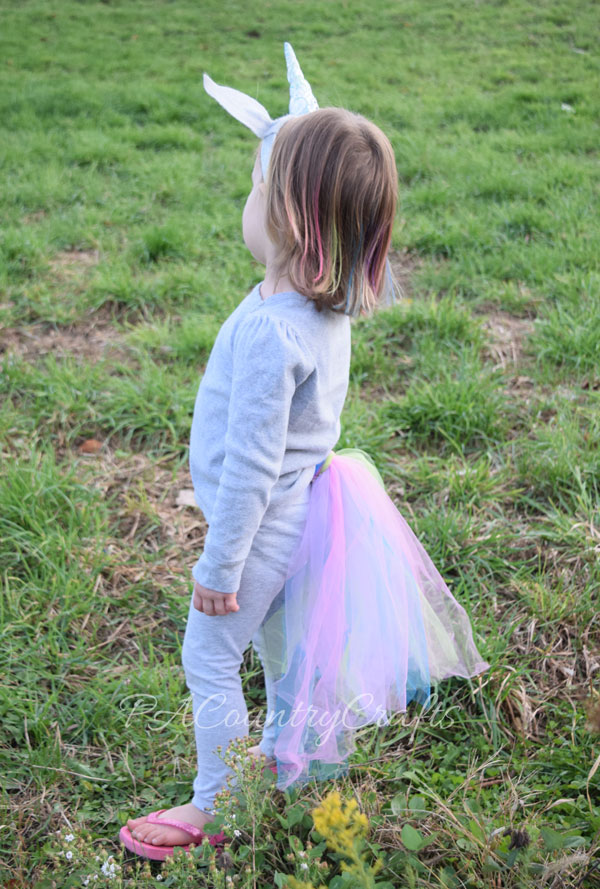
I can't stress this enough... Halloween costumes around here are usually VERY LOW EFFORT. They are usually last-minute, too. Now, this is not entirely my fault. I have been asking my children for weeks what they would like to dress up as. I either get an "I don't knooooooow" answer or ever-changing, impossible answers. Some of them also think that they are "too old" for costumes, but I bet that some of them change their minds on October 30 around 9pm. I also refuse to spend a lot of money on costumes. Have you seen the price tags on some of them! Ouch! I can't do it. My youngest daughter LOVES unicorns. She saw a cute unicorn costume last year at Target for $30 and it was white. We also don't do white costumes. We live in the country and the kids sneak in their candy. It is just a bad idea. She had a gray shirt and leggings, so she was a gray unicorn. I just made a headband and tail to complete the costume. She was still thrilled!

The Easiest DIY Unicorn Costume Ever!
Super easy unicorn costume that anyone can make!

If you want to be a cheap slacker mom like me, here is how I did it...

Simple unicorn headband and tail for a last minute costume

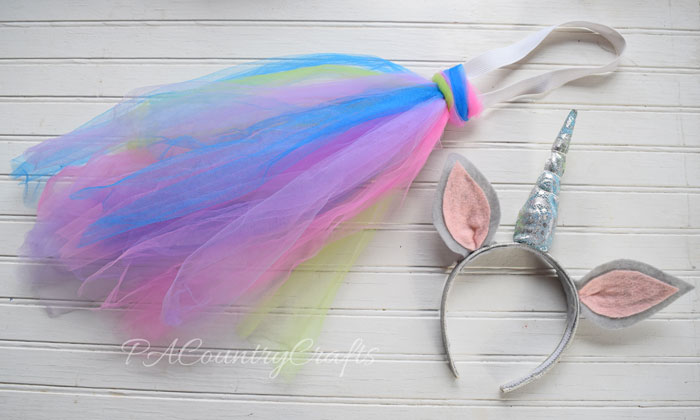
First, I made a headband for the ears and horn. I started with a wide, glittery headband from the dollar bins near the check-out at Joann. The horn is made of a pencil wrapped in scraps of felt I had leftover from other costumes. I sewed a triangle of fancy metallic fabric to slip over the top, stuffed more, folded the ends under, and hot glued it in place. (Minus the pencil, which might be dangerous even if we haven't had any problems, the closest tutorial and pattern I can find is HERE.) I also used elastic hair ties to divide the horn on angles.

This unicorn headband looks so easy to make!

The ears are made from felt.  I cut pink ears a little smaller for the inside and the gray extends straight down for a few inches to wrap around. I also pinched the center of the ears and glued it together near the base to give them a little more dimension.

how to make a unicorn headband

Next came the tail. I sewed some wide elastic together in a loop the same size as her waist. If you are a no-sew kinda gal you could hot glue it, too. Or, you could use ribbon and tie it on. Whatever works for you. I had some strips of tulle in various colors left over from the ninja turtle costumes. I added some pink and lilac, too. The strips are 6" wide and varying lengths. (Just double the length you want!) Then, all I did was hold them all together and loop them over the elastic. Just like latch hooking. 80s skills comin' in handy! Woohoo!

Easy Tulle Unicorn Tail

For one last detail, I used hair chalks from Five Below ($3) to make streaks in her hair/mane that coordinated with the tail colors.

hair chalk to make a unicorn mane

She wears her unicorn headband pretty often, so that was another nice feature about going this route. One of her many ideas for Halloween is a gray cat. I wonder if I could get away with another headband and tail... Sweet!

You may also like these easy costume ideas: