Scrapbook Paper Picture Frame Tutorial

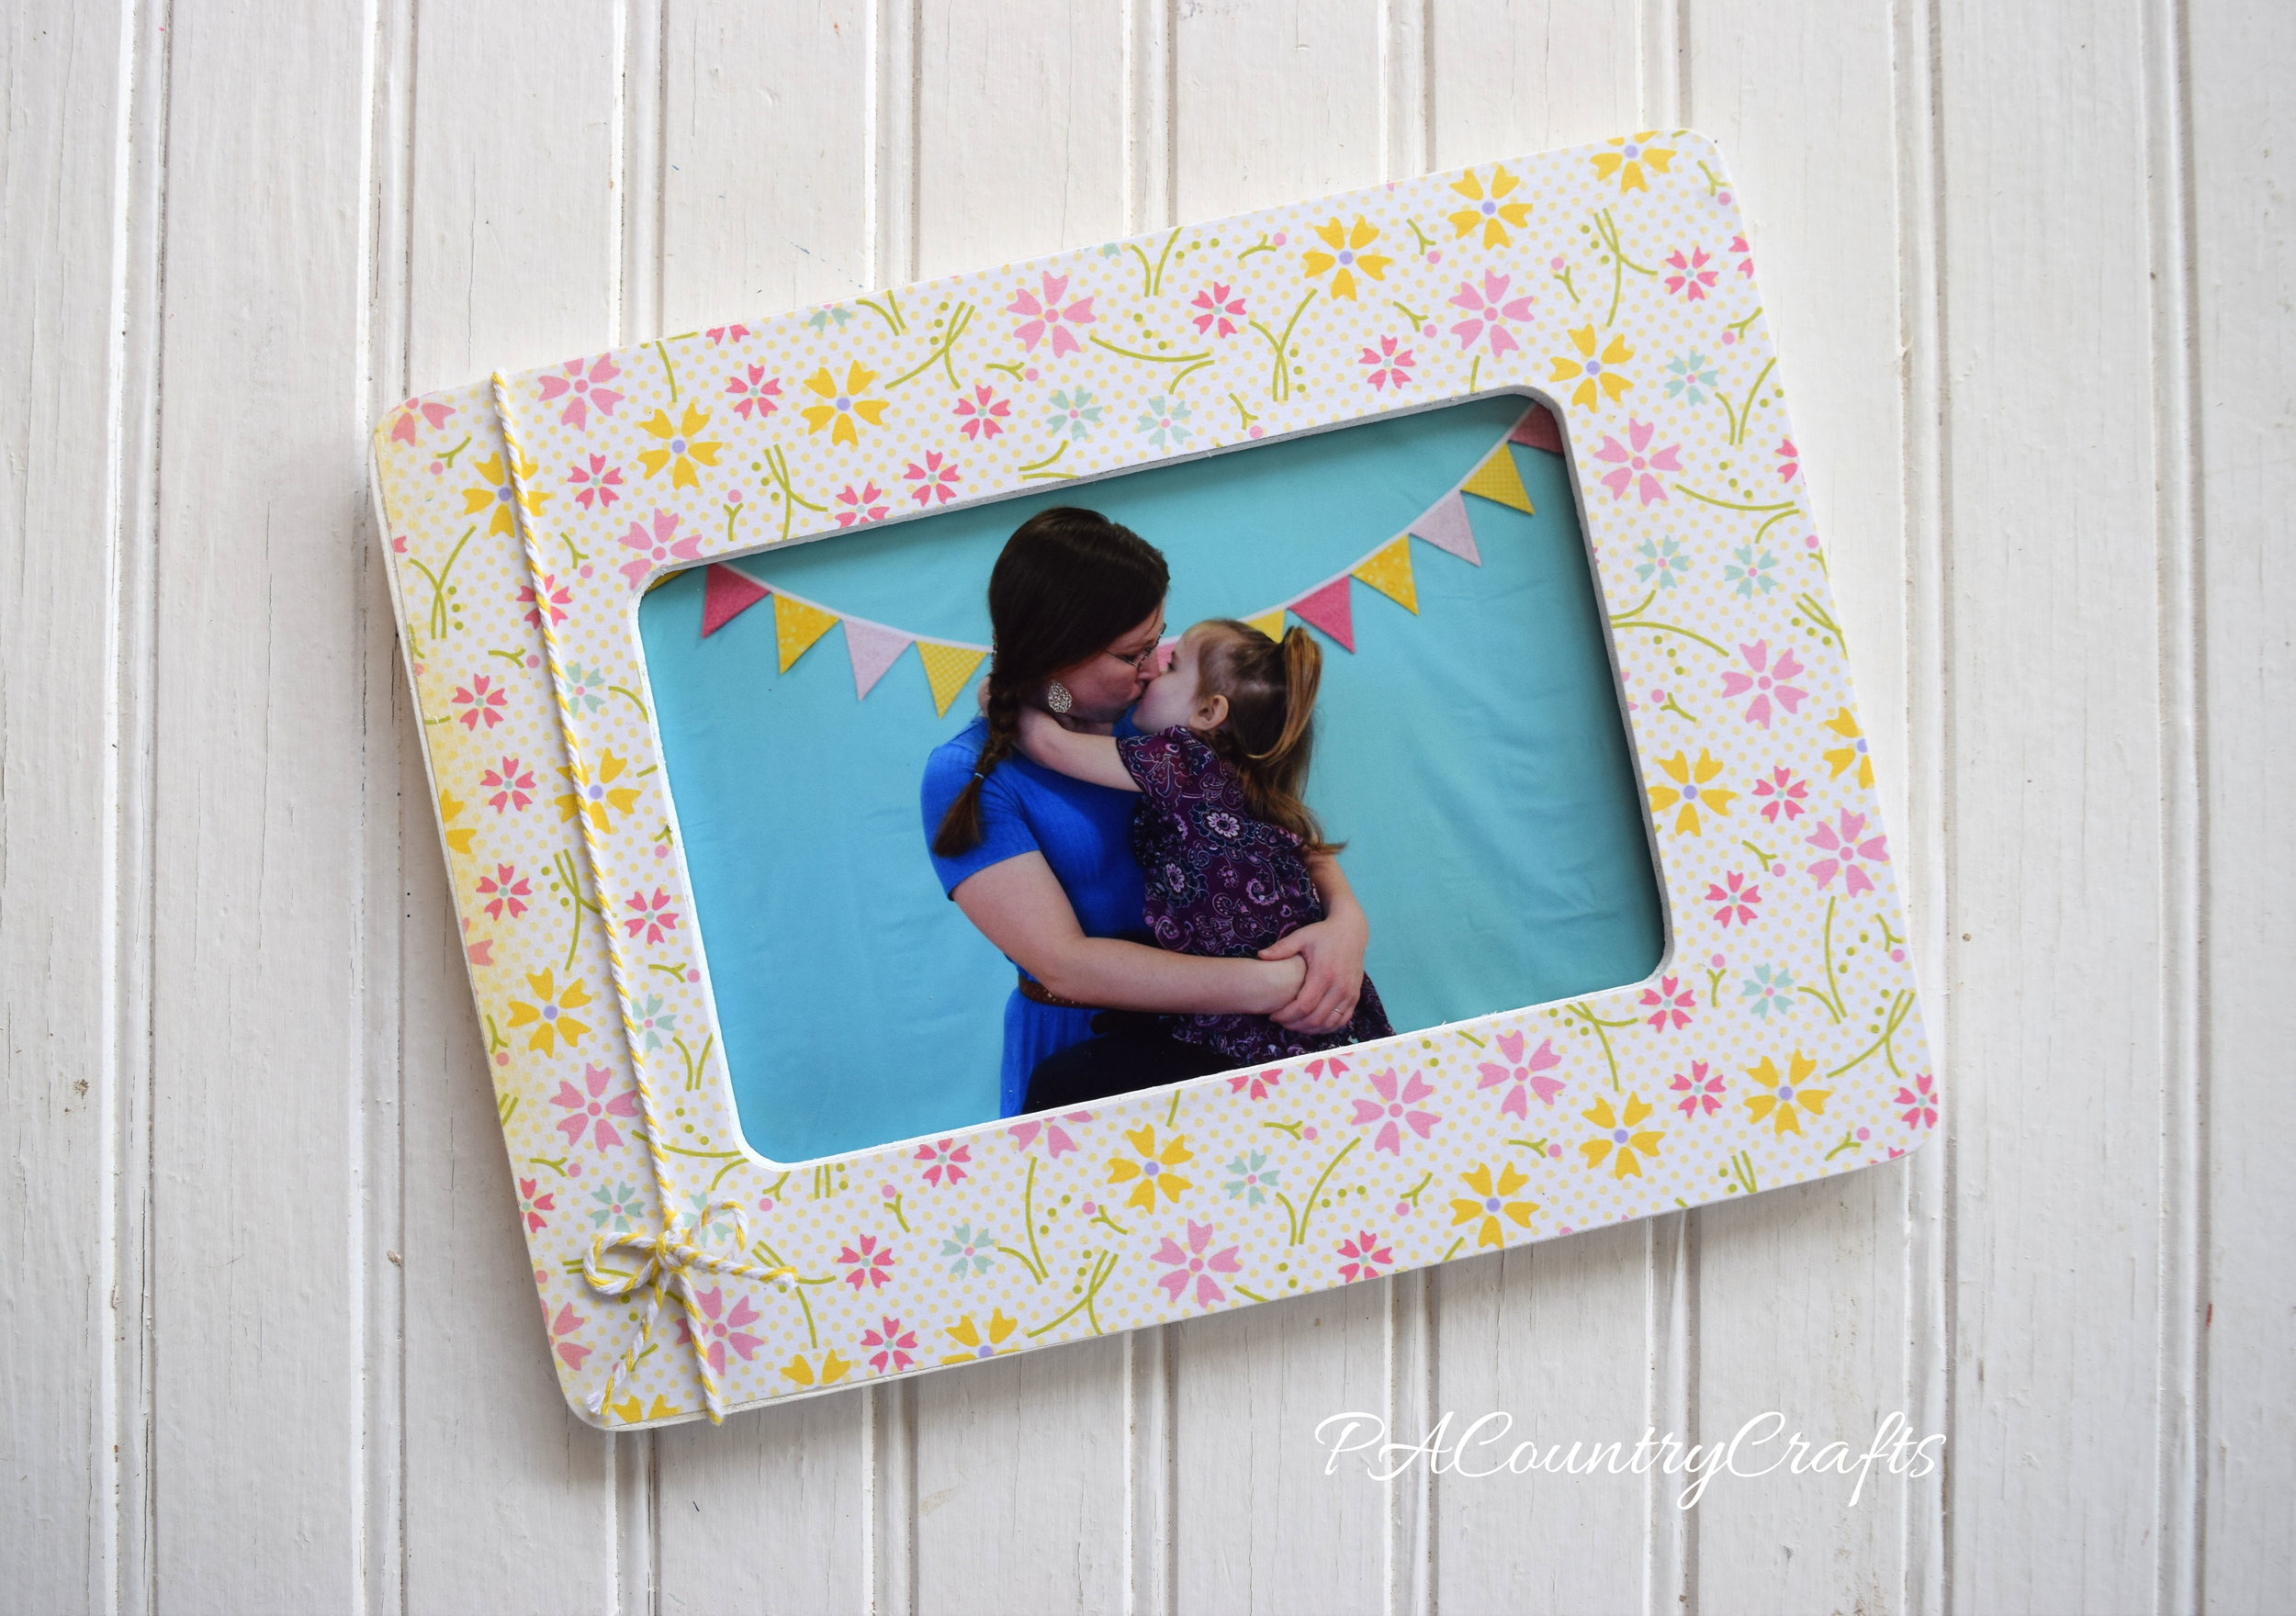
April is generally the craft month for our MOPS group. We wanted to come up with something that every mom could use... picture frames! At the March meeting we set up a photo booth with two background choices: an aqua sheet thumbtacked to the divider with THIS pink and yellow bunting or a navy sheet thumbtacked to the divider with some yellow stars that are part of our "Starry Eyed" meeting decor. They were simple, but beautiful (and FREE!) One of our steering team members is also a talented photographer. She has a good eye for capturing those special moments. She photographed the moms as they came in with their little ones and we got free 4 x 6 prints through the Shutterfly app printed before the April meeting. We figured if there was a picture to put in the frame right away it would be used.

Cute and easy MOPS craft with picture frames!

The frames were easy and inexpensive. I got them at Michaels and used a 30% off your entire purchase coupon so they were only 70 cents each. We also used up leftover paper from our journal craft in September (see HERE). I picked up some more scrapbook papers in neutral and blue colors that would be better for pictures with the navy background.

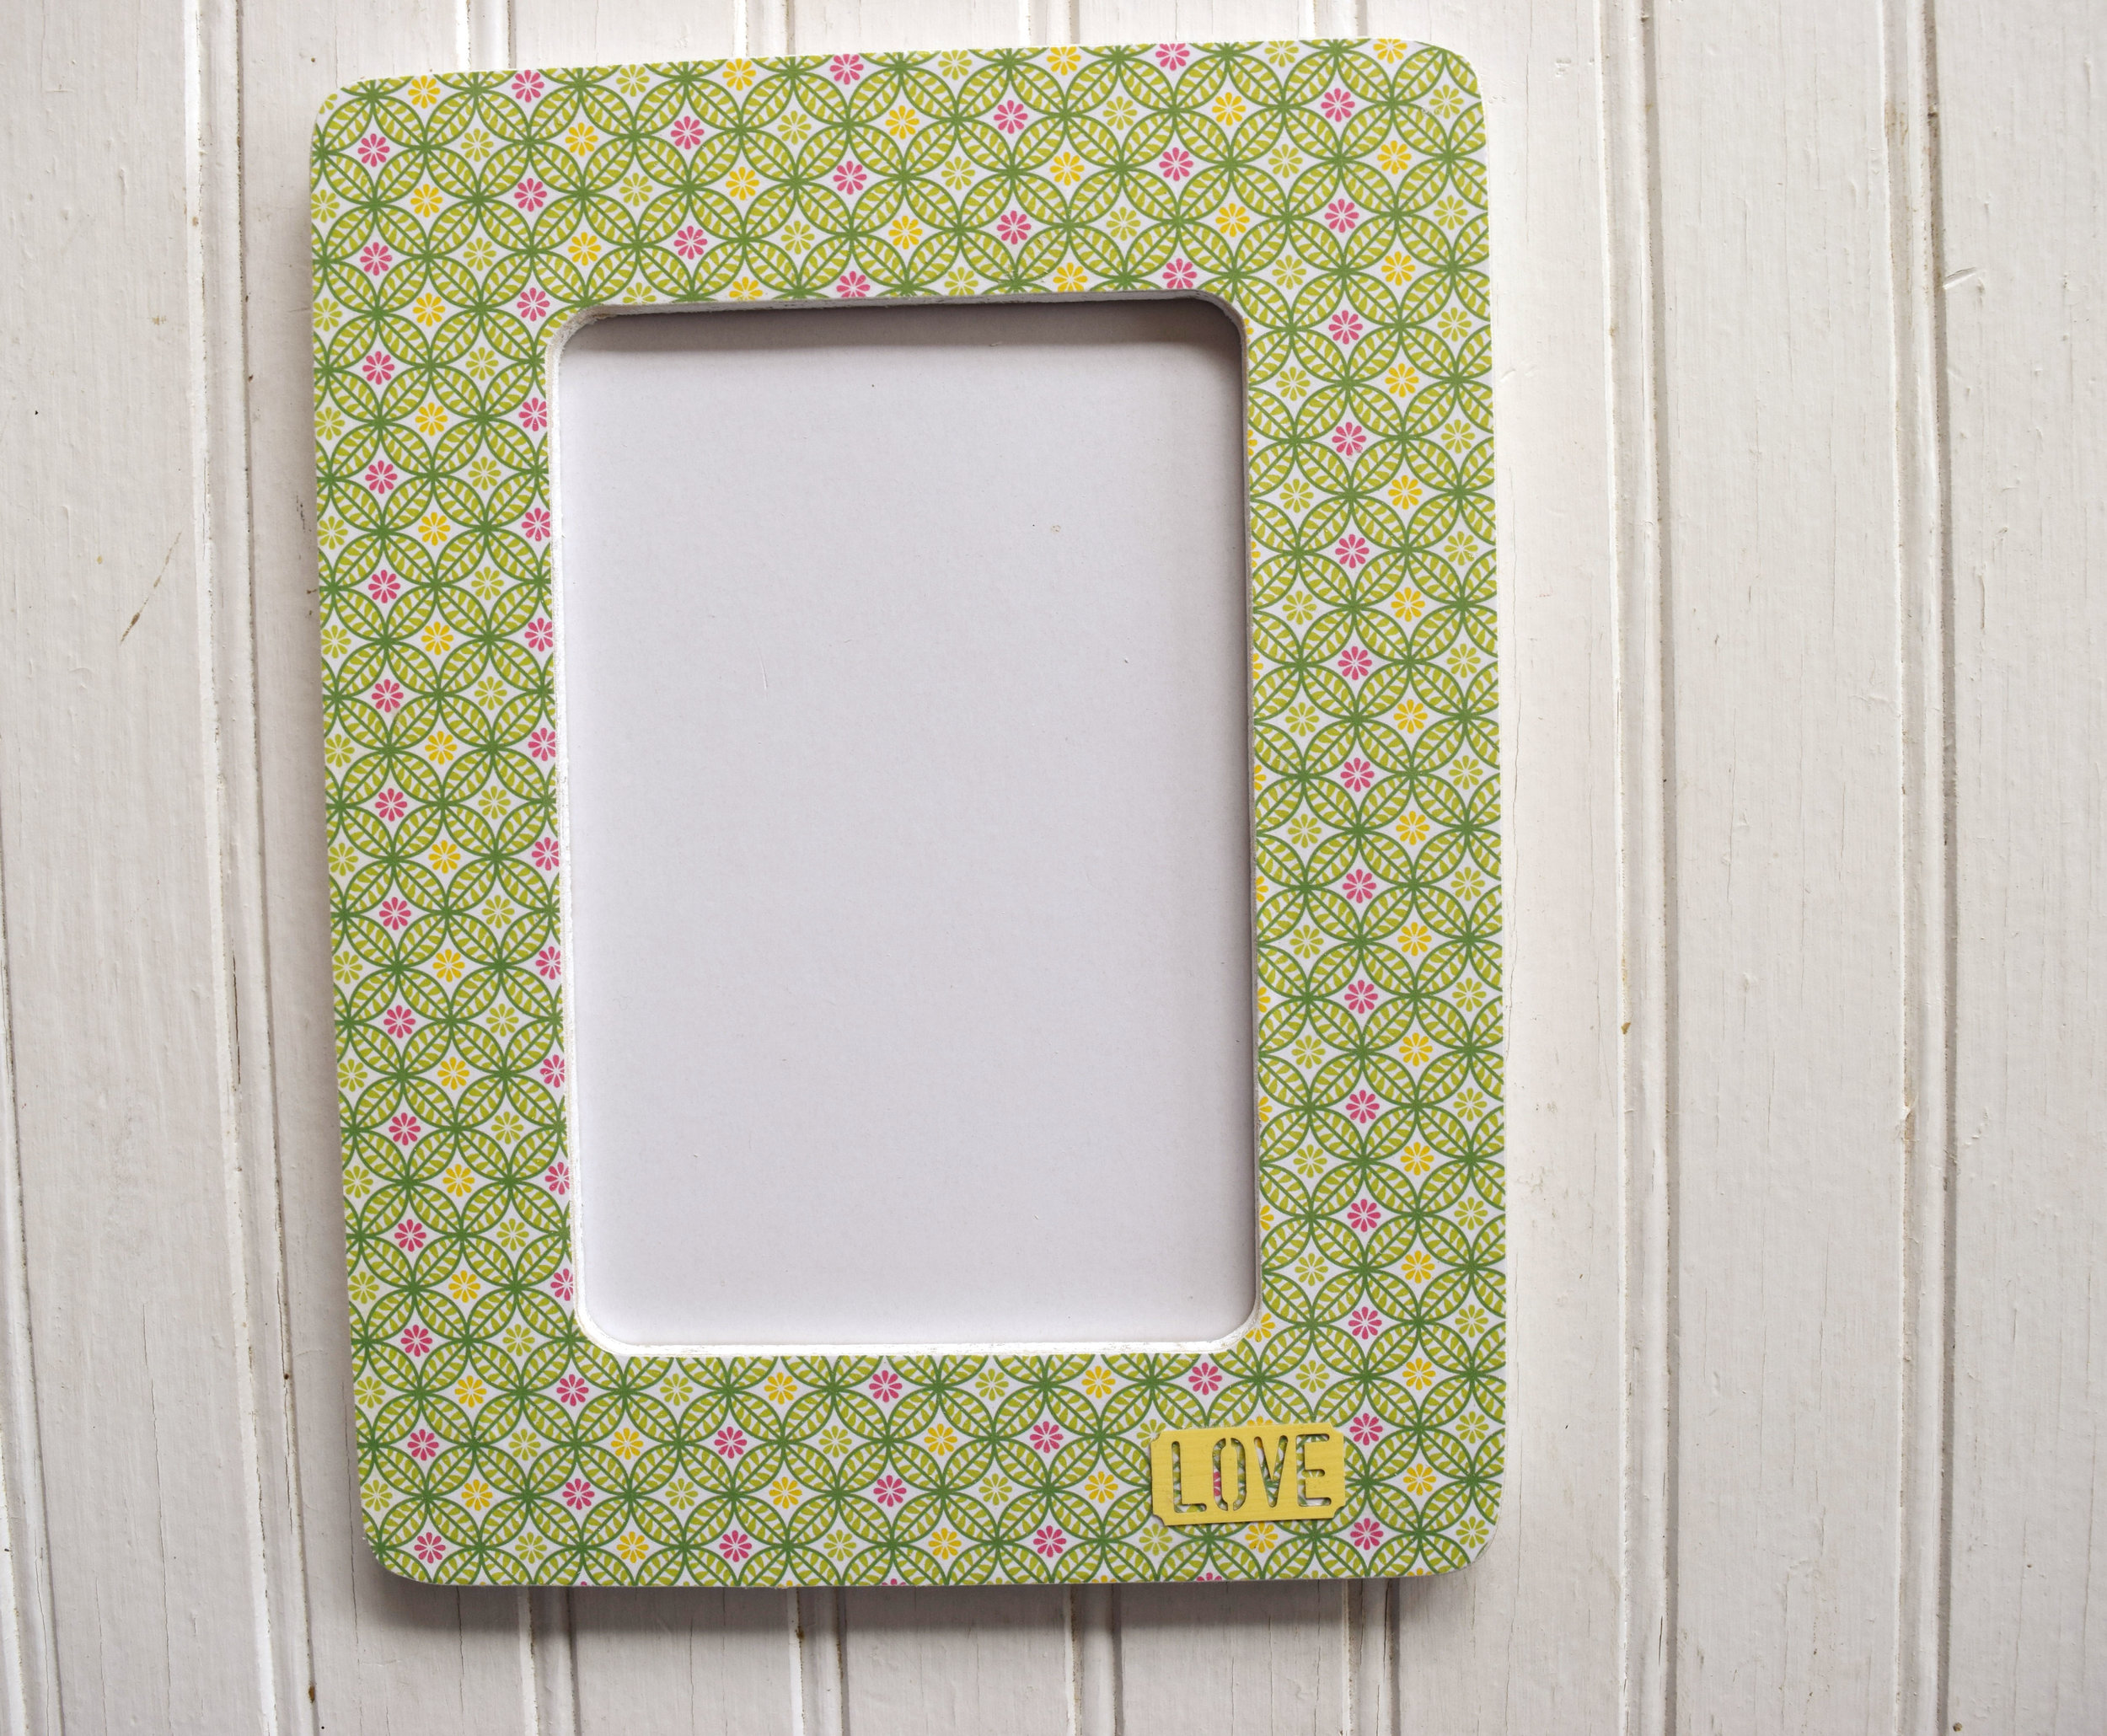
DIY book page picture frame

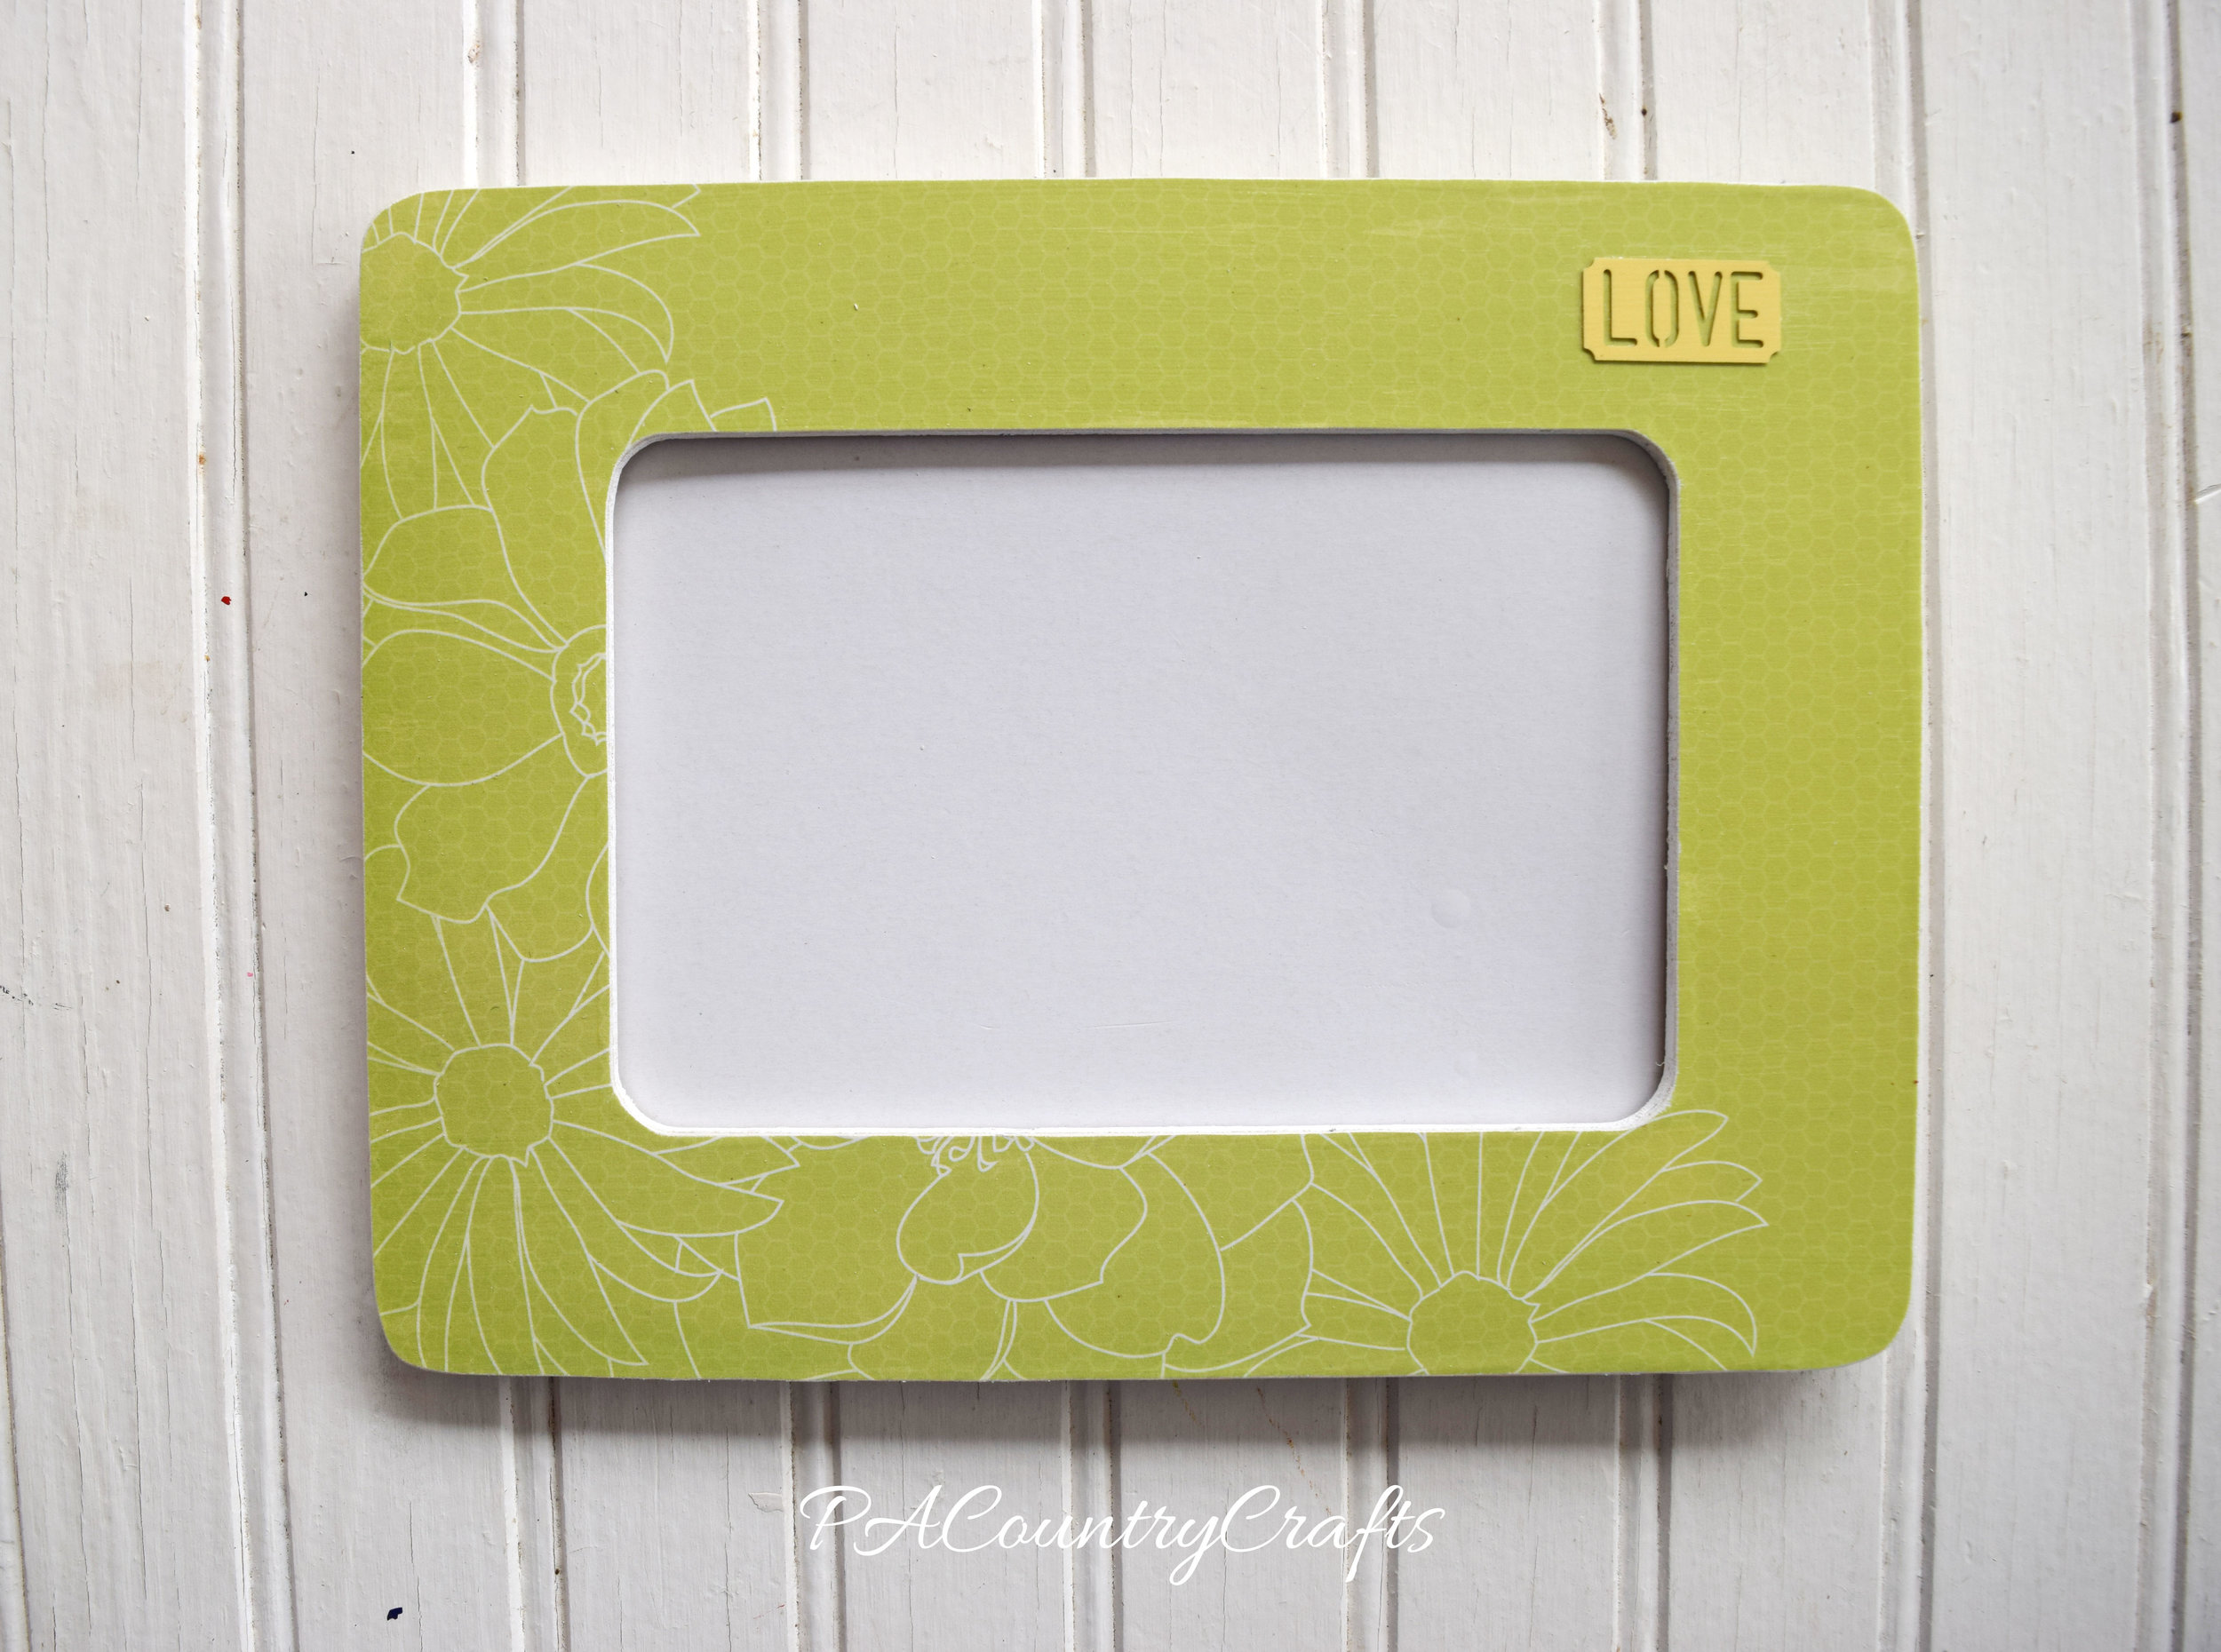
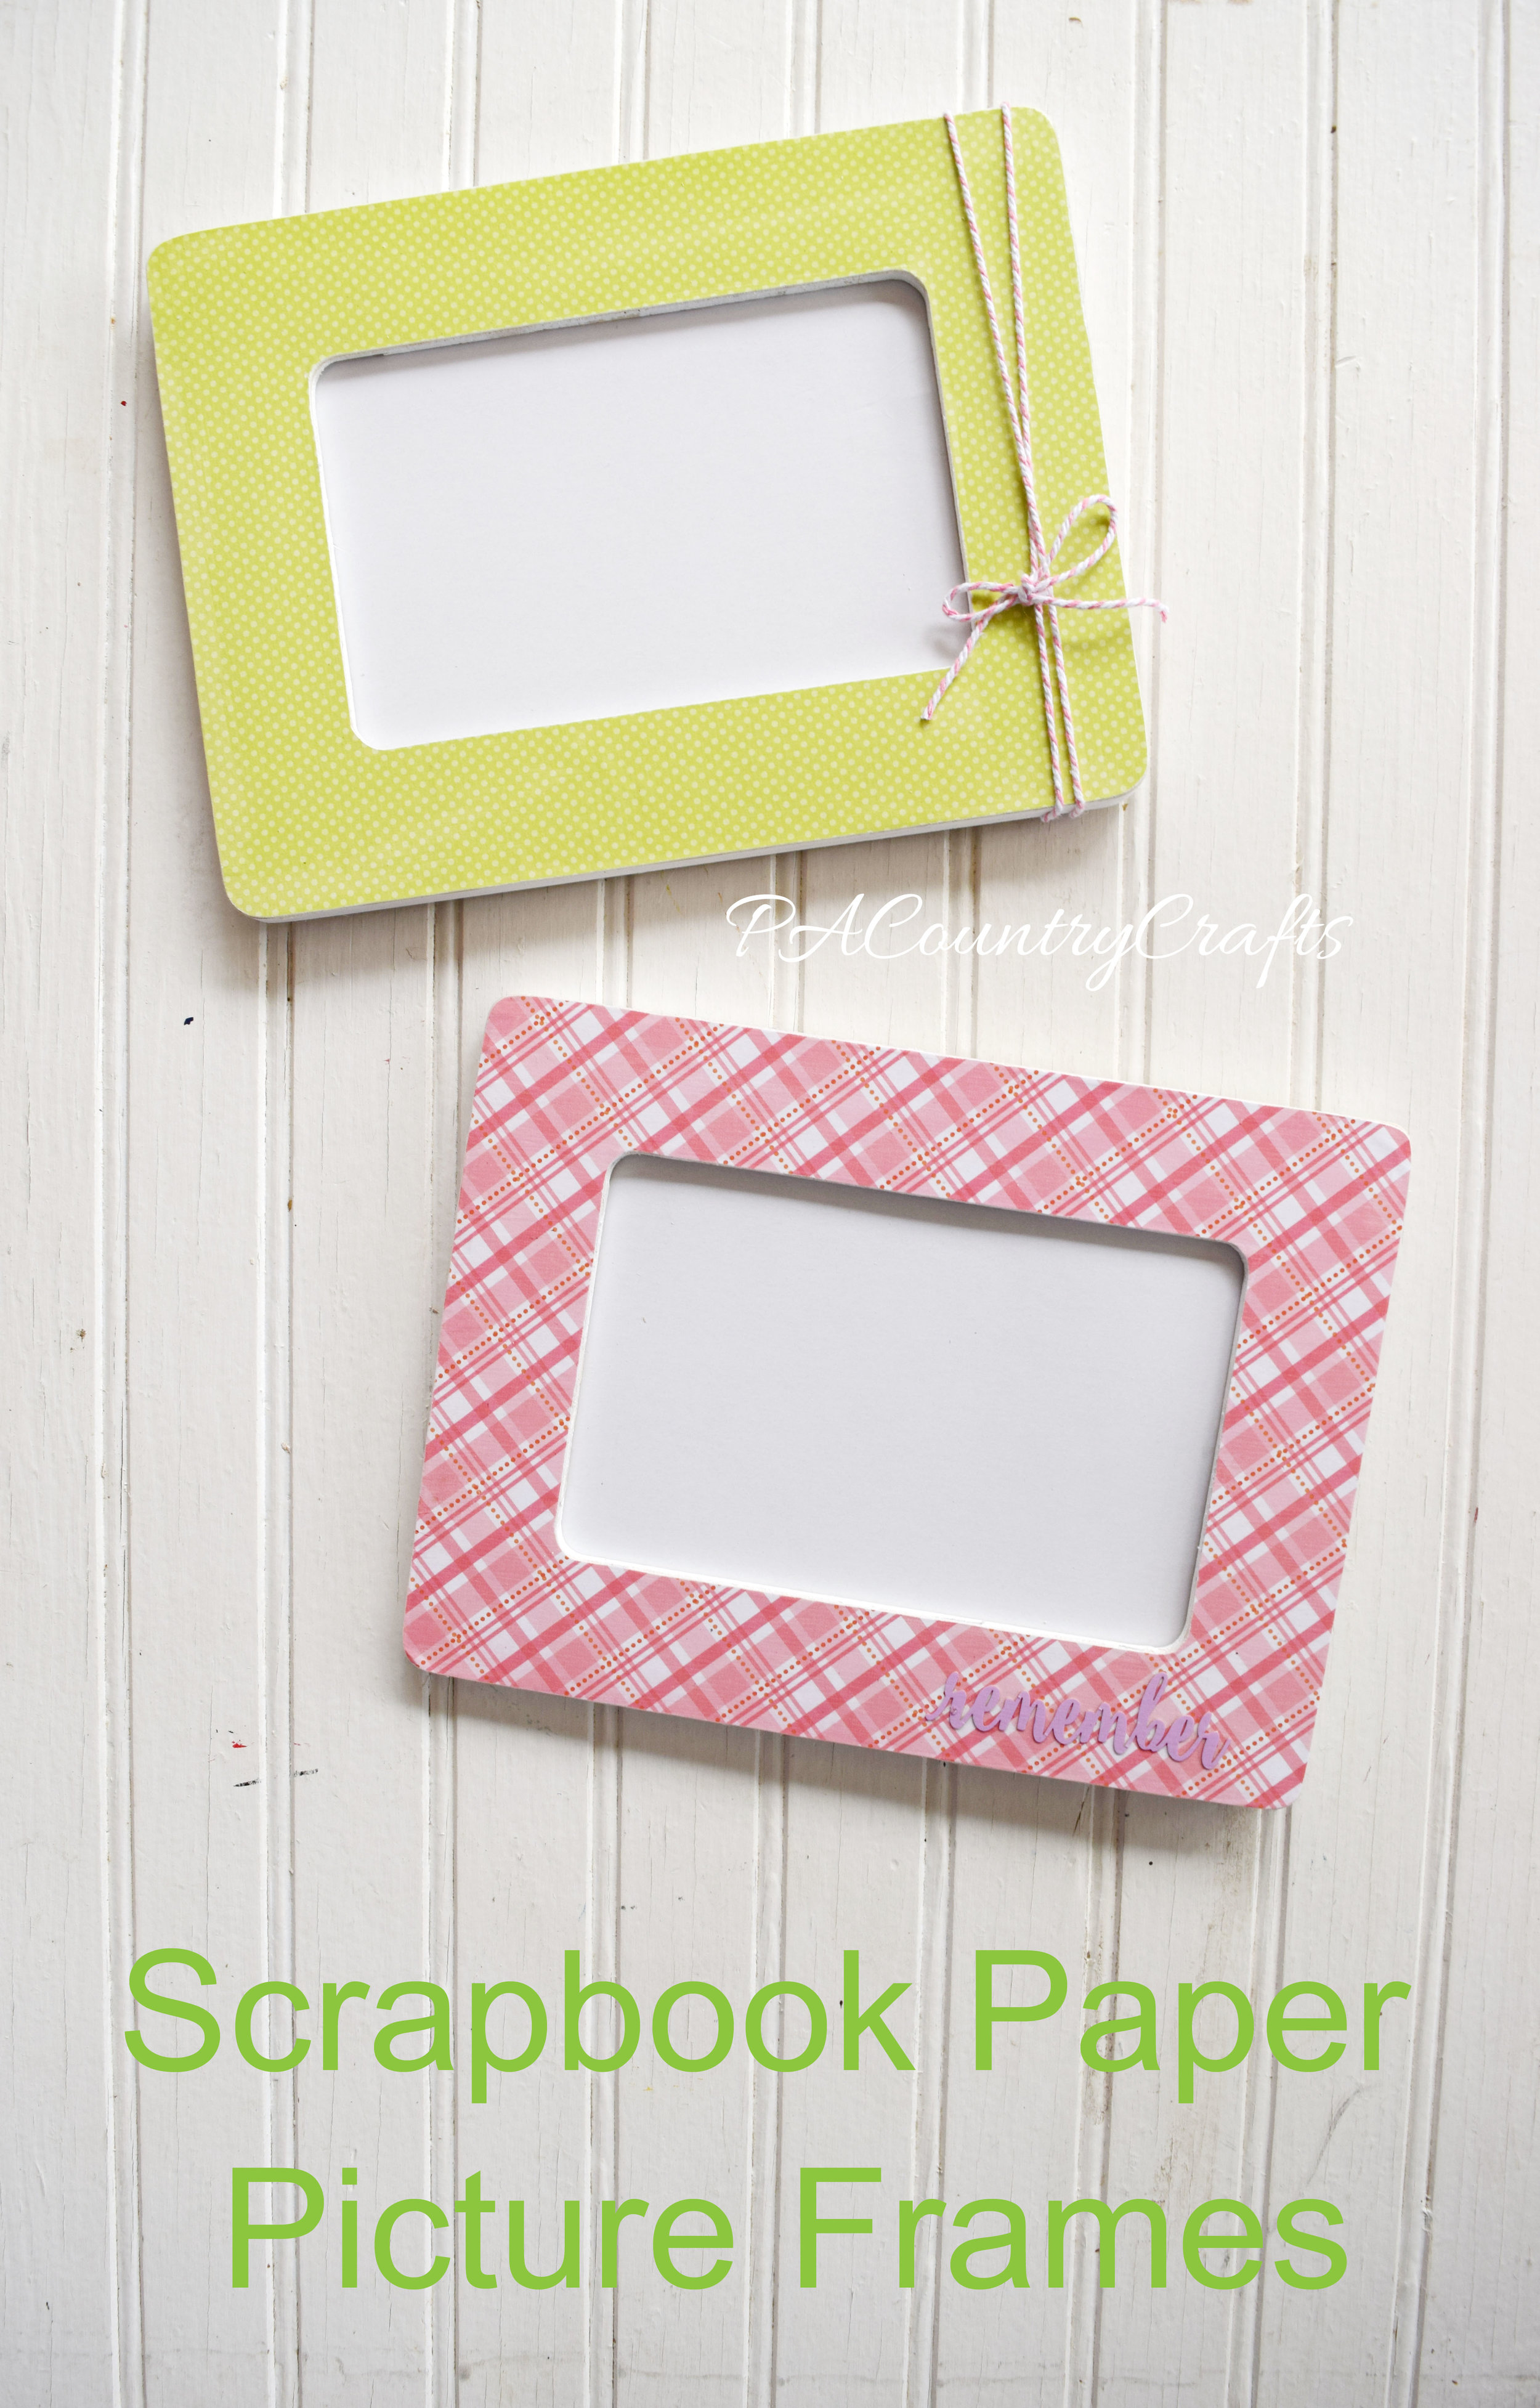
Scrapbook paper over a wood frame...

MOPS photo booth and picture frame craft

I have made these frames before and you can see some of them in my daughters' collage wall HERE. It is the perfect craft for a ladies night or a group. You can add little embellishments like baker's twine, washi tape, fabric flowers, die-cuts, etc. so they will all be unique. In addition to flat frames like these, you can use this same technique on any flat wood surface. I made a mustache for the collage wall, too!
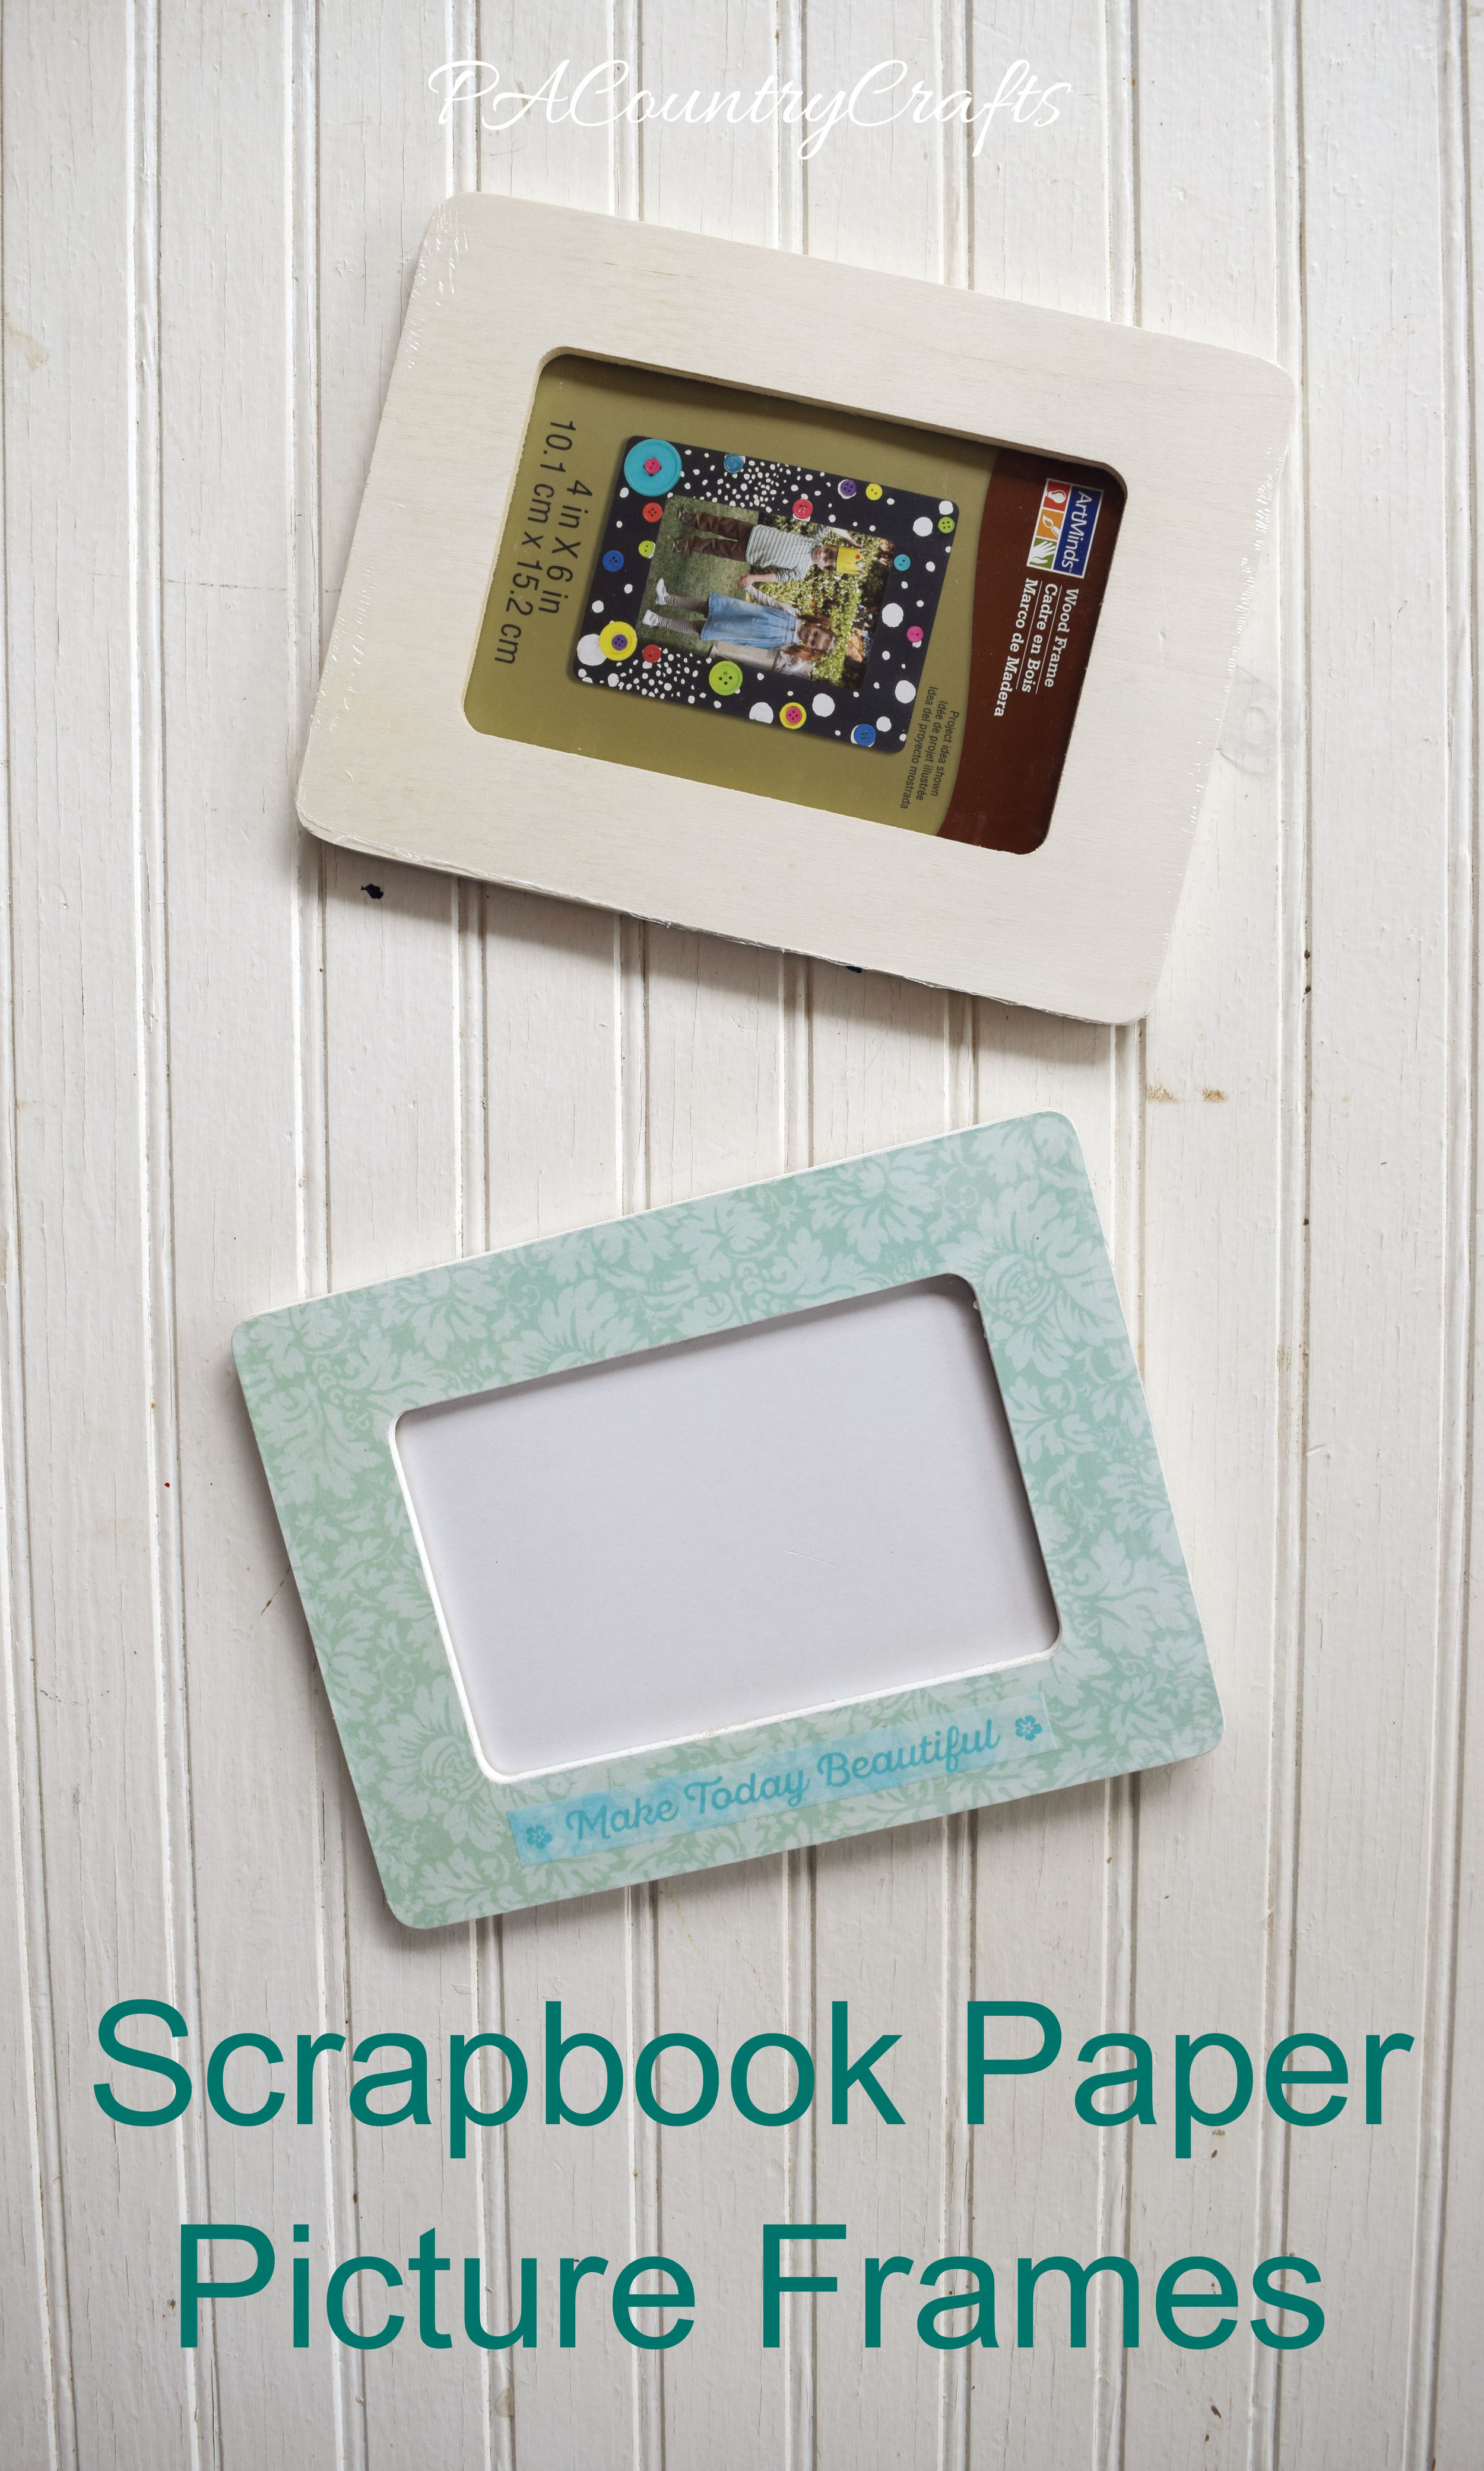
Easy group craft- scrapbook paper covered picture frames!

Here is what you need:

~wood frame ~mod podge ~foam brush ~sandpaper ~scrapbook paper ~scissors ~pencil ~embellishments (optional) ~paint (optional)

Easy DIY frame craft with scrapbook paper, cheap wood frames, and mod podge.

I began by painting the edges of the frames just to make the finished product a little nicer. I used white acrylic.

Paint the edges of frames for a nicer finish

Lightly sand the frame to remove any rough edges or extra paint. (My craft table is a disaster! #keepitreal)

how to prep a wood frame for decorating

Trace the frame on the wrong side of the paper (so you don't see pencil marks in case you mess up).
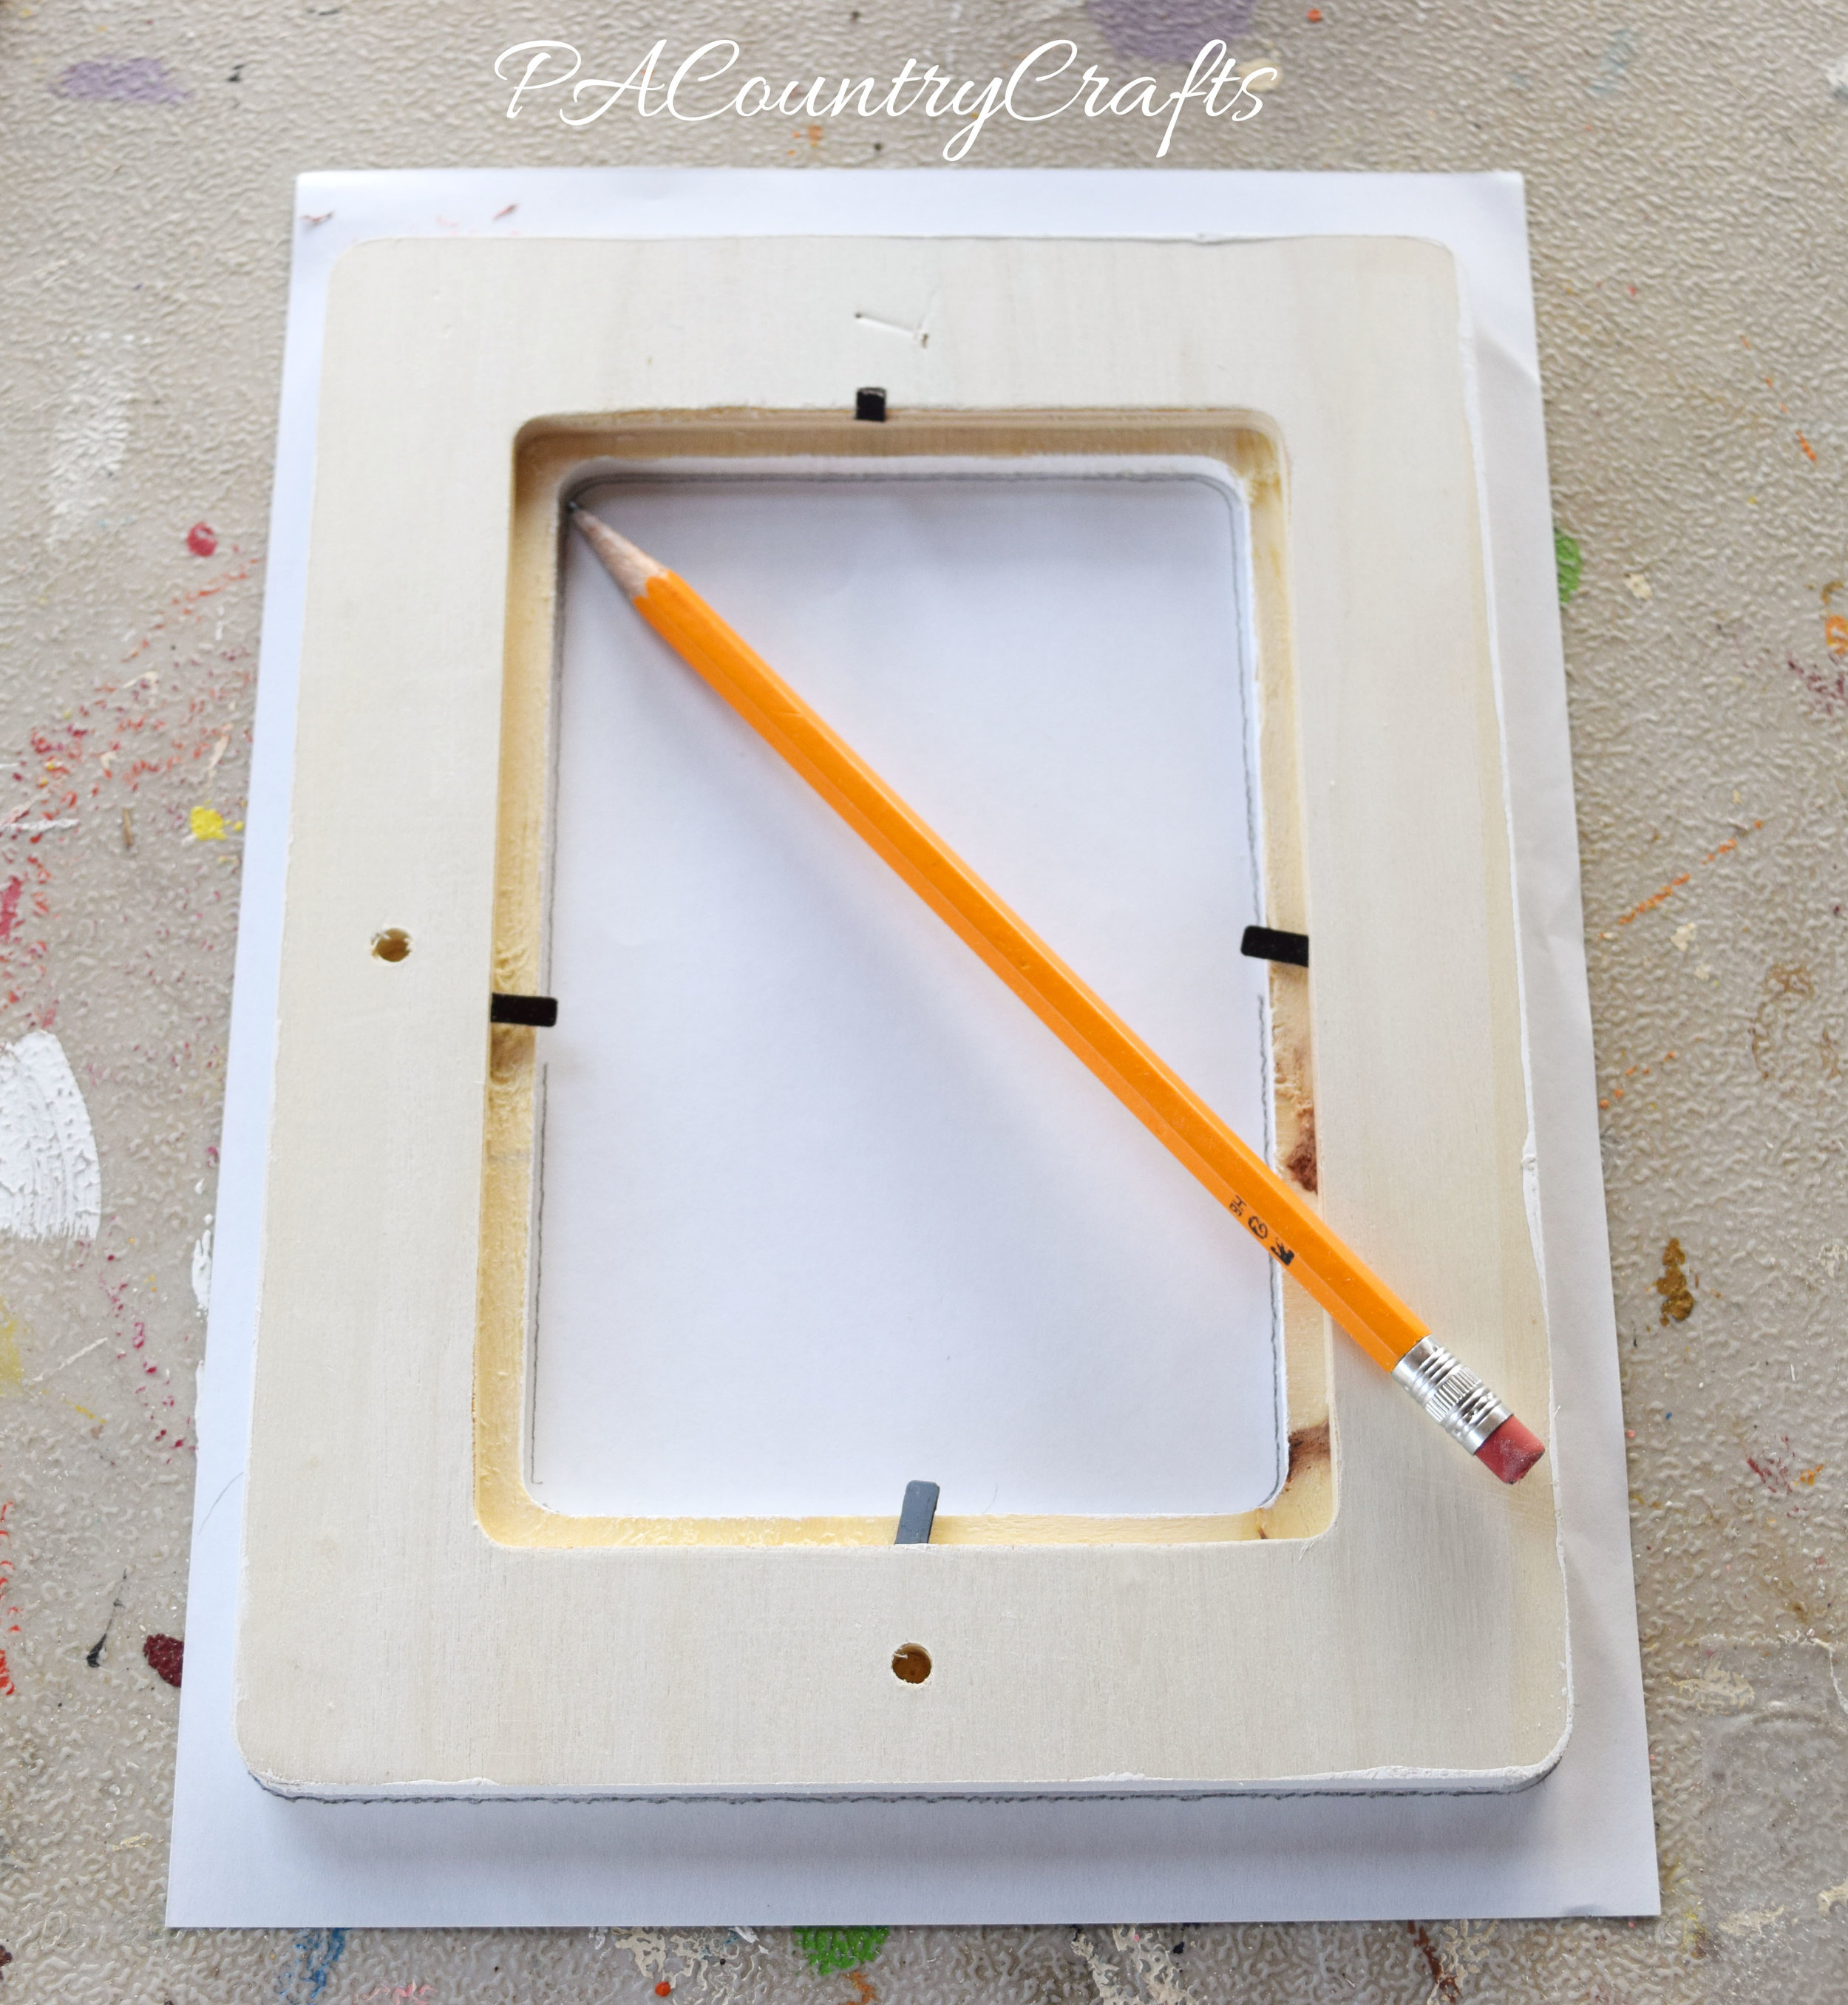
how to make scrapbook paper frames

Cut out the frame shape you traced, but leave a little extra outside the pencil lines. Always go big, not too small!

Cute paper to cover wood frames

Brush a layer of mod podge onto the frame. It should be a fairly thick layer, but it should all be smoothed out- no runs or lumps.

mod-podge-frame

Lay the paper on top of the frame, lining up the center opening and edges as best as you can. There should be a little extra all around.

How to cover a wooden frame with paper

If you get big wrinkles, you can take it off and redo it, but only if you are fast about it. Some wrinkles can be pushed out by hand, or you can even try scraping with a credit card. Just smooth it all out the best that you can and let it dry. We did our "speed friending" activity awhile.

Then, it is time to sand the extra paper off of the edges. Make sure to use a perpendicular, downward motion (if you have ever done Jamberry nails it is the same technique!) Don't ever push the sandpaper back upward or you might lift the paper. Just keep scraping down at as close to a 90 degree angle as you can. Use some muscle! It takes a bit of pressure to make it work. The paper will begin to loosen and peel off.

This tip helps you sand extra paper of the edges of mod podge frames for a clean finish.

The secret to getting perfect edges on mod podge picture frames...

Don't forget the inside, too. It looks very crisp and neat when you are done! Nothing at all like my messy table.

How to get clean edges on a paper covered frame

It is a good idea to seal it by brushing on a thin layer of mod podge. If you want to add embellishments, just brush a little mod podge on, stick it on top, then just brush over the whole frame.

Cute embellishments on a DIY frame. Mod podge is great!

See? It dries clear.

Easy picture frame craft project!

You can also add washi tape to a dry frame and lightly seal over that.

Washi tape on a DIY picture frame

Pretty easy, right? I think the sanding is the trick to this. And now, on a nicer background than my icky table...
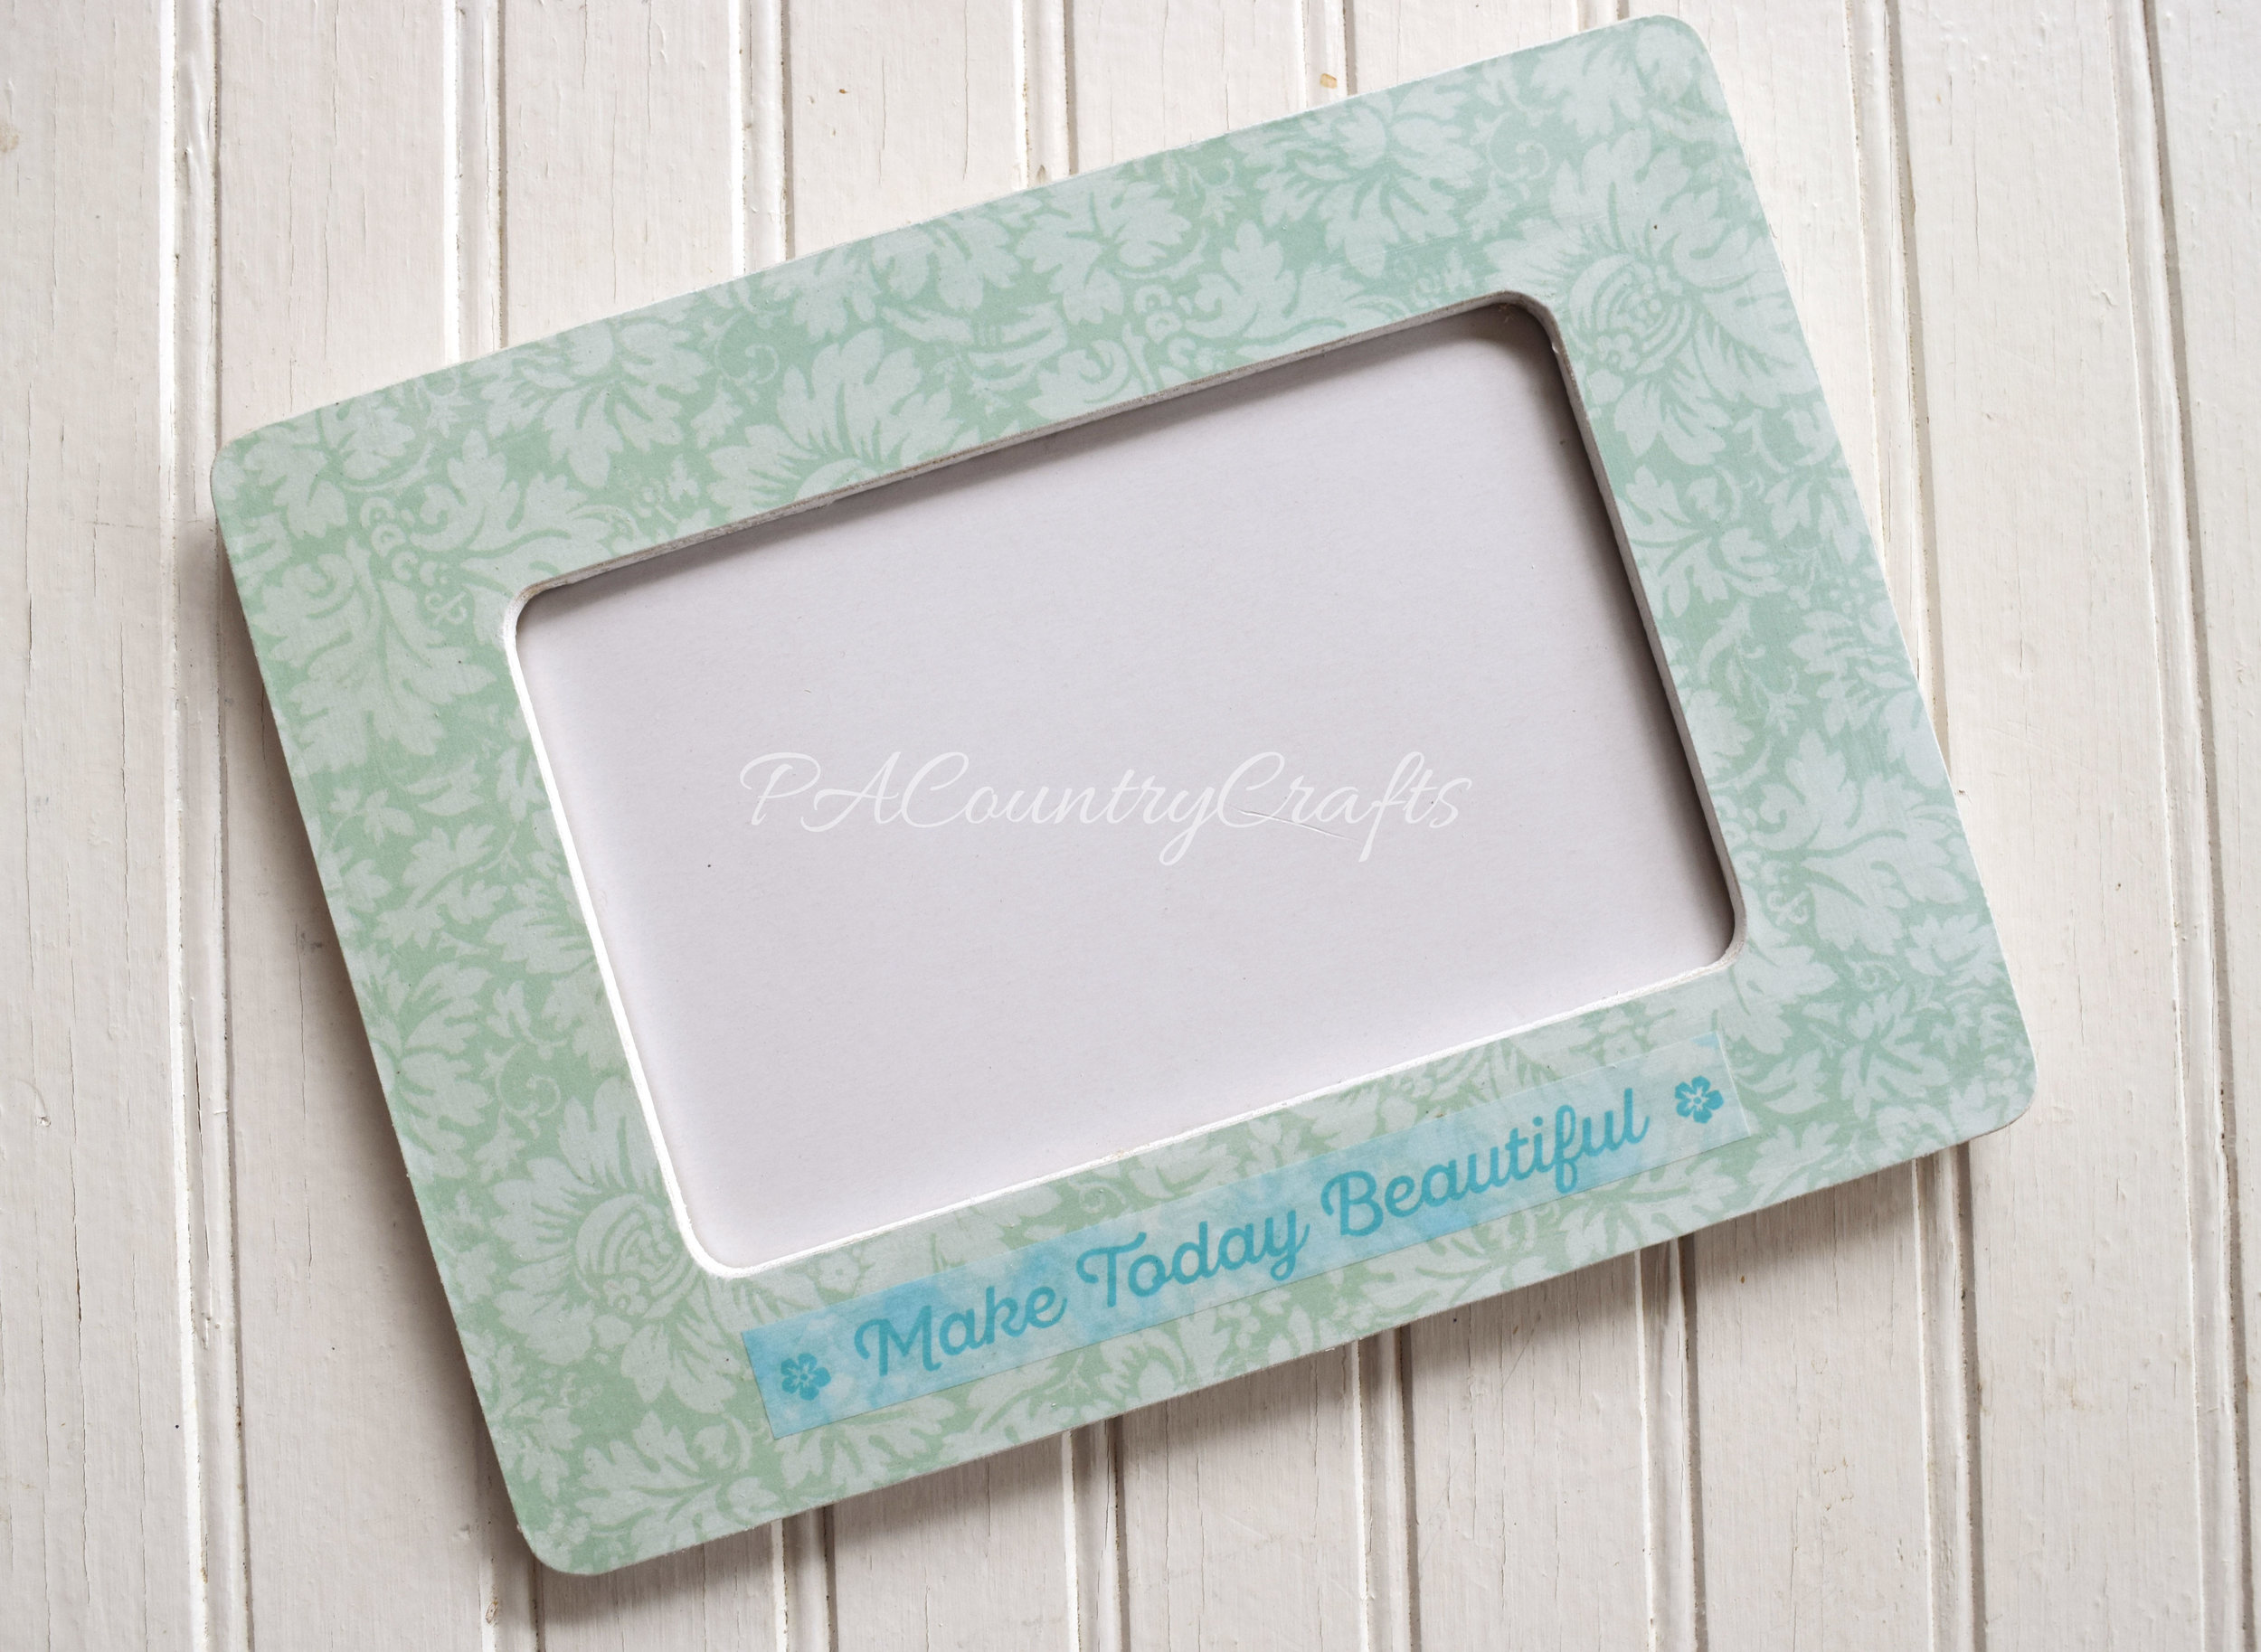
Mod podge, scrapbook paper, and washi tape make this cute frame!

There is a lot that you can do with these. They don't take too long and don't cost much to make. If you mess up and get too many wrinkles, you can always rip the paper off, sand, and try again. Or, you can call it "texture" and just go with it. No one will see small wrinkles from across the room. Just you.
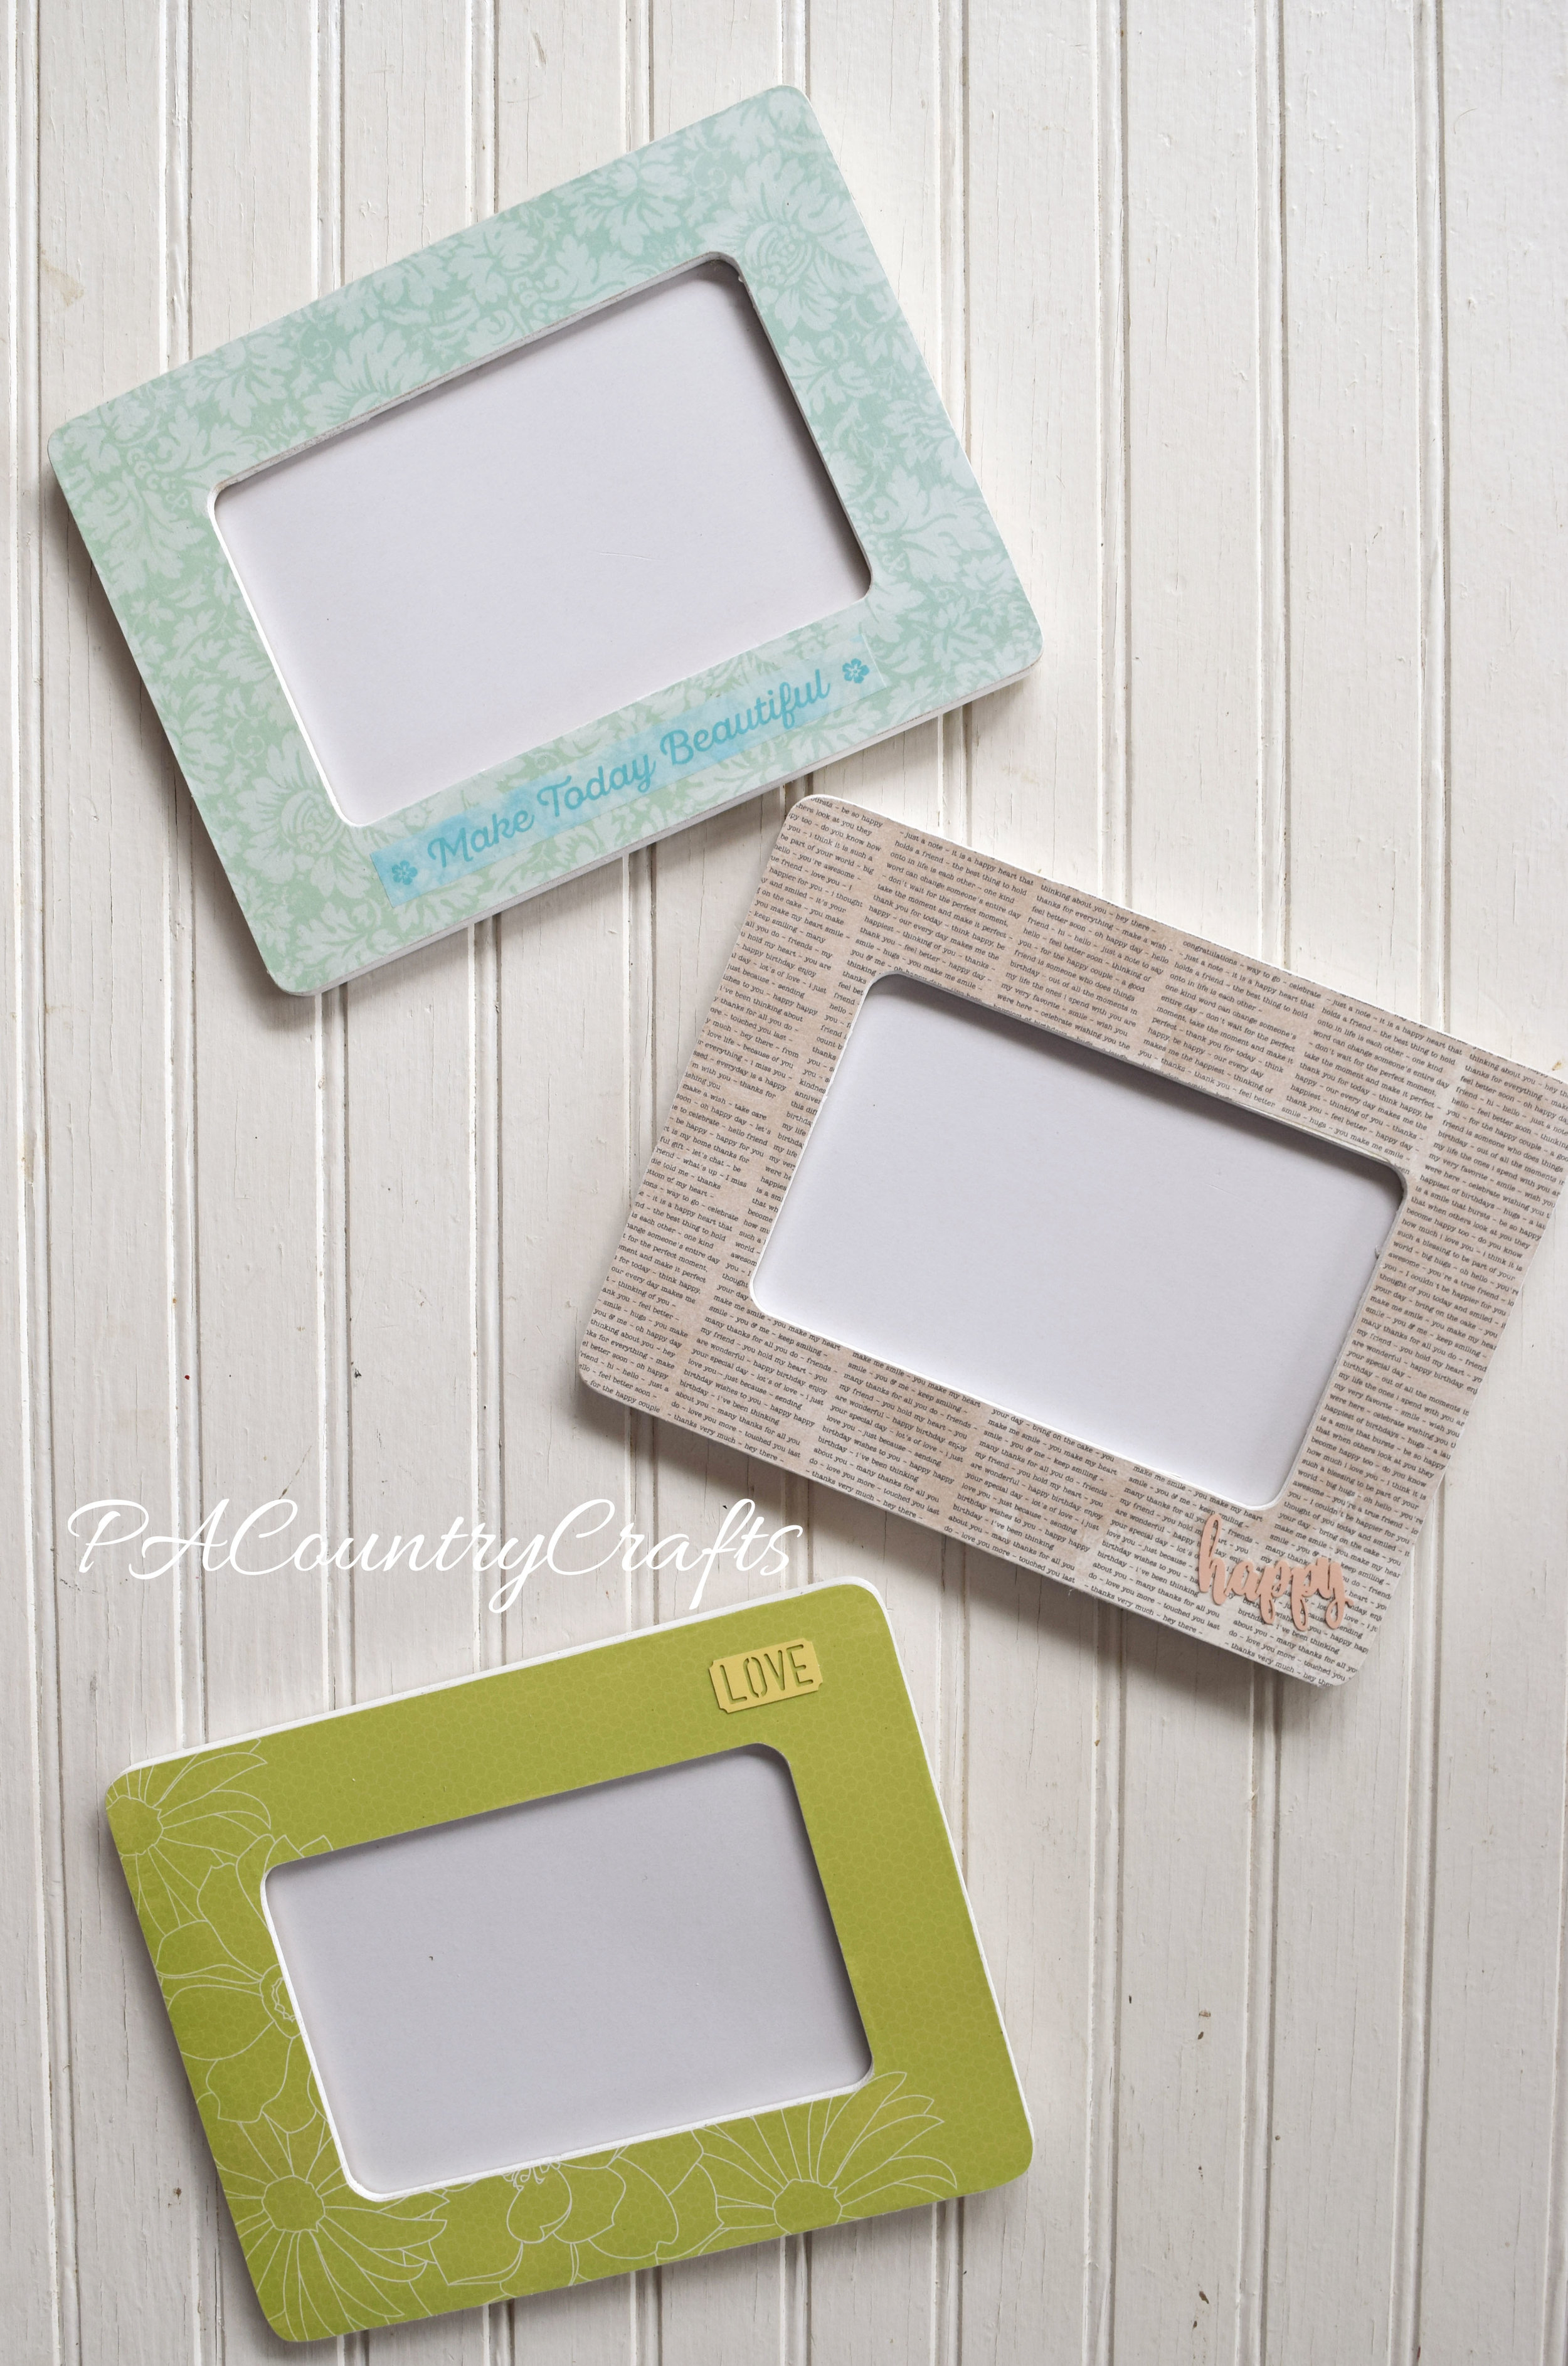
scrapbook paper mod podge frames

Feel free to pin it for later...

Use scrapbook paper and cheap wood frames to make a cute craft - perfect for craft nights and groups!

You may also like...

composition-book-journal

Upcycled Sweater Heart Hand Warmers Tutorial

Sometimes I get these overly ambitious ideas and that is as far as they go. Just big ideas.Sometimes, a year or so later, I actually act on them. And, more often than not, it was a lot easier than I anticipated.

This particular big idea: I wanted to make hand warmers from sweater scraps. I made some sweater pillows (some are still not finished, so I will blog about them eventually) and I have a pile of sleeves laying around. Originally, I was going to make hand warmers for my kids' classmates for Valentine's Day, but I really don't have that much ambition. I realized that they are best in pairs, so I would have to make 80+ hearts. No, thank you! Instead, I gave them out as little thank you gifts for some friends and family.

DIY hand warmers made from old sweater scraps
Step-by-step tutorial shows how to make hand warmers from old sweaters.
Hand warmer thank you gifts.

They are soft and lavender scented and pretty. Just microwave them for about 30 seconds and tuck them in your pocket. They make a really pretty little favor or thank you gift. I just tied mine with baker's twine and made little tags to go with  them.

How to make hand warmers from old sweaters

I took some pictures to show you how to make them, and I even did it two different ways to make it even more beginner-friendly!

Start with your fabric- I used scraps from a sweater sleeve.

sweater scraps used to make handwarmers

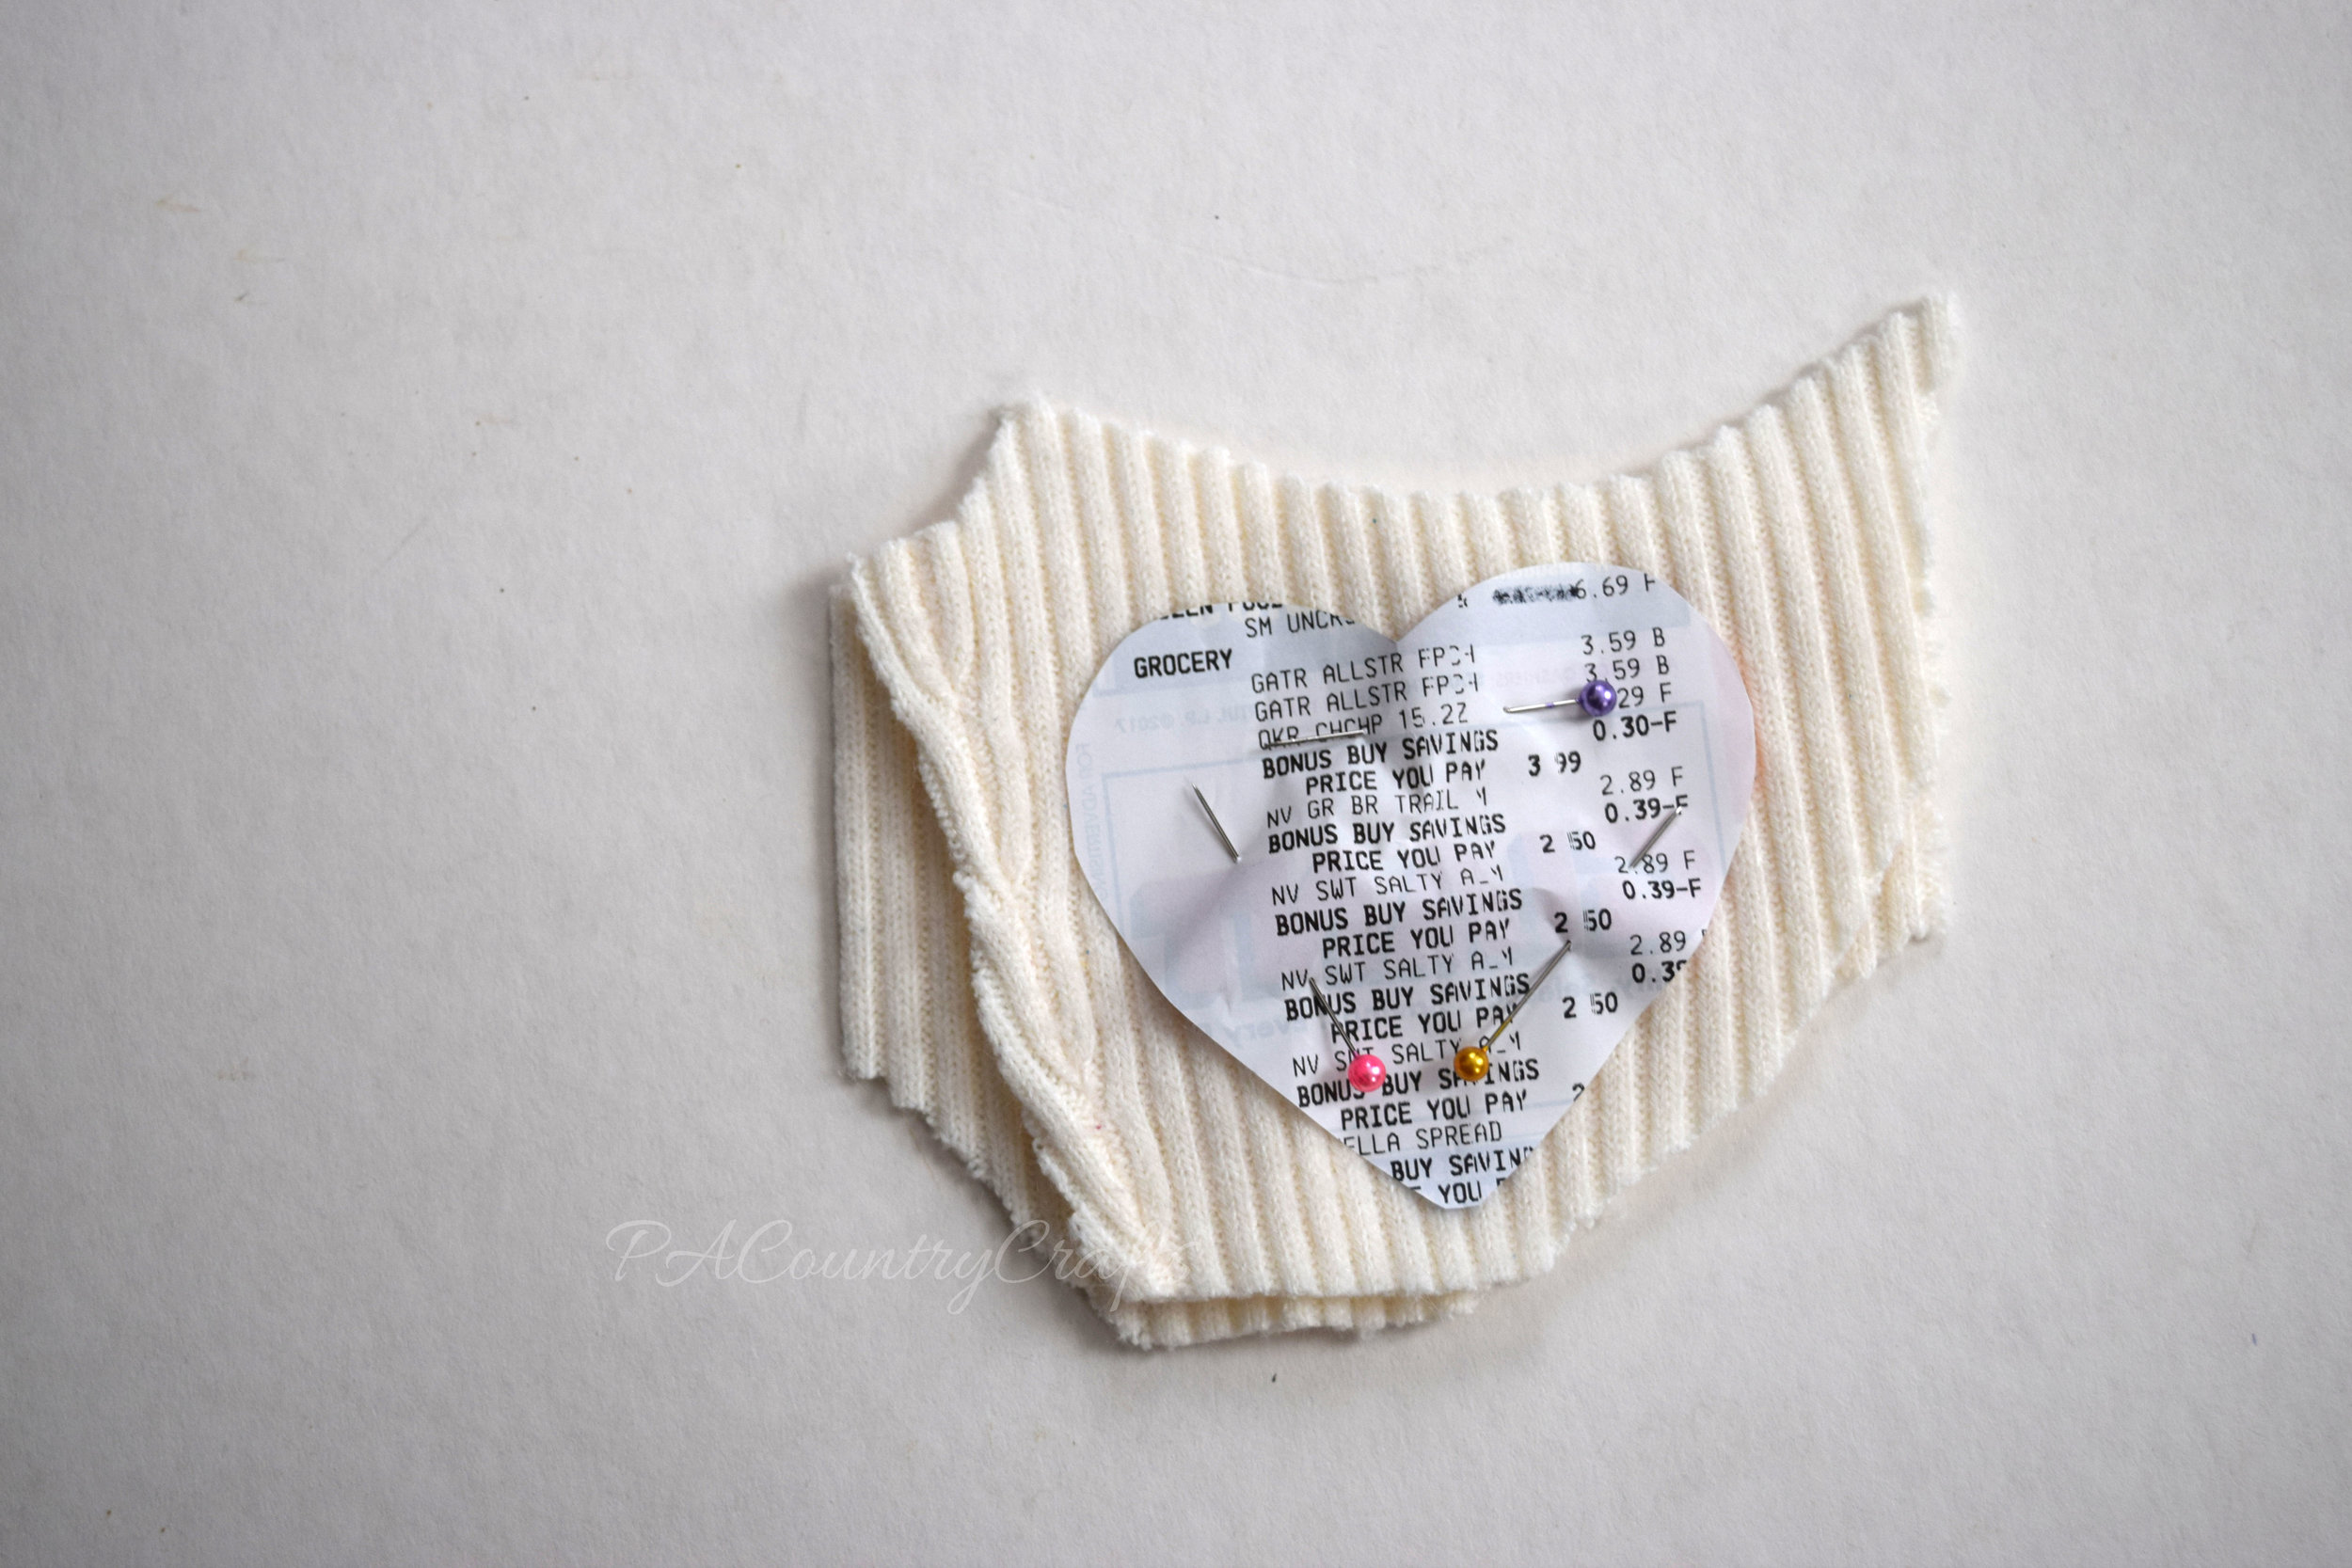
Make a template- mine are about 3" across. I used an old receipt from the grocery store. Place the sweater scraps right side out and pin the template to them. You want to leave some extra fabric all around the template so that there is wiggle room if/when it shifts.

Use an old receipt to make a sewing template

Start on the straight side of one heart just before it starts to curve. Backstitch, then sew all around the template, leaving a small opening on the straight side. I used a receipt because if I caught the edge of the paper it didn't matter- it tears away easily.

Sewing hand warmers from old sweaters

Take our your pins and remove the template.

Sew hand warmers from old sweaters

Fill the hand warmer with rice. (A funnel is really helpful!) I mixed mine with some lavender essential oil.

How to make hand warmers with rice and old sweaters...
Sew the opening closed. It is a straight line, so it is pretty easy!

Sewing old sweaters to make hand warmers
How to make rice filled hand warmers

Use pinking shears to trim all the way around the heart.

How to make hand warmers from old sweaters without small pieces to sew

Easy, right?

Beautiful, soft handwarmers made from sweaters

But there is another way to do it that I found to be even easier...

Draw a template on a piece of tissue paper.

tissue paper template for sewing

Pin the template to your sweater pieces- I just folded the bottom of the sleeve in half, keeping the right sides out.

Use tissue paper as a sewing template for small pieces

Now, here is the even easier step... sew right on top of the tissue paper, following the lines you drew on the template. Again, start on the straight side right before the heart starts to curve and leave an opening at the end, stopping a half inch or so after the point at the bottom of the heart.

How to sew through tissue paper onto sweaters

See? The tissue paper just tears right off!

How to use tissue paper as an easy sewing template

Now, the only downside that I found was that the pencil from the template made my threads darker. So, if this bothers you, don't say that I didn't warn you. I put it in bold AND italics. Maybe a Frixion pen would work and iron out? If you try it, let me know! I can't find mine.

How to make a pair of pocket hand warmers from old sweaters
I love these soft hand warmers made from old sweater sleeves!

If you want to pin it for later…

Upcycled Sweater Hand Warmers Tutorial

Here are some more ideas you might like…

Easy Ribbon Wands

DIY Ribbon Wands- easy kids craft

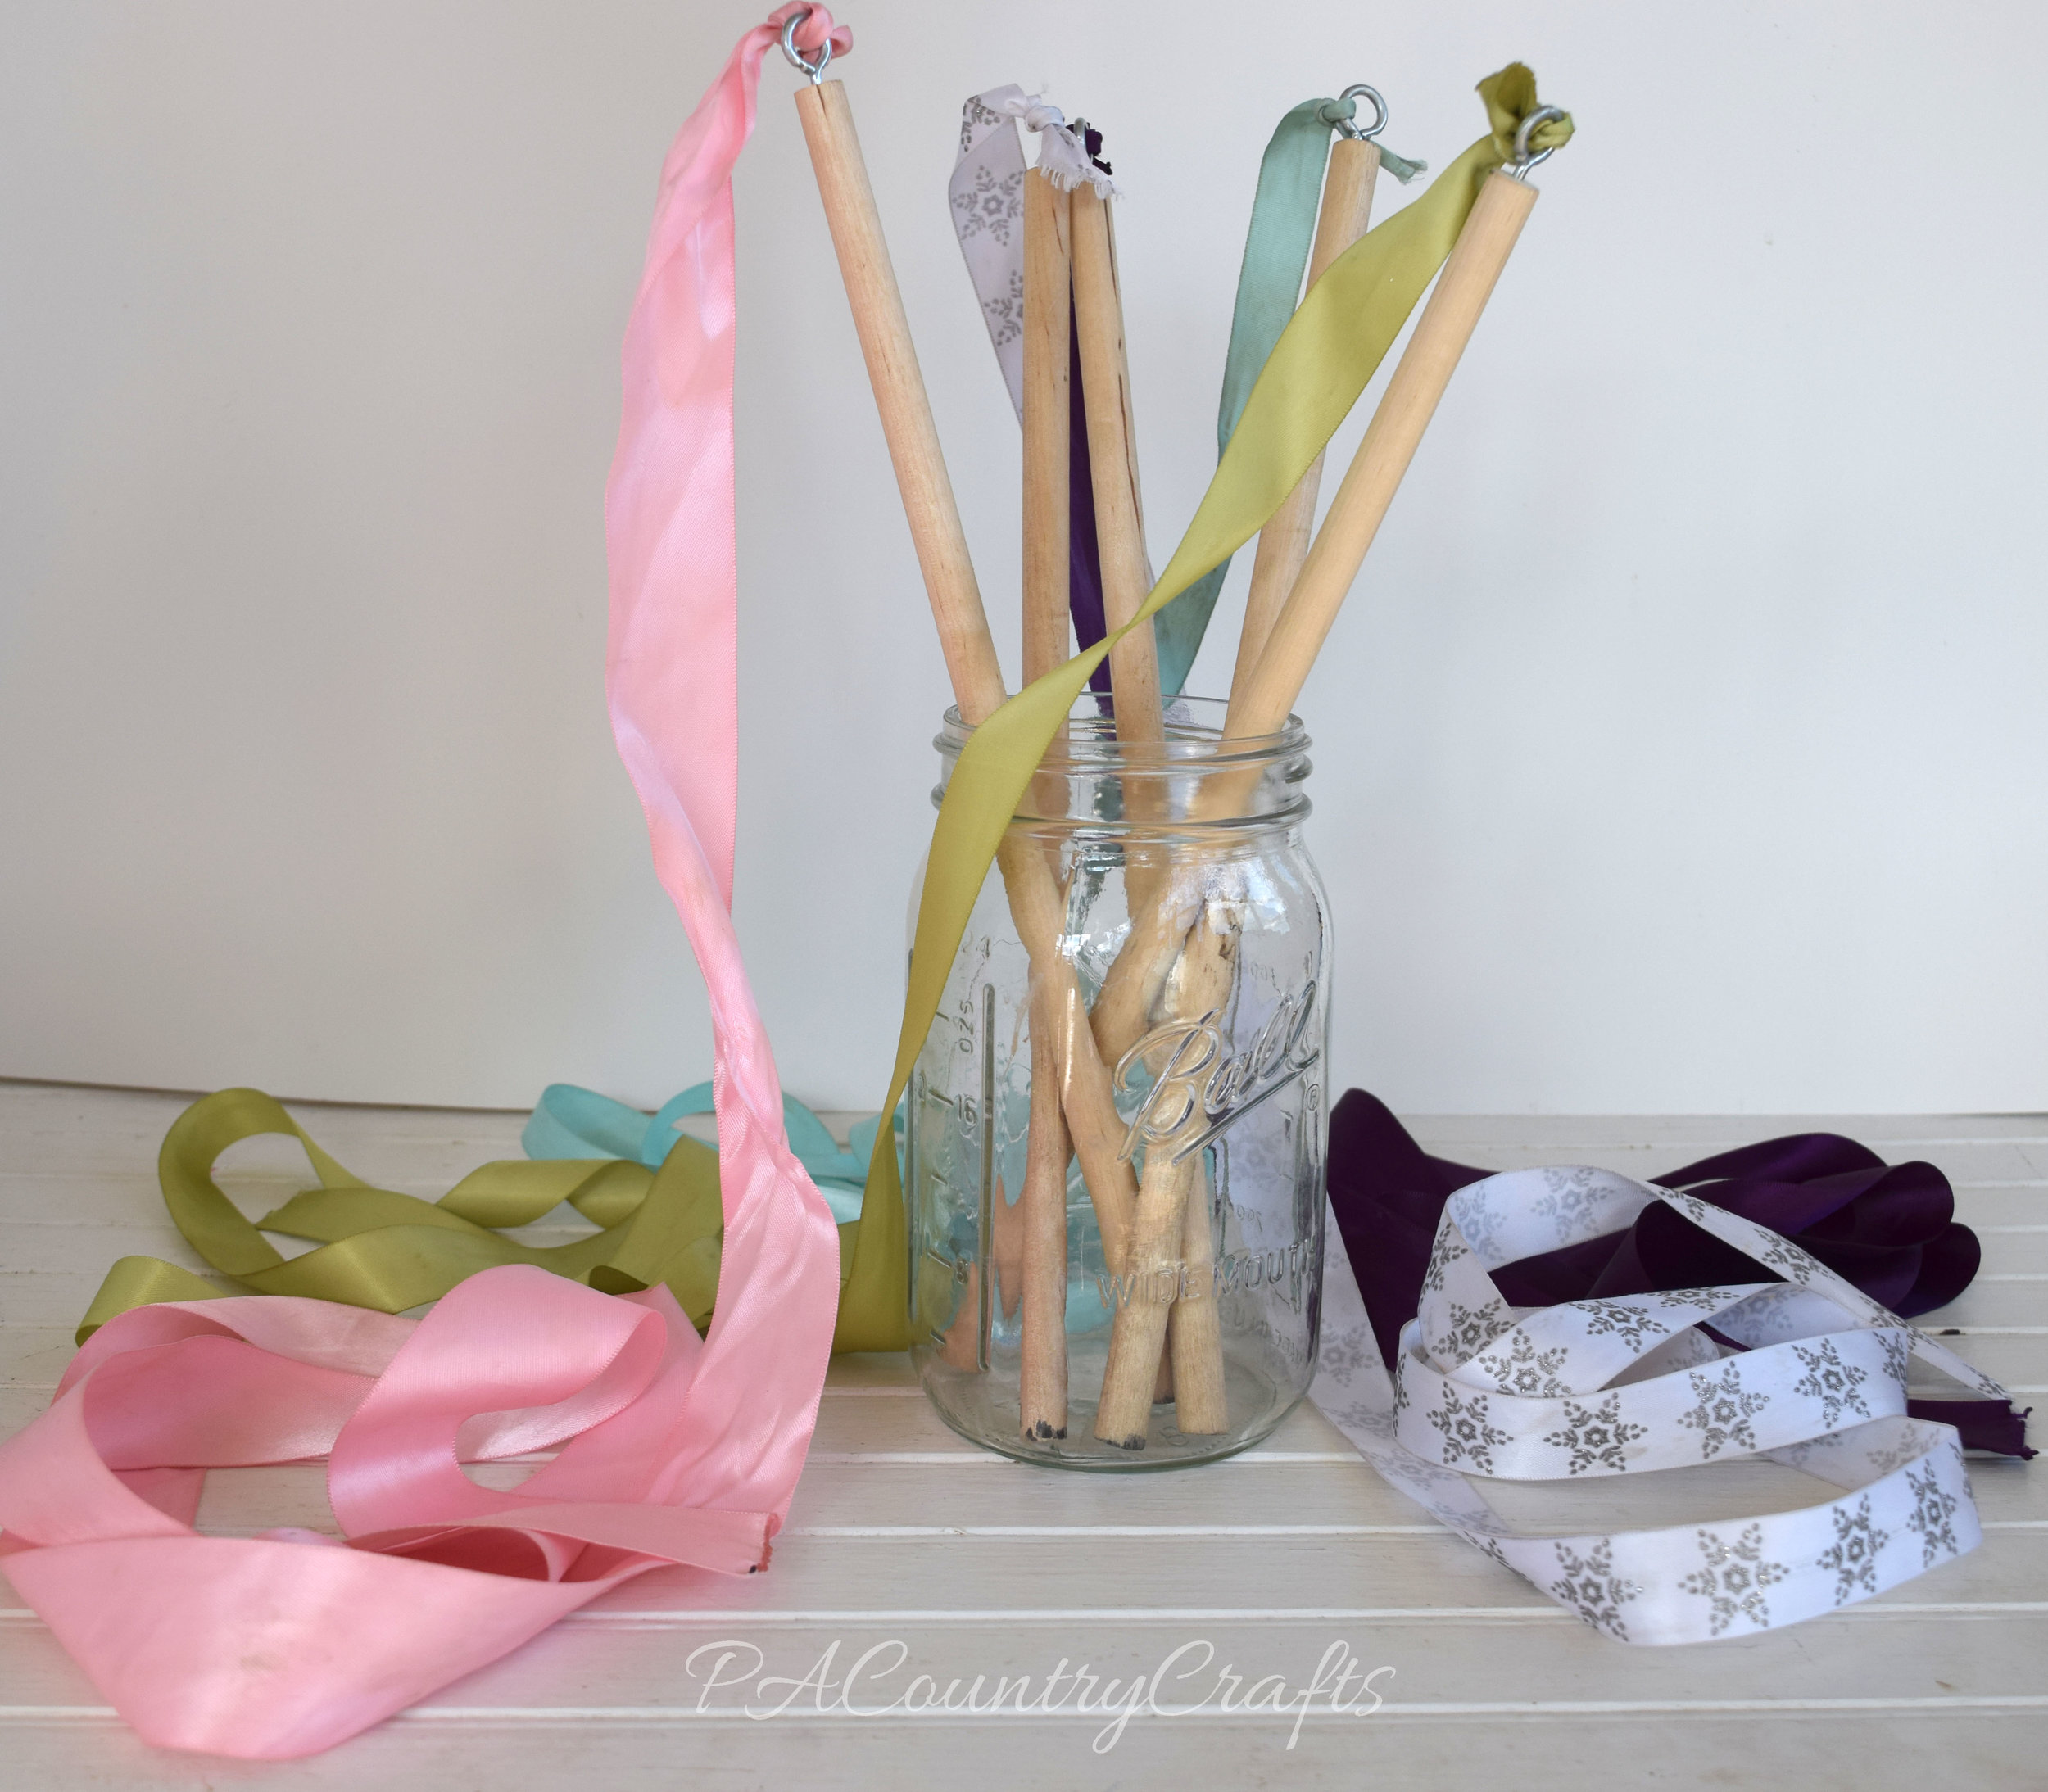
Easy Ribbon Wands- takes just minutes to make!

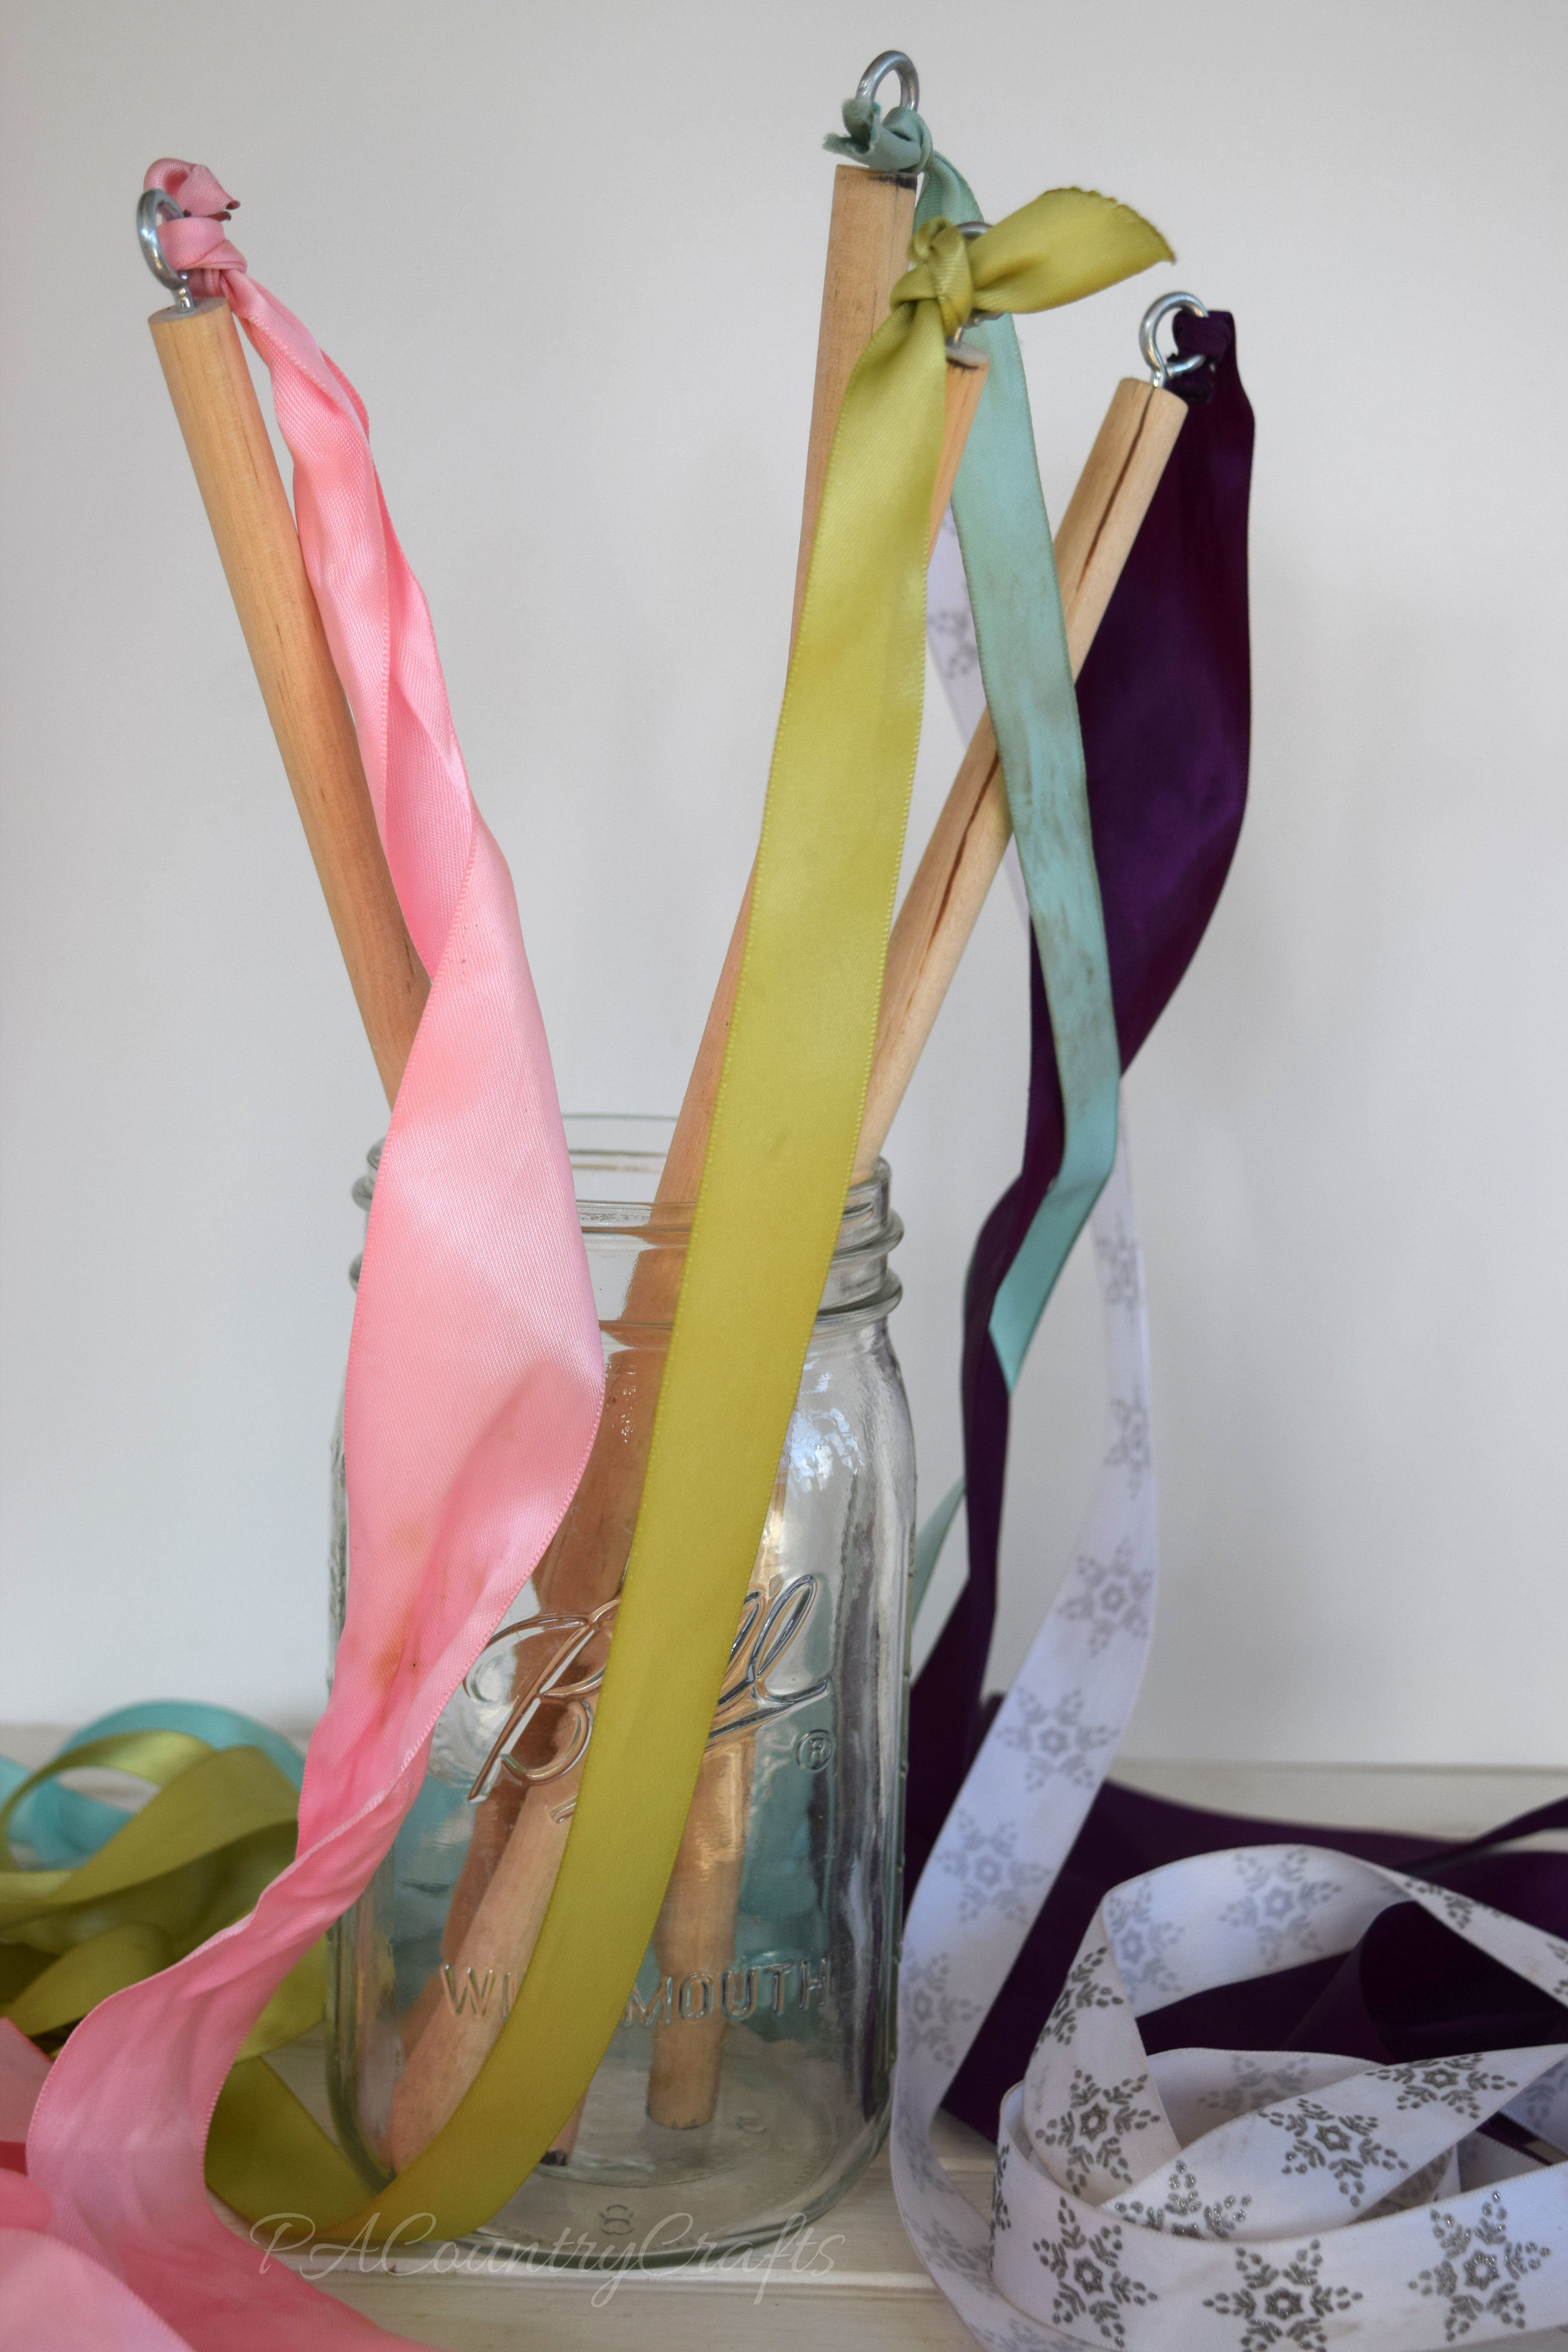
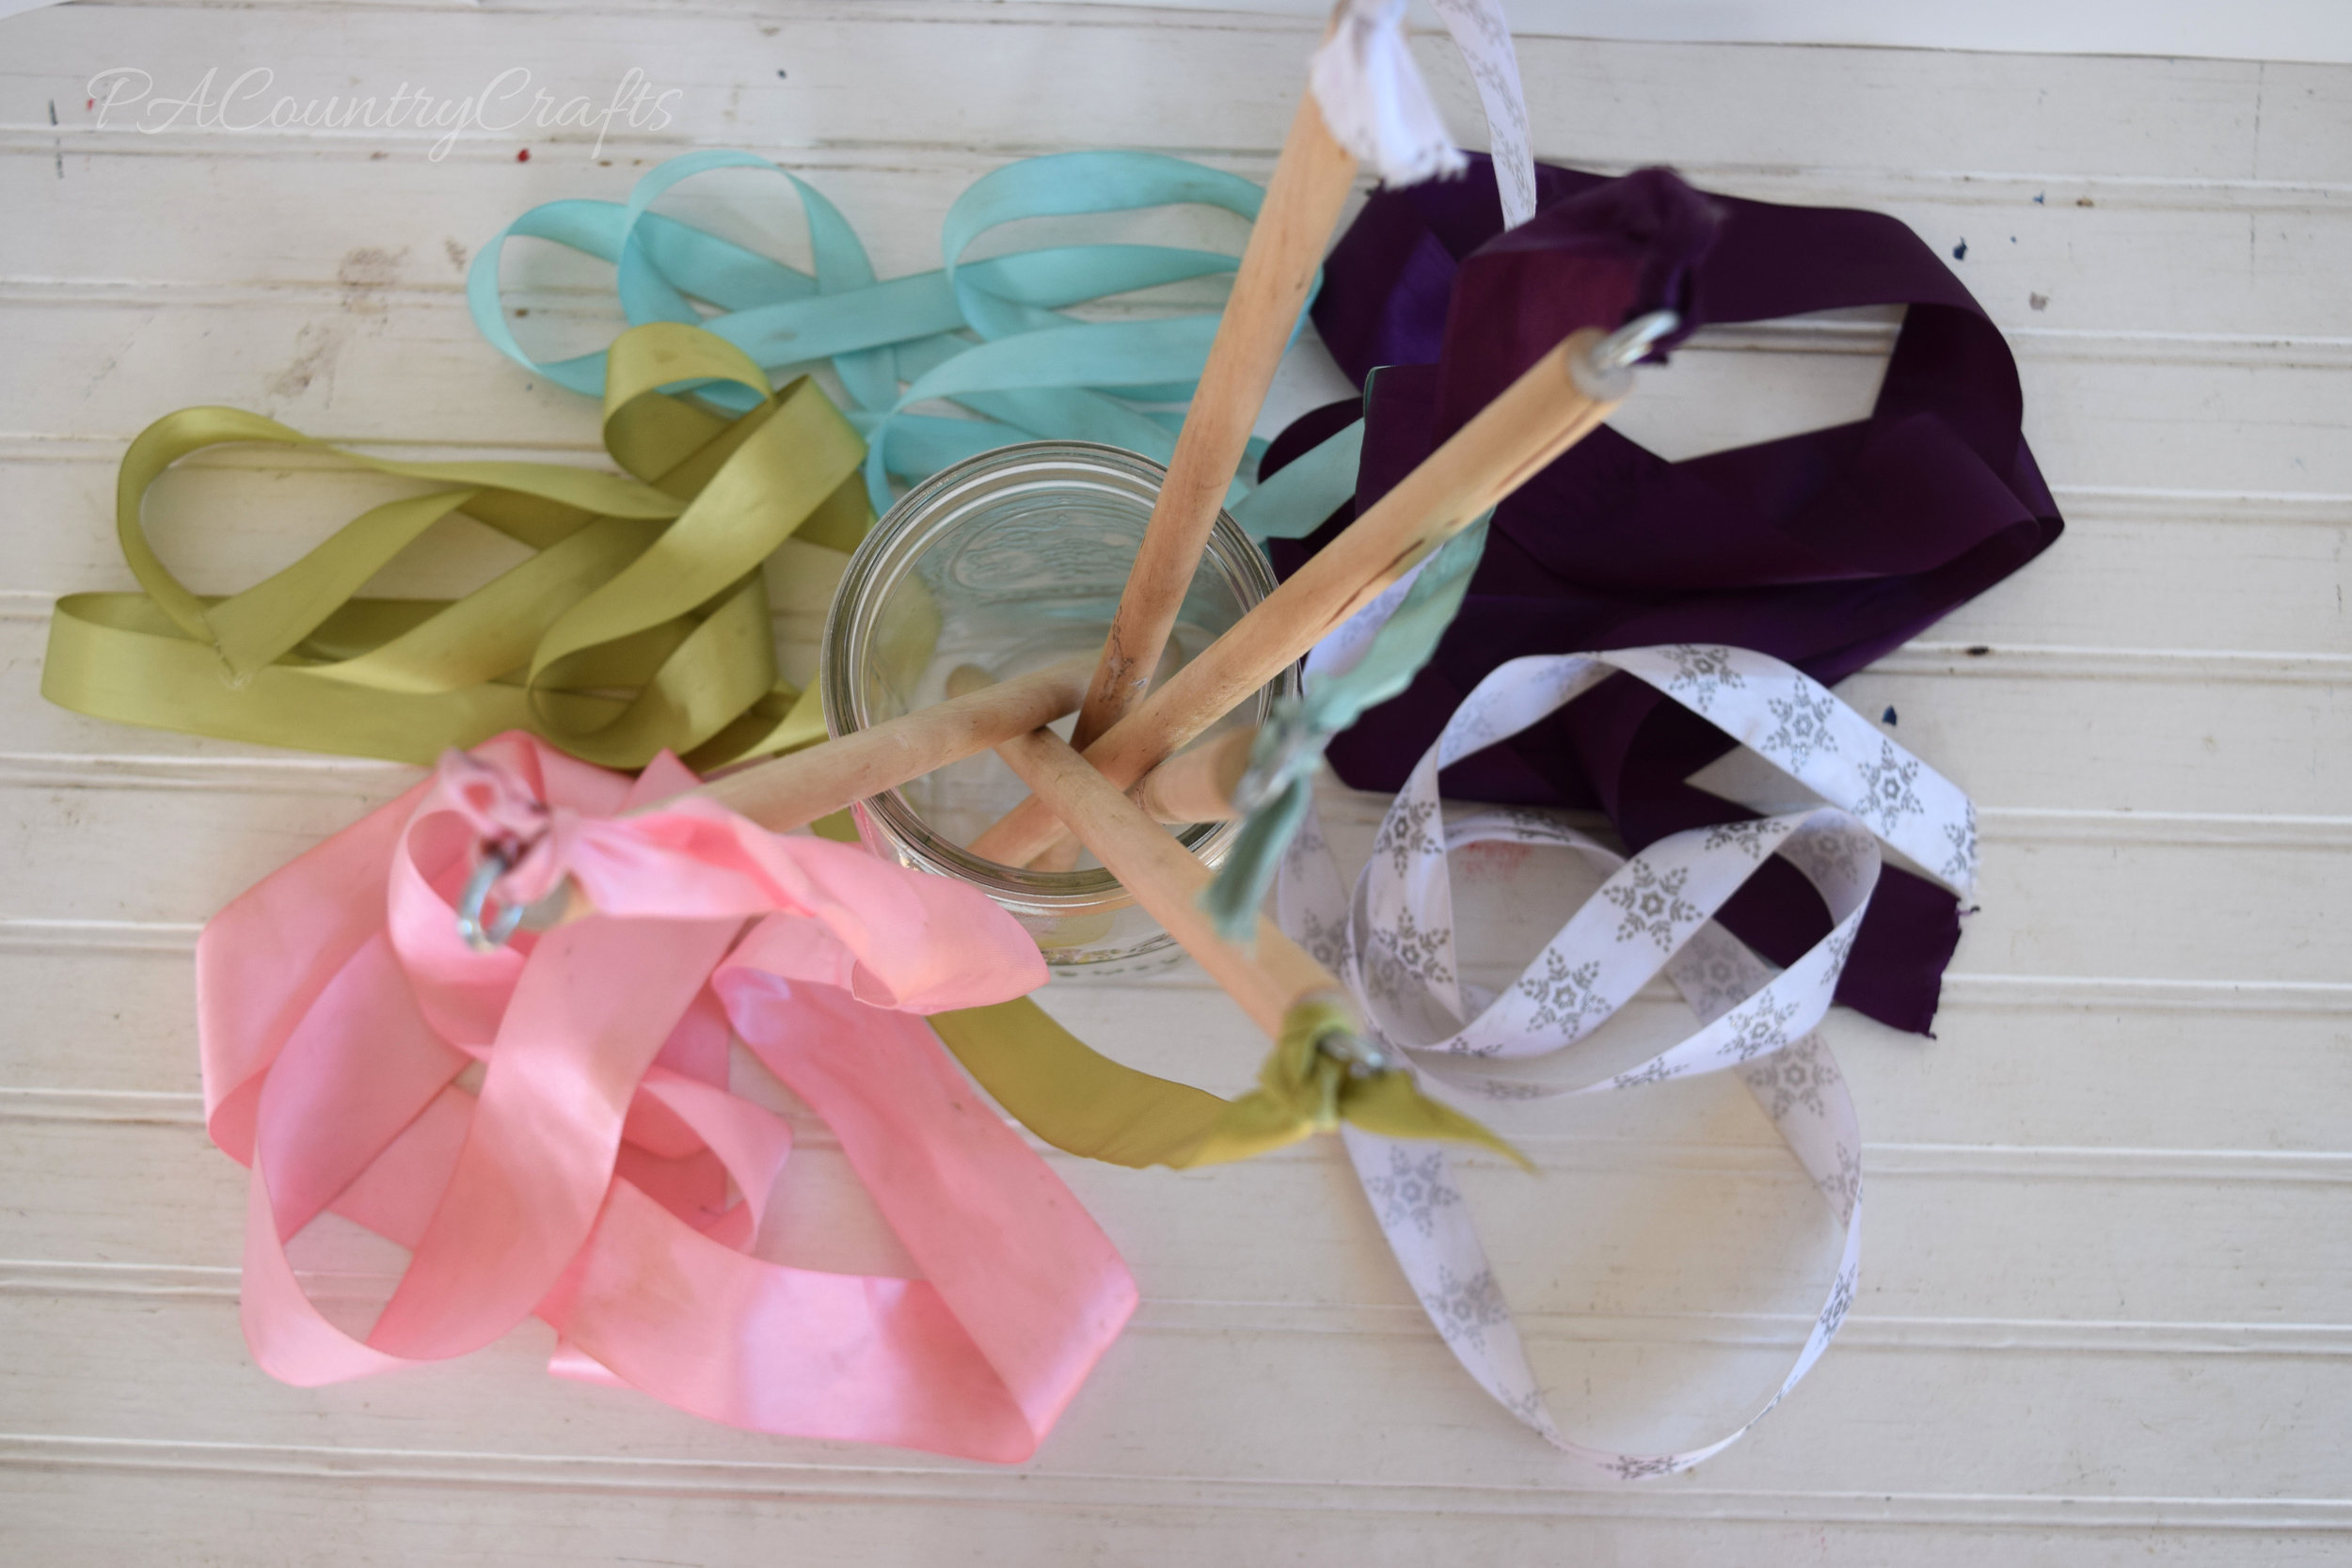
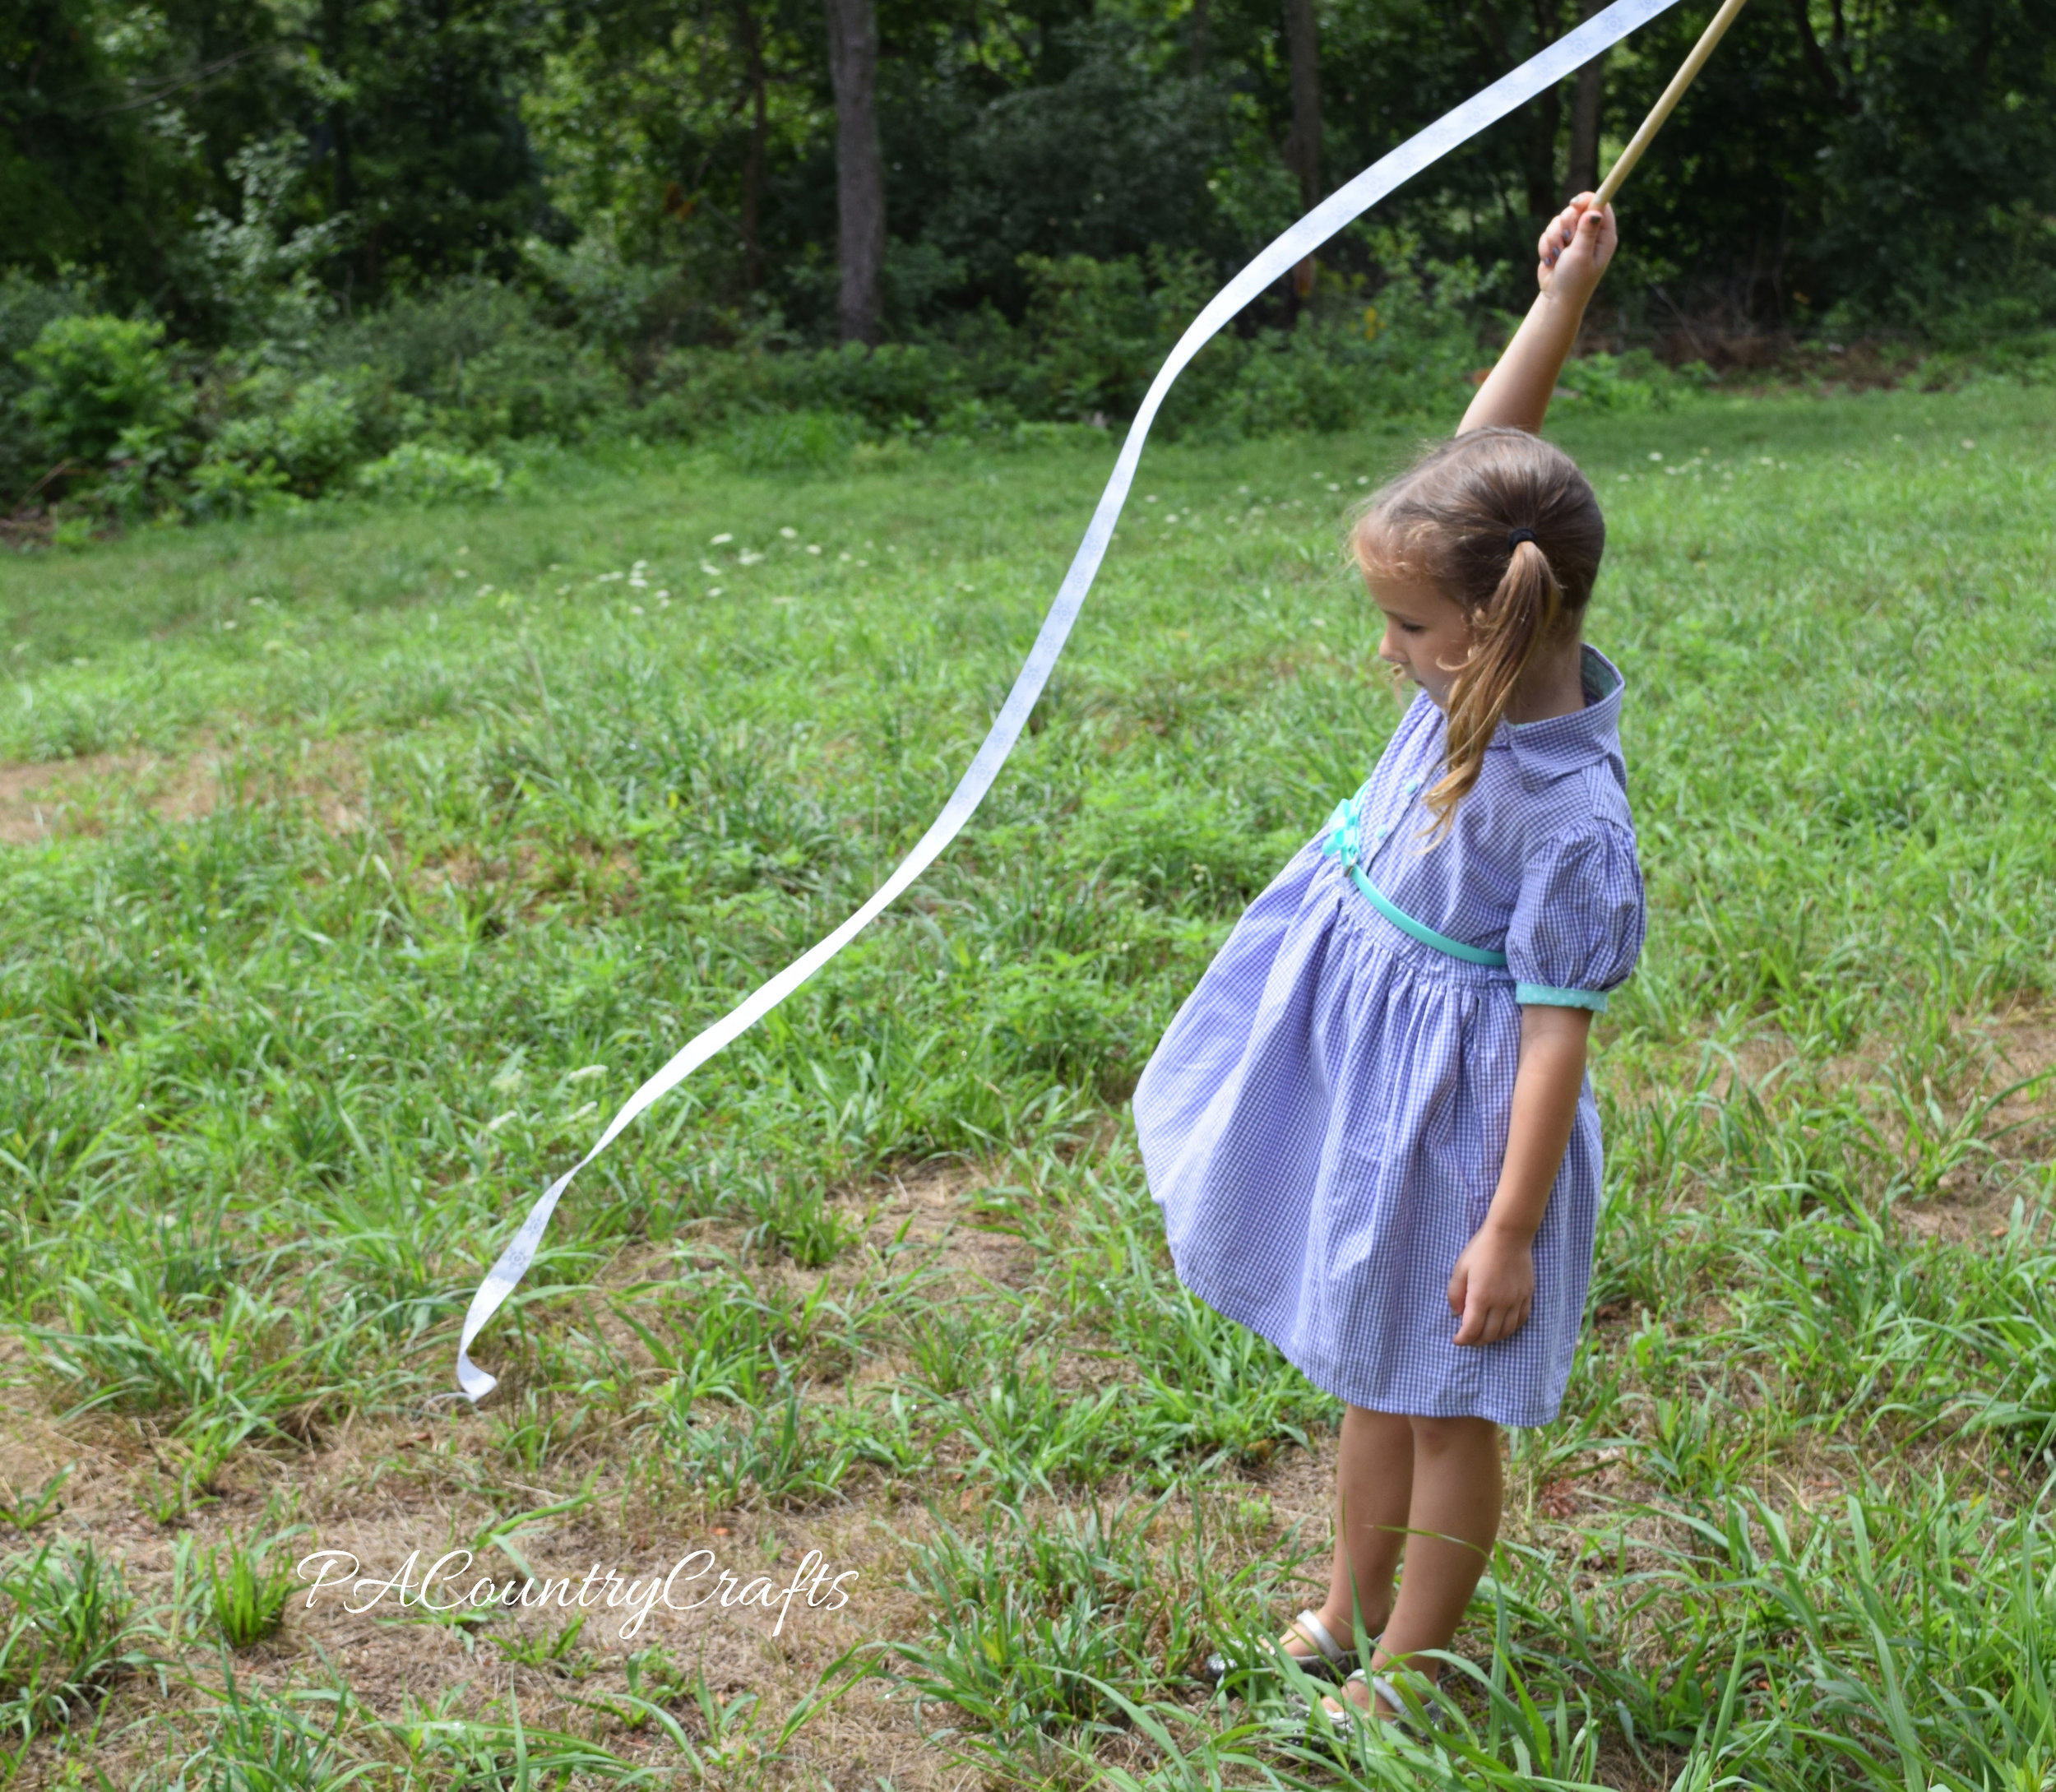
I thought ribbon wands would be a fun craft project for the girls and a nice addition to the little "photo shoot" we do with their new mama-made dresses each year. The girls had fun playing with them and even got to choose ribbon from my stash to coordinate with their dresses.

Fun and easy ribbon wand kids craft project

Beautiful ribbon wands- easy to make a a great photography prop for girls

Easy DIY Ribbon Wands

Simple ribbon wands for little girls to play with

These took just a few minutes to make! Here is how we made them:

  1. Cut dowels into three pieces- each 12" long.
  2. Sand them a little to smooth out any rough edges from the saw blade.
  3. Pre-drill a small hole in the center of the end going straight down into the dowel.
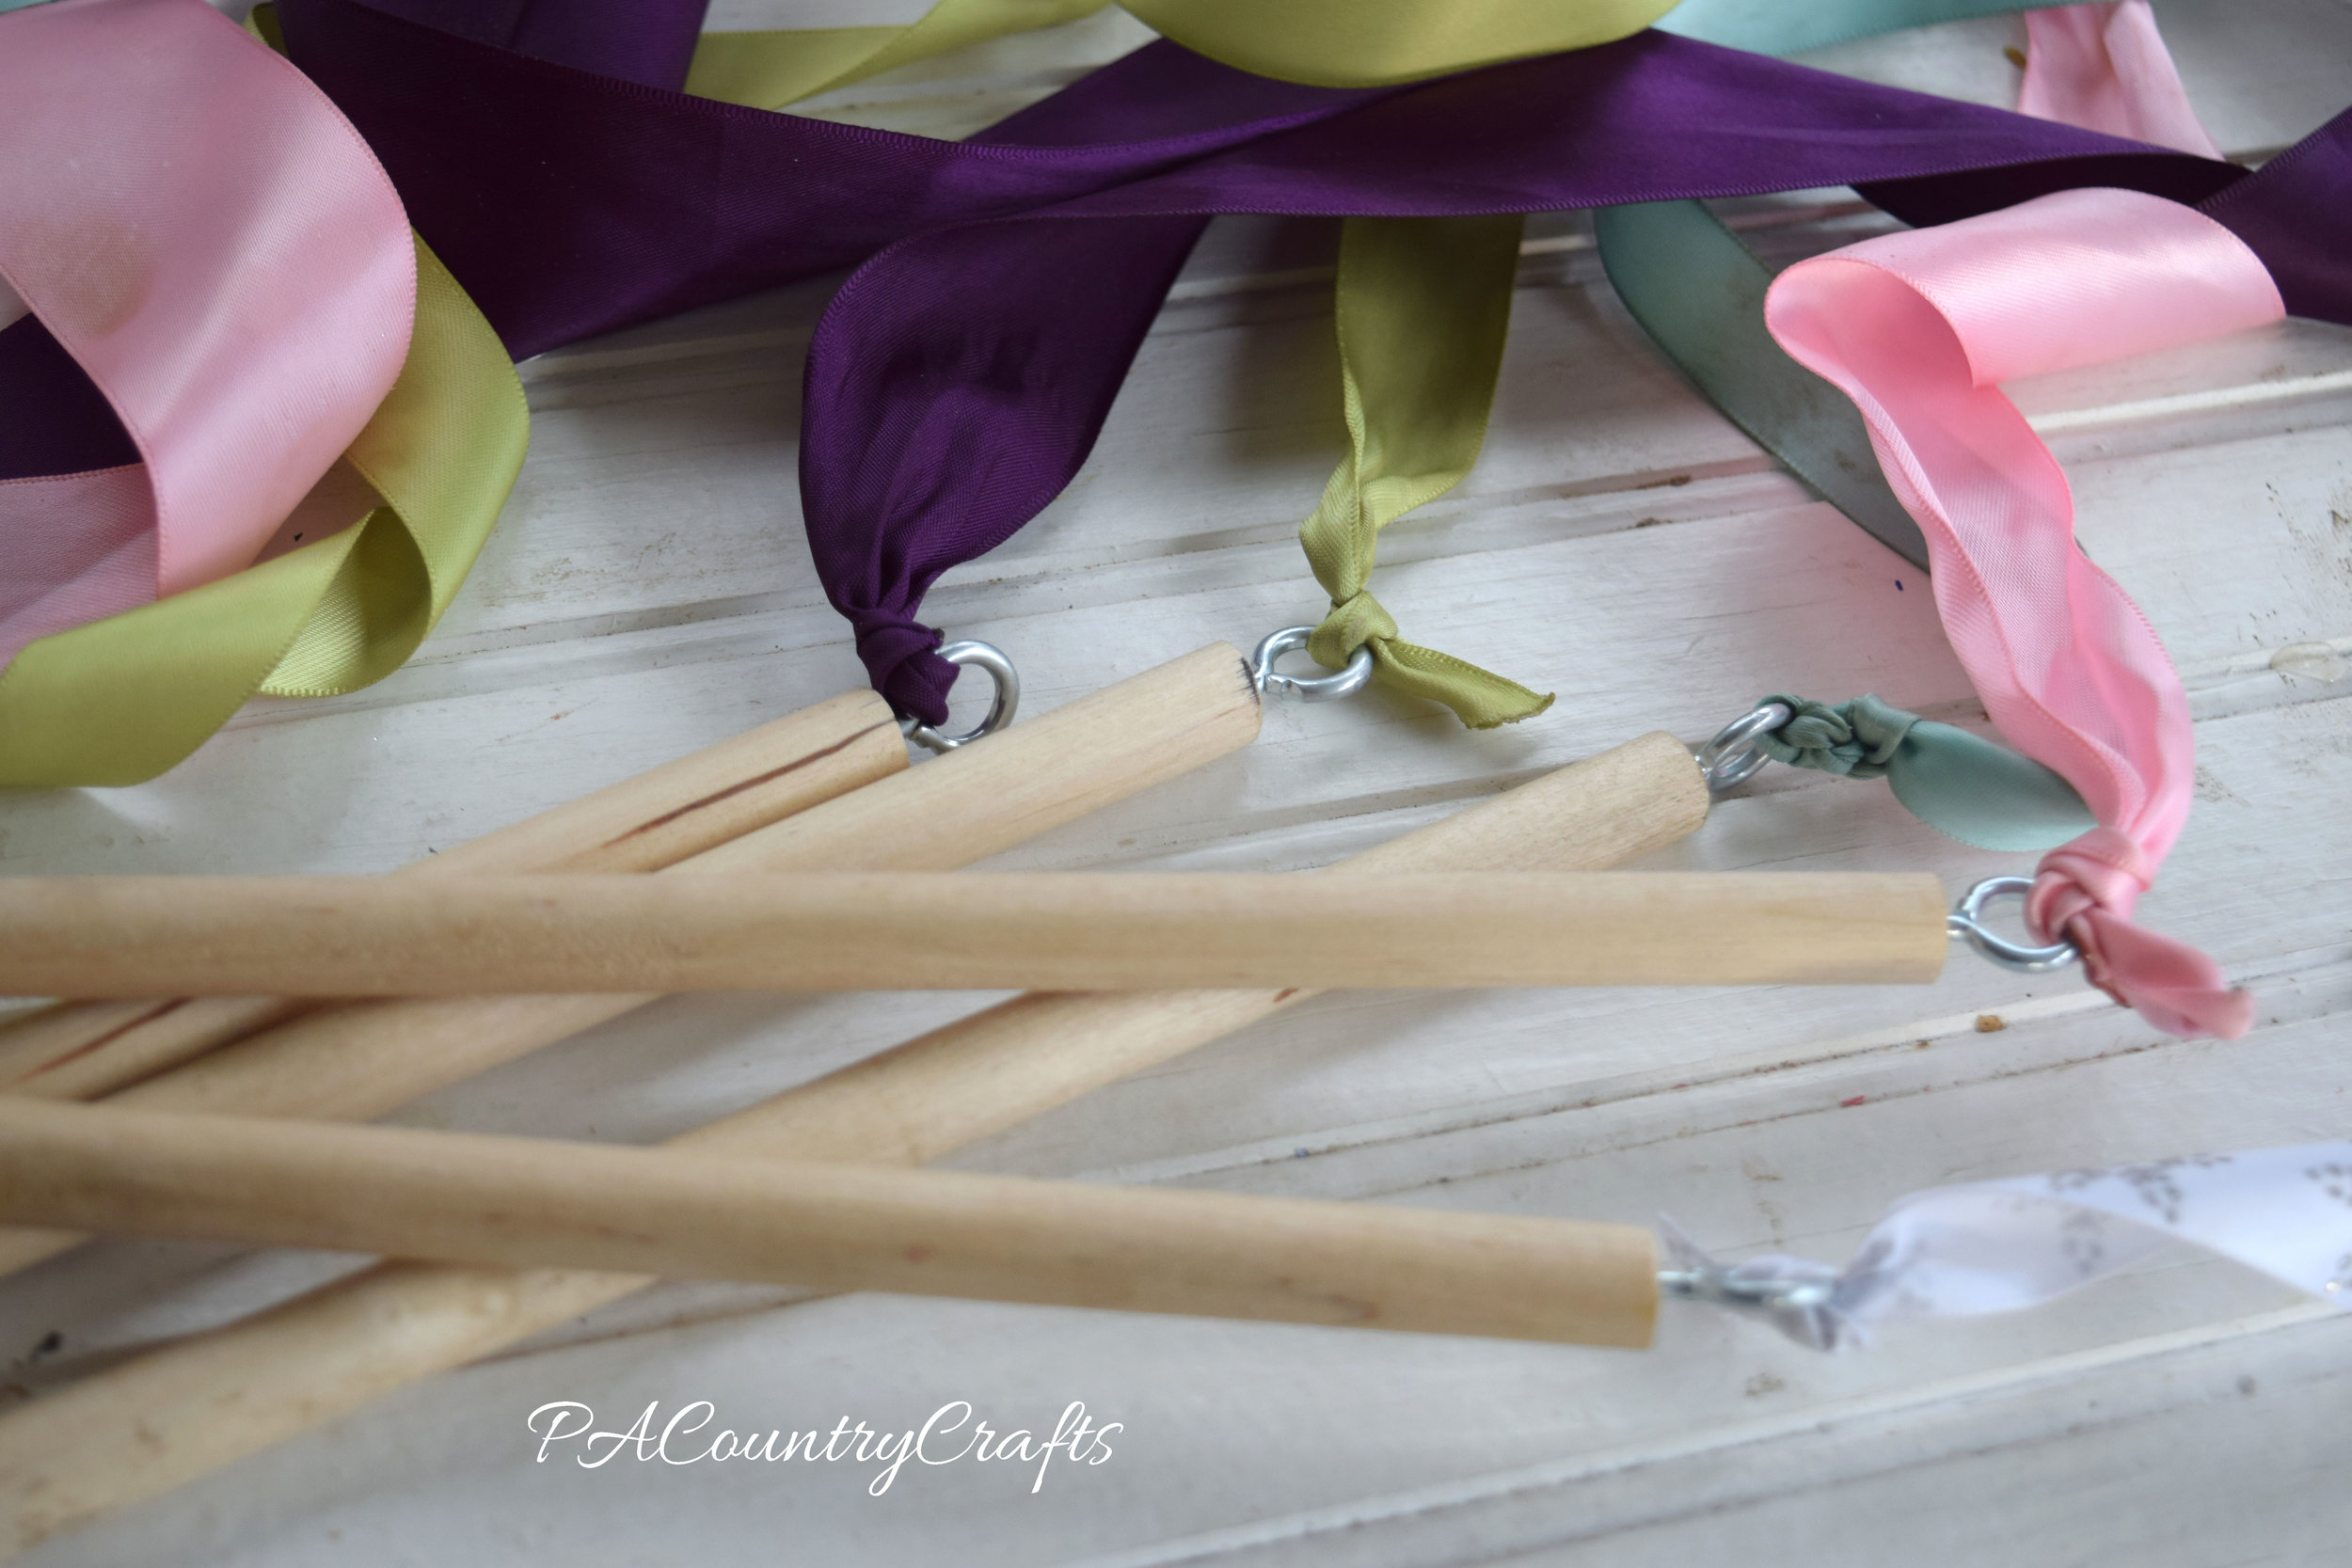
  4. Screw in an eye hook.
  5. Cut a few yards of satin ribbon.
  6. Carefully melt the ends with a lighter so the ribbon won't fray.
  7. Tie the ribbon onto the hook.

Ribbon wands using eye hooks

Fun ribbon wands kids craft

There are a lot of options with these- you could let the kids be a little more involved and paint the dowels, which we might do sometime. The ribbon is easy to change out if you want a different color or it gets to be too dirty. They are also a very cheap project to make, so it would be good for a group of girls or a party craft/favor.

Here is an image to pin if you want to save it for later...

Easy Ribbon Wands Tutorial

If you missed it, here is more about the upcycled dresses that I made for the girls this year...

Girls dresses upcycled from thrift store sheets, shirts, etc.
 Link Parties where I sometimes hang out…

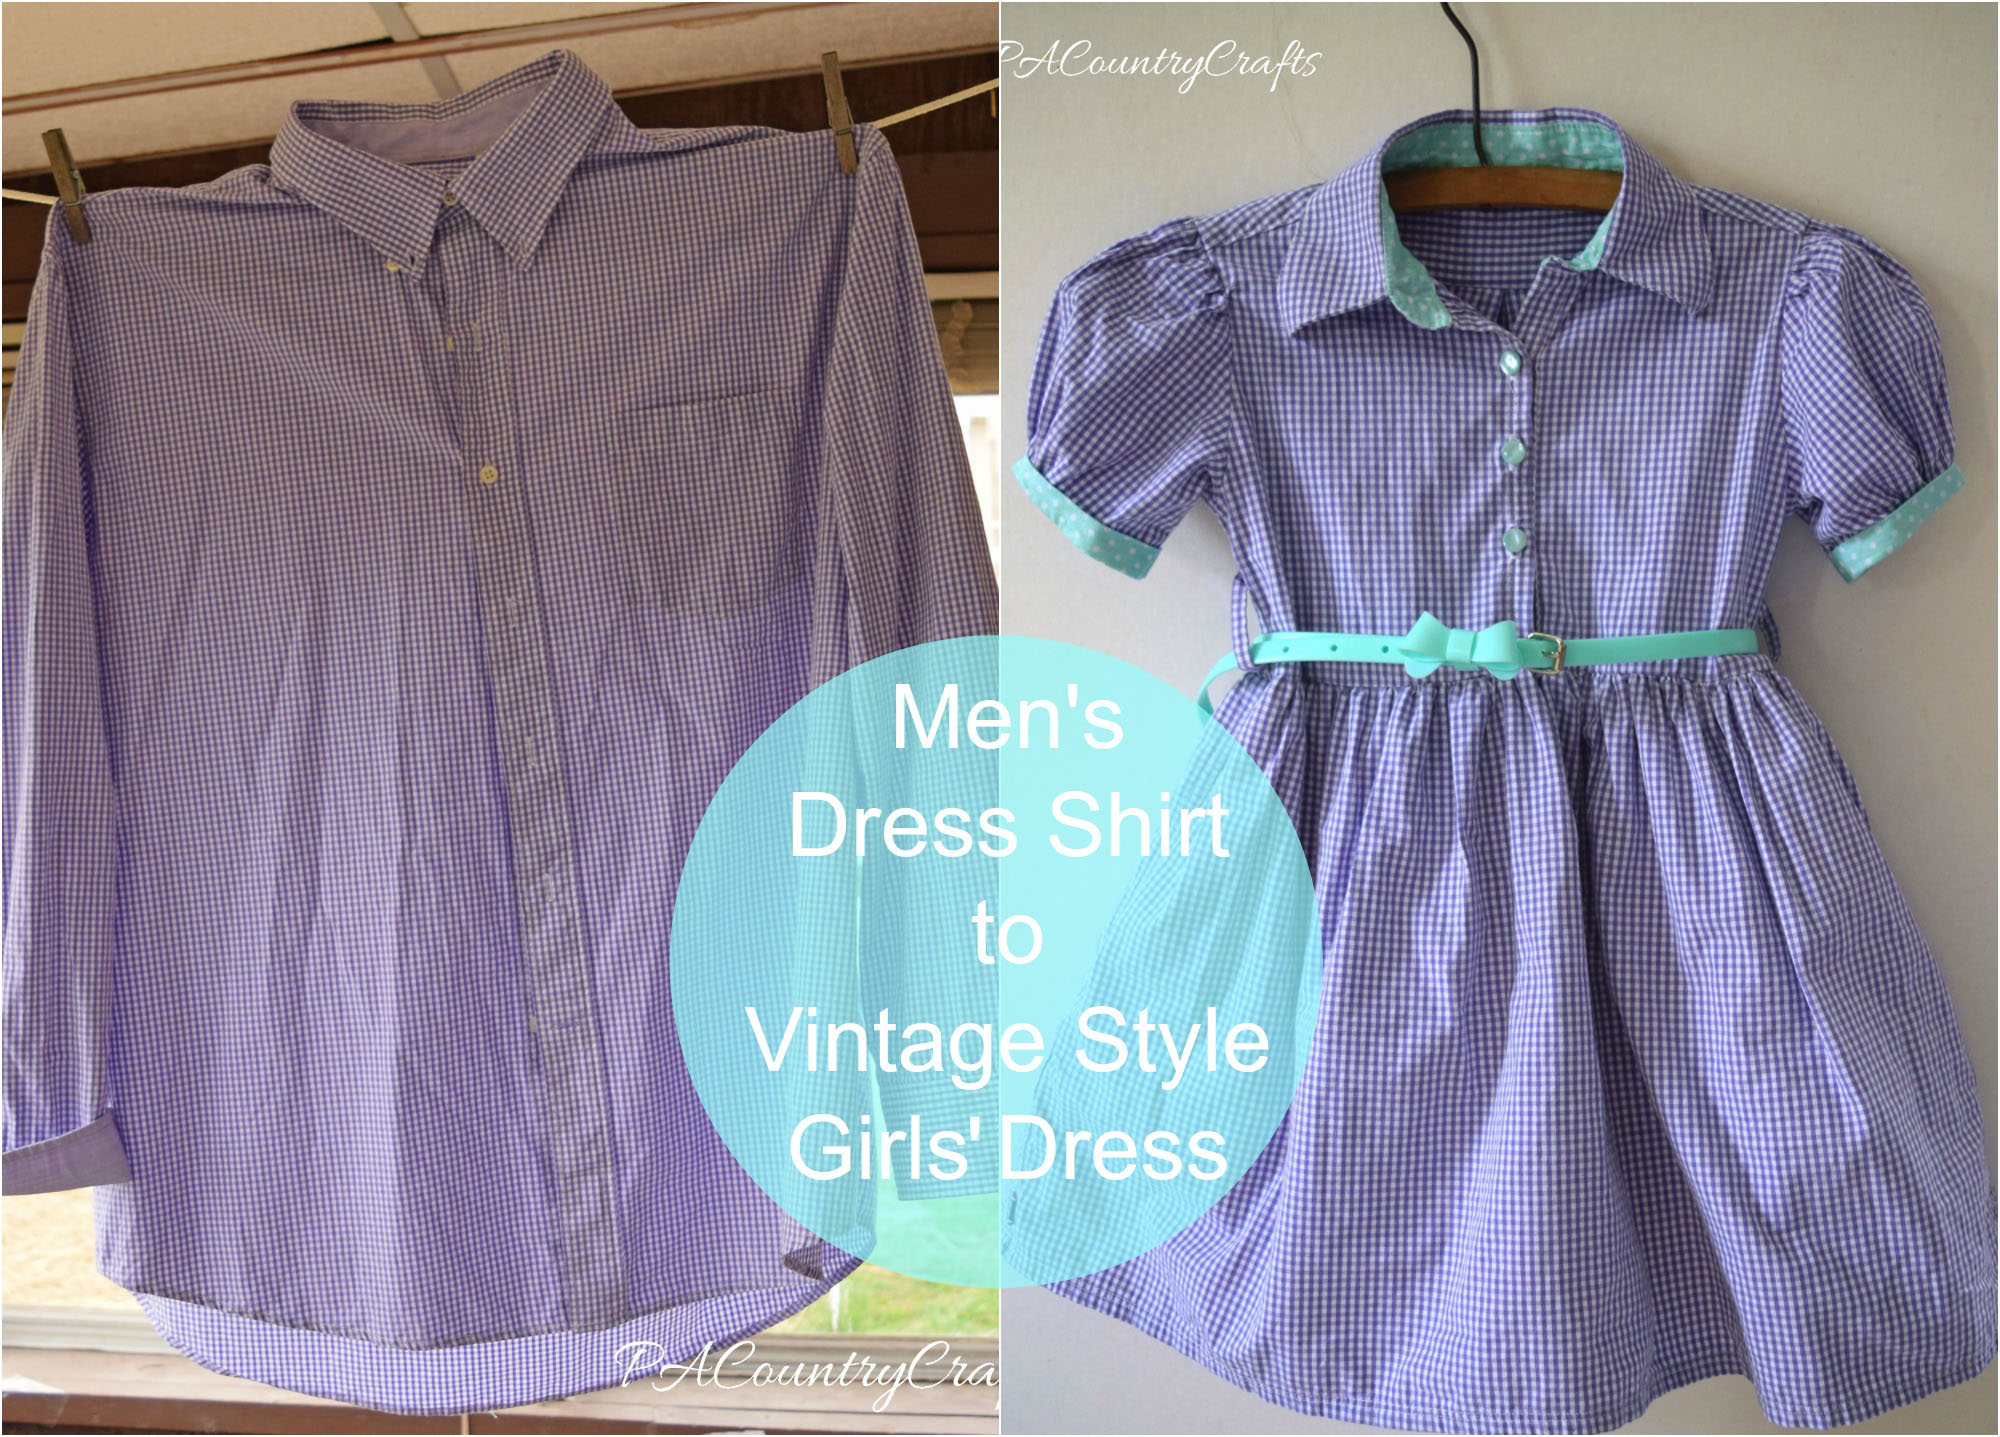
Men's Dress Shirt to Girls' Vintage Style Dress

mens-shirt-to-girls-vintage-shirt-dress.jpg

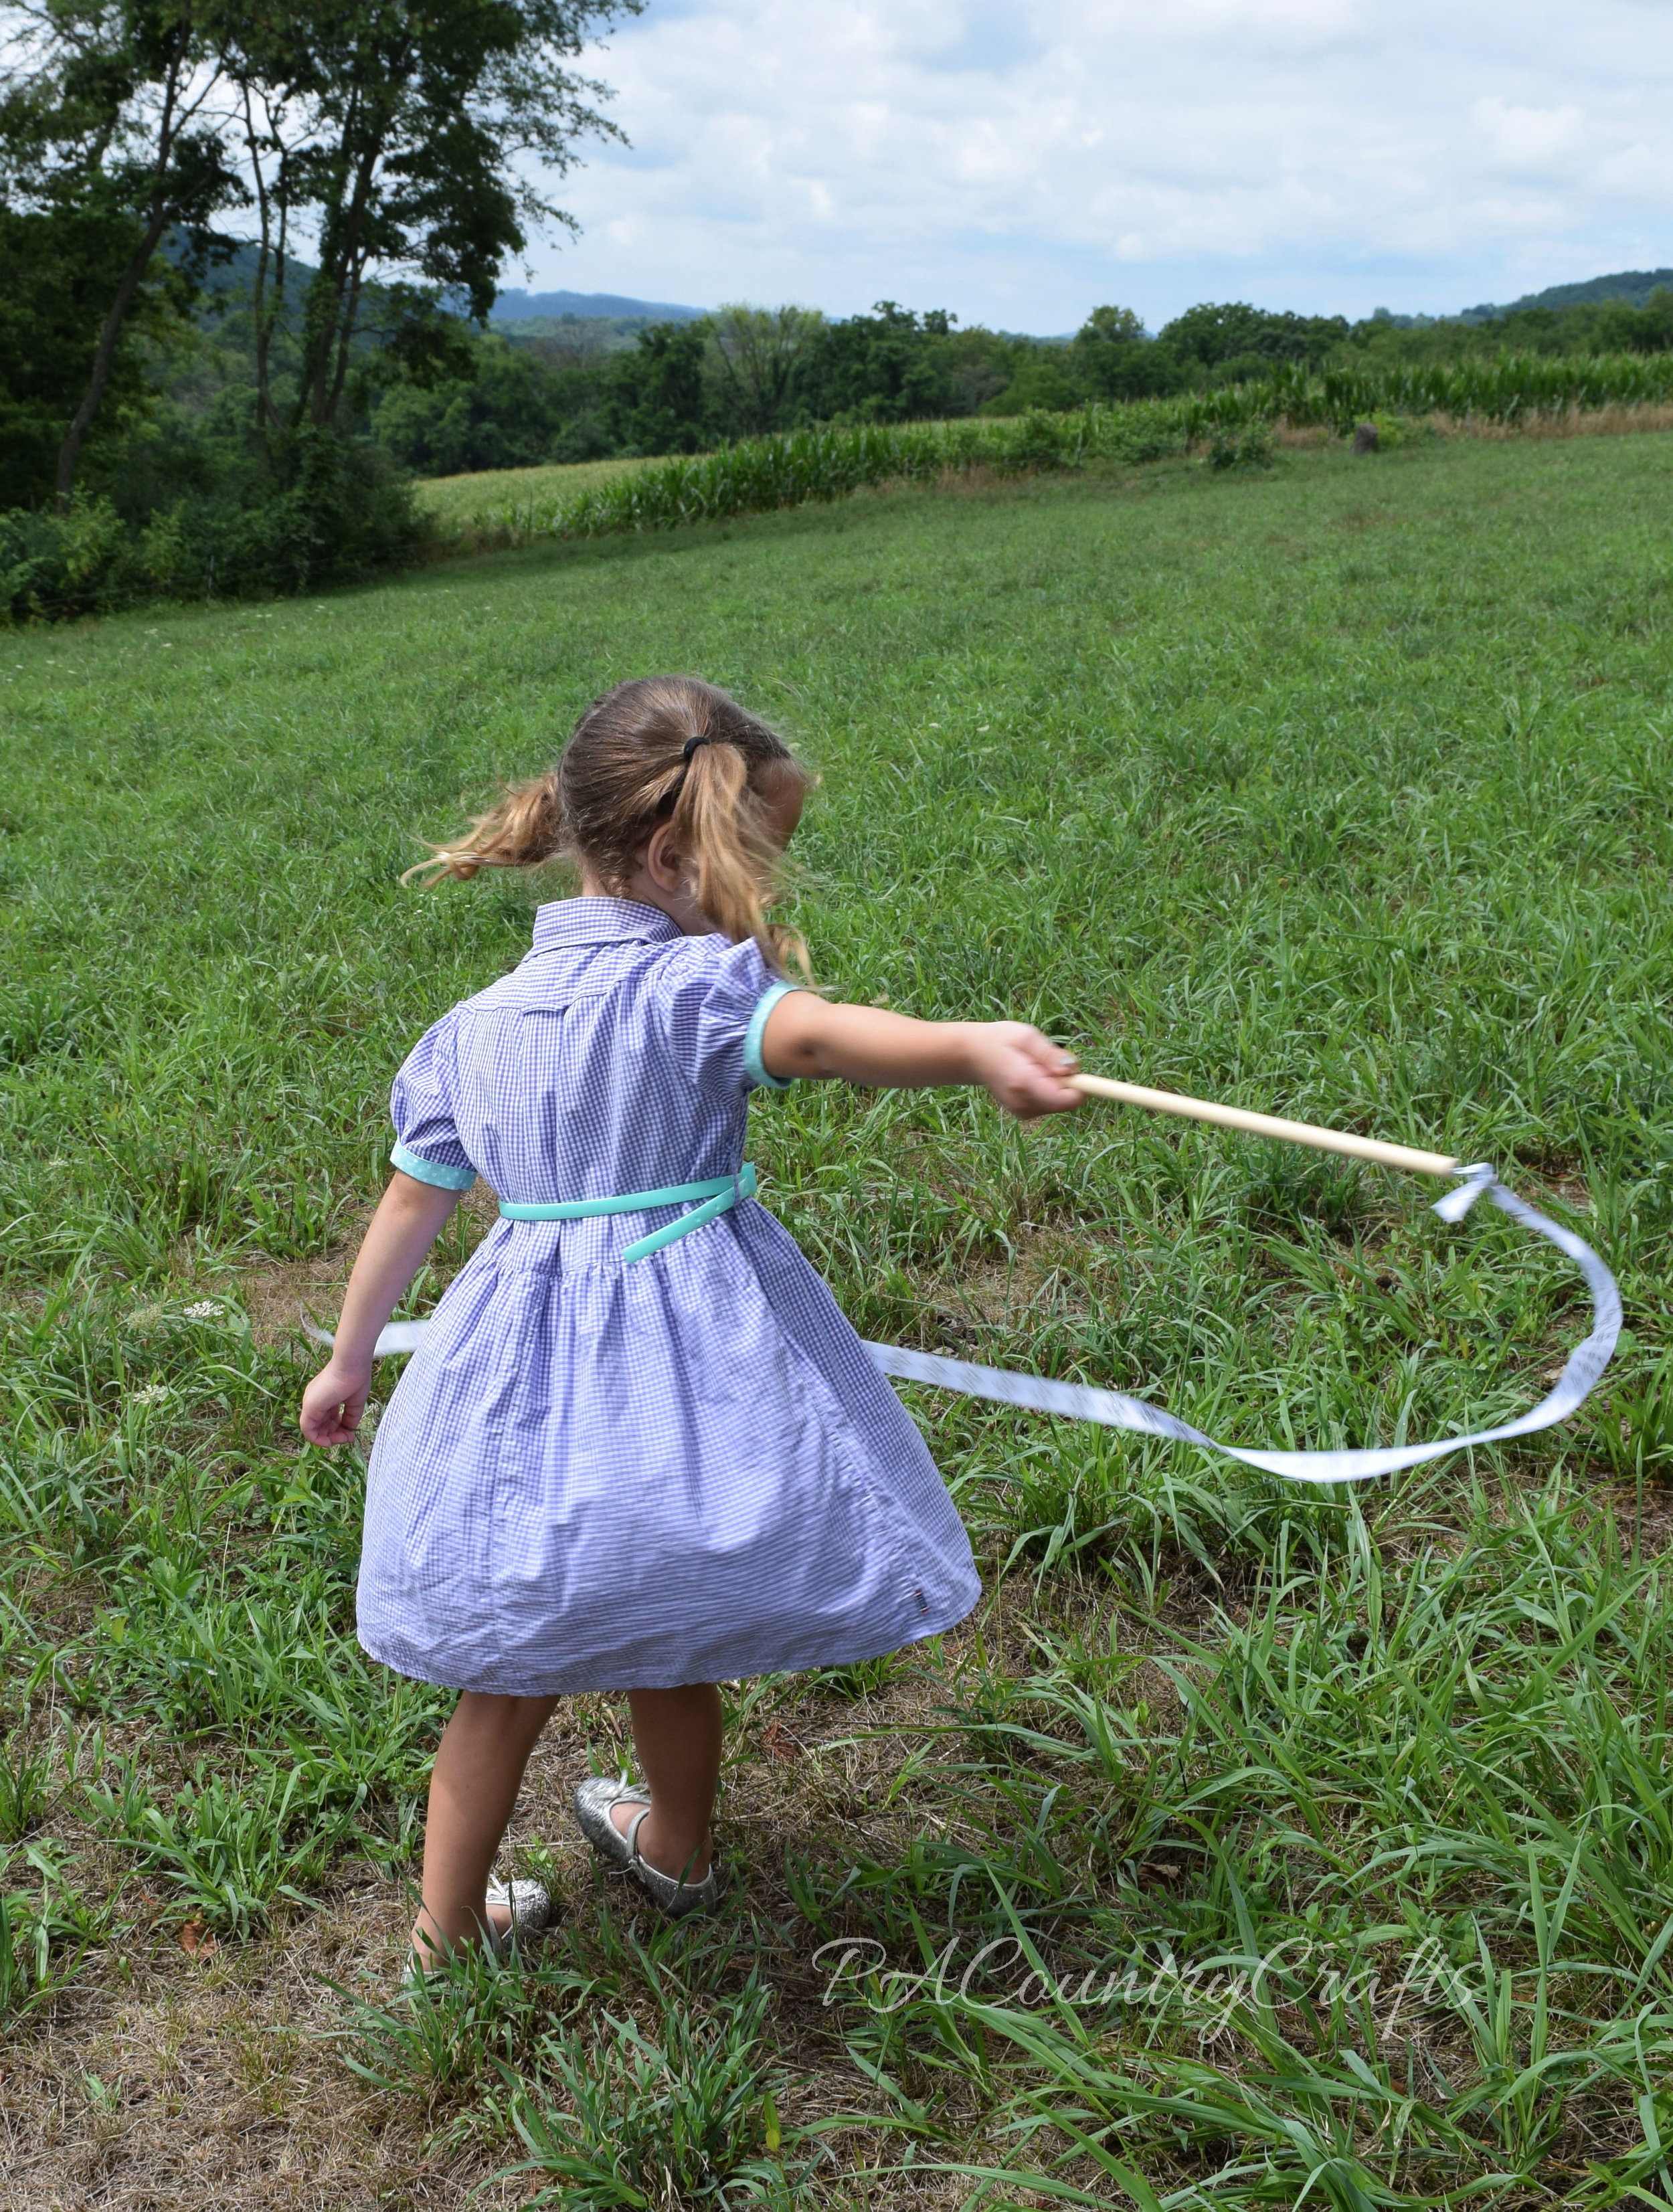
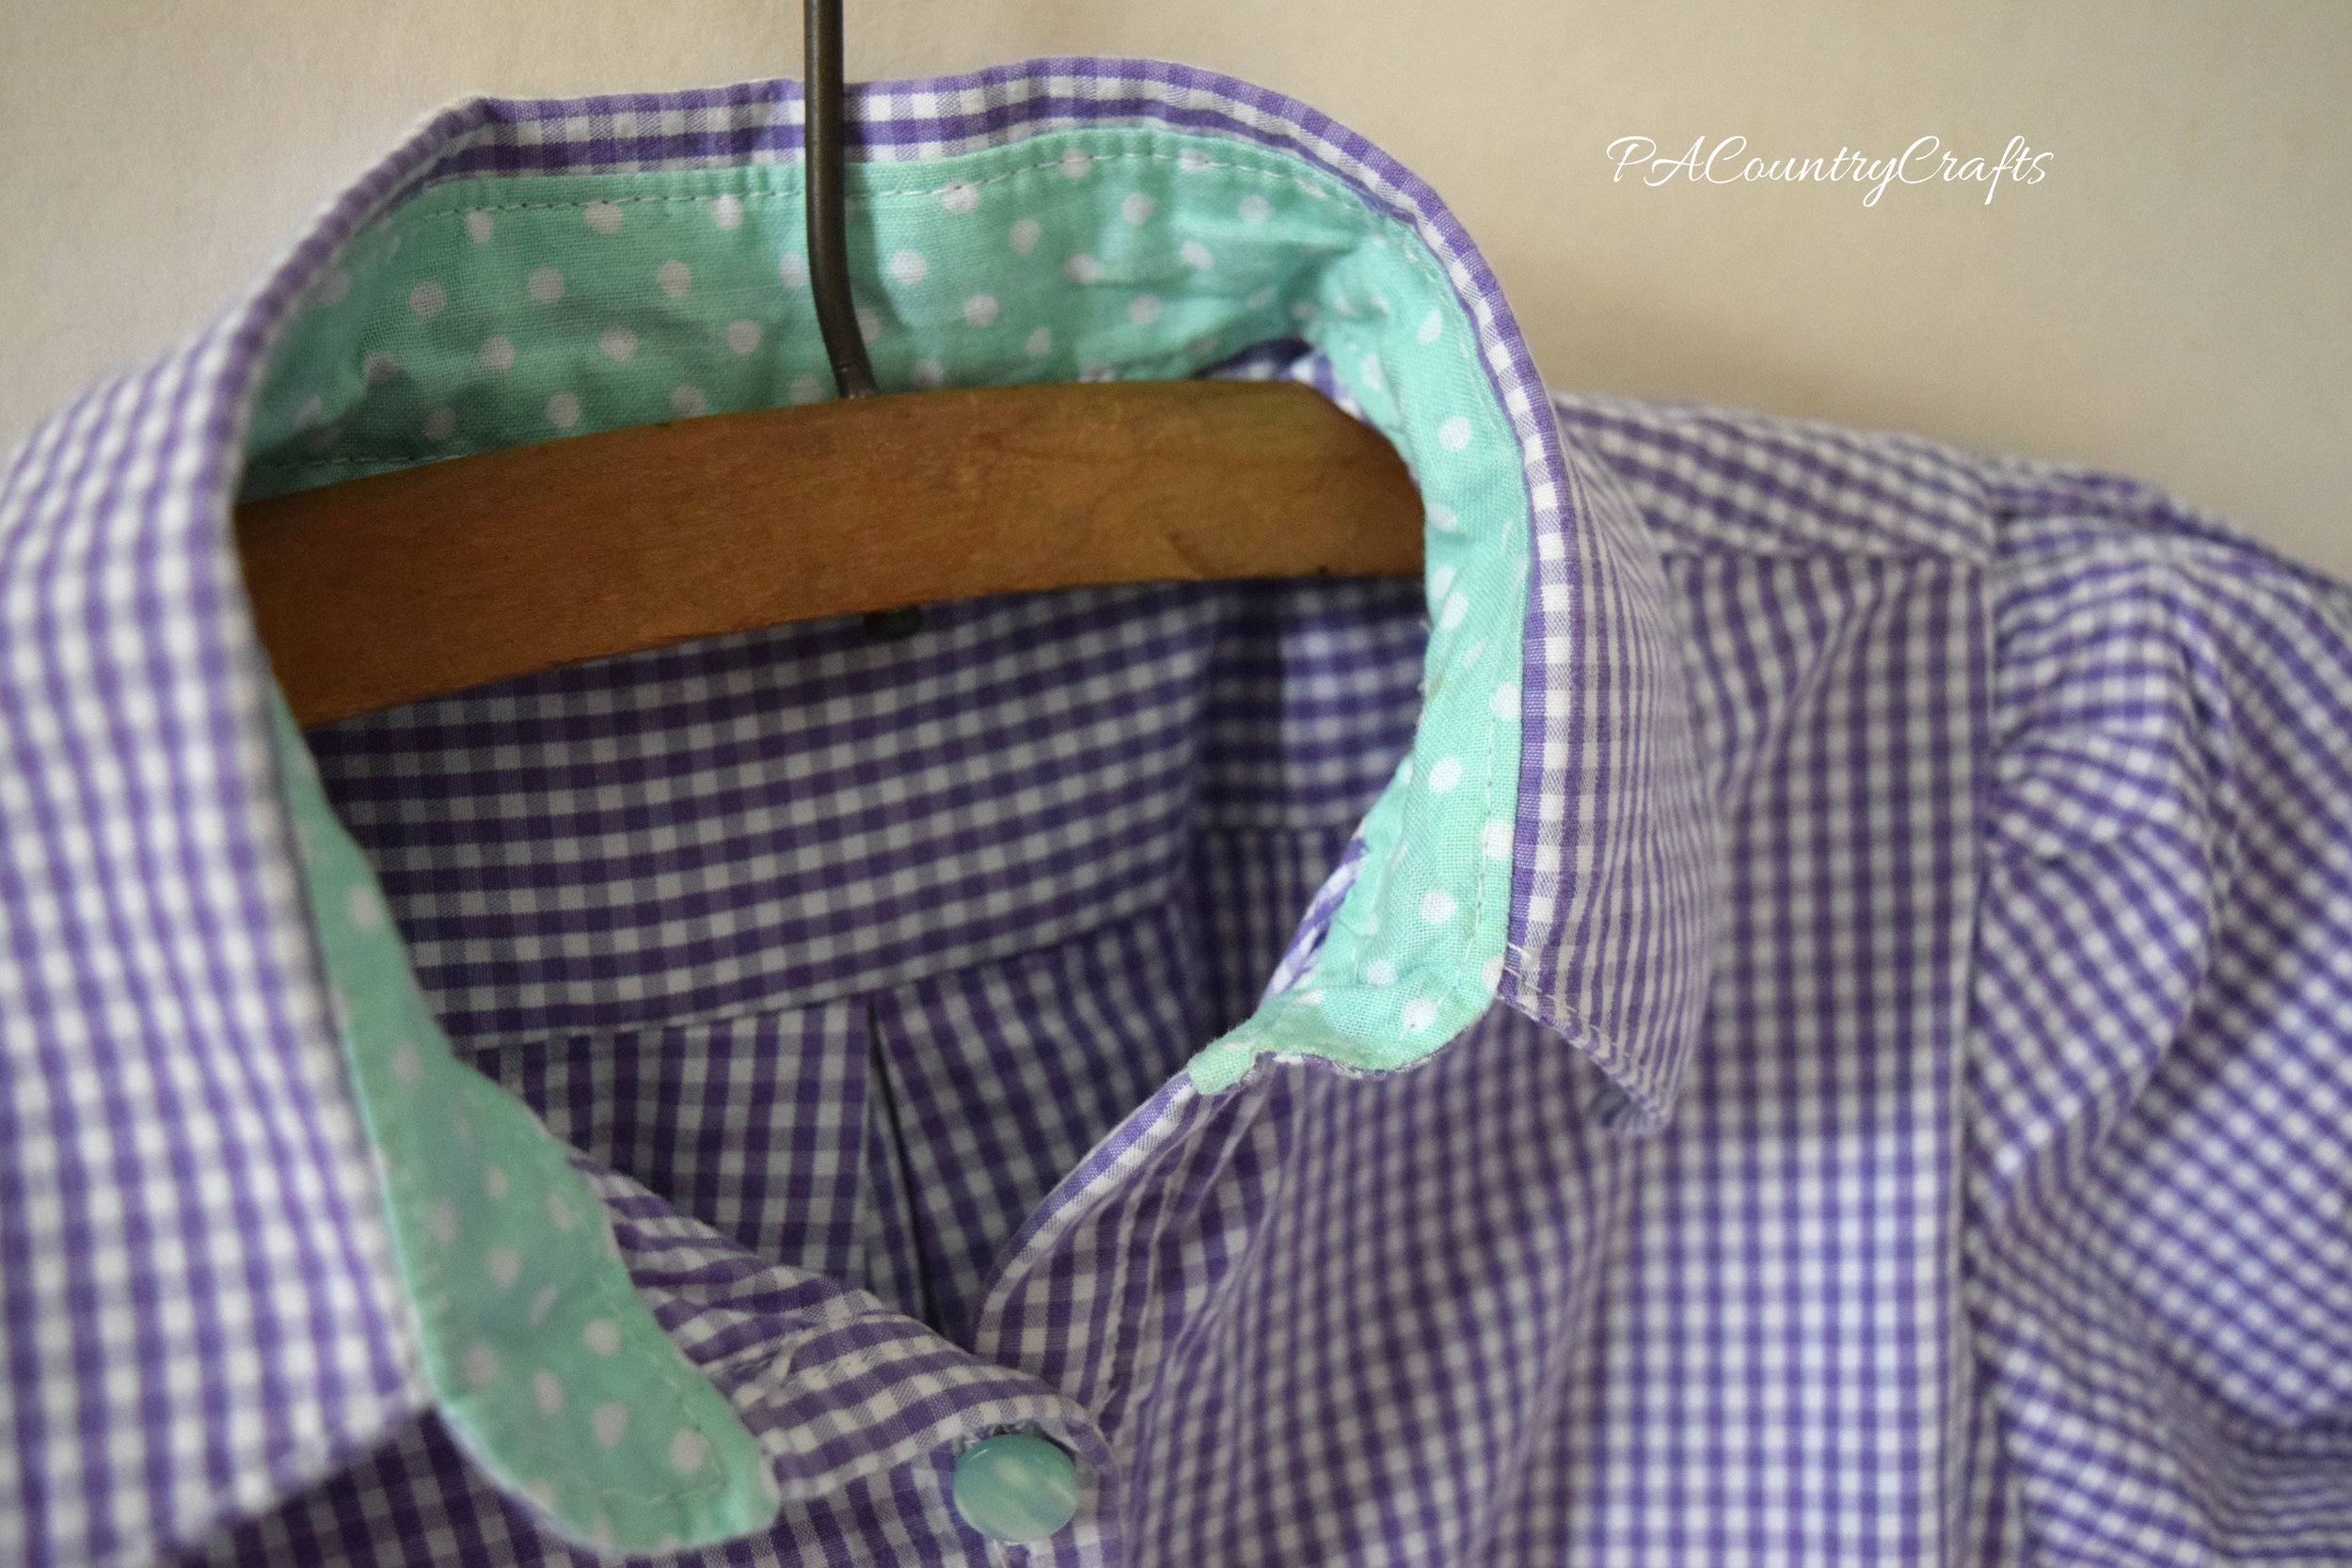
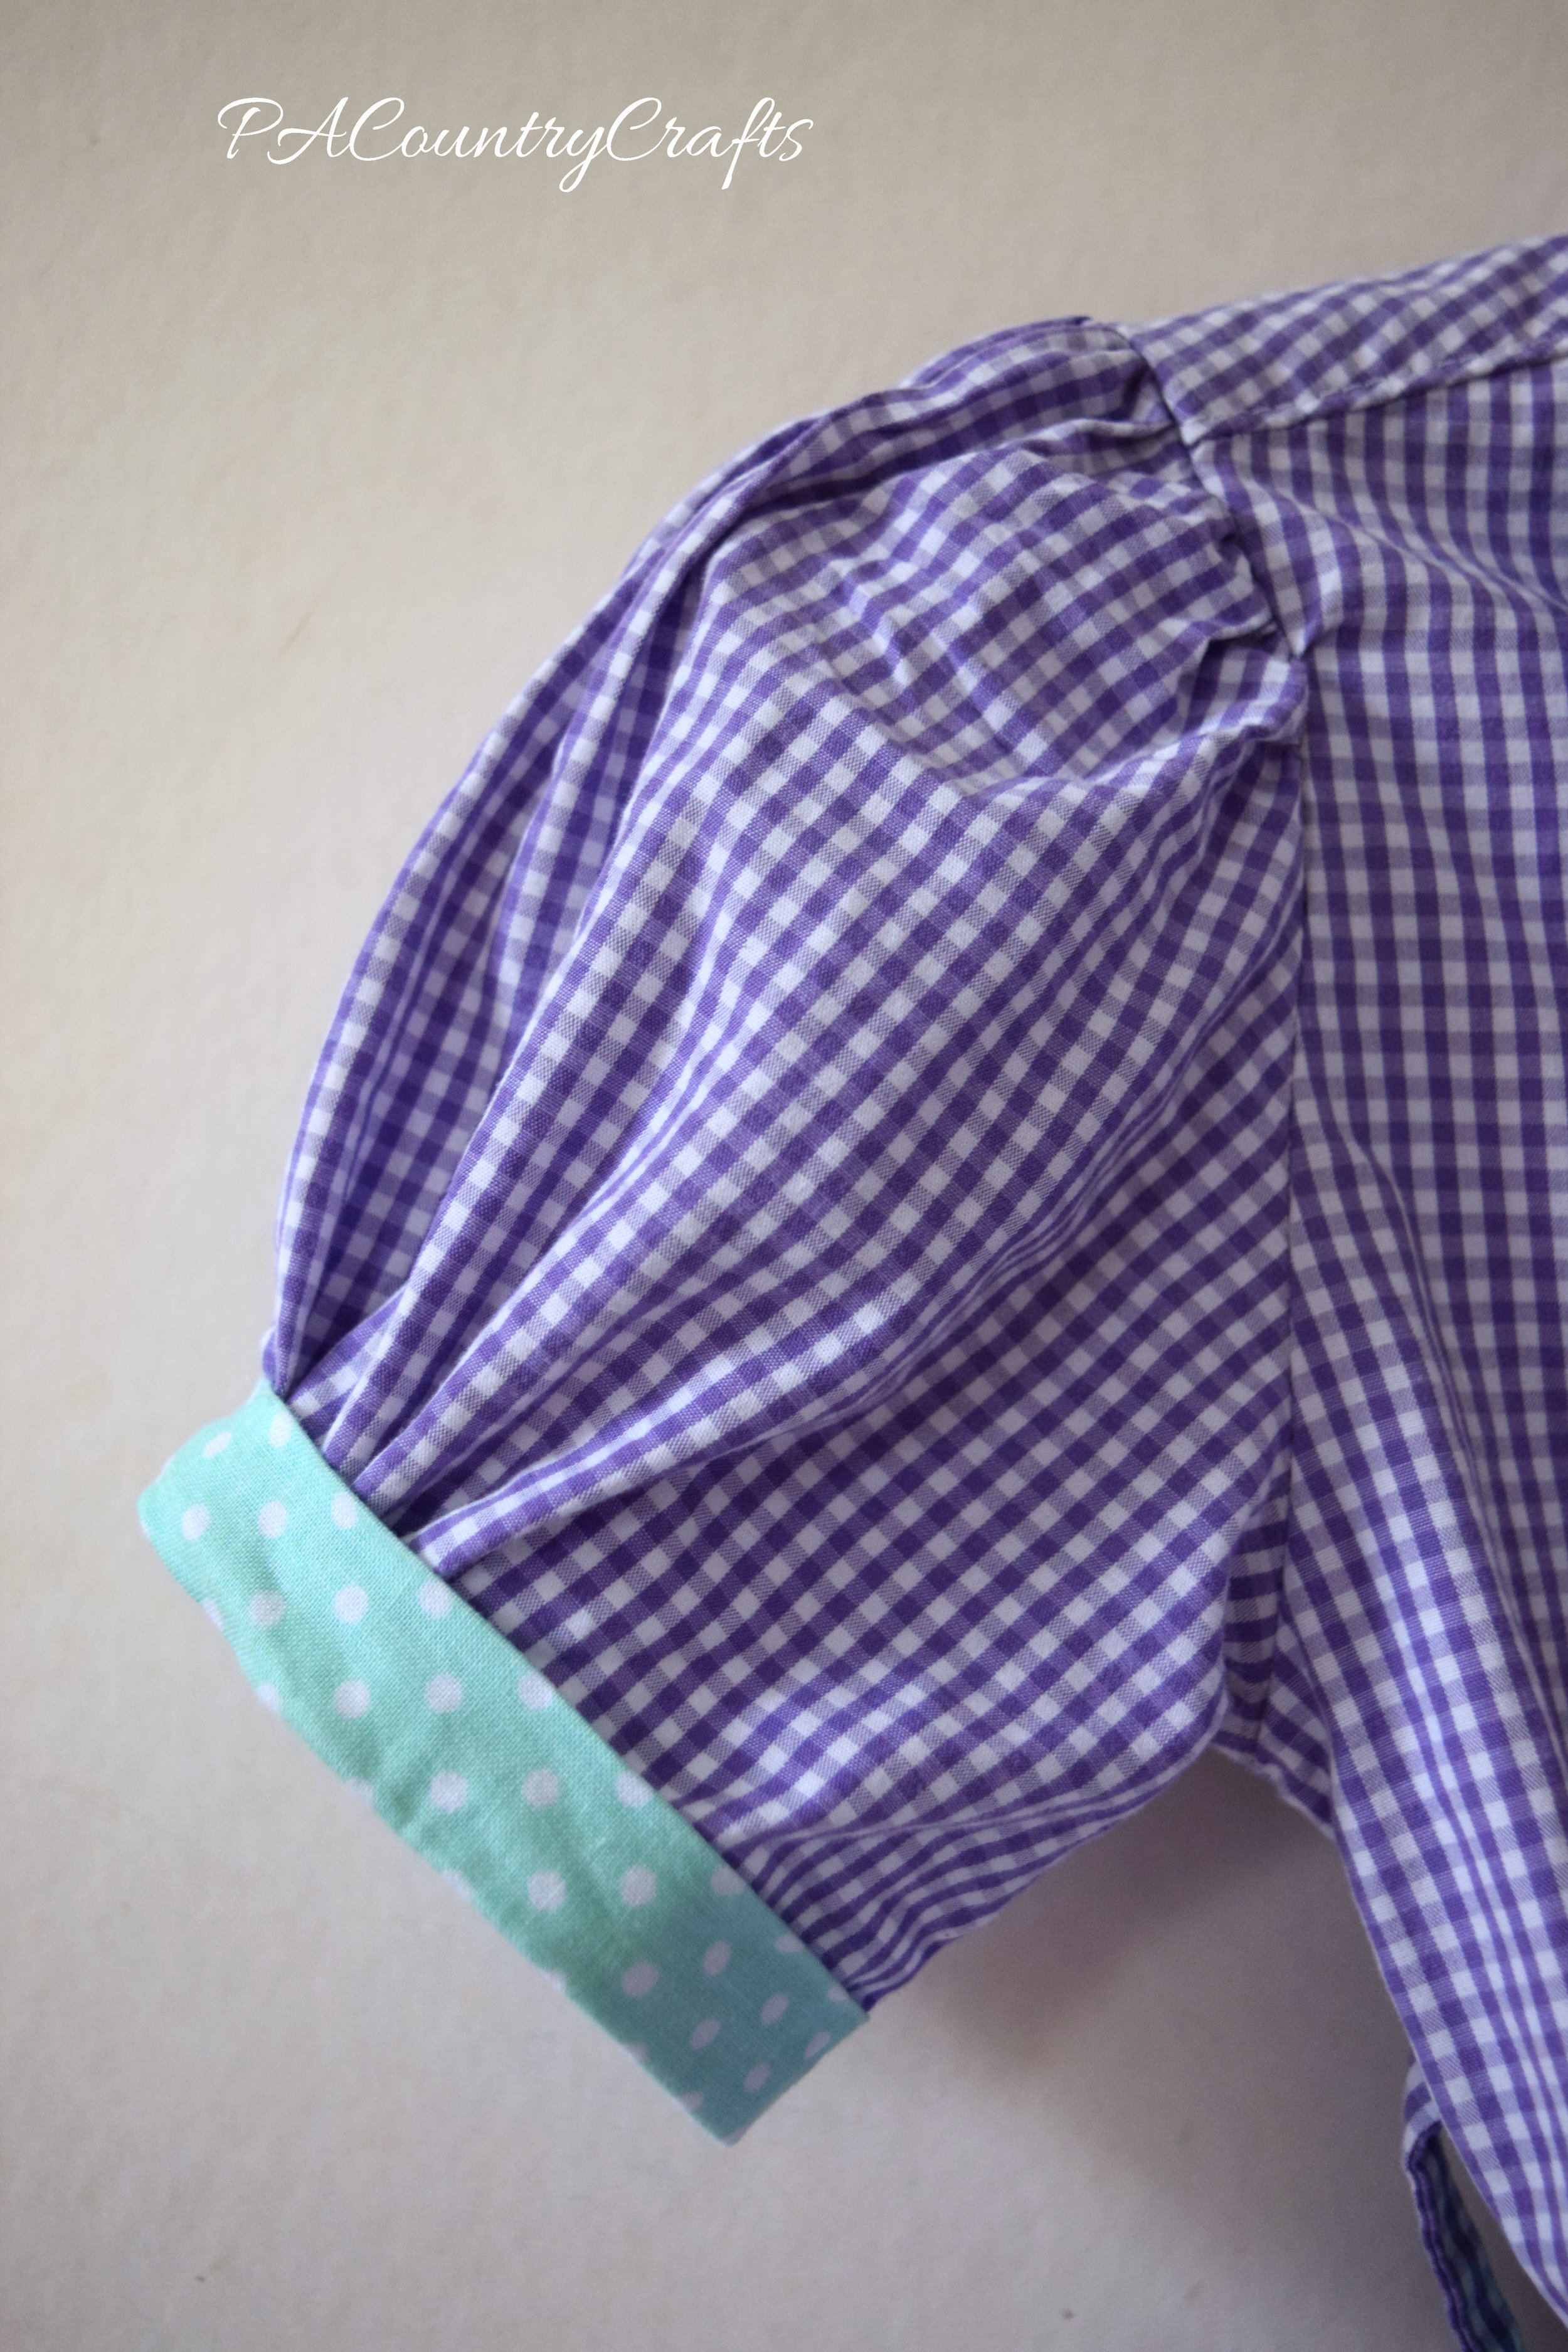
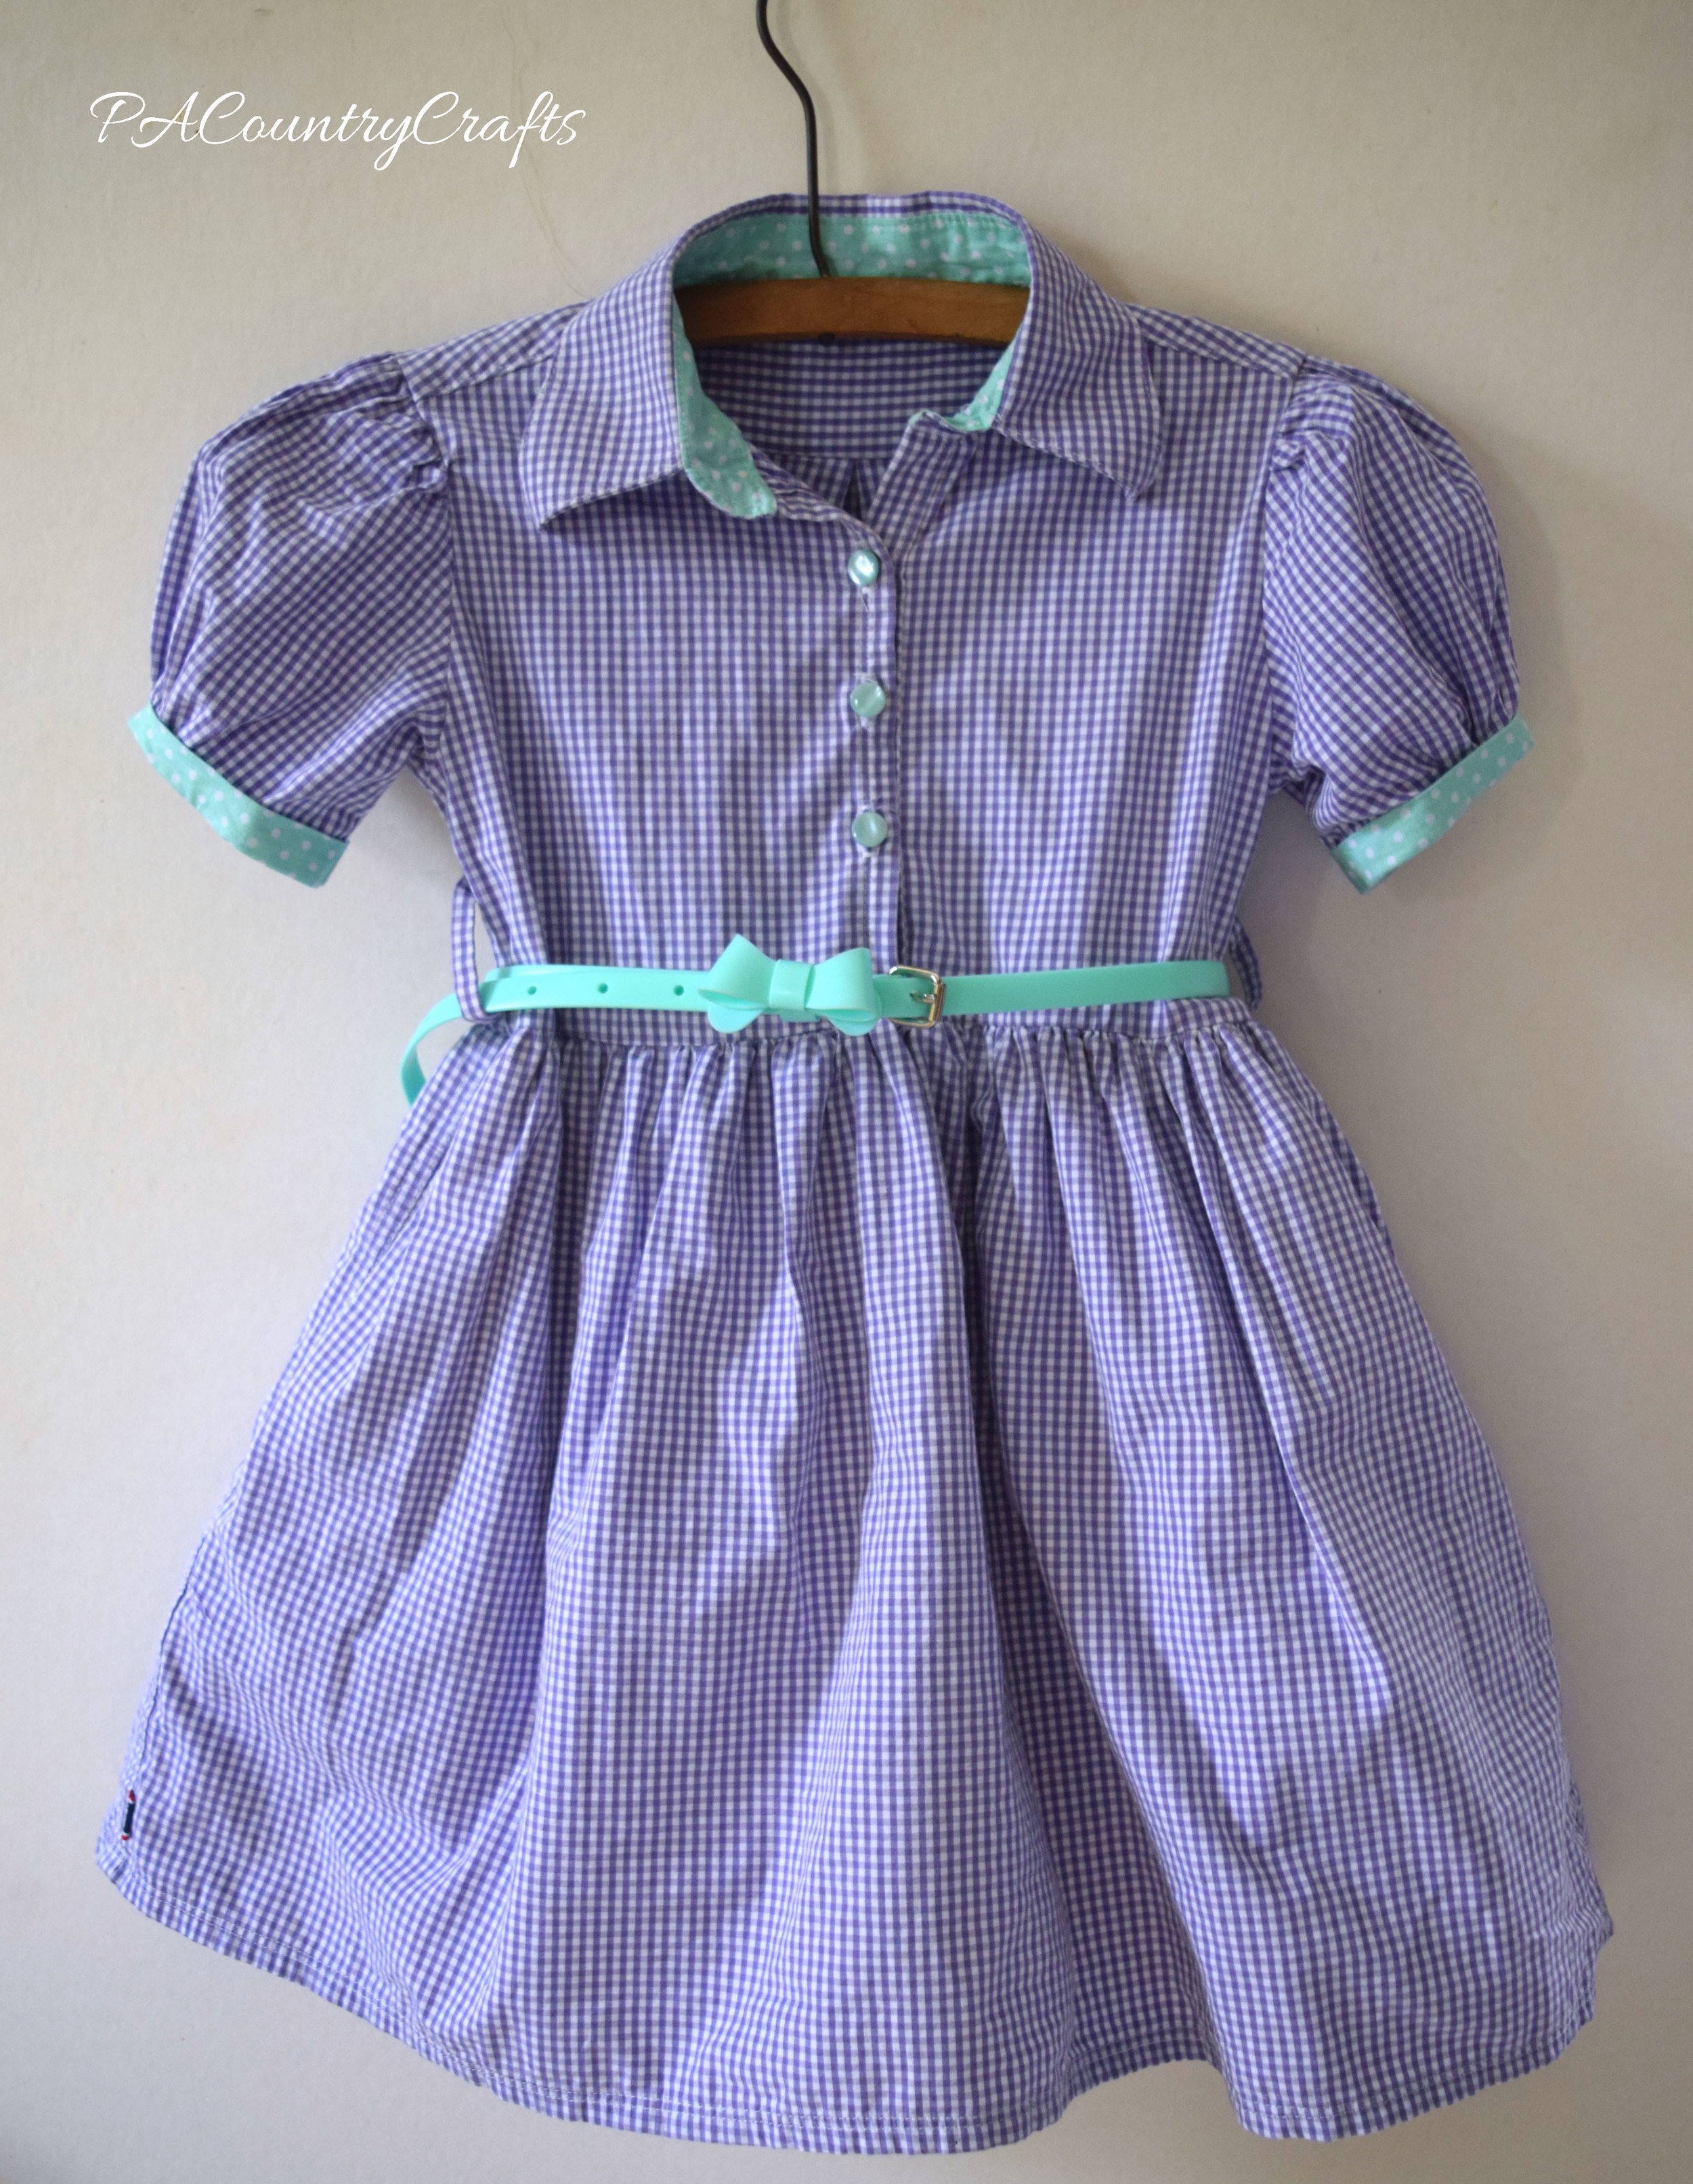
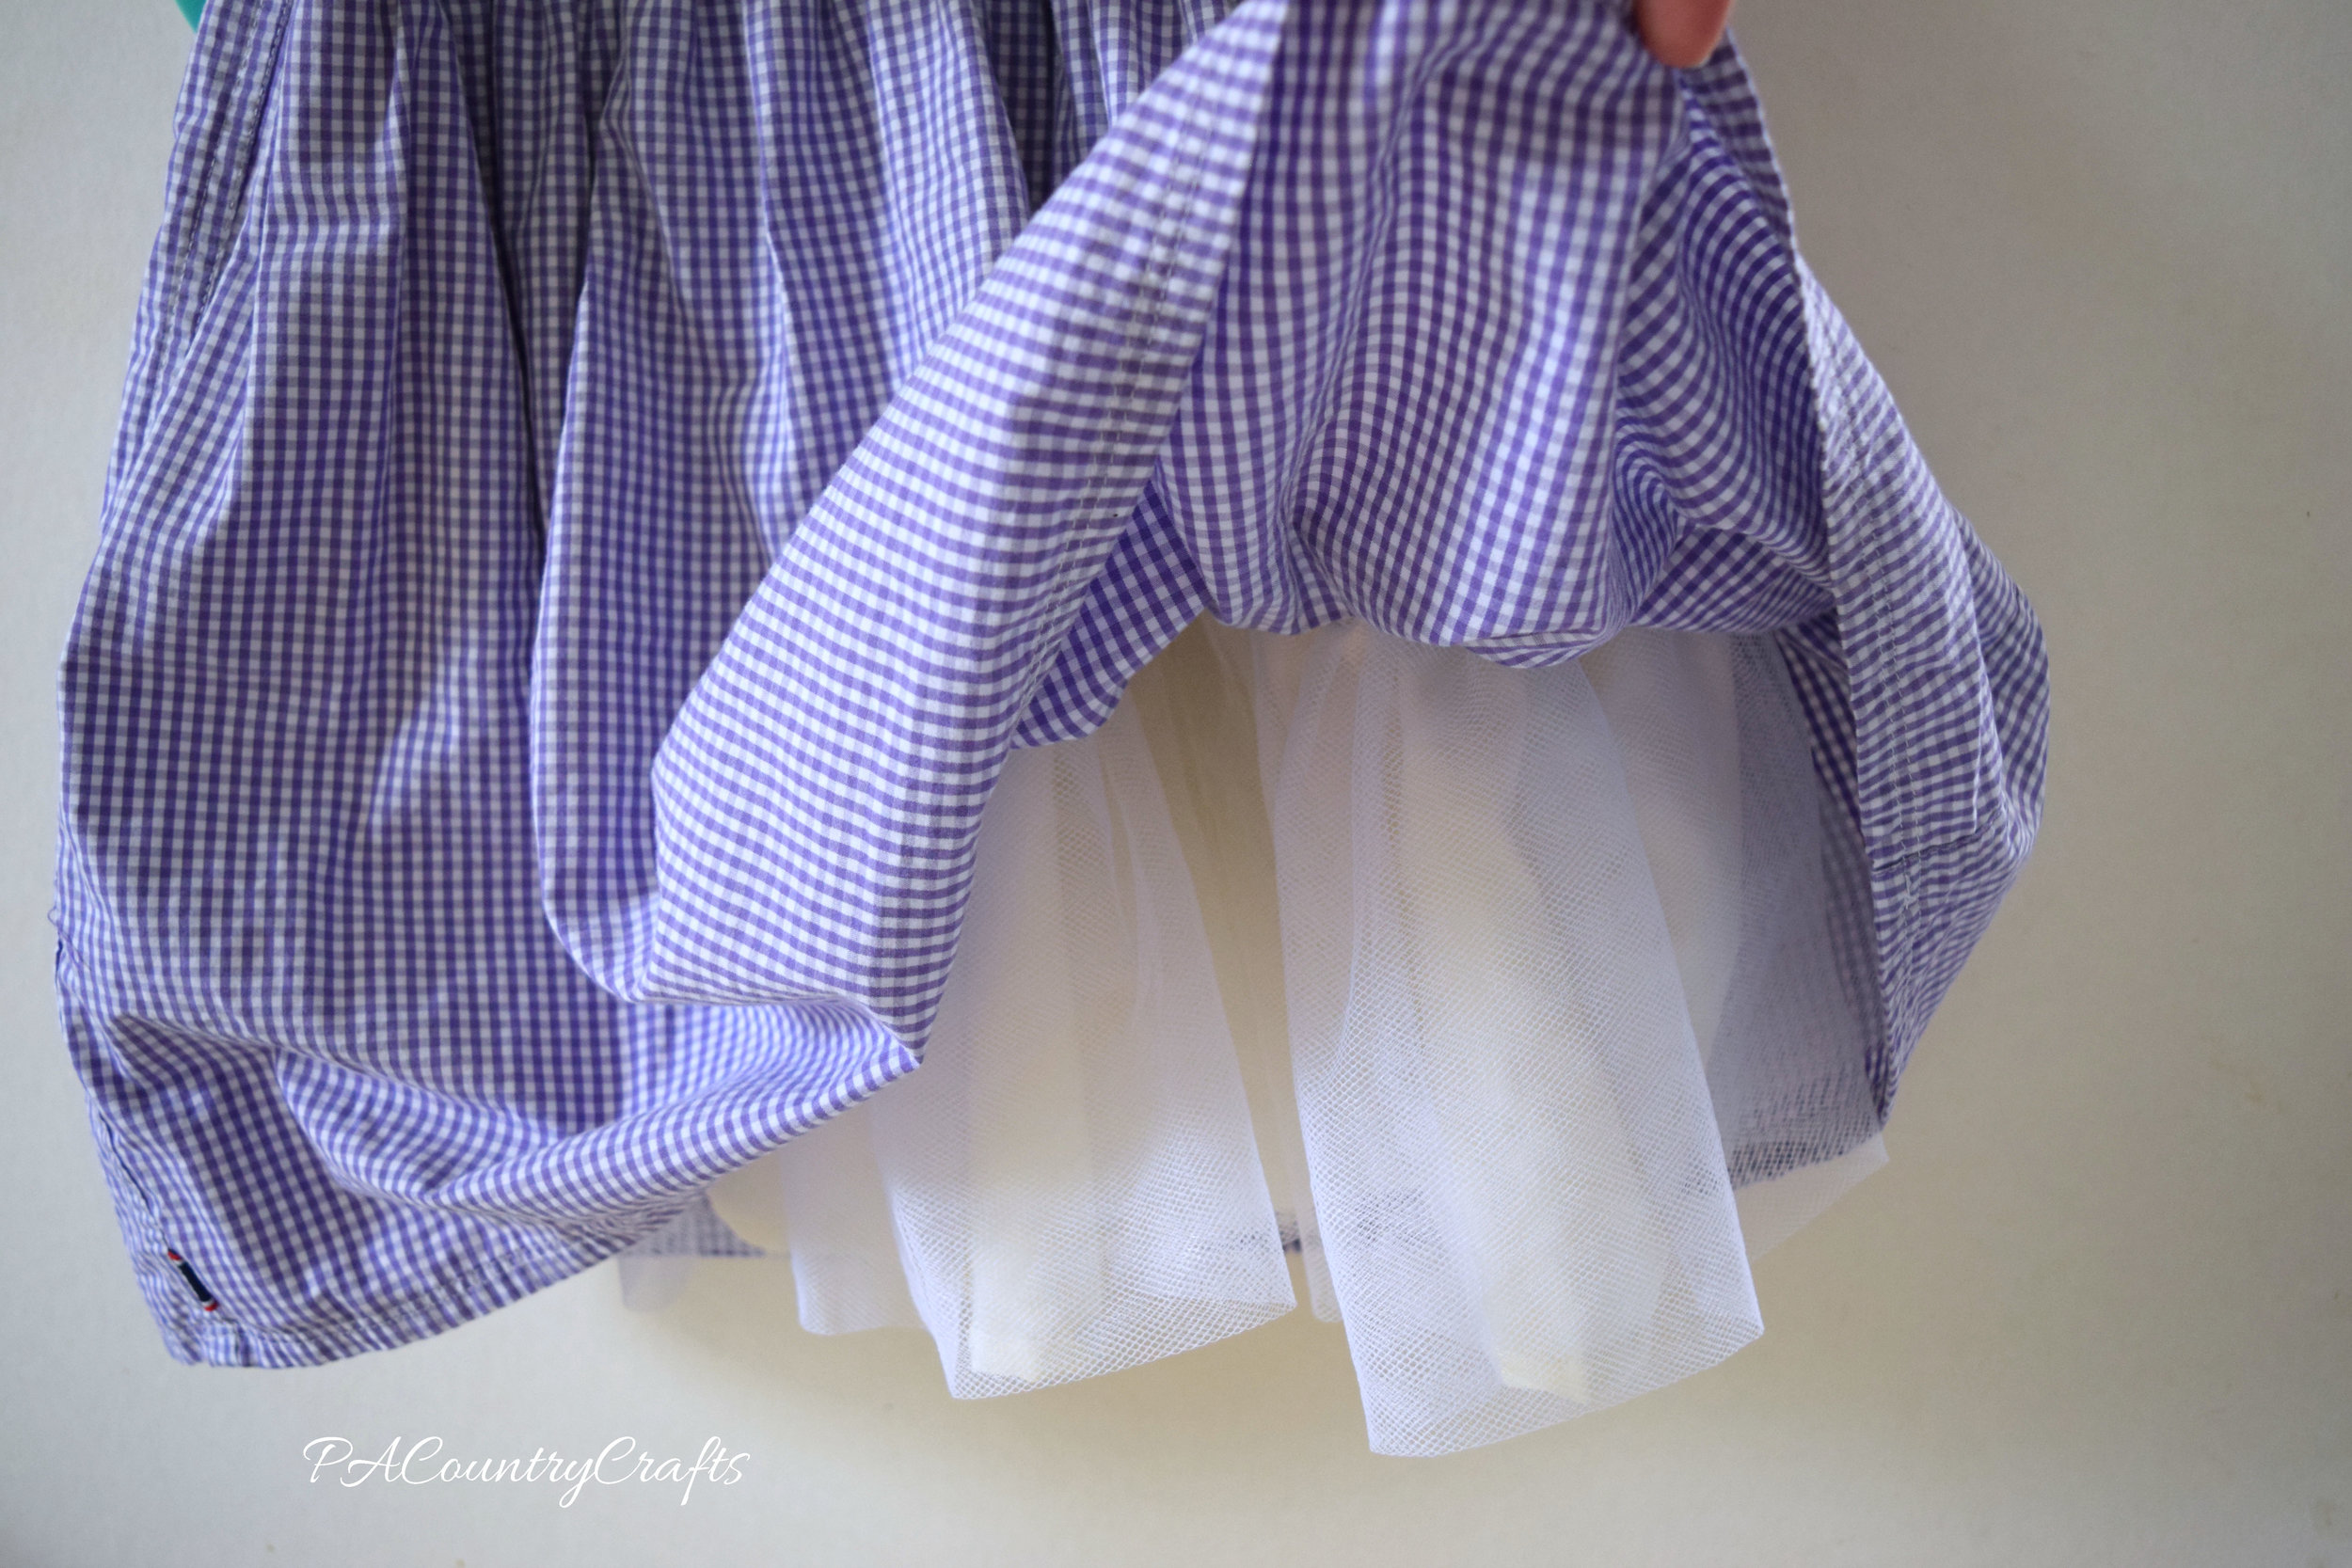
Ever since THESE dresses, I just can't seem to get over that whole retro, vintage style. I love the 1940s/1950s era of fashion! I wanted to do a "shirt dress" style, but decided to upcycle/refashion one out of a men's dress shirt. (There are also a few aqua polka dot details just for fun!) It even has a built in pettiskirt to make the full skirt pouf out.

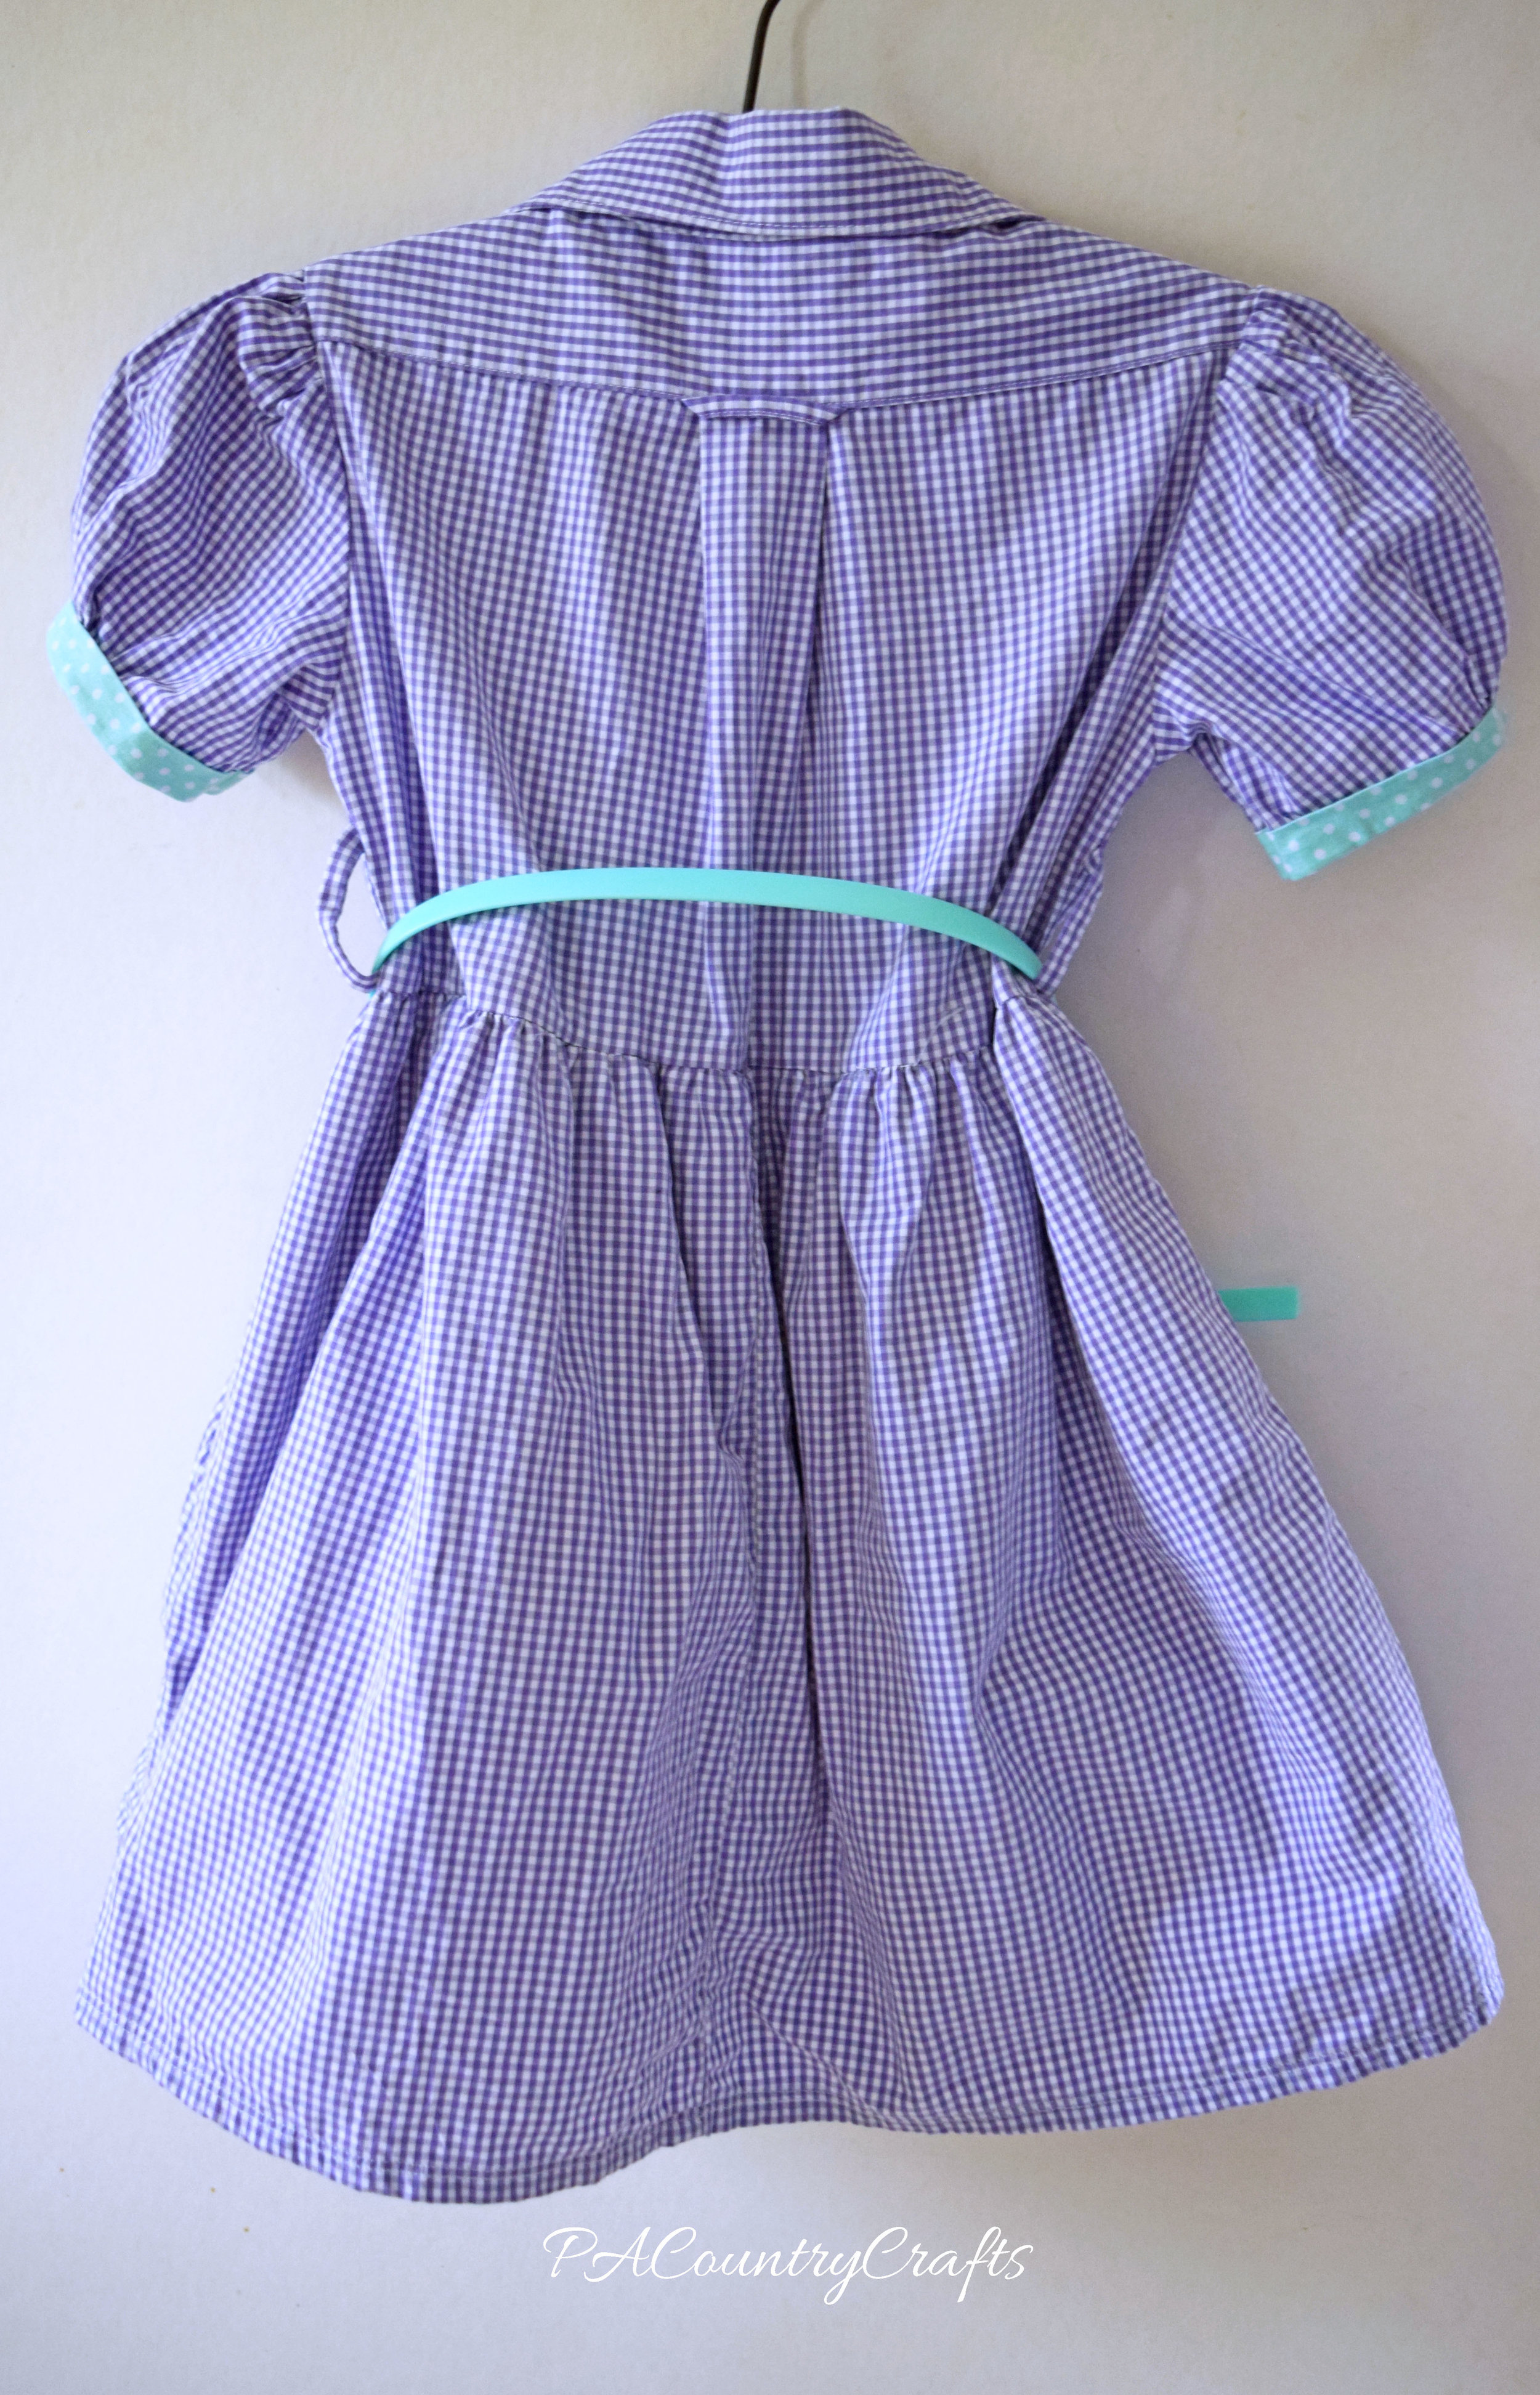
back of girls shirt dress

inside shirt dress collar

shirt dress puffy sleeve

grace ribbon twirl wm

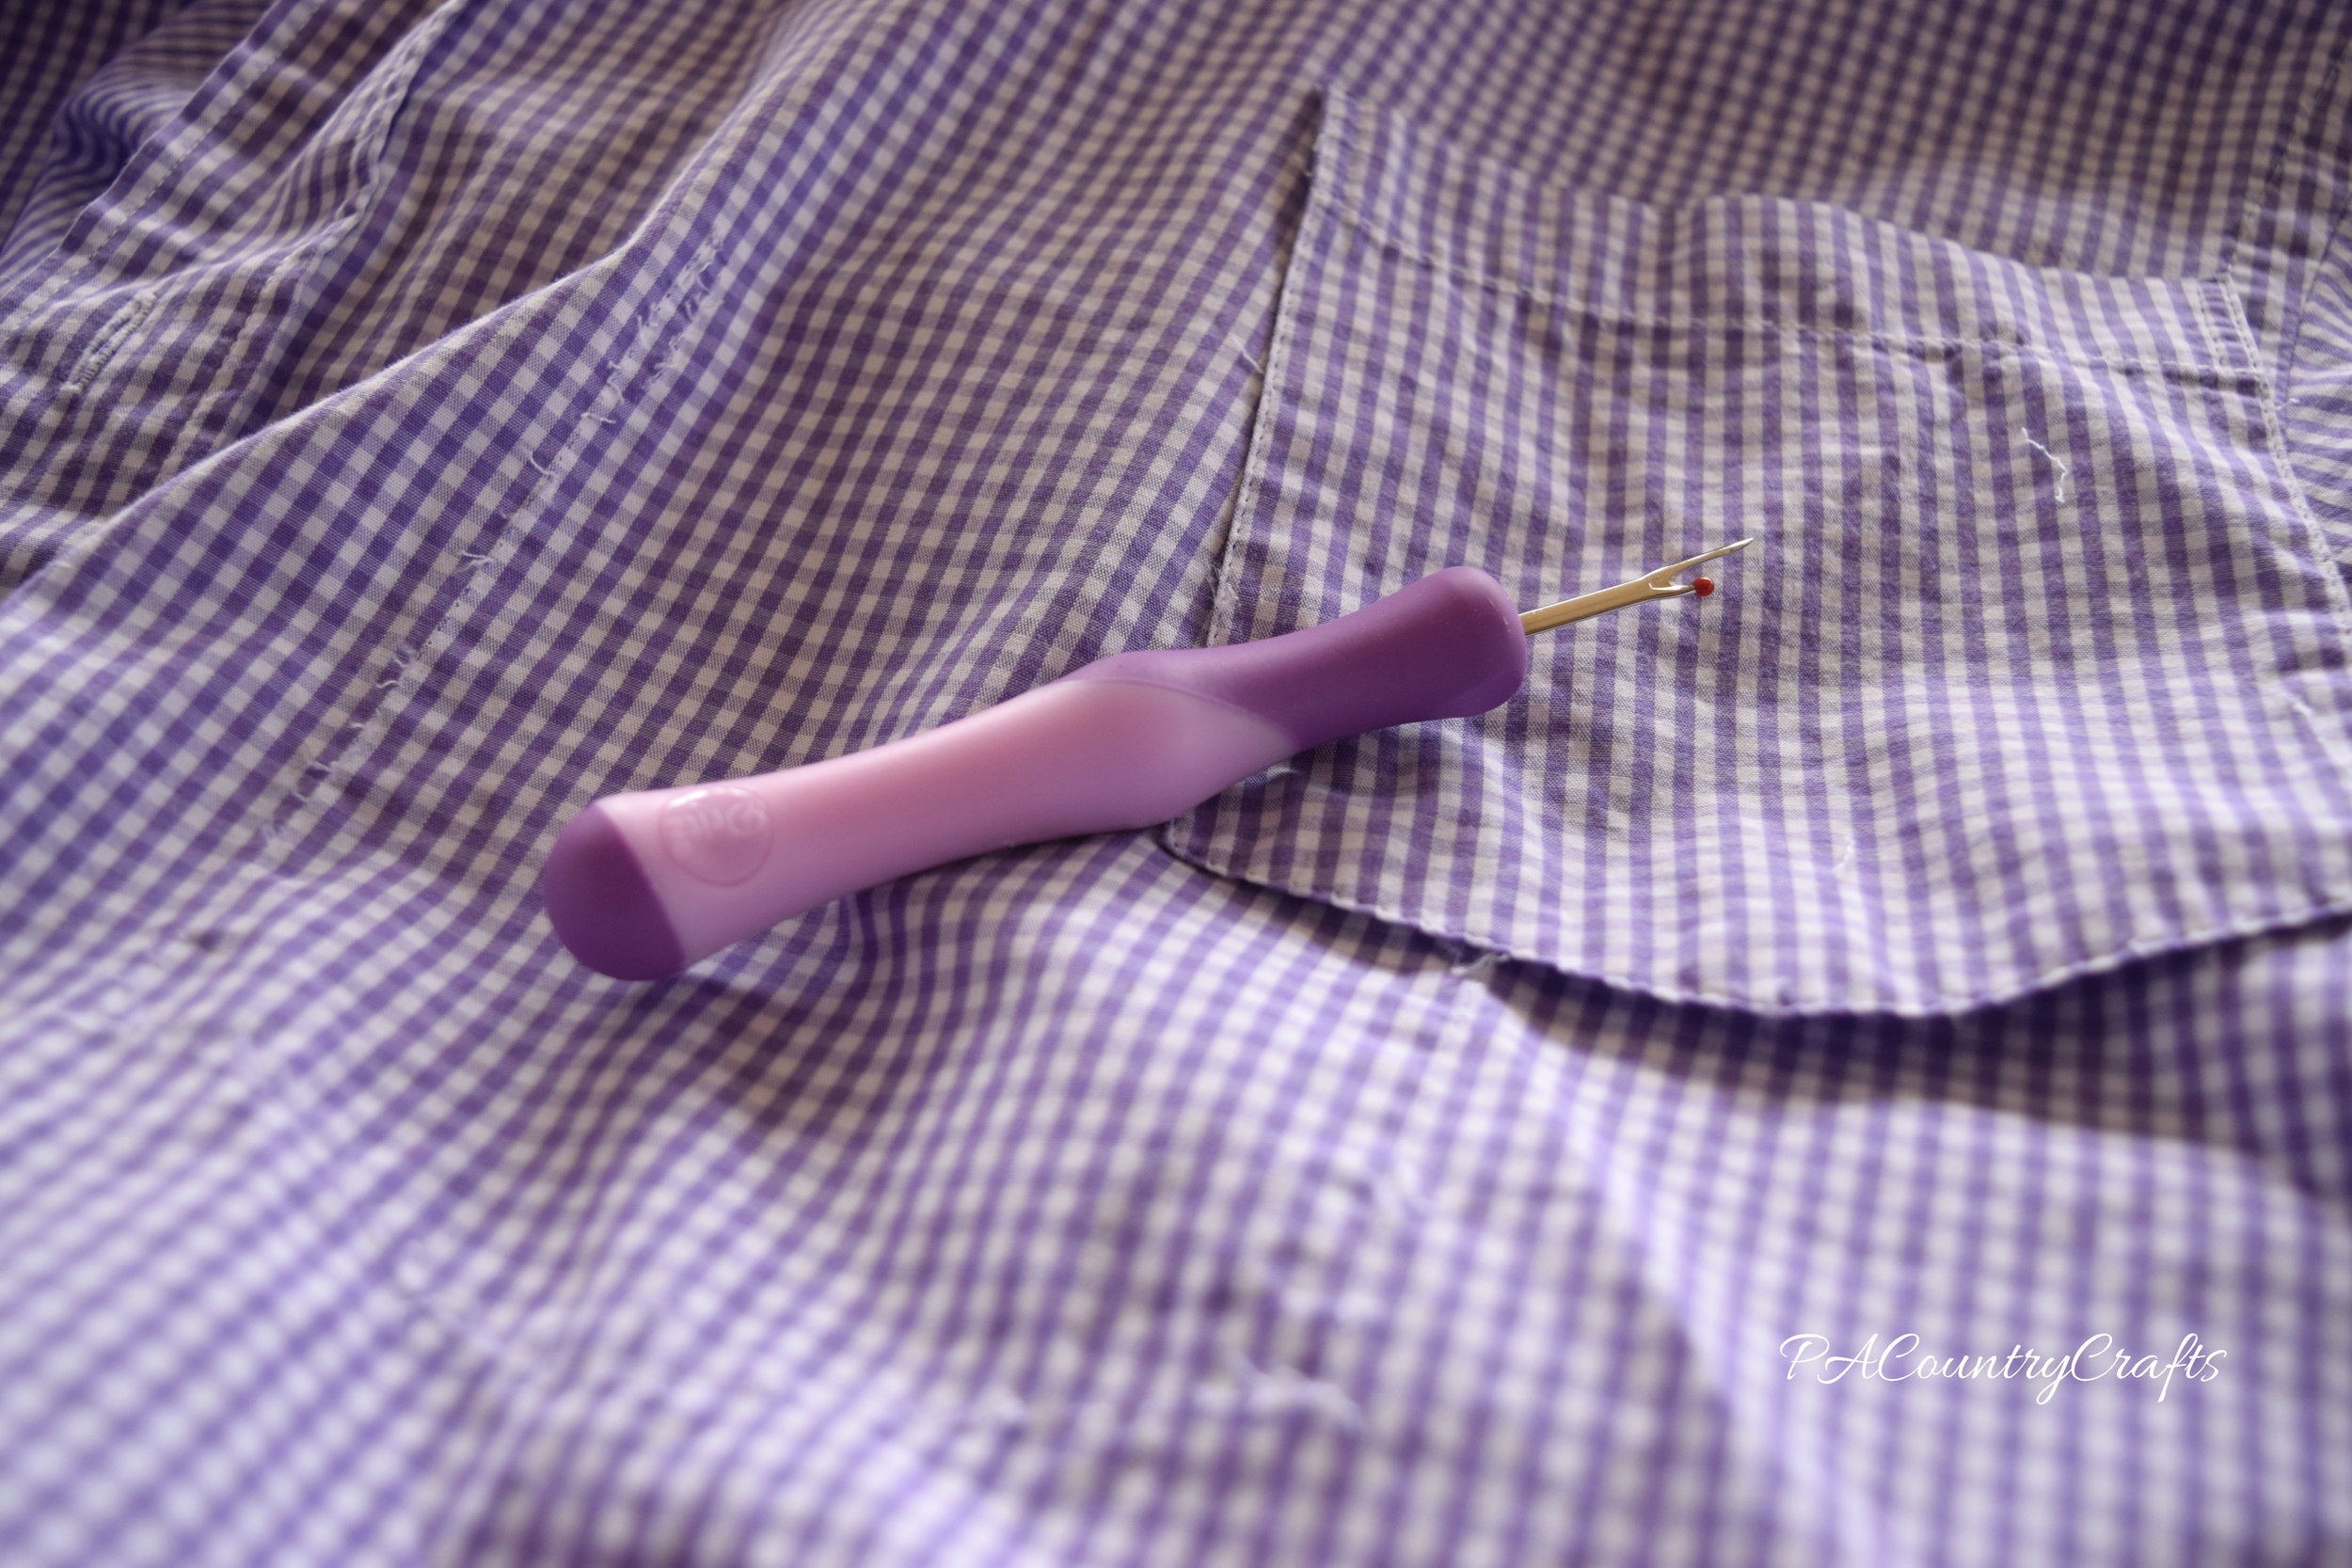
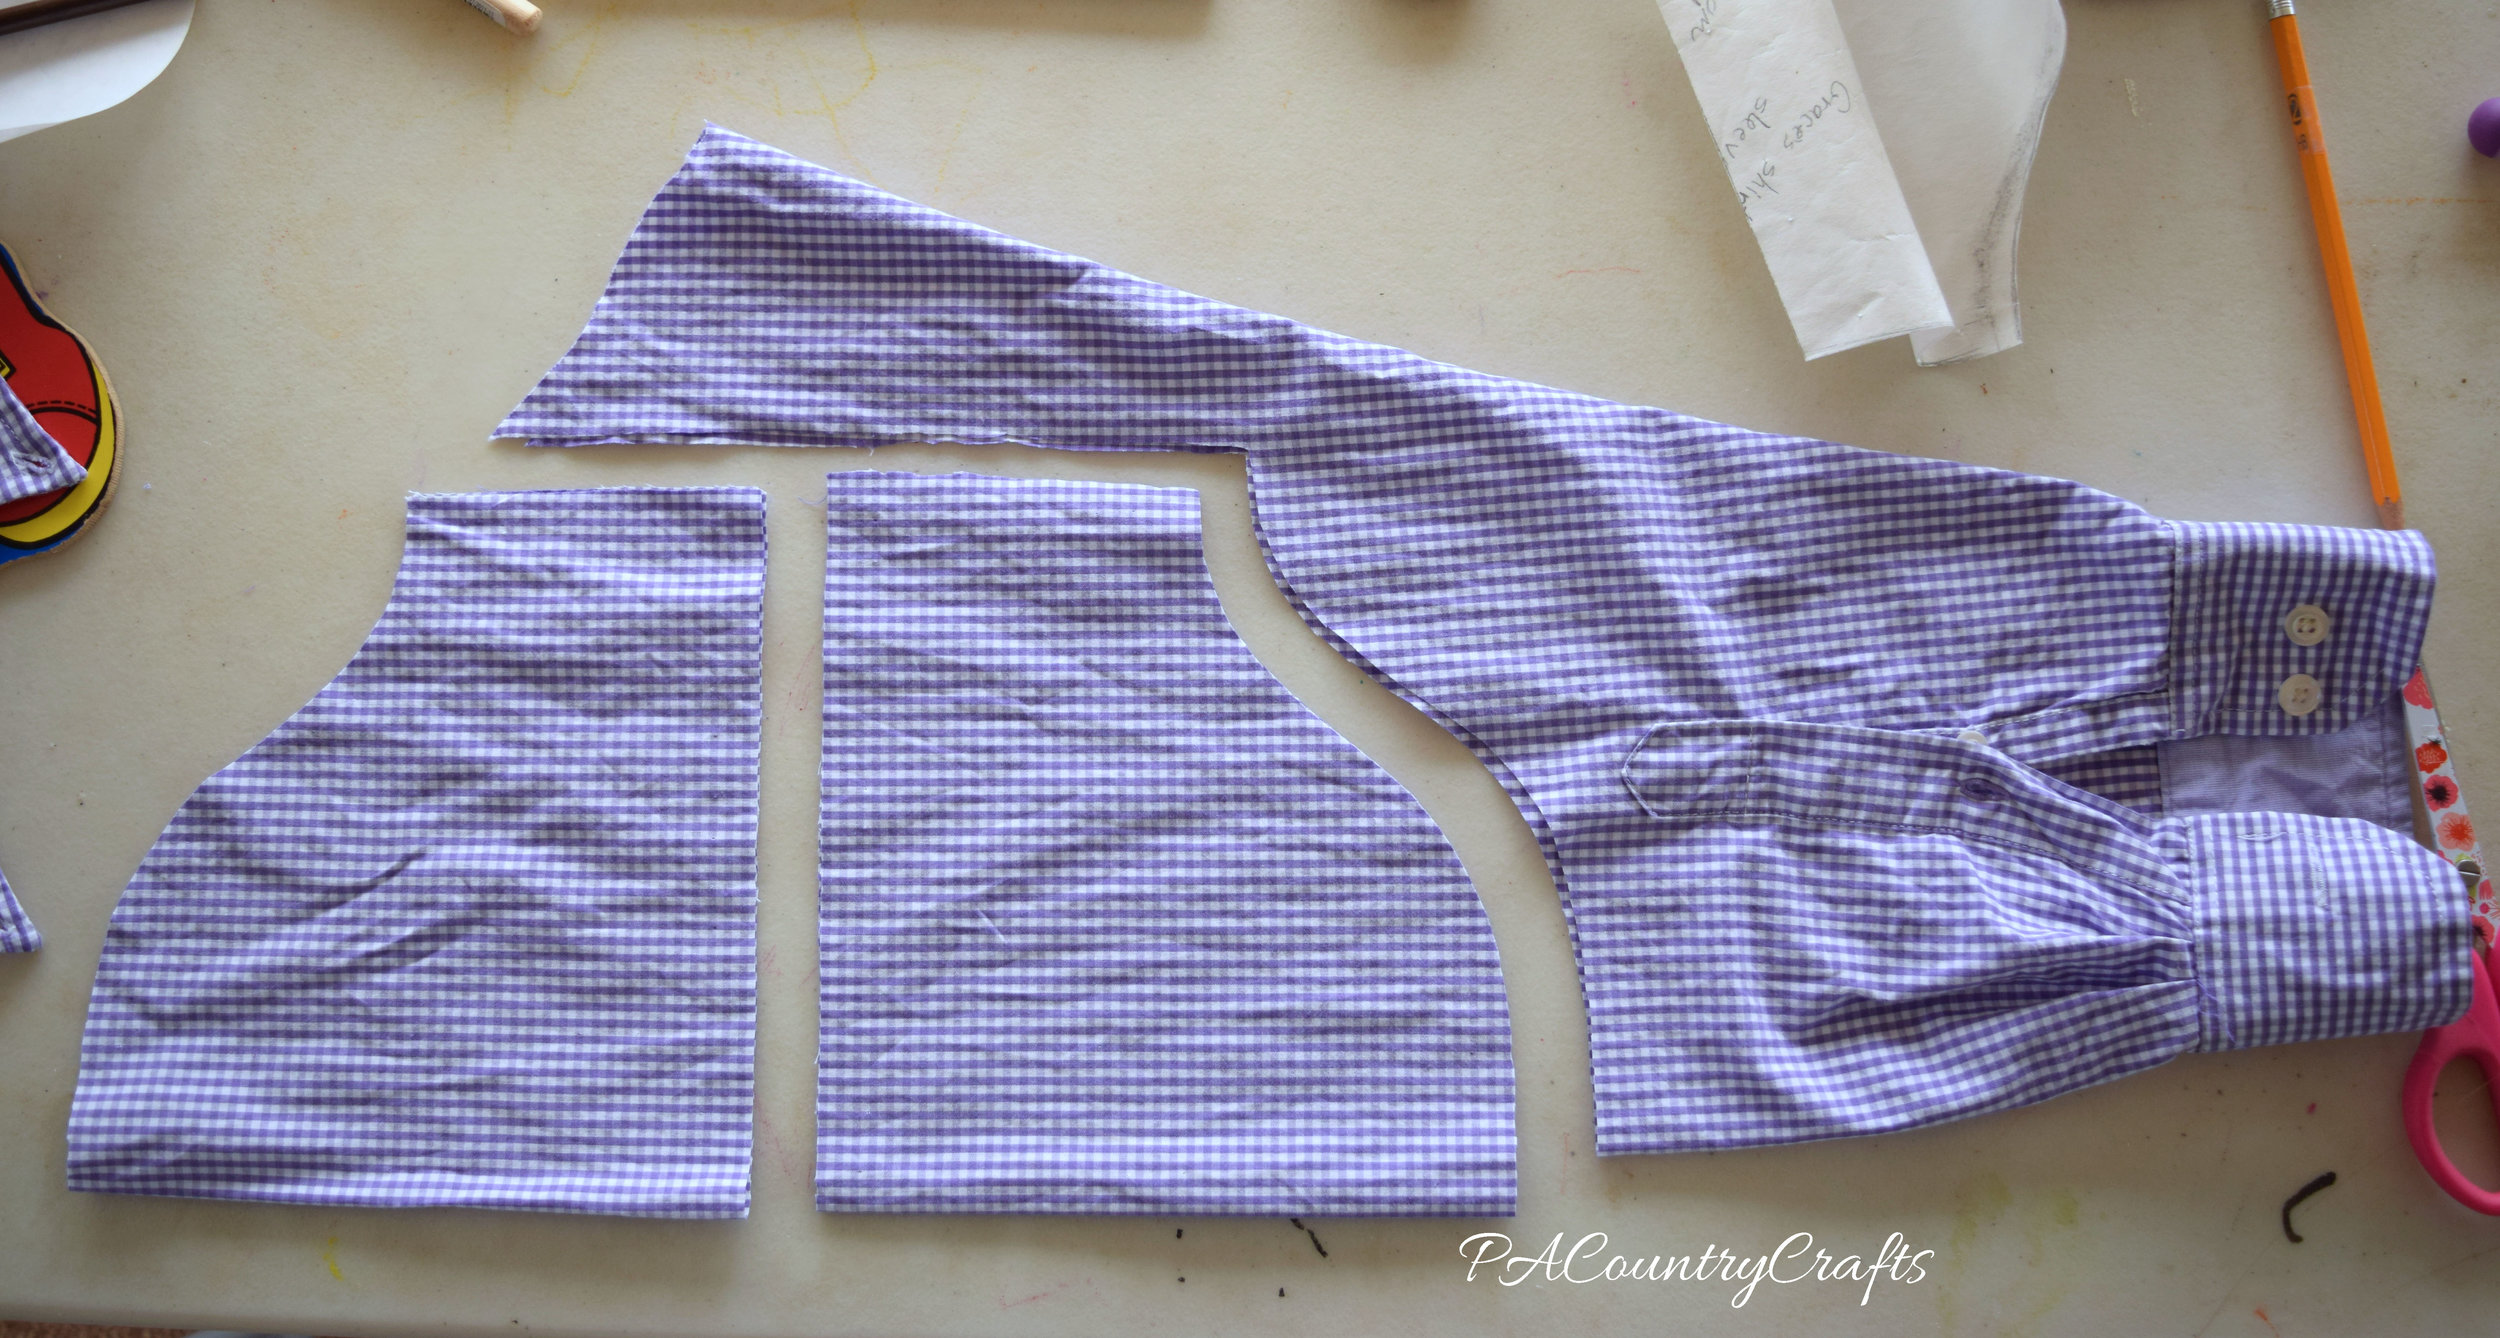
I don't have a full tutorial for you, but I did take some pictures to show how I used the shirt as an effective fabric source. First, I used a seam ripper to remove the pocket and cut off the collar and sleeves.

seam rip pocket

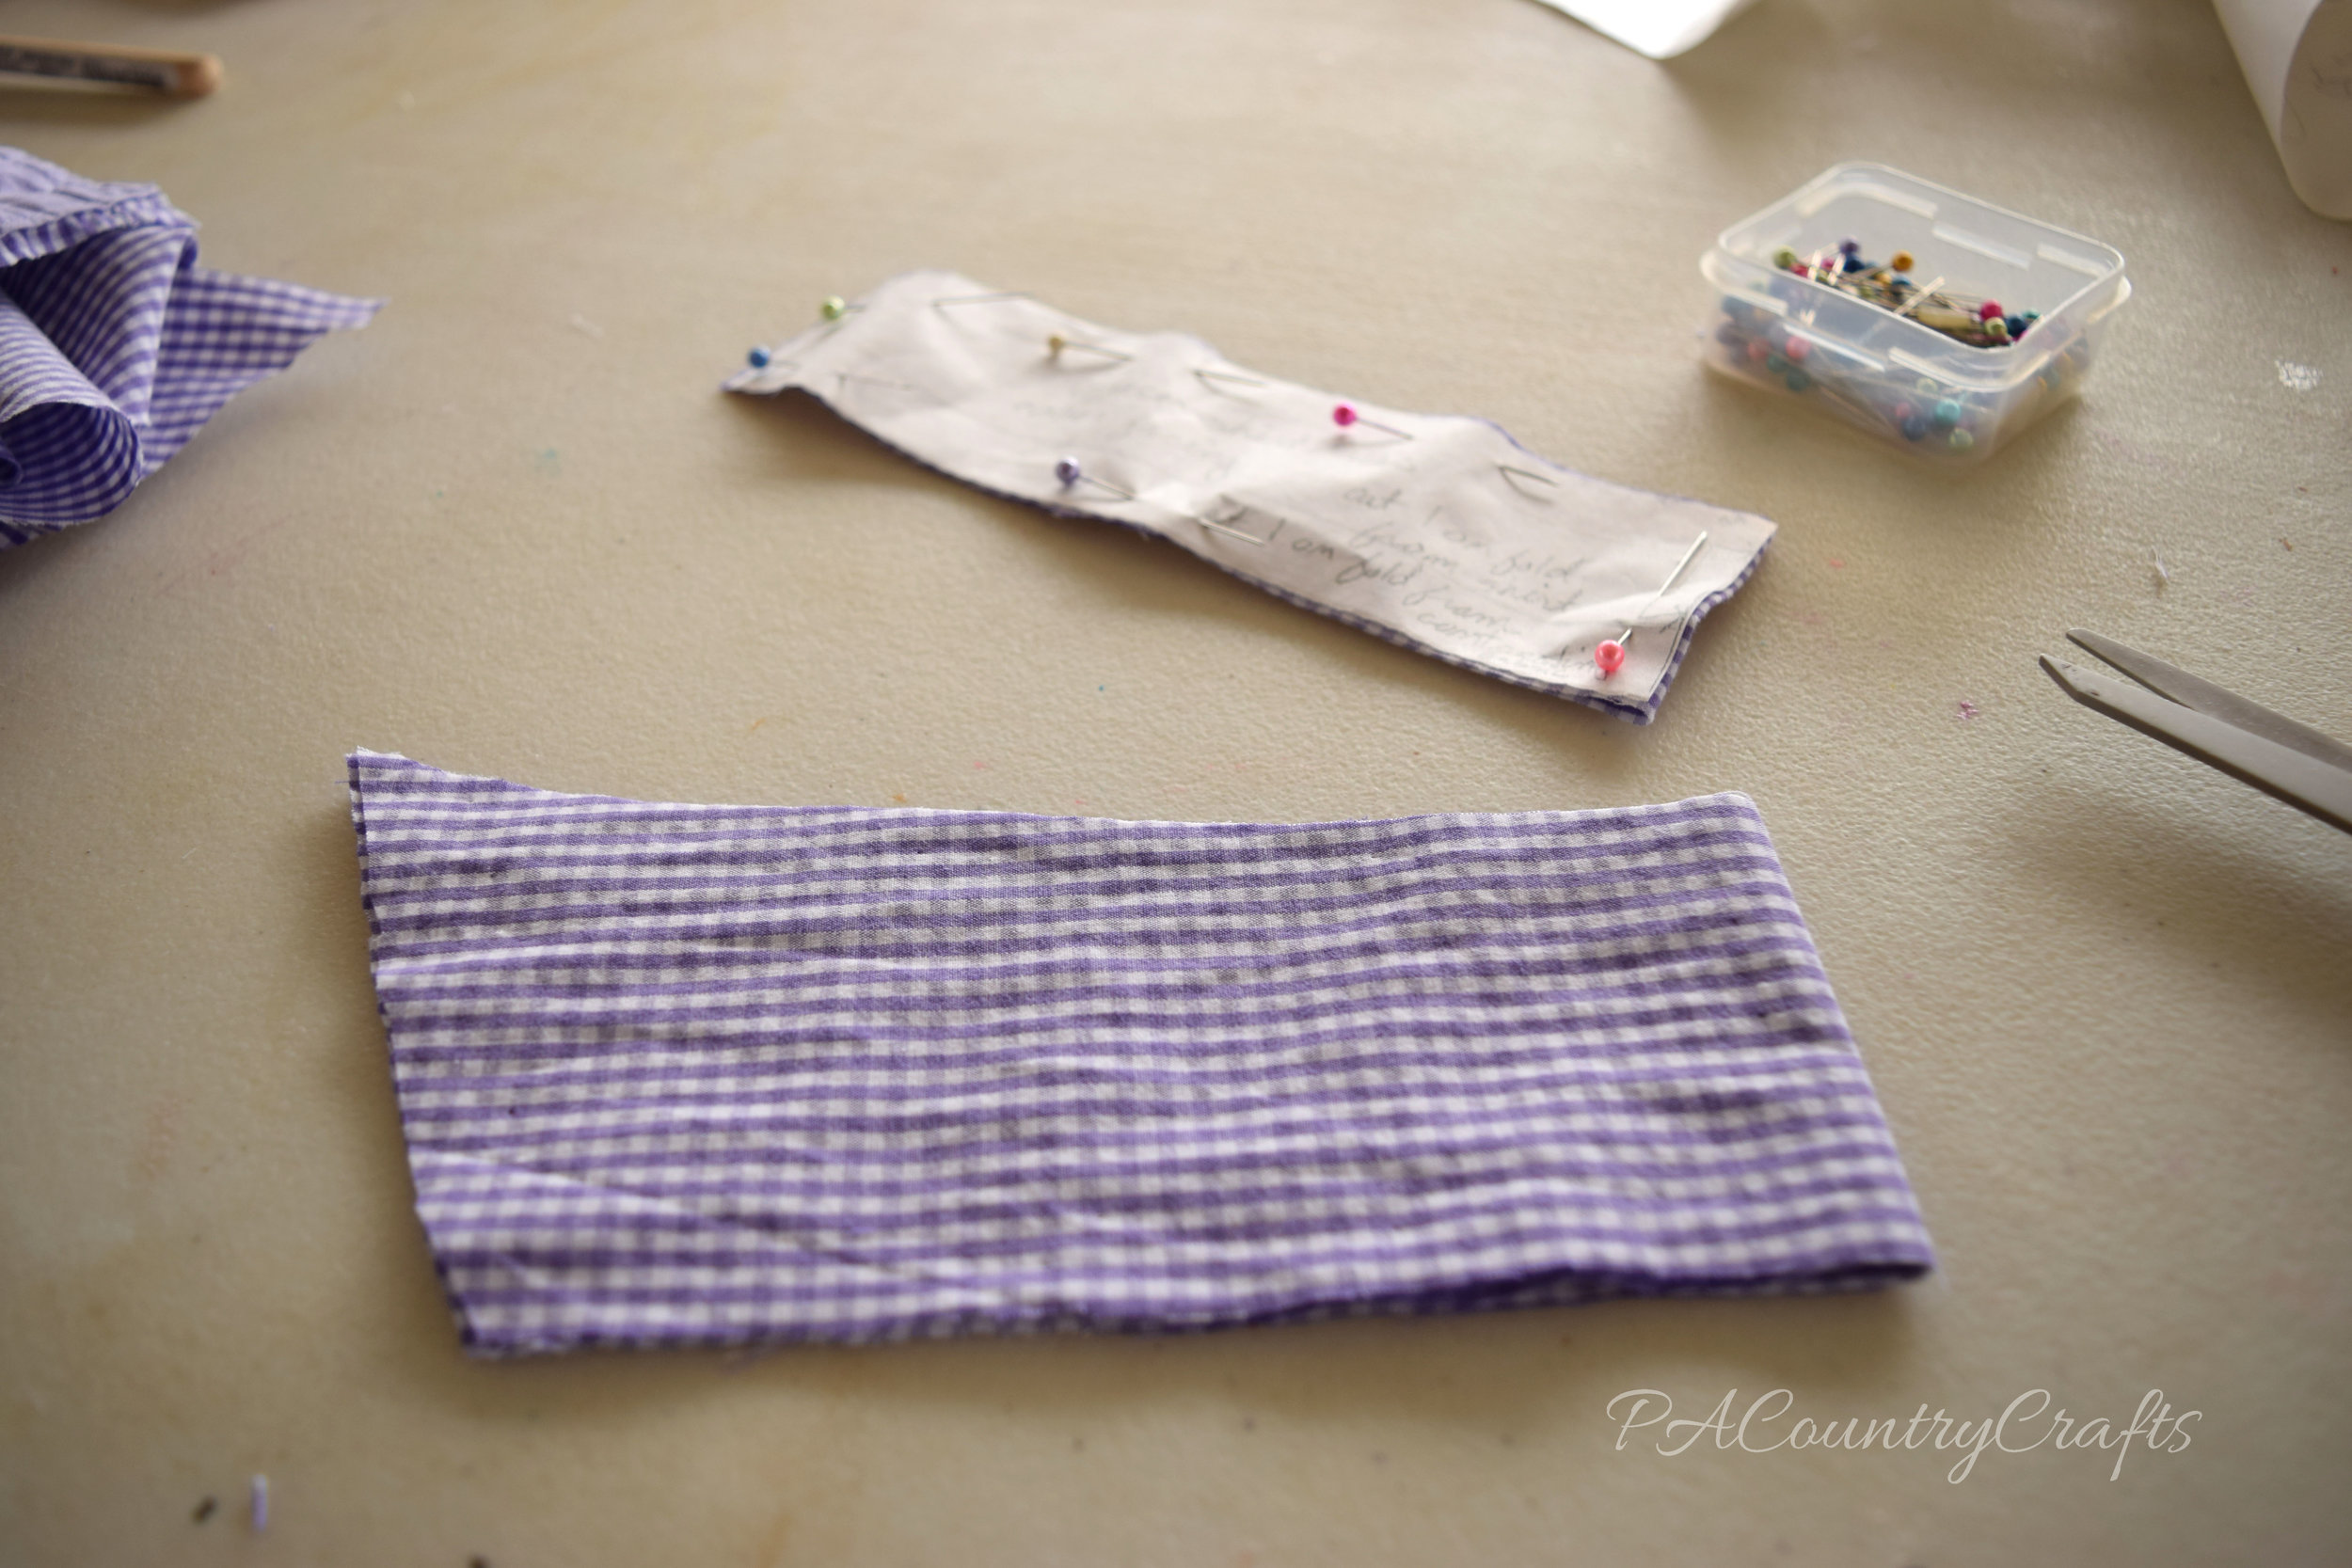
This dress was made differently from other tutorials I have seen. I didn't like the way the men's shirt collar fit on her neckline- it was made to fit a large man, after all! So, I constructed a new collar out of fabric from one of the sleeves.

collar

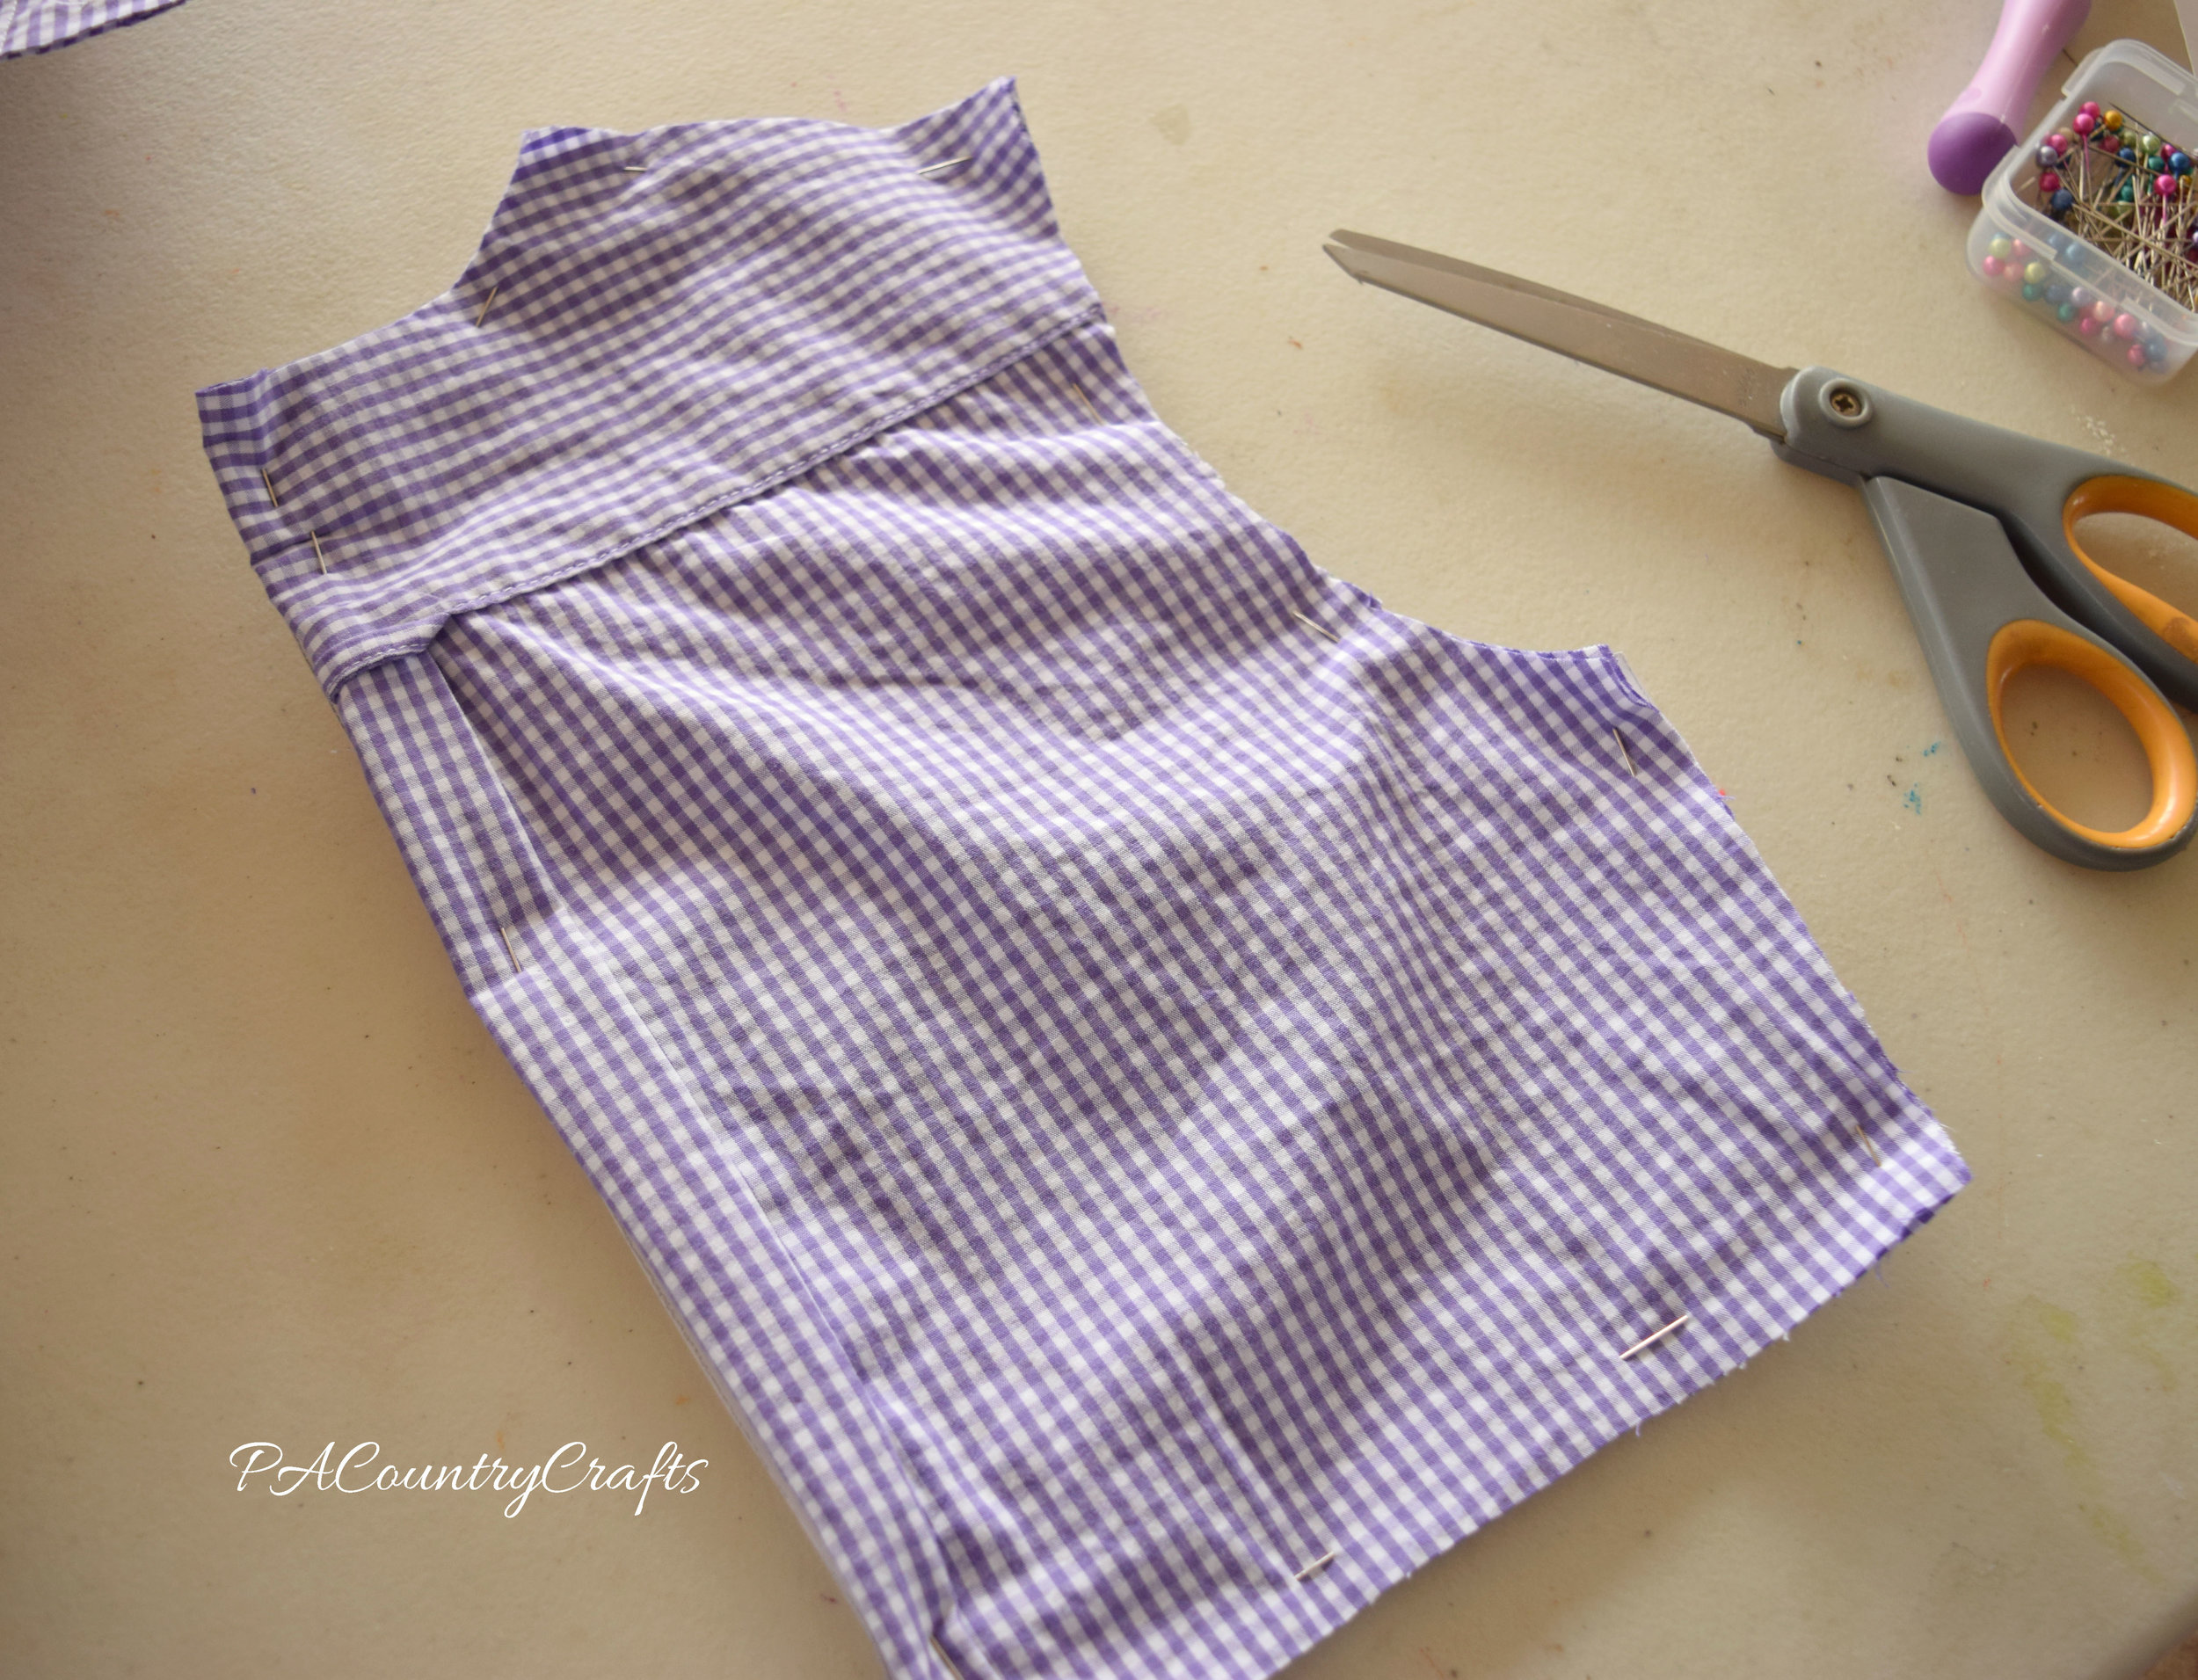
I cut the back bodice I drafted from the center back of the shirt so that I could maintain the little loop and pleats from the original shirt.

cut back from mens shirt

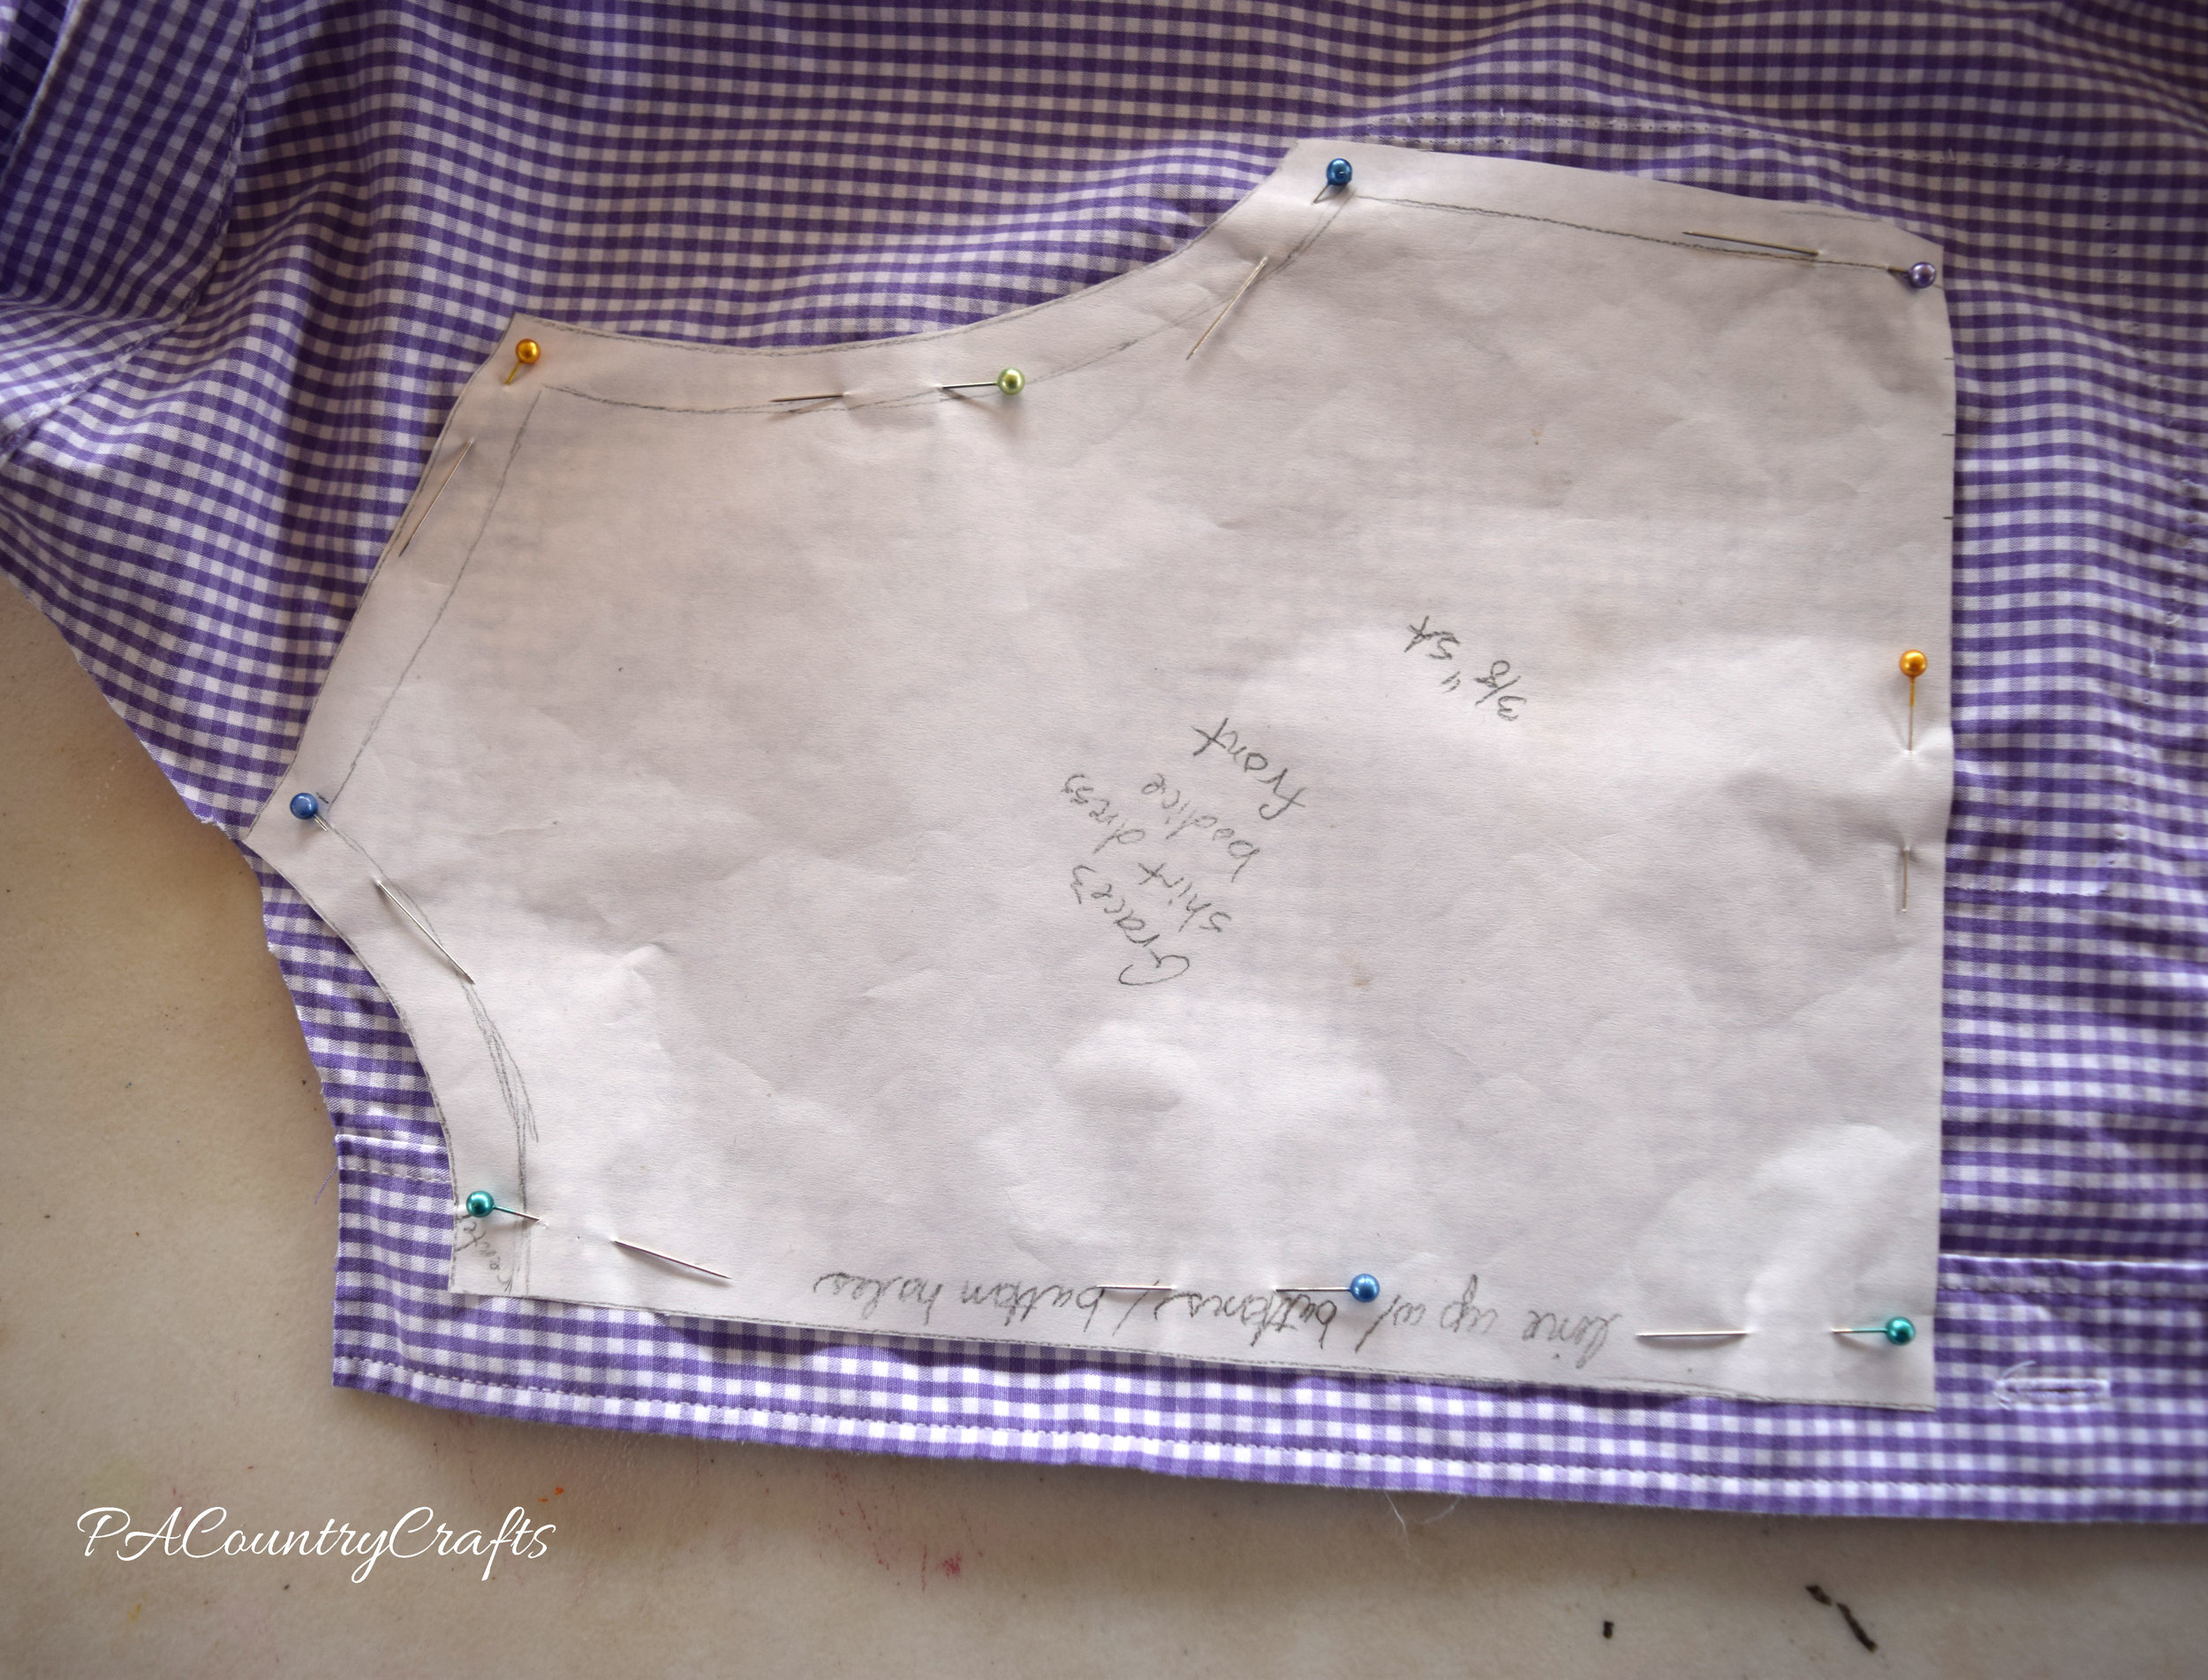
Being mindful of the buttonholes, I cut one front bodice piece out of one half of the shirt front...

cut bodice from mens shirt

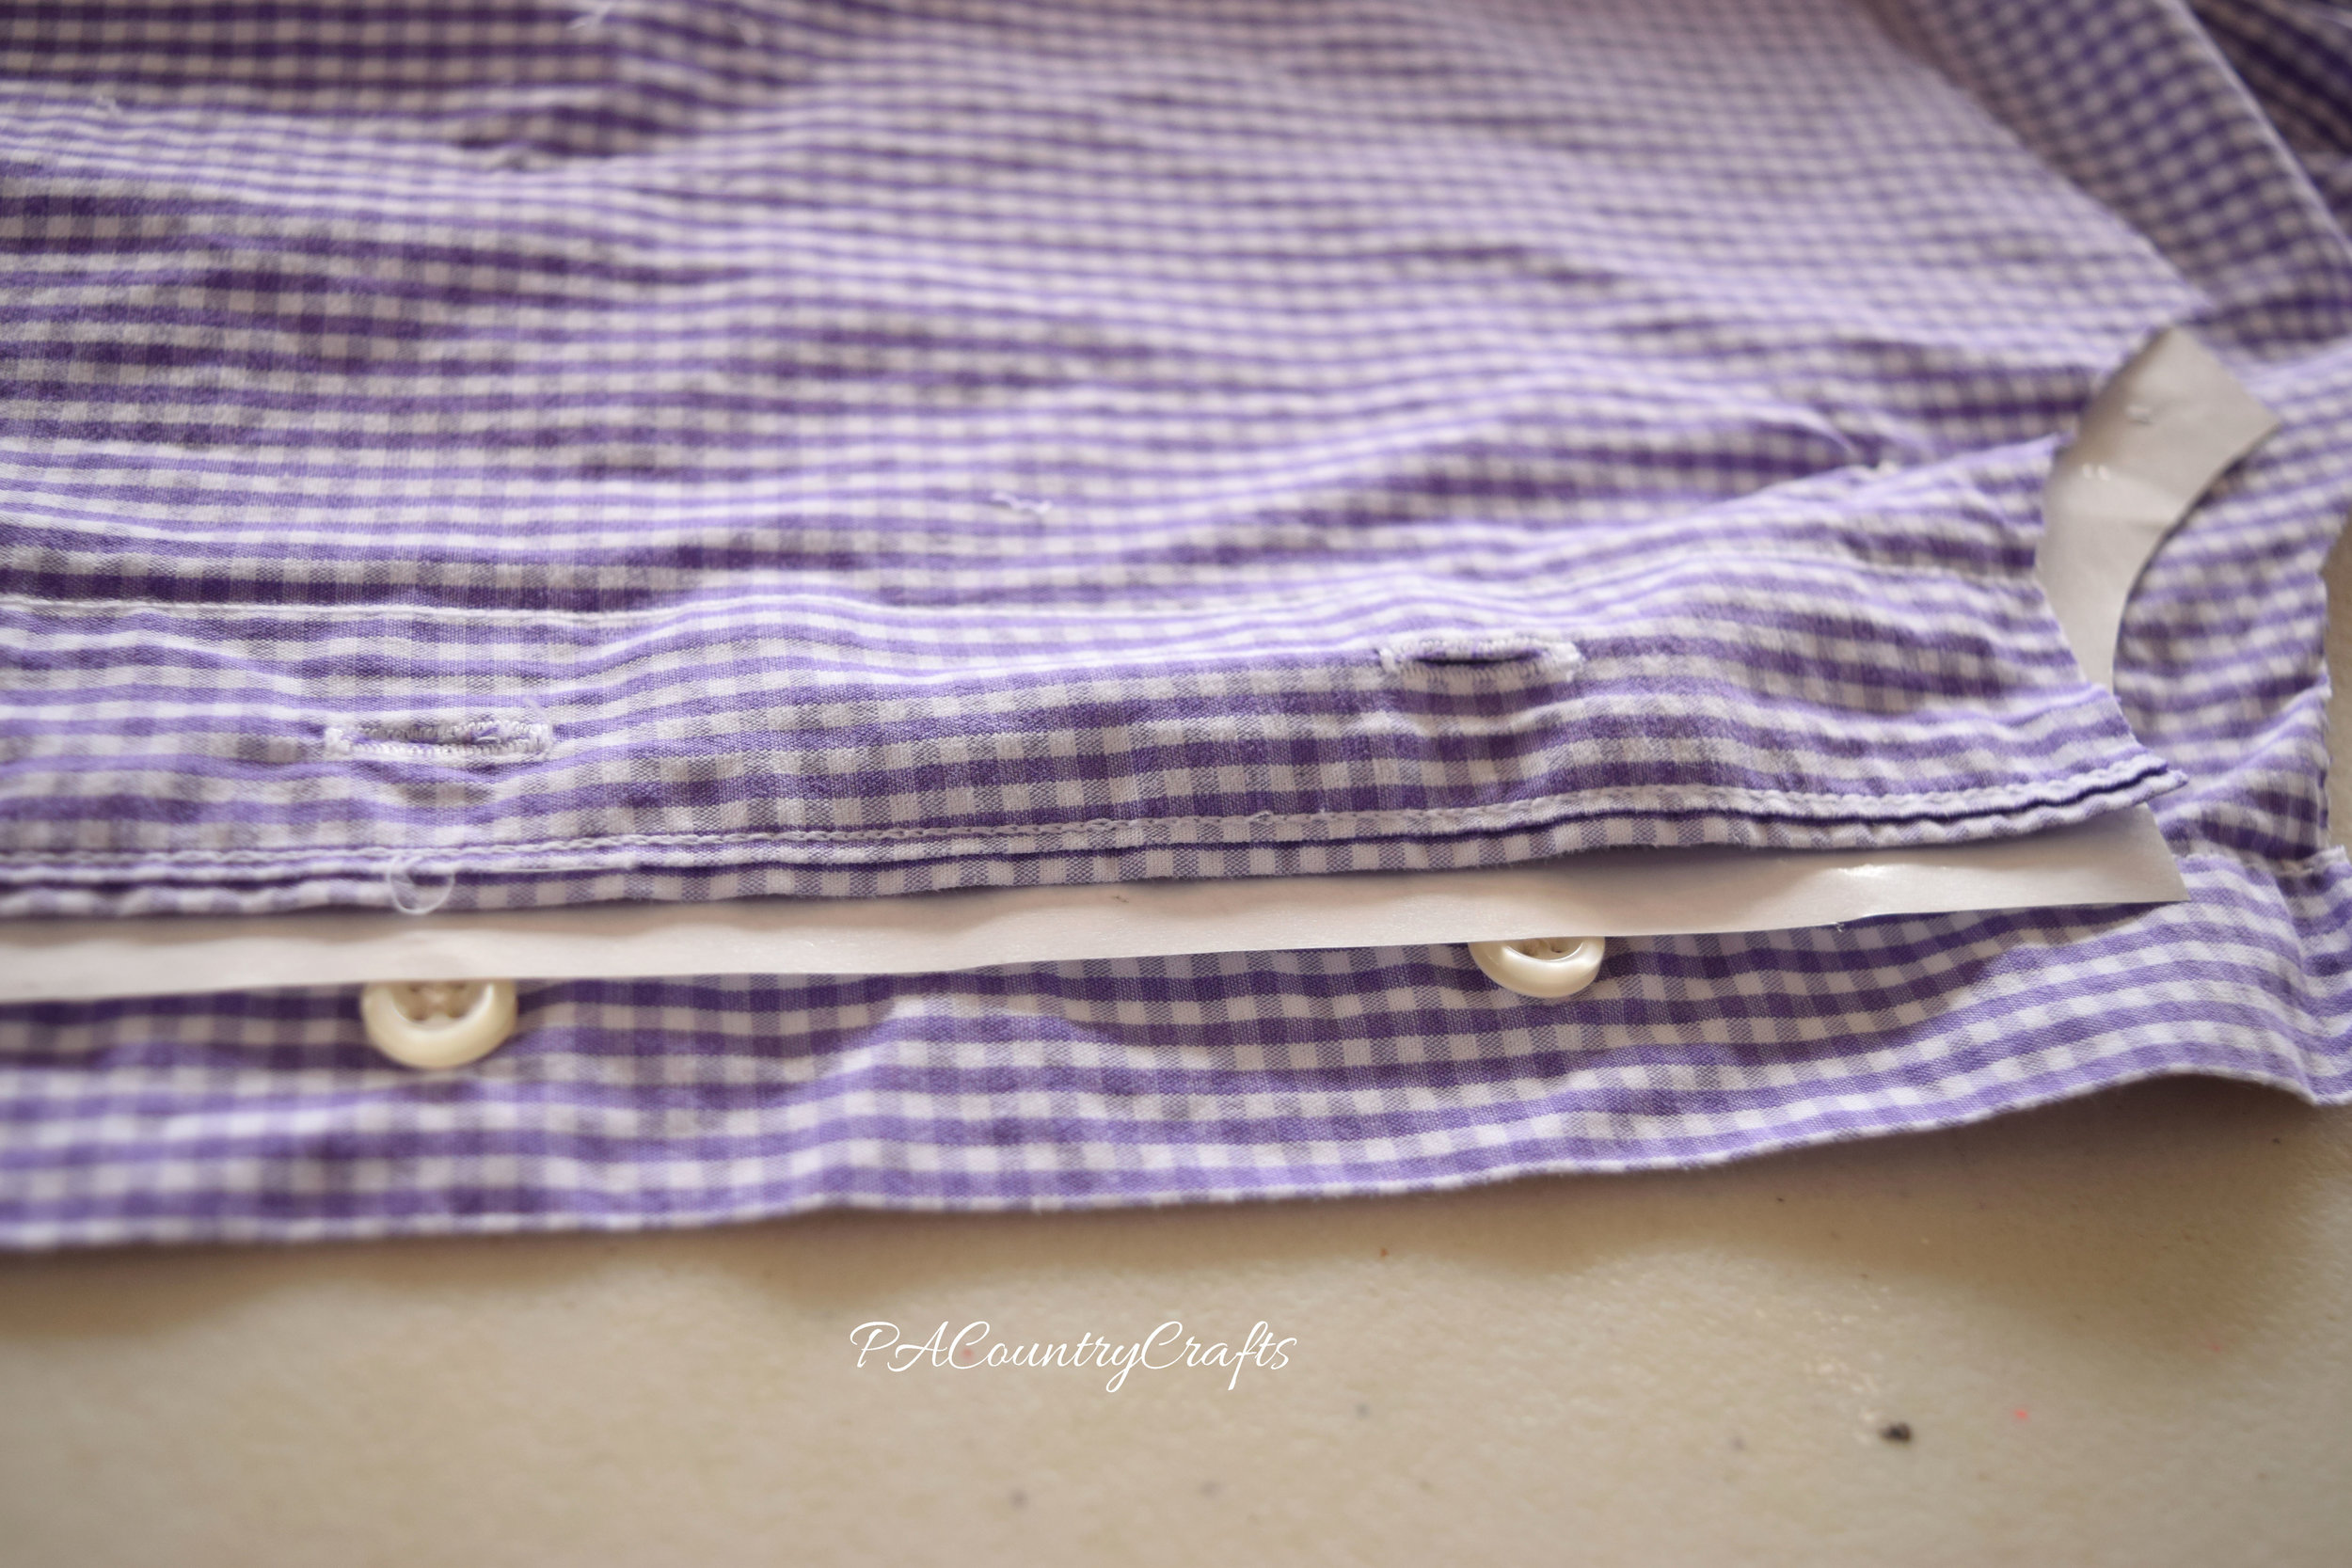
...and, lining the buttonholes up, cut the other half from the other side of the shirt front. Now, I ended up messing something up and having to make new buttonholes, but this would work if you don't make my airhead mistakes.

line up button holes

From the remaining sleeve, I cut both sleeves for the dress. I wanted to make longer sleeves, but she wanted shorter puffy ones. She was VERY specific about the sleeve length.

cut sleeves from mens shirt

Finally, the skirt came from the bottom of the shirt. I also had small scraps to make the belt loops at the waist.

mens shirt to girls dress

back of upcycled shirt dressbuilt in pettiskirt

Link Parties where I sometimes hang out…