Egg Letter Matching Activity
/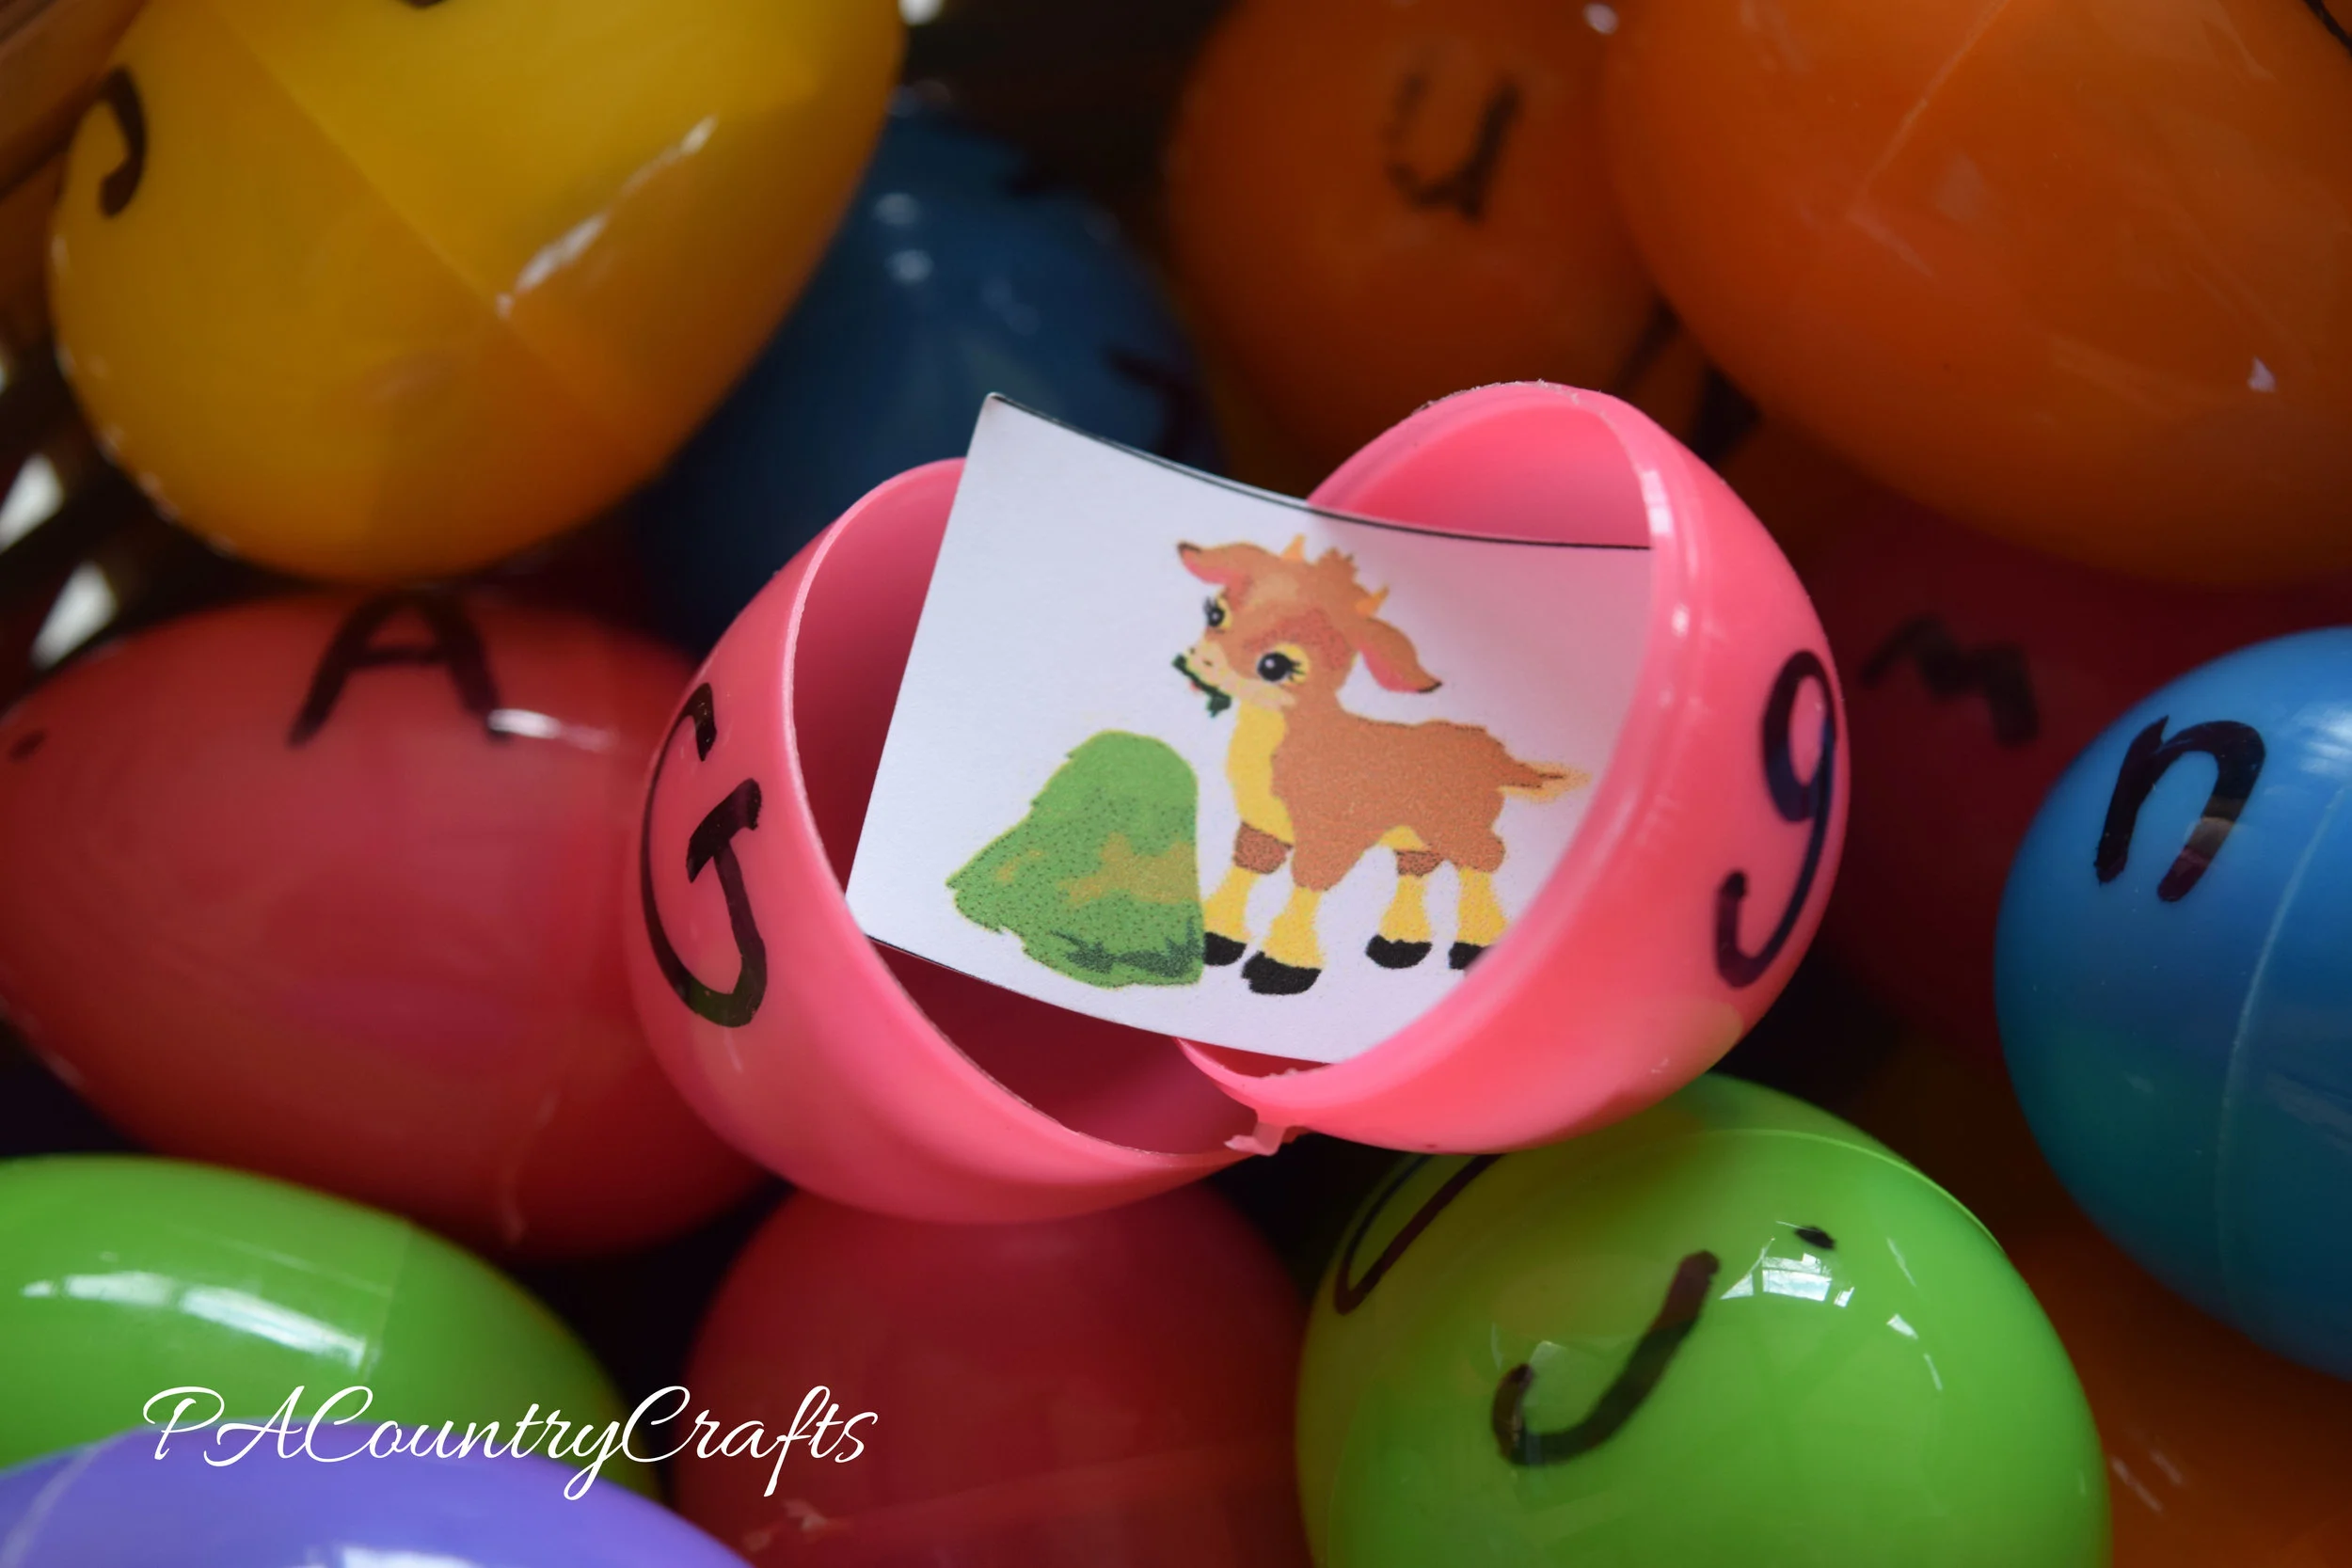
Use plastic Easter eggs for an educational preschool or Kindergarten activity- match upper and lower case and letter sounds. Free printable included!
Read MoreUse plastic Easter eggs for an educational preschool or Kindergarten activity- match upper and lower case and letter sounds. Free printable included!
Read MoreA few weeks ago I was talking to my sister about how to keep the kids occupied when you are trying to get something accomplished that requires a little more concentration and brain power- like taxes. One thing that I like to do is to keep certain toys and activities out of reach so that they have that novelty factor when I do pull them out. It can be puzzles, play-doh, or a box of toys with tiny pieces that I do not like cleaning up. Sometimes I also look for busy bag ideas on Pinterest. I found a cute felt penguin idea HERE so I decided to make my own. Of course, I over-achieved a little bit and made the accessories more detailed. All it took was some felt scraps, hot glue, and a few googly eyes.


It is fun to mix and match, but it can also be used for color sorting.

Everything fit inside a regular sandwich bag, so I just keep it in a drawer to pull out on special occasions when I need a few minutes.


If you want to pin this one to save it for later...

If you are super ambitious, I have lots of quiet books I have made that you can see HERE.
If you are looking for some easier ideas, try these...


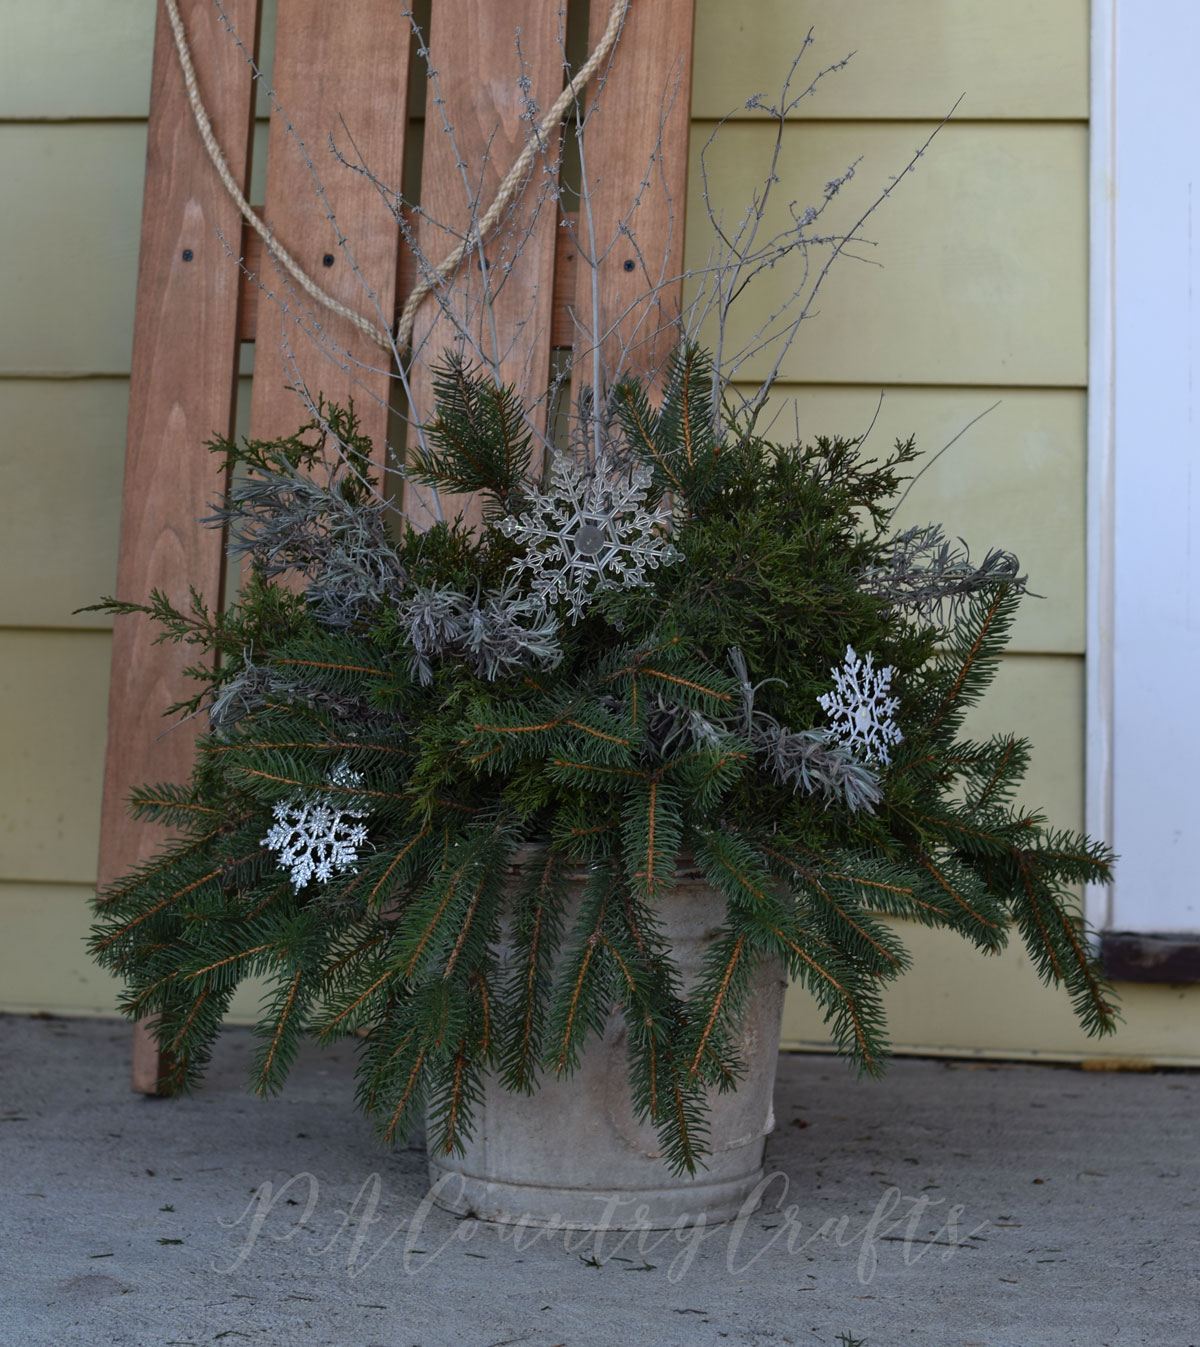
The girls and I had a "craft day" over winter break. Christmas flew by in a blur and we still had a lot of craft projects that were still just big ideas and a pile of supplies. Honestly, some of the supplies were several years old because this seems to happen every year. One of the things that I wanted to make was a "waterless" snow globe decoration. The little plastic deer and bottle brush trees kept disappearing on me over the past year or so. Some of the deer didn't make it because their legs were chewed on. :( I picked up a few more things when Christmas shopping in early November, so before we had any more casualties, I wanted to make this one a priority.
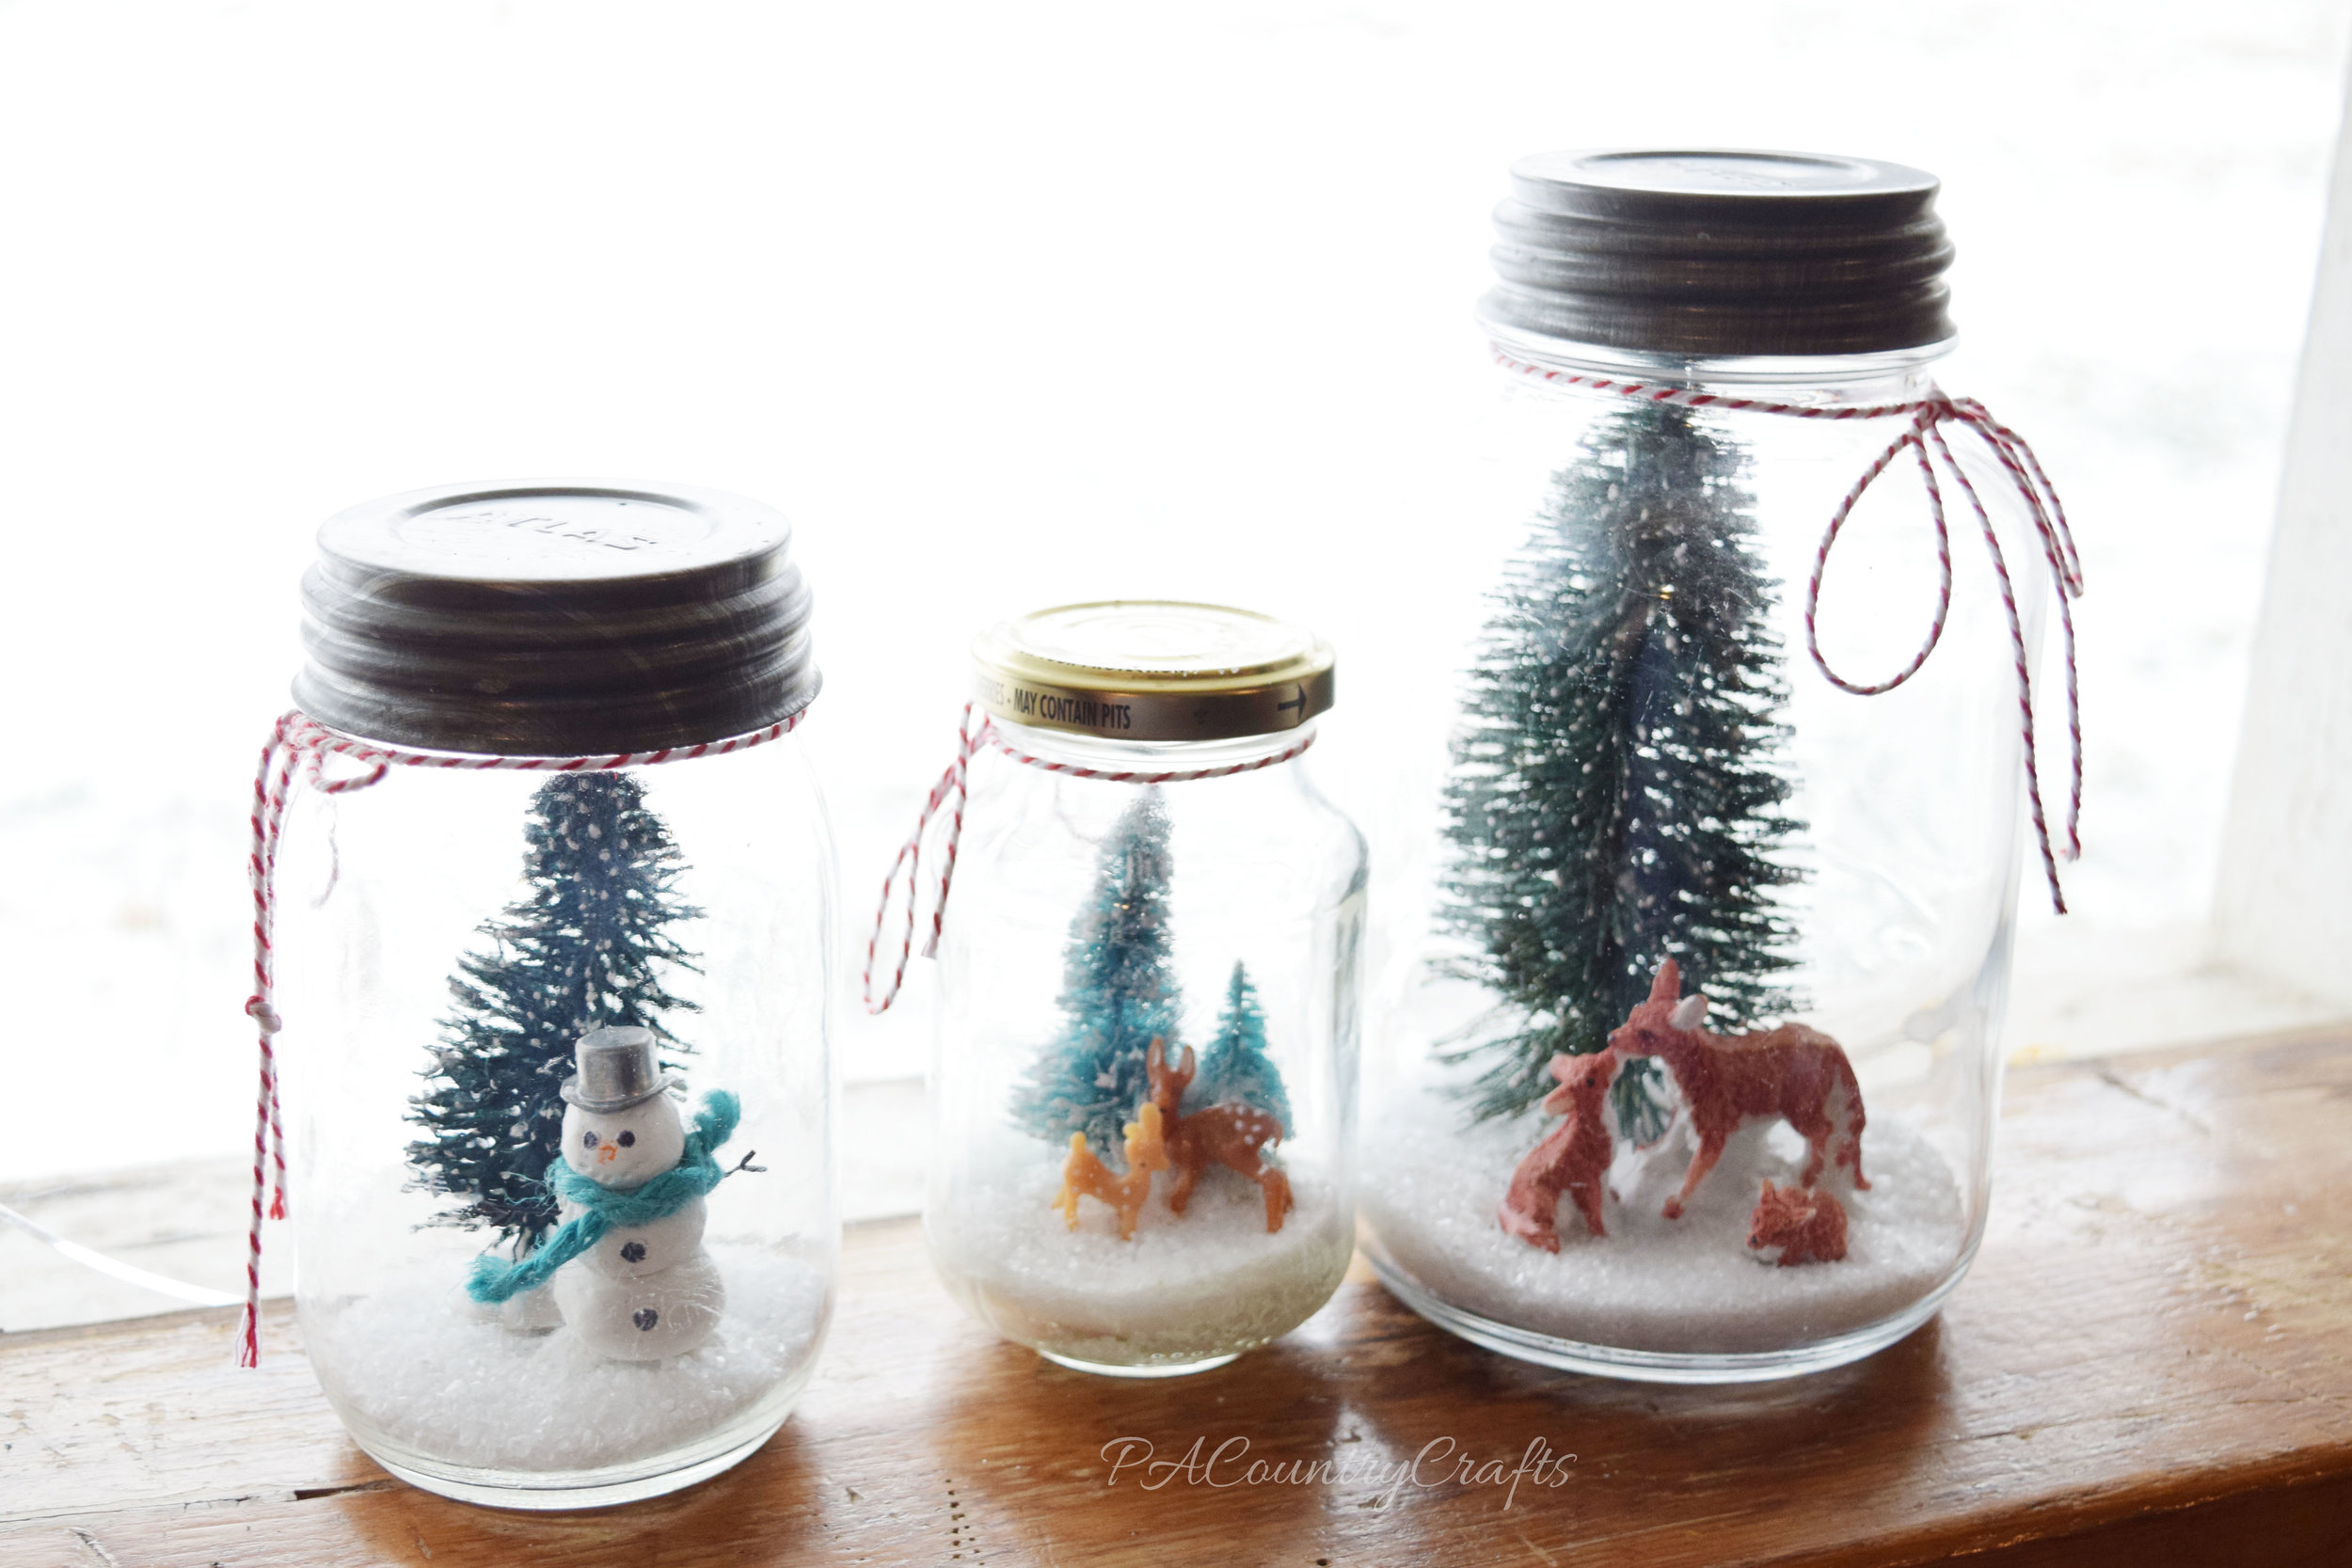
We used some "mason-type" jars. The "real" mason jars I use for canning, but there were some smooth sided jars mixed in my supply I didn't mind forfeiting.
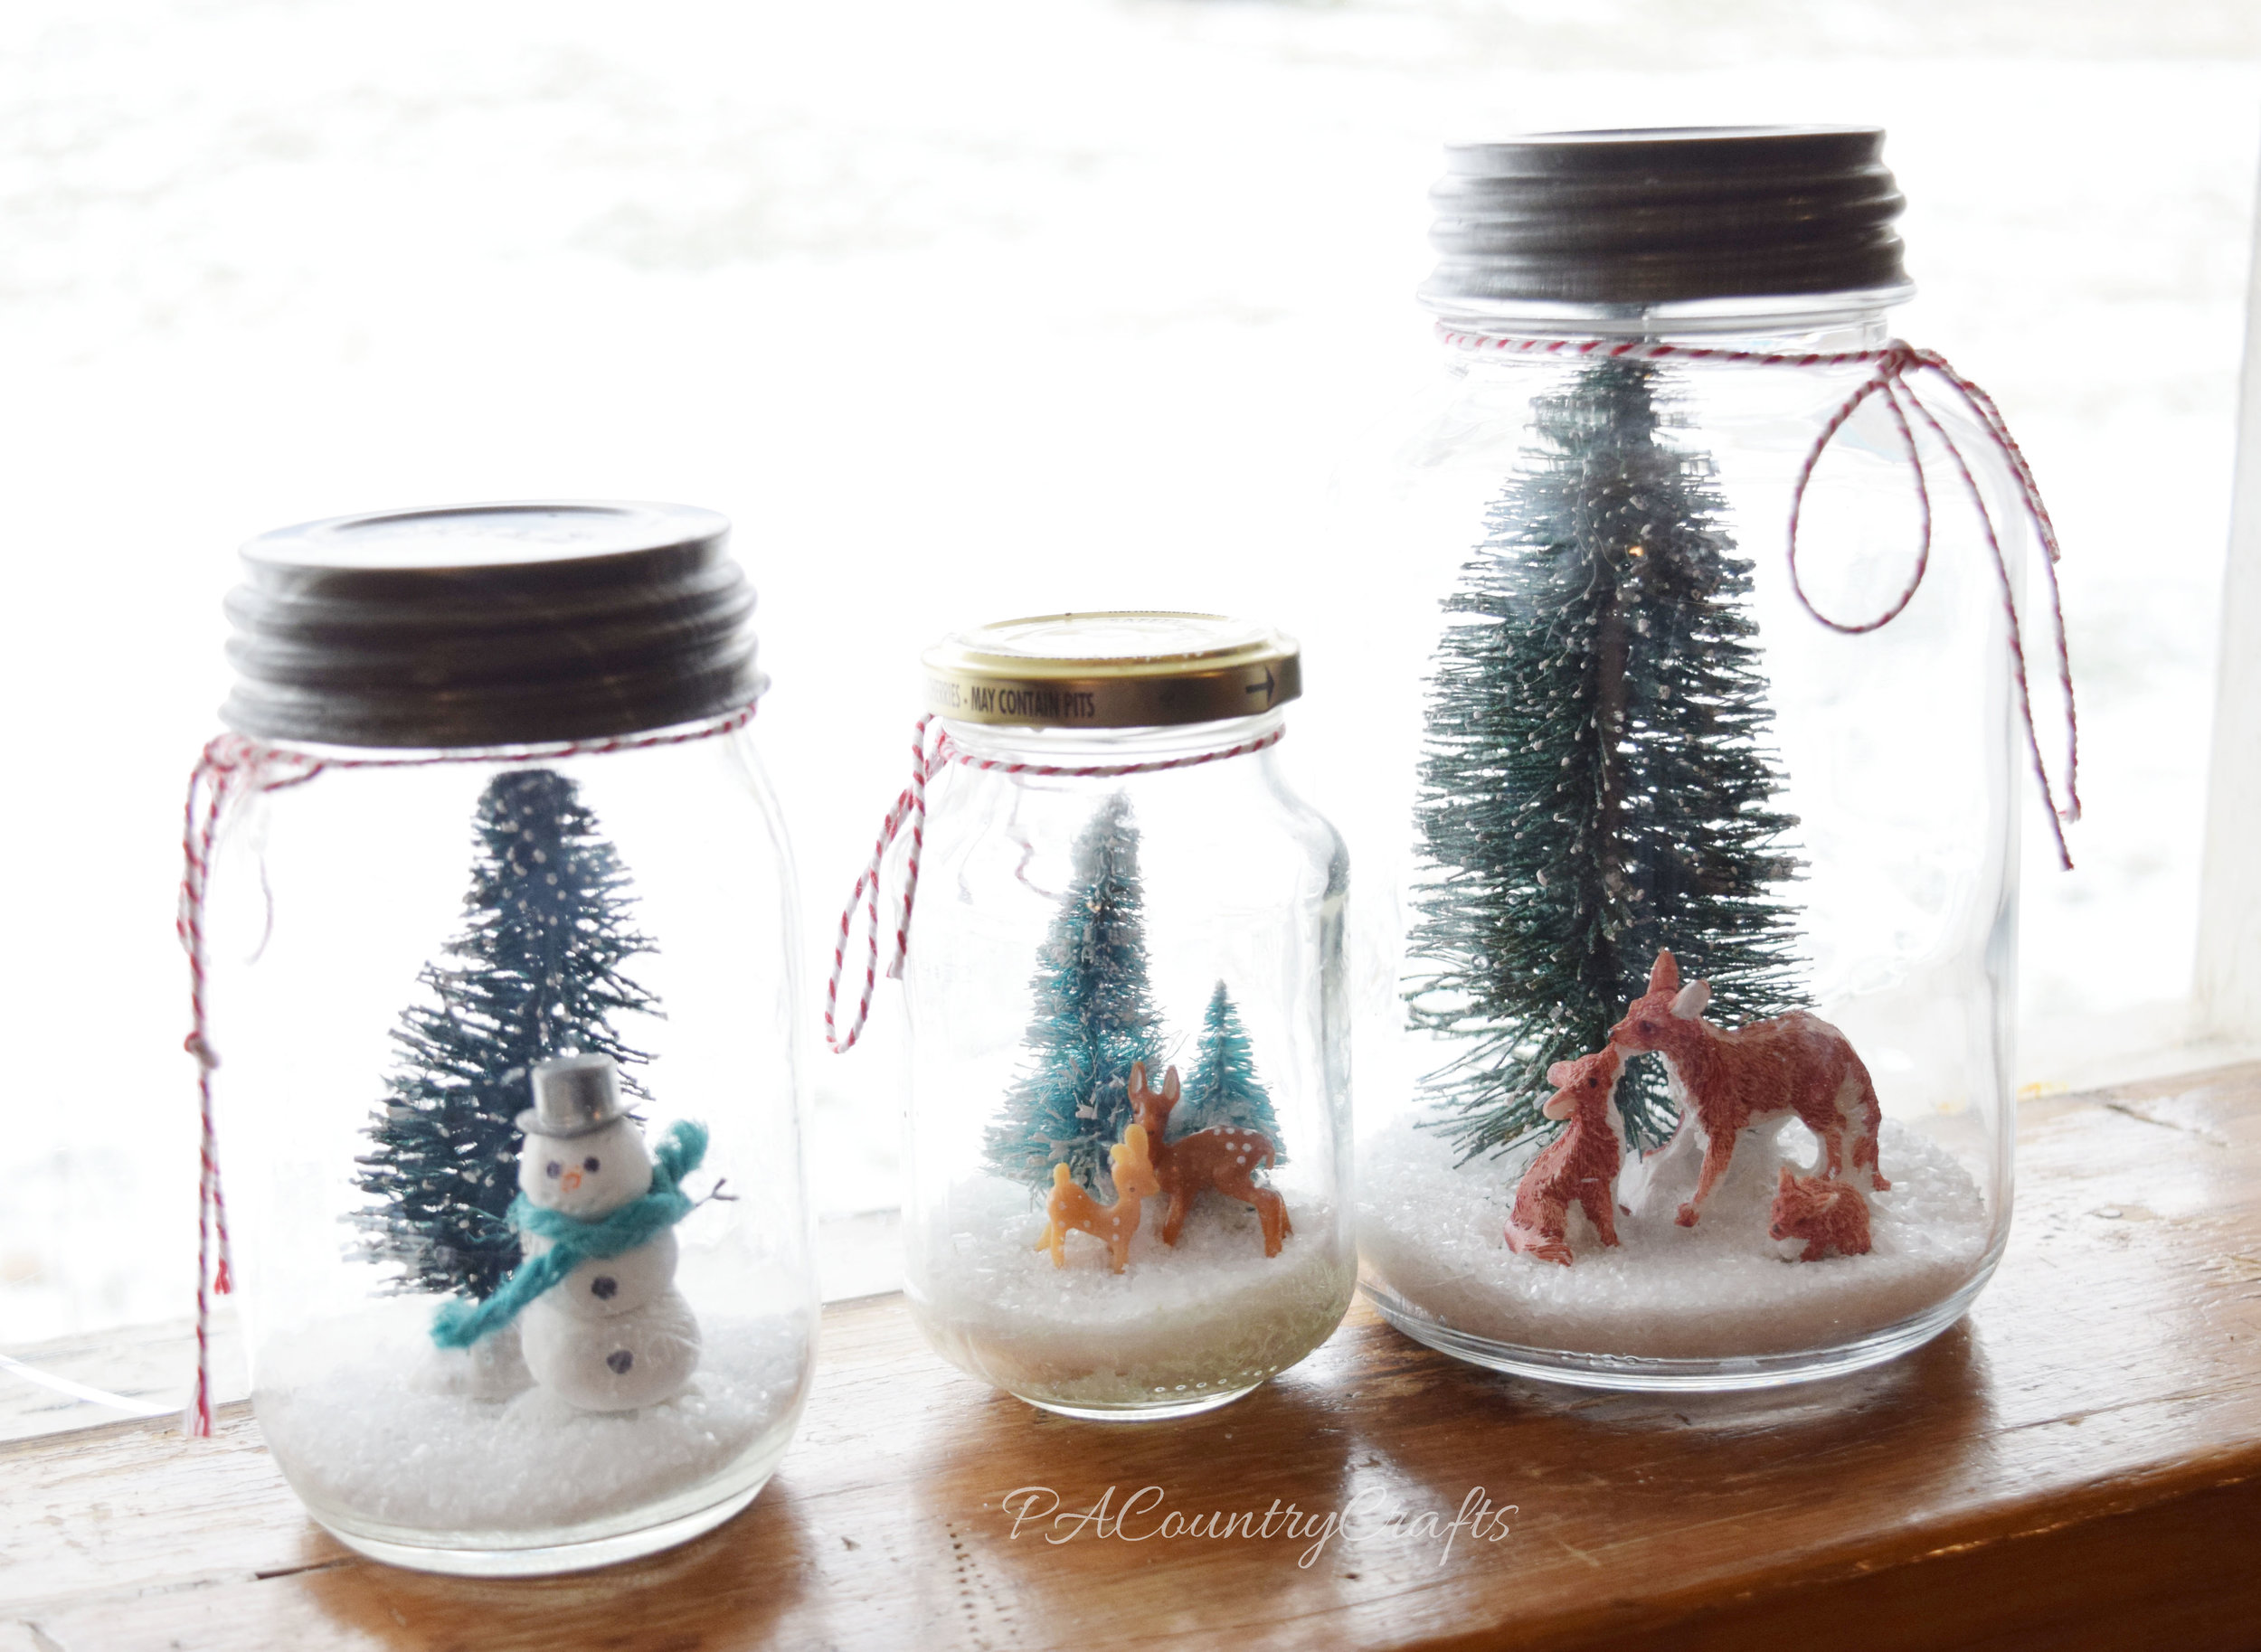
The first one was the easiest. It is a little ceramic fox family and bottle brush tree from the Christmas village section at Walmart. I just stuck them in the jar and my 5yo added epsom salts. I did use a vintage lid and tie some baker's twine around the neck of the jar just to add a little more detail.

The deer scene was probably the hardest. The supplies came from Michaels last year, so they were not in good shape. I made a snow mound out of clay and stabbed the trunkless trees and plastic deer into it. Getting those deer to stay in place was a pain and I needed pliers to push them down in firmly. Then, we also poured in some epsom salts, but I should have let the clay dry first.

The snowman was made out of clay with wire arms, a play-doh orange nose that fell off, a jute scarf, sharpie dotted buttons, and a hat borrowed from our Monopoly game. There is a lollipop stick (unused) to hold all of the layers together, including a rounded base underneath the snowman. Unfortunately, I did not let the clay dry first and the moisture as it dried caused the epsom salts to crystallize up the sides of the jar. I had to take the whole thing apart and redo it. So, if you are making these, have a little patience and wait a few days for the clay to dry.

These were really simple to make and the kids like them! It is a nice decoration that I can leave out all winter long.


I have so many crafty things to share on the blog, but I just haven't had time to edit pics and type up posts. I don't things will ever settle down around here. Here is another MOPS craft projects. We did this at our open gym gathering. Usually the kids just run loose and we can chat while we let them burn some energy. I just set up a table off to the side with this extra craft project to do with the kids if they were interested. It seemed to go really well and the kids had fun choosing items to put in their bottles.

I-Spy Bottles MOPS craft

I Spy Bottles for MOPS Creative Activities- fun to do with the kids
You will need...
~plastic bottles ~rice ~funnel ~scoop ~sharpie marker ~hot glue gun ~assorted trinkets
For the trinkets to include in the bottle, some of us just collected assorted choking hazards and craft supplies. We had alphabet beads, seashells, buttons, toys, feathers, colored beans, metallic confetti (this looked great in the bottle!), animal beads, charms, etc.
They were really easy to make...
Choose a clean, dry, plastic bottle. I brought small Gatorade bottles, but some people had some really nice bottles from other beverages.
Fill the bottle partway with rice. We used a funnel and a scoop.
Choose small trinkets to place in the bottle.
Add more rice until the bottle is nearly full, but leave plenty of space to roll the rice around.
Hot glue the lid onto the bottle.
The step we skipped... write the child's name on the lid with a Sharpie.
I love craft projects with kids that are actually useful and last more than a few days!


These are my best tips:
These are the samples that I made before the meeting. They will be used as gifts to welcome new moms during the year.


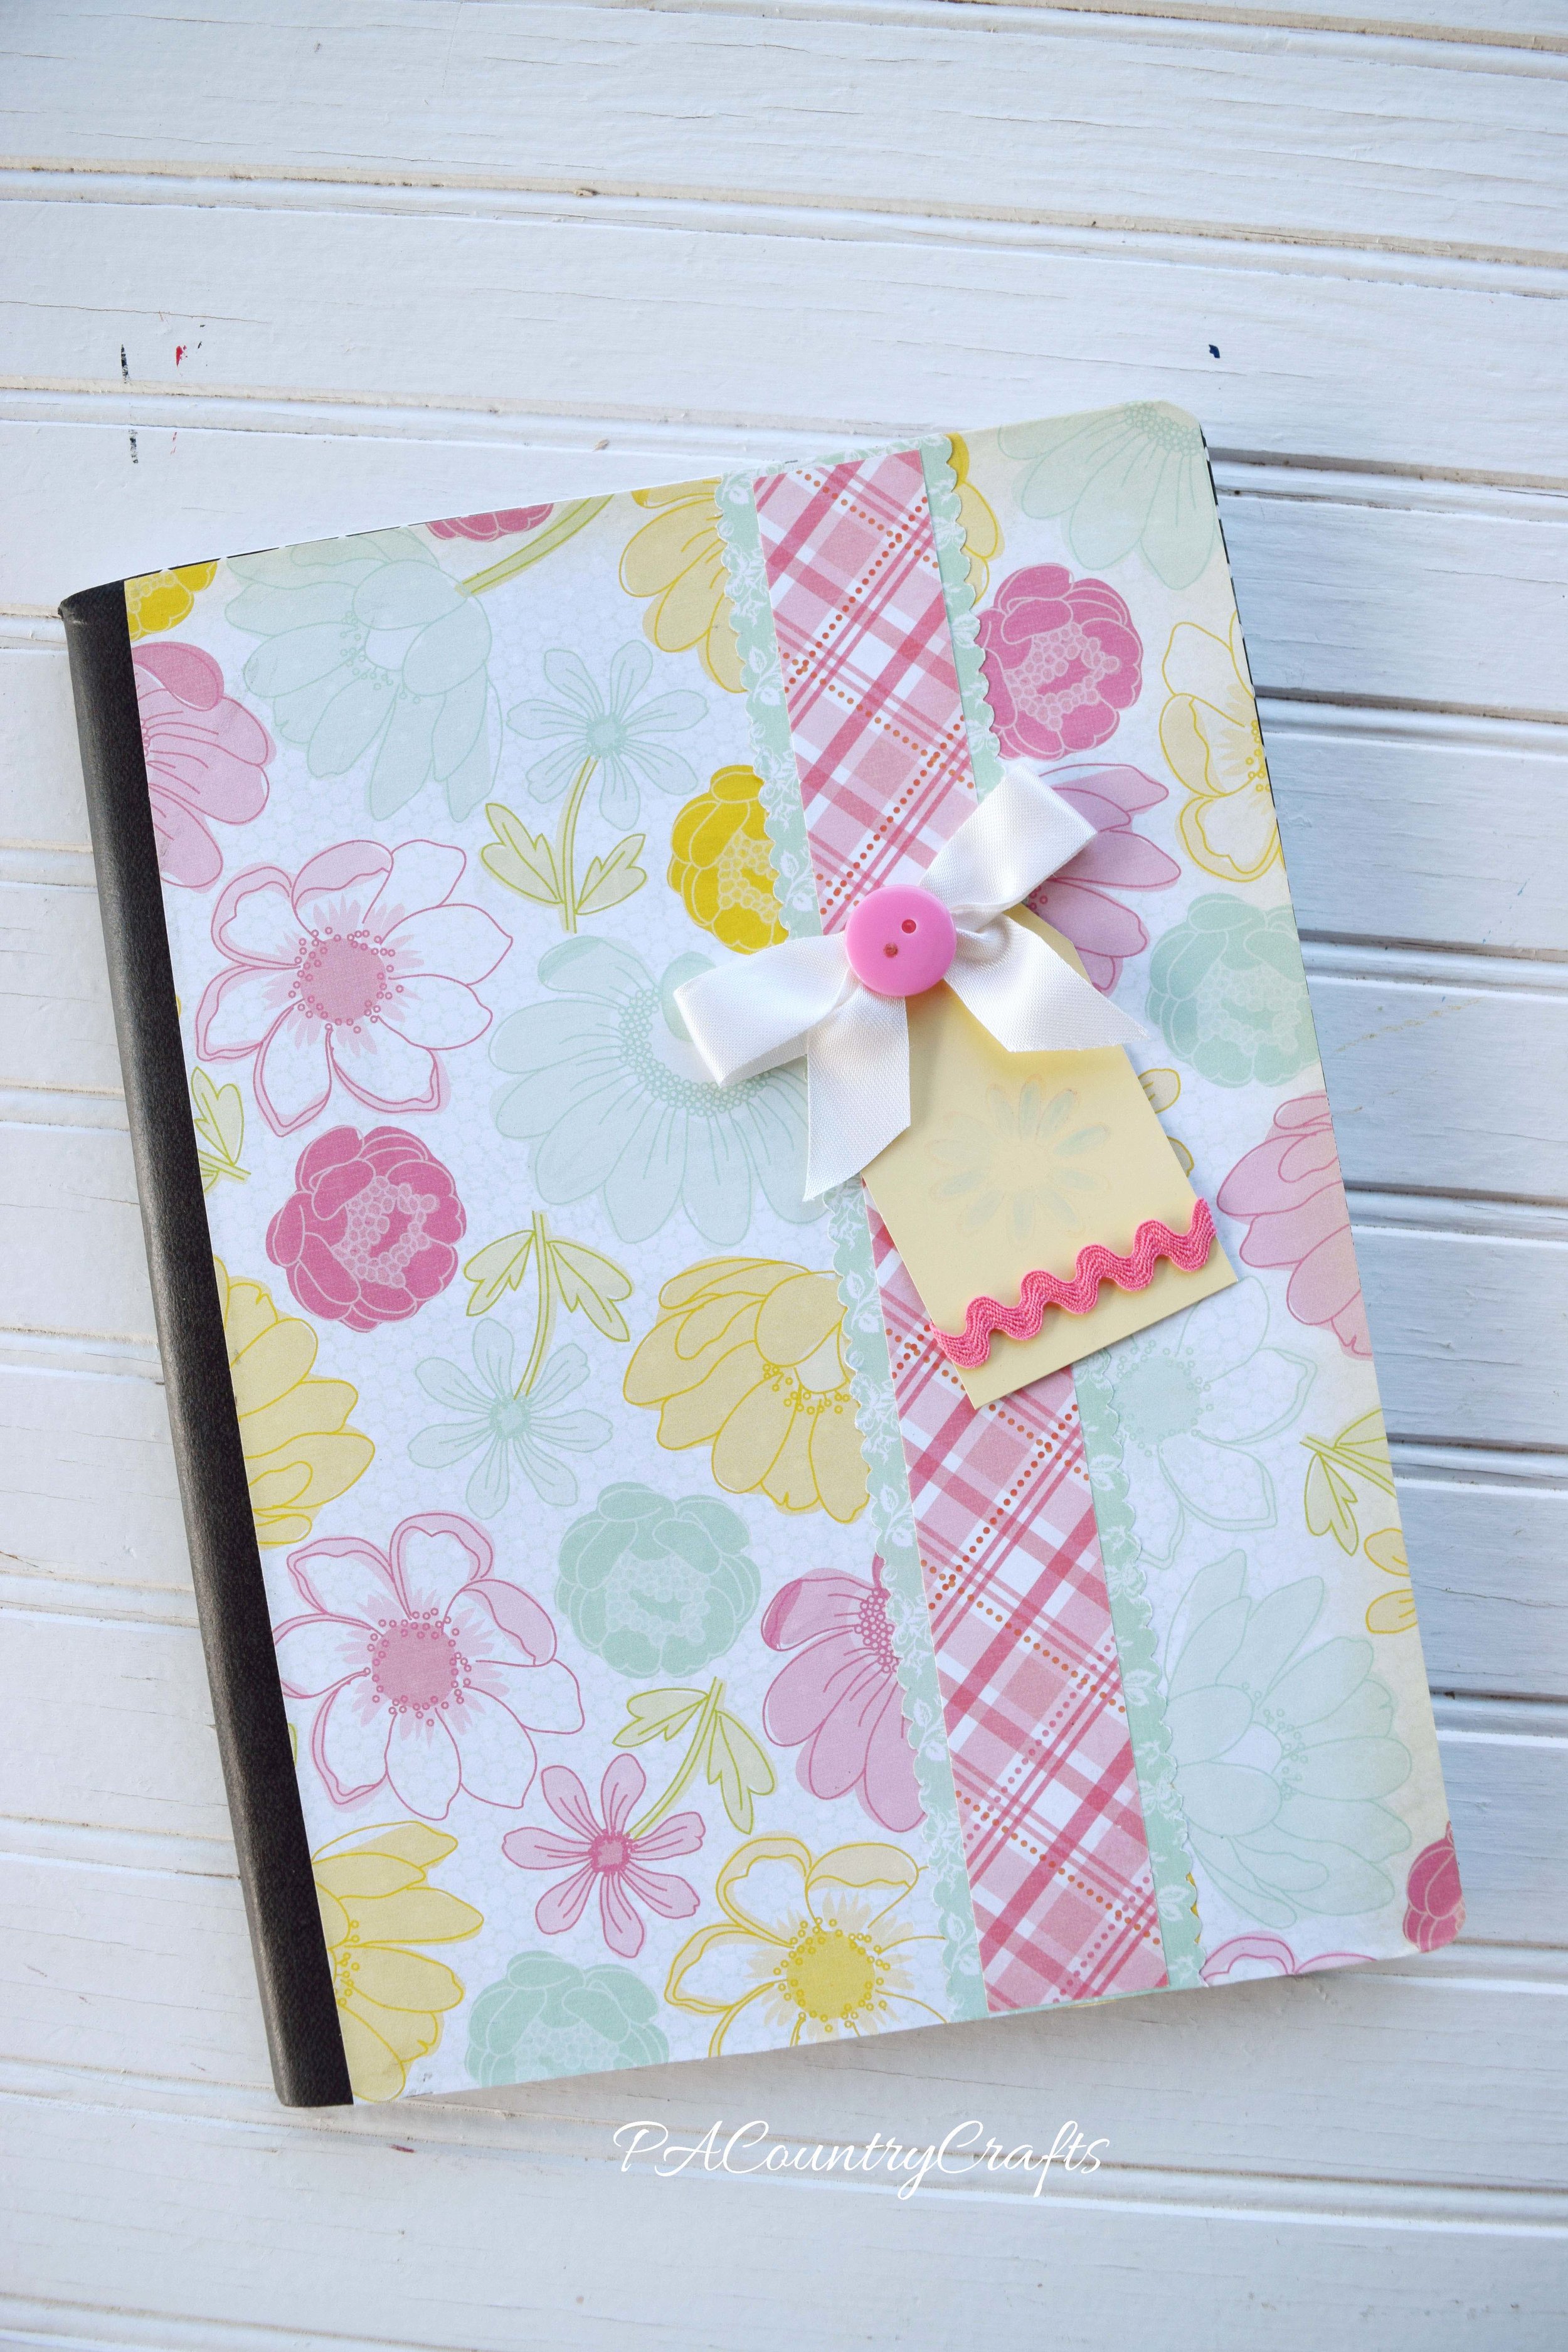
I think this one is my favorite. It is simple, but so pretty!


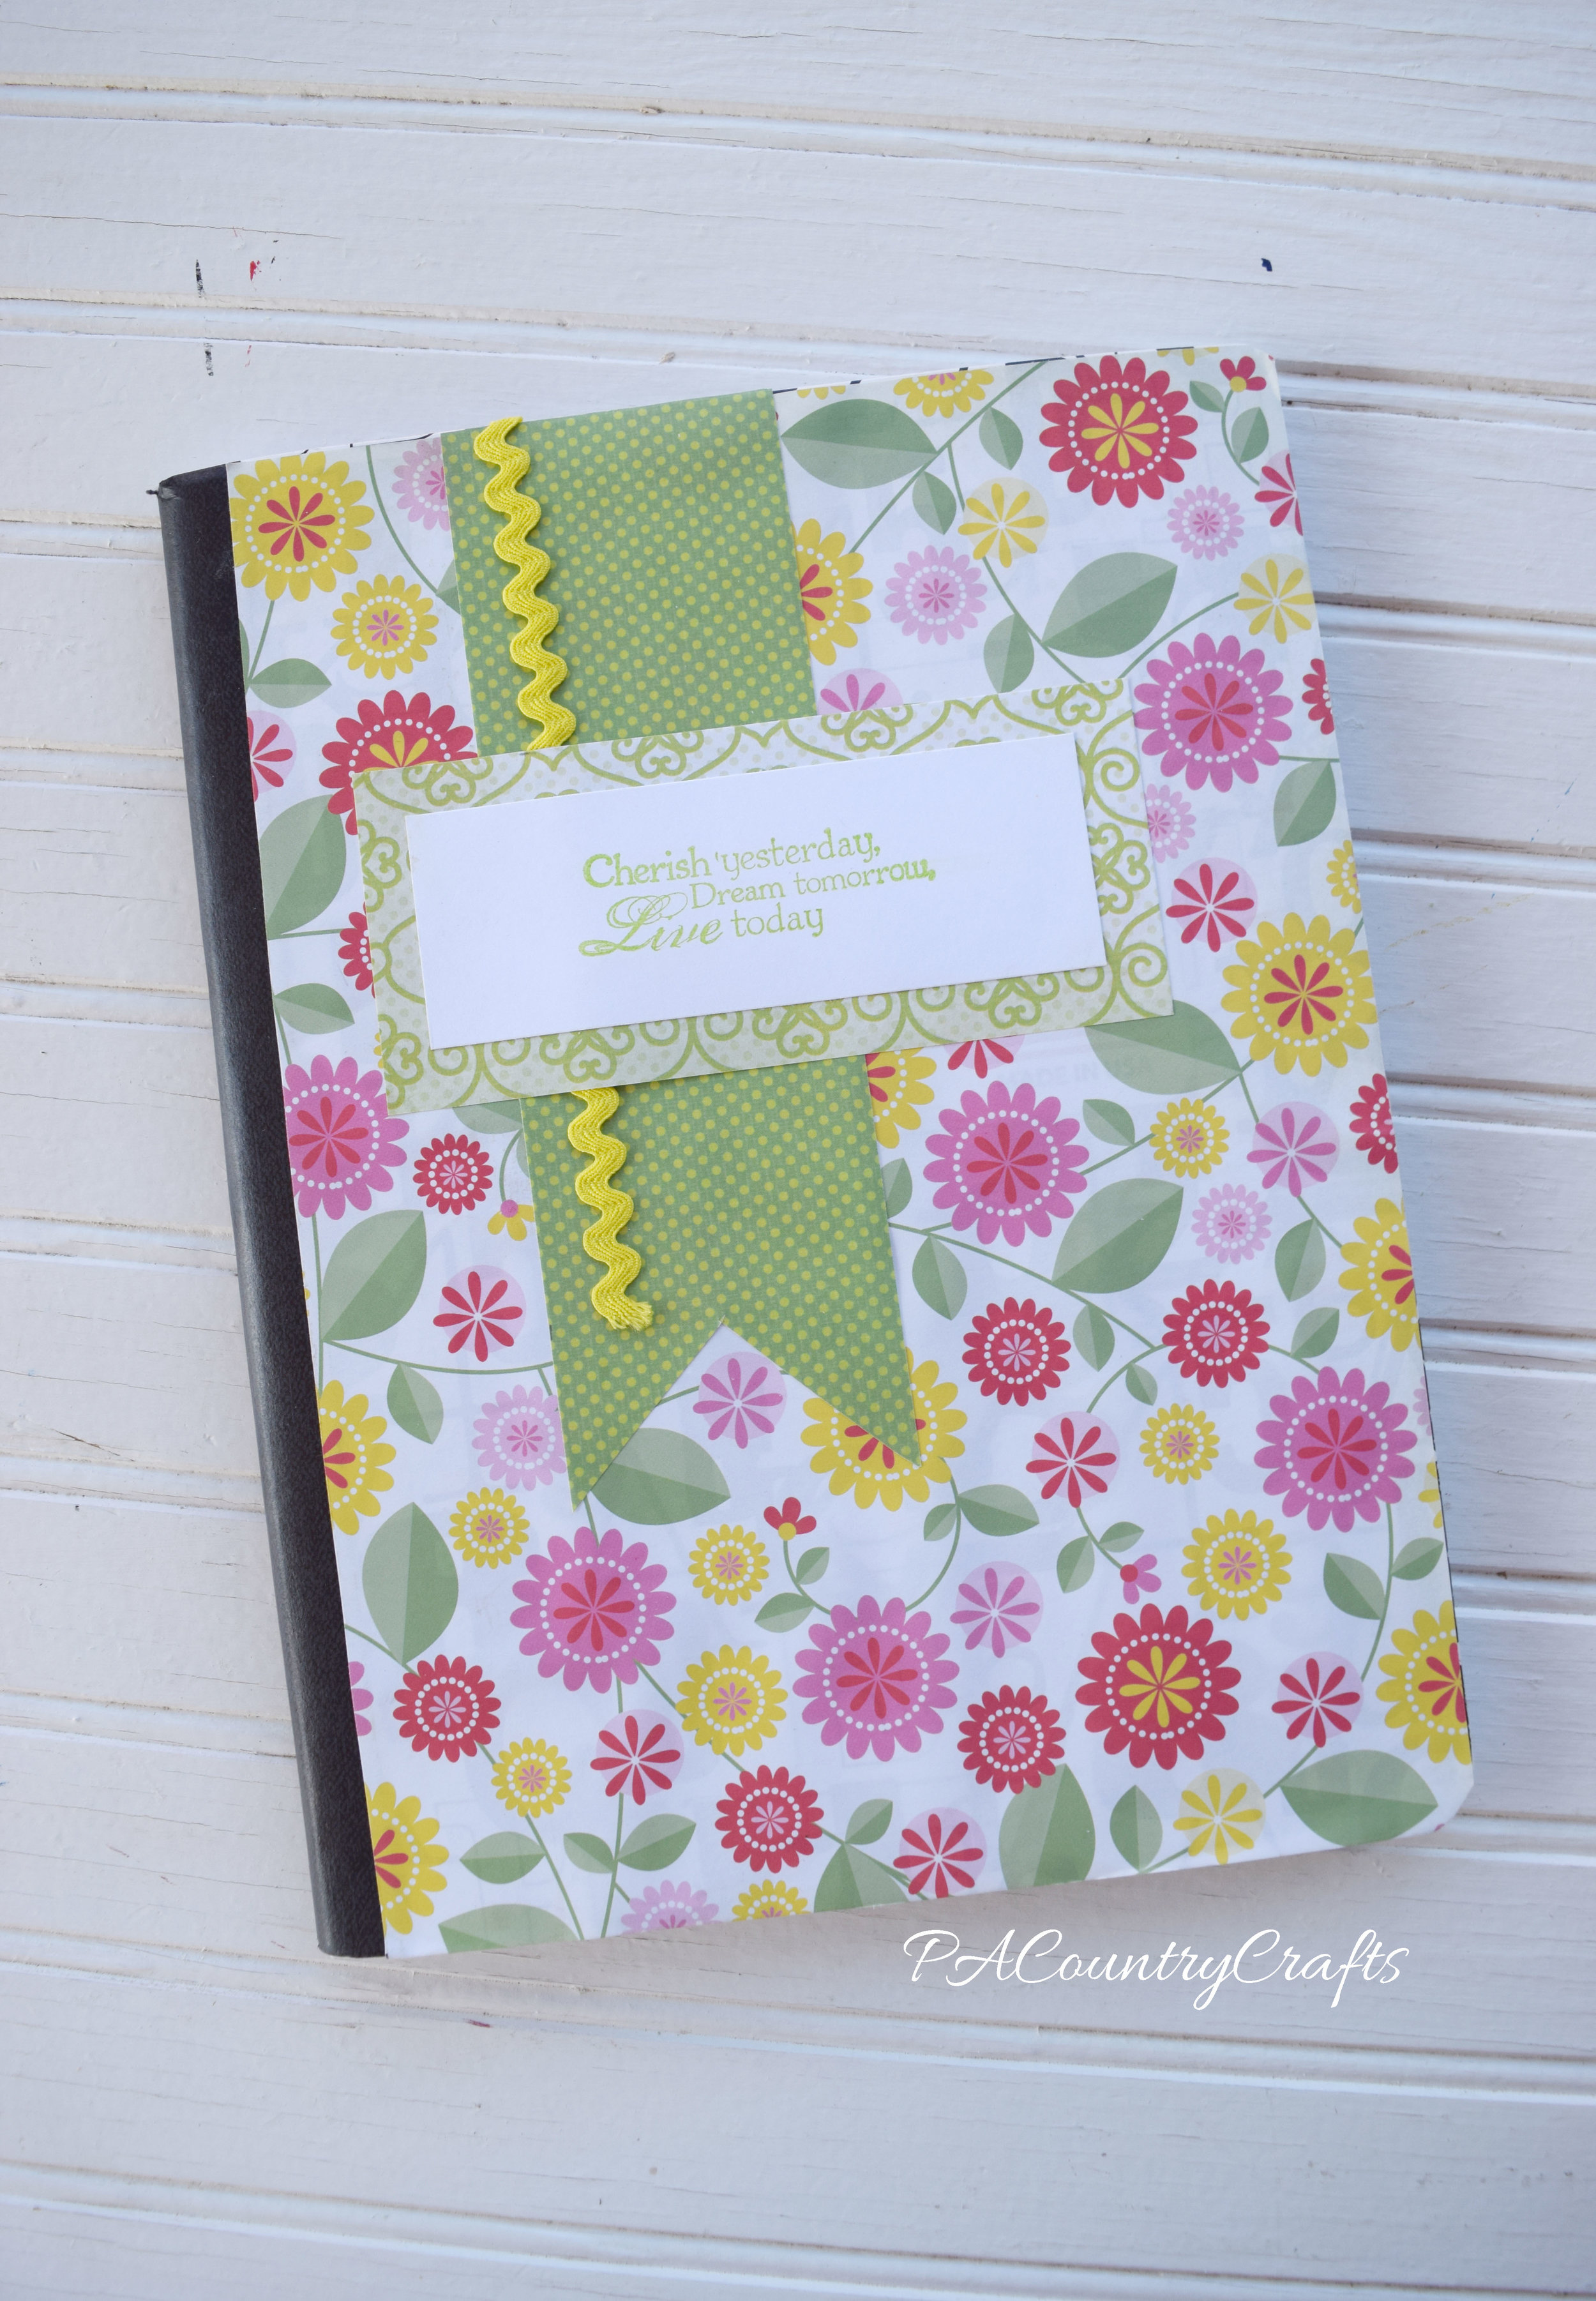
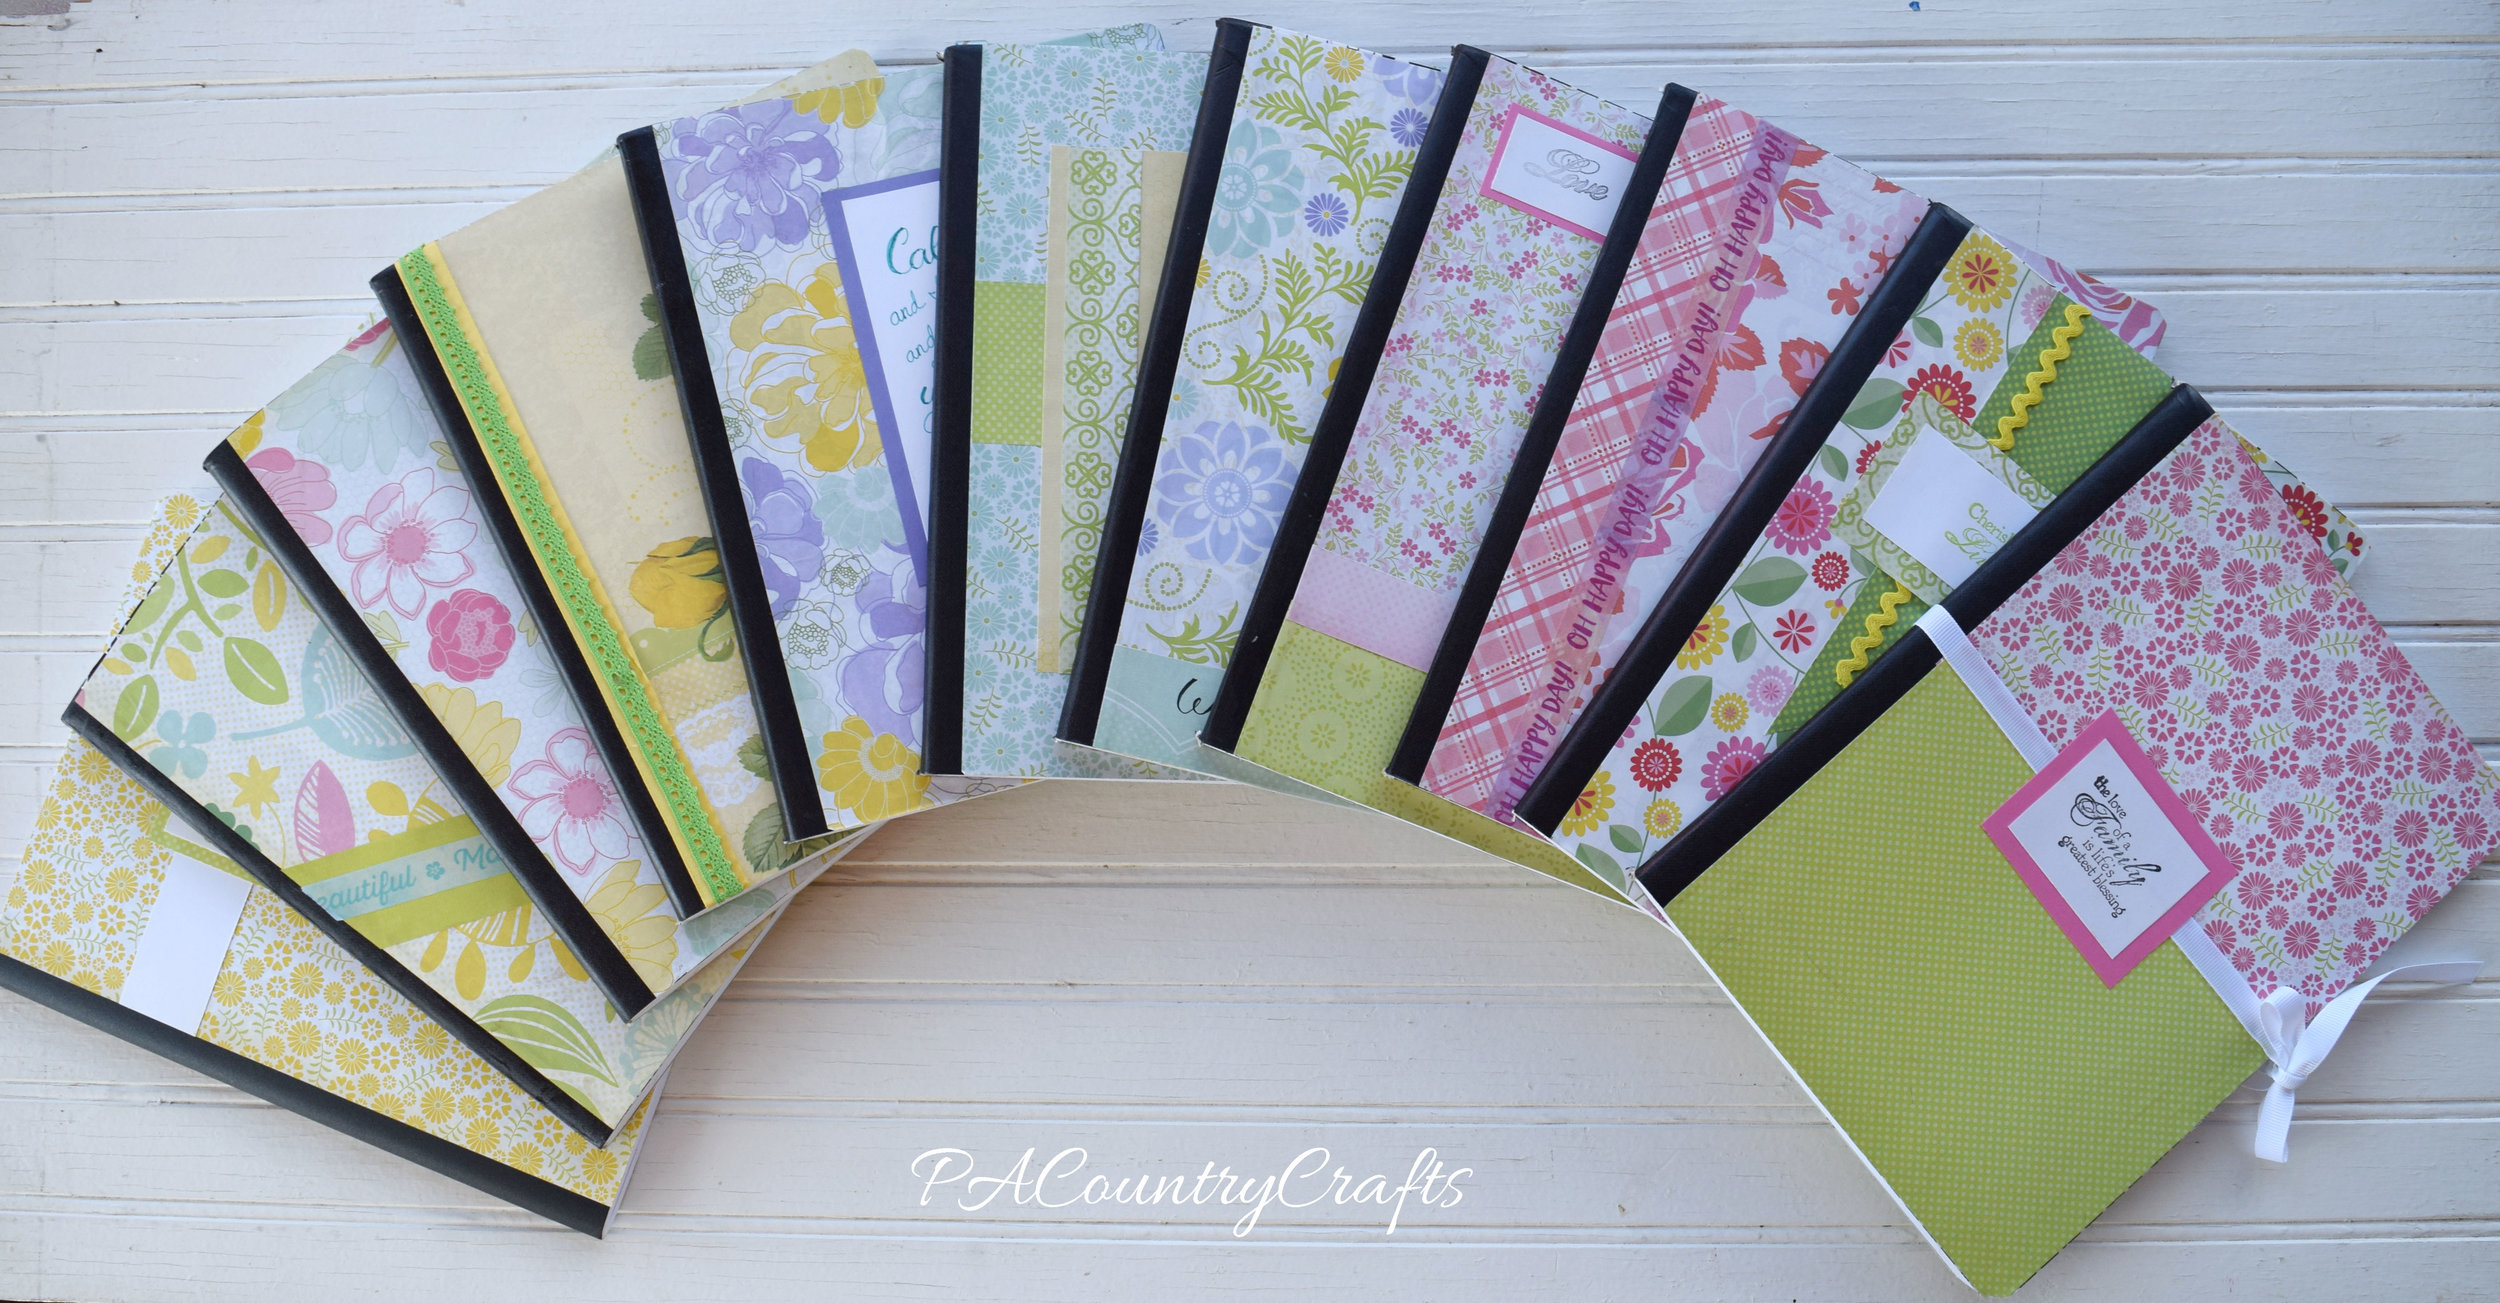 After the meeting, I found composition books on clearance SUPER cheap, so I got some more. I had bought another pad of paper for myself because I loved the prints and colors. So, my daughters helped themselves to my craft supplies and made their own journals. Apparently, this makes a really easy kids craft, too!

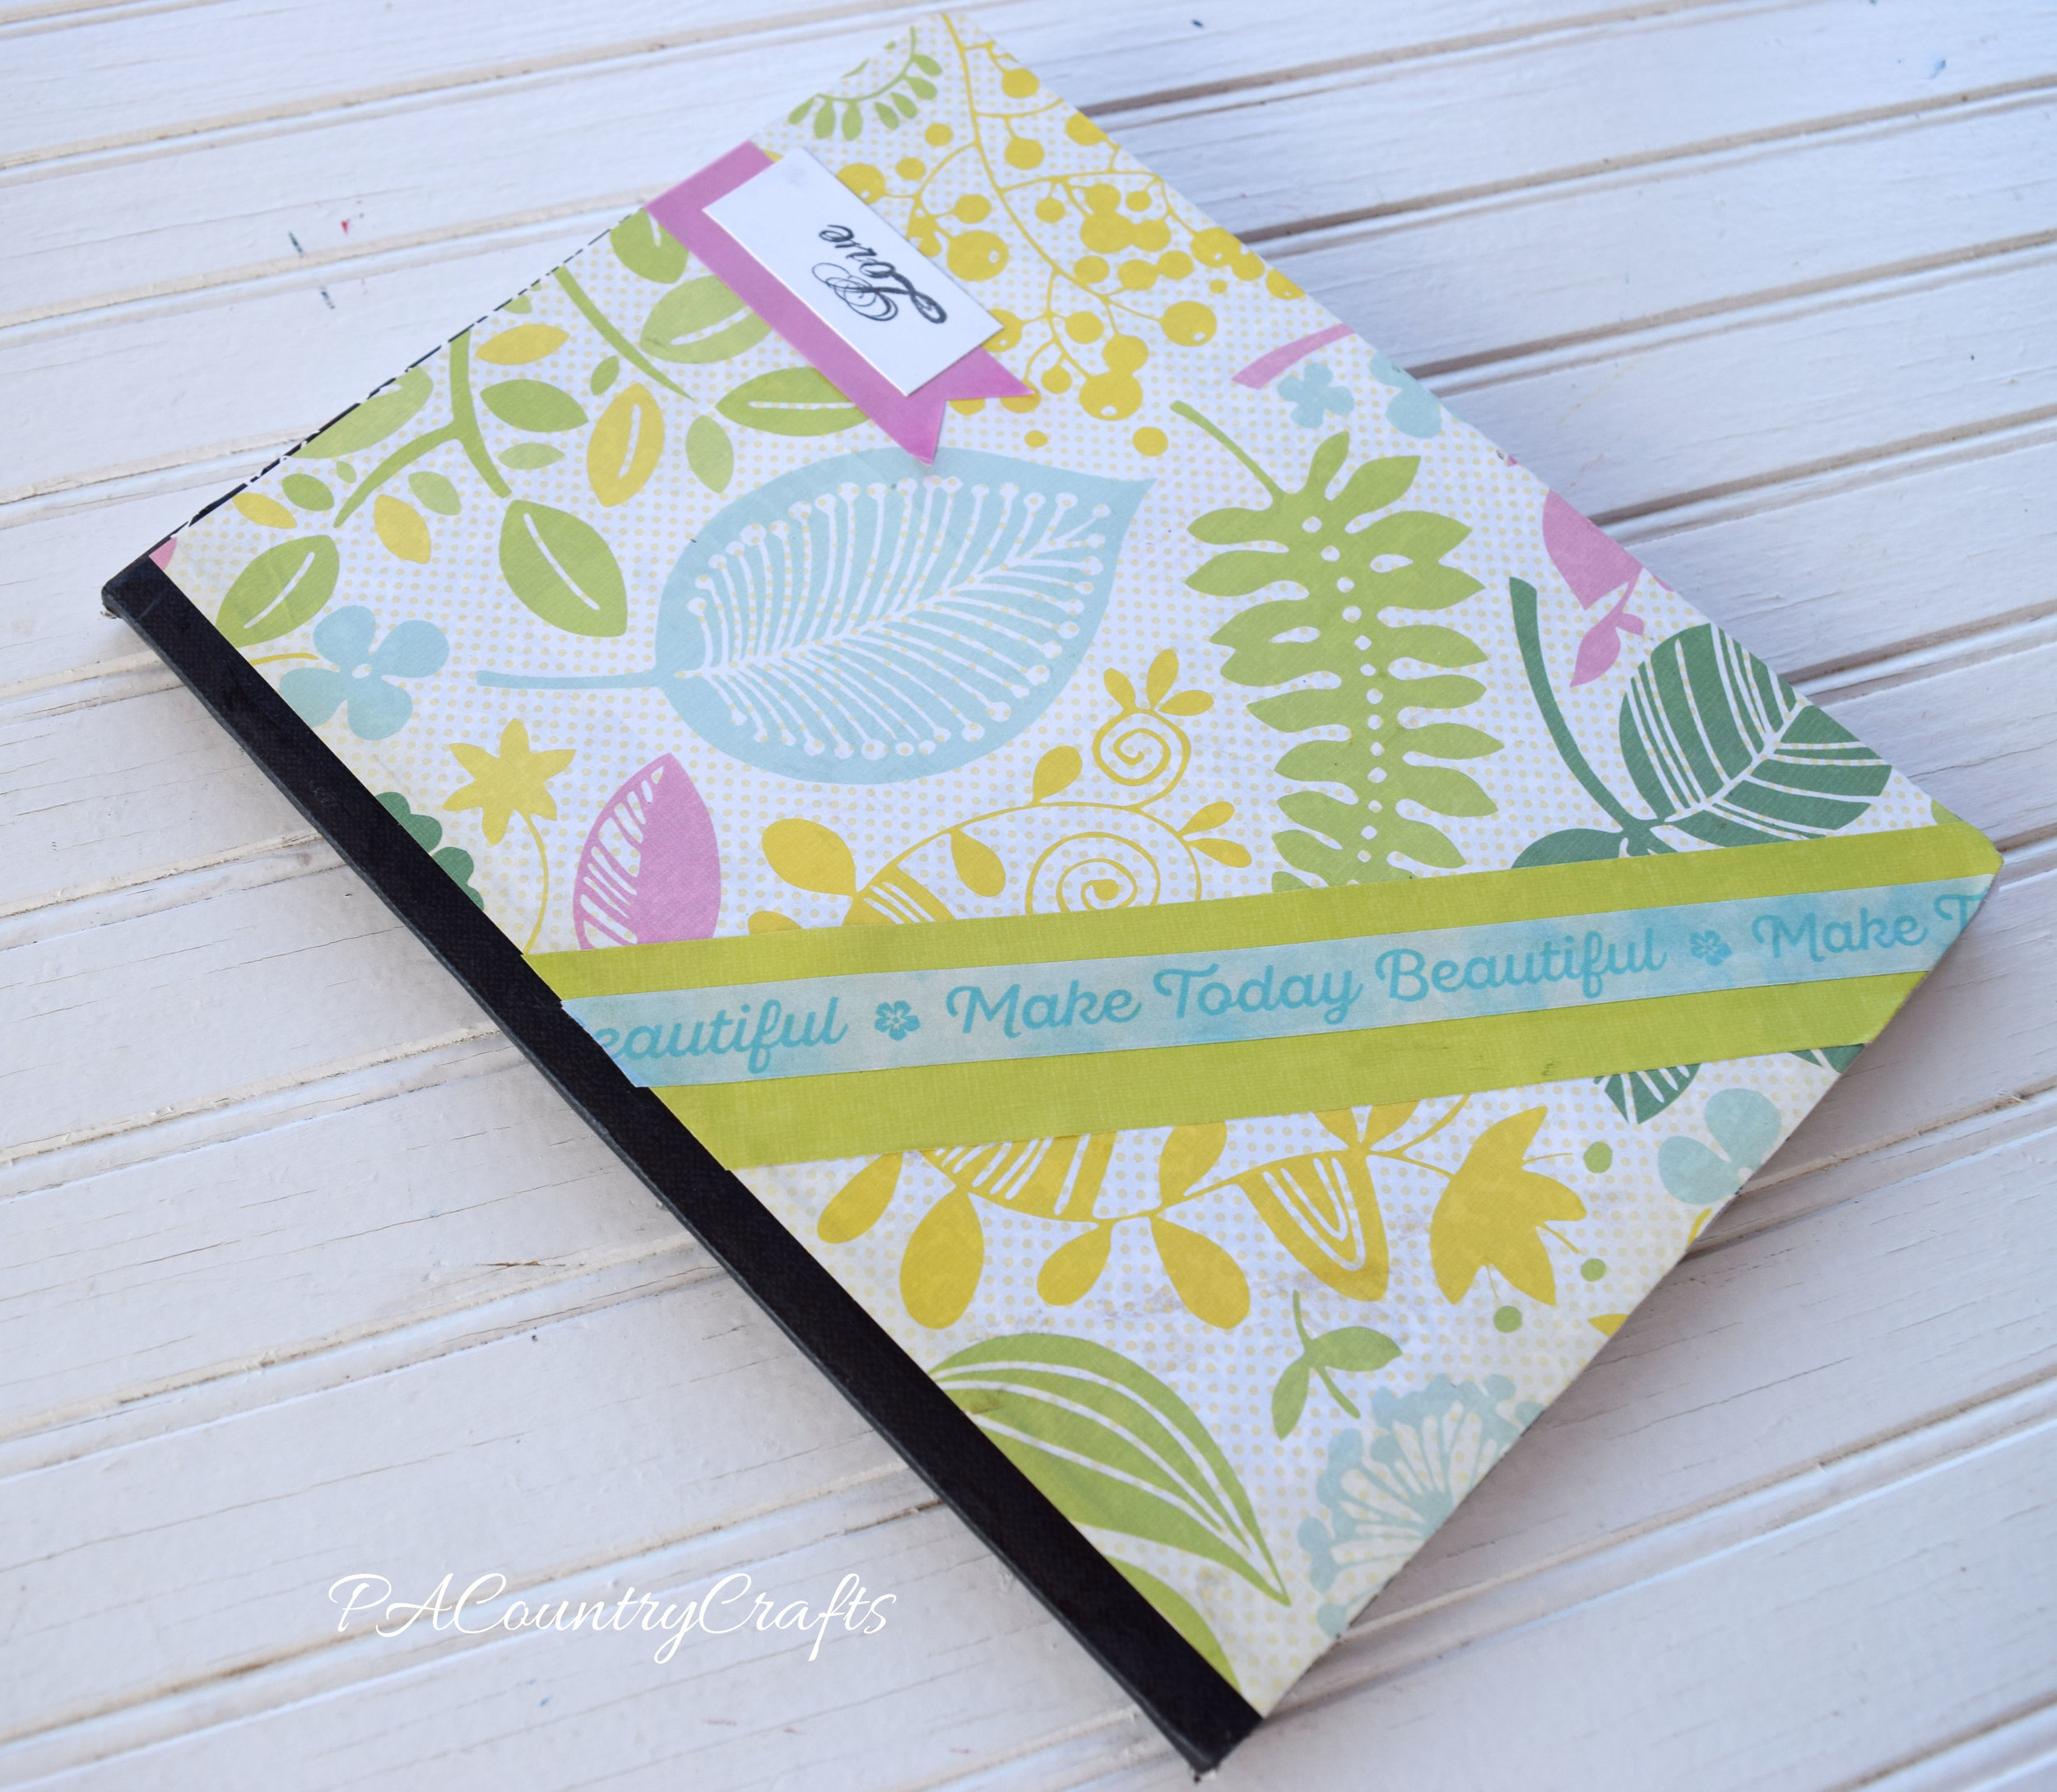
They are being used as art and writing journals. They made a few others that I didn't snap pics of and are using them at school. They used glue stick and they are still holding up well.
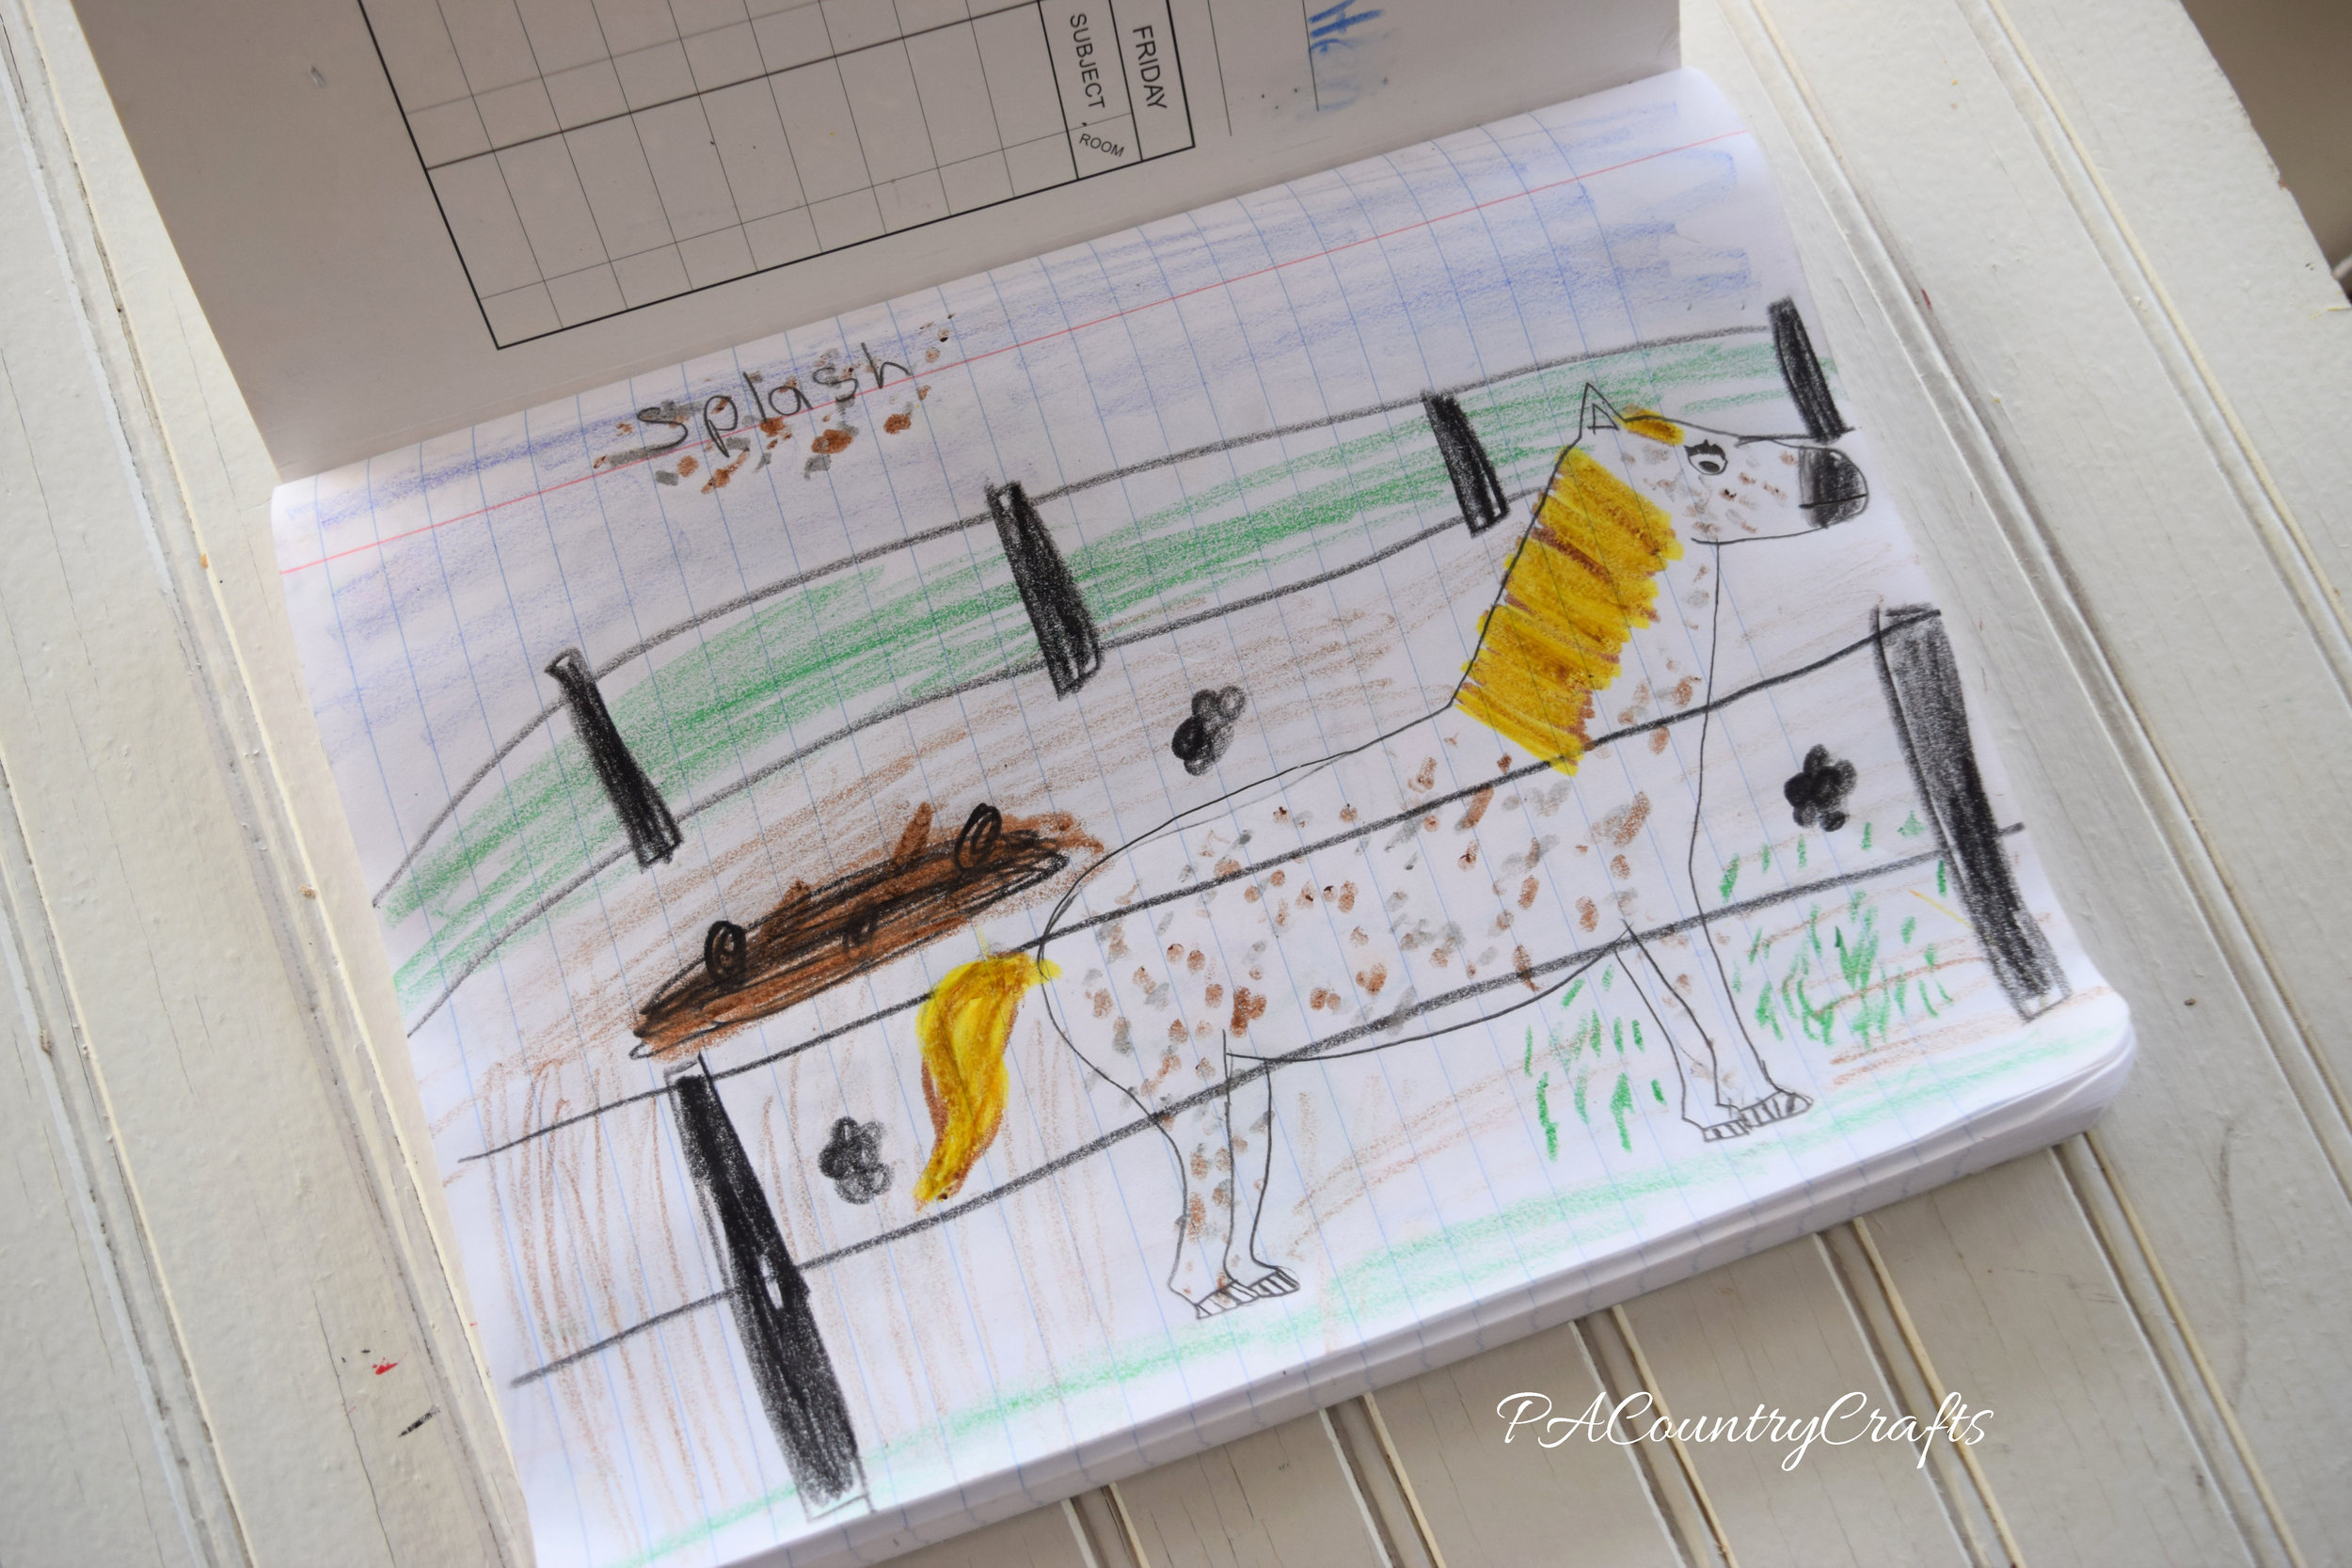
They even found some mini ones and made a coordinating doll journal!

Overall, this was a successful and EASY craft project! It was simple enough that anyone could do it, but had so many creative options for those who want to challenge themselves a bit more.
You may also like...
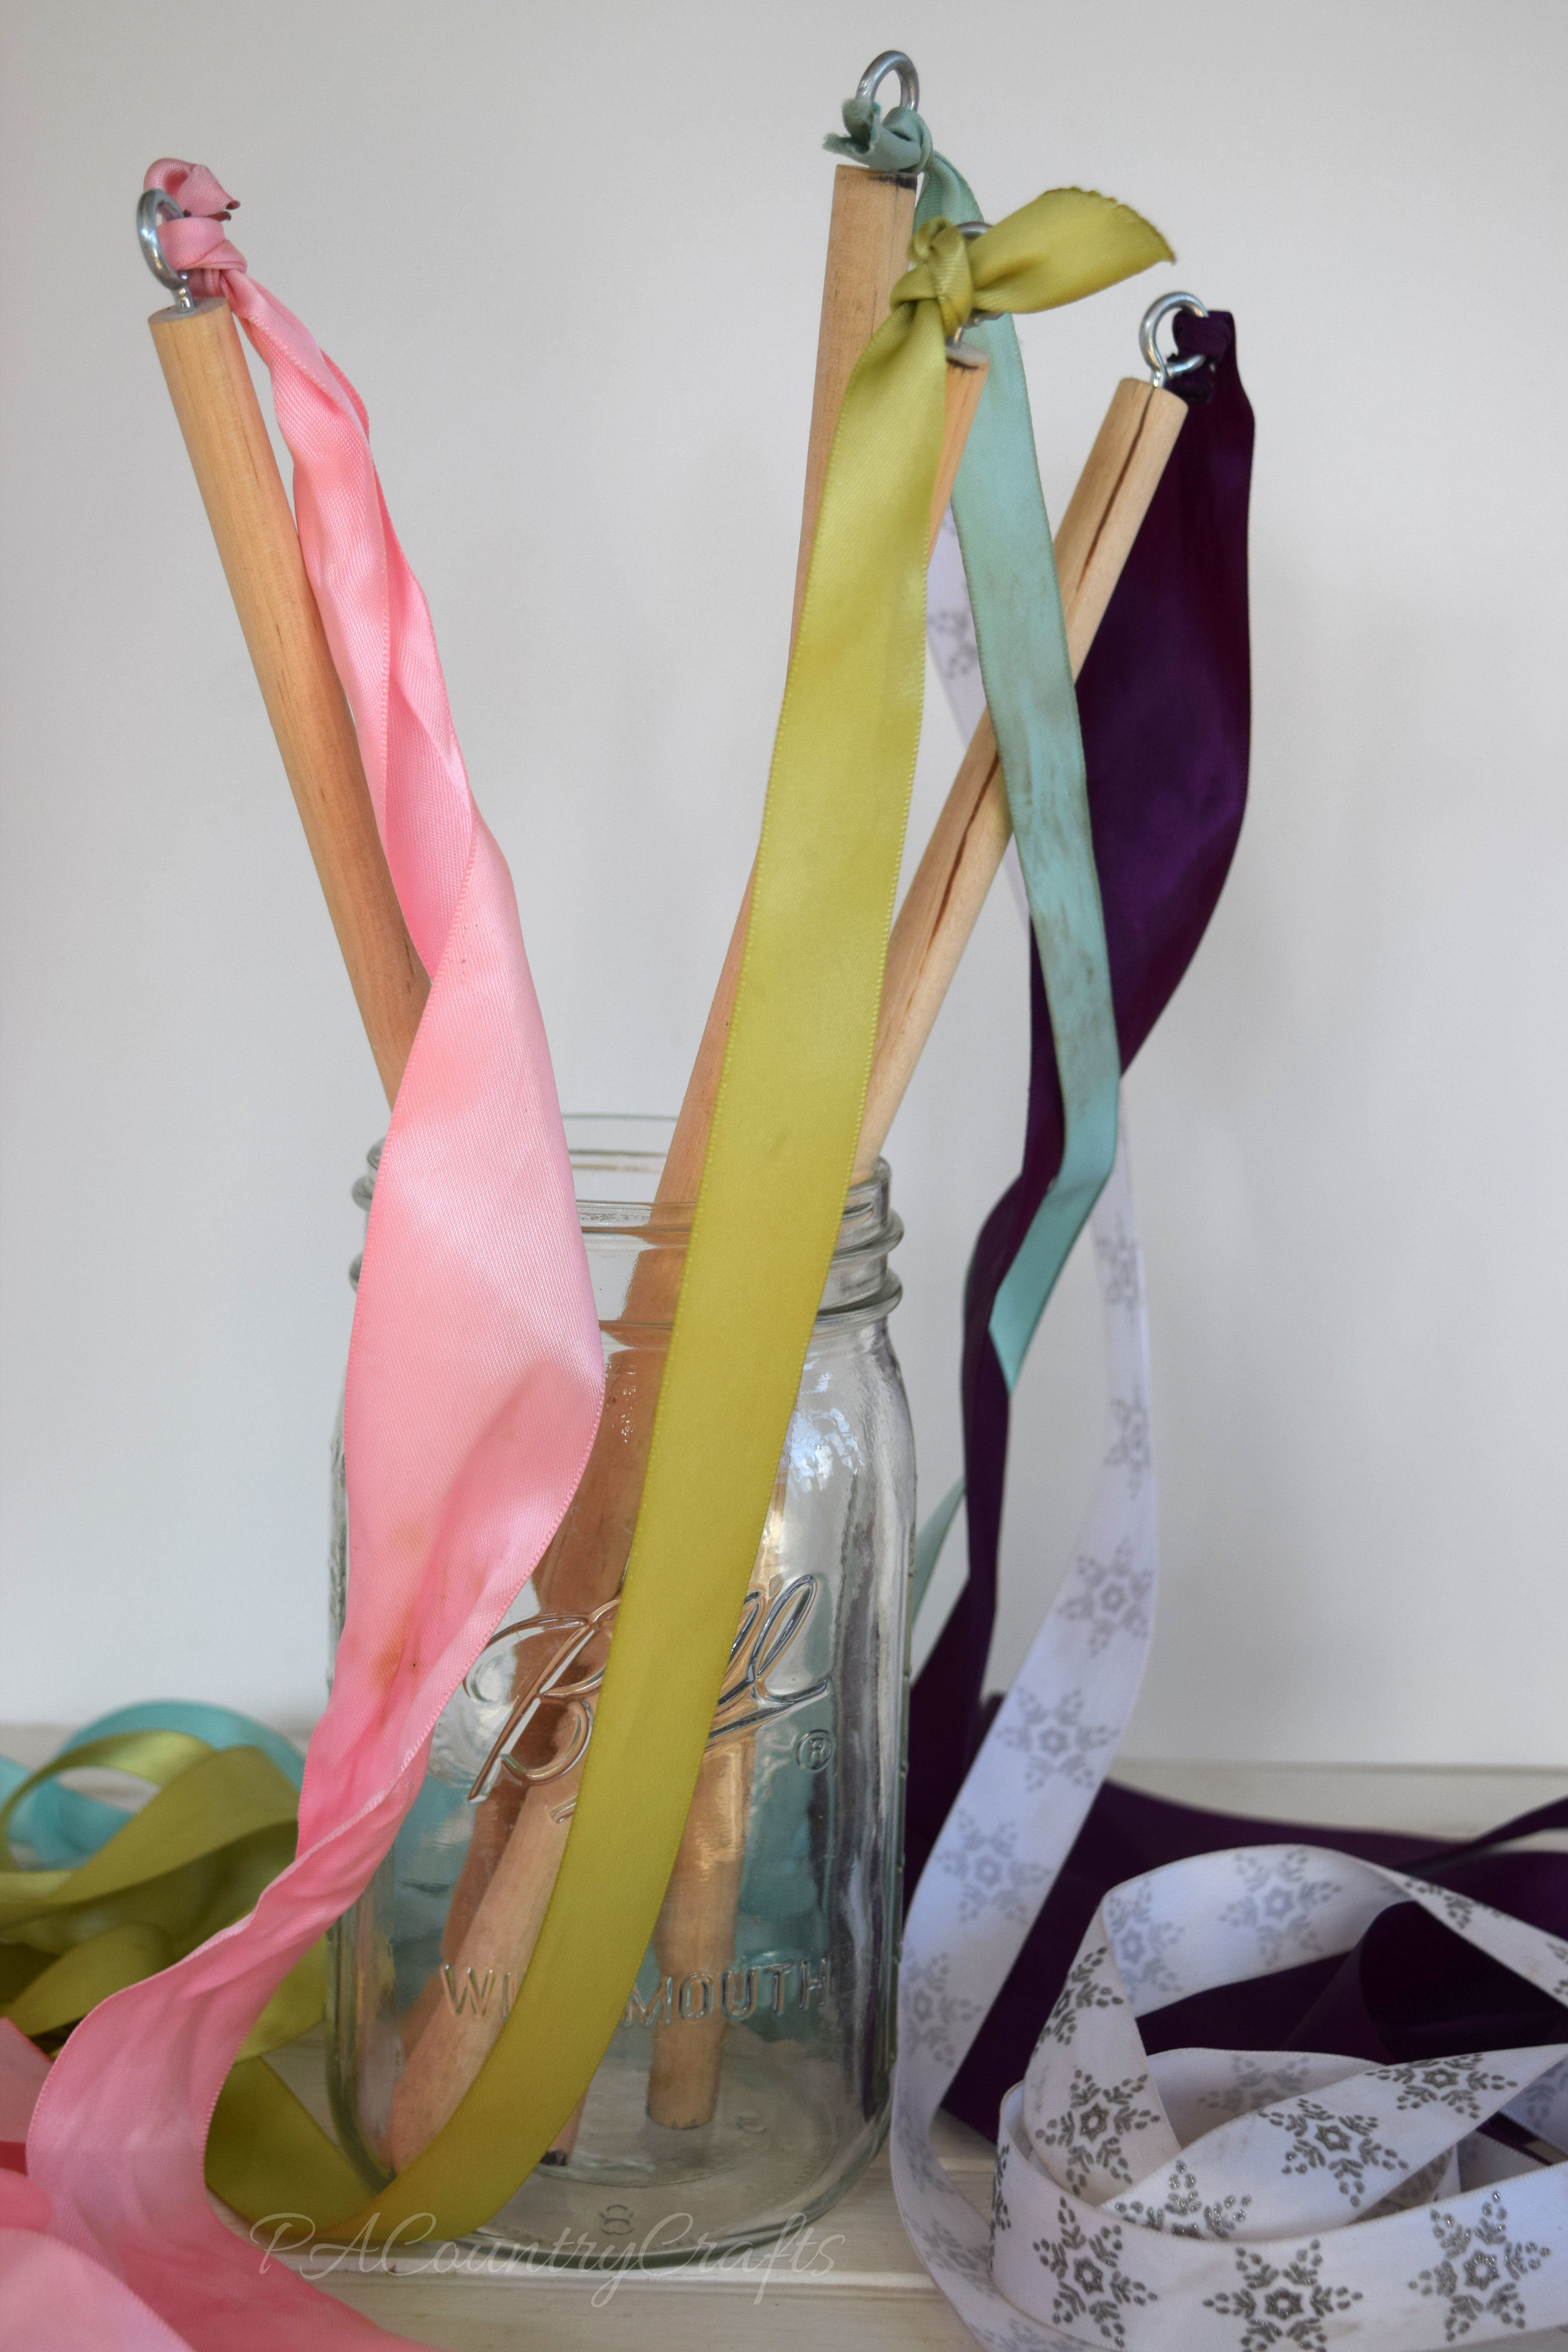
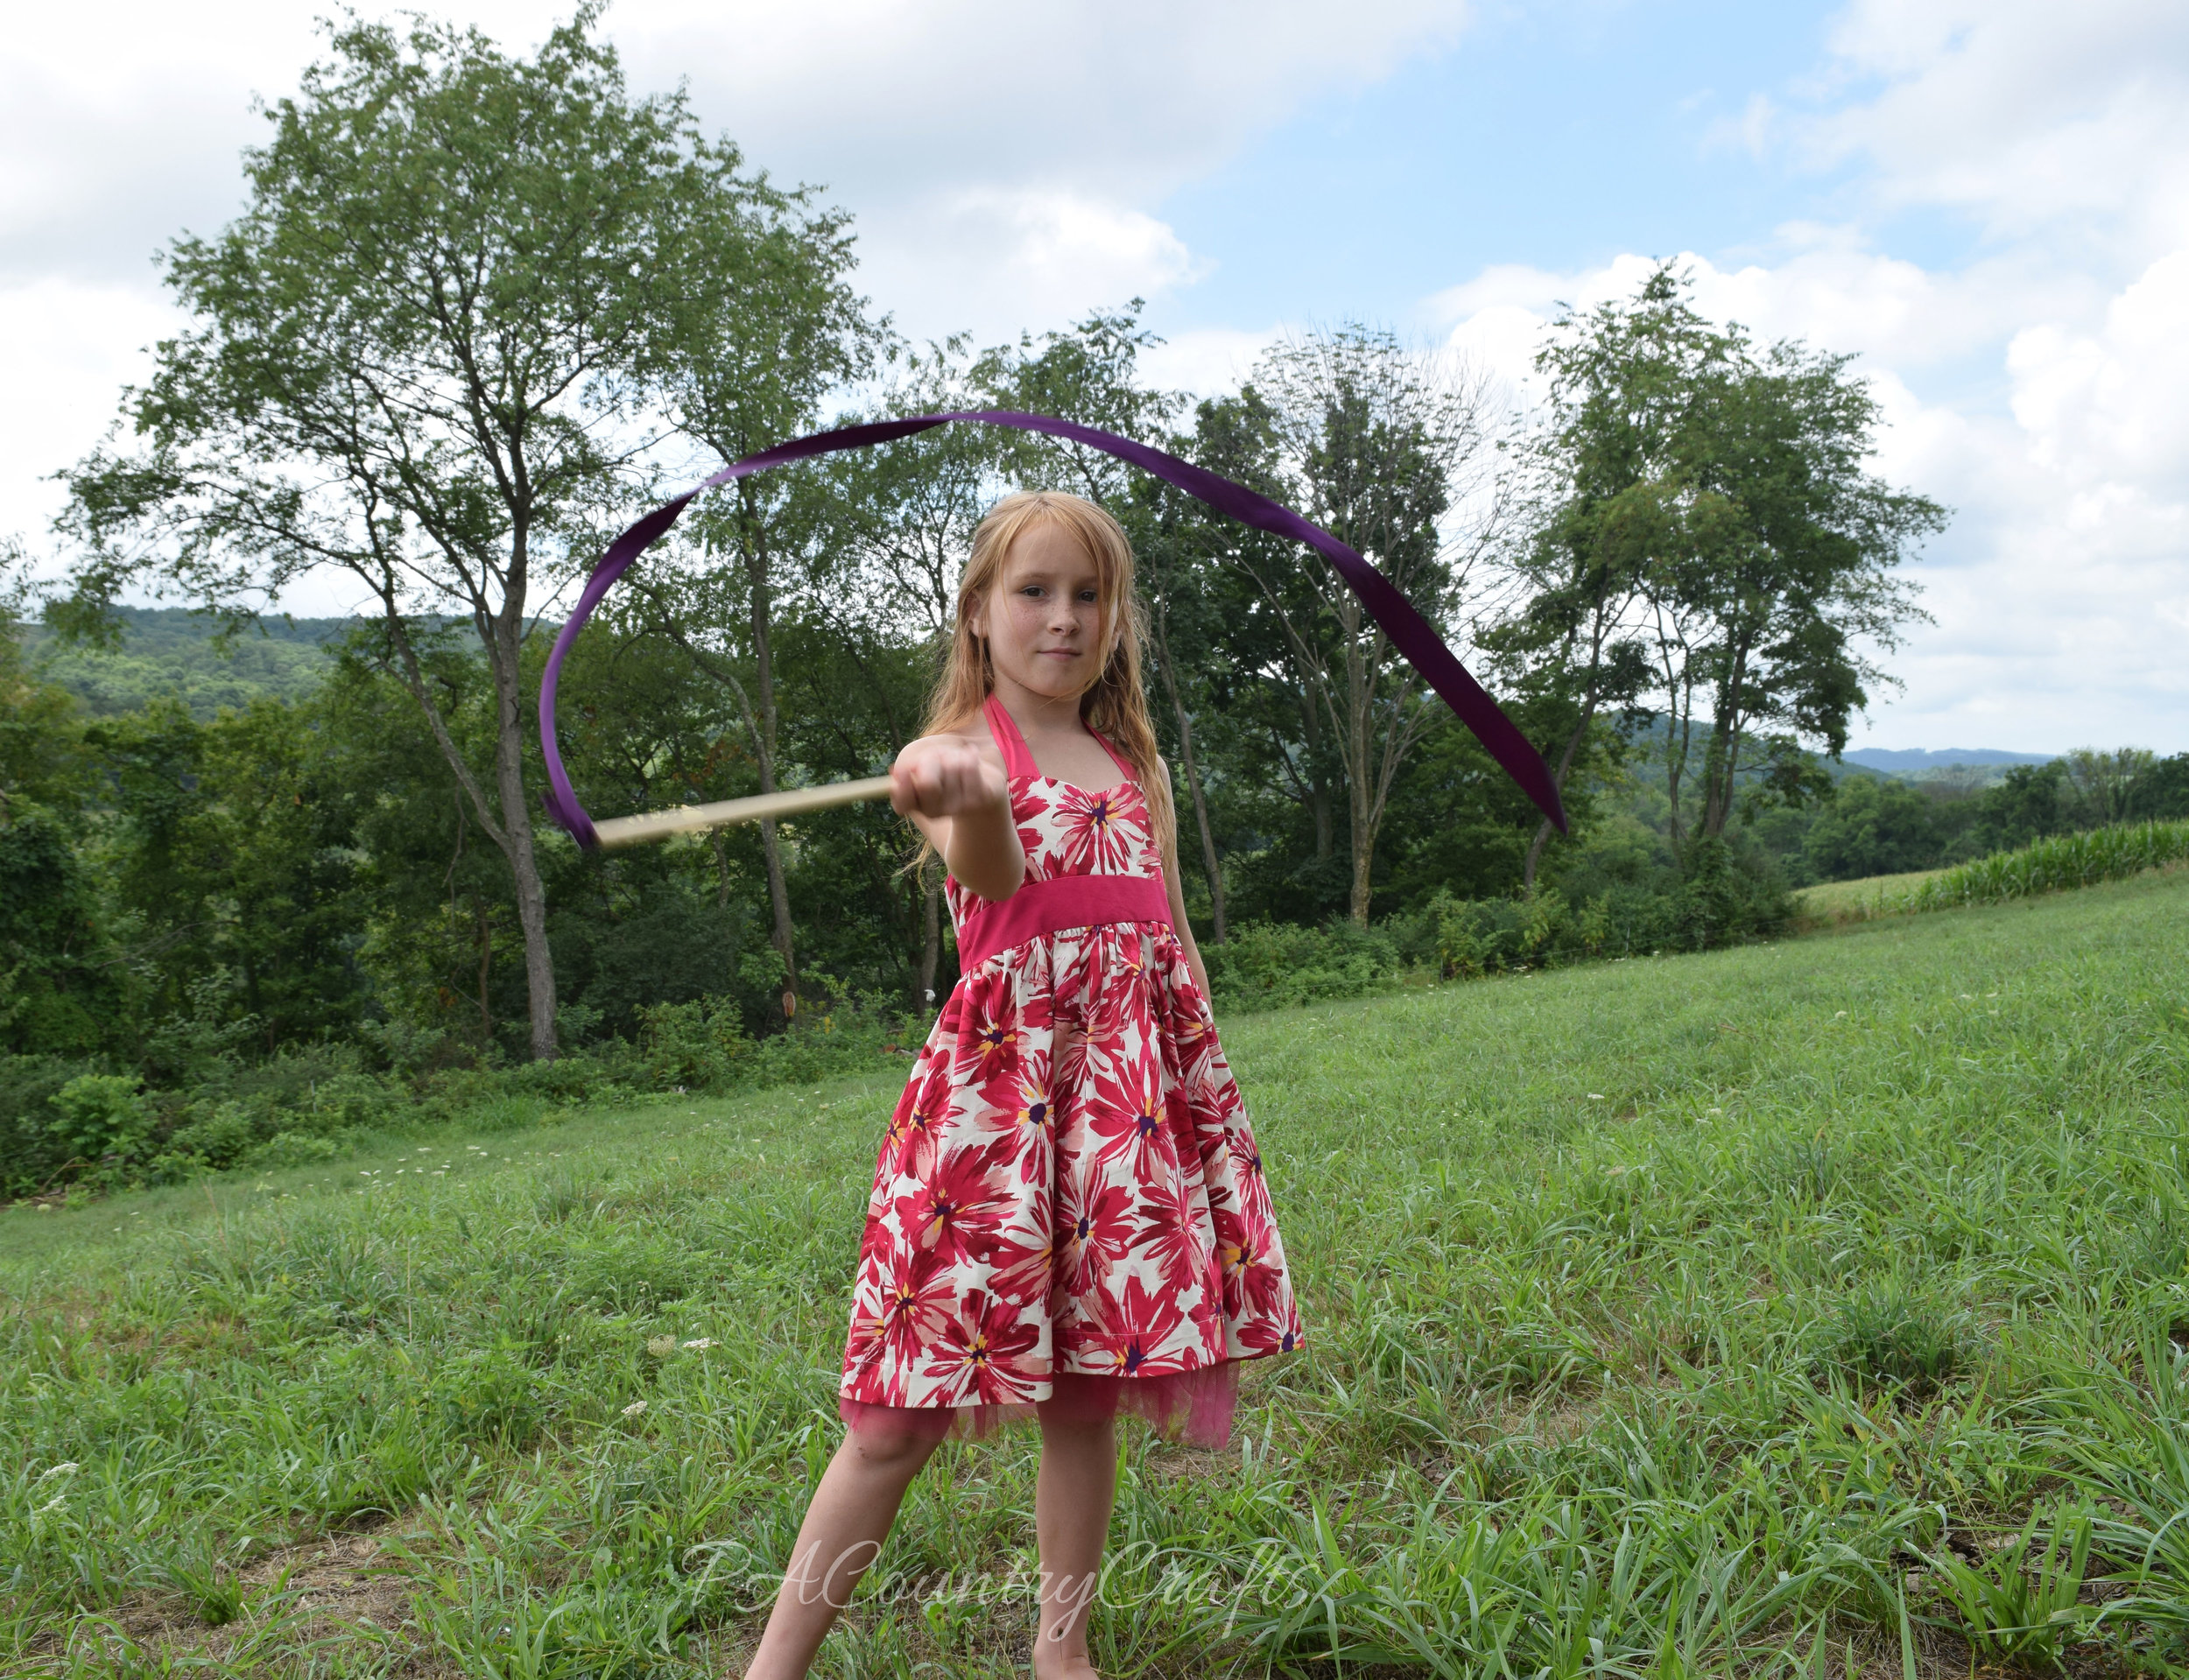
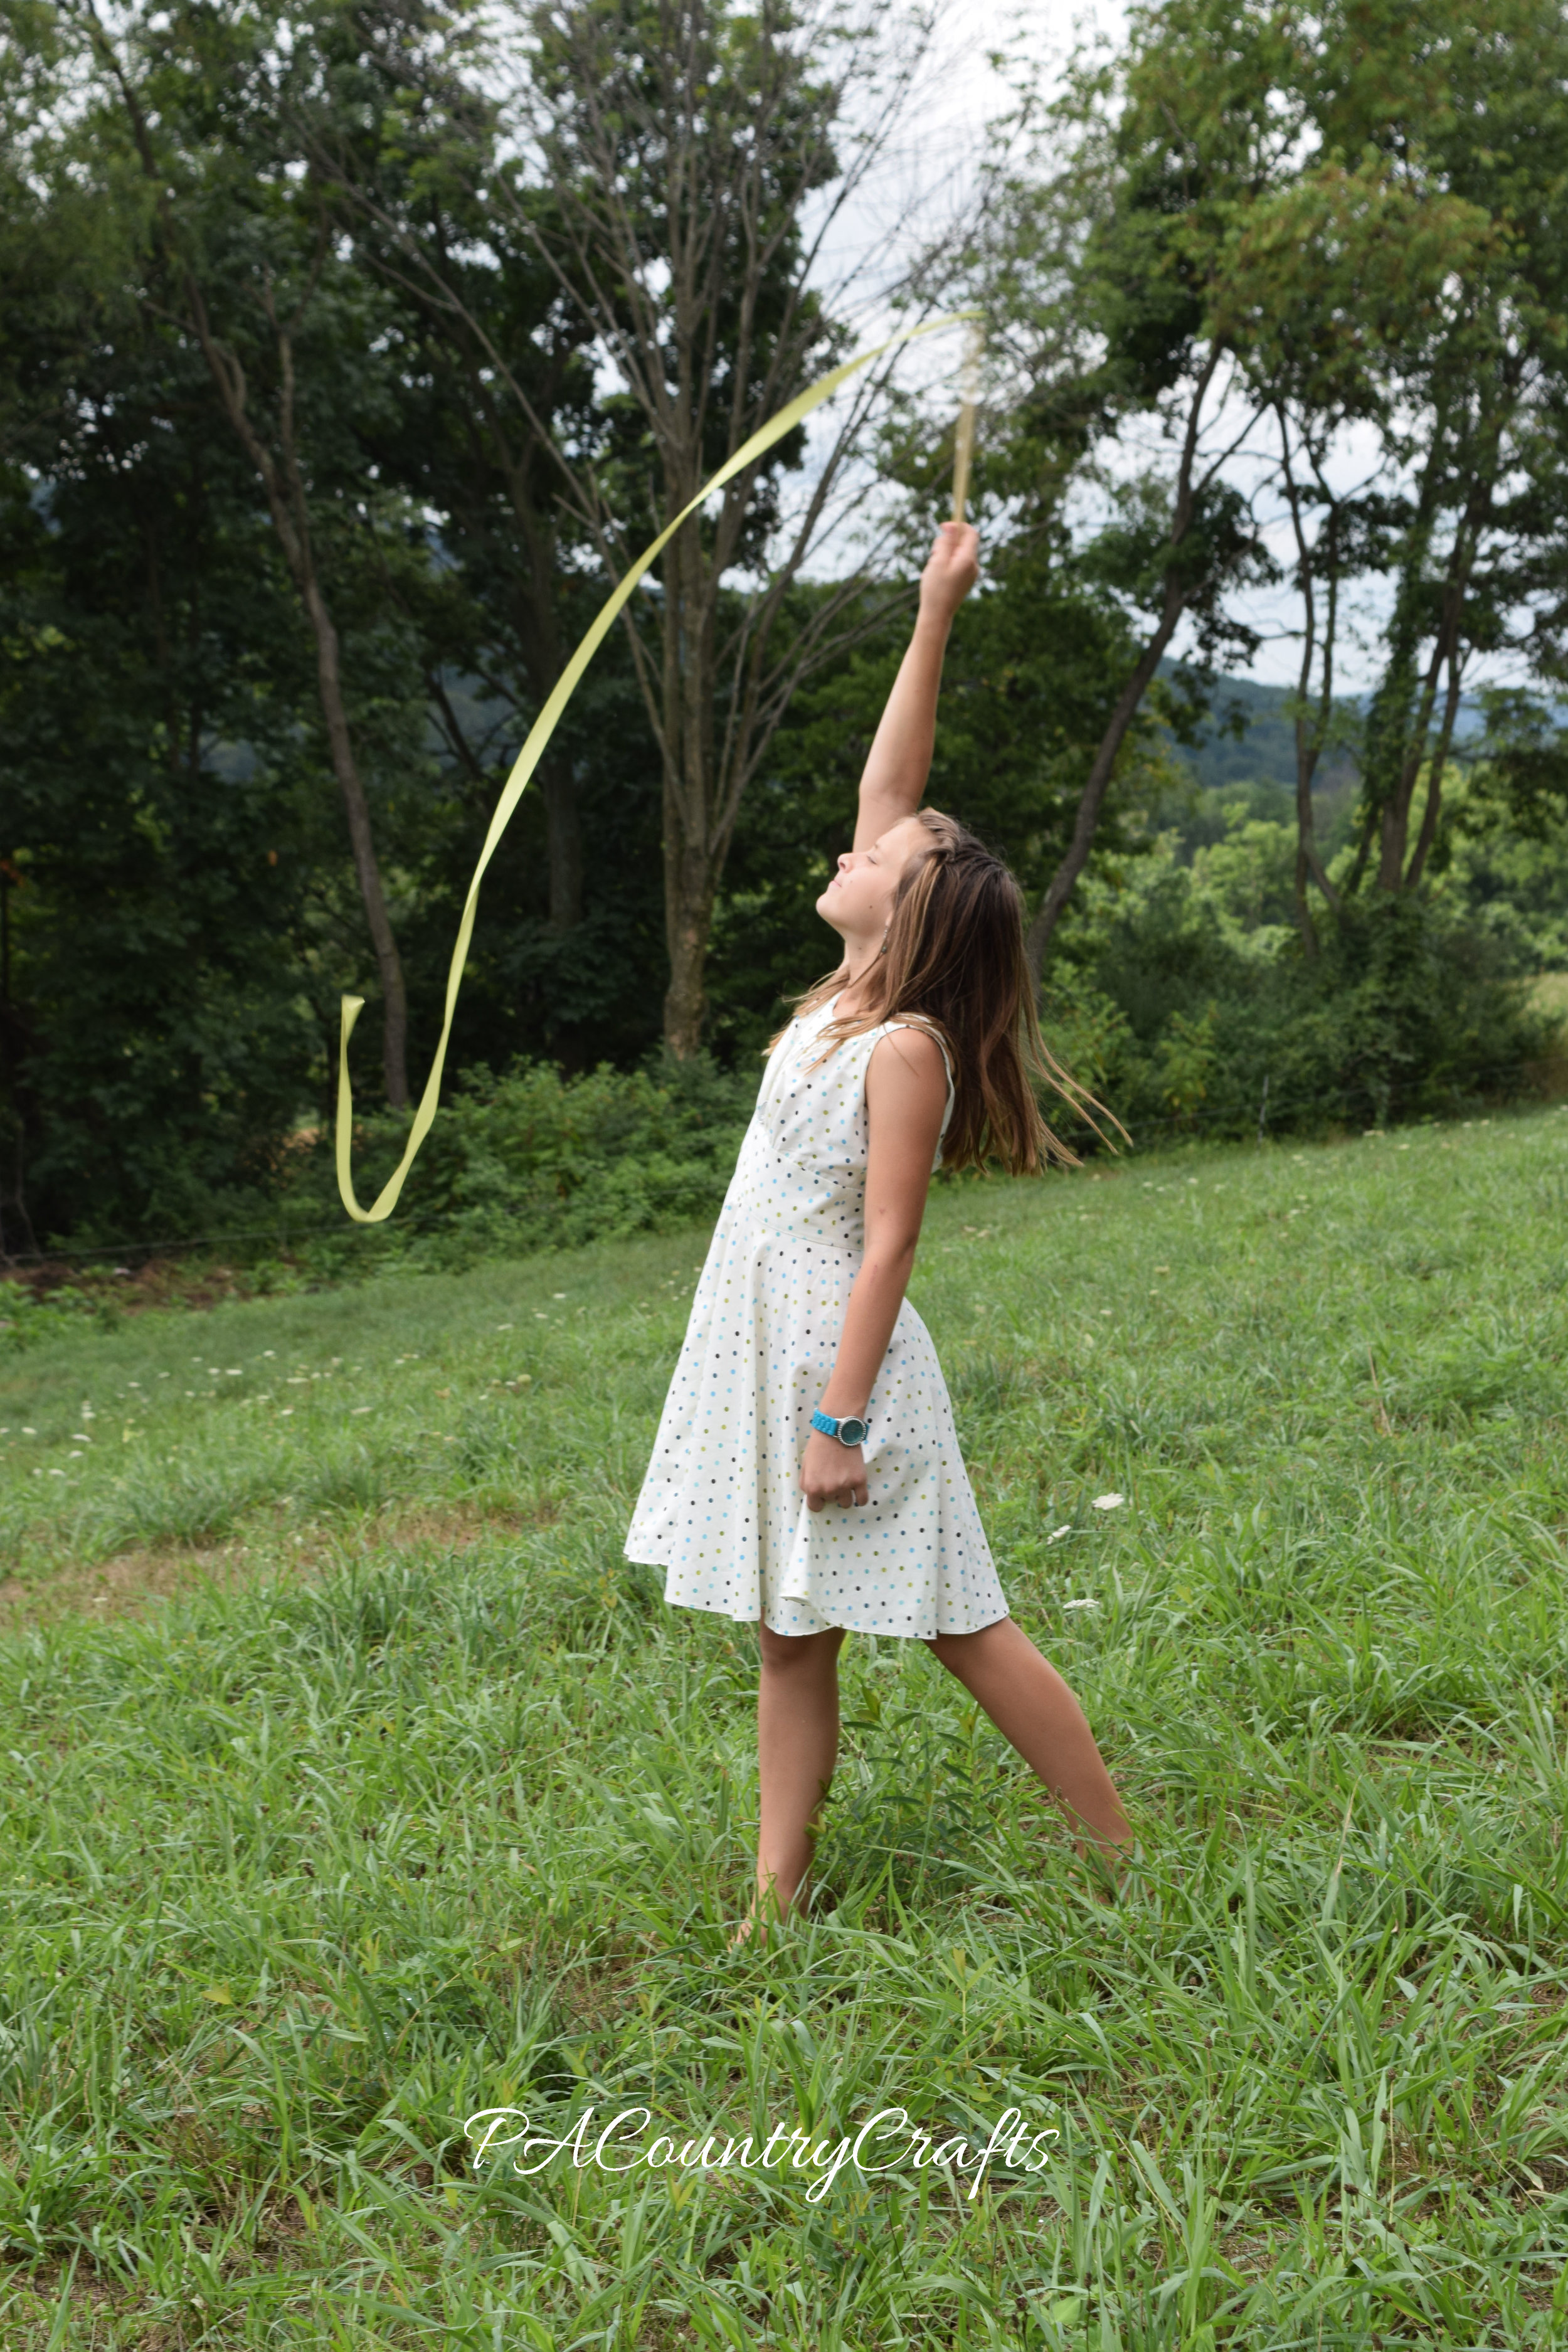
I thought ribbon wands would be a fun craft project for the girls and a nice addition to the little "photo shoot" we do with their new mama-made dresses each year. The girls had fun playing with them and even got to choose ribbon from my stash to coordinate with their dresses.
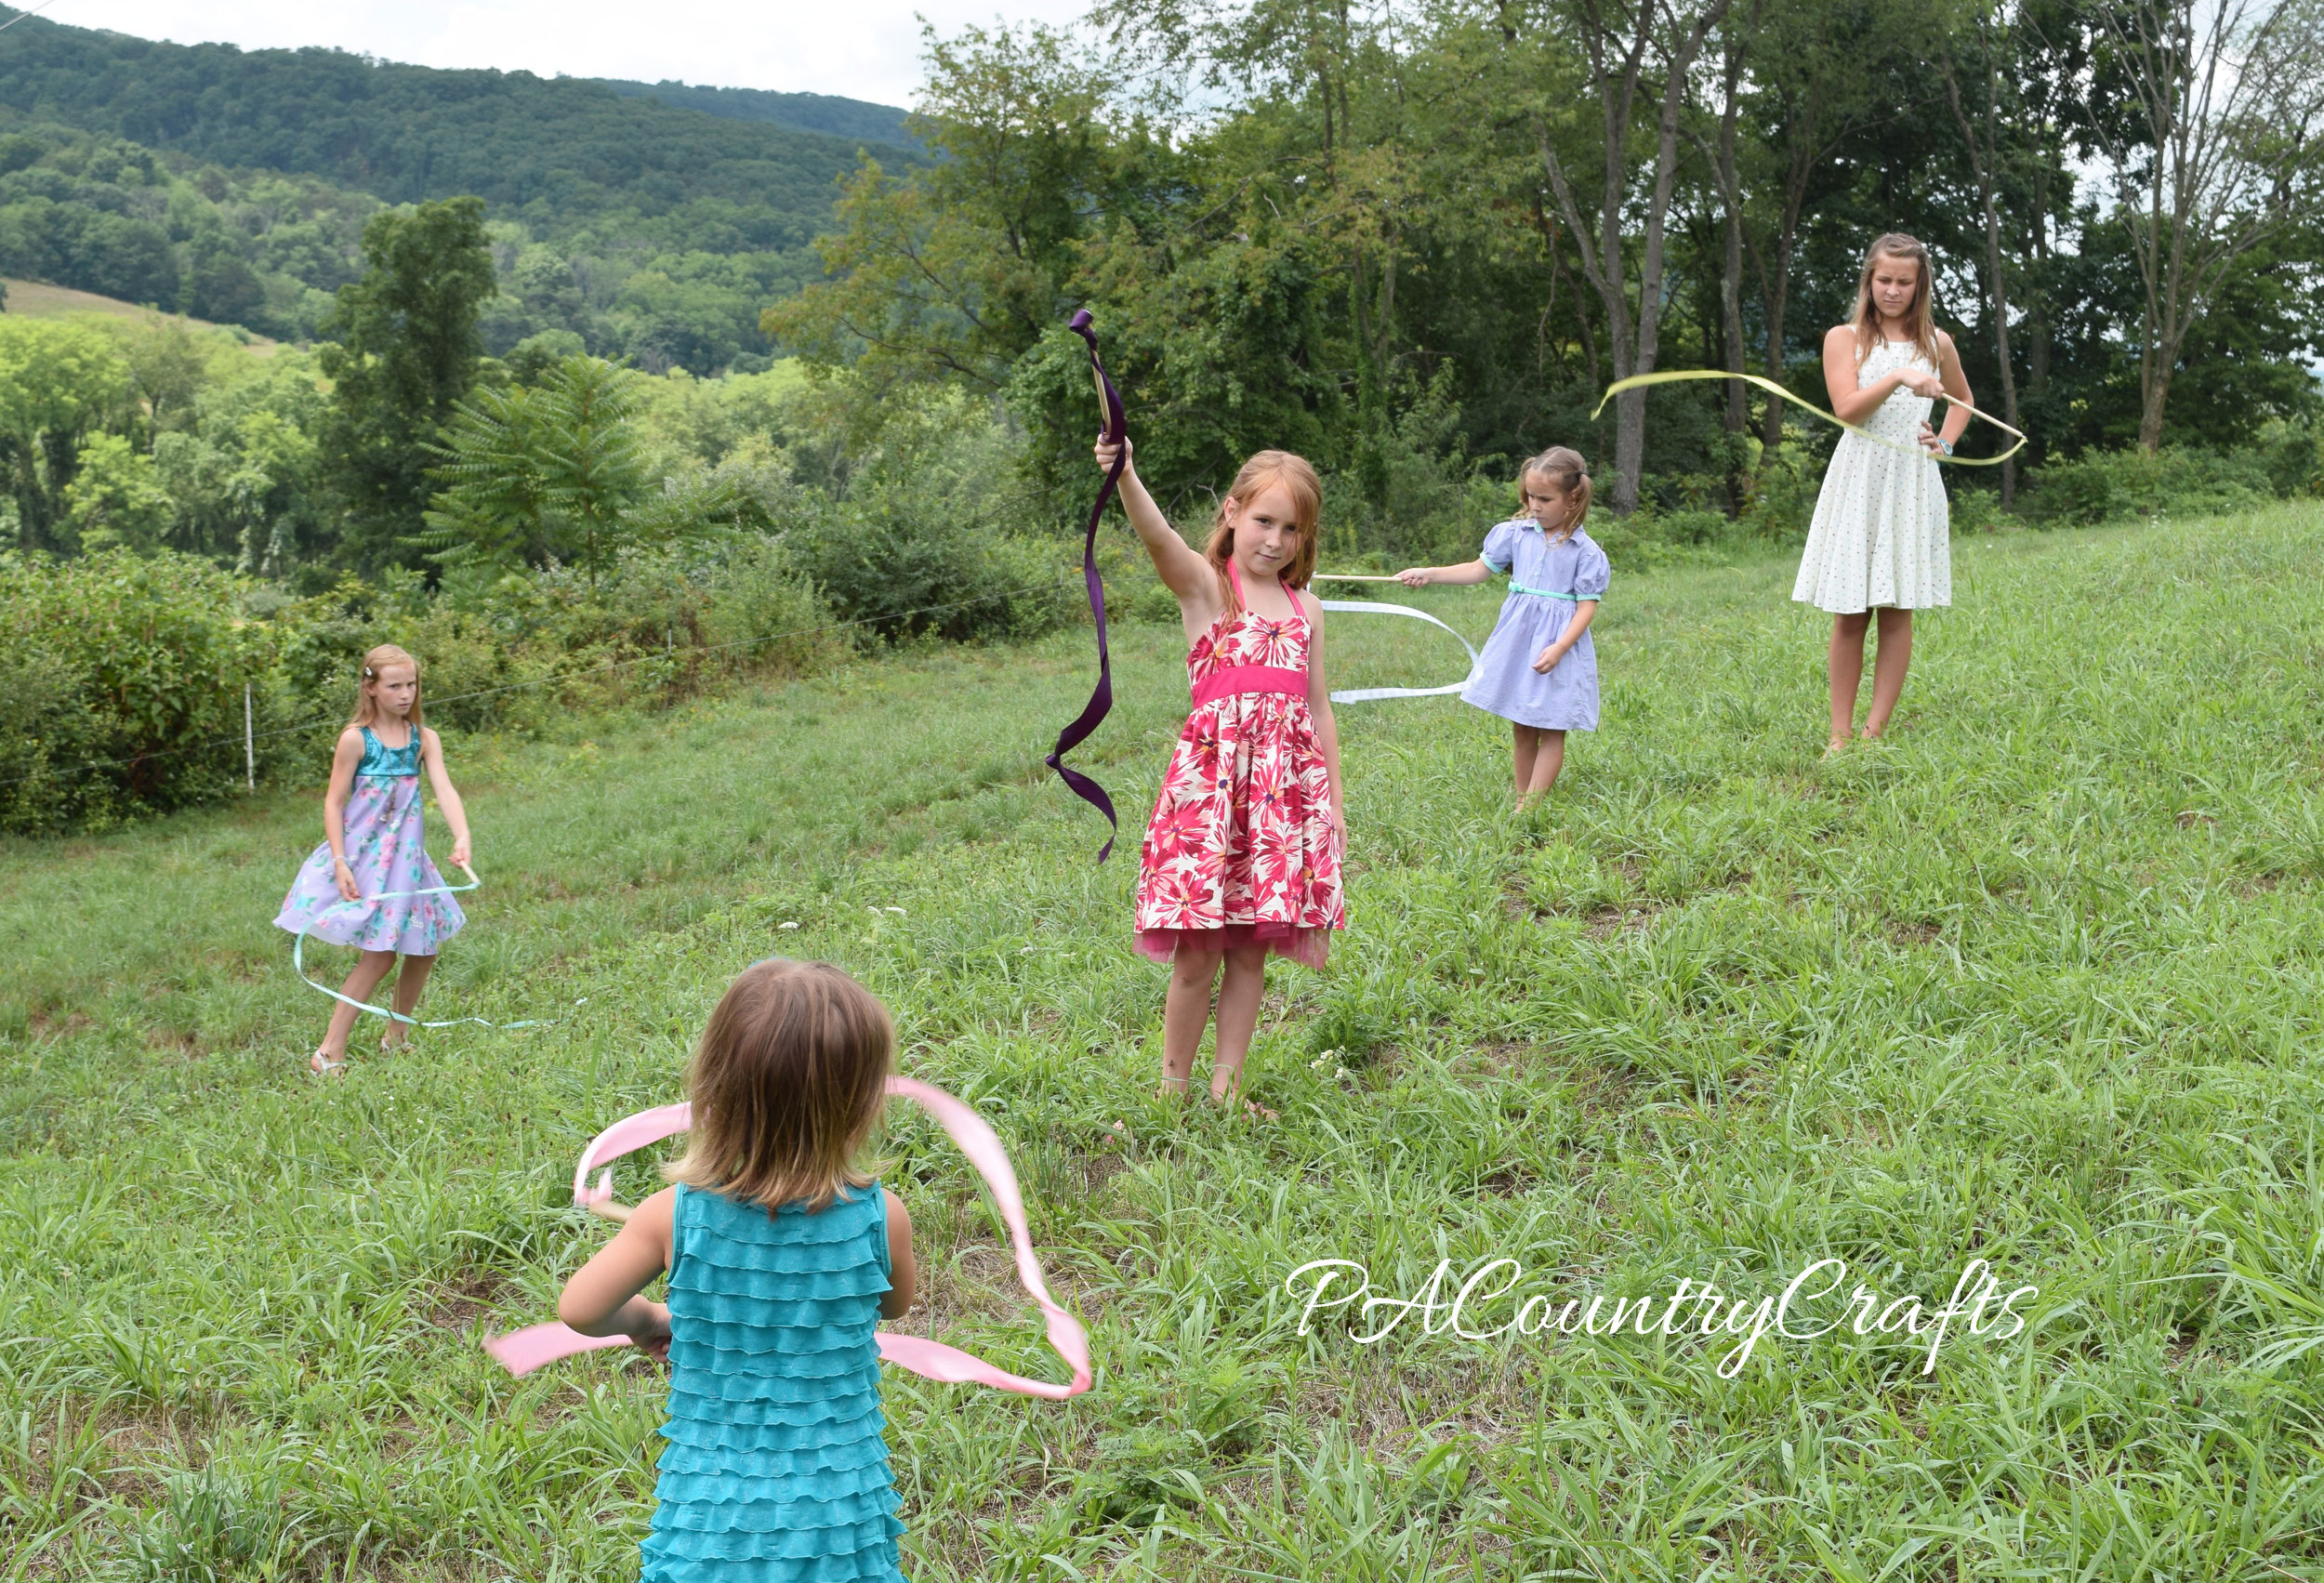

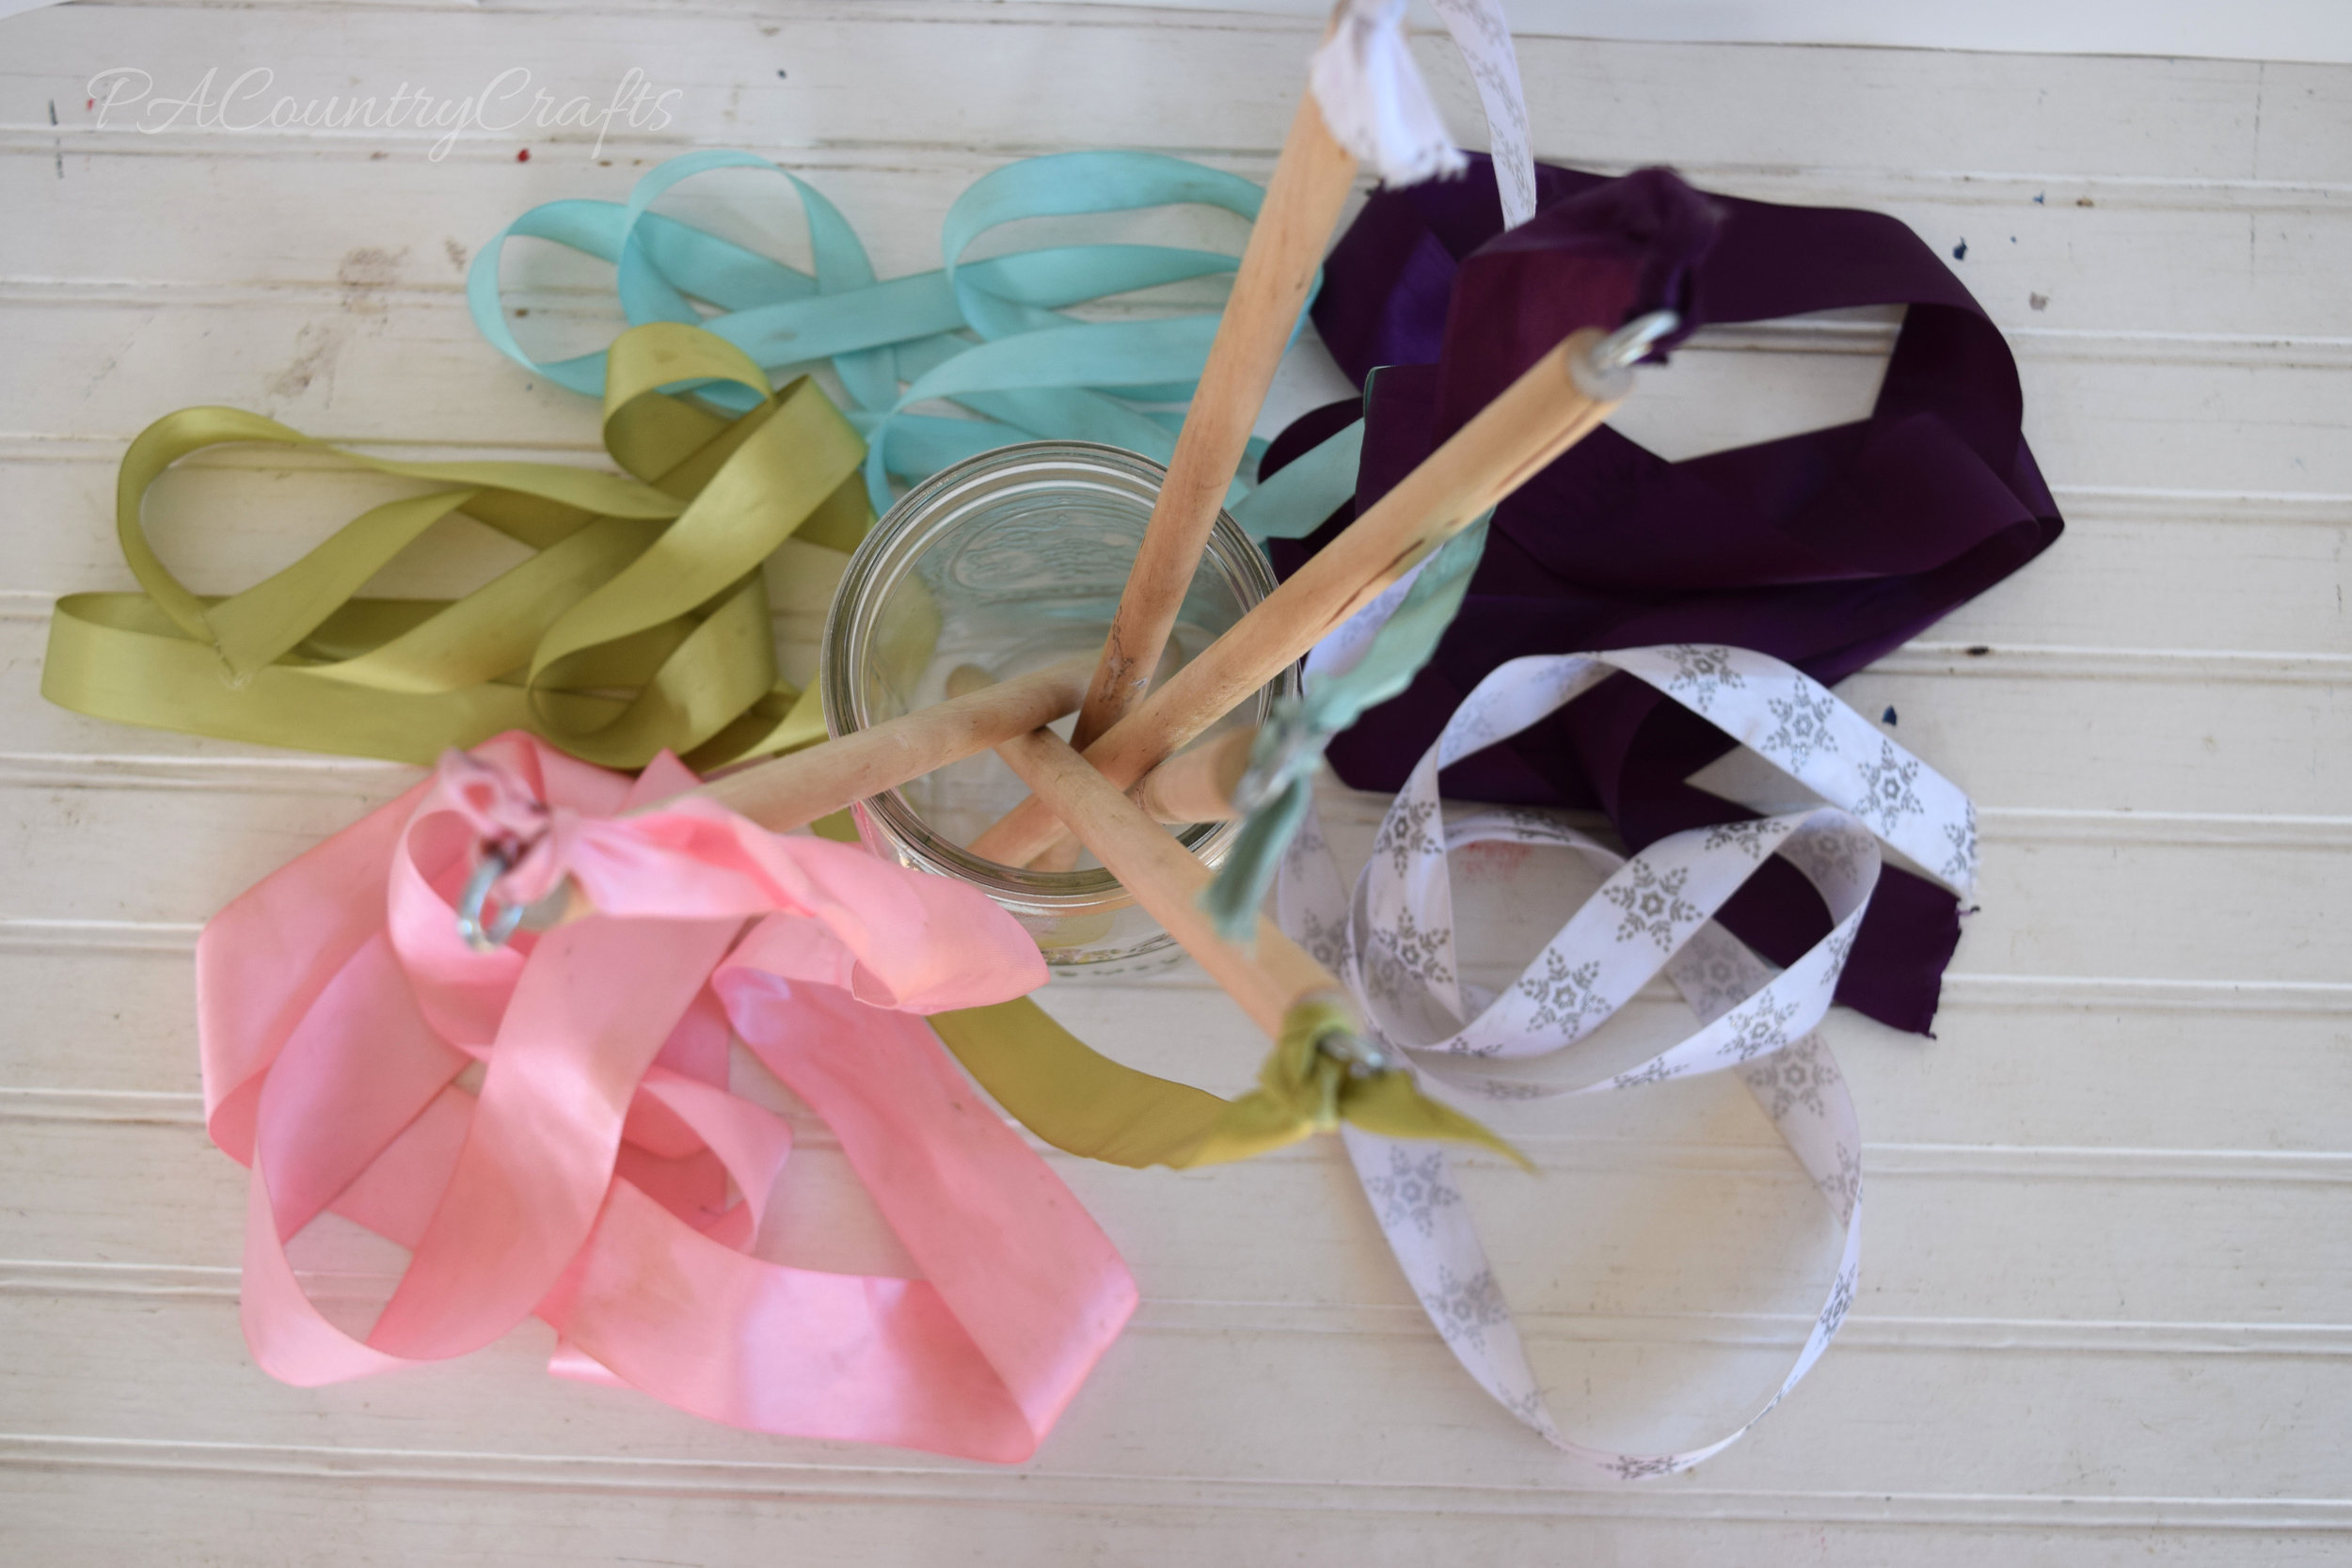
These took just a few minutes to make! Here is how we made them:
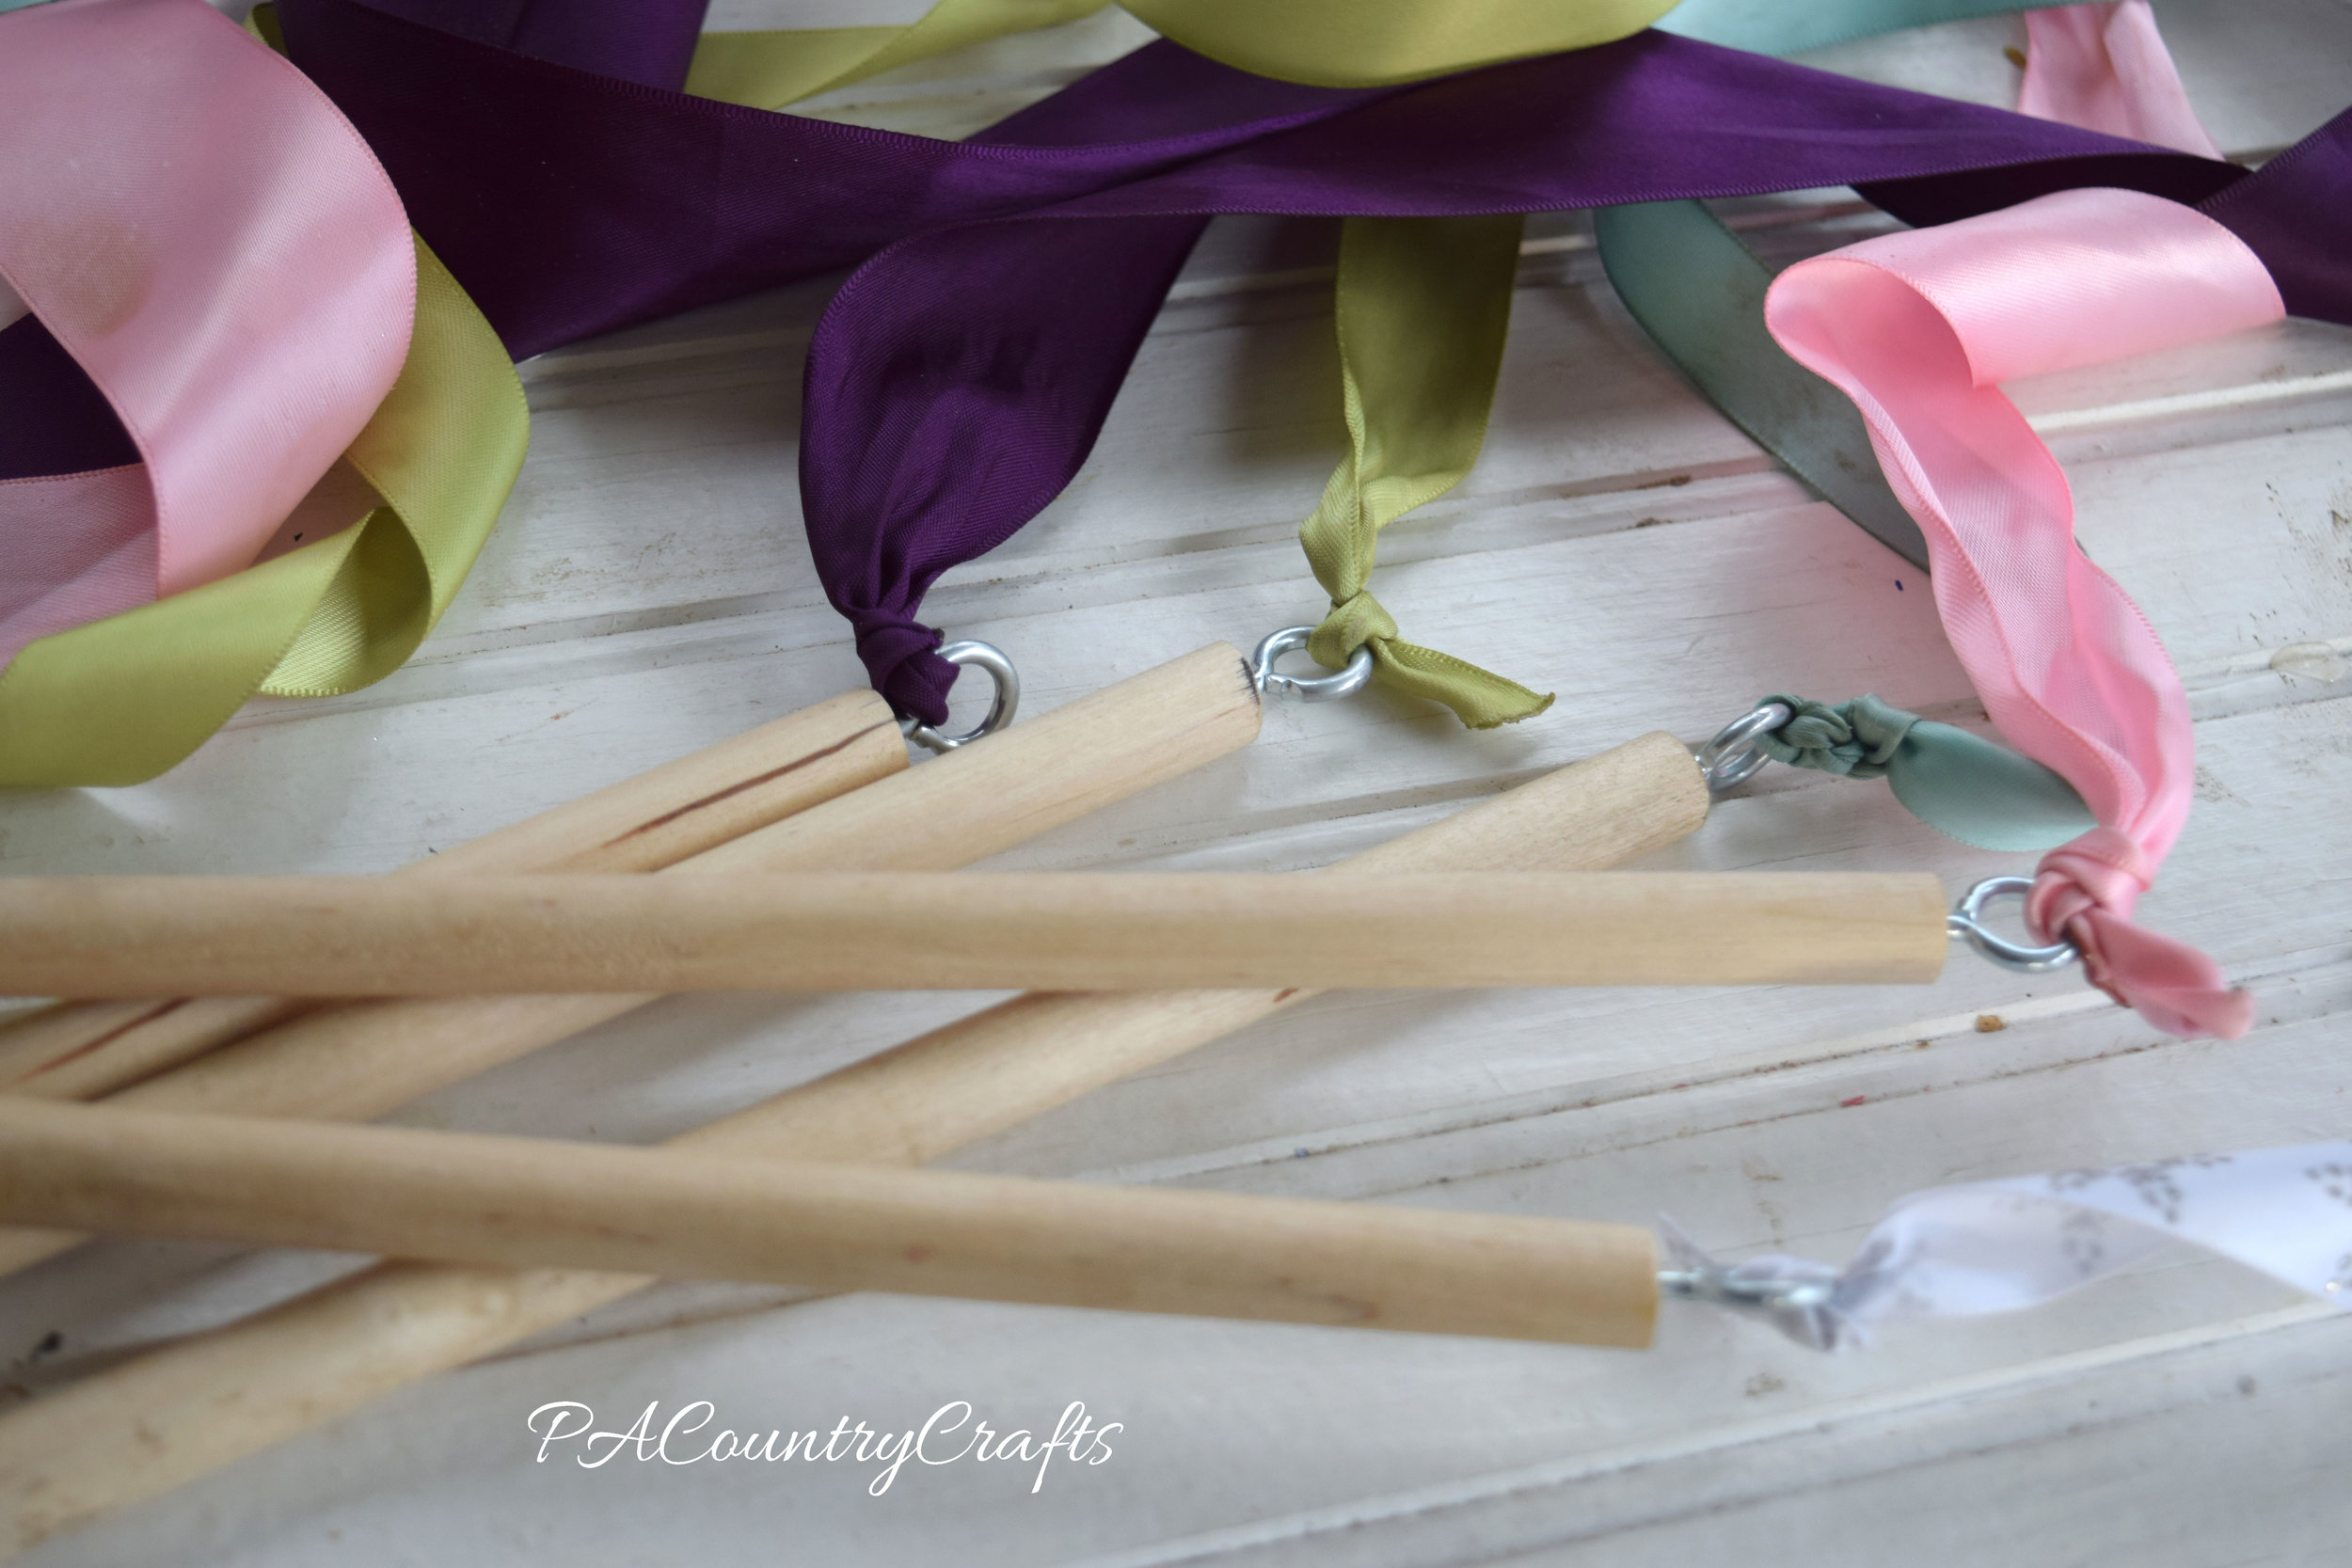
There are a lot of options with these- you could let the kids be a little more involved and paint the dowels, which we might do sometime. The ribbon is easy to change out if you want a different color or it gets to be too dirty. They are also a very cheap project to make, so it would be good for a group of girls or a party craft/favor.
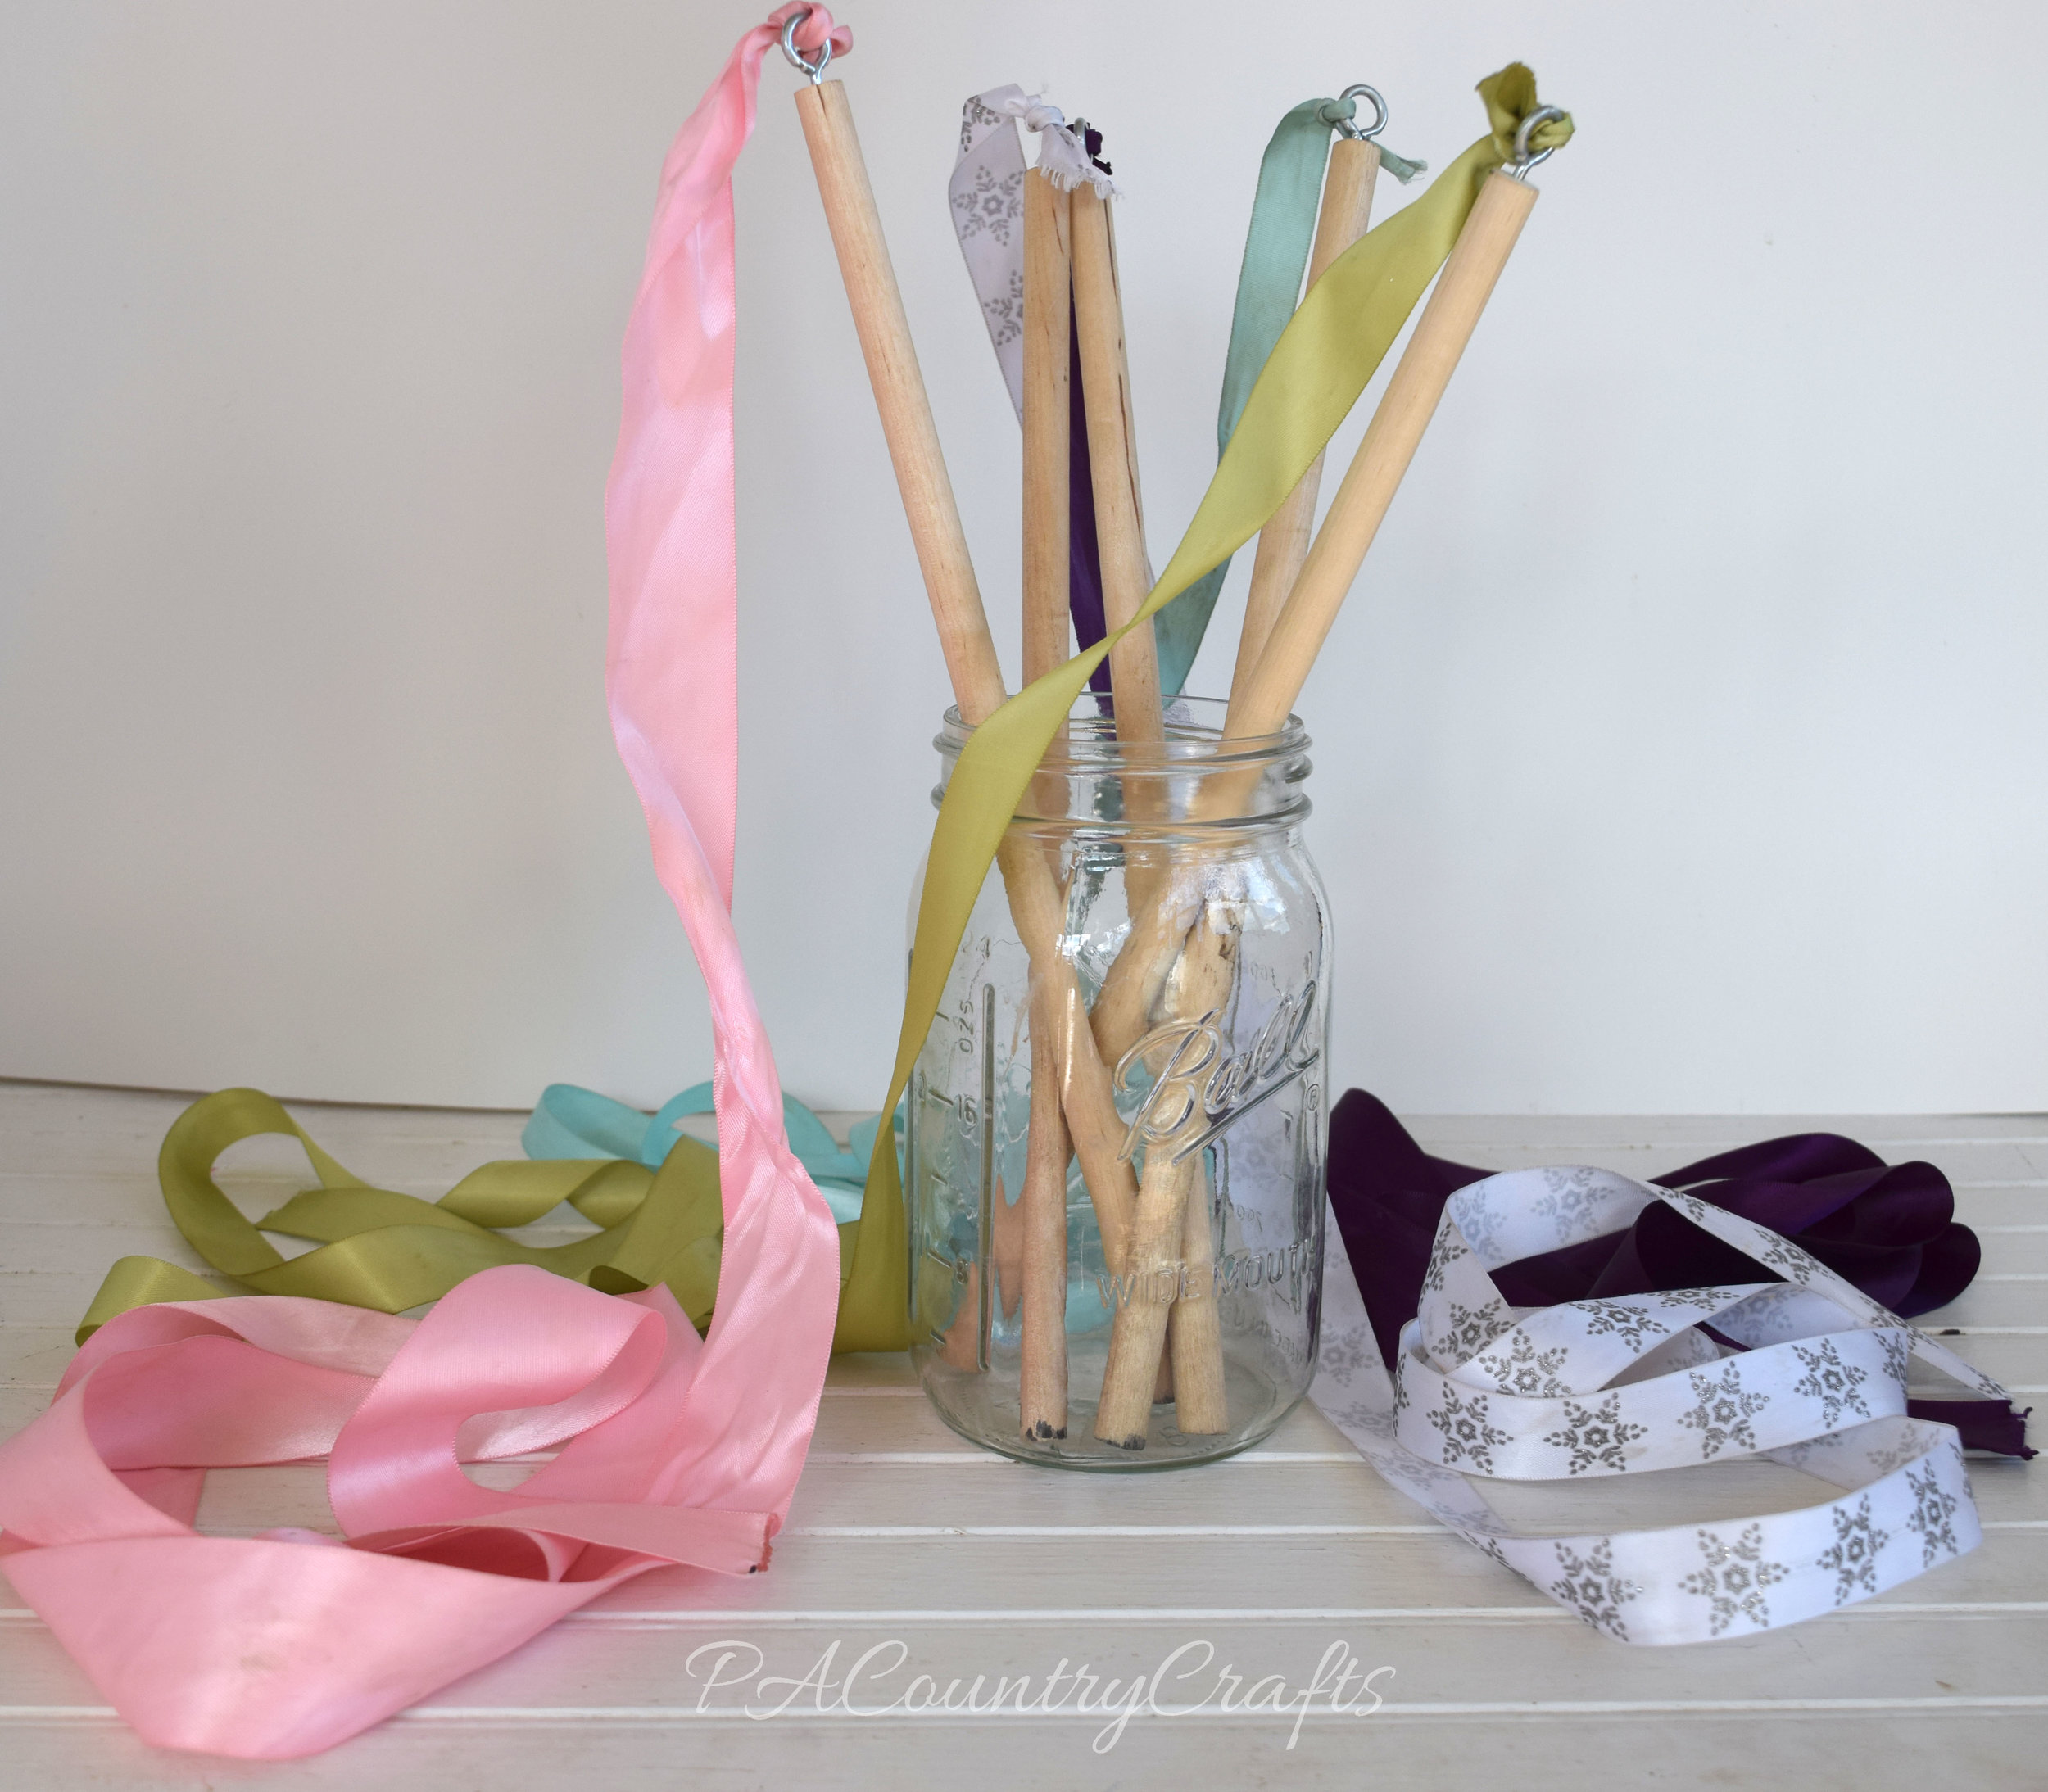
Here is an image to pin if you want to save it for later...
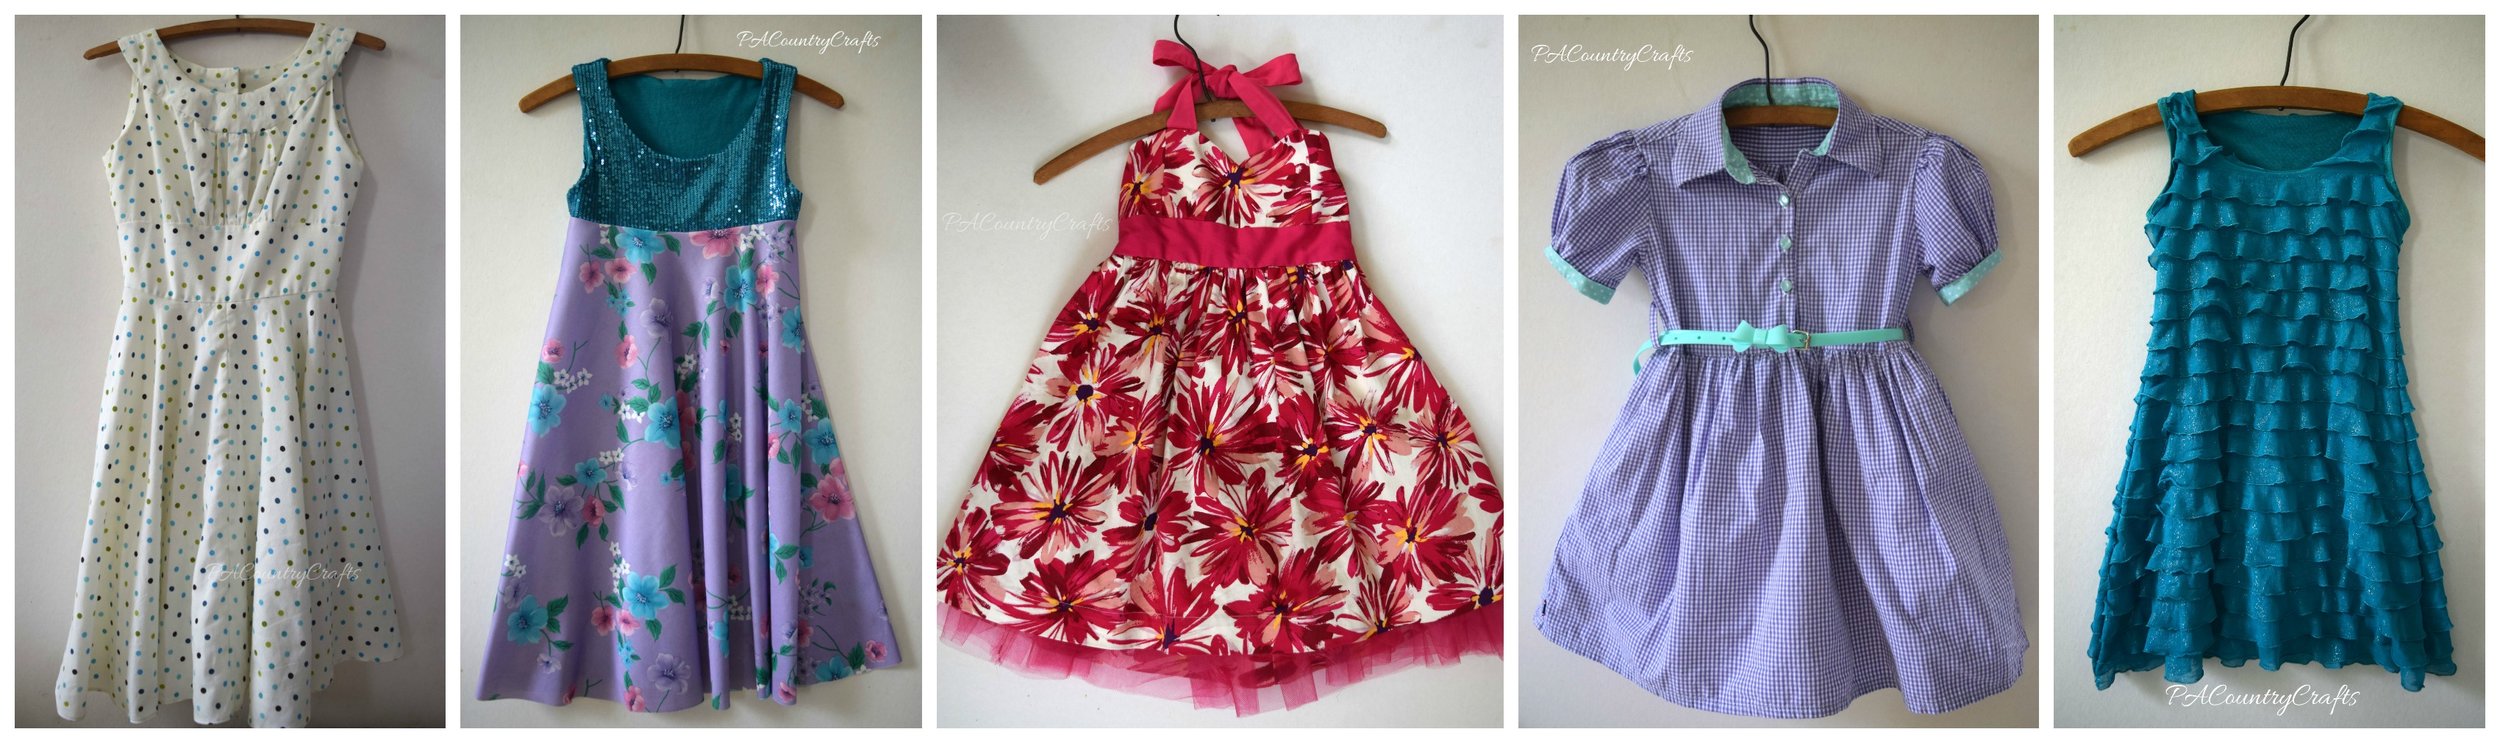
If you missed it, here is more about the upcycled dresses that I made for the girls this year...
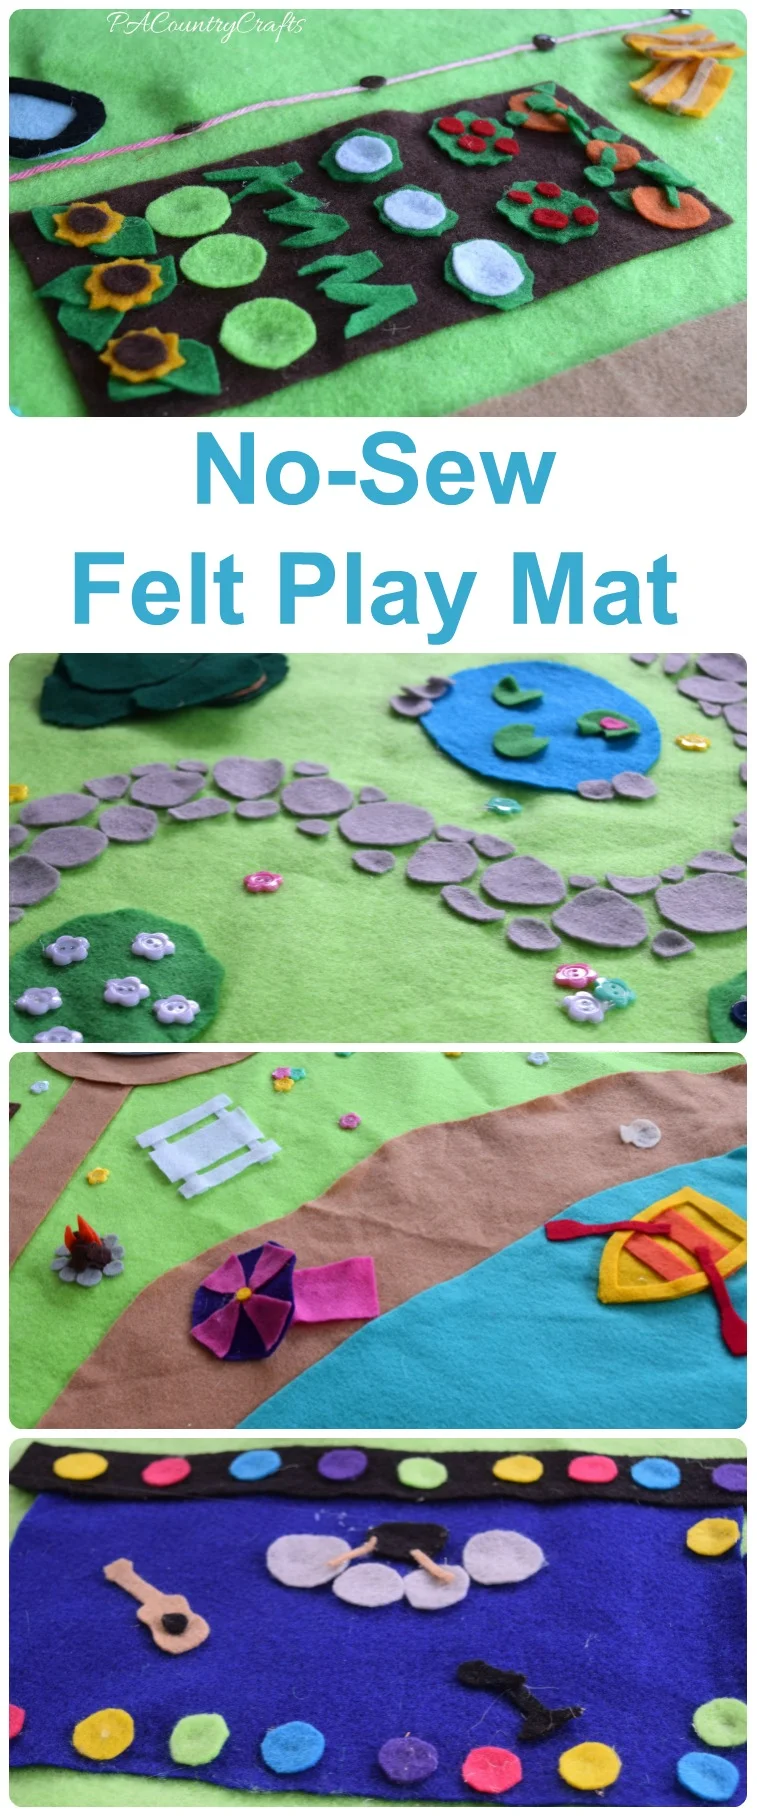
Make a no-sew play mat with glue and felt- great kids craft! This one has a beach, park, farm, and concert stage for Littlest Pet Shop animals.
Read MoreSewing, crafts, tutorials, recipes, and a little look at our life in the country - raising half a dozen children.

Hi! Thanks so much for stopping by! My name is Lindsay and on this blog you will find sewing, crafts, decorating, recipes, and tutorials with a little bit of honesty and encouragement.