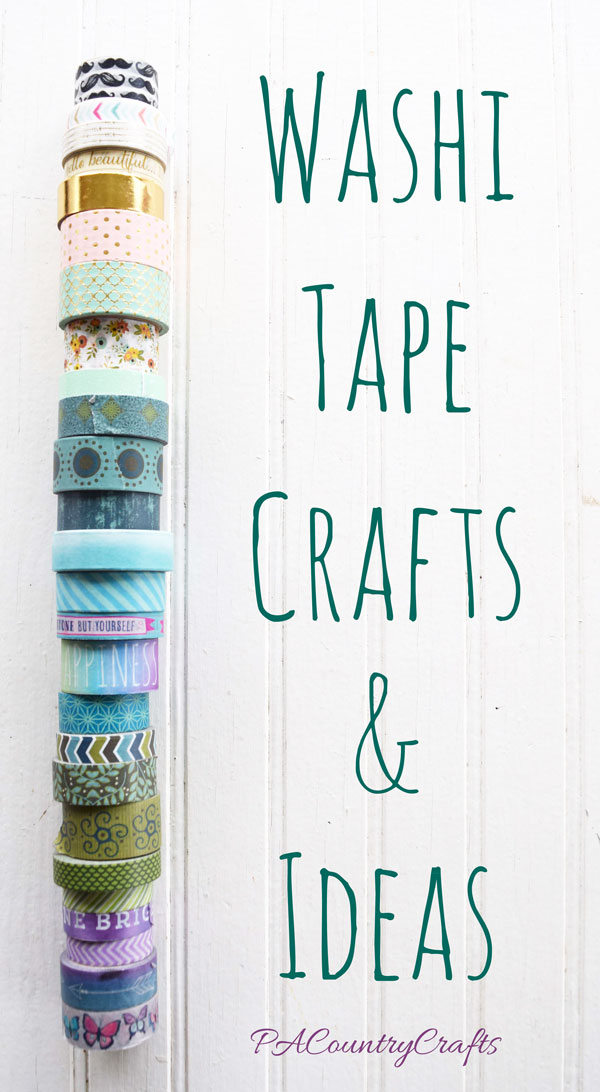
July 4th Home Decor
/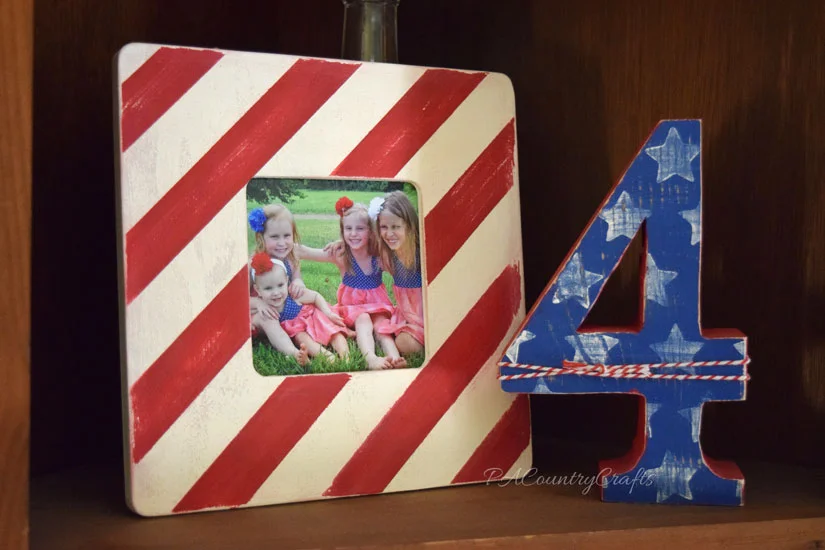
July 4th home decorating on a budget! Include kids’ crafts and family photos from patriotic celebrations!
Read MoreJuly 4th home decorating on a budget! Include kids’ crafts and family photos from patriotic celebrations!
Read MoreMy daughter has decided that she hates blogging today, so I am going to finish the post for her. It is all about getting organized with washi tape.
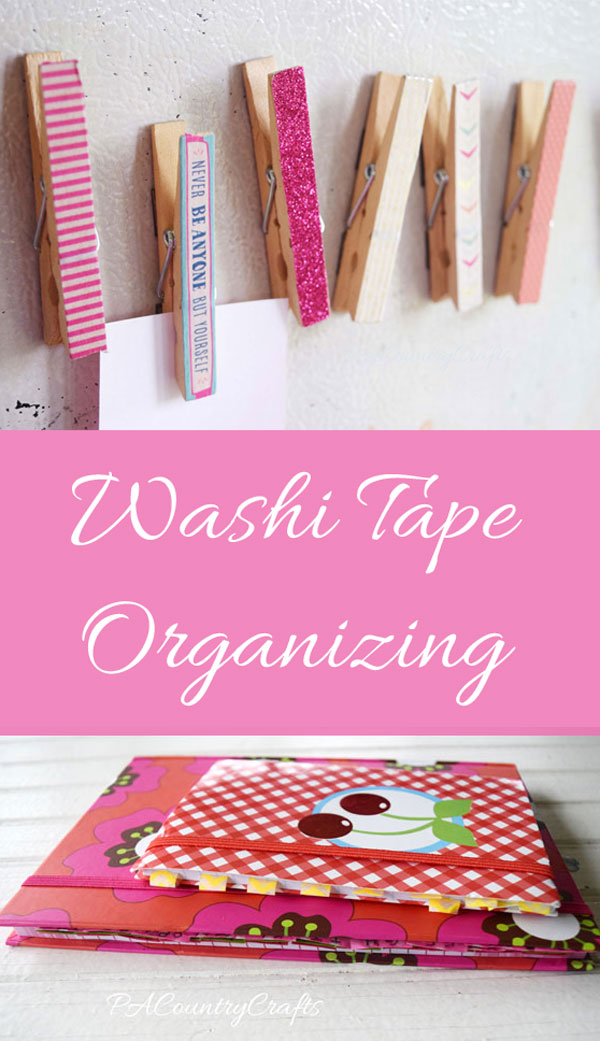
Washi tape can help to get things organized in a fun, cute way. My mom made her own tabs in journals to create sections by folding a little washi tape on the edge of the page.
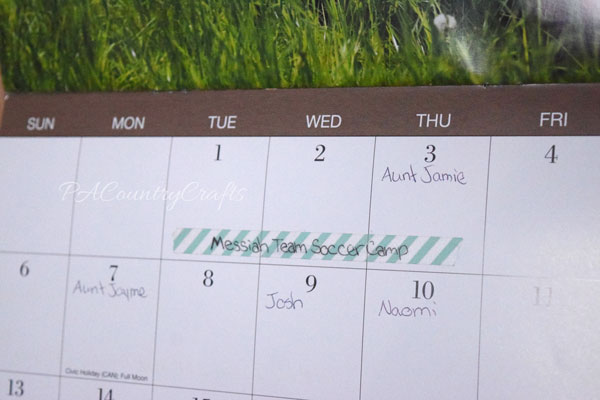
My mom also uses washi tape in her planner, and I use it on my calendar to mark important dates.
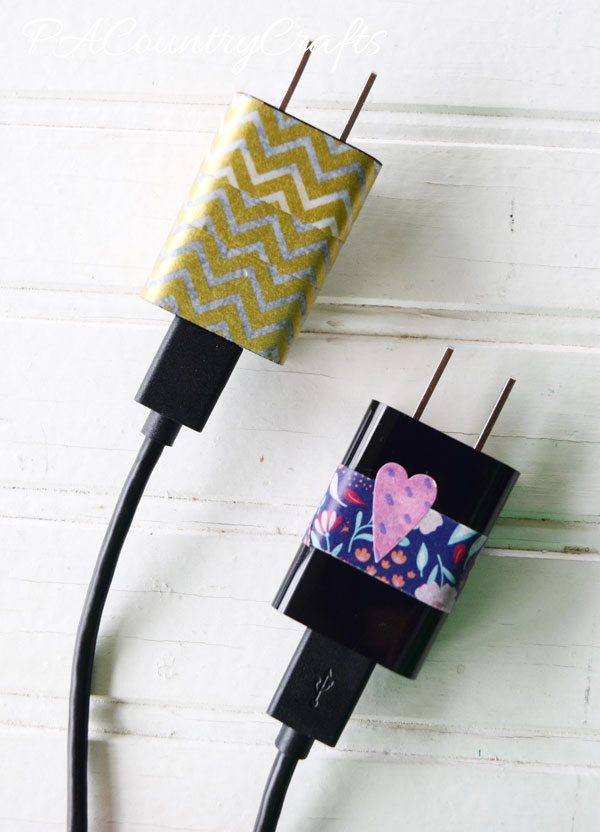
My sisters and I also used washi tape to mark the phone/tablet chargers so that we know whose is whose. Charger theft is a very serious crime in our house.
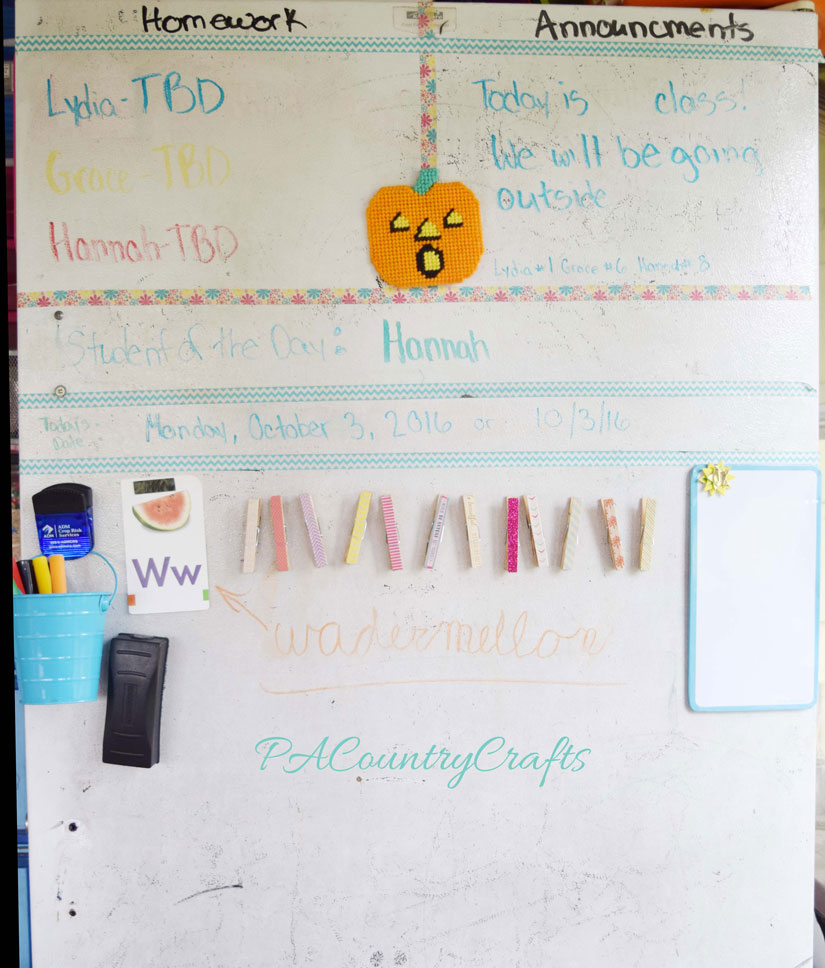
I have my own little "classroom" and the freezer door is the dry erase board. Many real teachers also use washi tape to create sections on blackboards or dry erase boards.
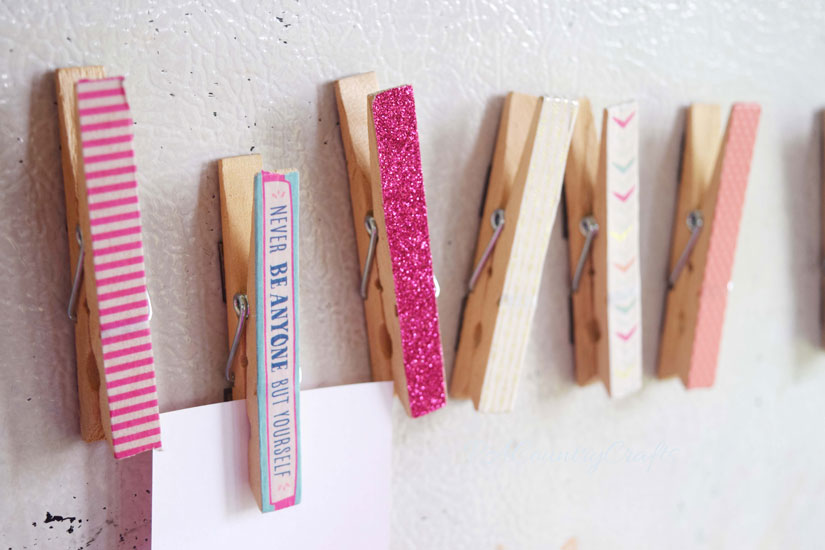
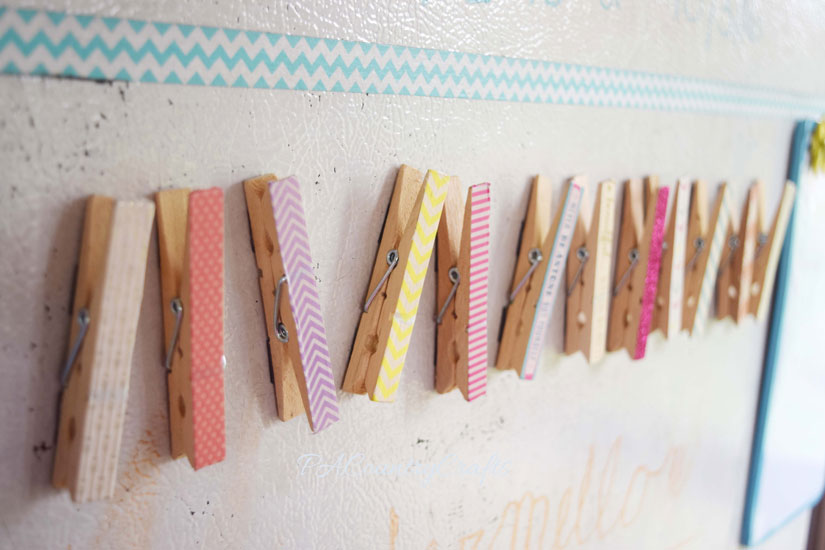
I also made a bunch of washi tape clothespin magnets. If you have washi tape that is about the same size as the clothespins it doesn't get any easier than this! Just put a strip of washi tape on the front and an adhesive magnet or two on the back.
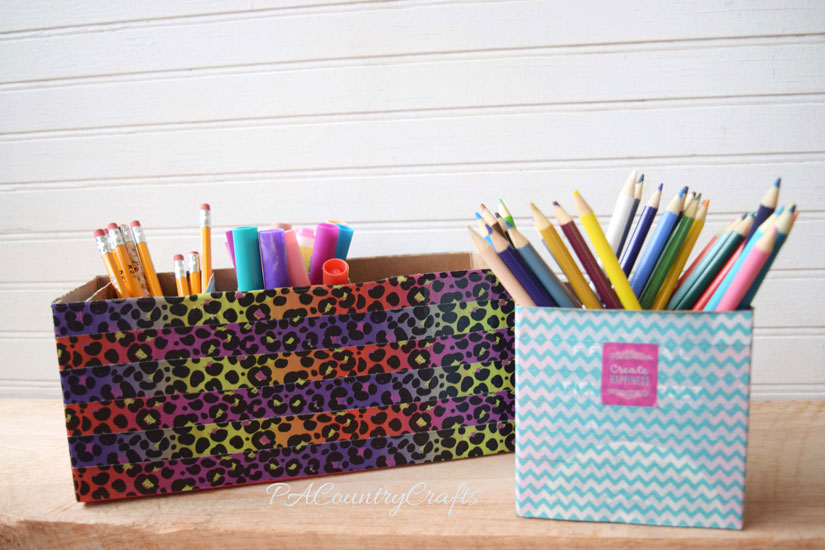
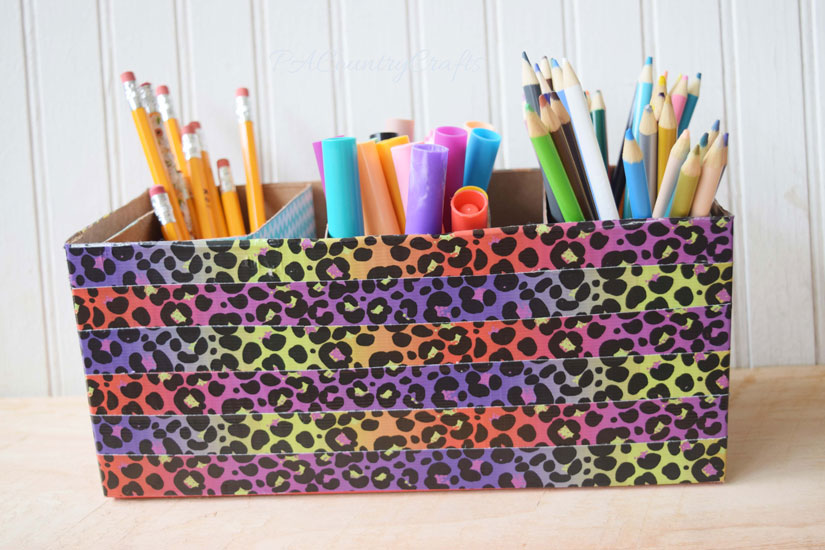
I also made these organizers out of one of my shotgun shell boxes. The animal print is actually duct tape, though.

Thanks for taking your time to read this post!
If you want to pin these ideas for later...
You can see all of the Washi Week 2017 posts HERE.
(Washi Week 2017 is a blog series by Halley, my 13yo daughter.) Hello there! Welcome to day three of washi week, and today's topic, washi tape fun! I apologize that this is a day late a storm knocked out our internet:( There are so many fun things to do with washi tape. It doesn't have to serve a purpose. As long as it's cute, it is worth making!
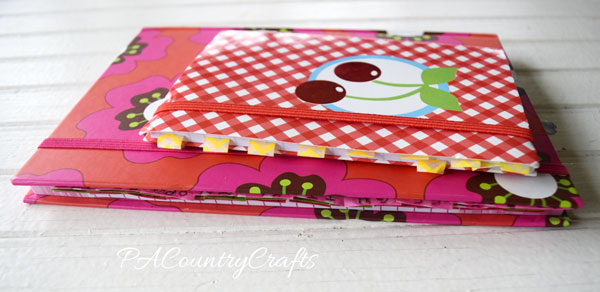
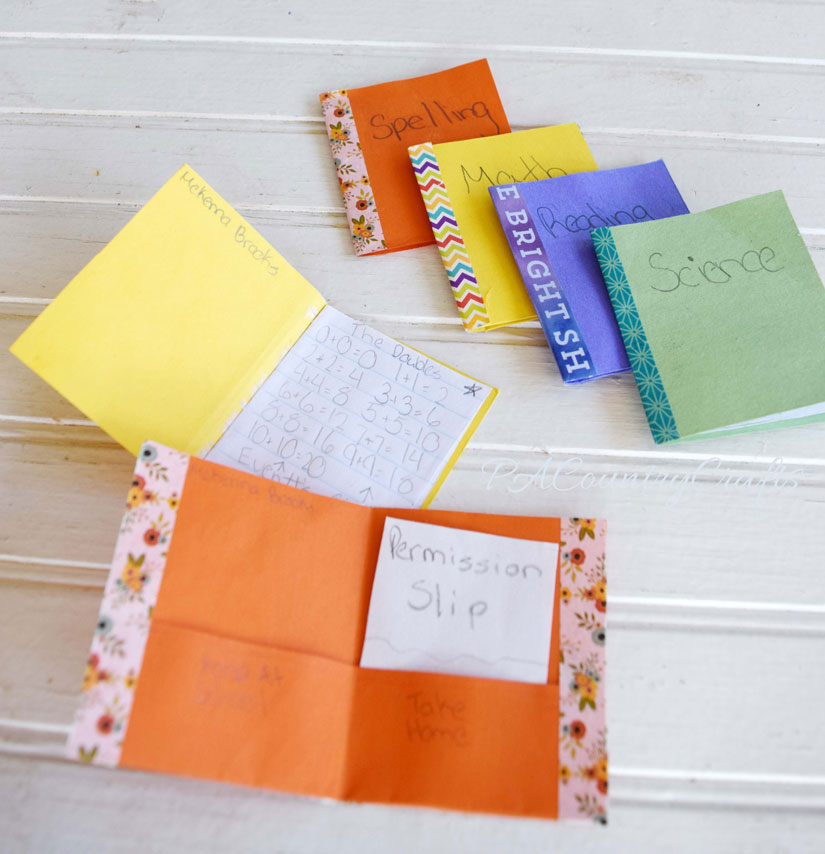
These are American Girl doll-sized folders and textbooks. The washi tape not only holds them together, but it makes them cuter, too!
A better view of the insides...
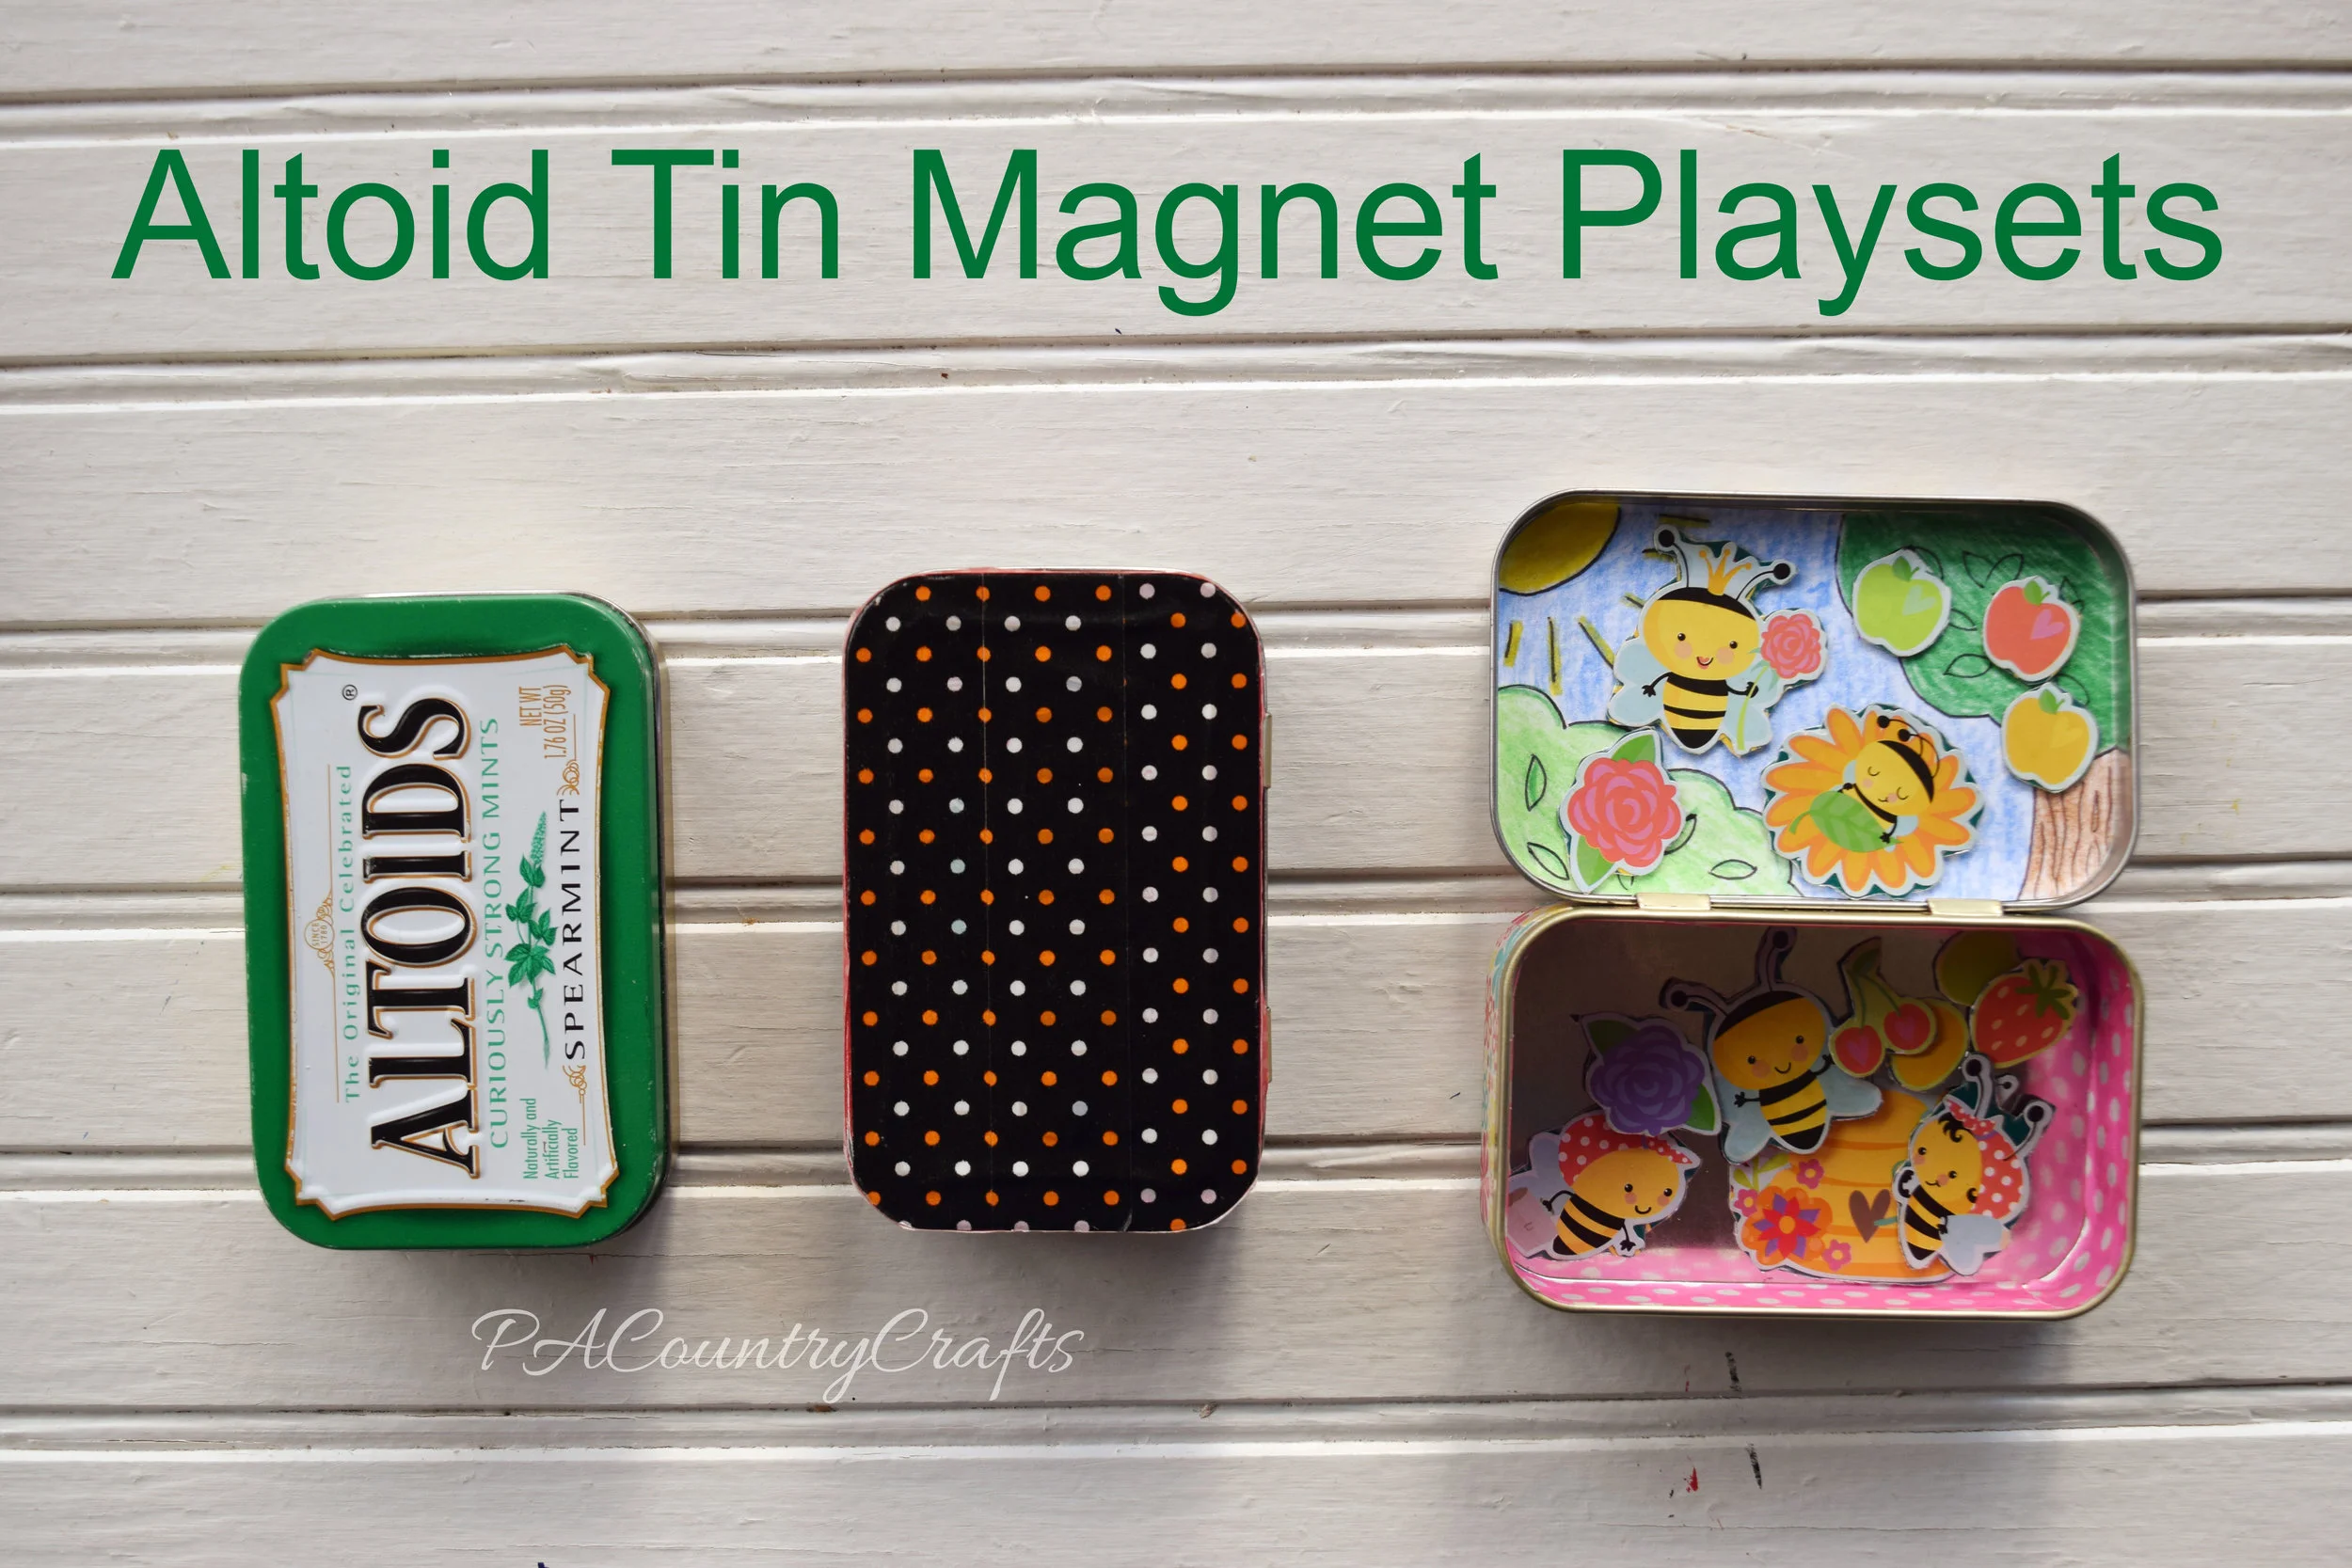
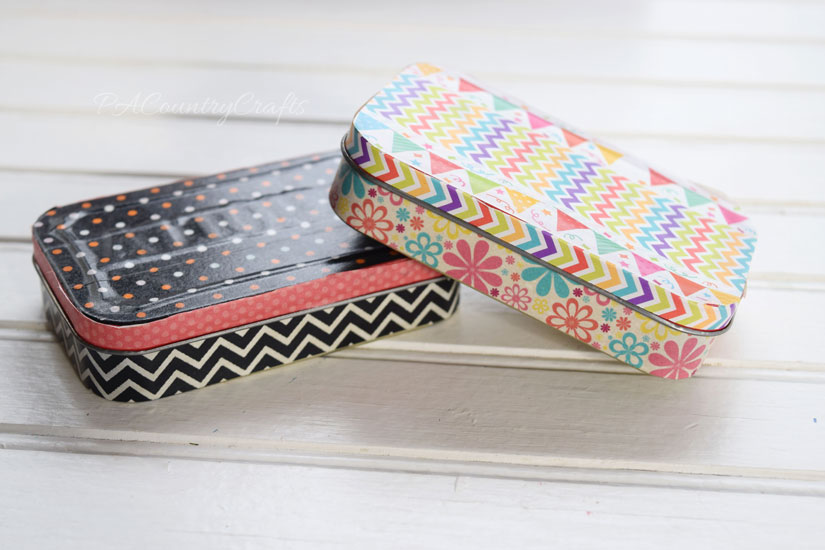
For Operation Christmas Child last year we made play scenes out of Altoid tins. The washi tape just made the outside cuter. You can read more about them HERE.
Here are some scrap-booked picture frames that only need a little strip of washi tape make them look cute. Tapes with phrases on them are my favorite to use for things like this. (See more frames HERE.)

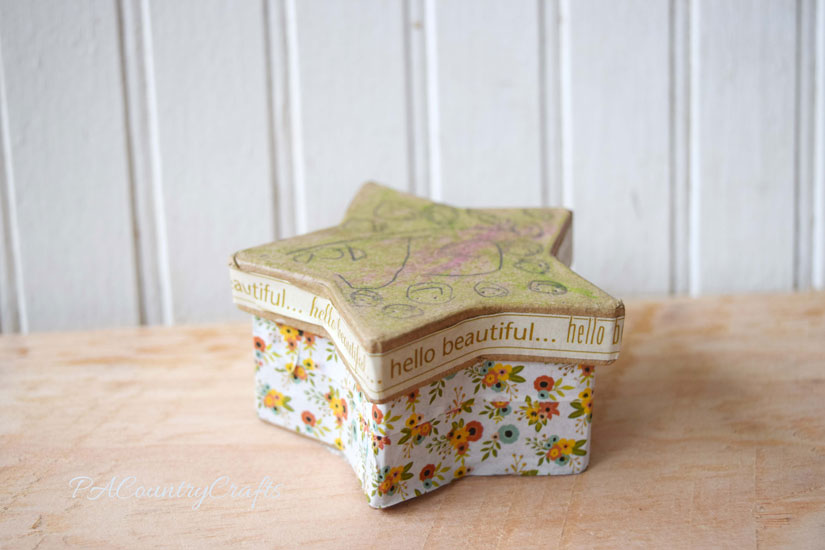
The star box below was taken from my mom and washi taped with a set of washi tape I had bought.
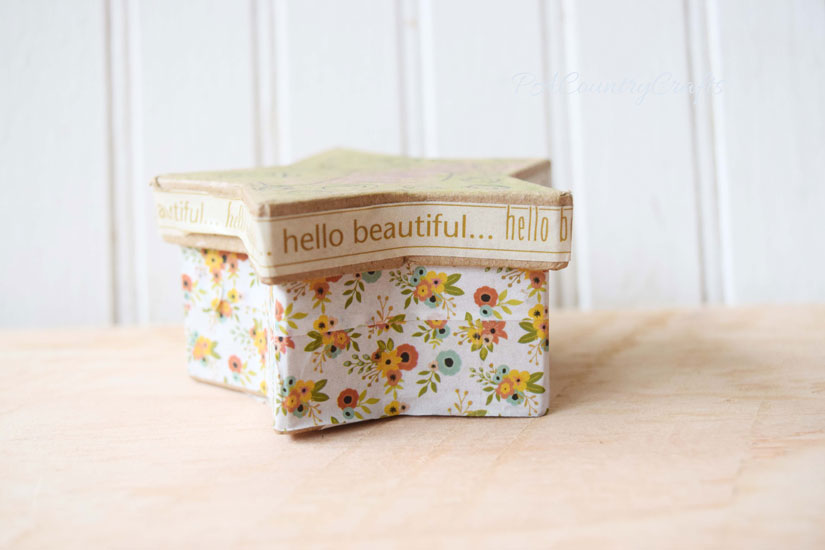
As you can see, my sisters ruined it by drawing all over the top of it.
There are so many different thing to do with washi tape, these are just a few. So here is a list of some more ideas I have tried:
There are plenty more, but these are the ones I can think of off the top of my head.
If you want to pin it for later...

Thanks for reading my post, I hope you liked it. Be sure to stay tuned for tomorrow and if you haven't already, please read the previous posts from this week. You can find them all HERE:
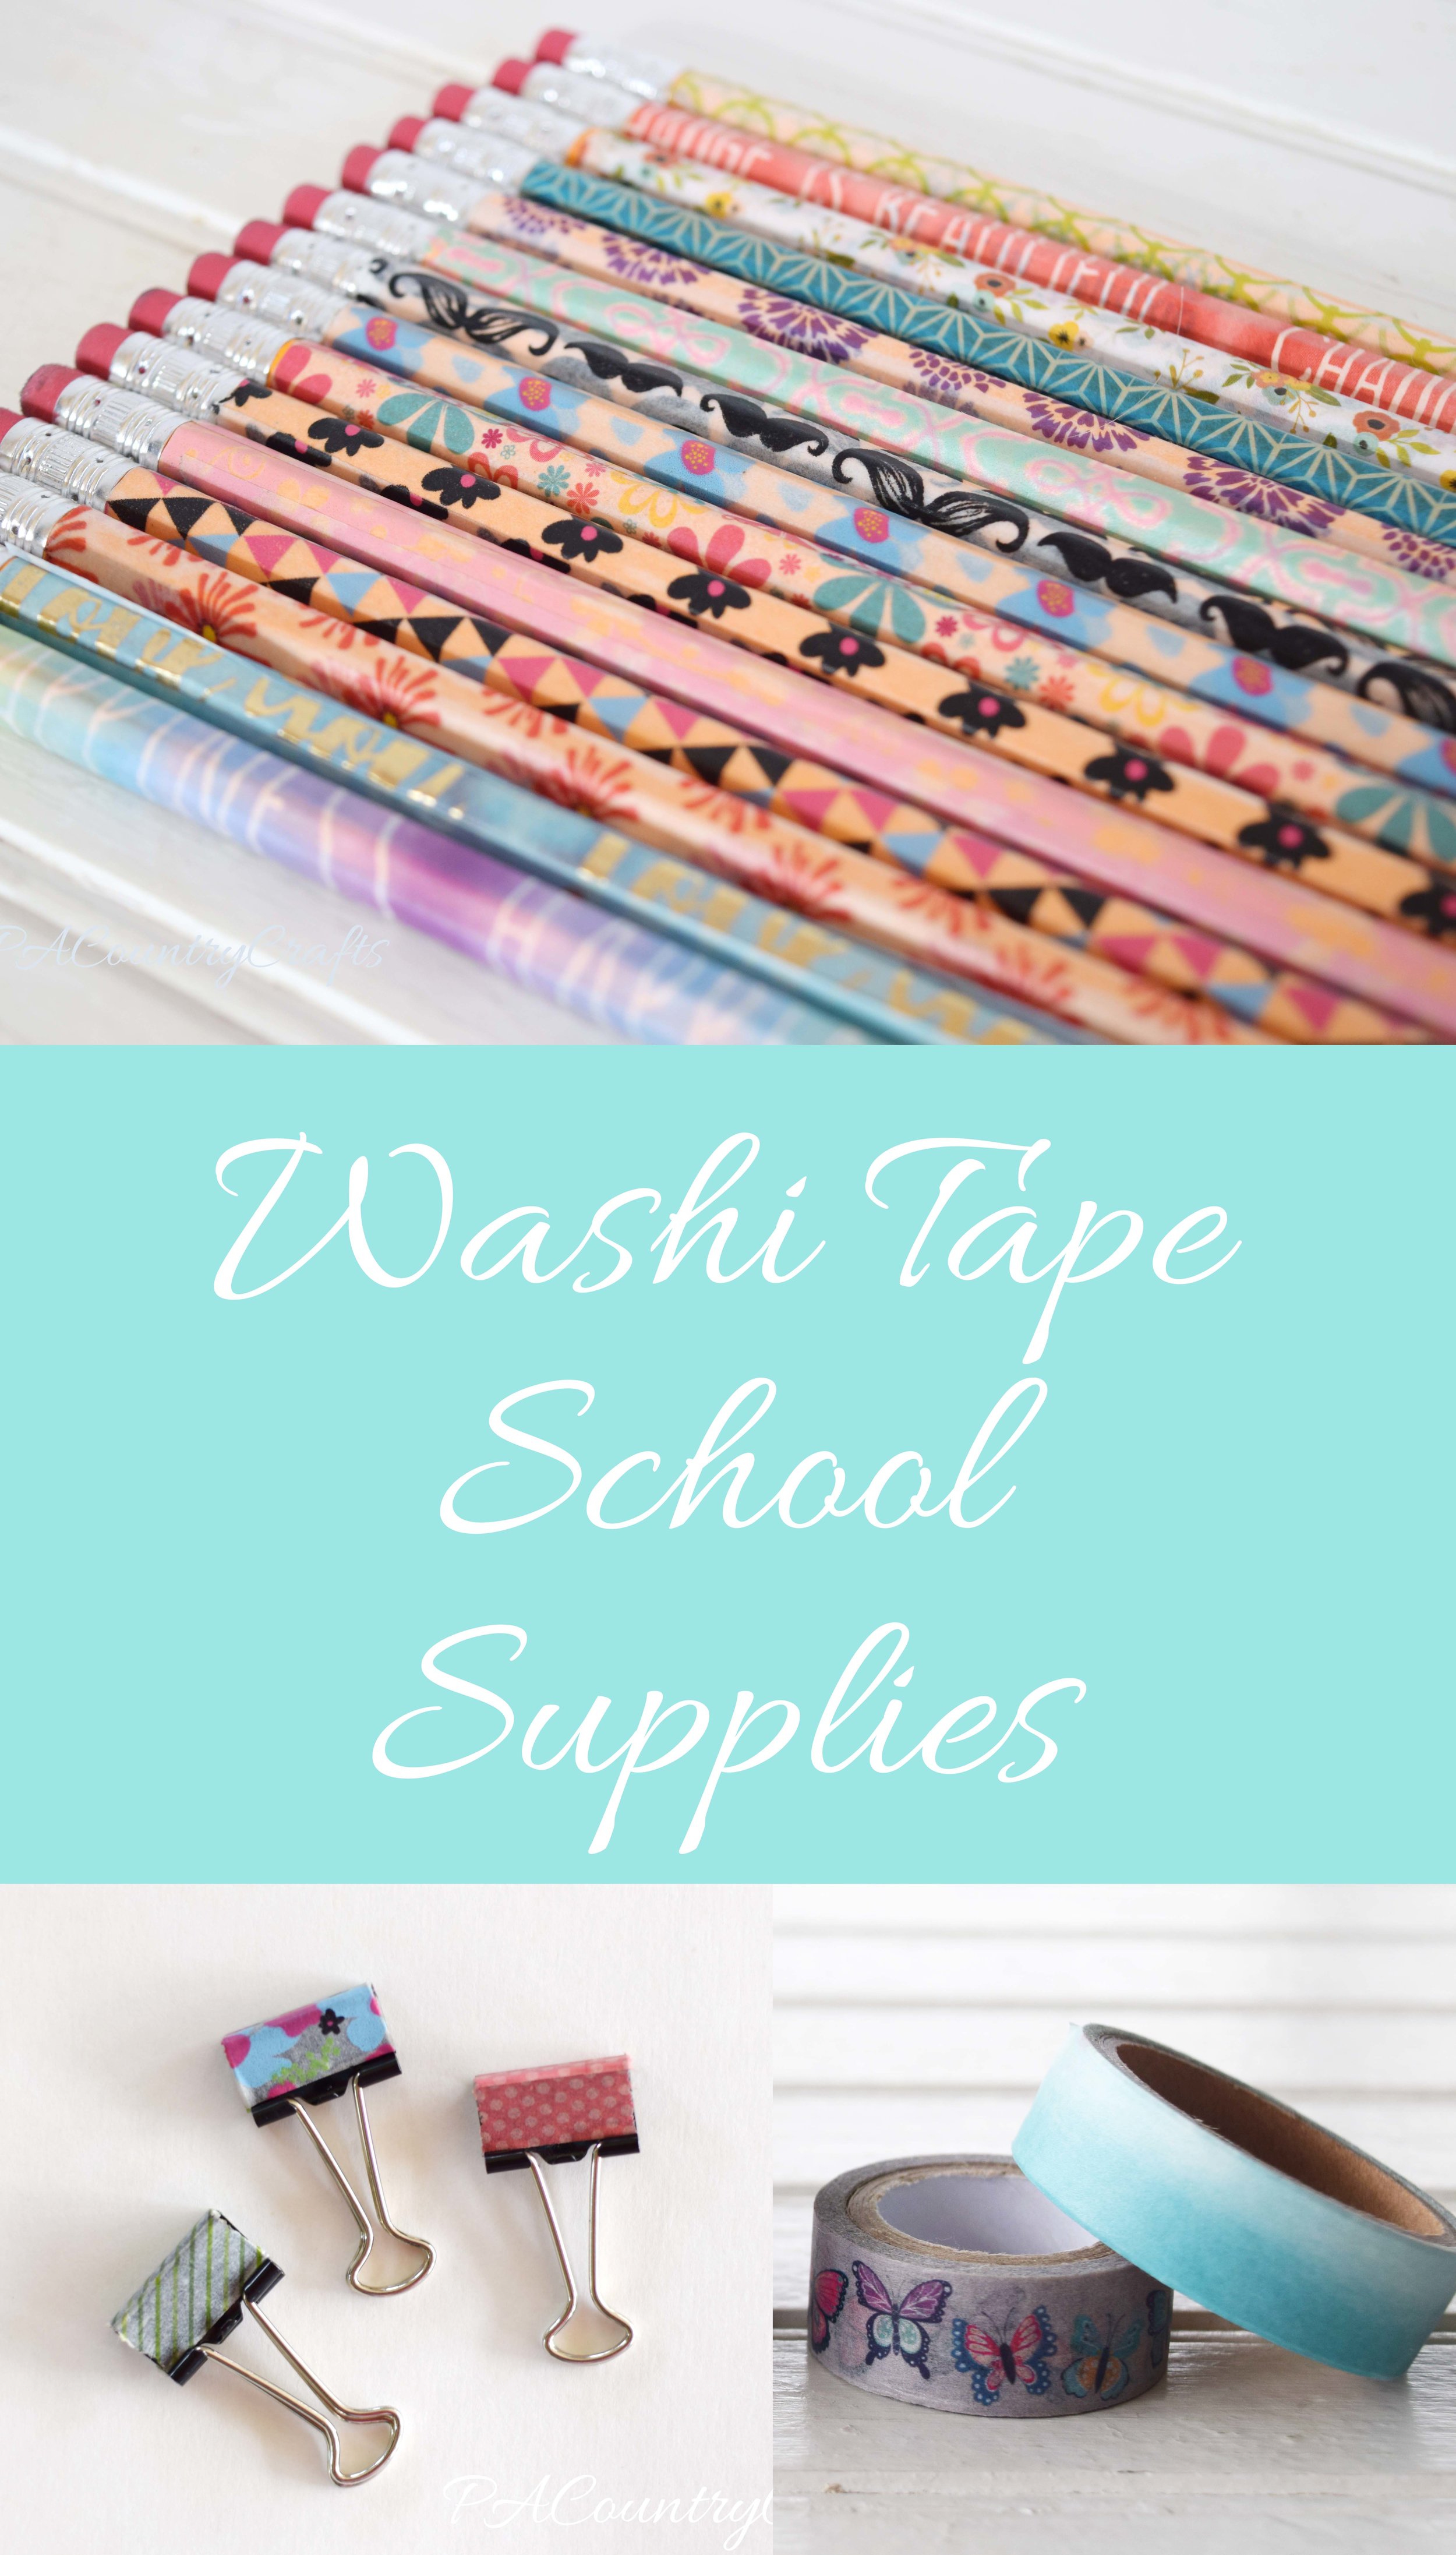
Hello! It's me again. I'm back for day two of Washi Week, and today's topic is school supplies! So, whether it's pencils, notebooks, binder clips, scissors, or just a strip along a binder, it's bound to be cute with washi tape on it. (If you haven't read yesterday's, you can click HERE to read it.)
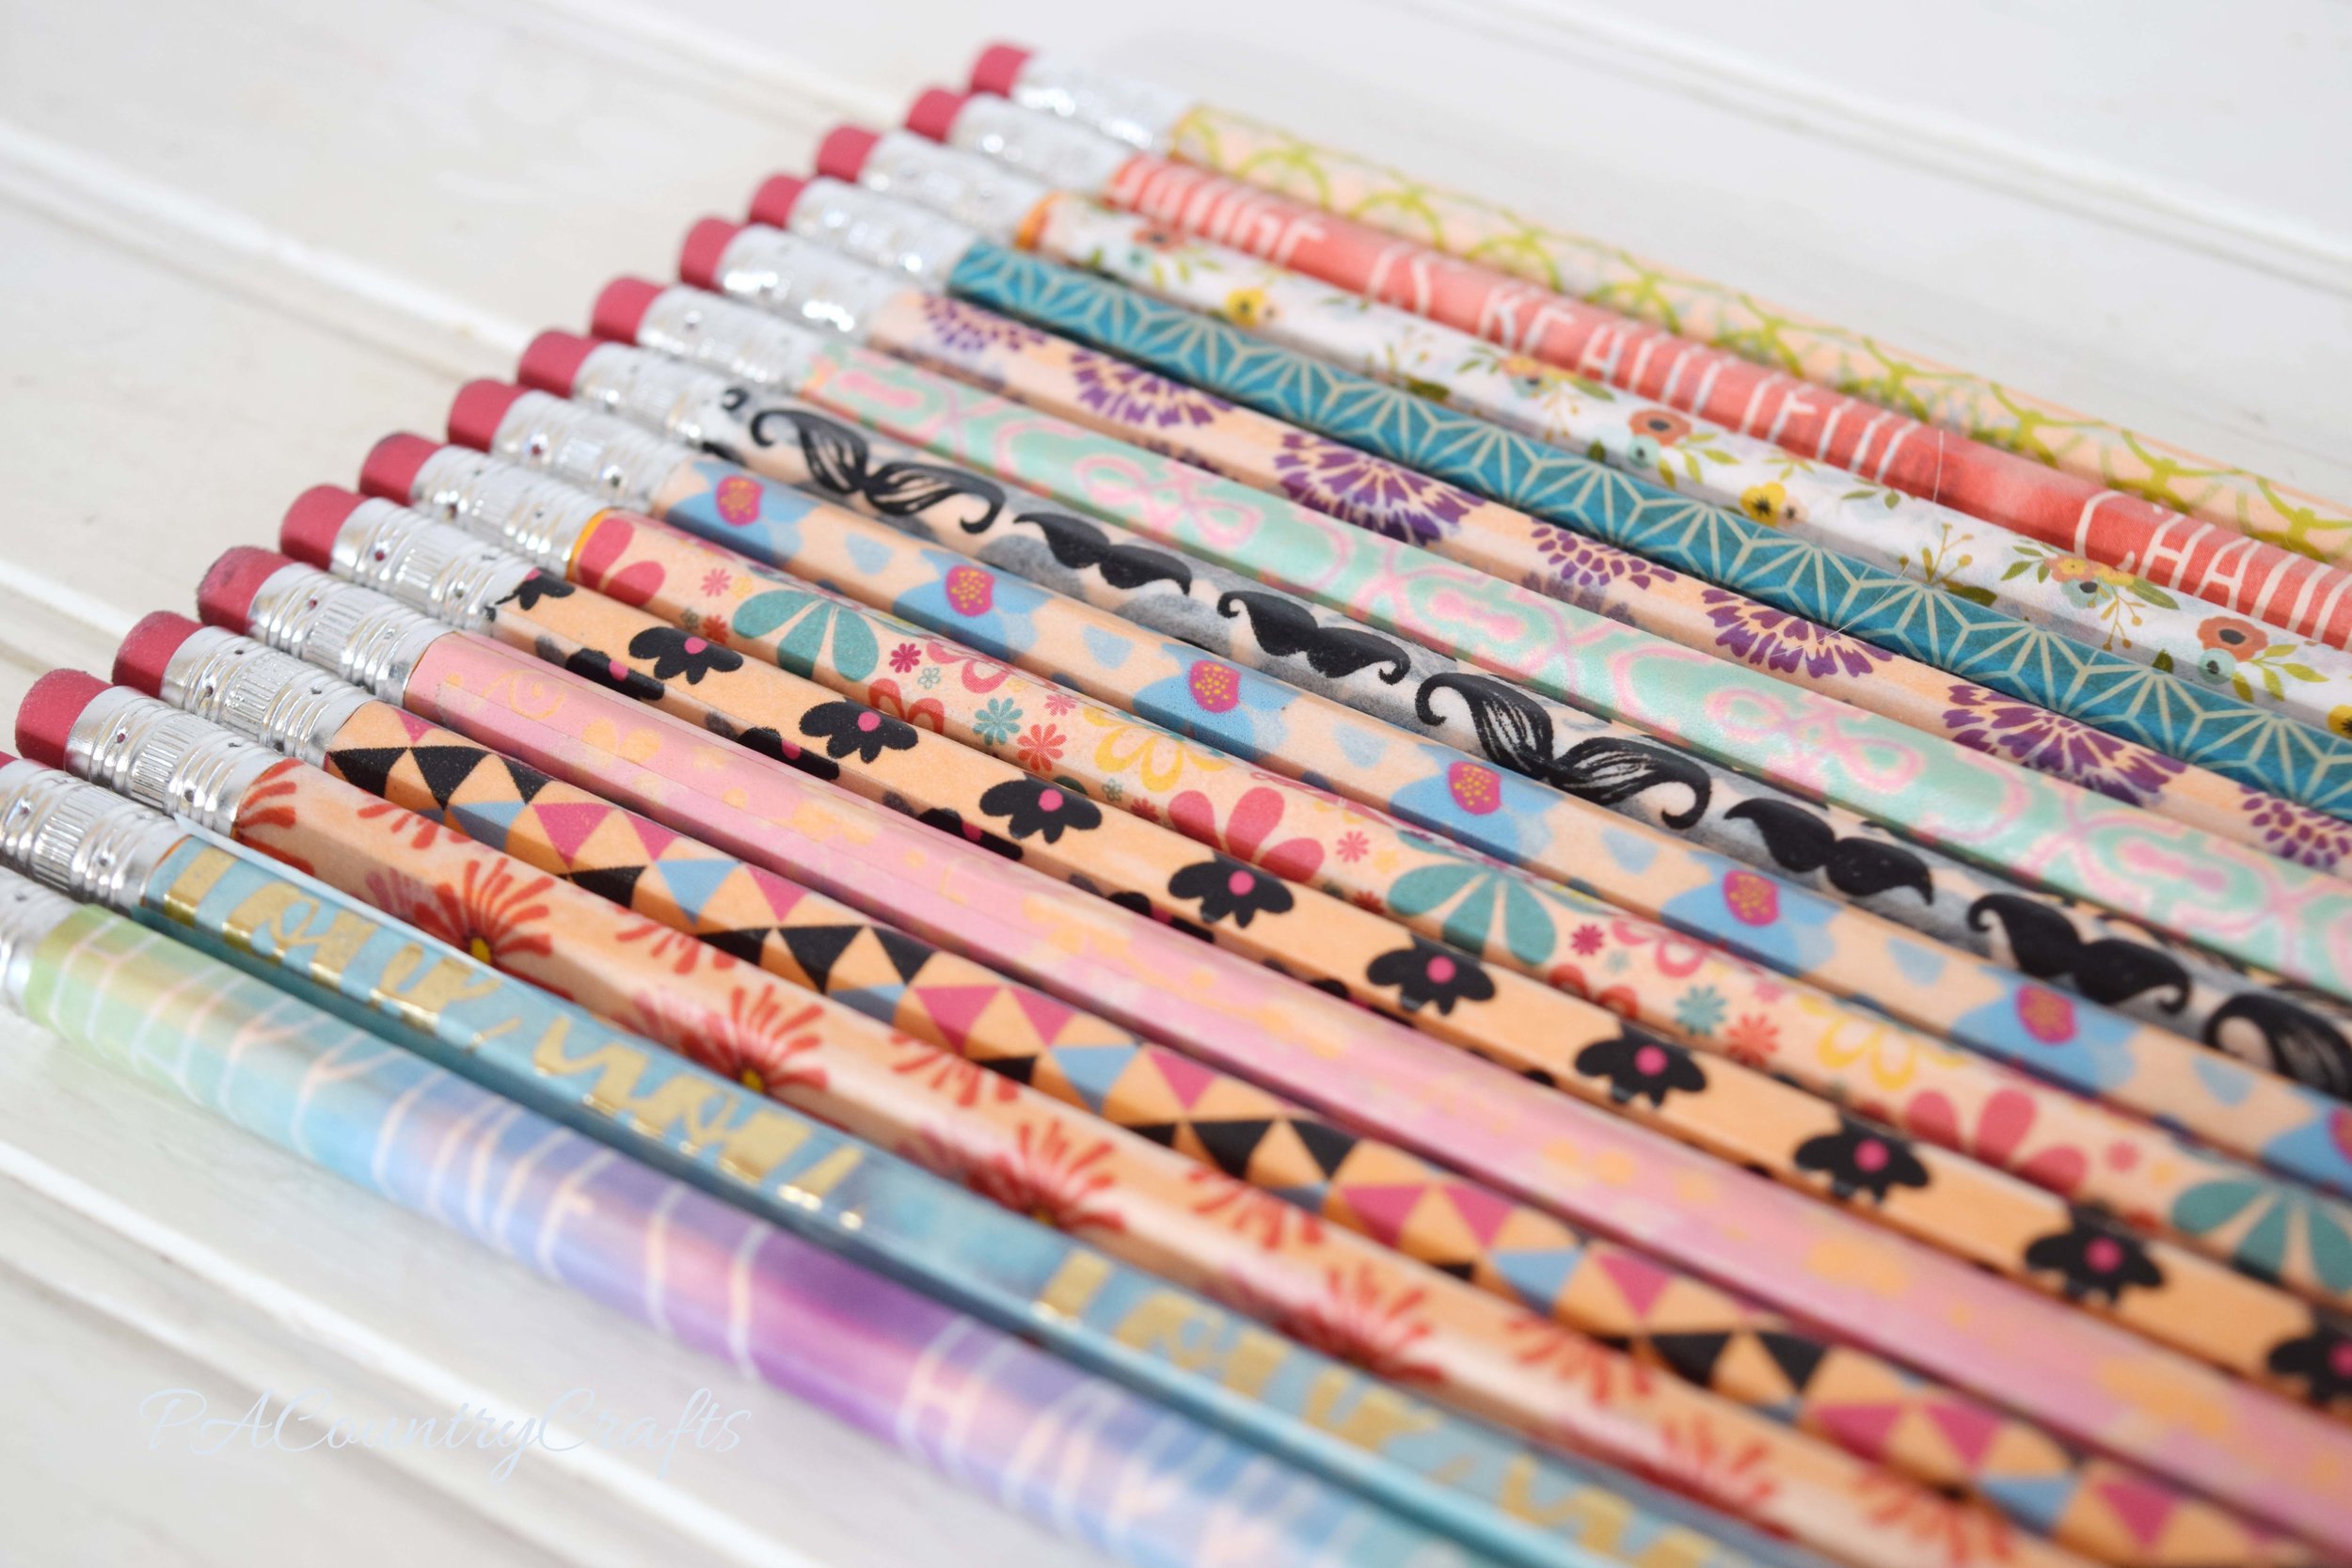
Here are some of the pencils I made. They look cute, don't they?! All I did was use a strip (or a few depending on the width of the tape and the pencil) and cut it to the length needed. As you can see, I didn't really do a good job at that. Also, when sharpening, an electric sharpener is what I recommend using.
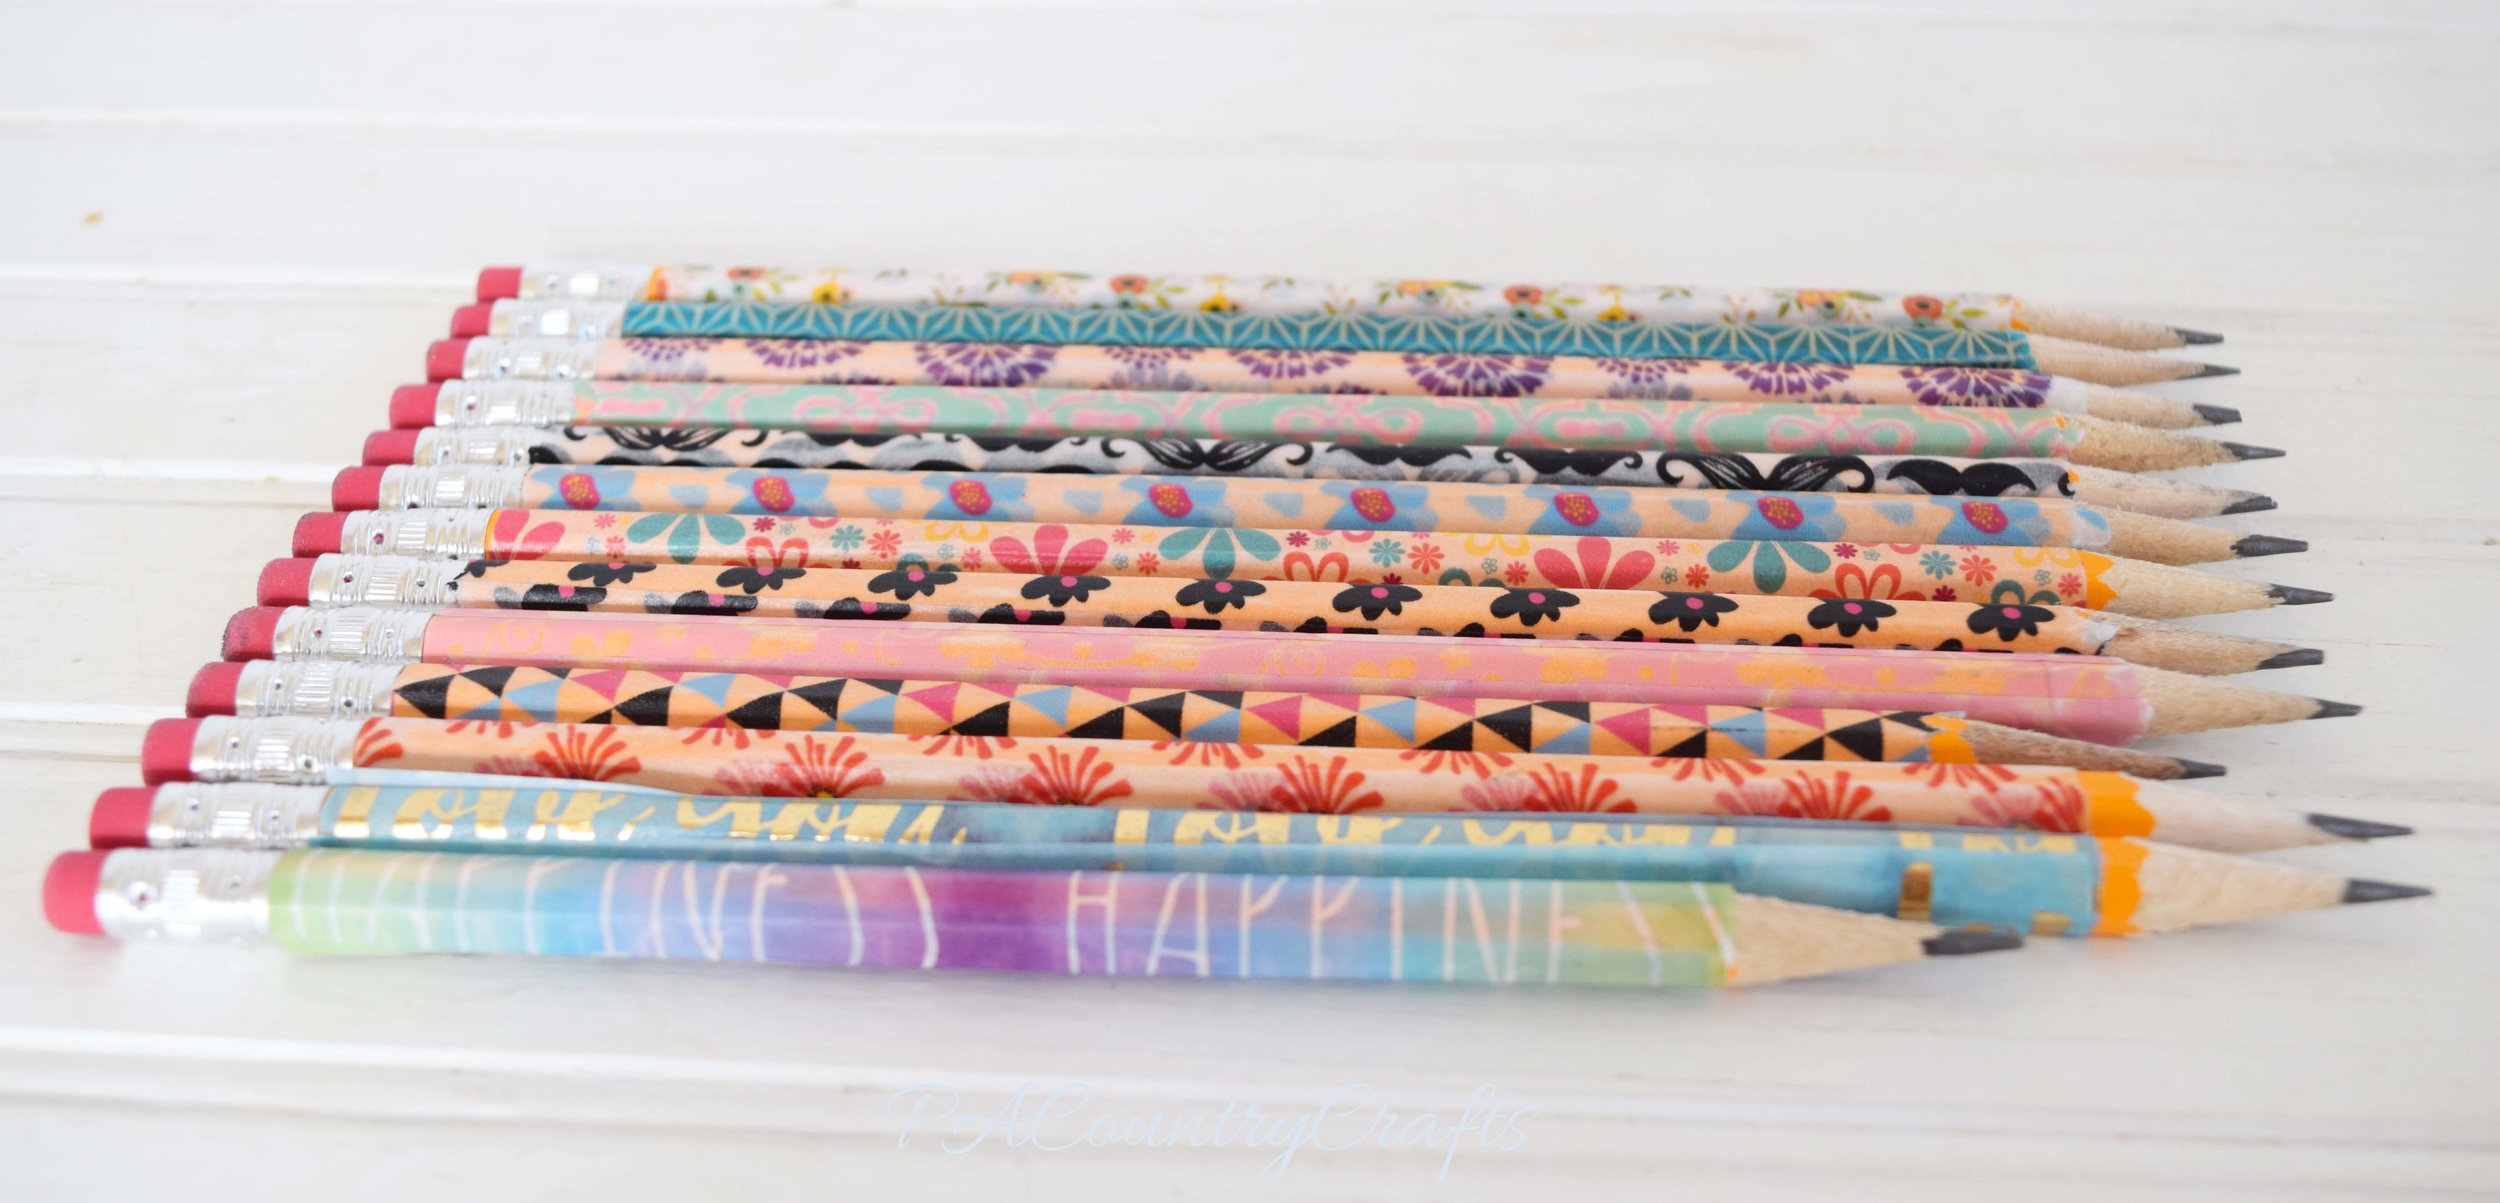
Here is another shot of the pencils...
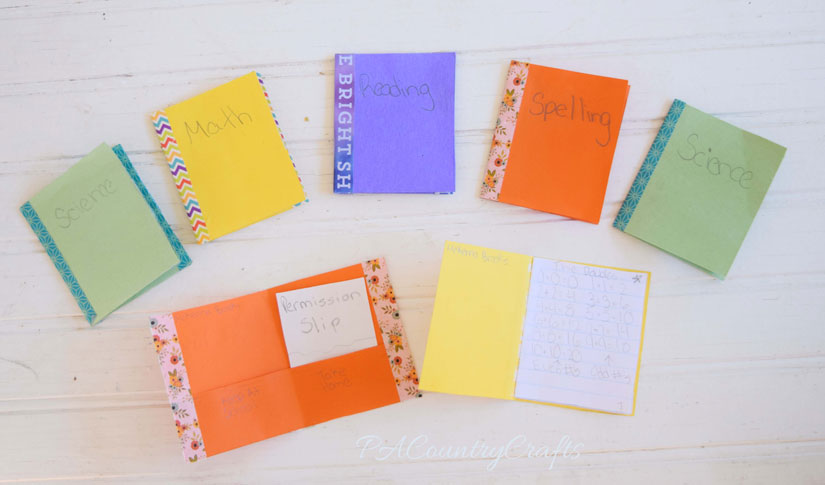
Here are some journals my mother made for a local MOPS meeting craft. She bought a scrapbook paper pad to use on the covers and she made little cut-outs and stamps to customize it. I like how the washi tape really stands out on the and the little sayings are really perfect for this.
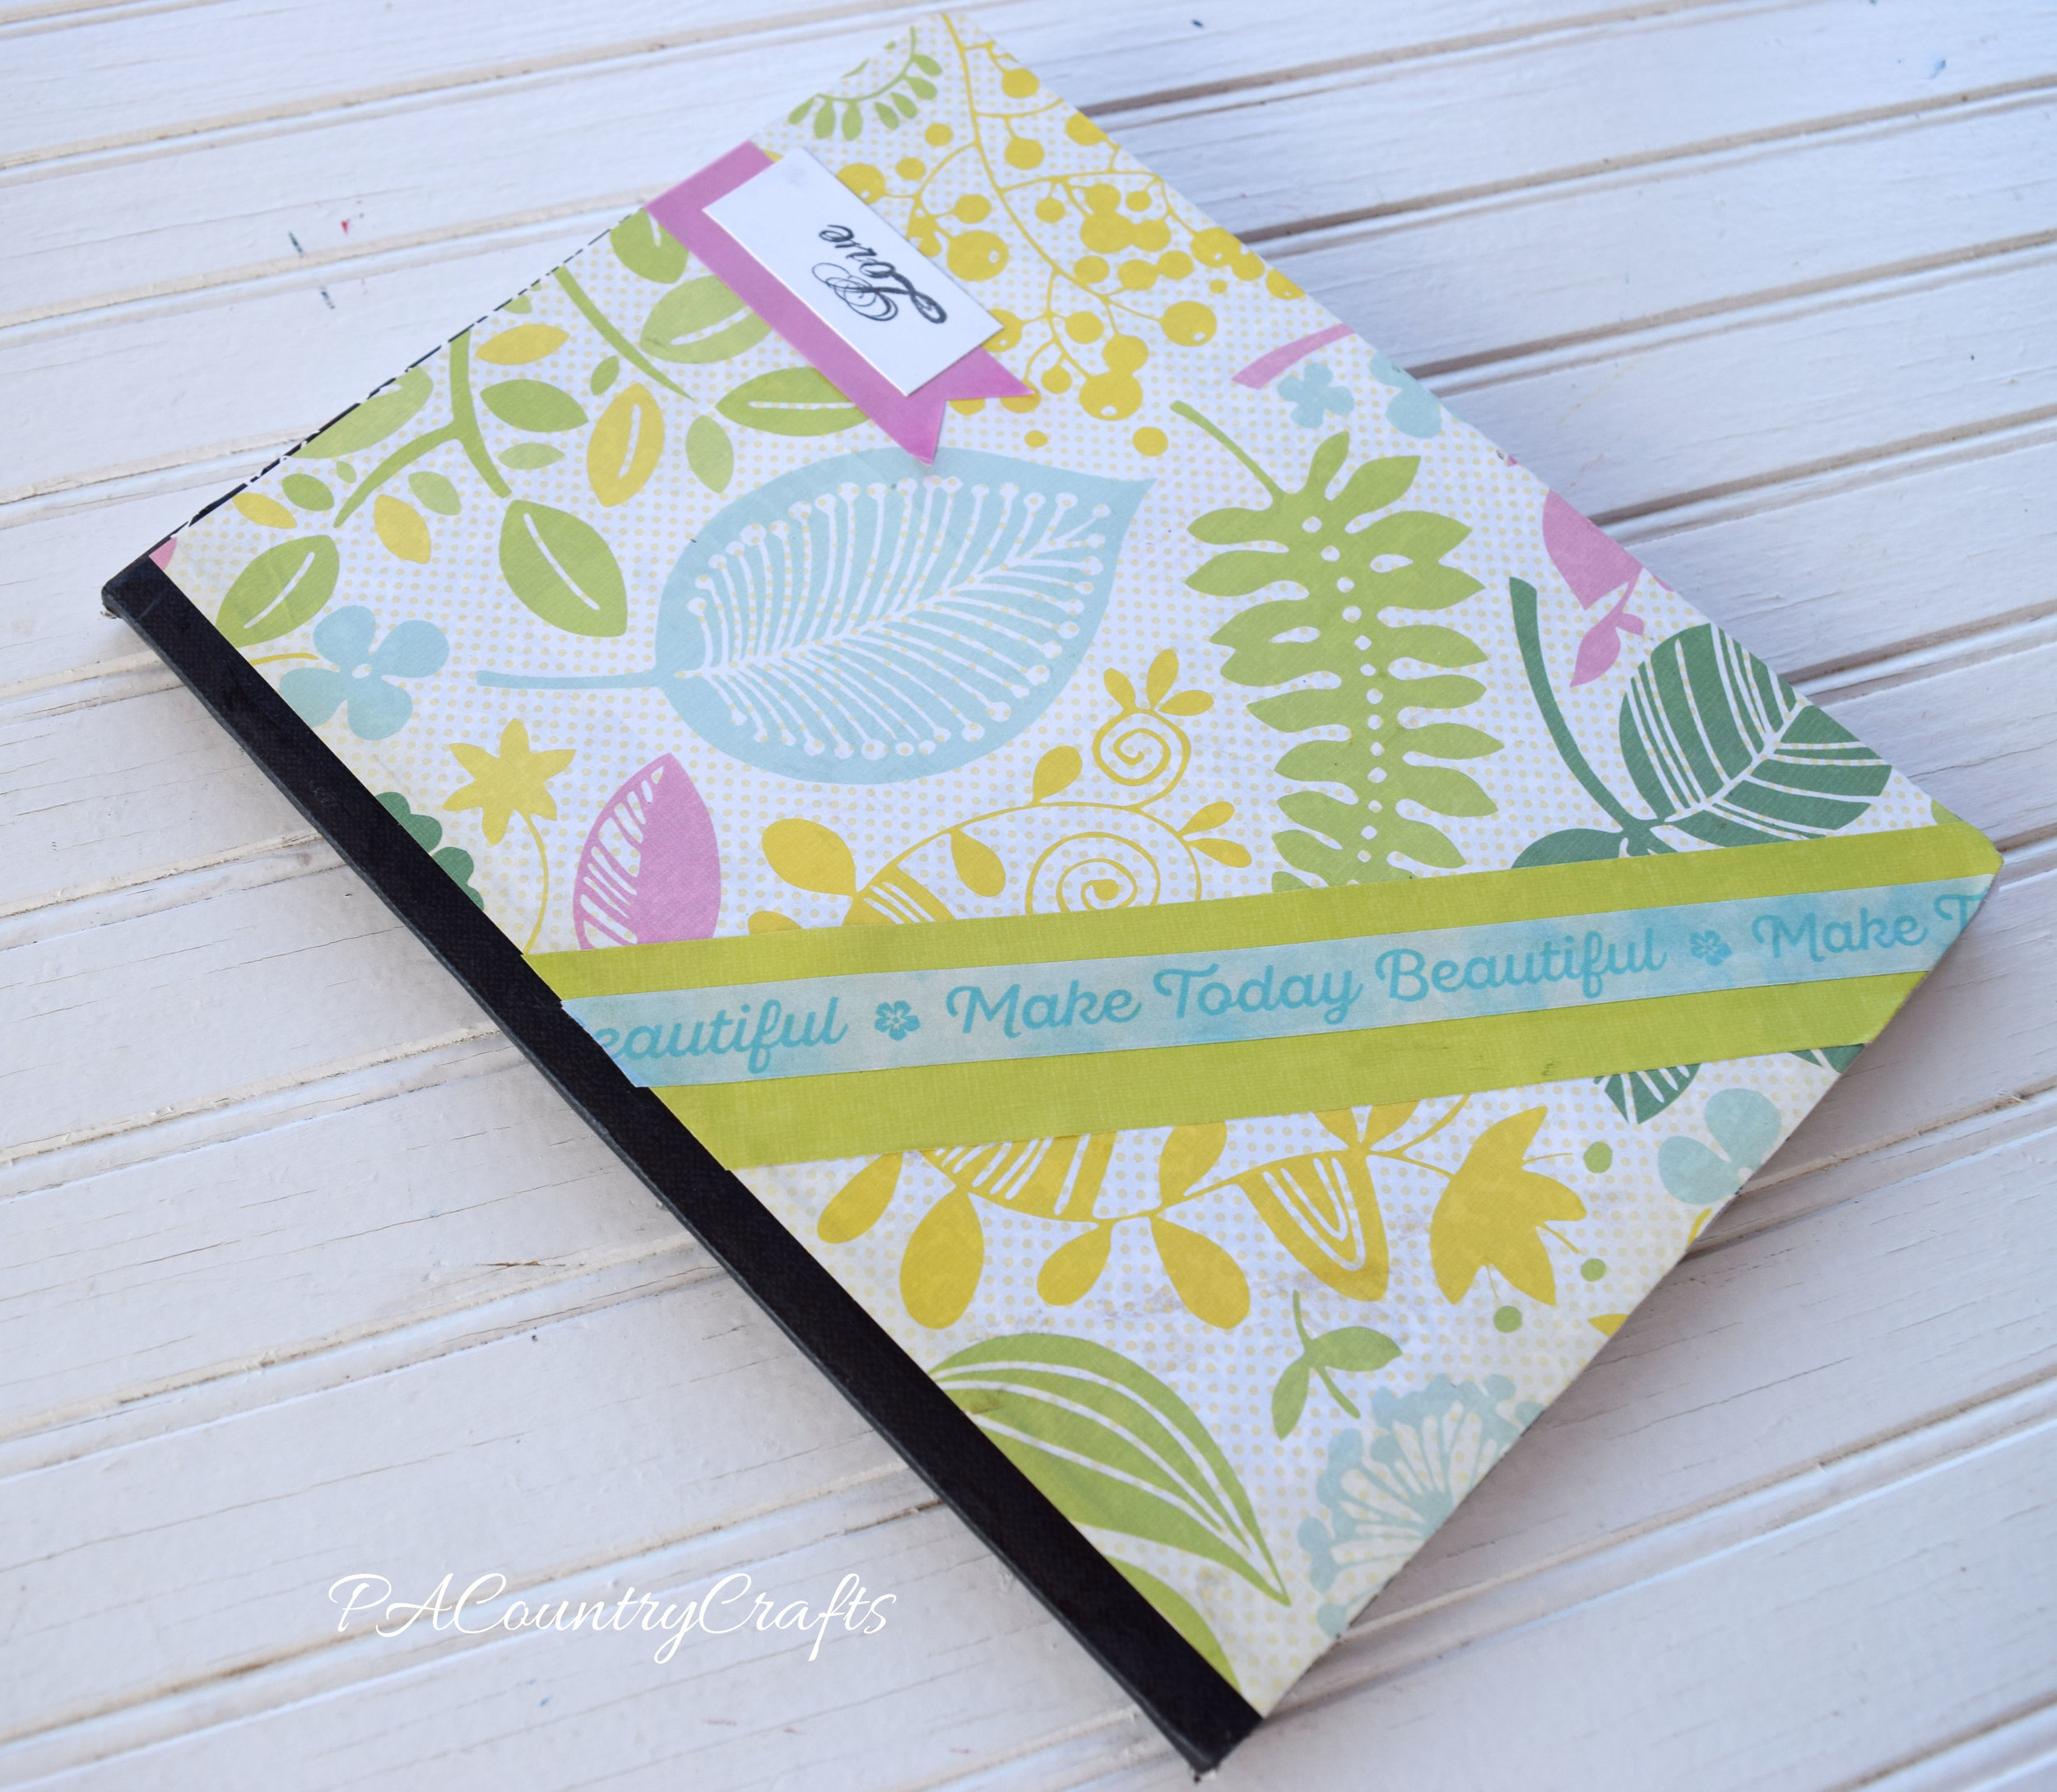
This picture gives you a good look at the back of the notebooks.

To do the notebook activity, mom decided to mark her scissors so she wouldn't get them confused with other people's scissors. Even something so simple as this helps keep a classroom organized.

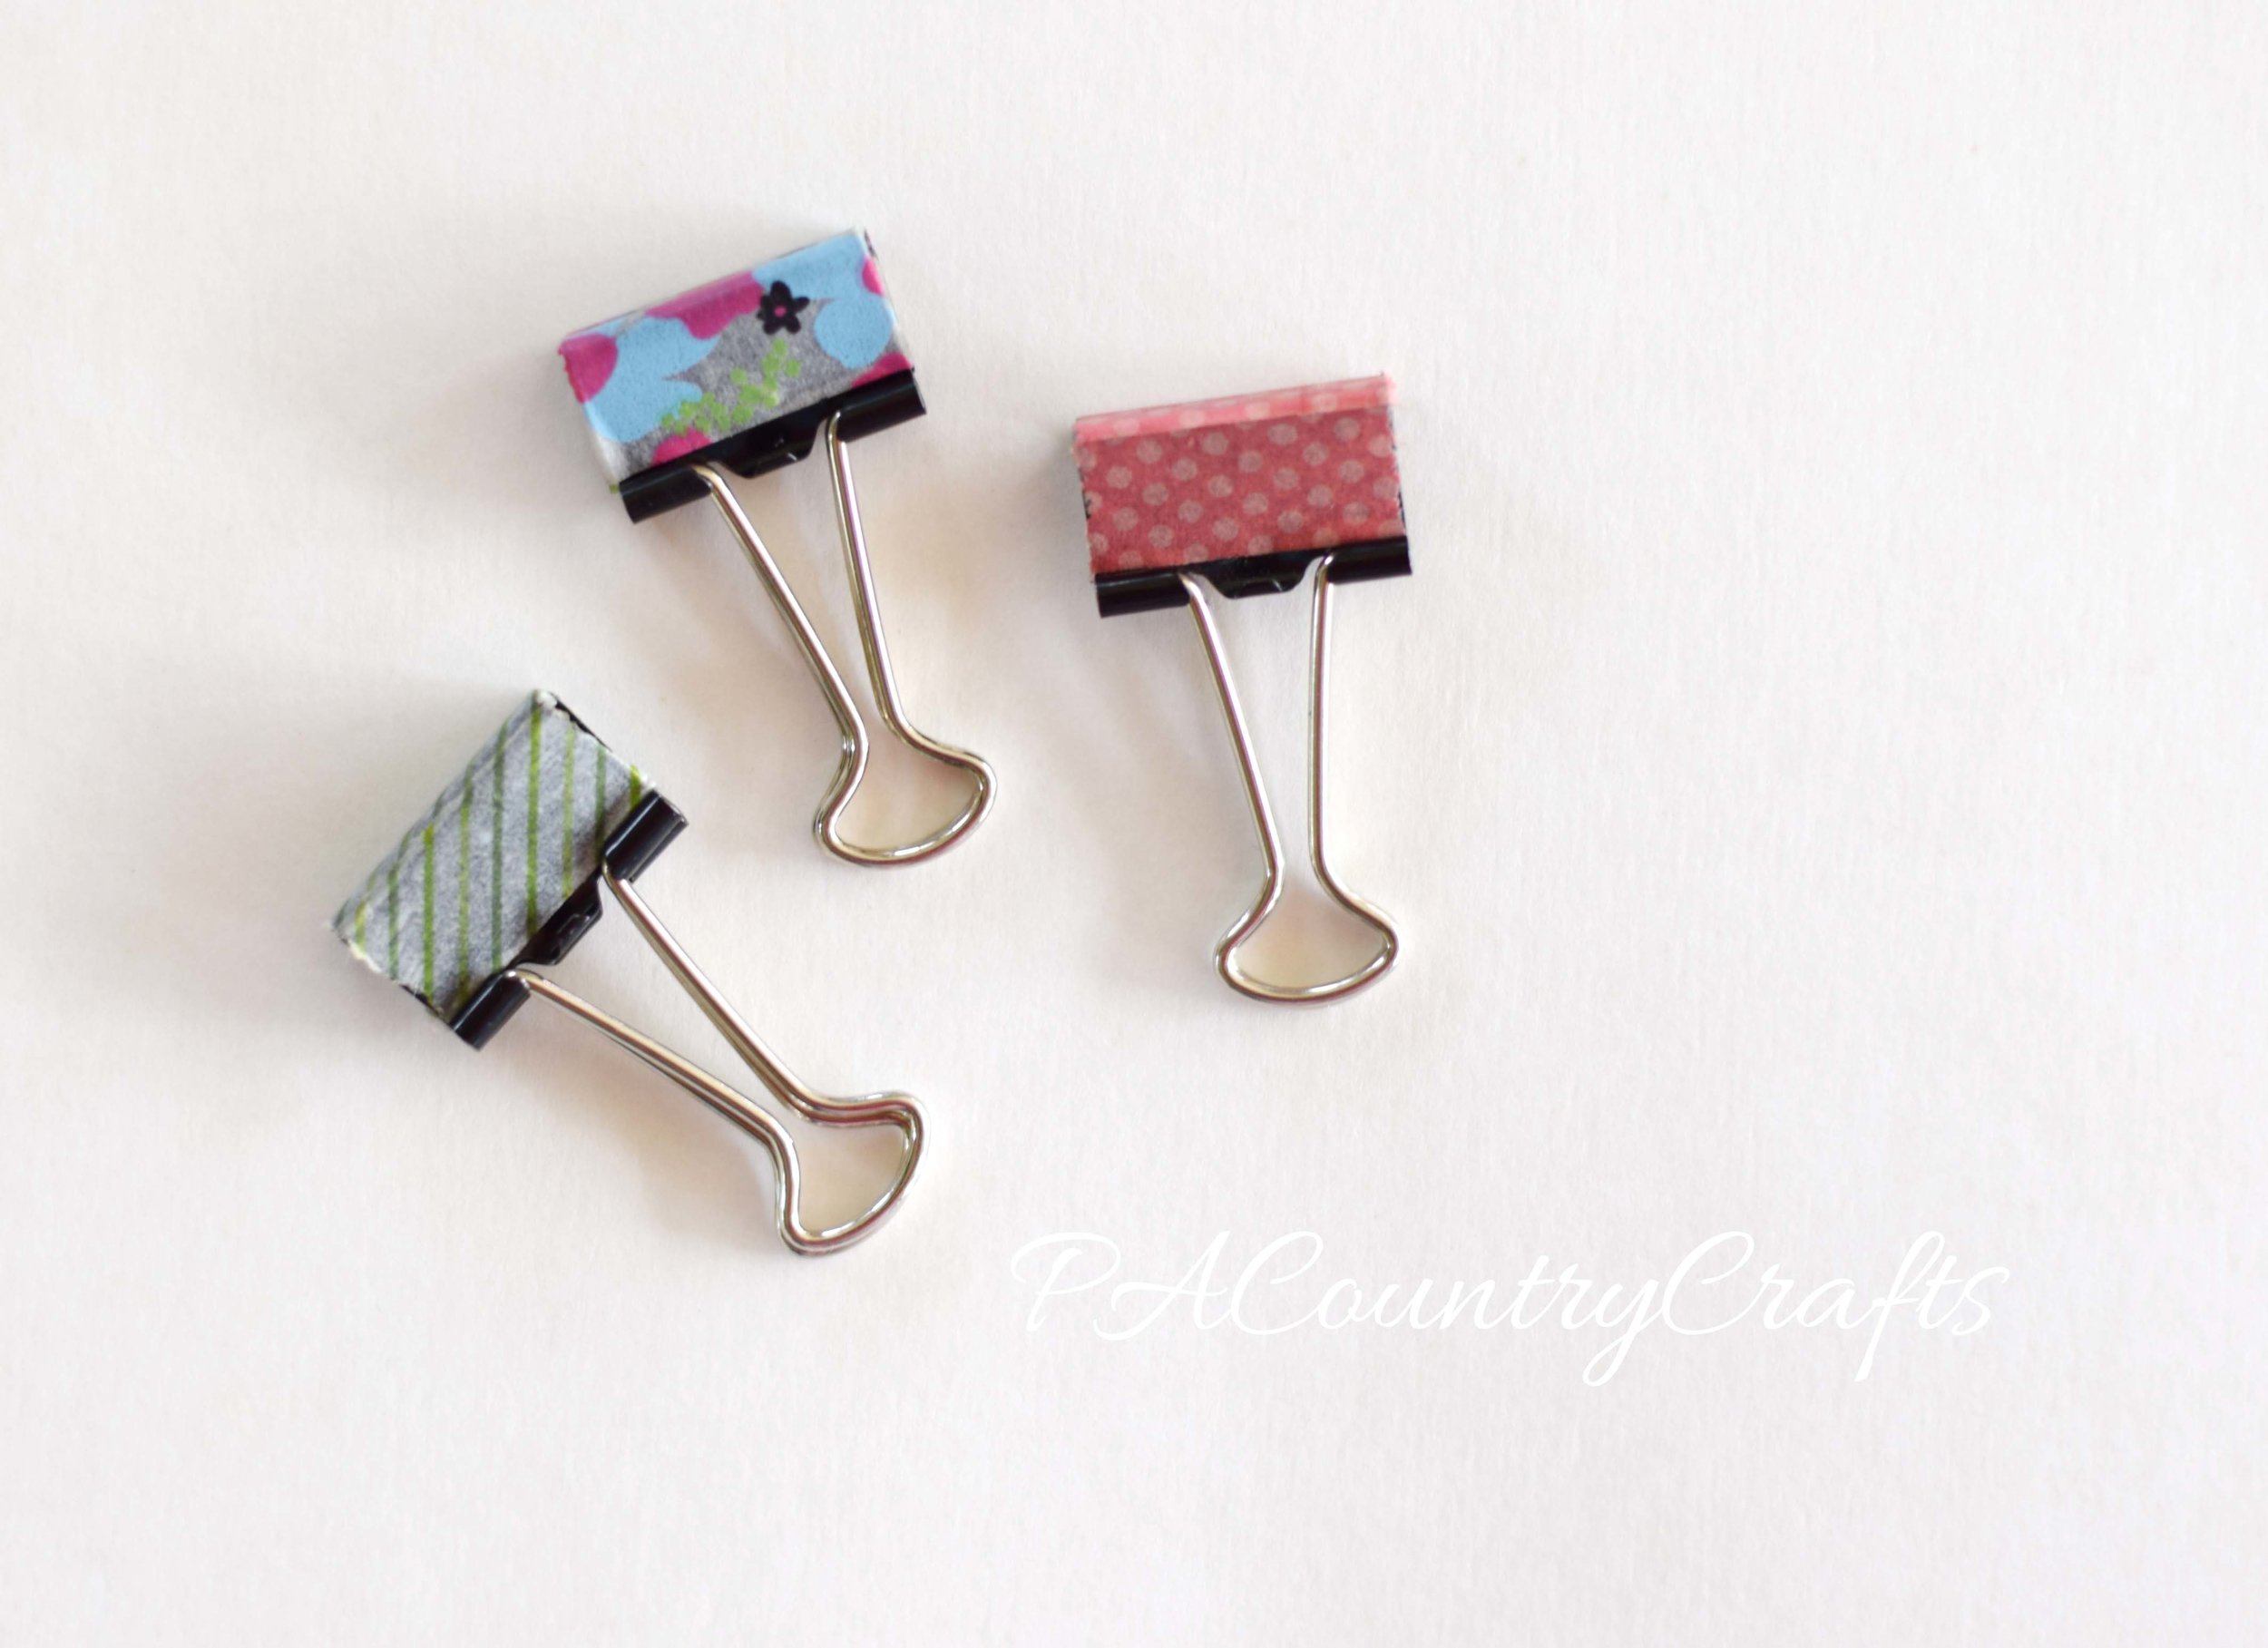
Even a small amount of washi tape can make regular binder clips a cute classroom accessory. I just used one strip and wrapped it along the top. Smaller prints will work better, that way you get to see more of it. The middle clip has a big floral print, you can only see like half of the the tape's pattern.
Thanks again for reading one of my posts. More creative crafts are on the way for the rest of Washi Week, so stay tuned!
If you want to pin it for later...
(If you haven't read yesterday's, you can click HERE to read it.)
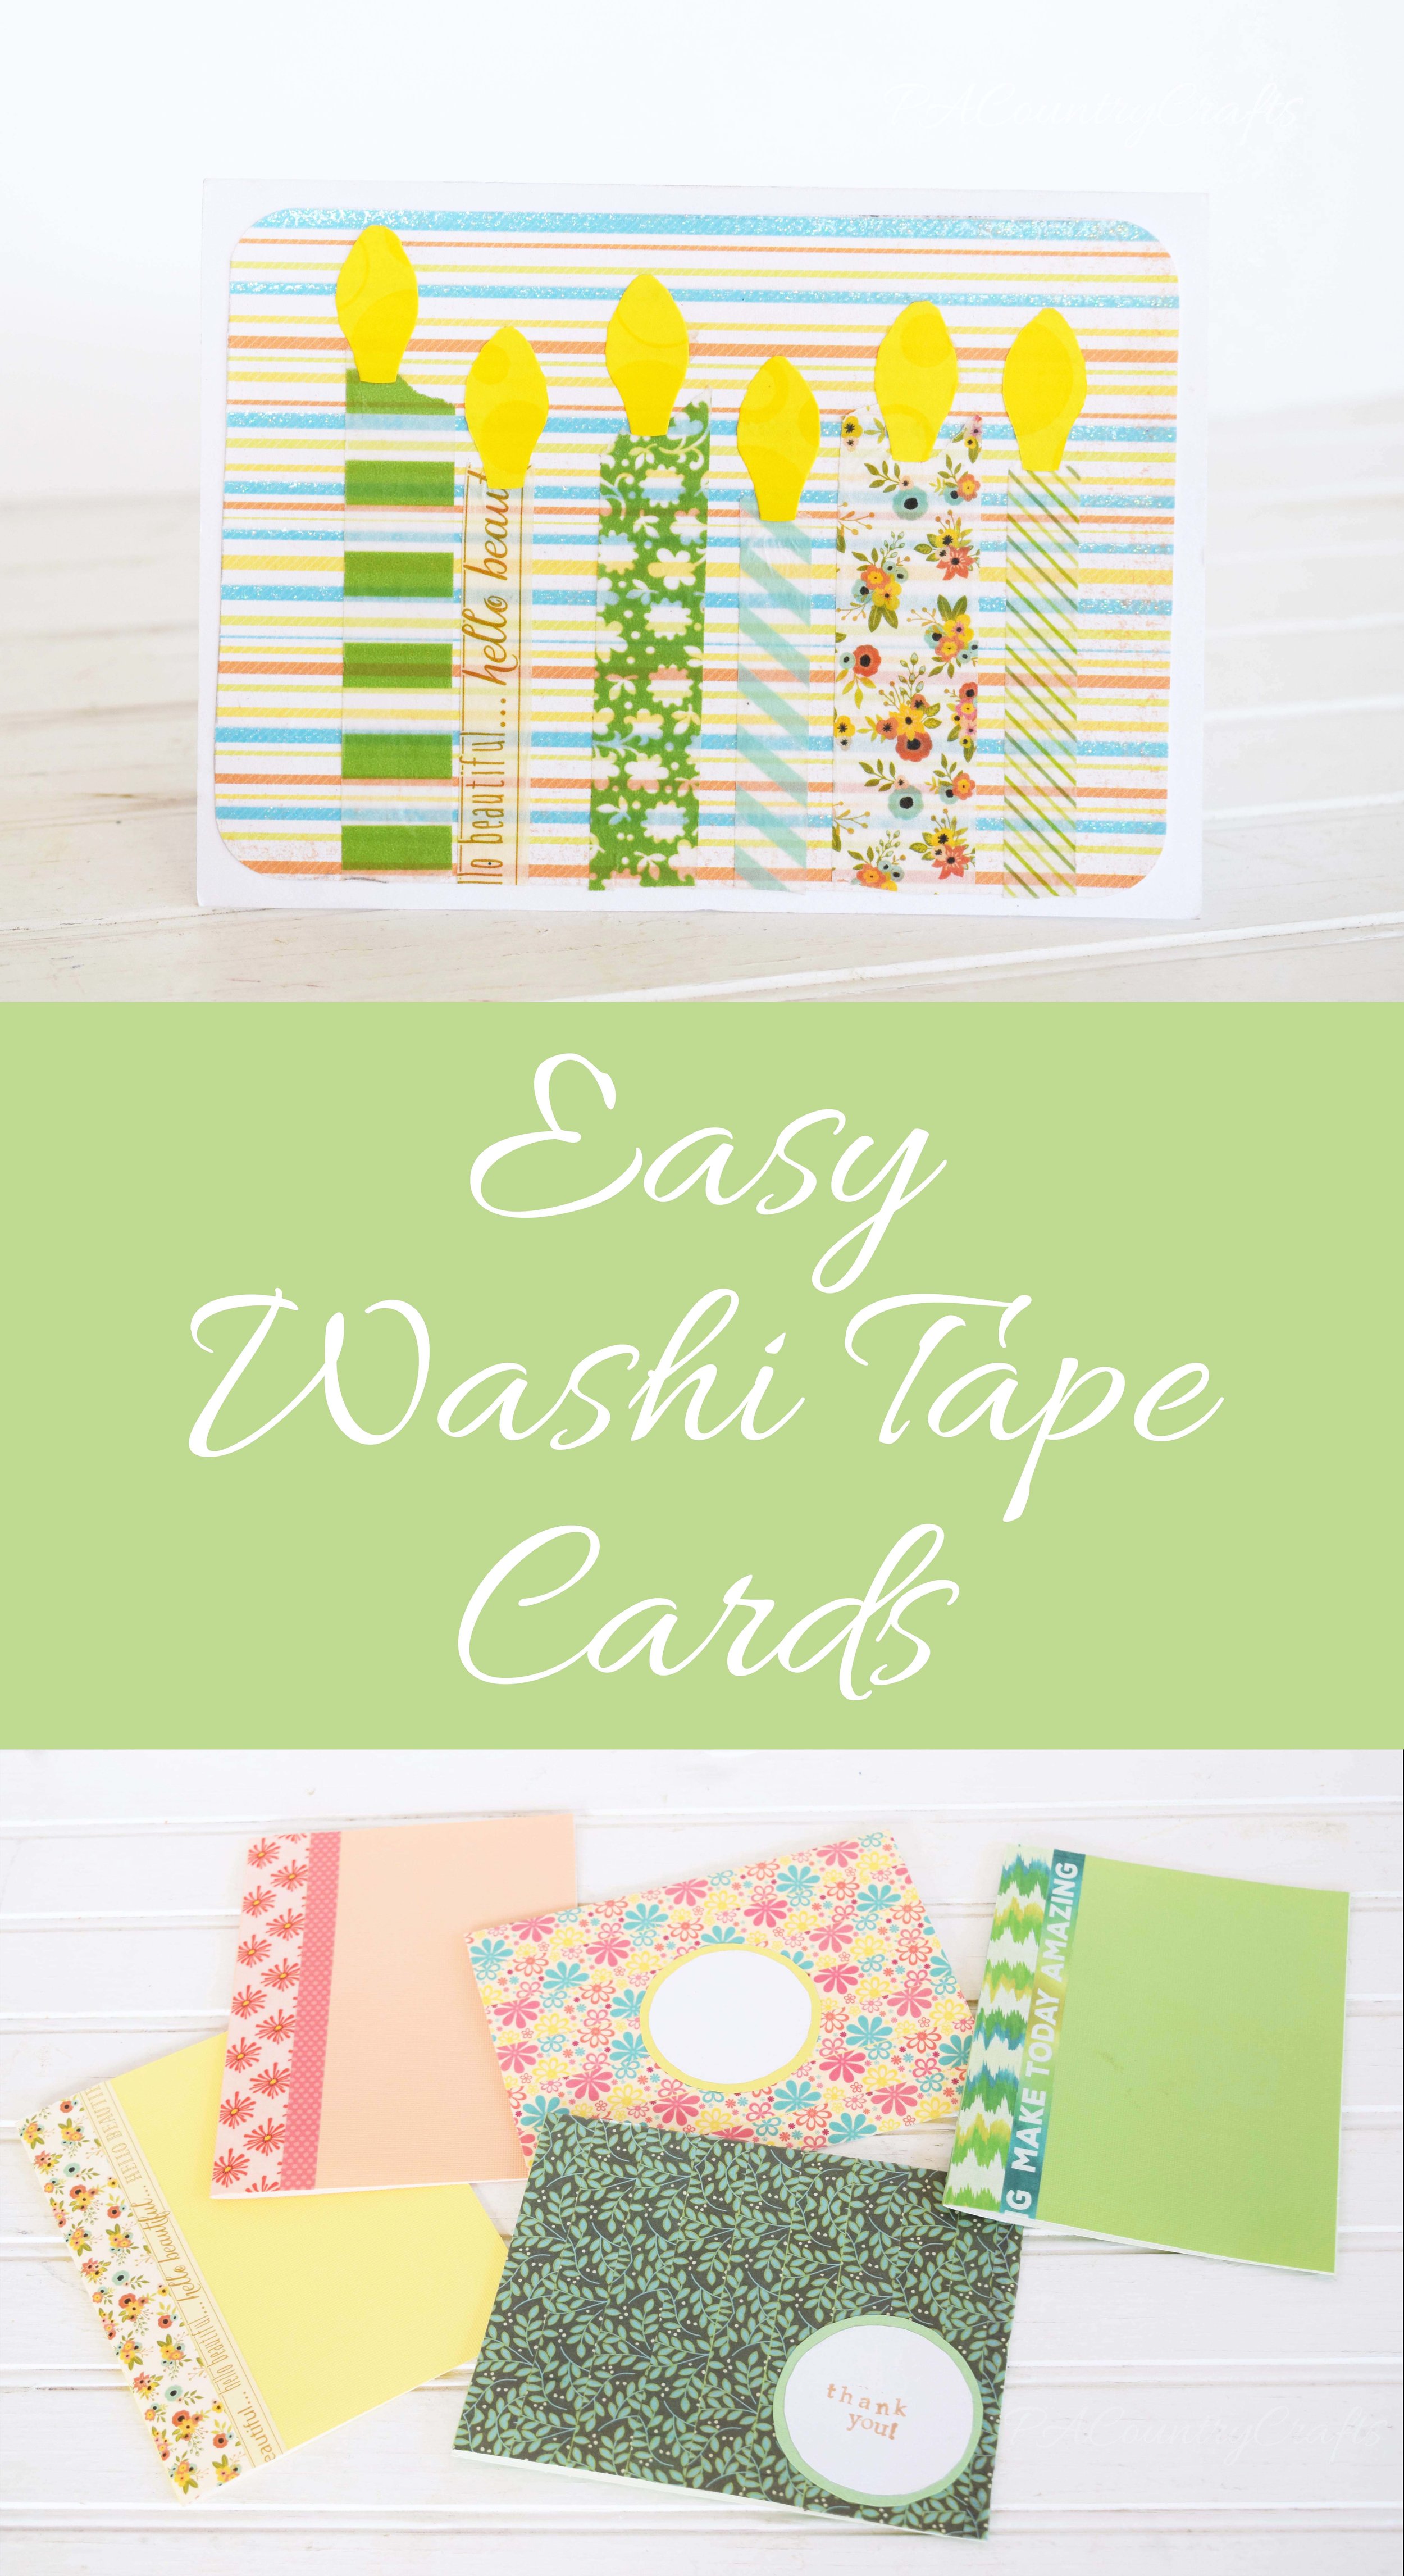
Hi! I'm Halley, and I'm here for Washi Week. Since I know many people have absolutely no idea what washi tape is, let me explain: washi tape is decorative paper tape that comes in SO many different sizes and prints, and you can do just about anything with it. I am basically the expert of washi tape in the family. I can't tell you how much I love this stuff. I may or may not have an obsession :) My parents (mostly my dad) say I have a real problem. I started with only 2 rolls from last Easter, and now I have A LOT! I counted 79 this morning but I know I am missing at least 15. Anyway, I am super excited to tell you about my best Washi creations, and we're going to start the week off with my favorite... CARDS! The thing I love about making cards is there is so many things you can do with them and so many occasions you can make them for! Christmas, birthdays, weddings, thank you cards, or even just random cards to give to friends (those are my favorite!). Just like my amazing mom, I love Pinterest!!! Many of my cards are Pinterest-inspired.
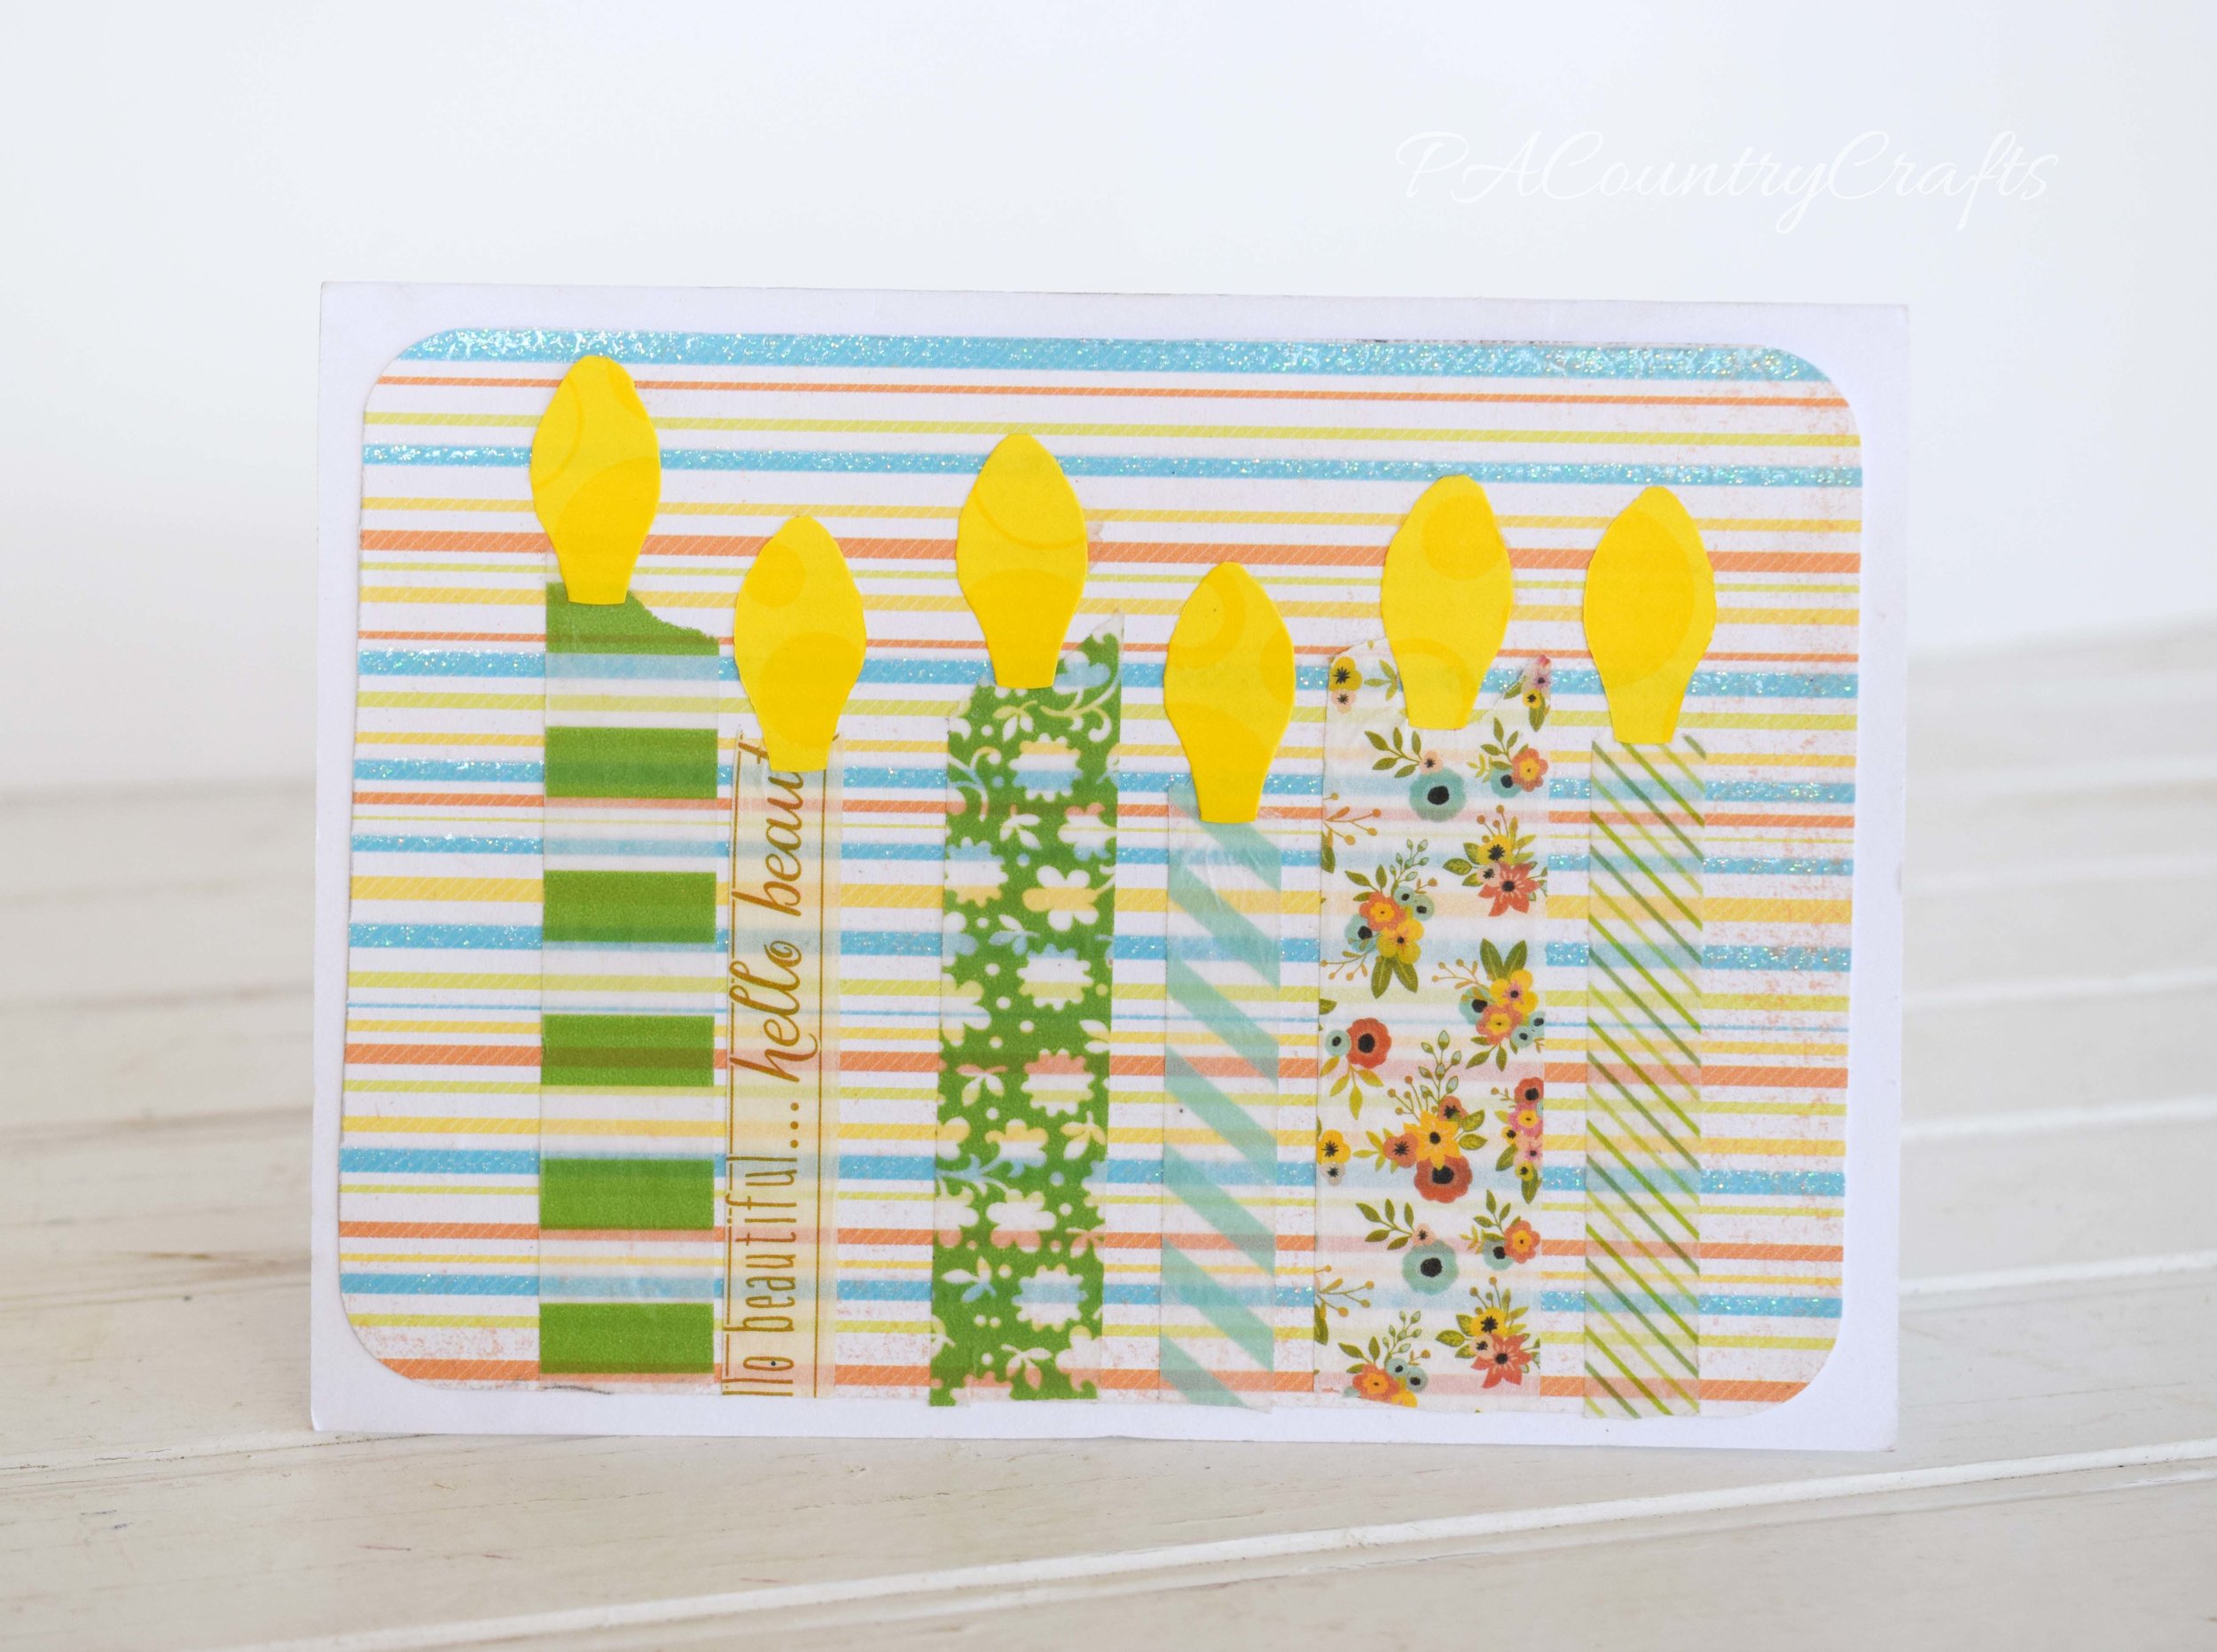
With this card the sparkly card stock background gives a "happy" look to it, perfect for a birthday card.
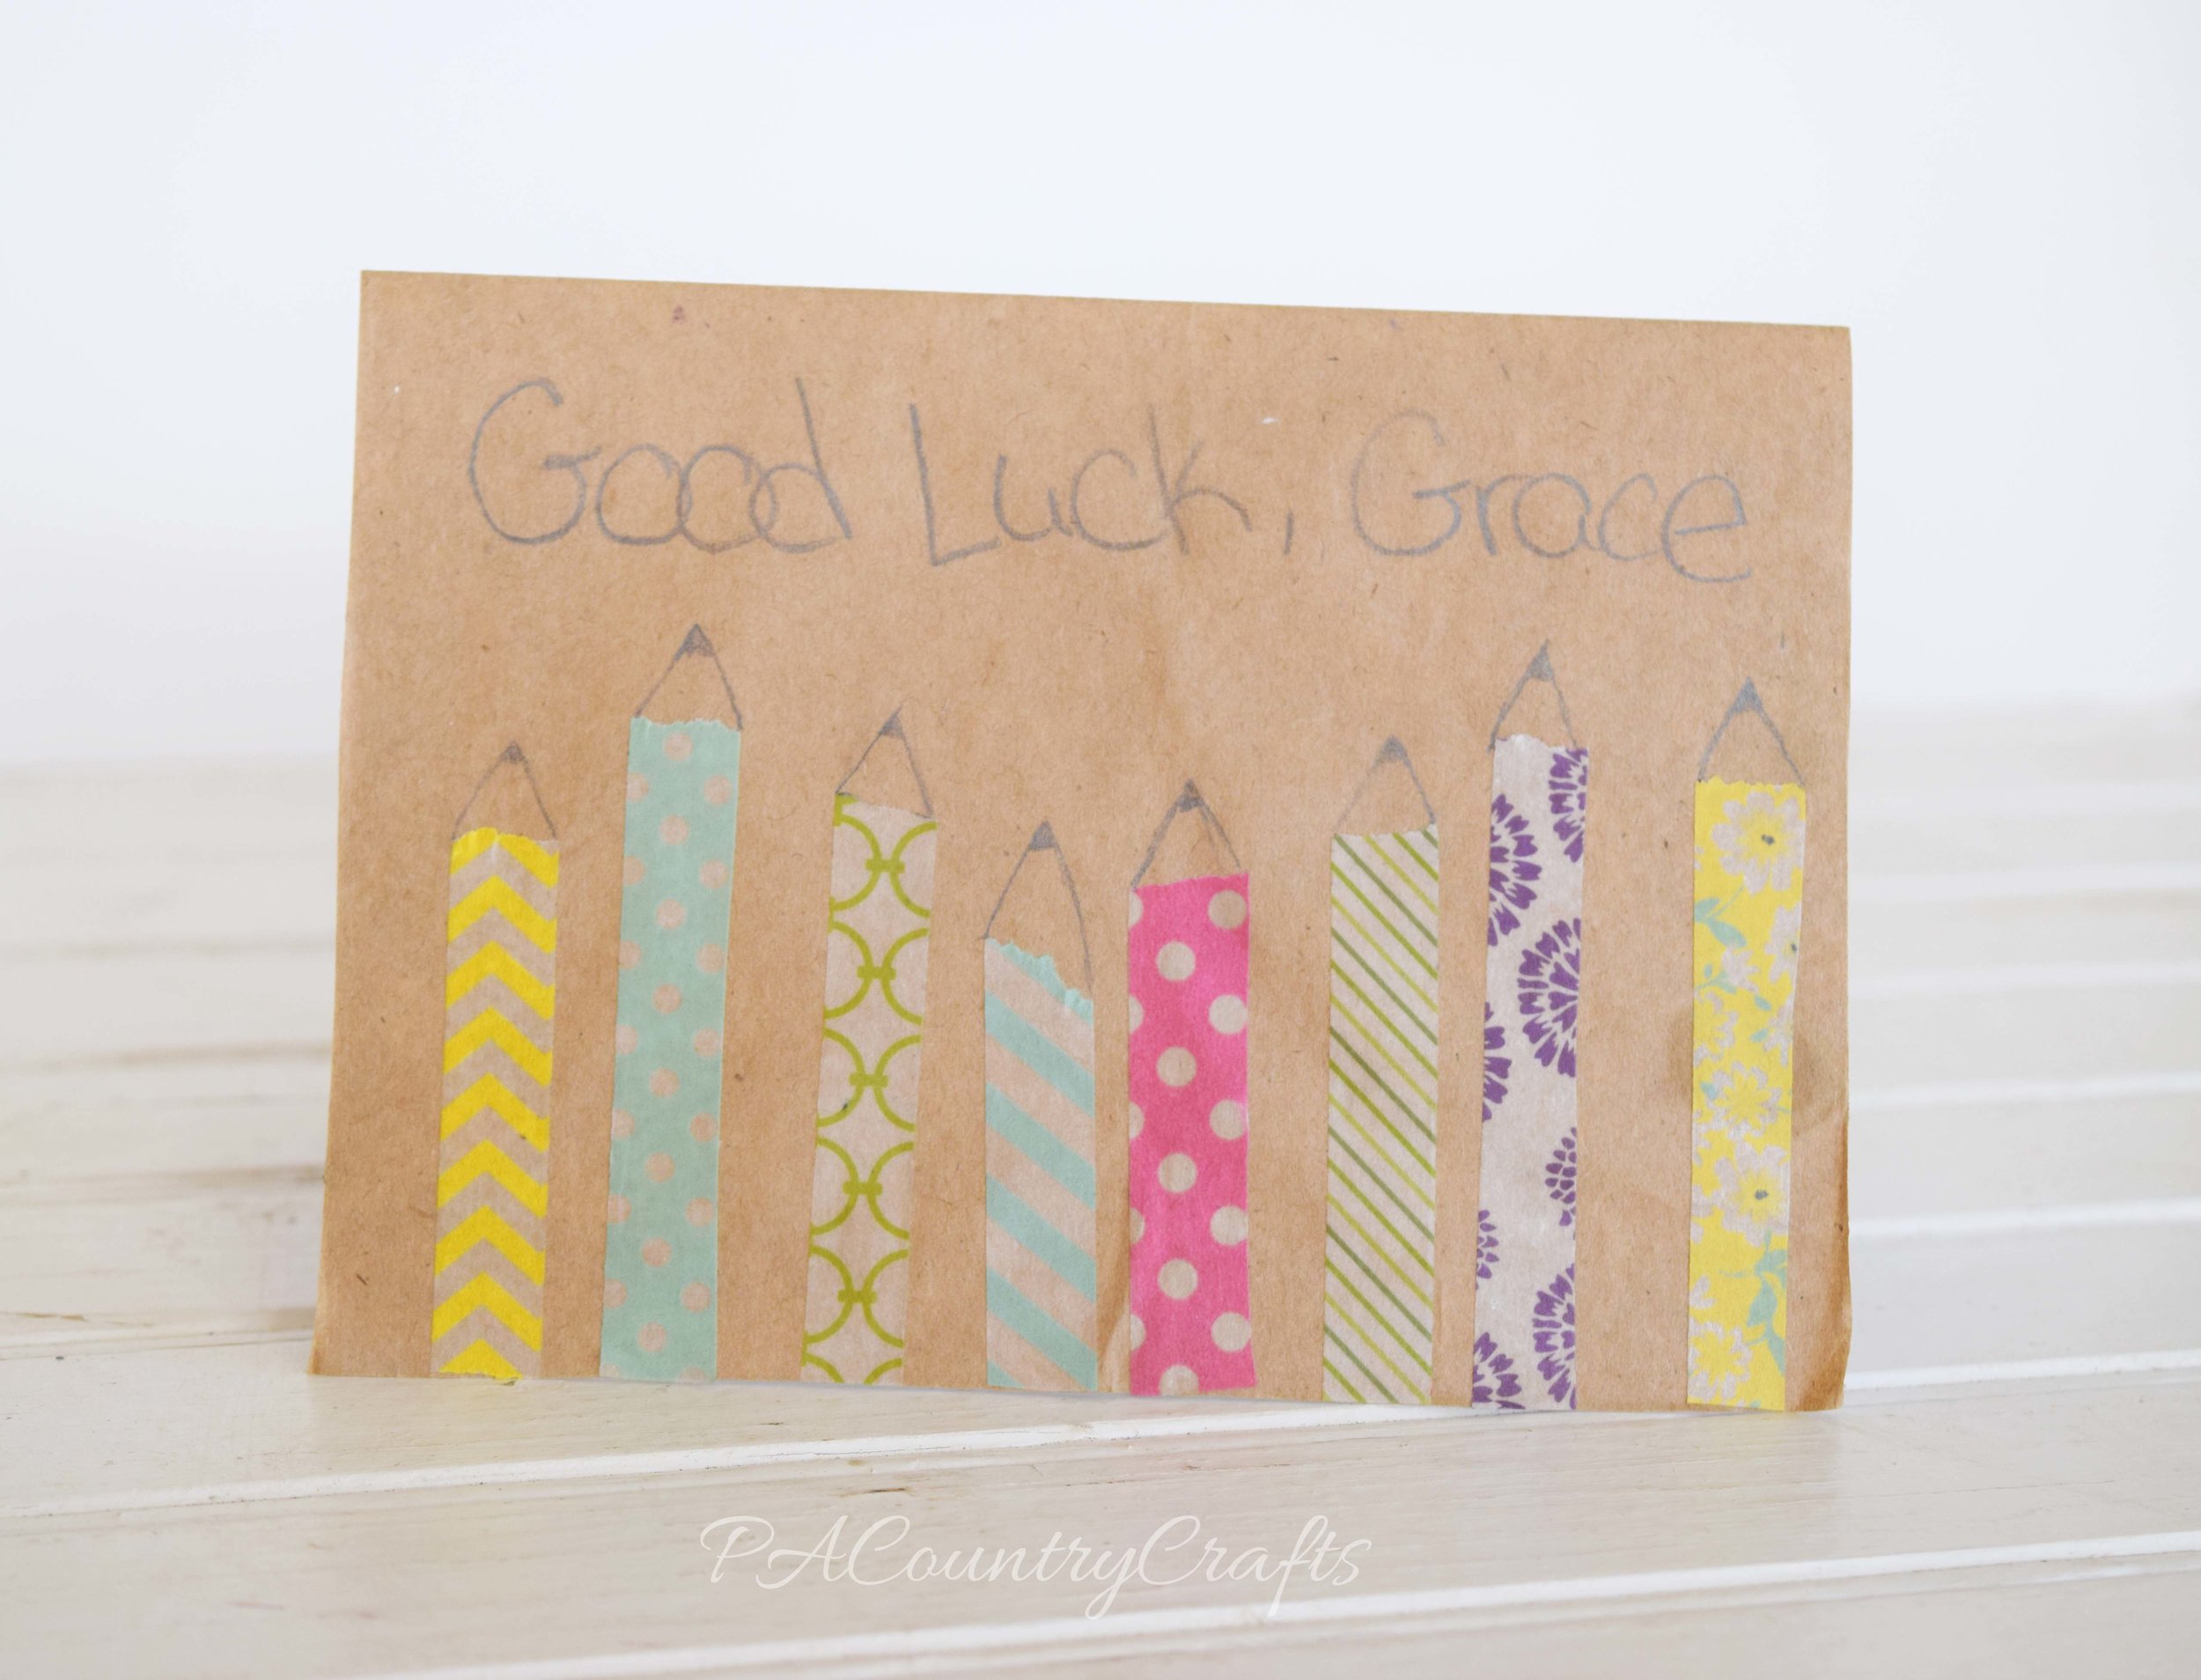
I love this card! It was made for my sister who was going to be starting kindergarten, and she needed to get pumped up about it. What better way then using a card!?! All I did was cut a paper bag to size and glued it on. Then, using thin washi tape, I ripped off pieces to look like pencils then drew the tips So simple, yet so cute!
This card was my first, but I don't like it because I can't decide which way to hold it!
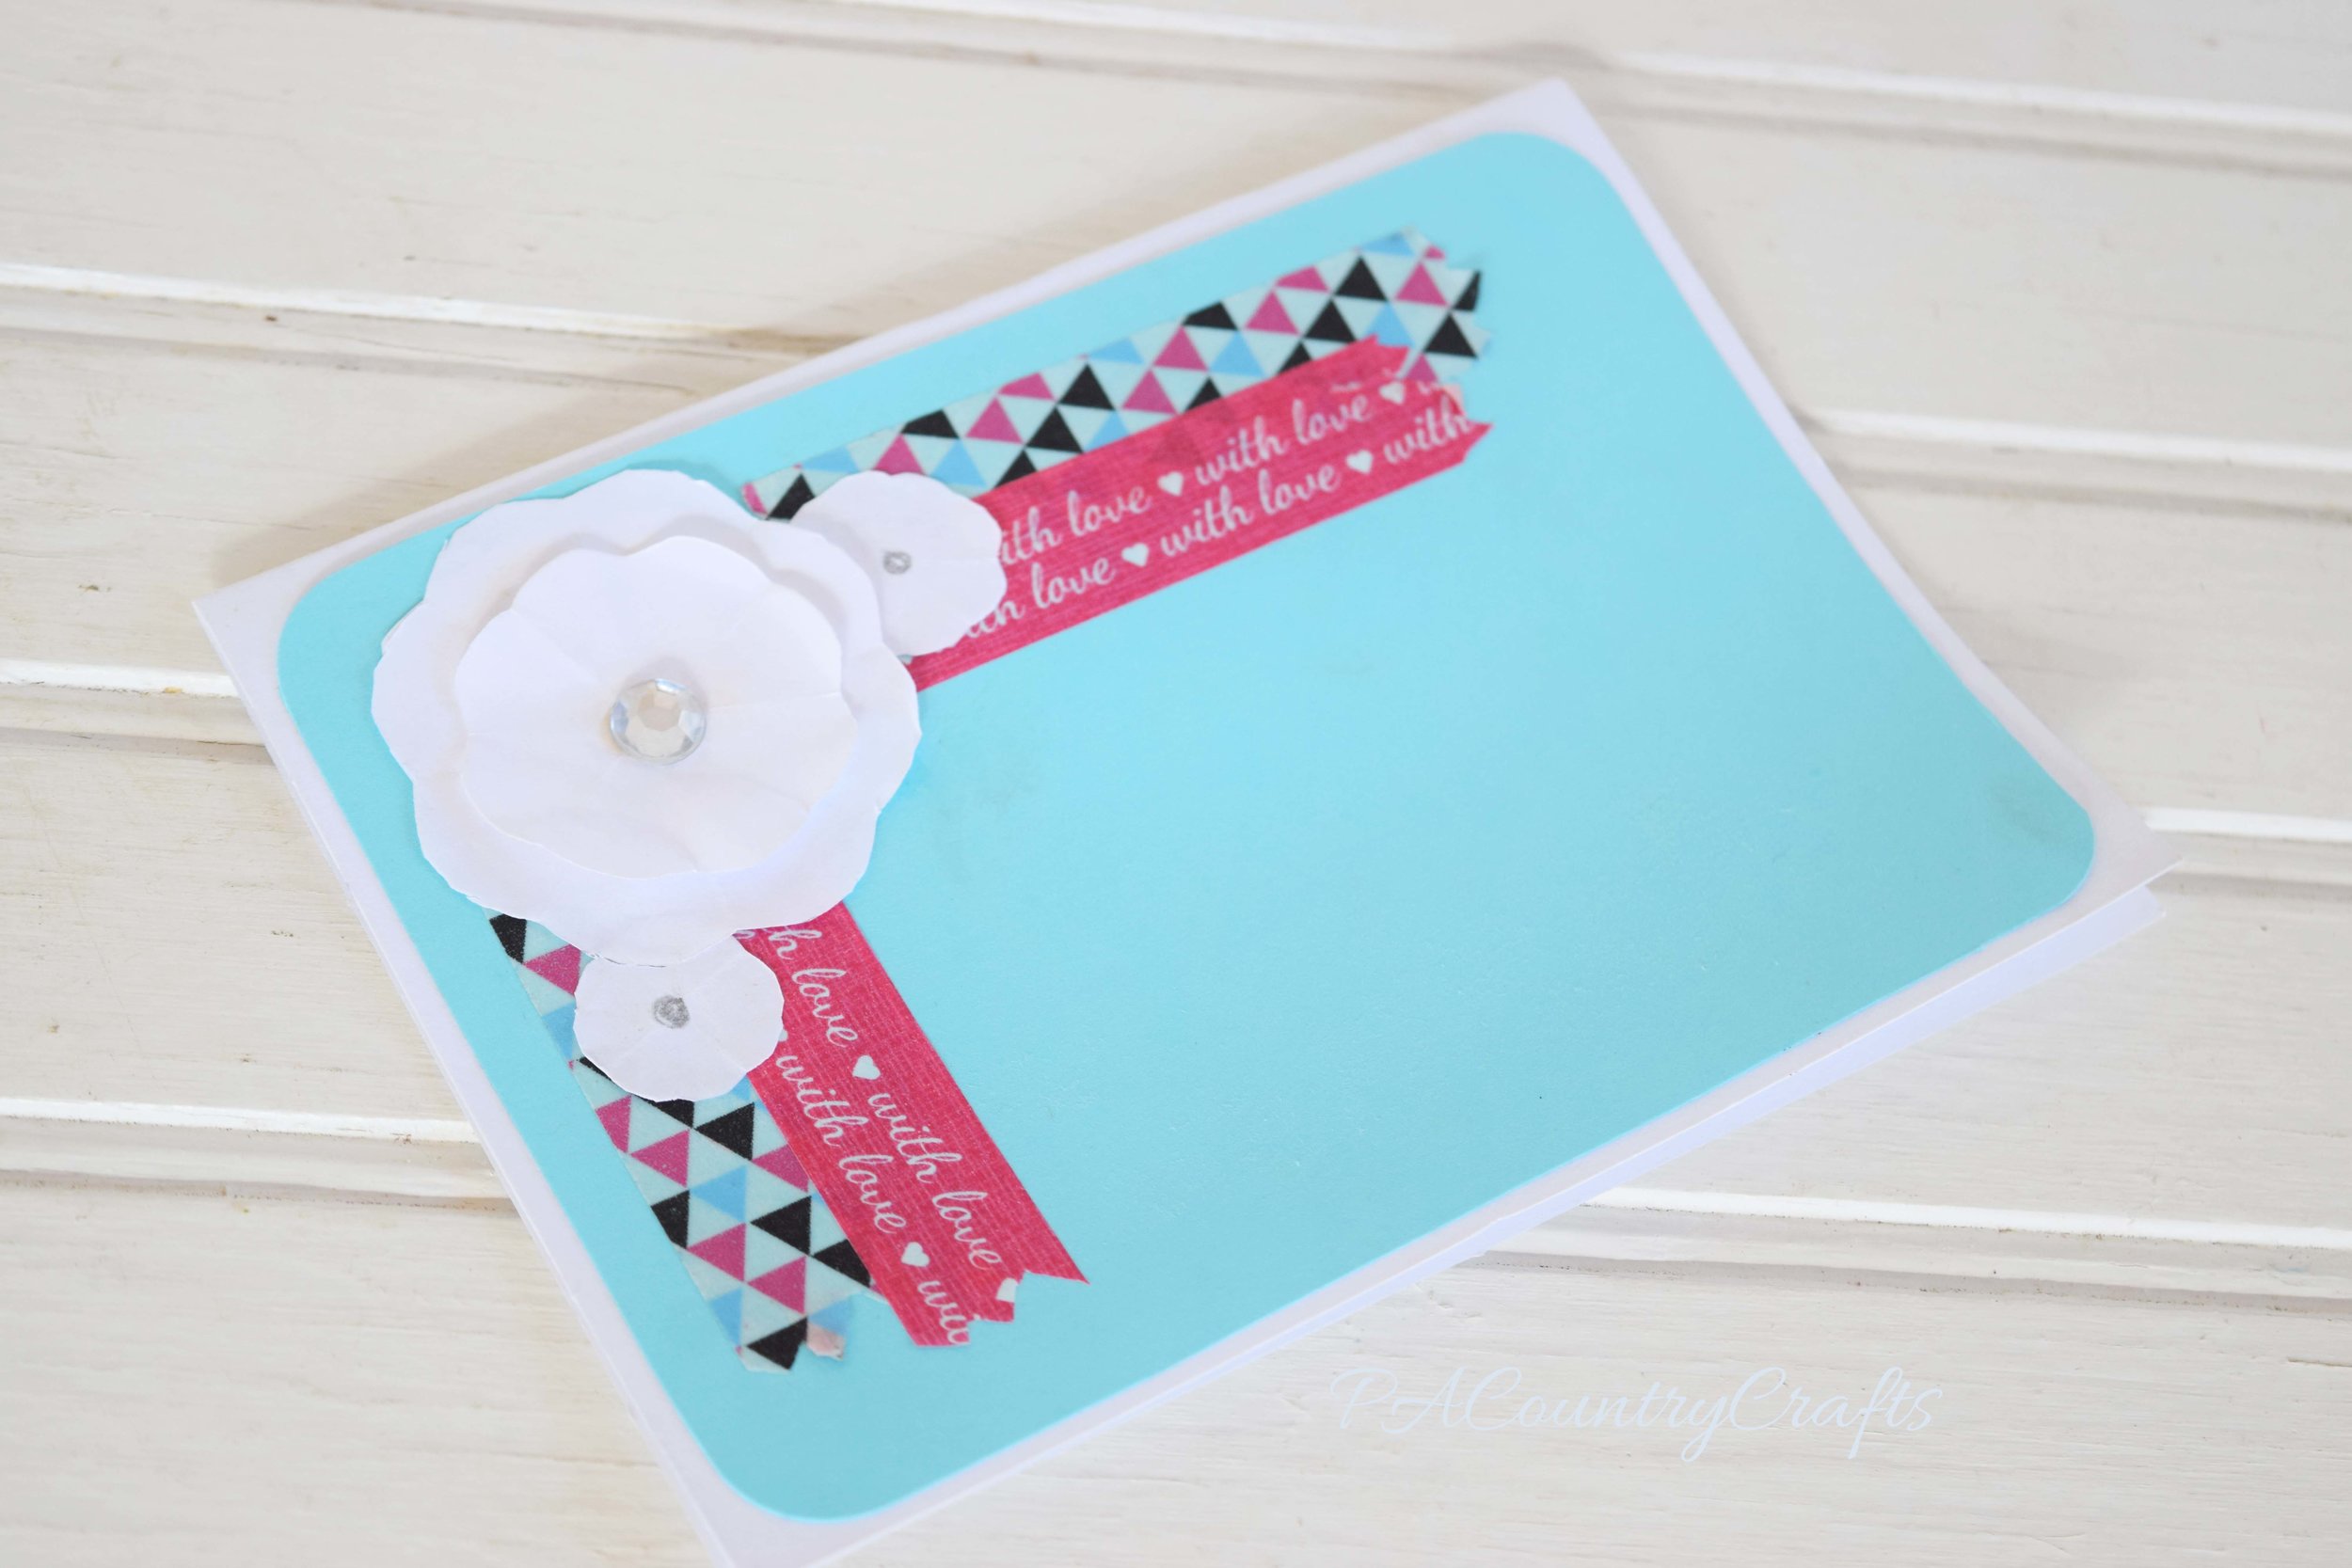
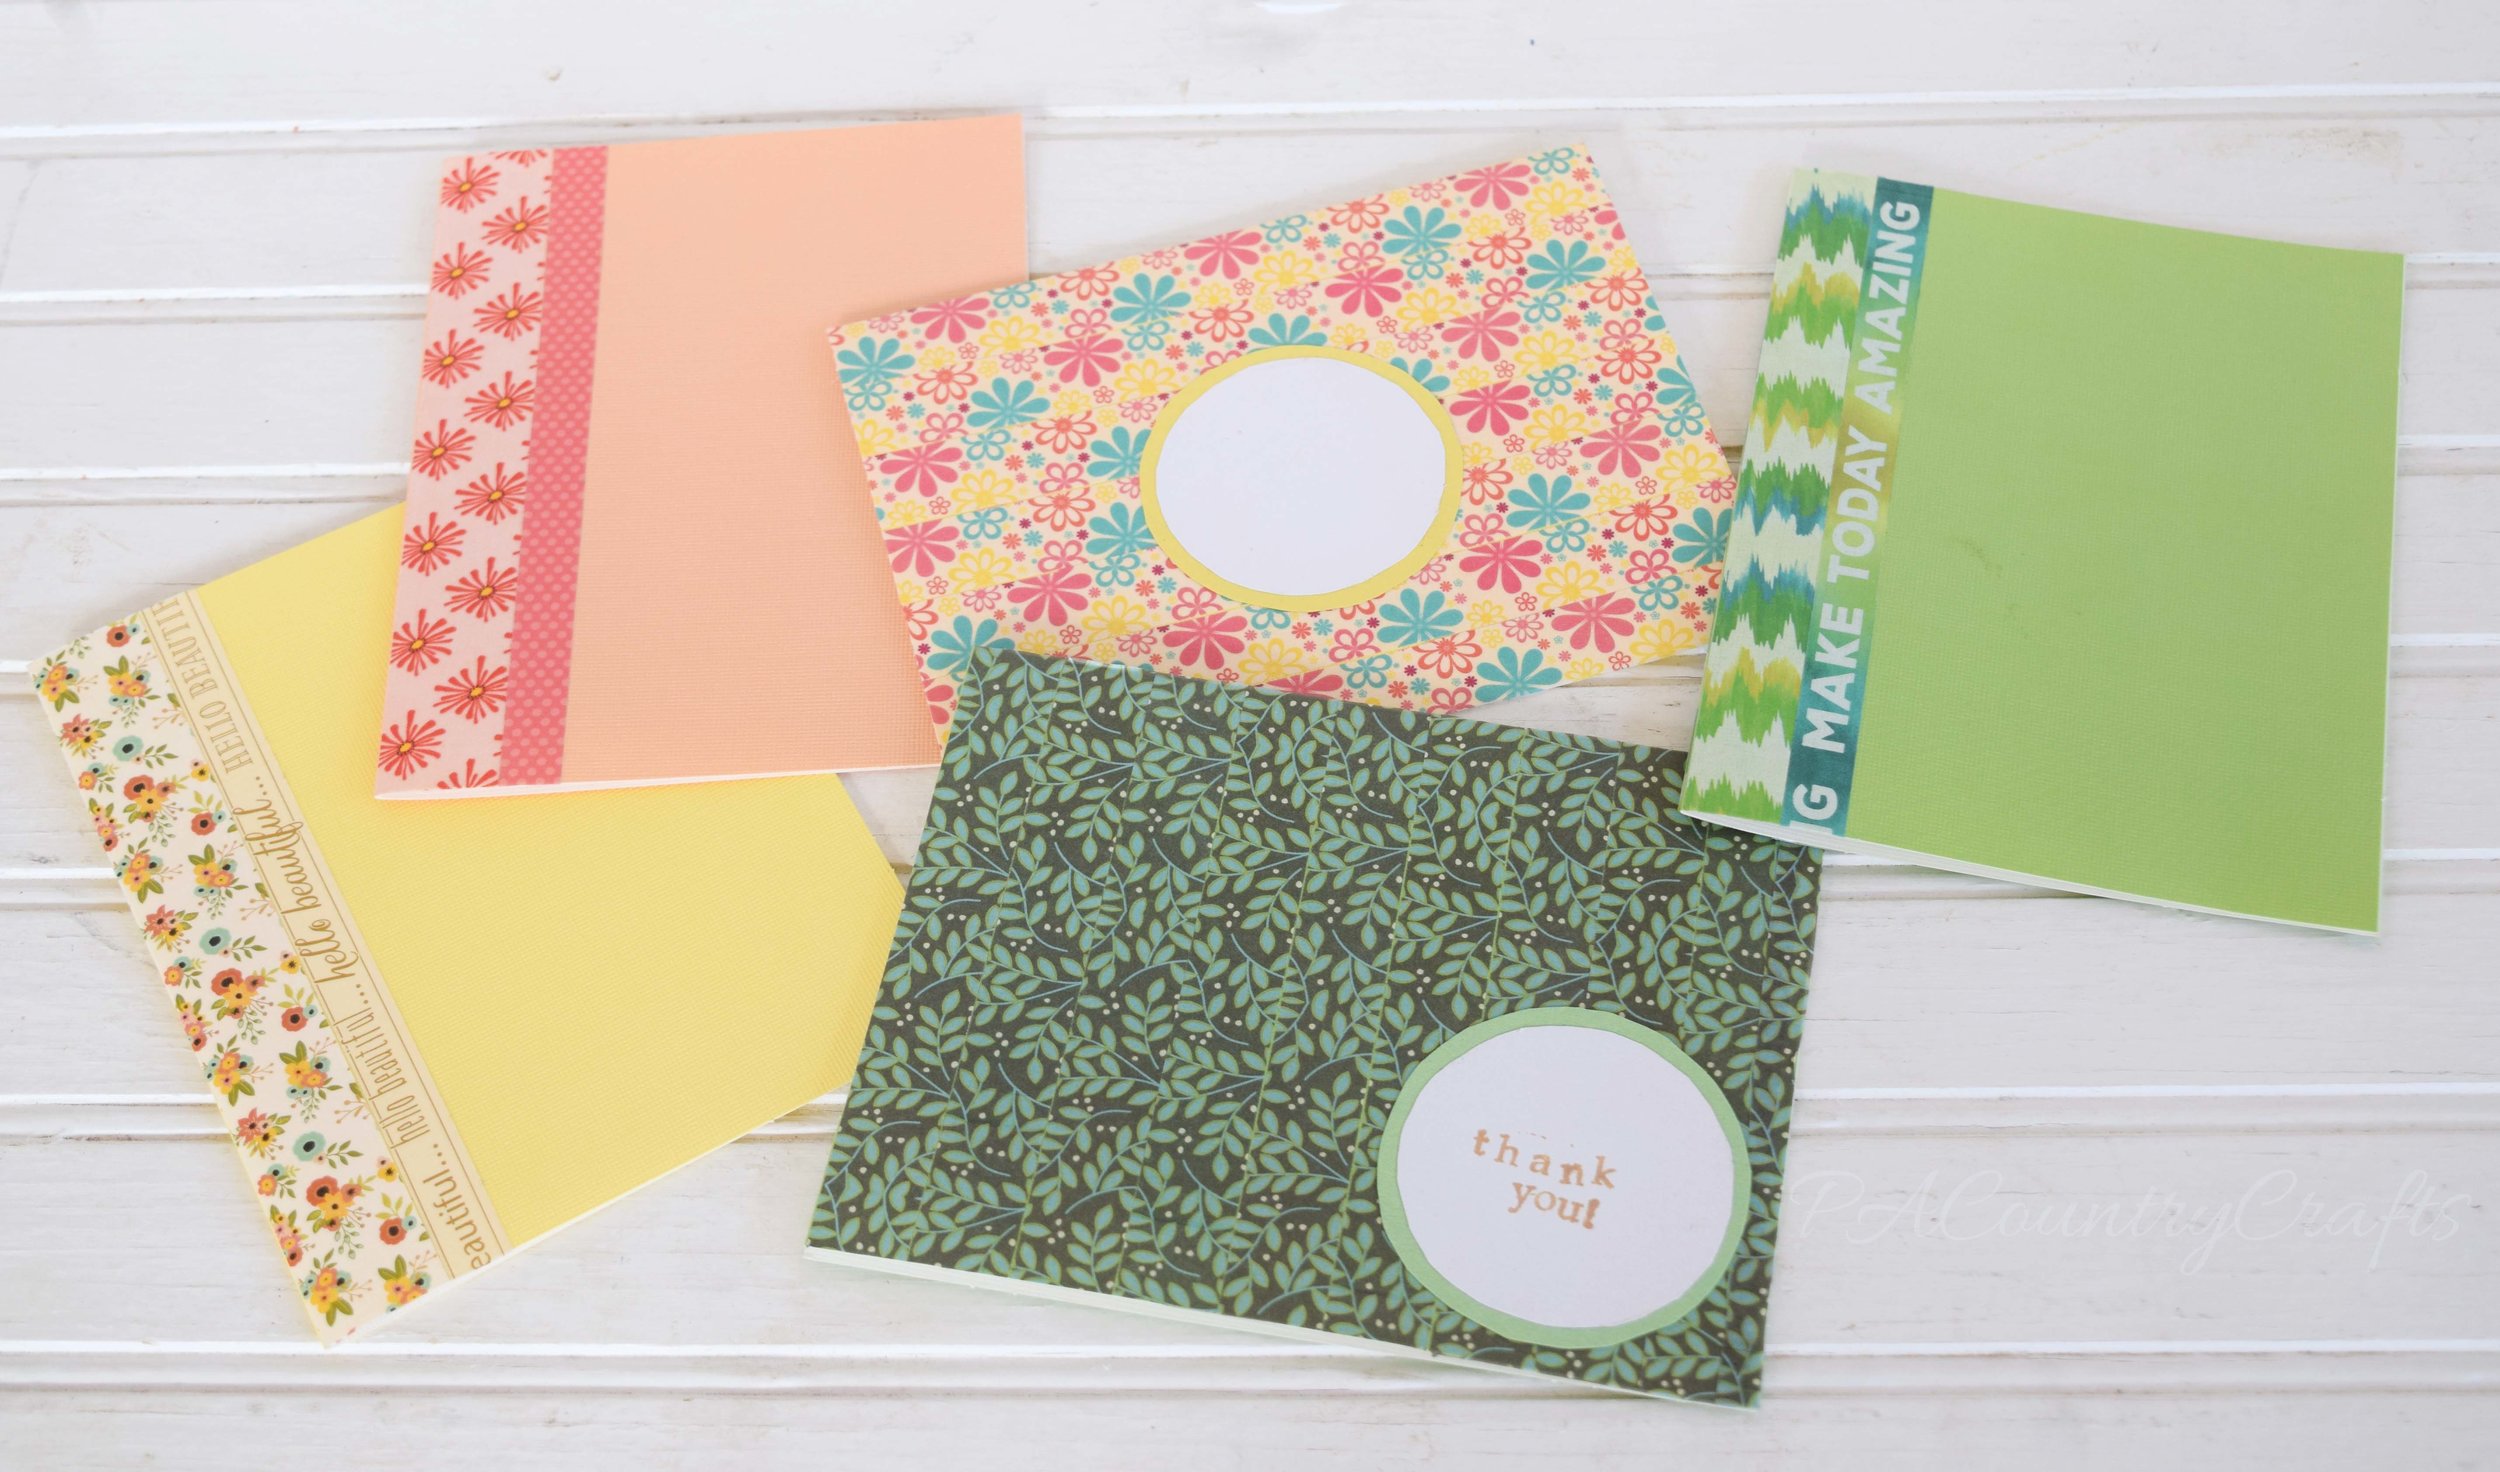
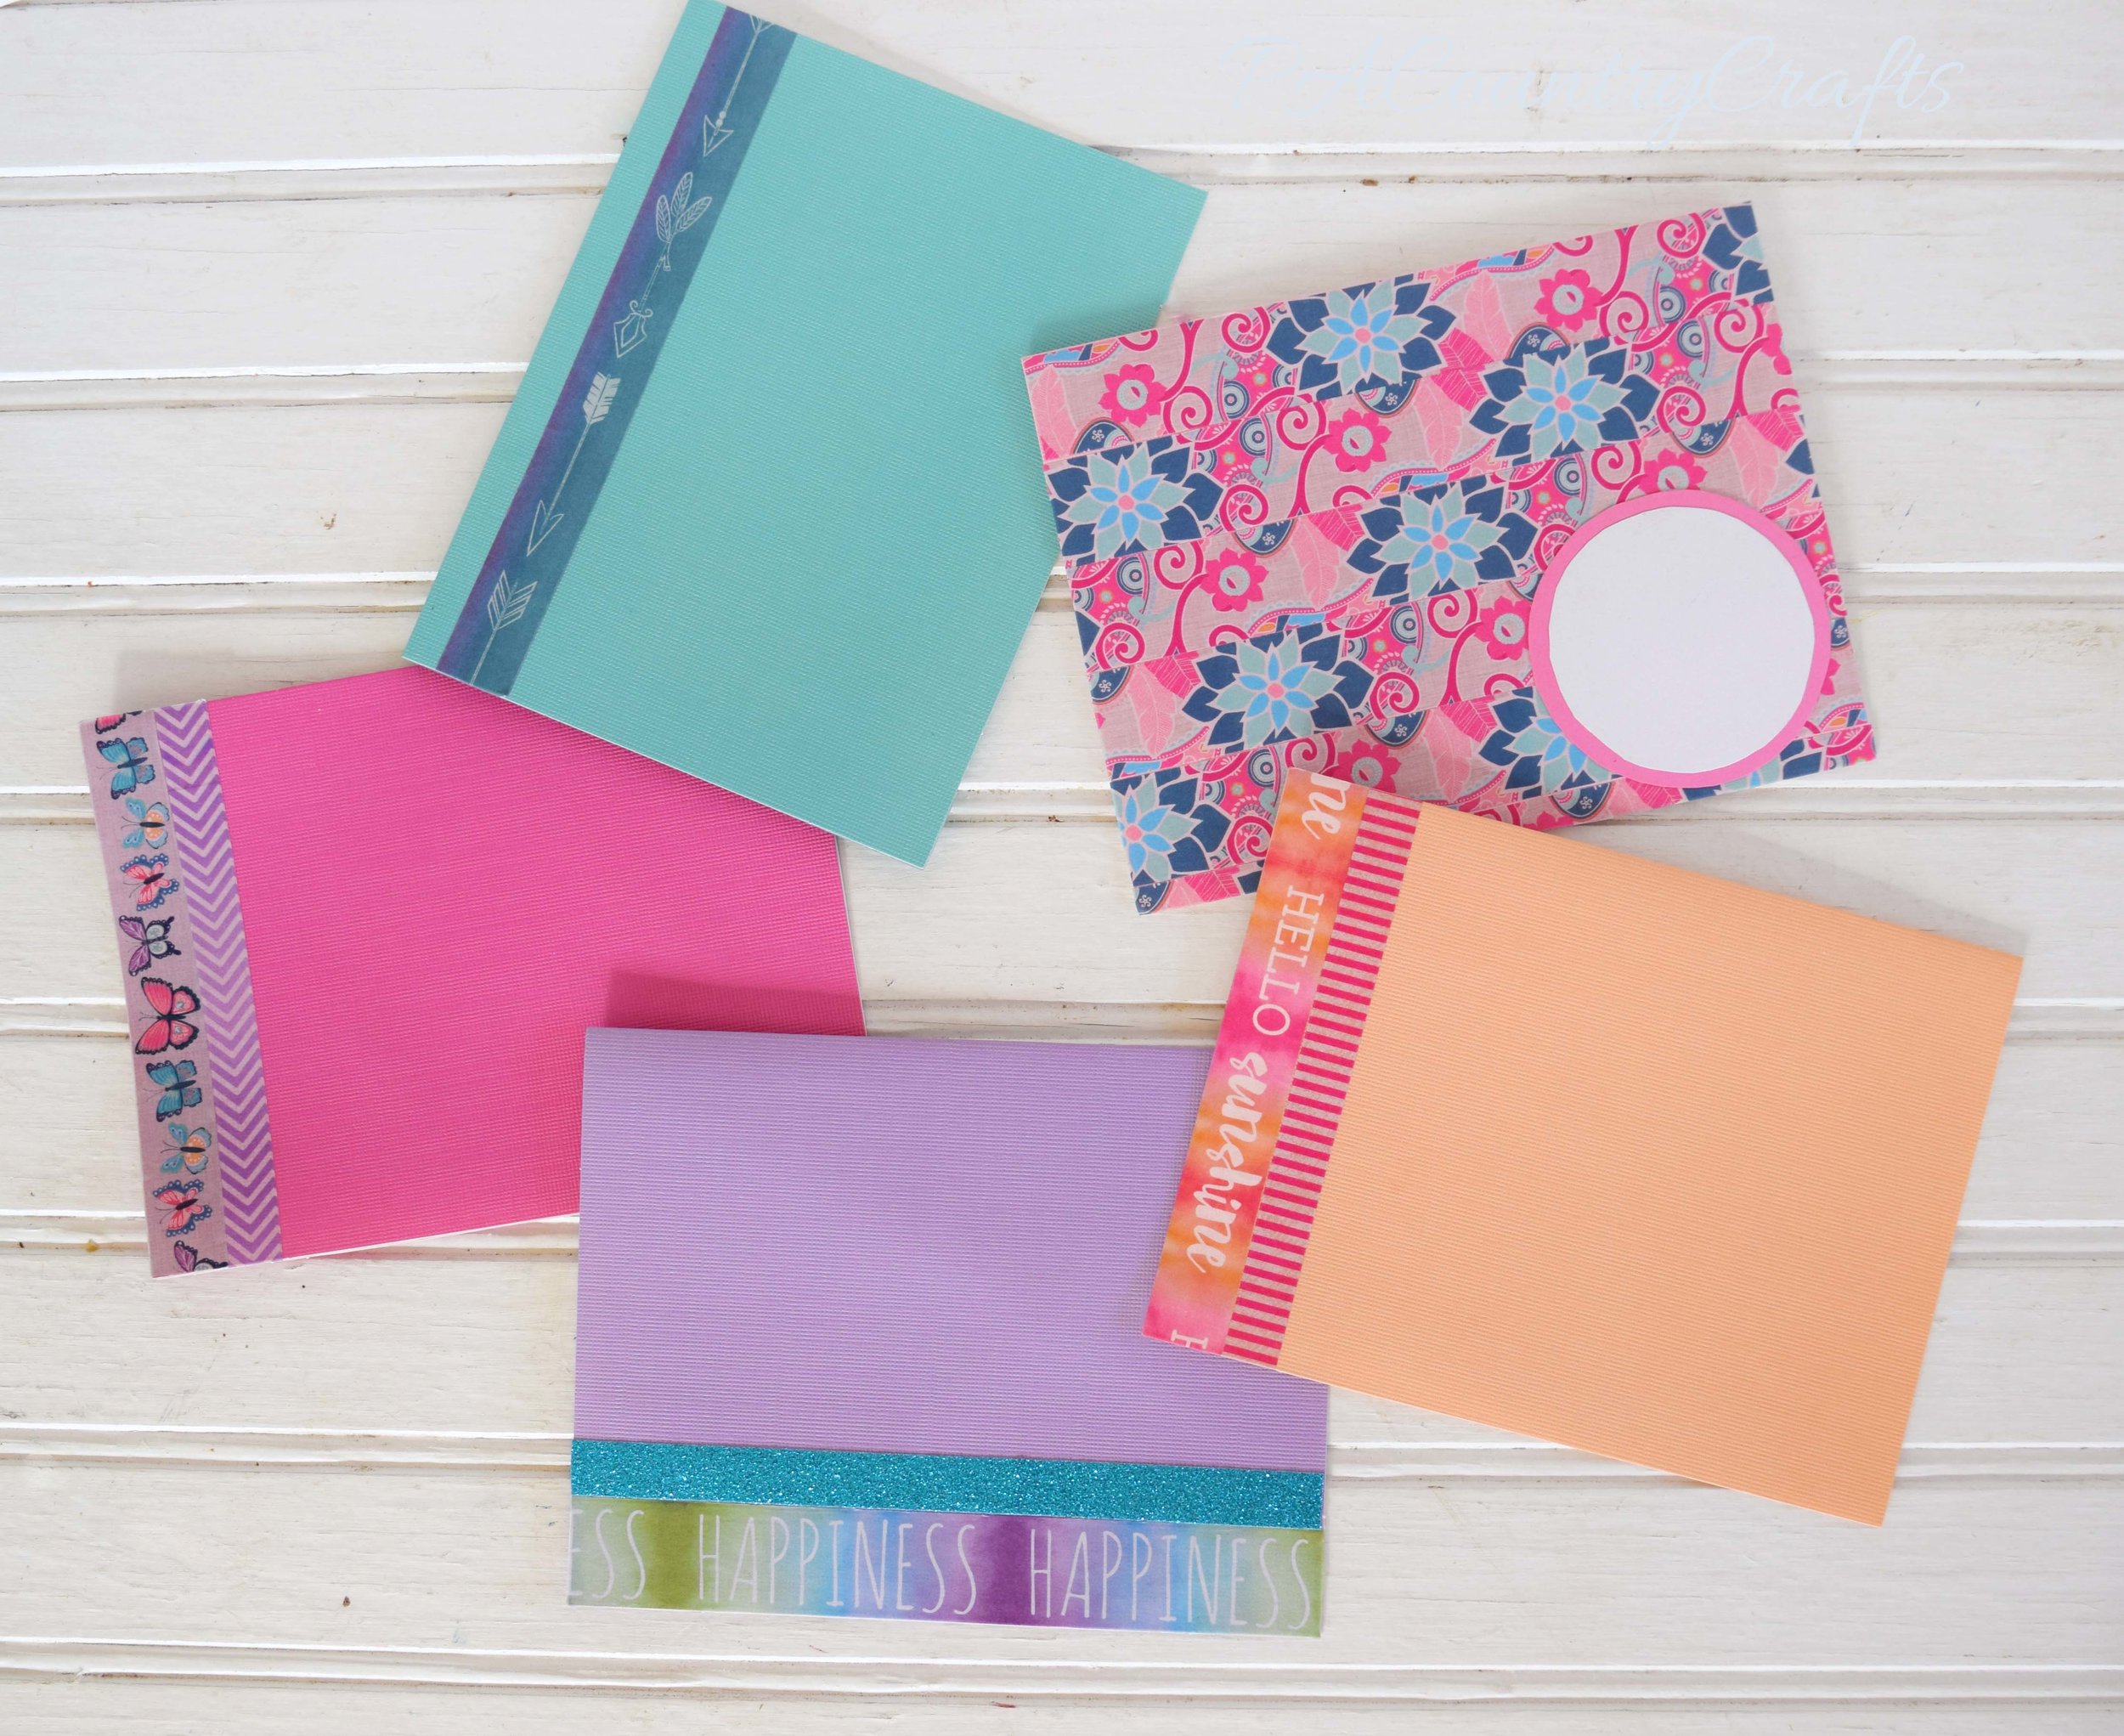
A lot of times when I buy my washi tape, they come in matching sets of two or three. Below are some of the tapes I matched together and and used on the cards. Some of them don't have their "caption boxes" yet, but usually if it's a taped background, I use a solid colored circle to surround the caption box, and if it's a solid background I include one of the tapes on the card to surround it.
And Some More Cards...
I made these cards just recently using cards that I bought and, some metallic washi tape to really set them off.
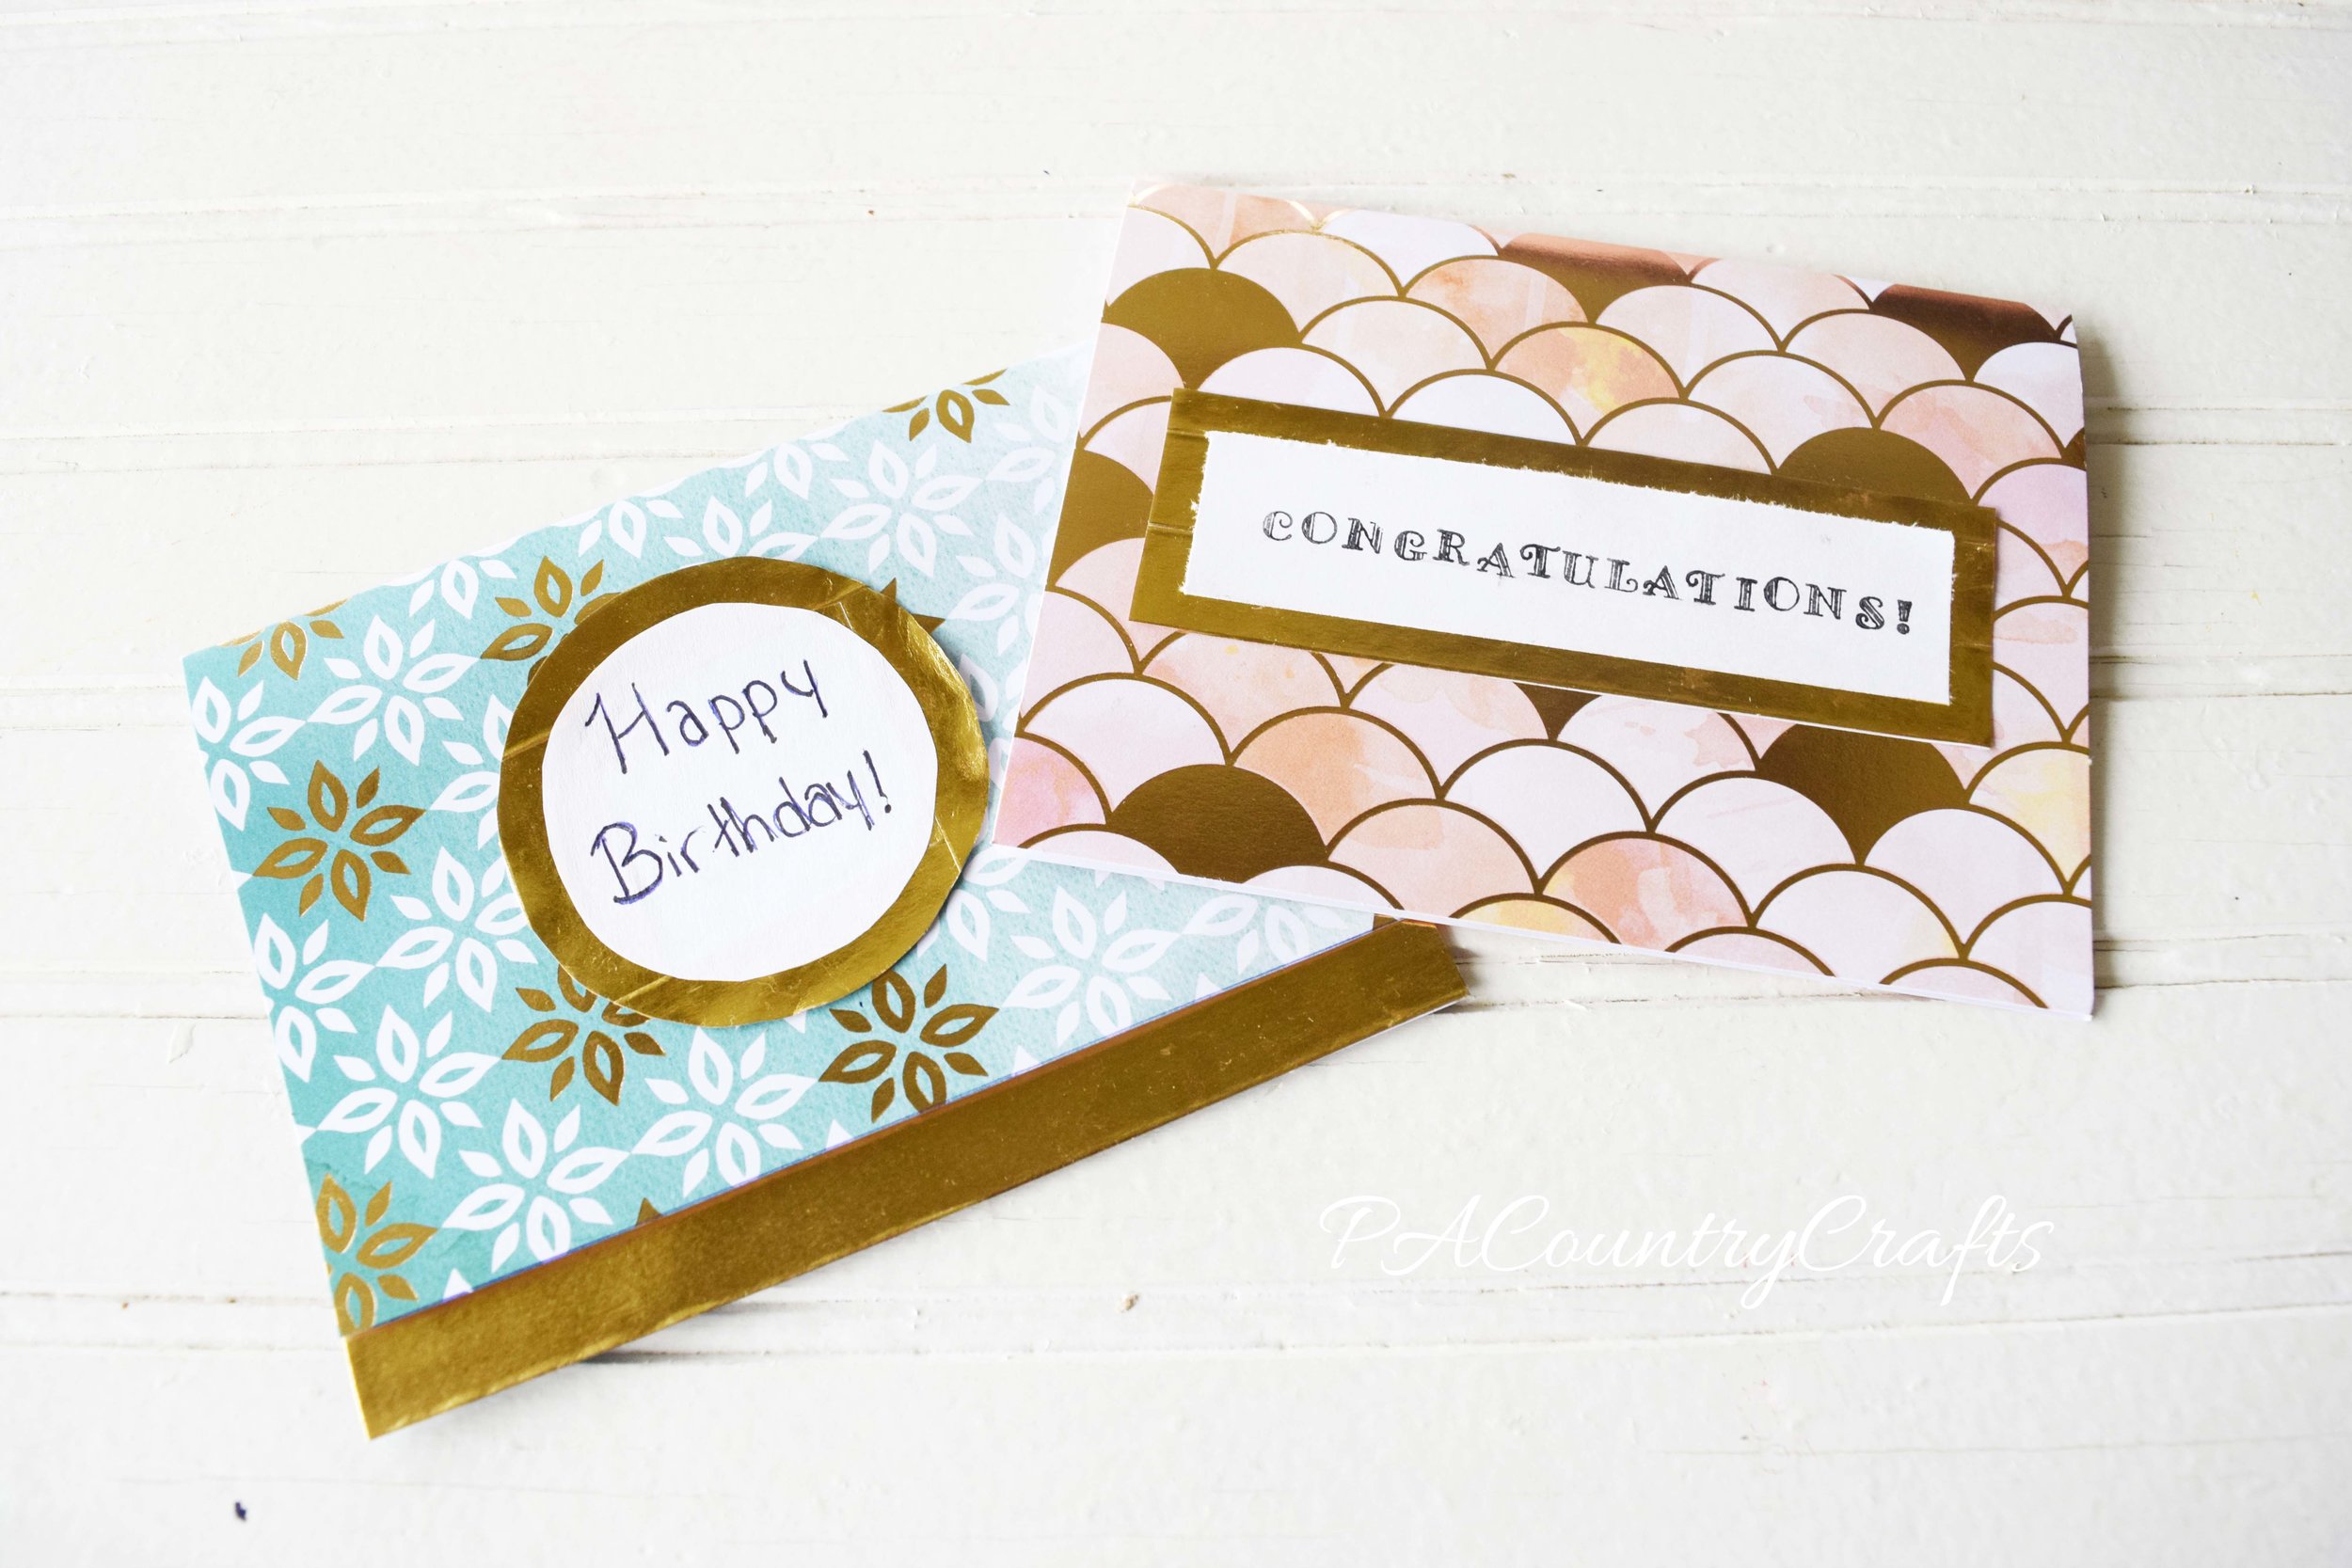
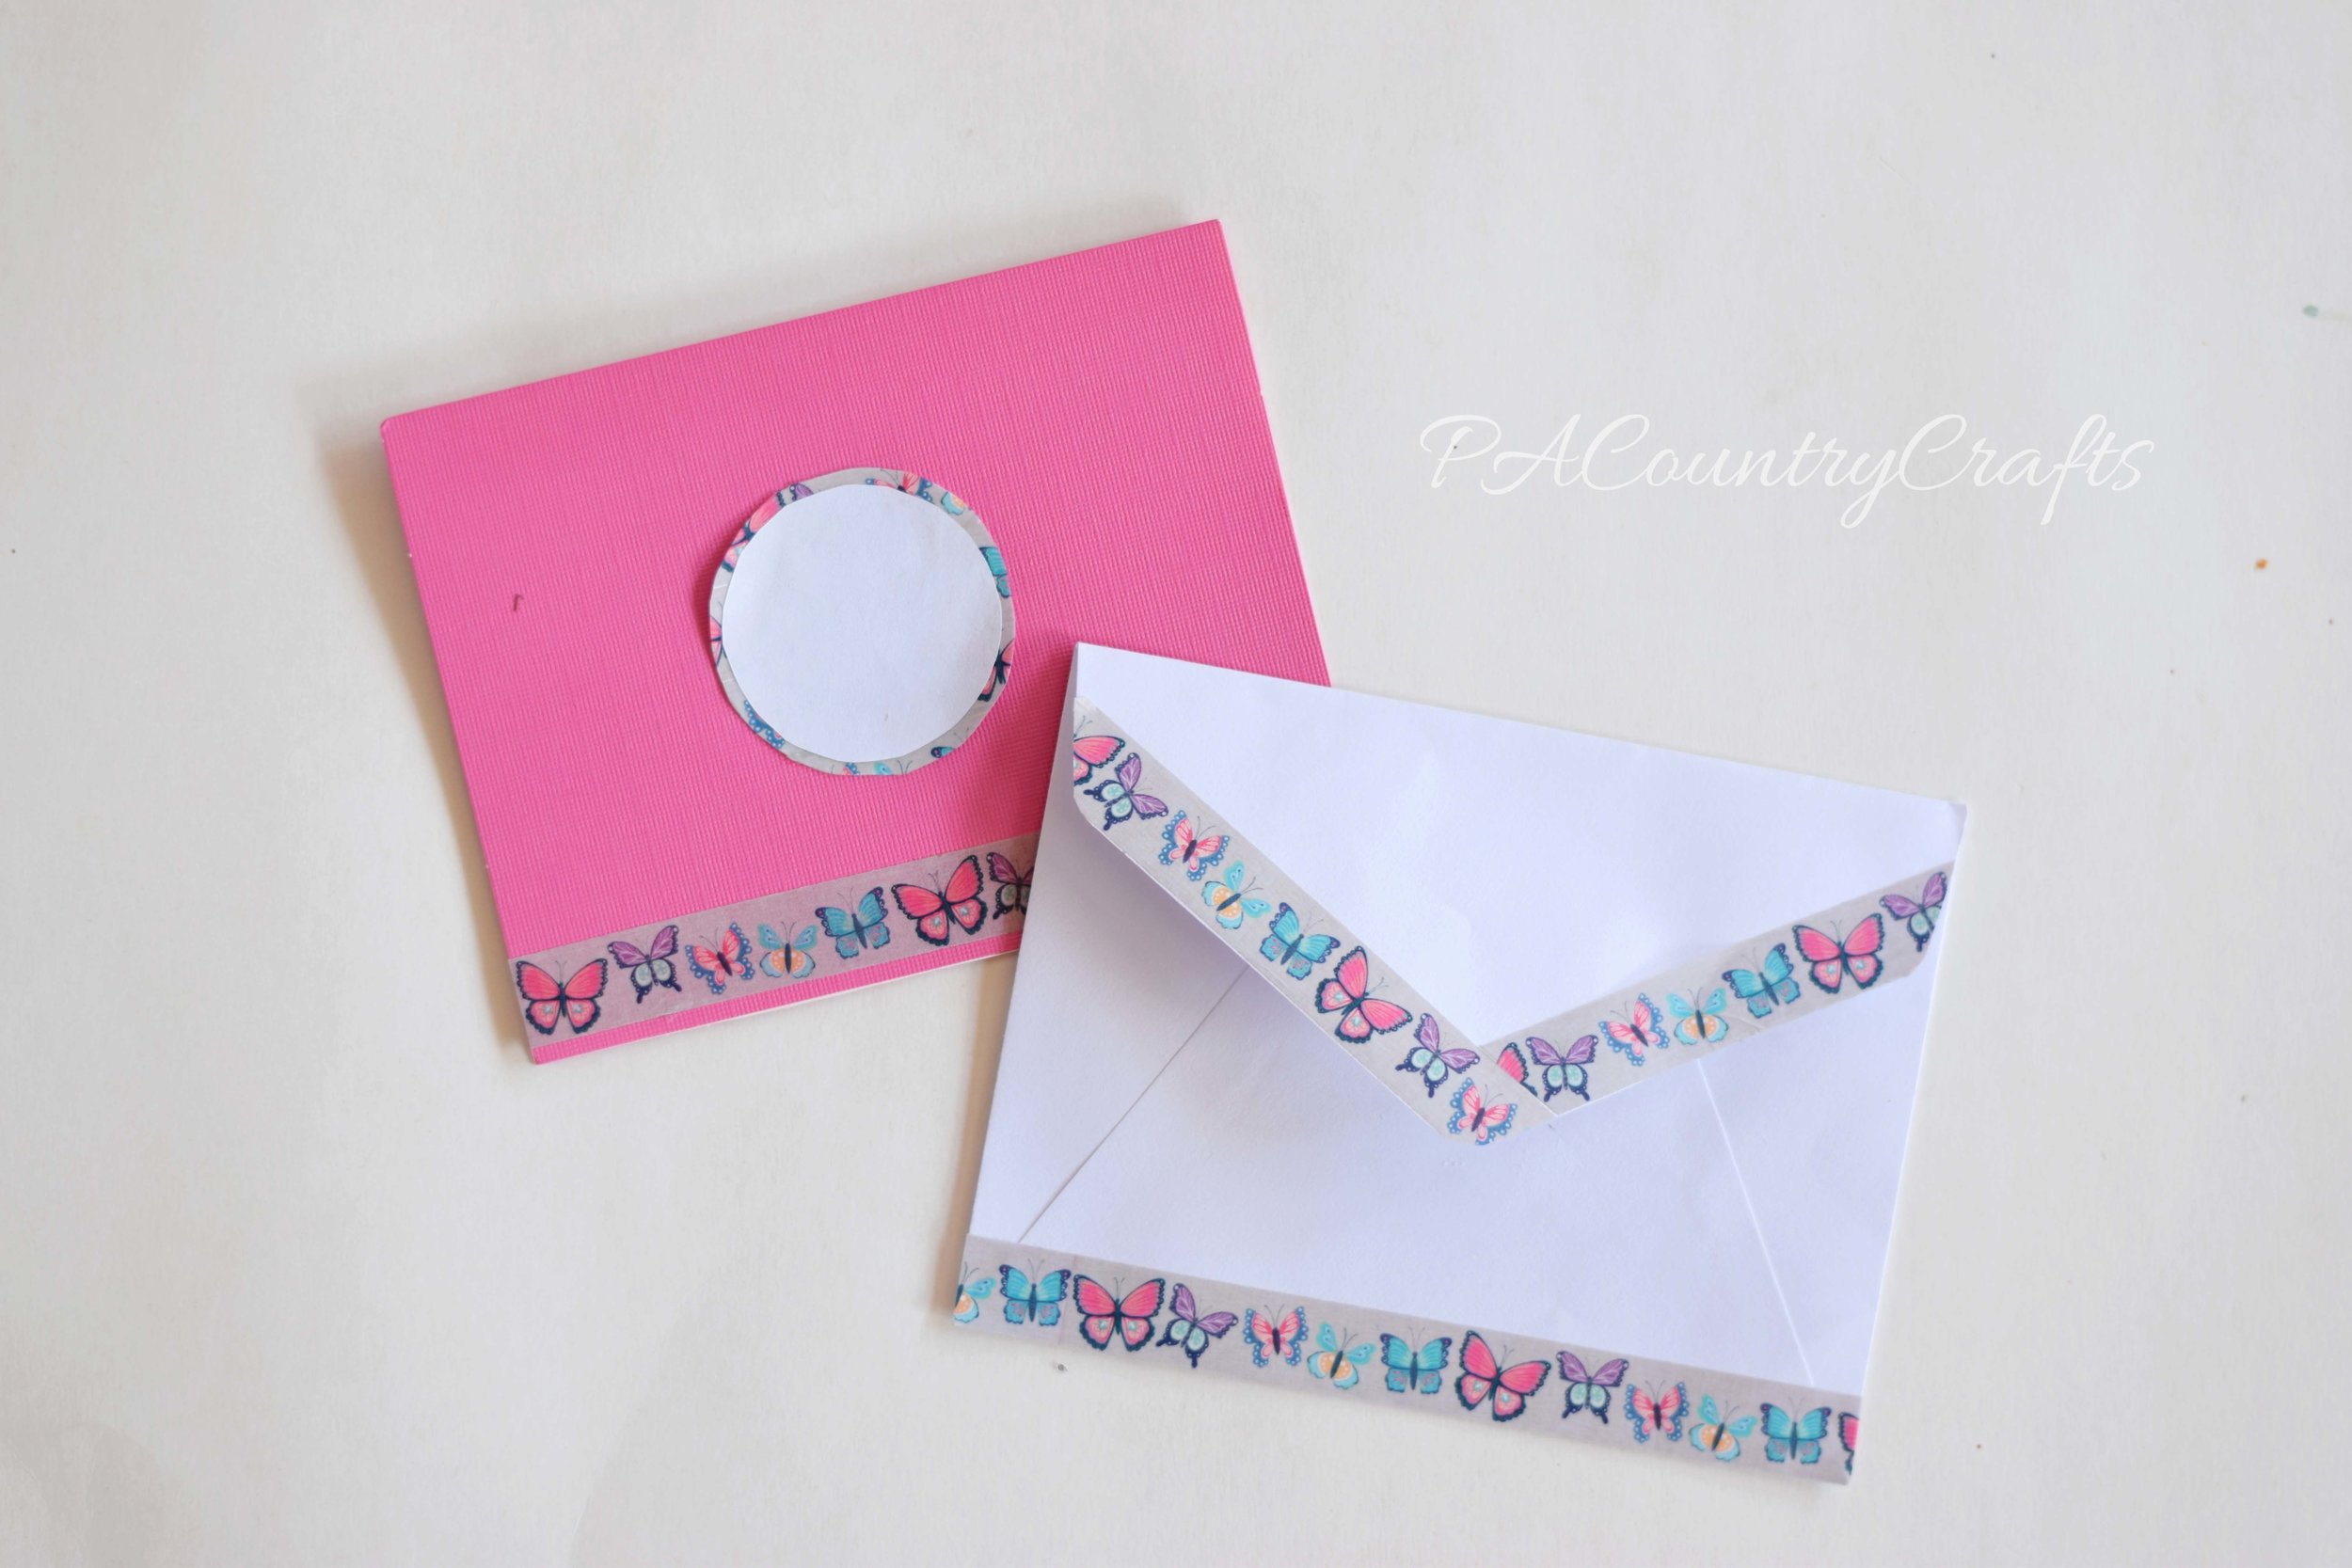
If the card isn't cute enough already you can add something simple and adorable to spice things up. All you have to do is border the envelope with one of the washi tapes used on the card. You can even add a strip on the front of the envelope to add a little extra cuteness to it. It just makes people more excited to get it in the mail!
Thanks so much for reading my post. I hope you liked it! Be sure to stay tuned for the rest of Washi Week!
If you want to pin it for later...
Make a magnetic playset from an altoid tin! Great recycled project and kids craft. It is perfect for a travel activity or to include in Operation Christmas Child shoebox gifts!
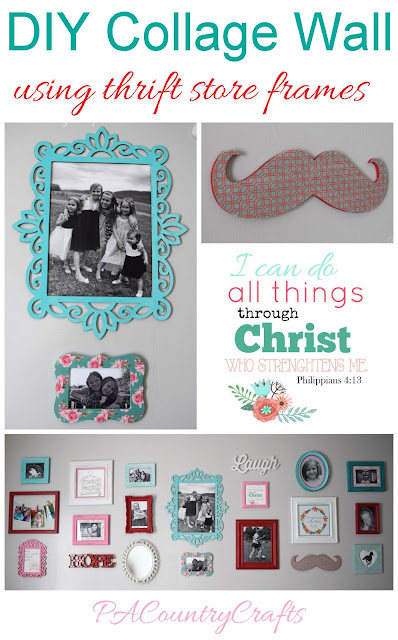
Read MoreApril is generally the craft month for our MOPS group. We wanted to come up with something that every mom could use... picture frames! At the March meeting we set up a photo booth with two background choices: an aqua sheet thumbtacked to the divider with THIS pink and yellow bunting or a navy sheet thumbtacked to the divider with some yellow stars that are part of our "Starry Eyed" meeting decor. They were simple, but beautiful (and FREE!) One of our steering team members is also a talented photographer. She has a good eye for capturing those special moments. She photographed the moms as they came in with their little ones and we got free 4 x 6 prints through the Shutterfly app printed before the April meeting. We figured if there was a picture to put in the frame right away it would be used.

The frames were easy and inexpensive. I got them at Michaels and used a 30% off your entire purchase coupon so they were only 70 cents each. We also used up leftover paper from our journal craft in September (see HERE). I picked up some more scrapbook papers in neutral and blue colors that would be better for pictures with the navy background.

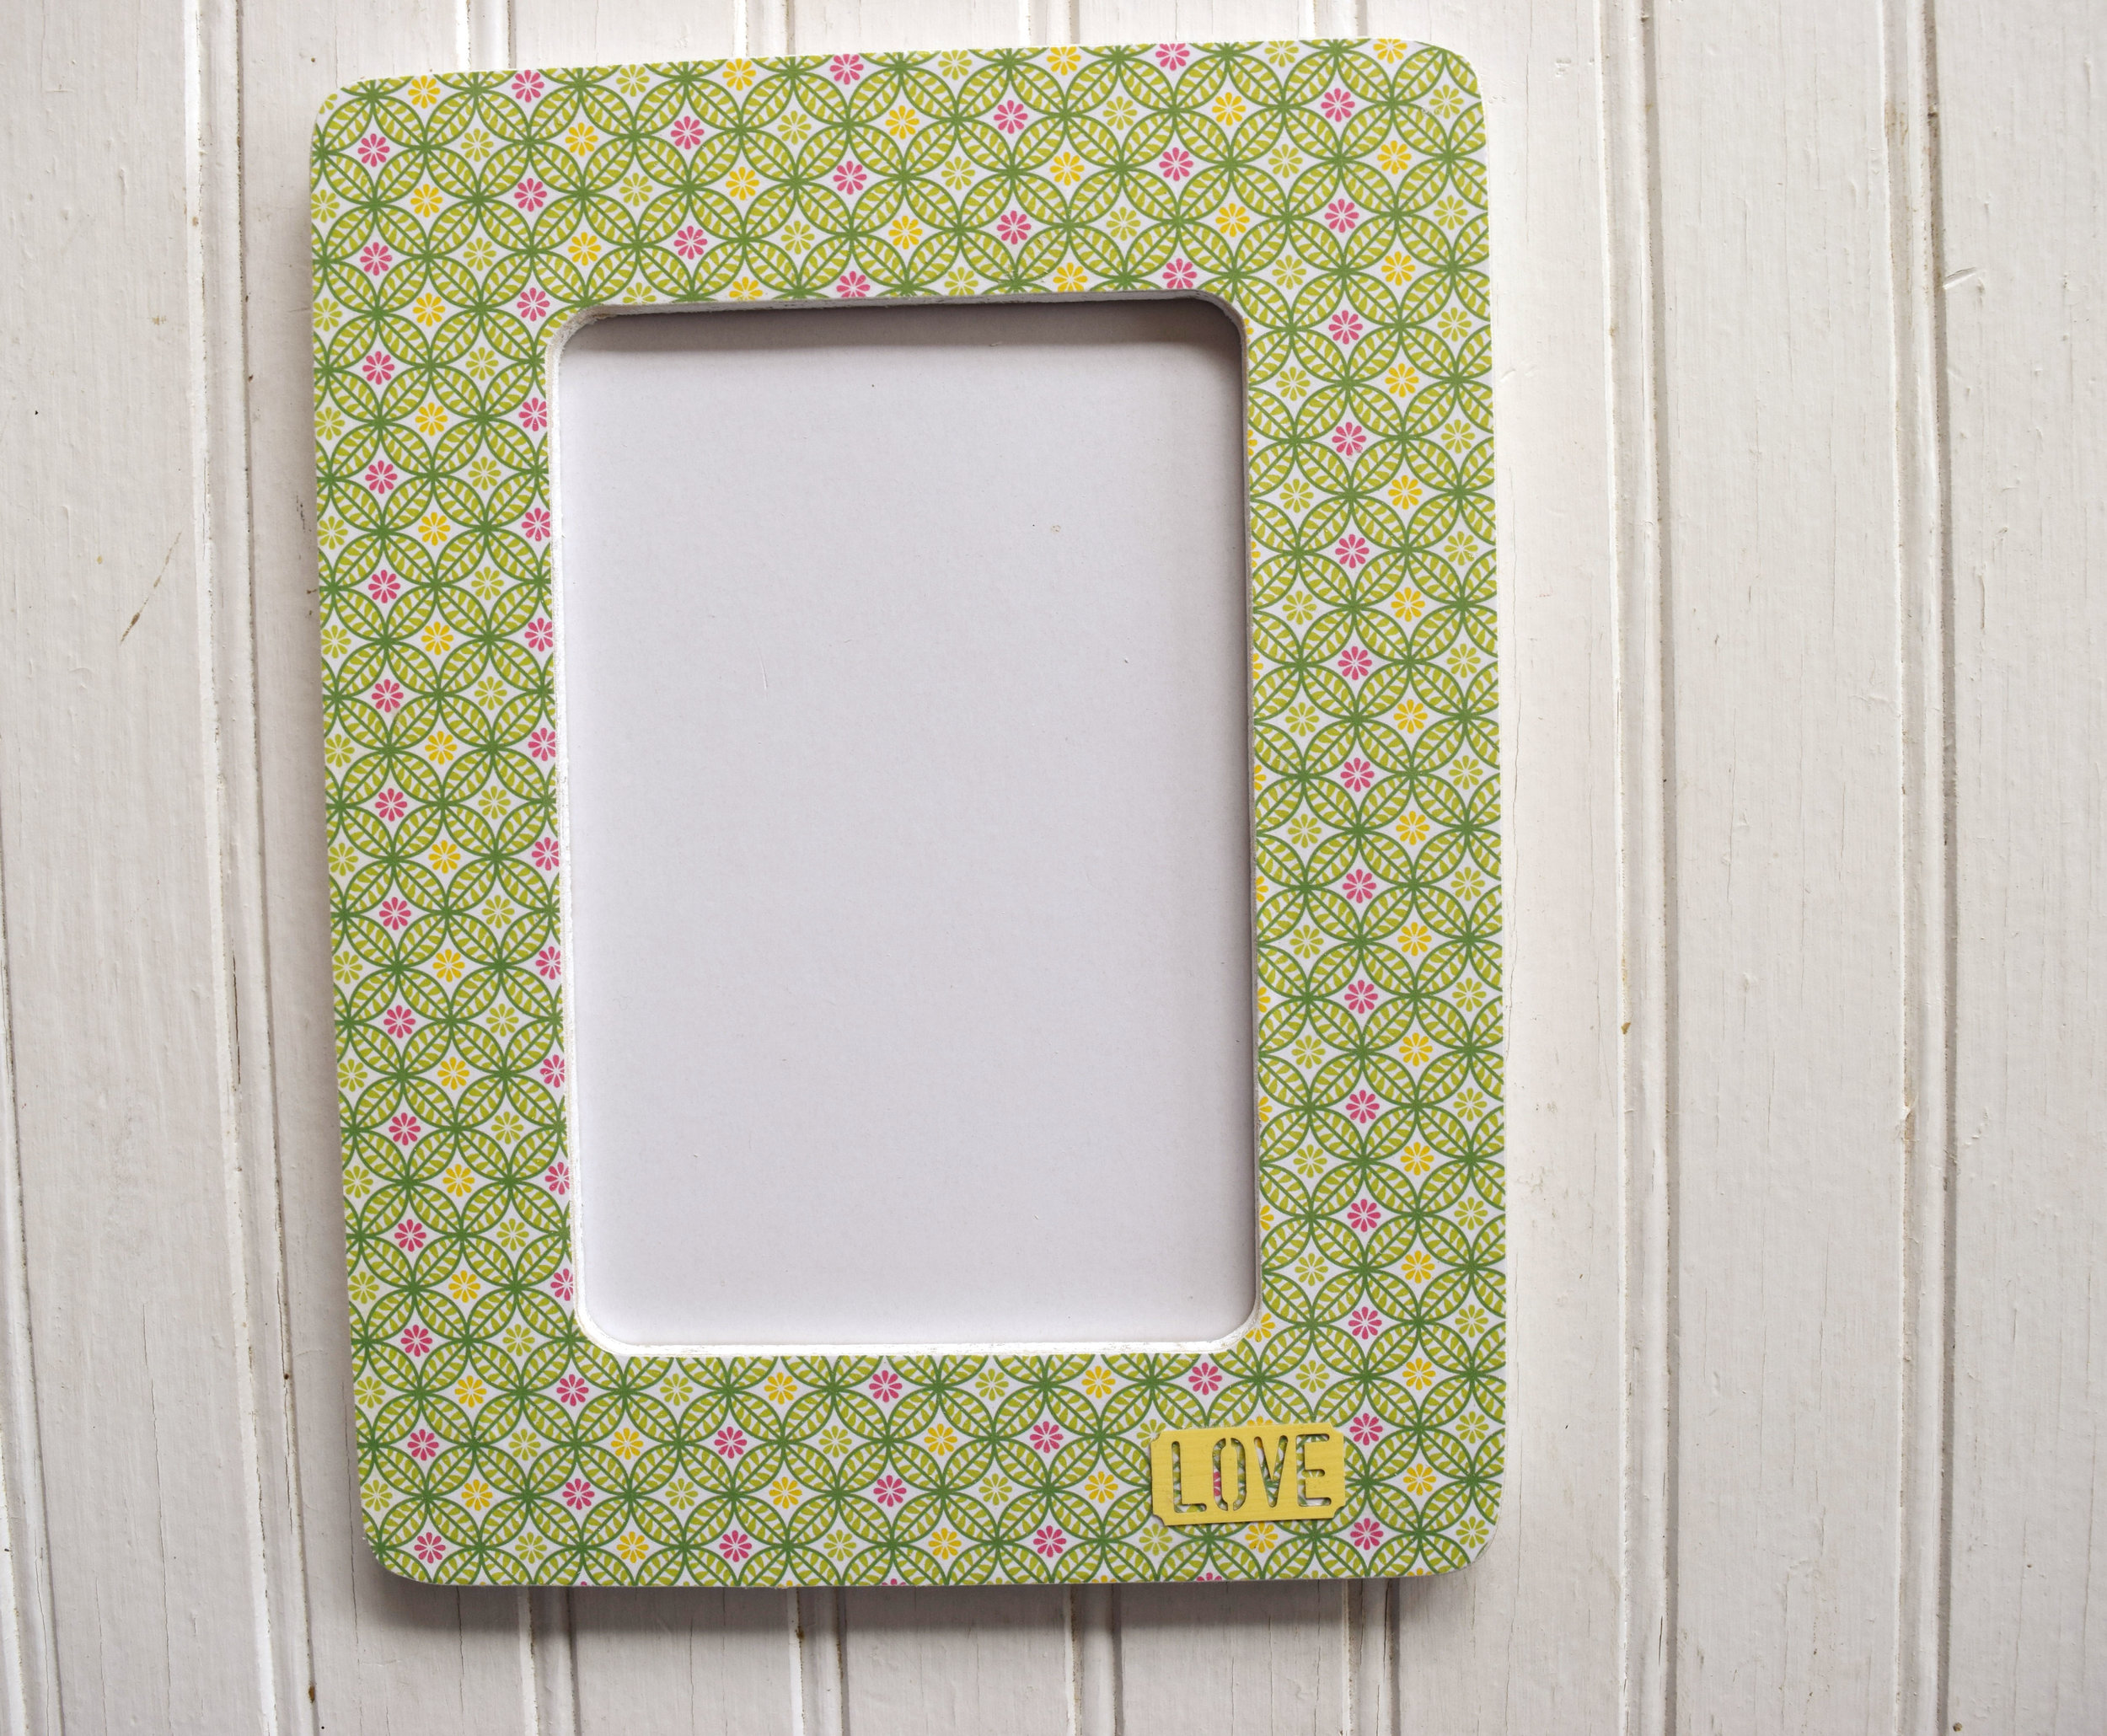
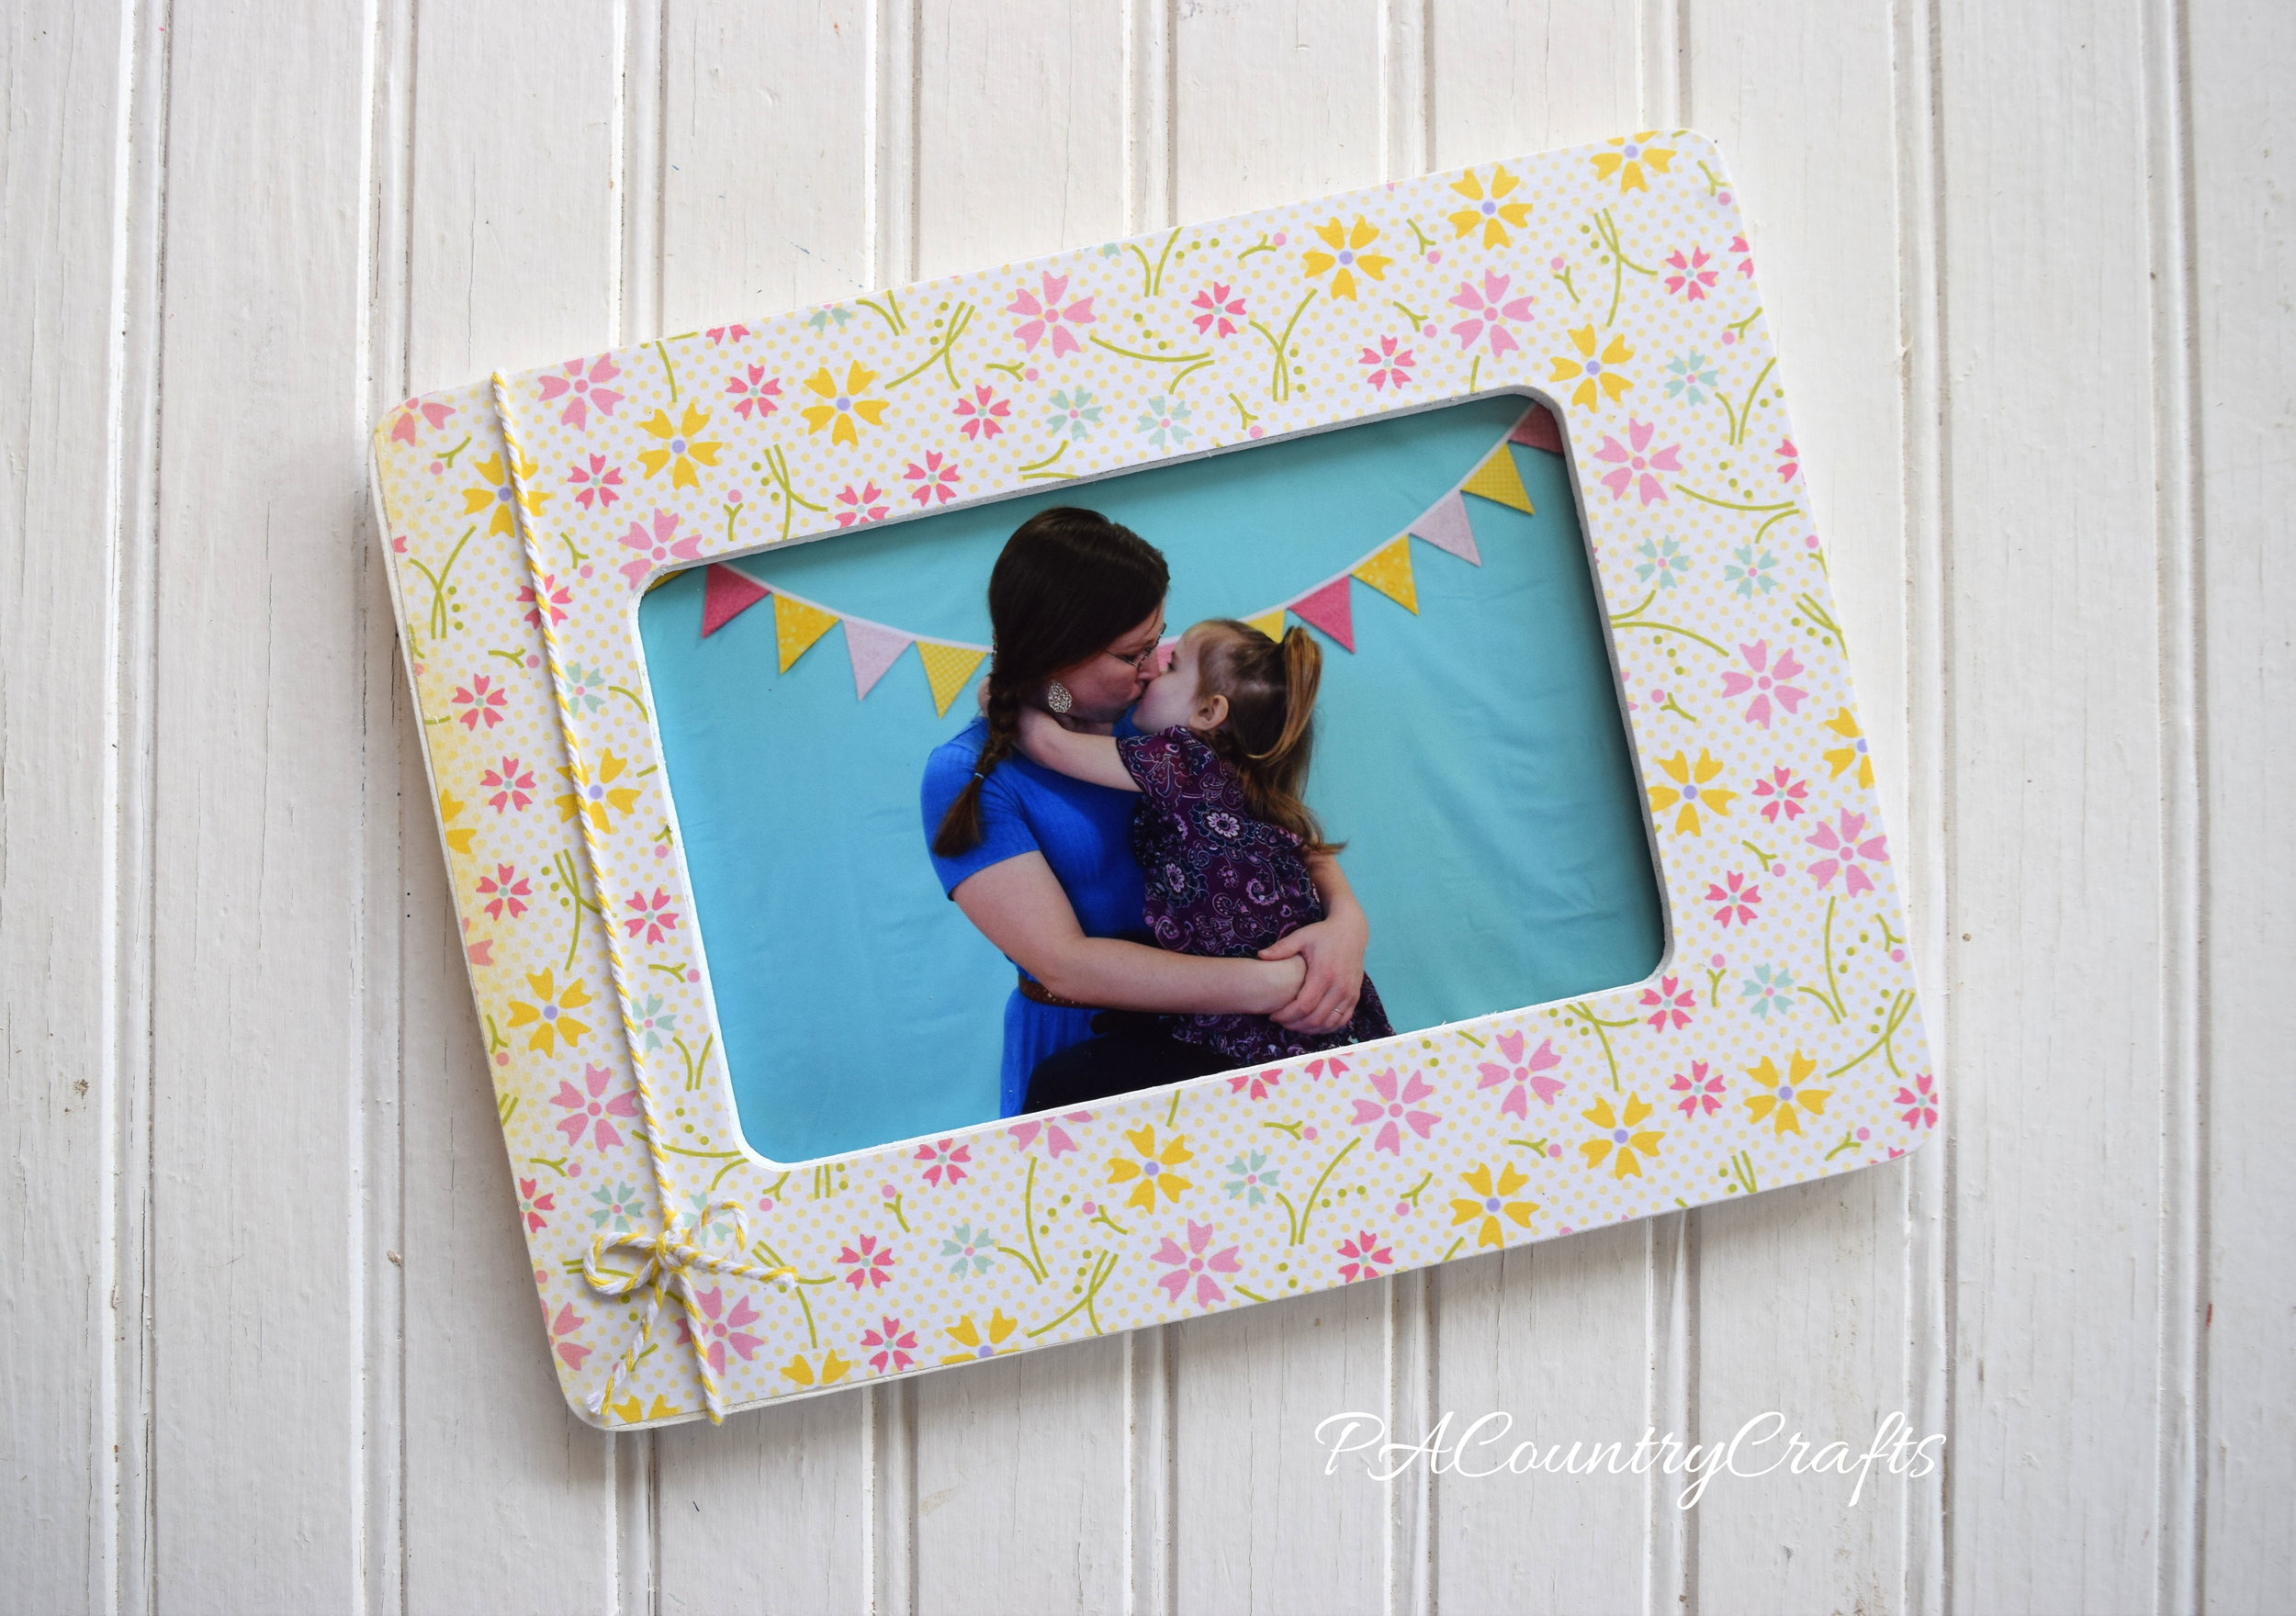
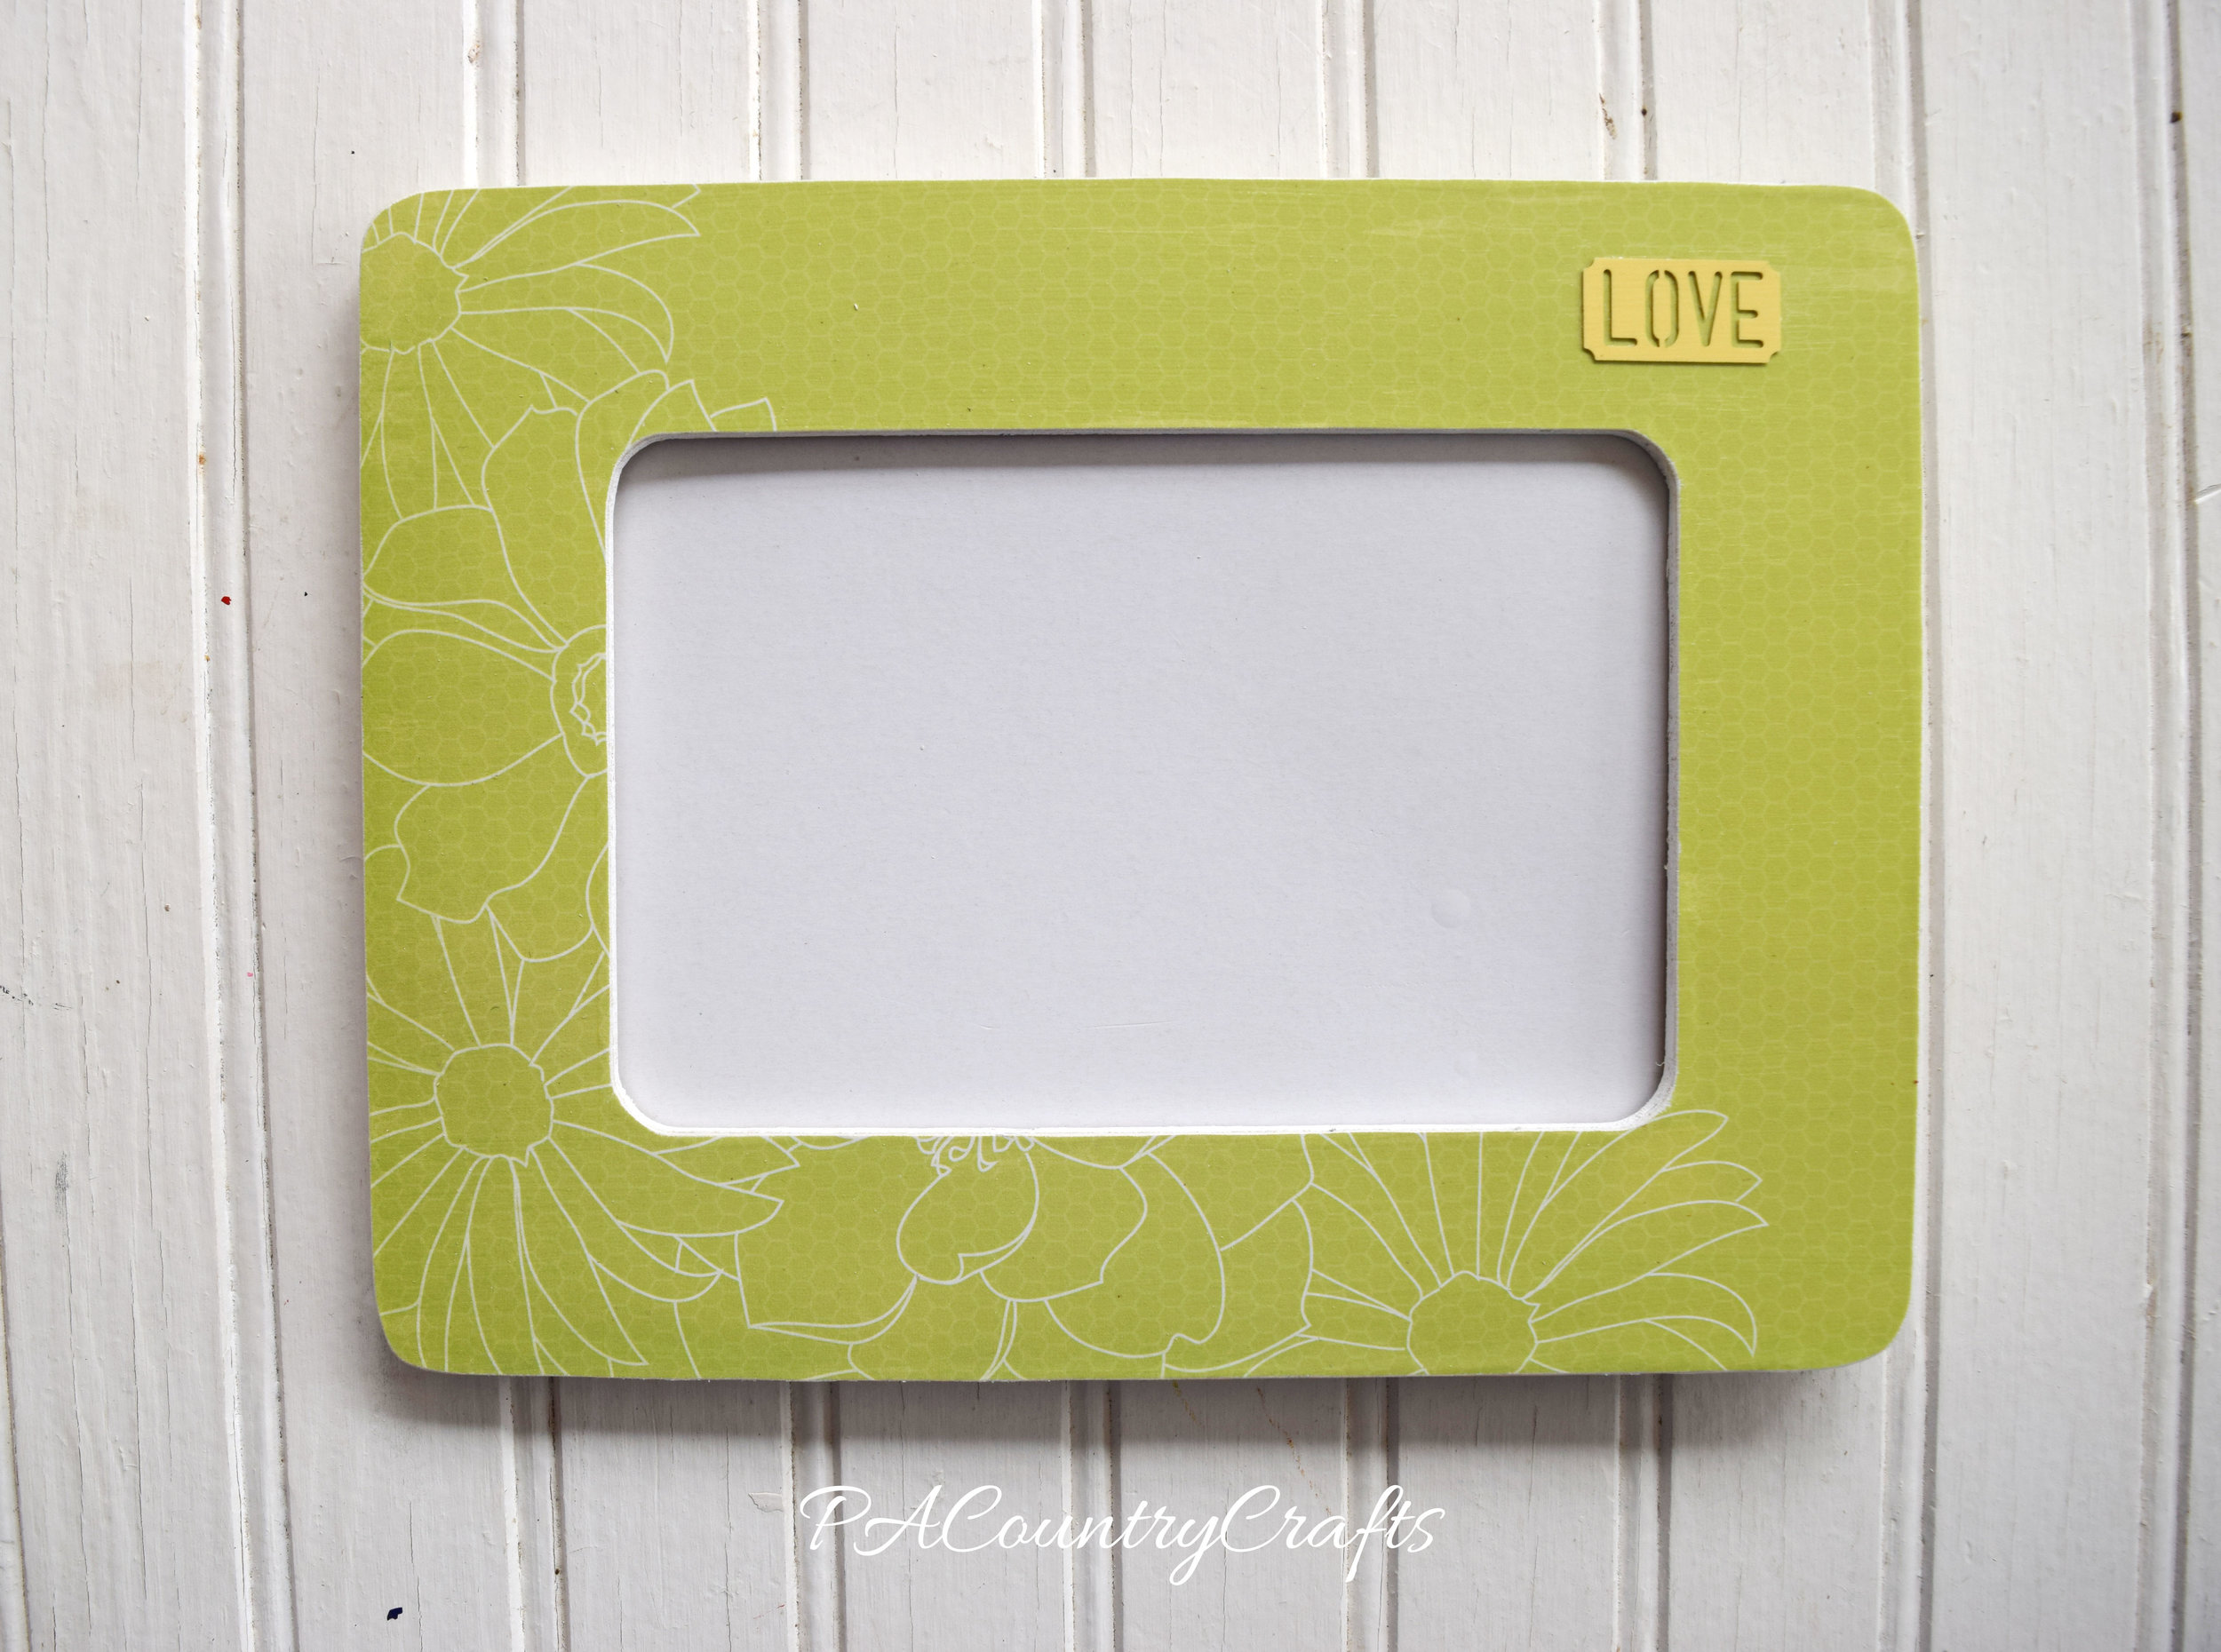
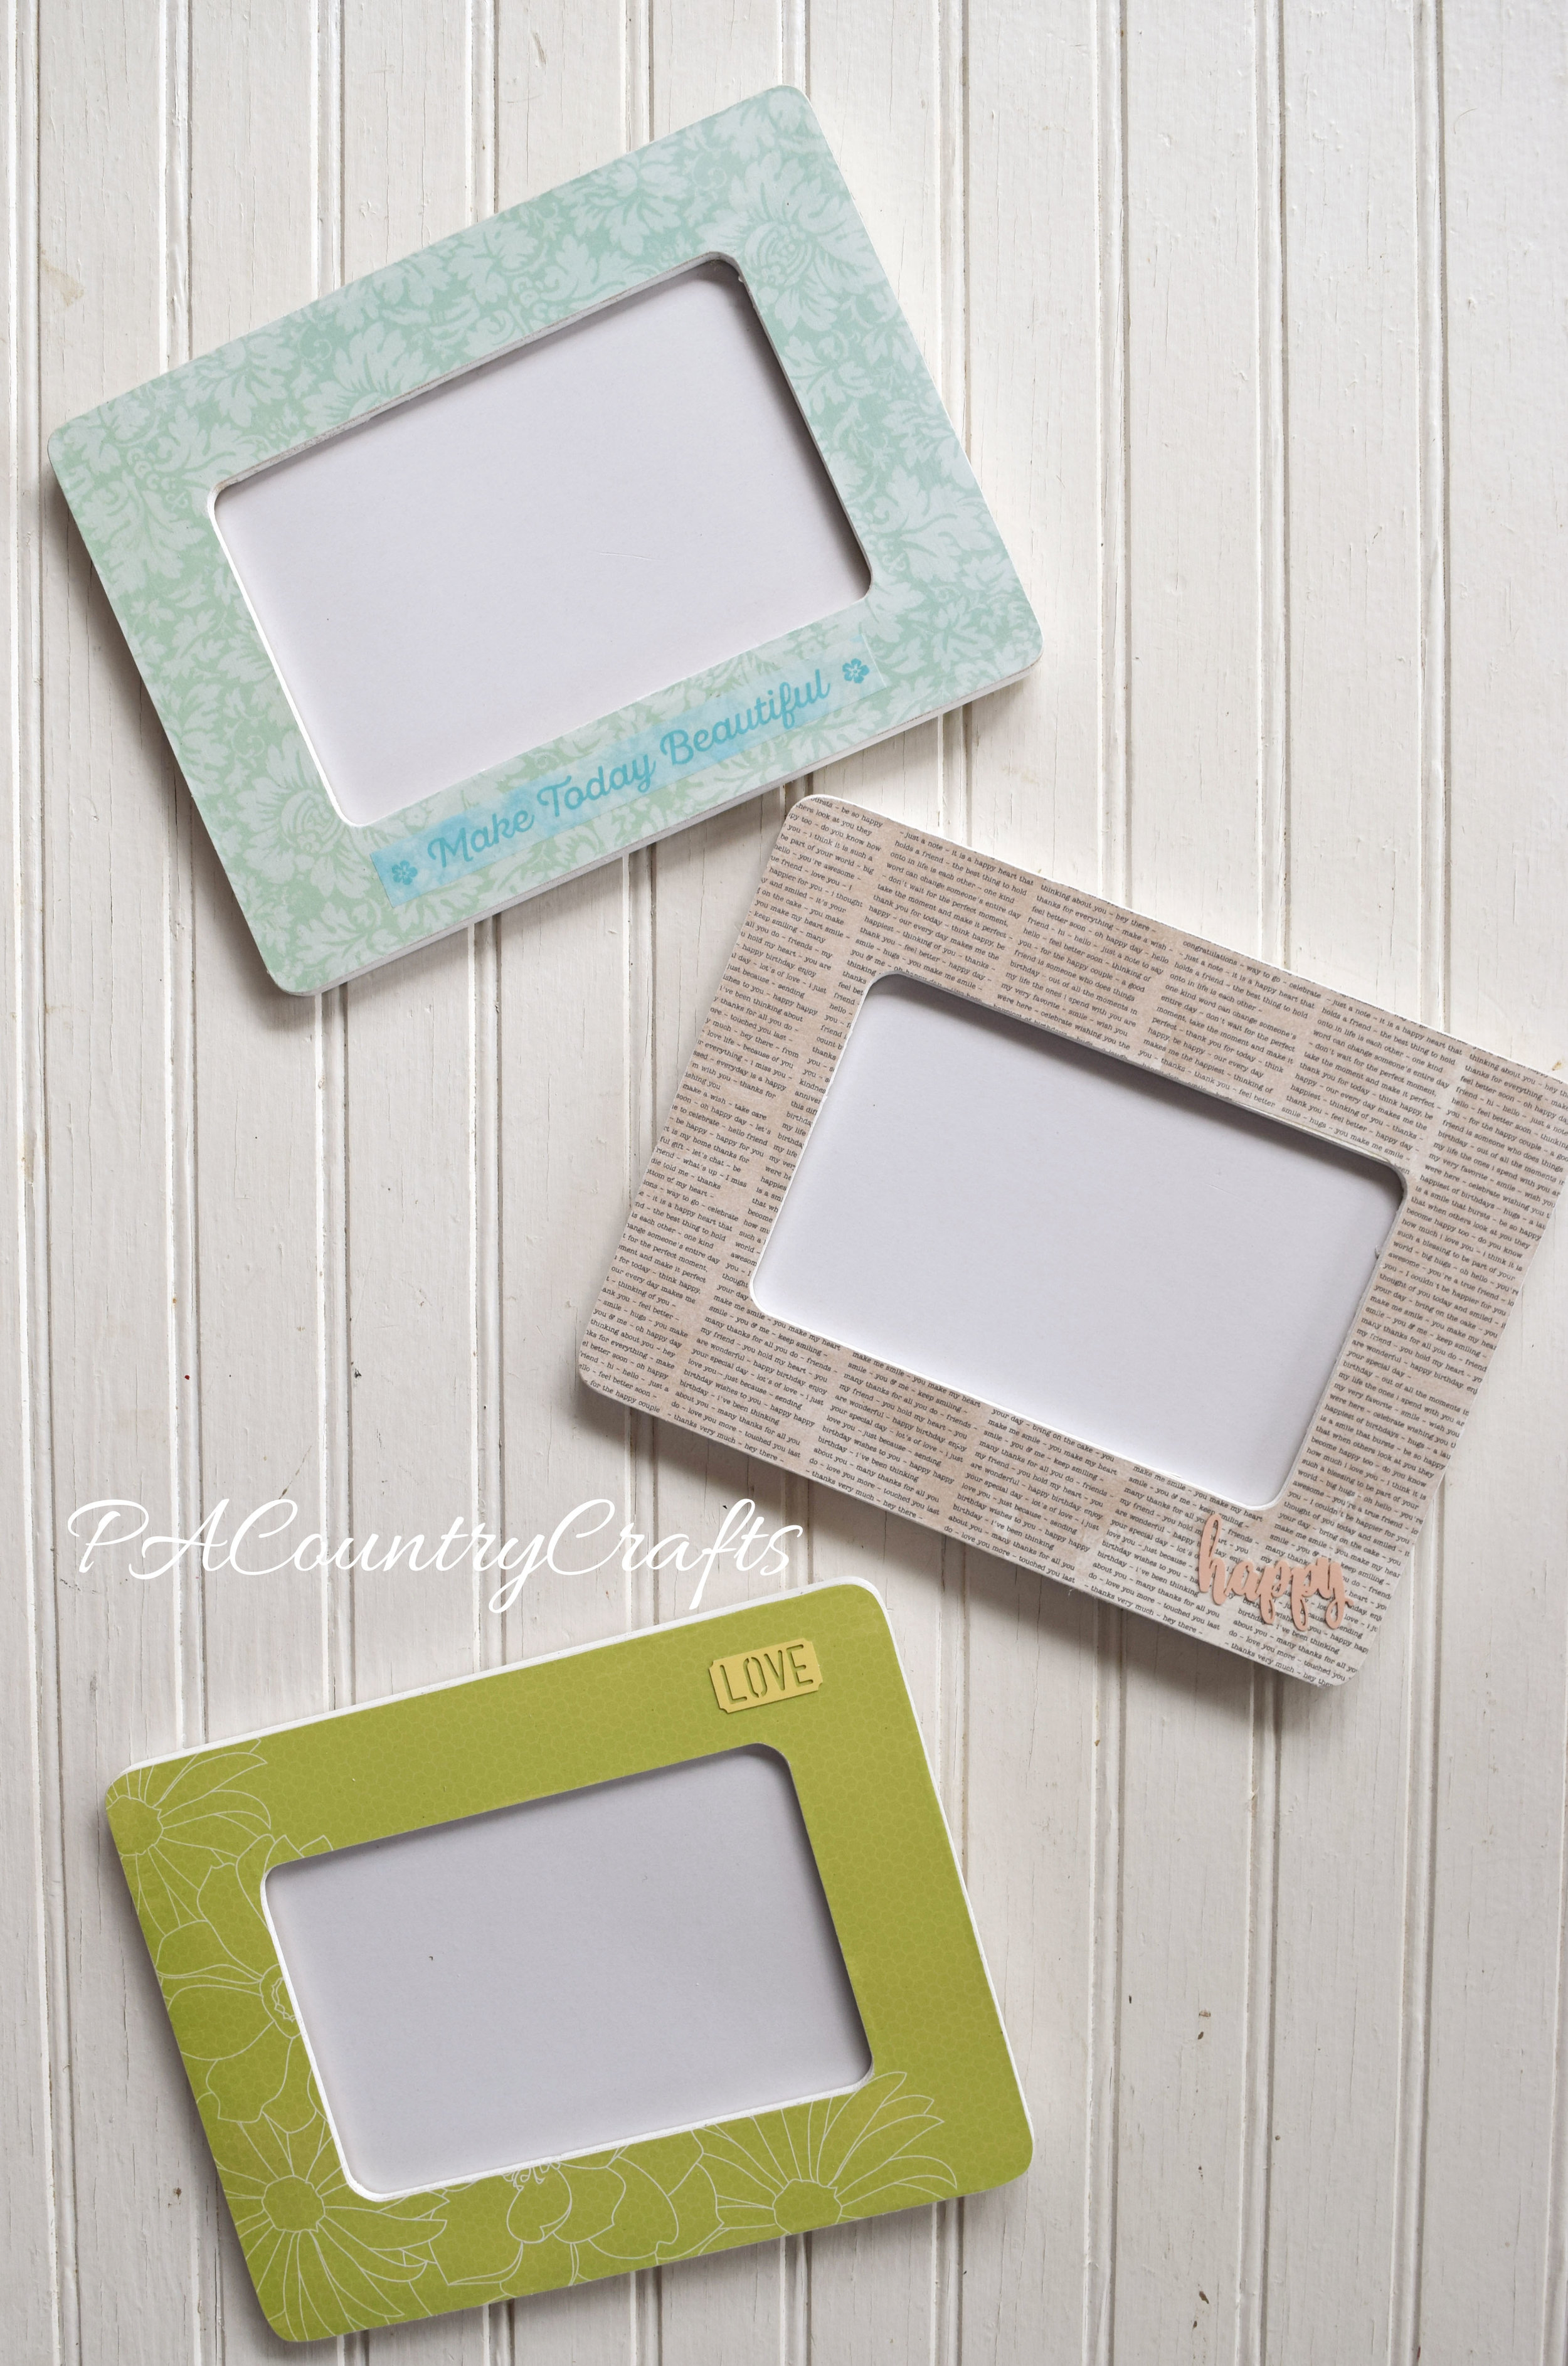
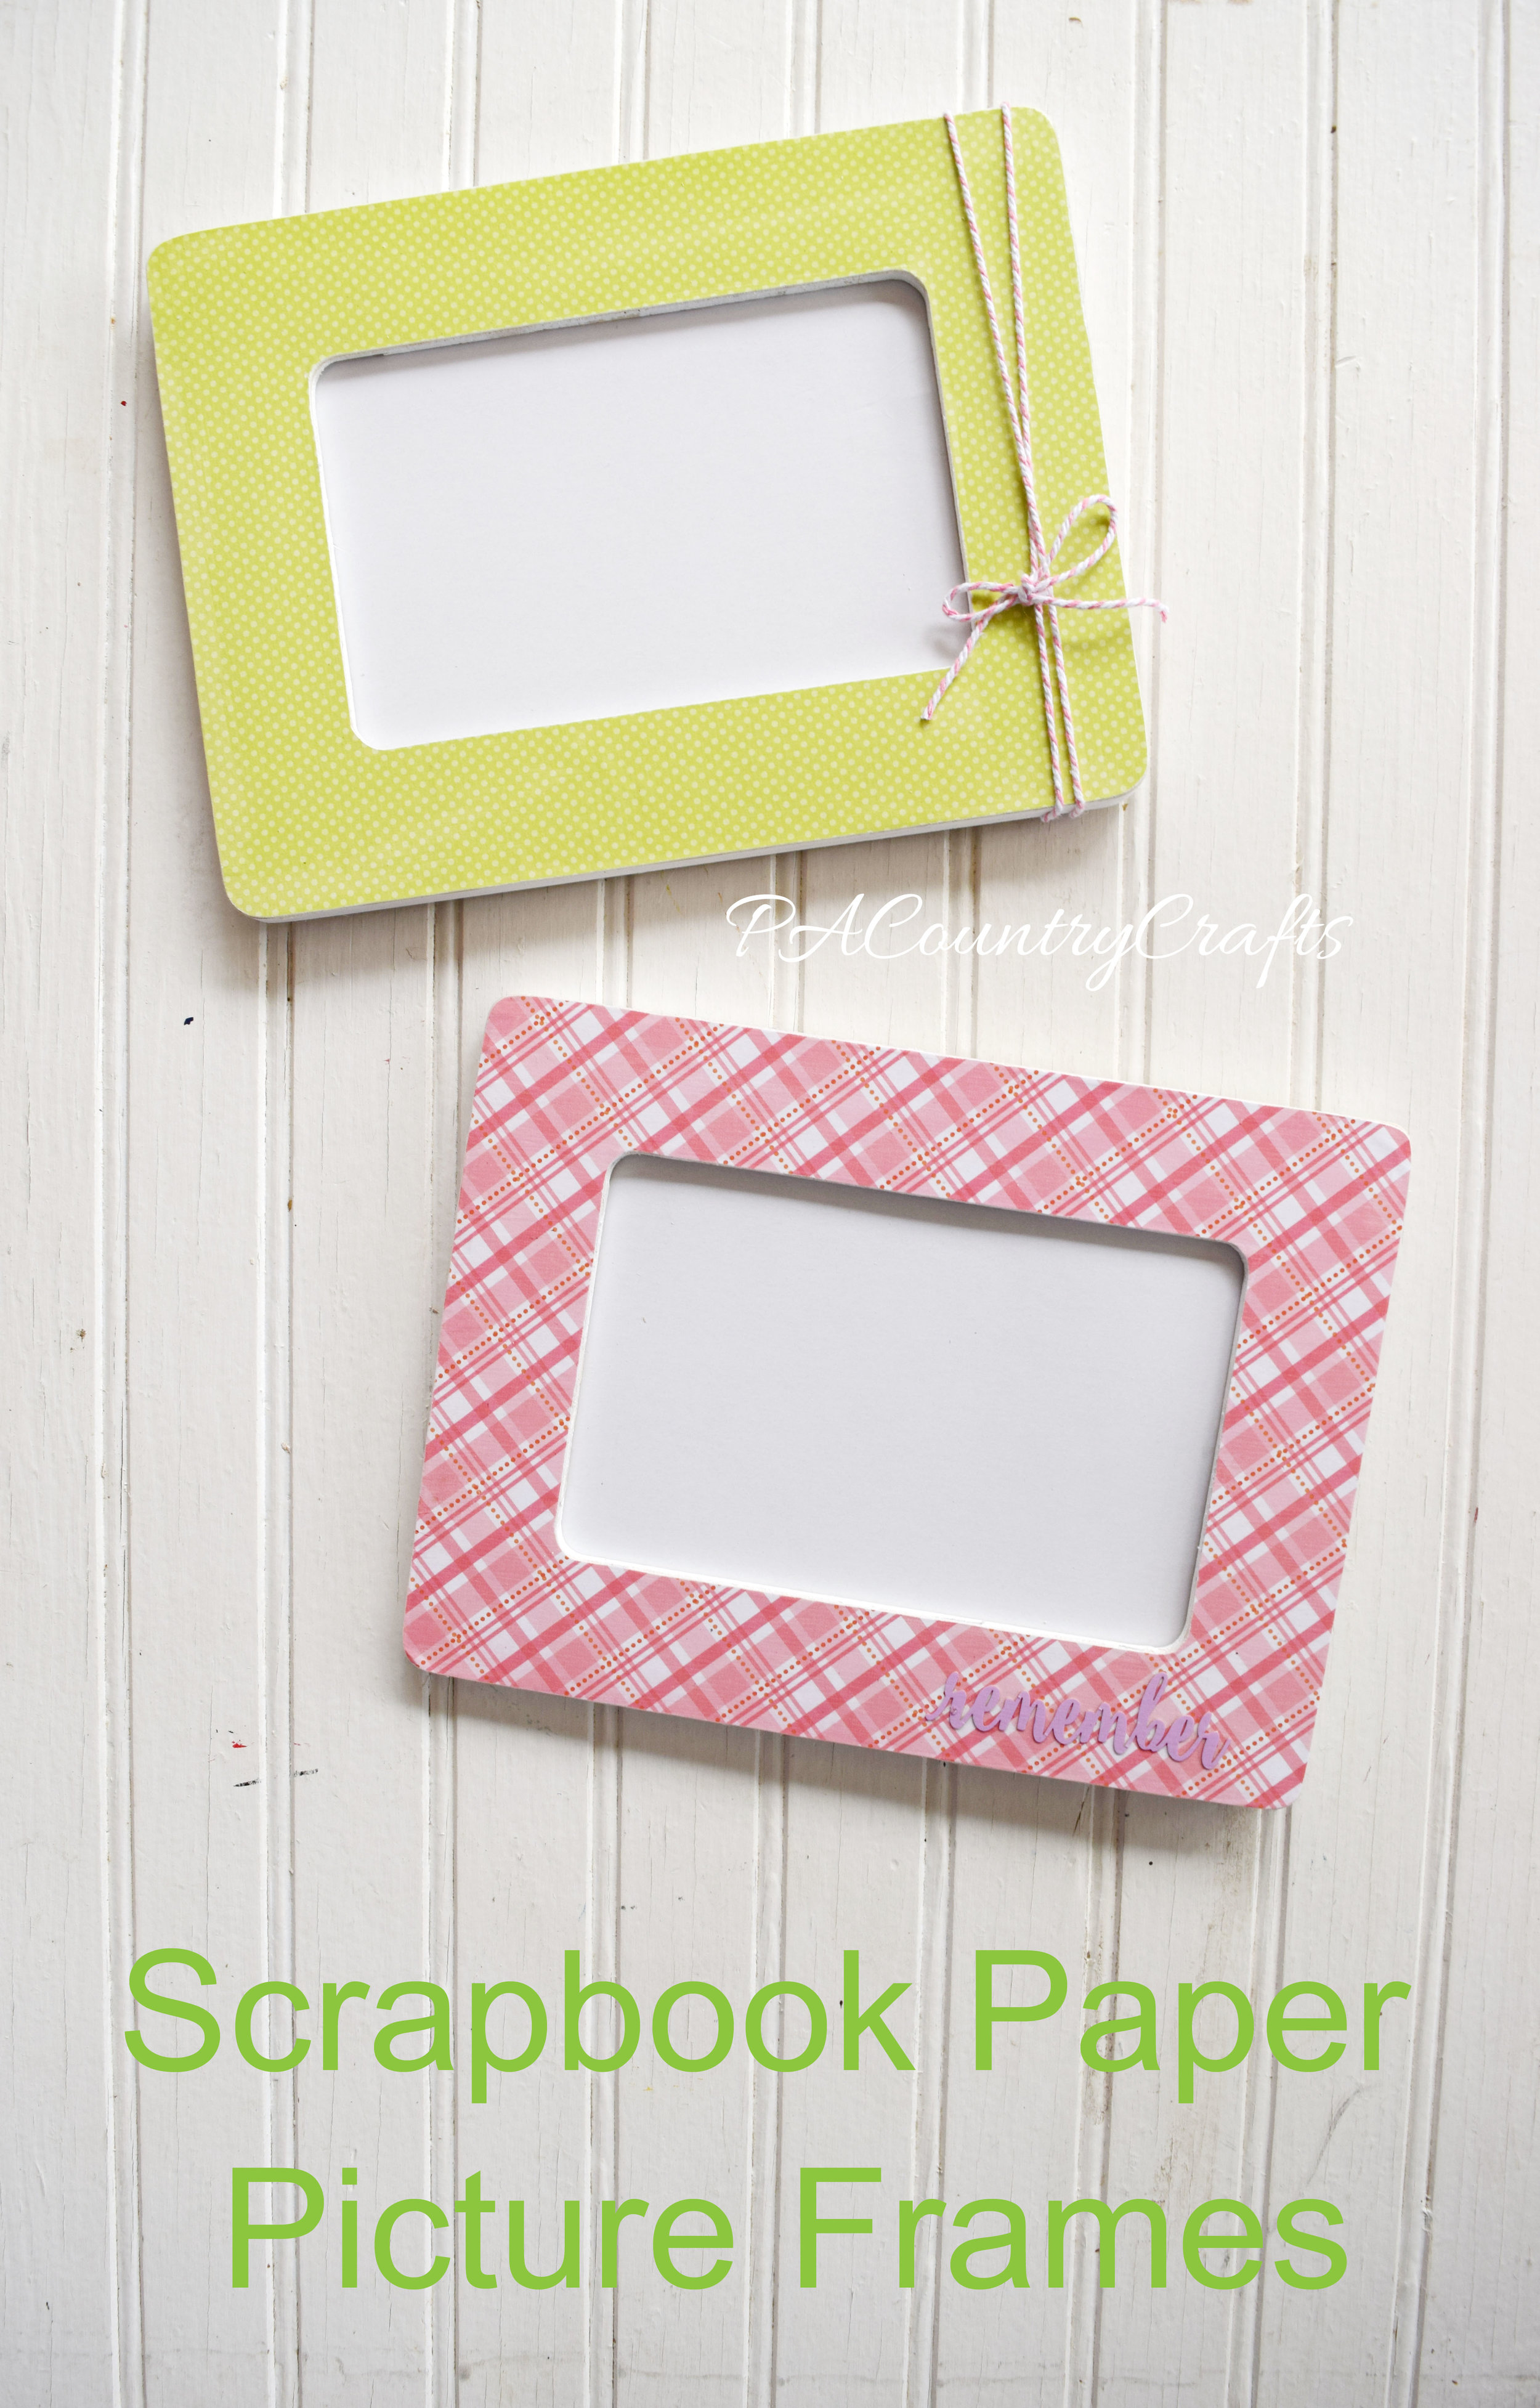
I have made these frames before and you can see some of them in my daughters' collage wall HERE. It is the perfect craft for a ladies night or a group. You can add little embellishments like baker's twine, washi tape, fabric flowers, die-cuts, etc. so they will all be unique. In addition to flat frames like these, you can use this same technique on any flat wood surface. I made a mustache for the collage wall, too!
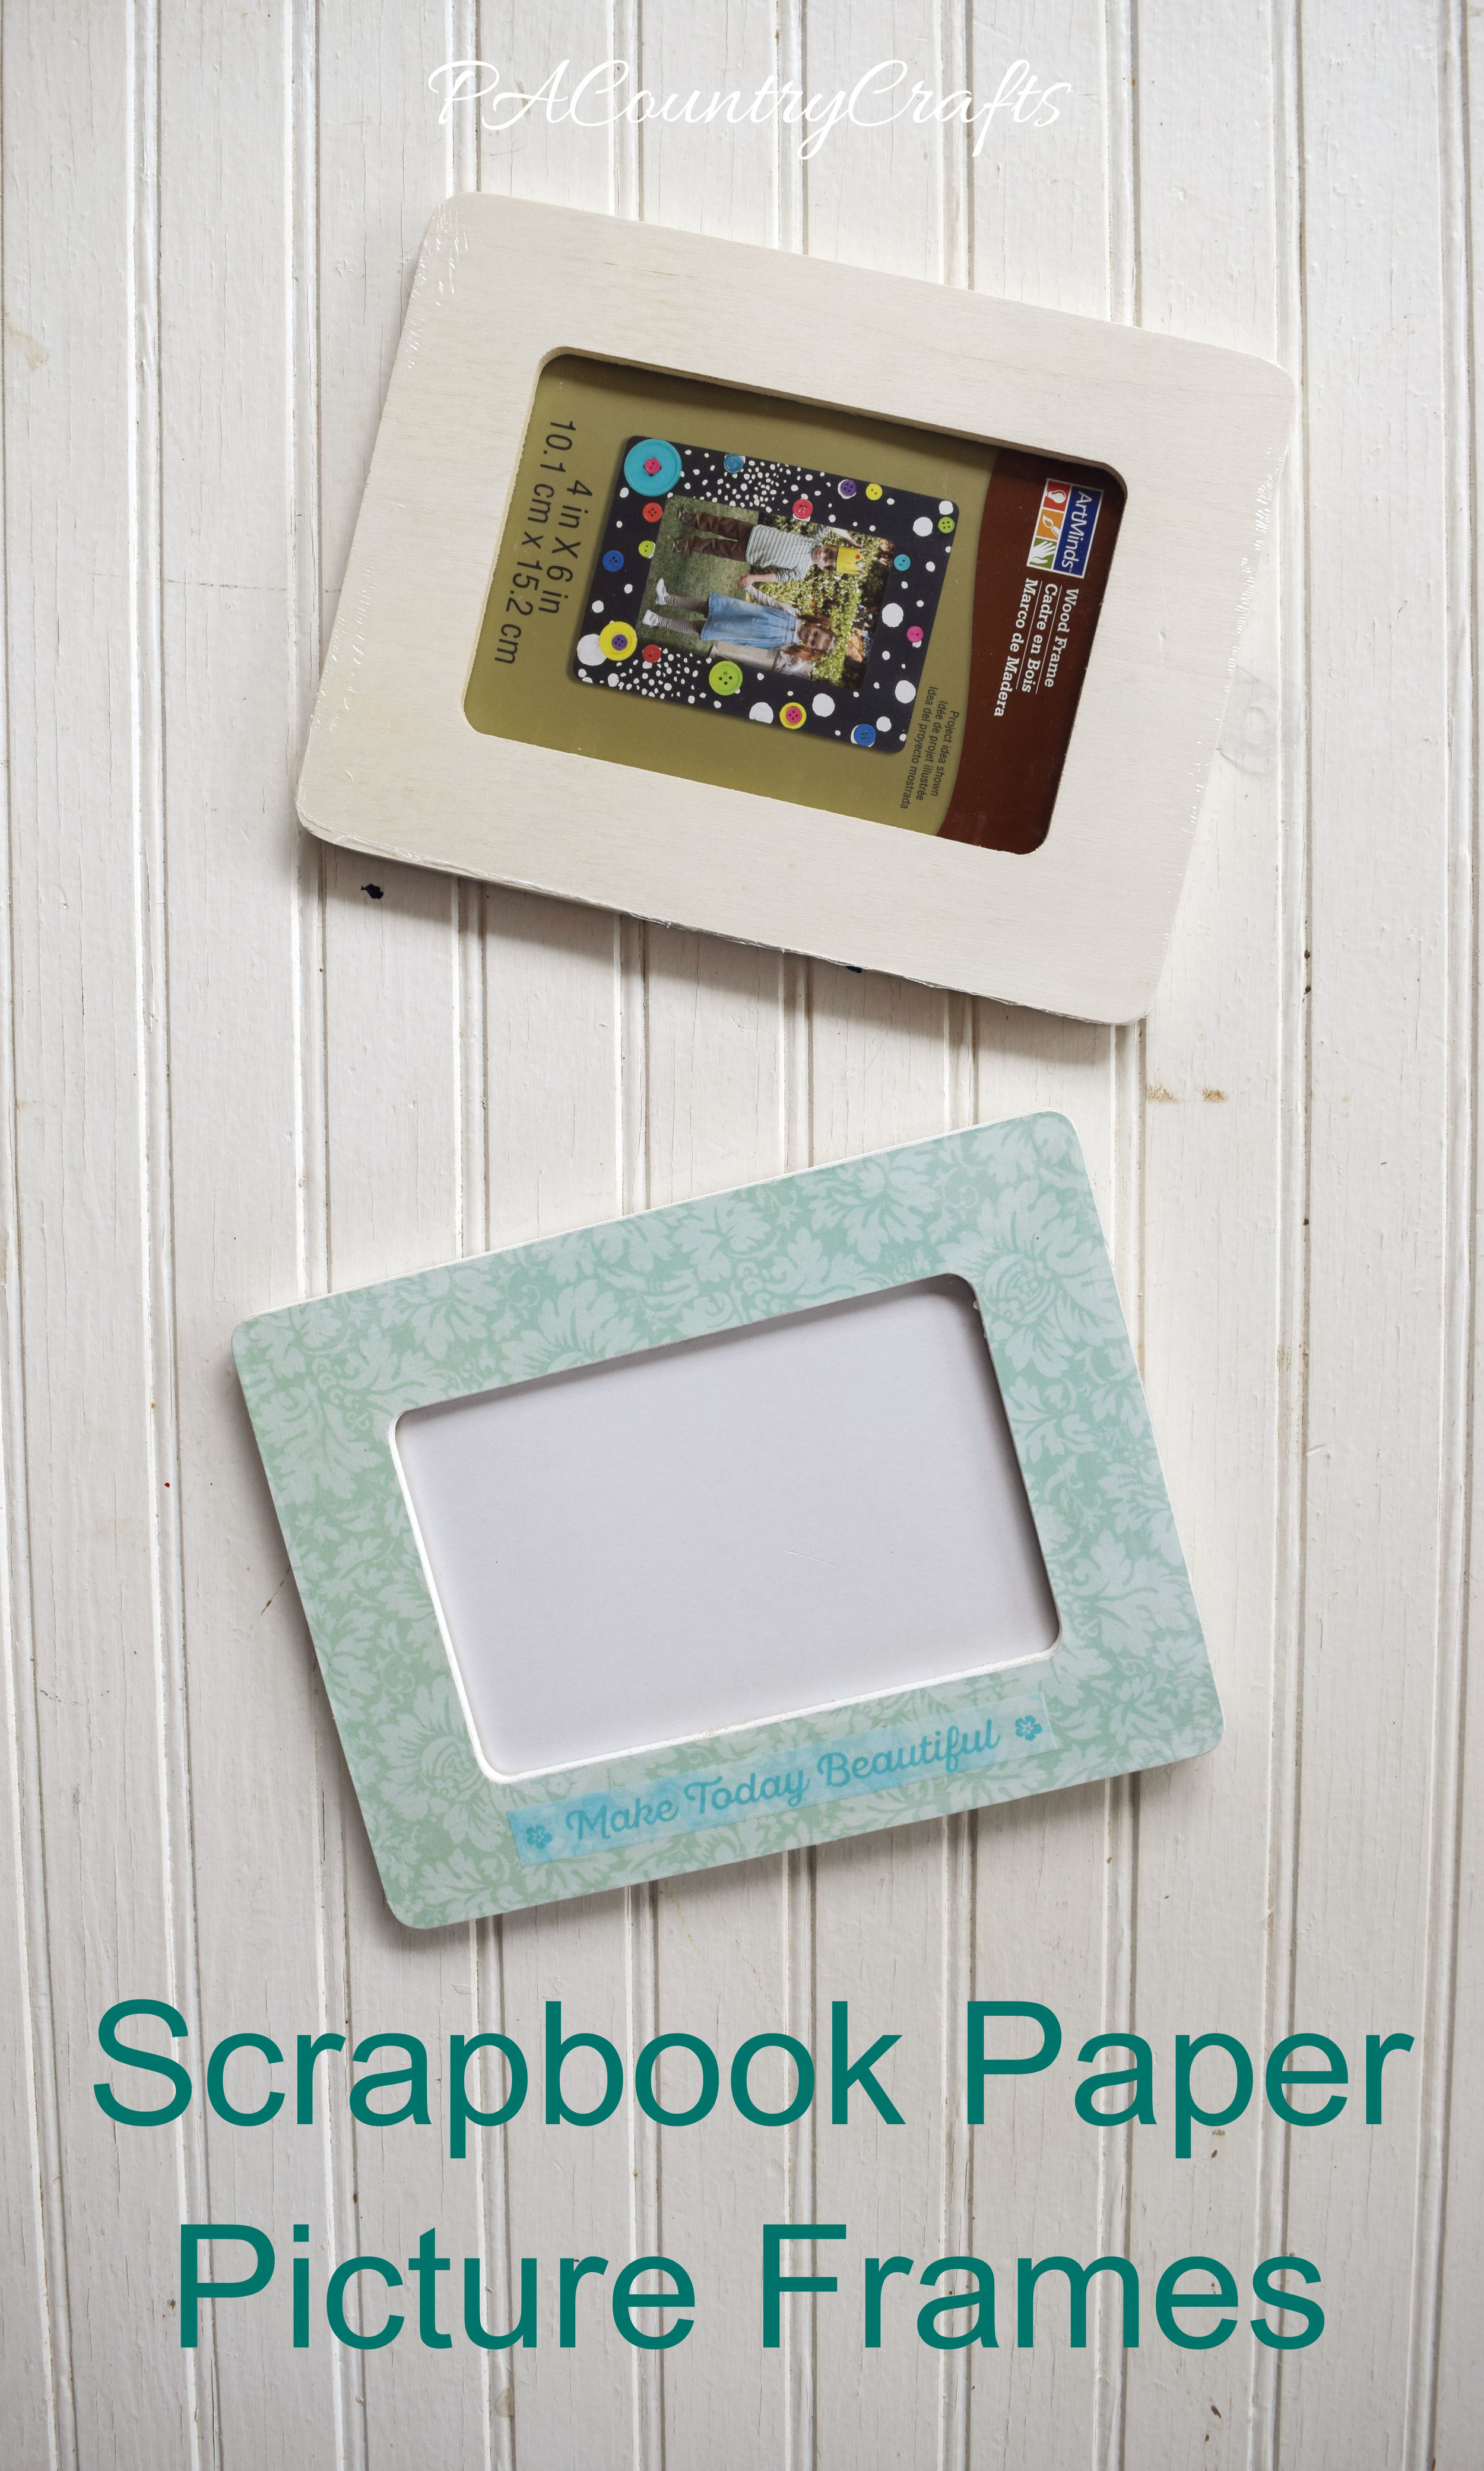
Here is what you need:
~wood frame ~mod podge ~foam brush ~sandpaper ~scrapbook paper ~scissors ~pencil ~embellishments (optional) ~paint (optional)

I began by painting the edges of the frames just to make the finished product a little nicer. I used white acrylic.

Lightly sand the frame to remove any rough edges or extra paint. (My craft table is a disaster! #keepitreal)

Trace the frame on the wrong side of the paper (so you don't see pencil marks in case you mess up).

Cut out the frame shape you traced, but leave a little extra outside the pencil lines. Always go big, not too small!

Brush a layer of mod podge onto the frame. It should be a fairly thick layer, but it should all be smoothed out- no runs or lumps.

Lay the paper on top of the frame, lining up the center opening and edges as best as you can. There should be a little extra all around.

If you get big wrinkles, you can take it off and redo it, but only if you are fast about it. Some wrinkles can be pushed out by hand, or you can even try scraping with a credit card. Just smooth it all out the best that you can and let it dry. We did our "speed friending" activity awhile.
Then, it is time to sand the extra paper off of the edges. Make sure to use a perpendicular, downward motion (if you have ever done Jamberry nails it is the same technique!) Don't ever push the sandpaper back upward or you might lift the paper. Just keep scraping down at as close to a 90 degree angle as you can. Use some muscle! It takes a bit of pressure to make it work. The paper will begin to loosen and peel off.


Don't forget the inside, too. It looks very crisp and neat when you are done! Nothing at all like my messy table.

It is a good idea to seal it by brushing on a thin layer of mod podge. If you want to add embellishments, just brush a little mod podge on, stick it on top, then just brush over the whole frame.

See? It dries clear.
You can also add washi tape to a dry frame and lightly seal over that.

Pretty easy, right? I think the sanding is the trick to this. And now, on a nicer background than my icky table...

There is a lot that you can do with these. They don't take too long and don't cost much to make. If you mess up and get too many wrinkles, you can always rip the paper off, sand, and try again. Or, you can call it "texture" and just go with it. No one will see small wrinkles from across the room. Just you.
Feel free to pin it for later...
You may also like...

Sewing, crafts, tutorials, recipes, and a little look at our life in the country - raising half a dozen children.

Hi! Thanks so much for stopping by! My name is Lindsay and on this blog you will find sewing, crafts, decorating, recipes, and tutorials with a little bit of honesty and encouragement.