DIY Sticker Tutorial
/All week Project Run and Play has been sharing ideas and inspiration for sewing for/with tweens and teens. It is a unique age group for sure, but it can also be a fun kind of different. Today I shared some ways to embrace the individual styles of tweens and teens. When you are done reading here, head on over to the Project Run and Play blog to check out the full post!
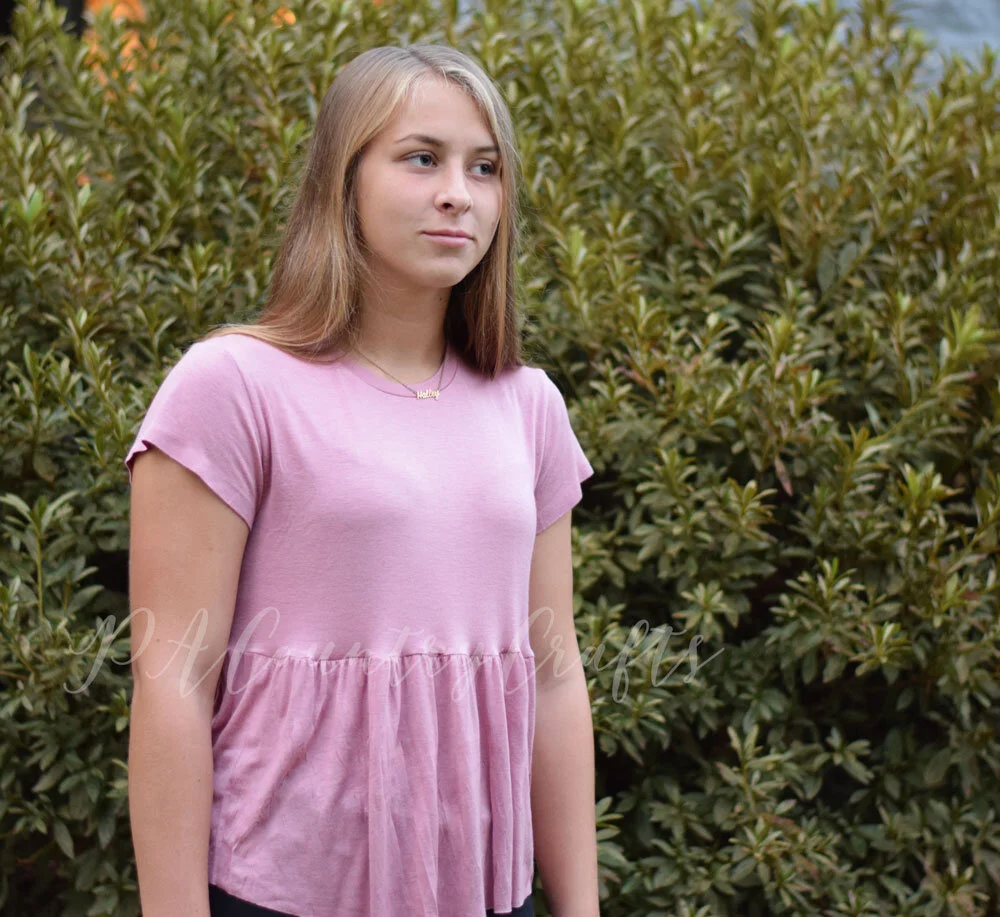
My kids like to wear whatever is currently “in” at their school so RTW inspiration is more fitting for them. American Eagle is one of their favorite stores- they use a lot of really soft fabrics, but honestly, the quality is not that great, especially with their price tags! When I was looking for ideas for this series, I saw a cute, pink babydoll top and realized I already had the perfect, rayon spandex fabric. Also, the Project Run and Play pattern shop had the perfect pattern to hack to make this work! The Rita Dress and Nightgown was very similar- I just had to crop the length of the skirt! I looked at the finished measurements and made a size 14 for my adult sized 16yo. It is drafted for a looser fit, but the inspiration was more fitted. This is definitely another way to get longer use out of your patterns.

I also designed some digital files to give away for this series - positive and encouraging designs with these challenging years in mind. Unfortunately, I don’t have a cutting machine, but I found another great way to use digital designs!
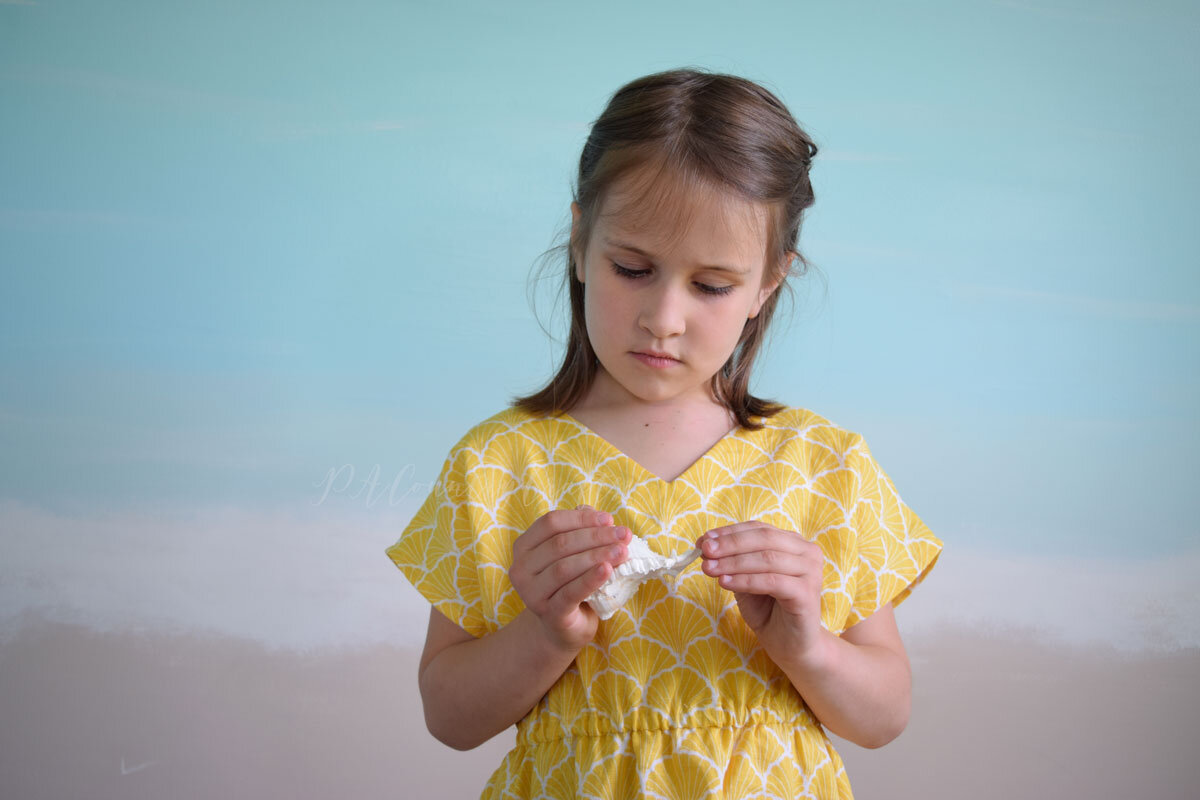
Stickers are definitely another trendy thing that tweens and teens love! Water fountains are off limits so my kids carry their stainless steel water bottles with them at school.

Today’s tutorial is actually courtesy of my 12yo daughter. She has been making her own stickers for her hydroflask for awhile now and she taught me how last night so that I could share it with you!
DIY STICKER TUTORIAL
You will need:
plain copy/printer paper (NOT cardstock)
scissors
packaging tape (NOT shipping tape)
parchment paper
markers or colored pencils (optional)

1. Print your stickers on plain paper. I pasted them into a Word document and resized as needed to print onto one page.

2. Cut your stickers out and add color if desired.

3. Place a piece of packaging tape onto the parchment paper with the sticky side down.
4. Place the paper right side up on top of the tape.
5. Place another piece of tape on top of the paper and smooth out any bubbles to get a good seal.

6. Cut the stickers out leaving a little space around the edge of the paper.
7. Remove the parchment paper from the back of the sticker. It should slide right off.

8. Smooth the sticker onto the desired service, carefully applying pressure to the edges.
You can get the digital files in my shop. They are free and should download after checking out.

Don’t forget to check out the rest of the Tween Scene series on Project Run and Play!
You may also like…